DIY Guide: Replacing the Lightning Connector on iPhone SE (2020)
Duration: 30 min.
Steps: 38 Steps
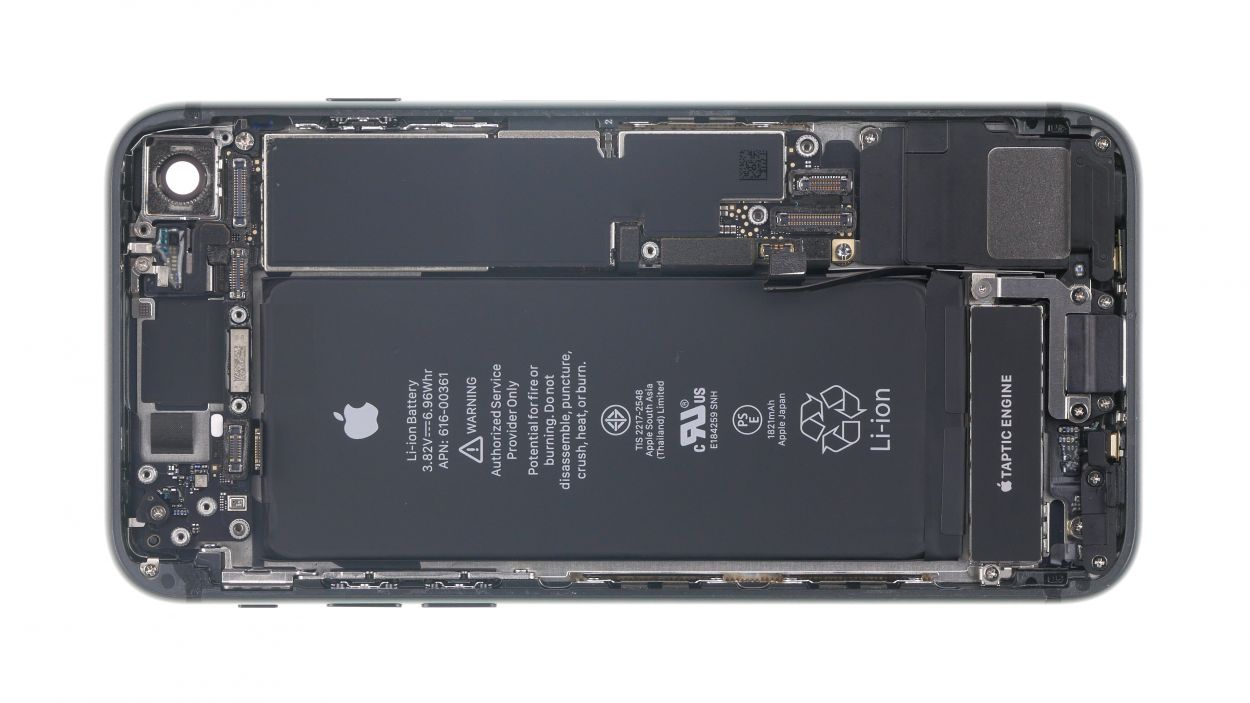
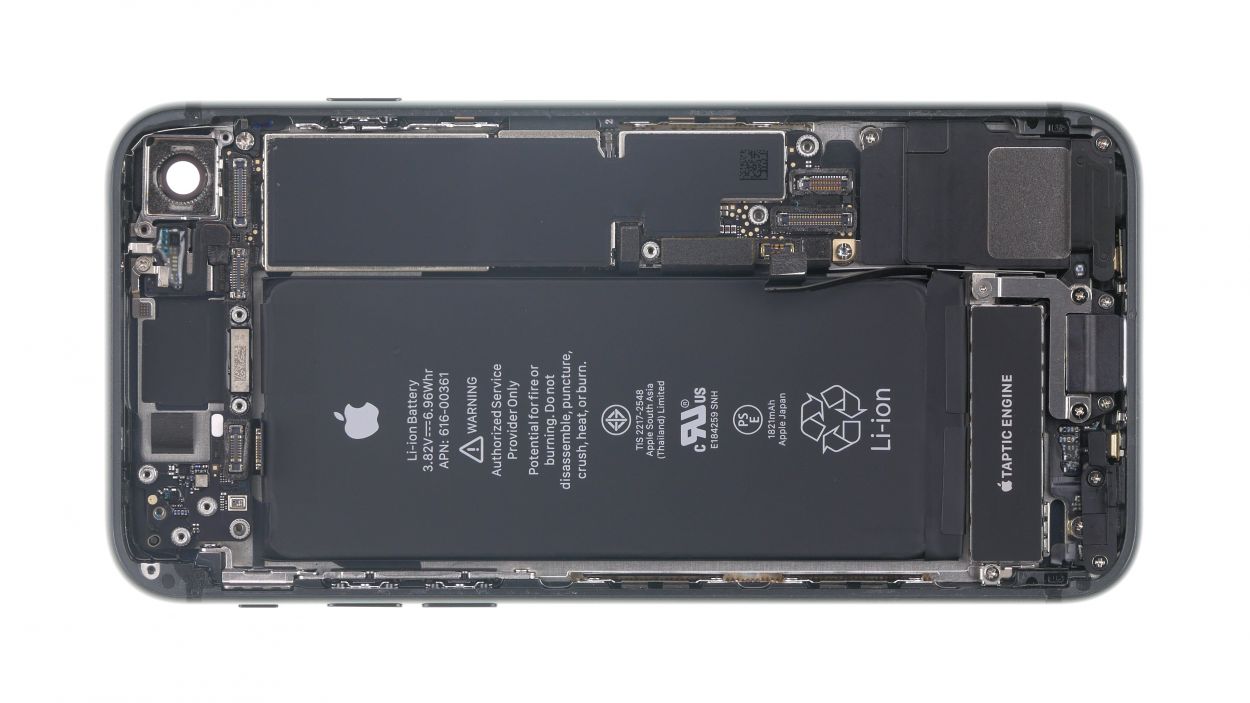
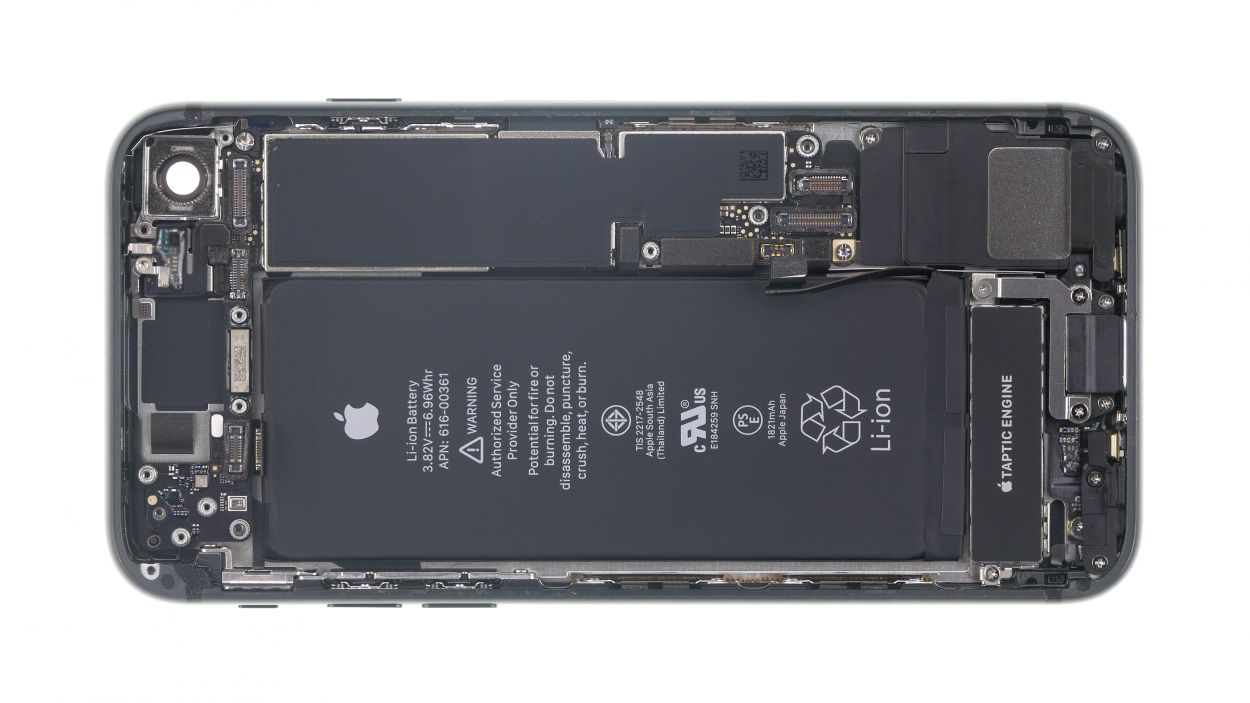
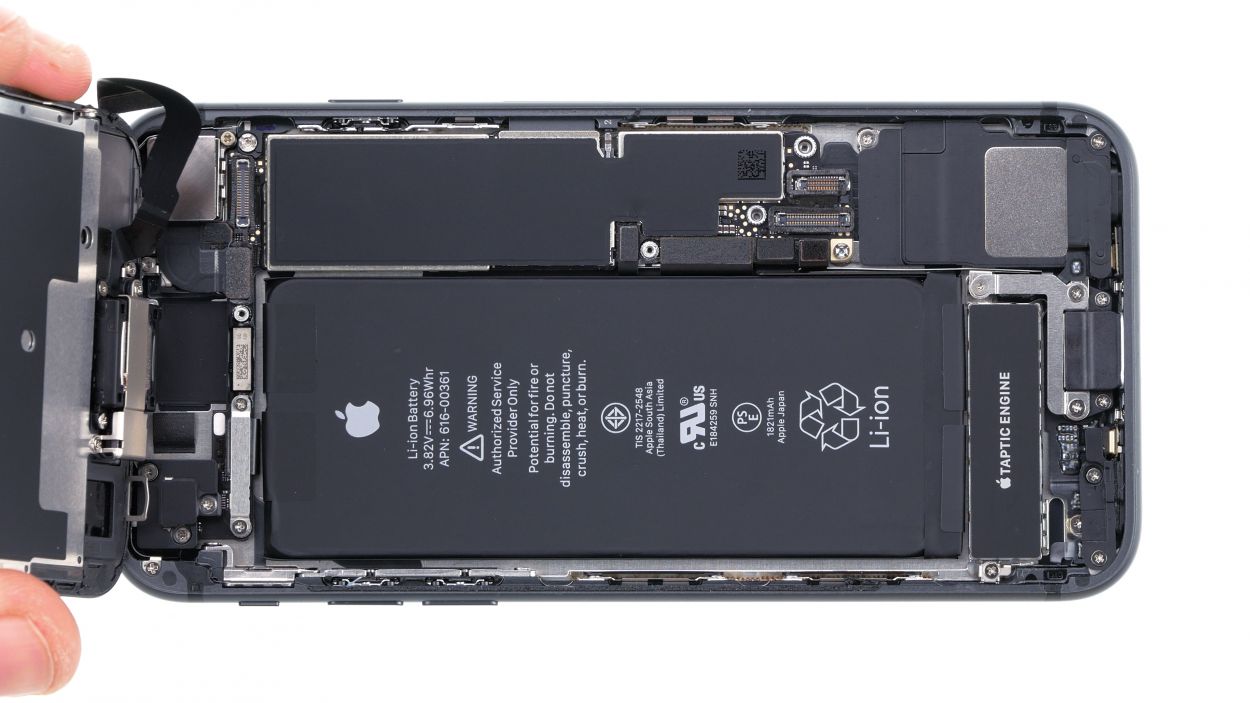
So, your microphone is throwing a tantrum? No worries! You’ll still need to swap out that Lightning connector since they’re best buddies. In this guide, we’ll walk you through the process in a super smooth way. You’ll notice that the photos feature the iPhone 8, but don’t fret! It’s nearly identical to the iPhone SE, so the steps are spot on. Let’s get this repair party started! Good luck!
Step 1

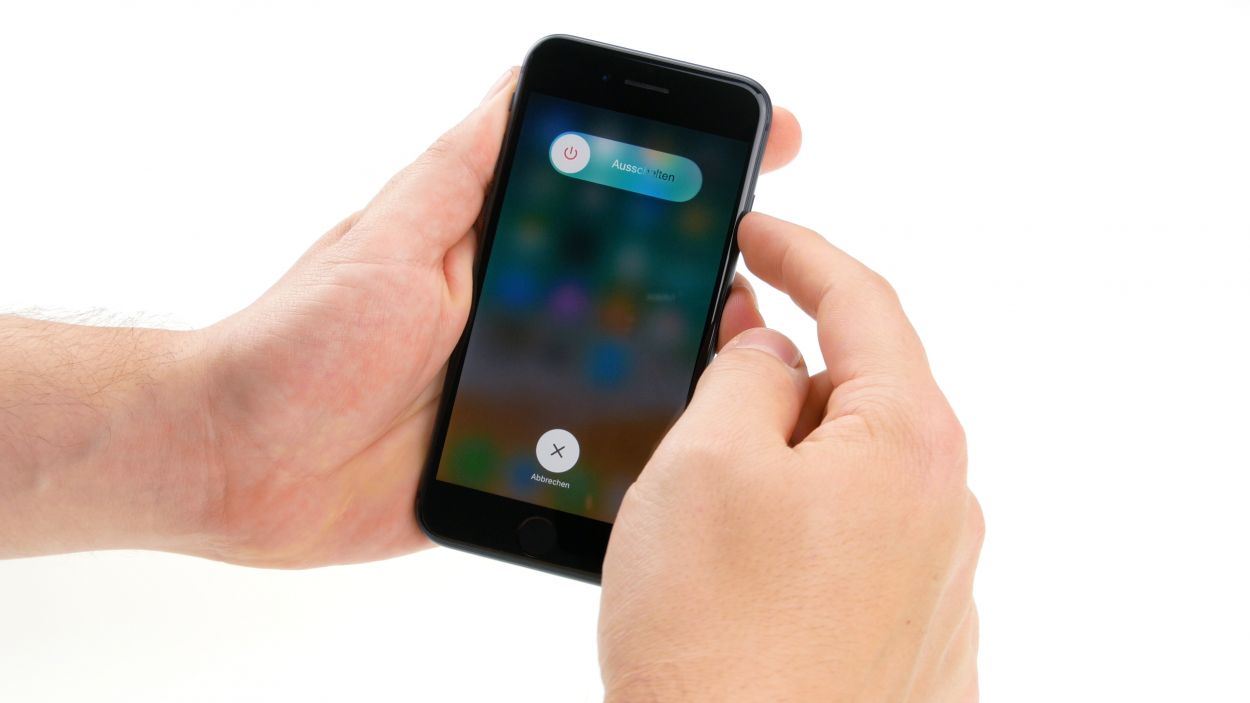
– First things first, let’s power down your iPhone SE (2nd generation) completely to keep it safe from any repair mishaps. Just press and hold that standby button until the “Power off” slider pops up.
– Now, give that slider a gentle swipe from left to right. In about ten seconds, your iPhone will be off and ready for some TLC!
Step 2
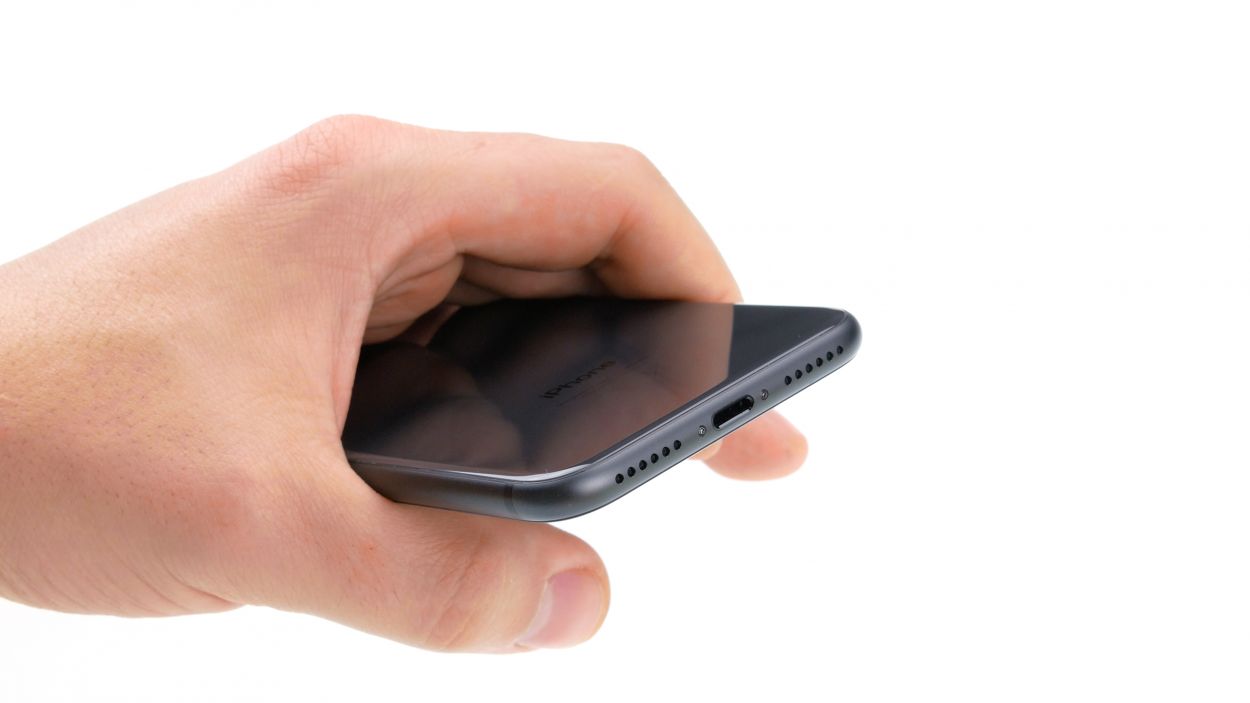
– Unscrew the two Pentalobe screws located on either side of the Lightning connector using your trusty Pentalobe screwdriver. Once you’ve got them out, pop those little guys into your screw storage box so they don’t go wandering off!
2 × 3.4 mm Pentablobe
To keep your screws and parts from playing hide and seek, we suggest using a screw storage box. Got an old sewing box? Perfect! It can double as your new screw sanctuary. We also recommend a nifty magnetic pad, where you can lay out all the components just like you found them in your phone. This way, you’ll know exactly where each screw belongs, making reassembly a breeze!
Step 3
When it comes to warming things up, think of it this way: your device should be cozy enough to touch without feeling like you’re holding a hot potato!
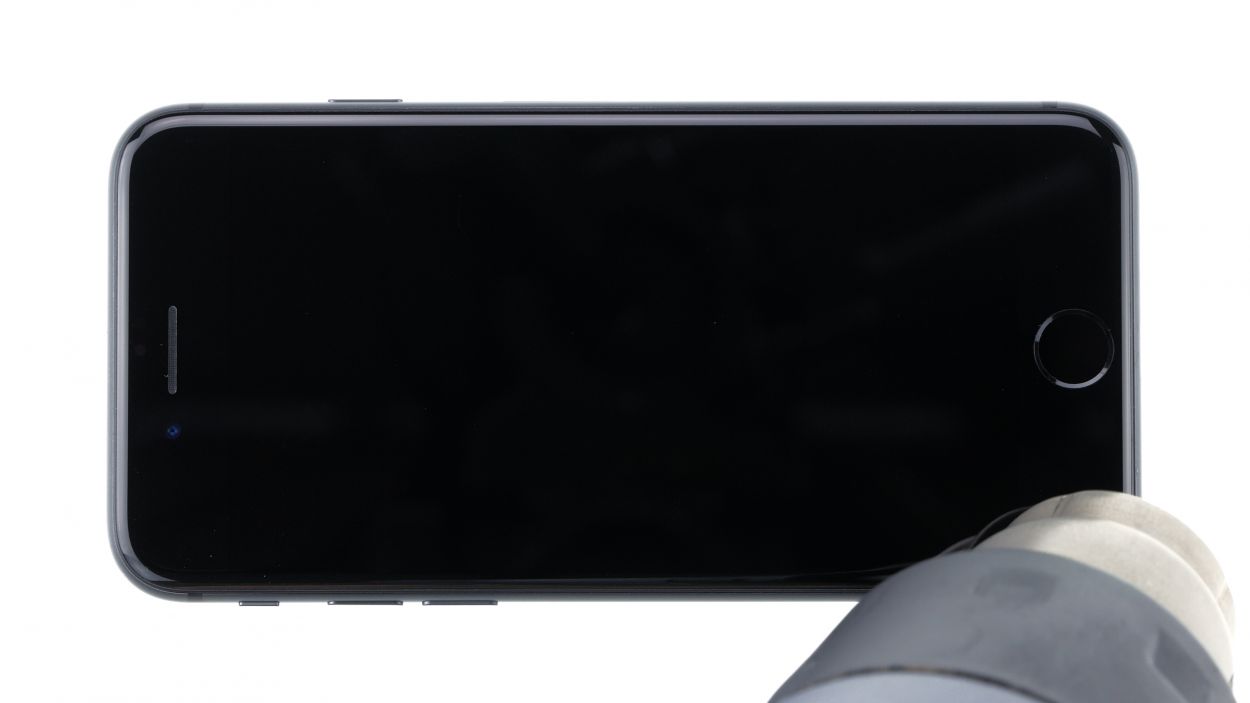
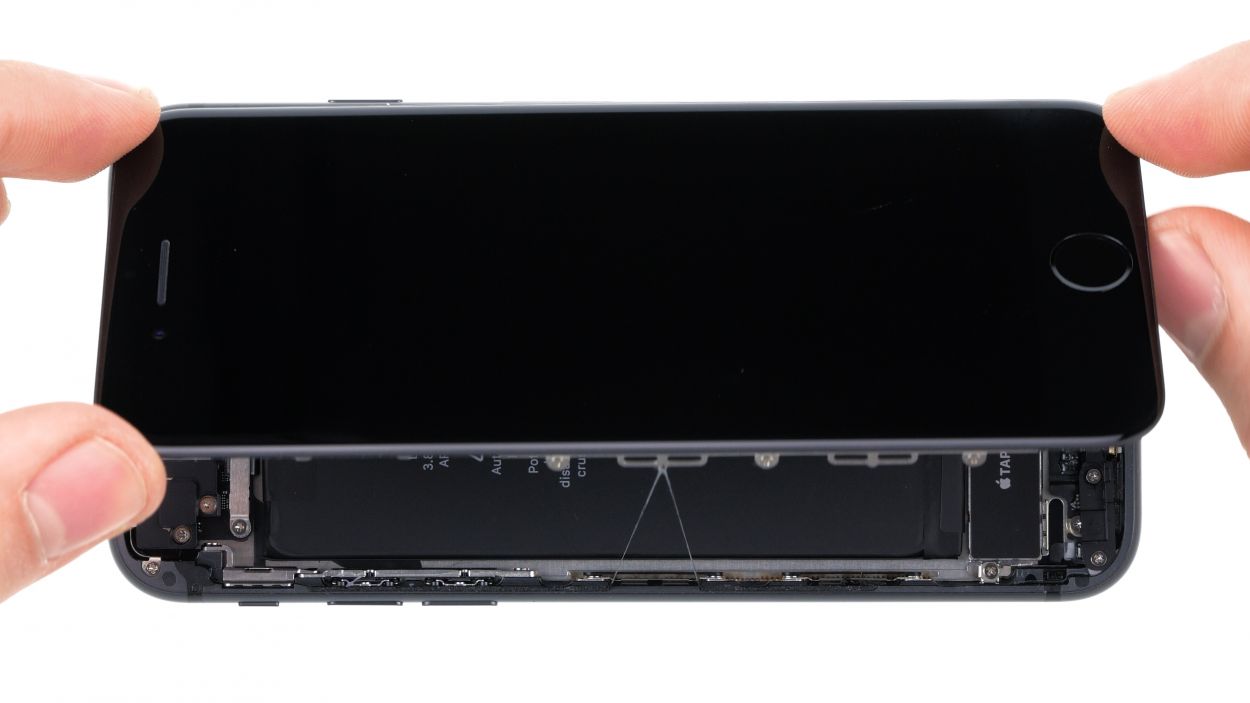
– To kick things off, gently place your iPhone SE on a soft, clean surface. This way, it won’t get any scratches while you’re lifting that display.
– Now, since the display is glued down tight, we need to warm it up a bit to help it break free. Grab a heat gun or a trusty hairdryer and wave it around the edges of the display from the outside. This will make the detachment a whole lot easier!
Tools Used
- heat gun to heat parts that are glued on so they’re easier to remove.
In most cases, you can also use a hairdryer.” rel=”noopener”>Heat gun
Step 4
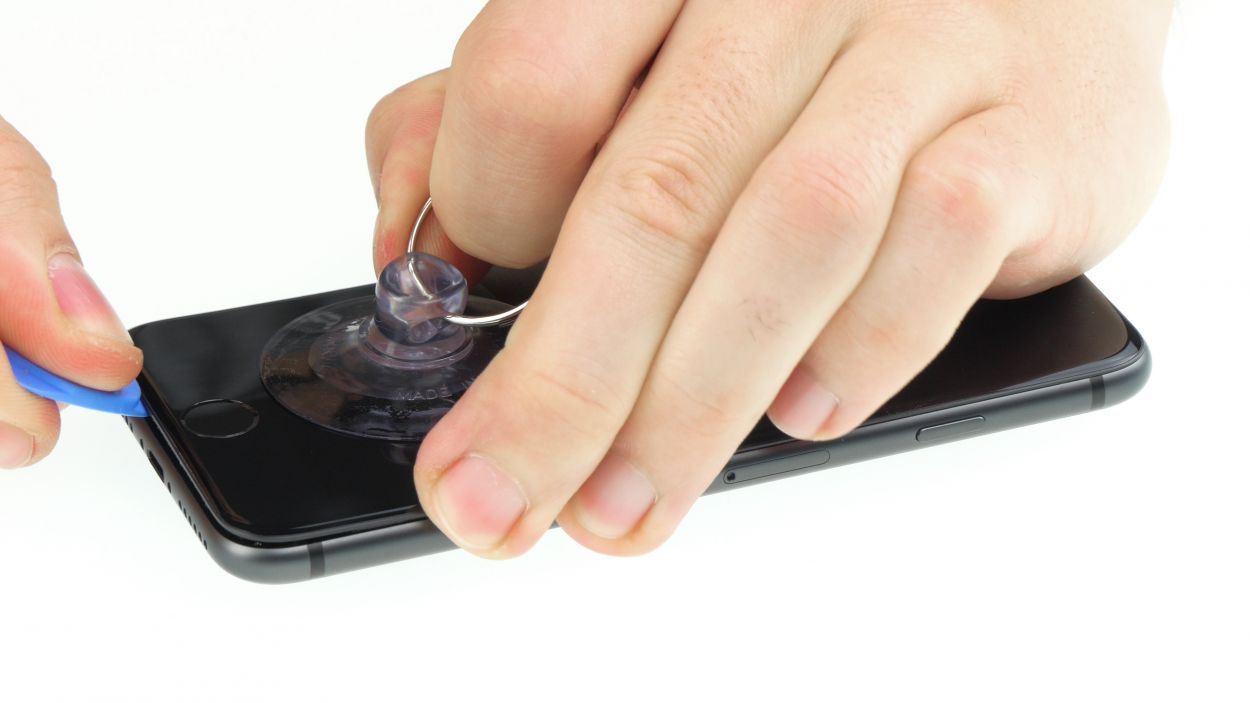

– Stick that suction cup right above the home button on the display and give it a gentle pull upwards. This little lift will help you create a slim gap between the aluminum and display frames, making it easier for you to work your magic!
Opening up your iPhone SE (2nd generation) means waving goodbye to that sweet IP67 warranty that protects against dust and splashes. So, keep that in mind while you dive into this repair adventure!
Tools Used
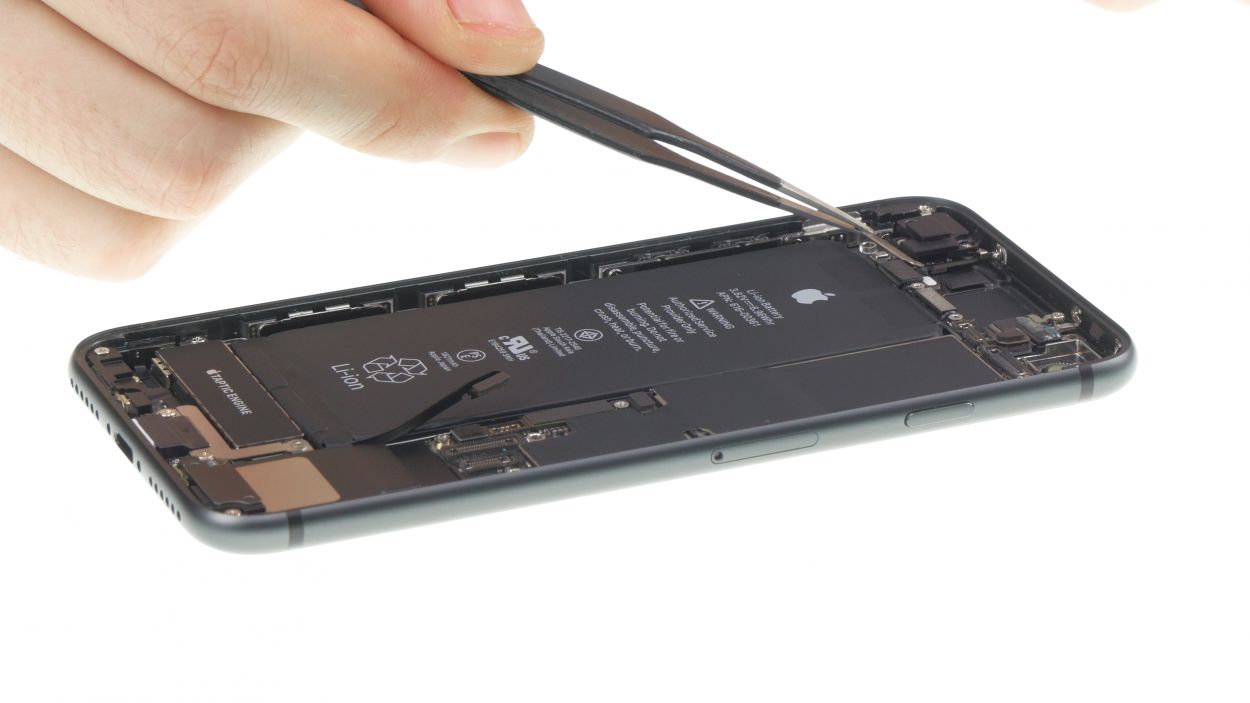
Step 5
Never open the display more than 180° while it is still connected, otherwise the flex cables may tear.
Step 6


– Grab your Phillips screwdriver and loosen those four screws holding the contact cover in place. Once you’ve done that, use some tweezers to gently lift it out of your device like a pro!
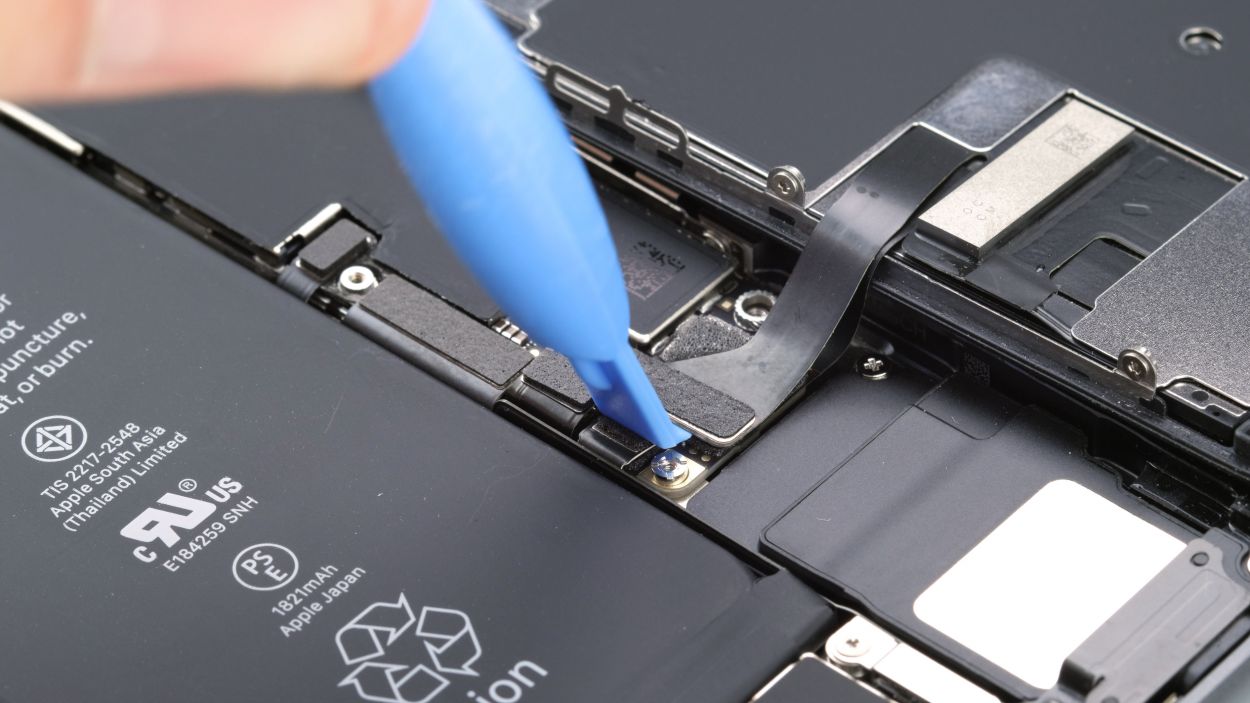
– Next up, let’s disconnect that battery contact! Slide a plastic spudger underneath the plug and give it a little lift. Trust us, a plastic spudger is your best friend for this task!
2 × 2.6 mm Phillips
2 × 1.0 mm Phillips
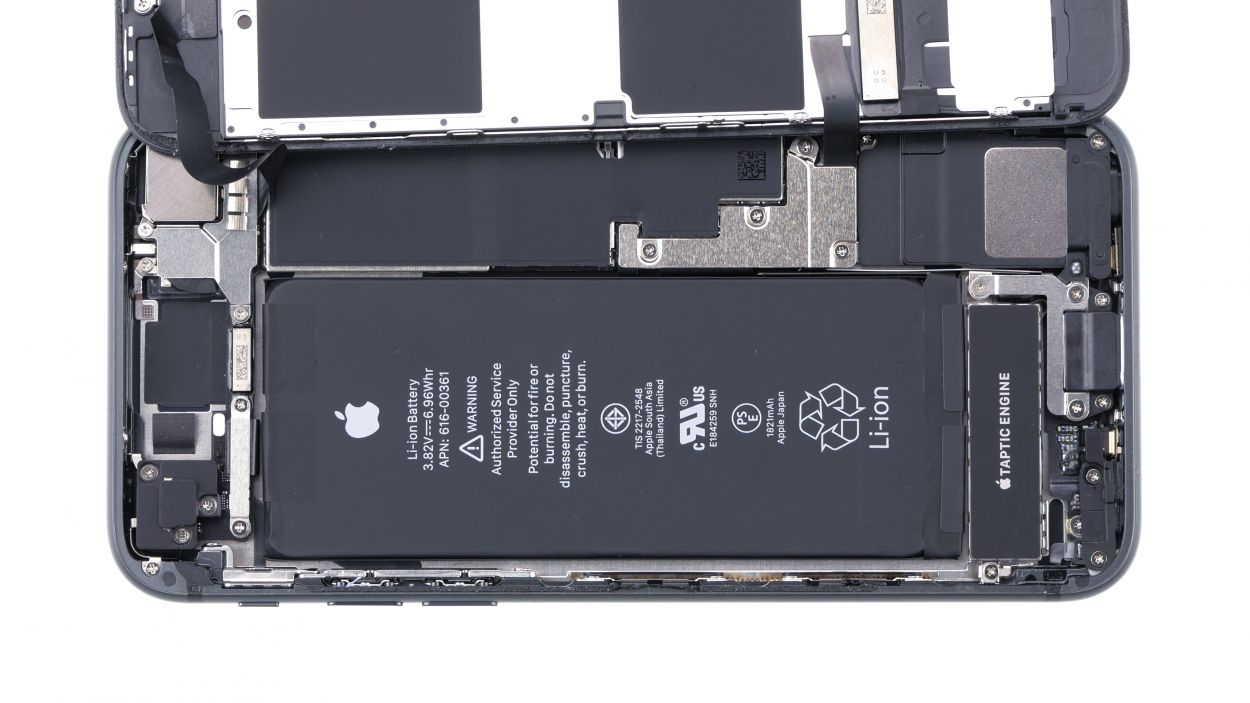
Right off the bat, unplug that battery connector! It’s like giving your phone a little nap so it doesn’t accidentally wake up and throw a tantrum while you’re working. Plus, it helps avoid any short circuits. Safety first, right?
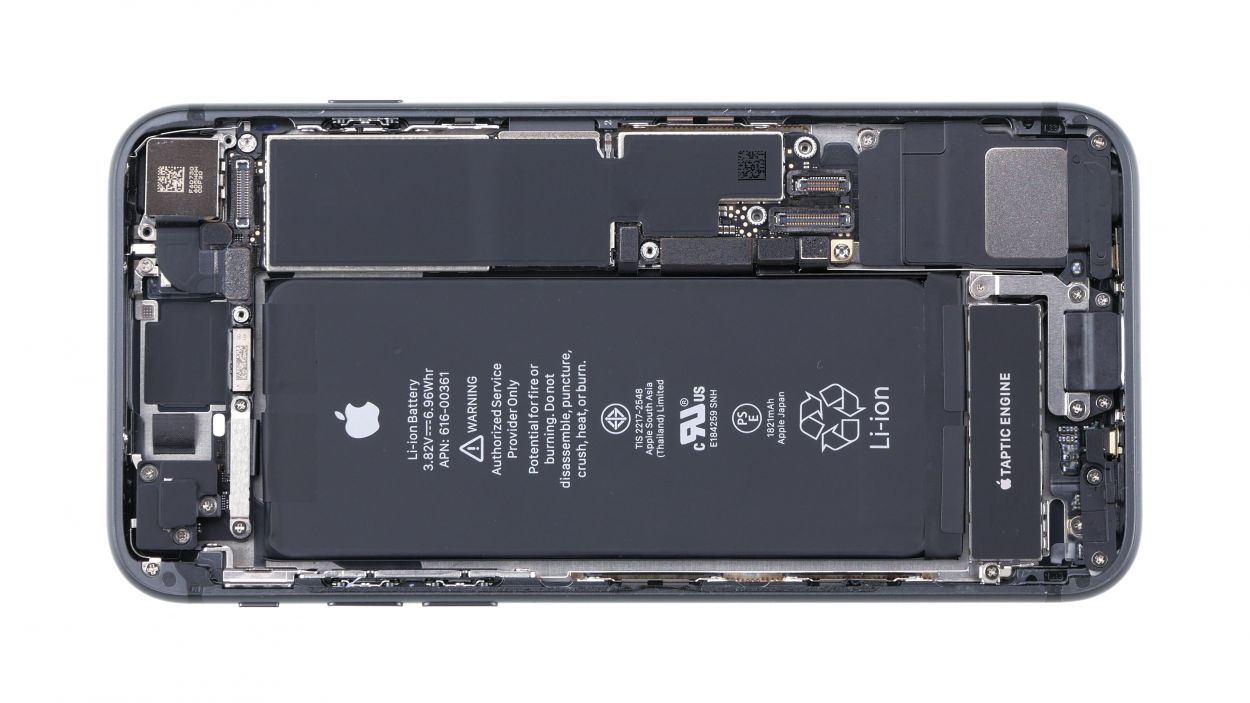
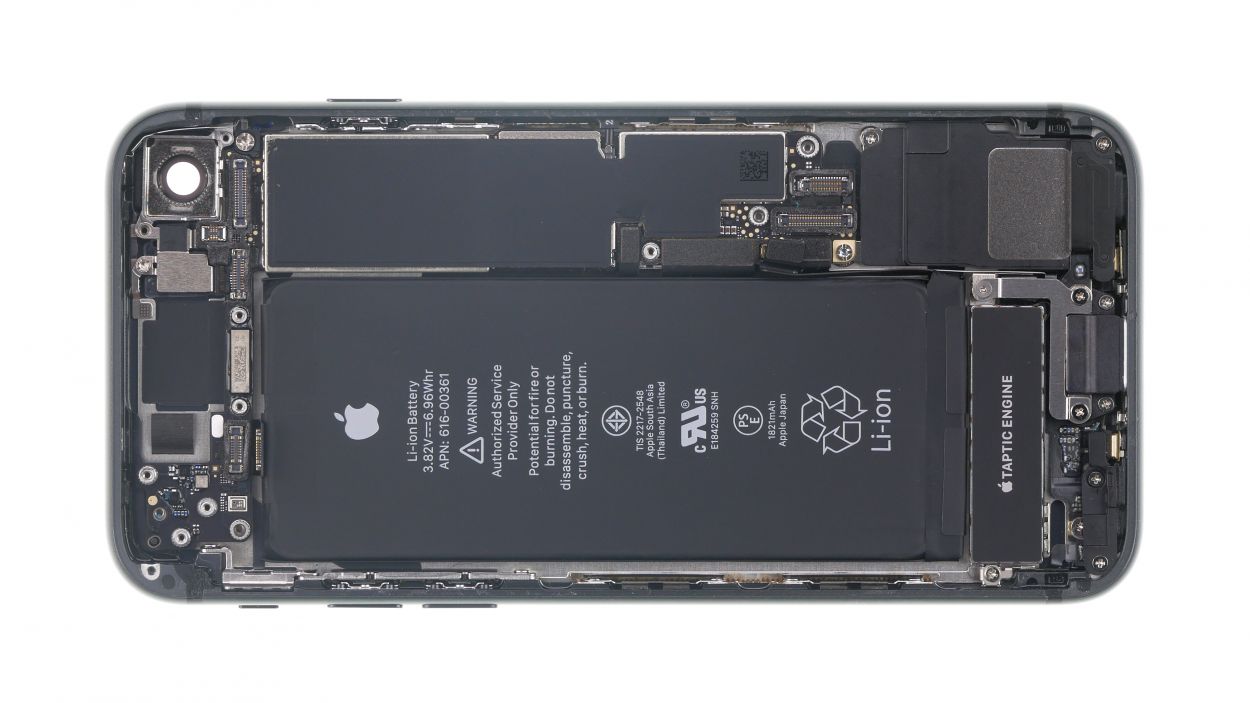
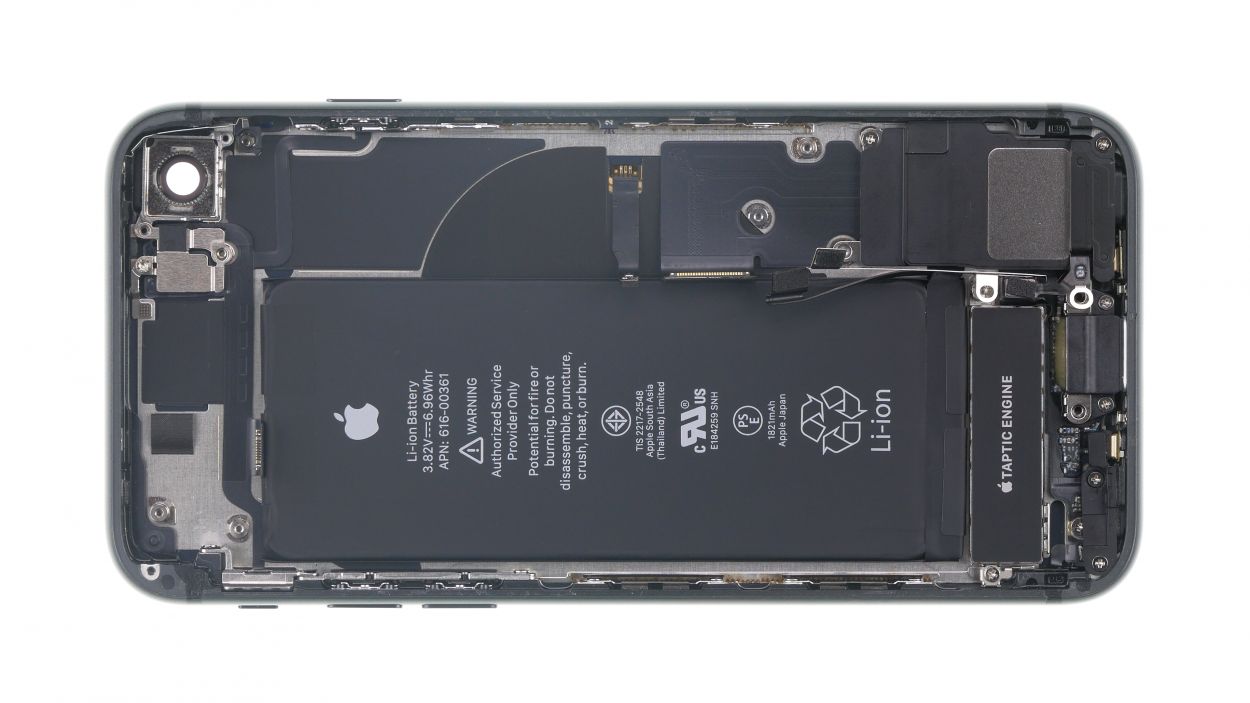
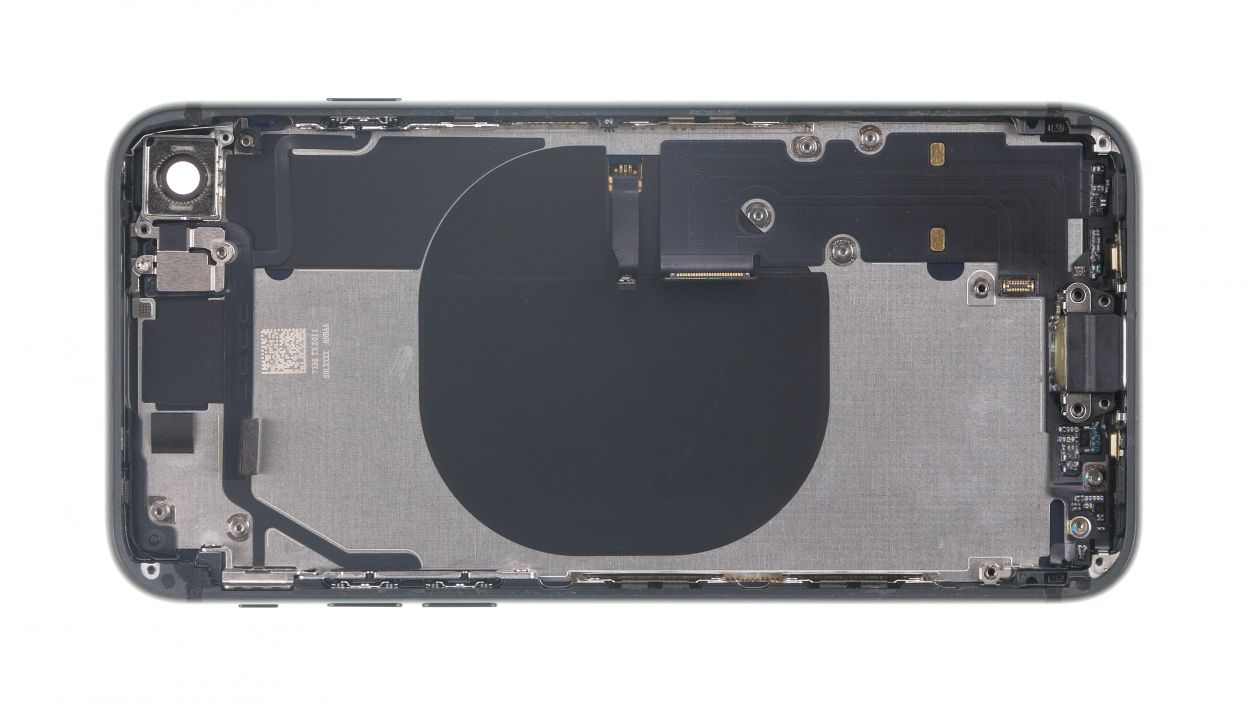
In this guide, we’re showcasing the iPhone 8, but don’t worry if you’re rocking an iPhone SE (2nd generation)! The battery connector might have a slightly different look, but it’s hanging out in the same spot. Let’s dive in!
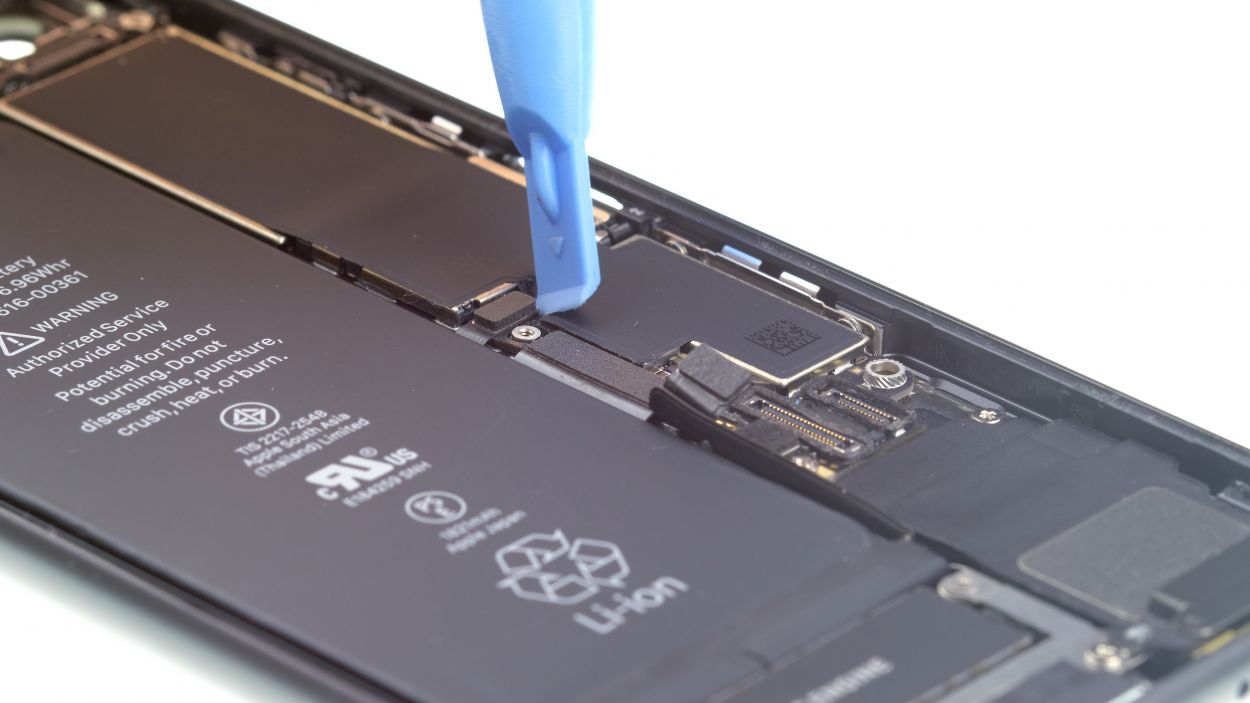
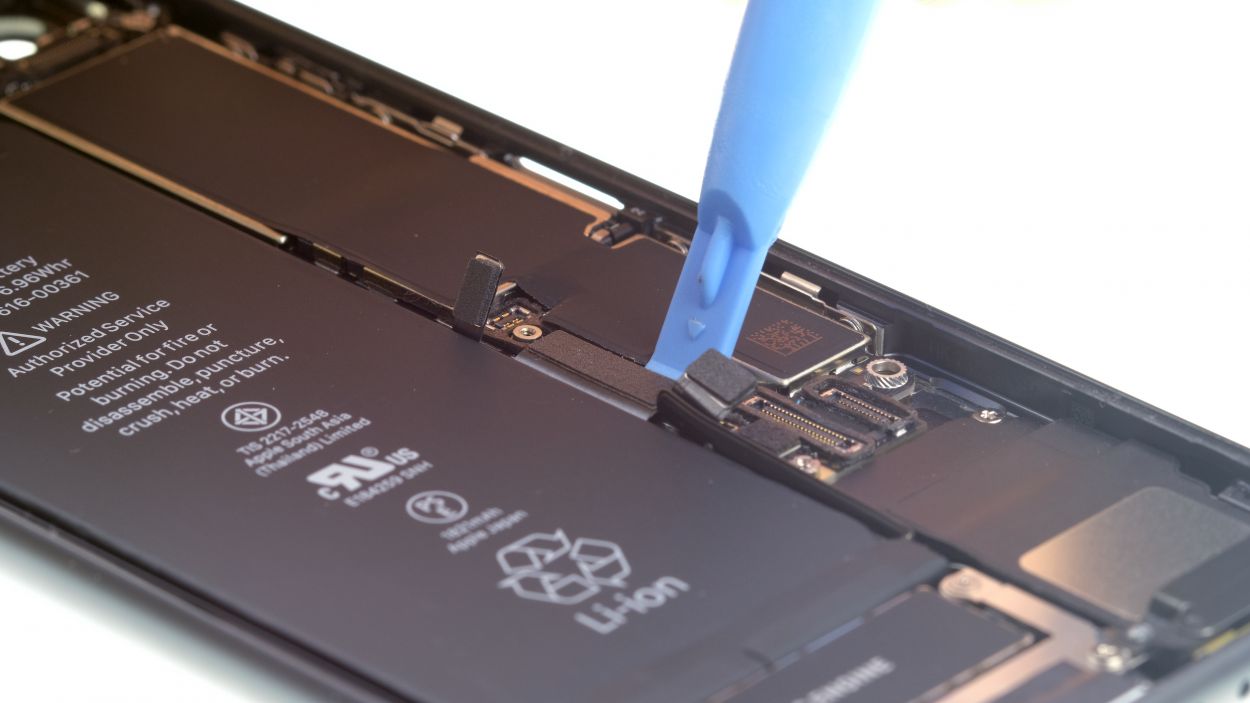
Step 7


– With your trusty plastic spudger in hand, gently pry off those two connectors that are snugly attached to your display (you’ve got the display and home button here).
Tools Used
Step 8


3 × 1.0 mm Phillips
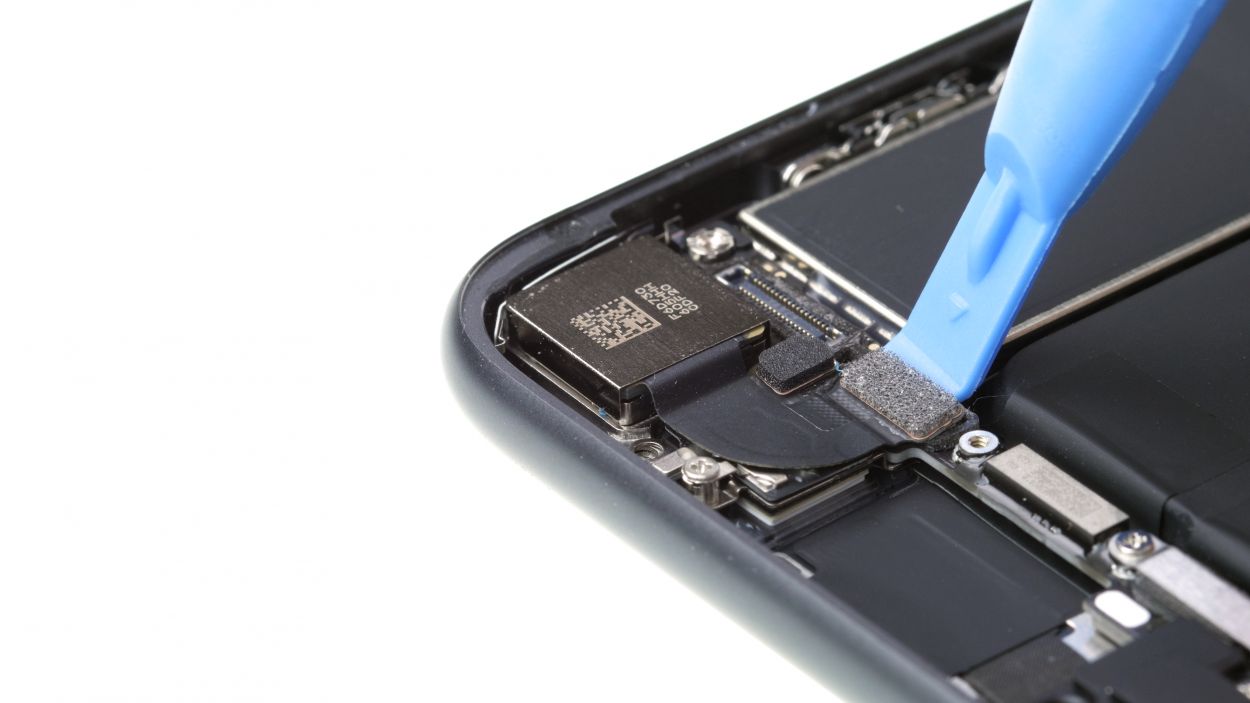
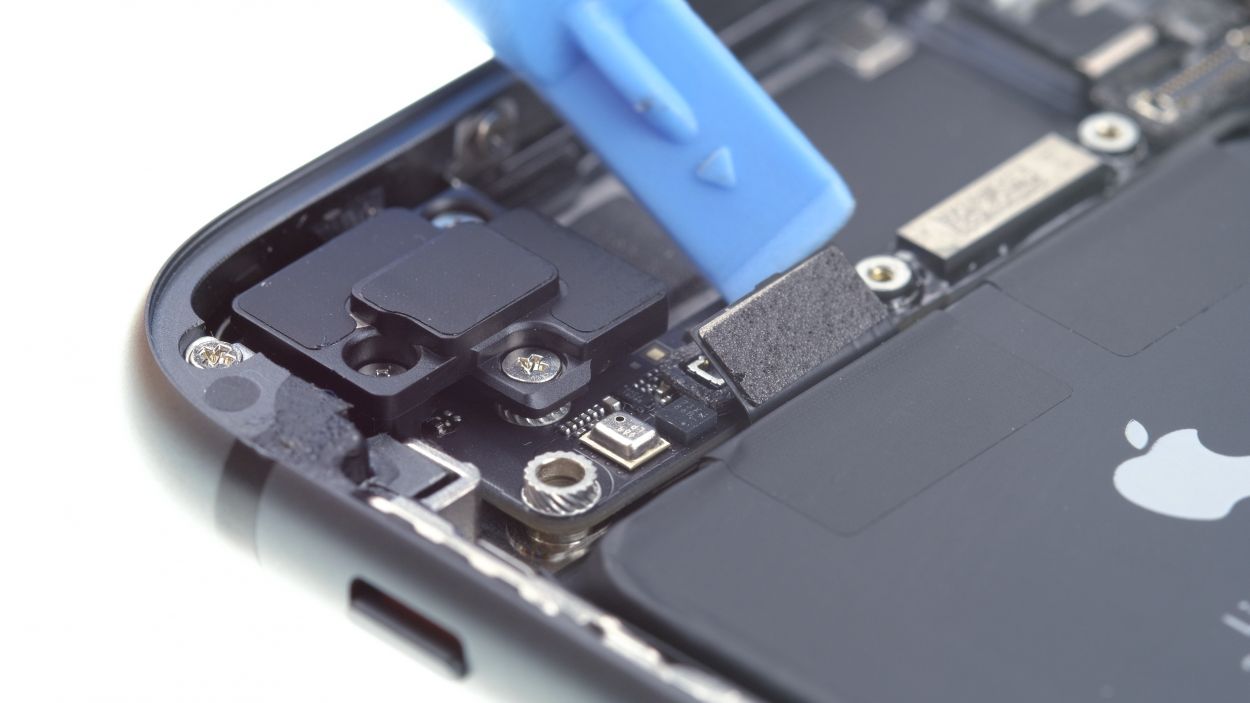
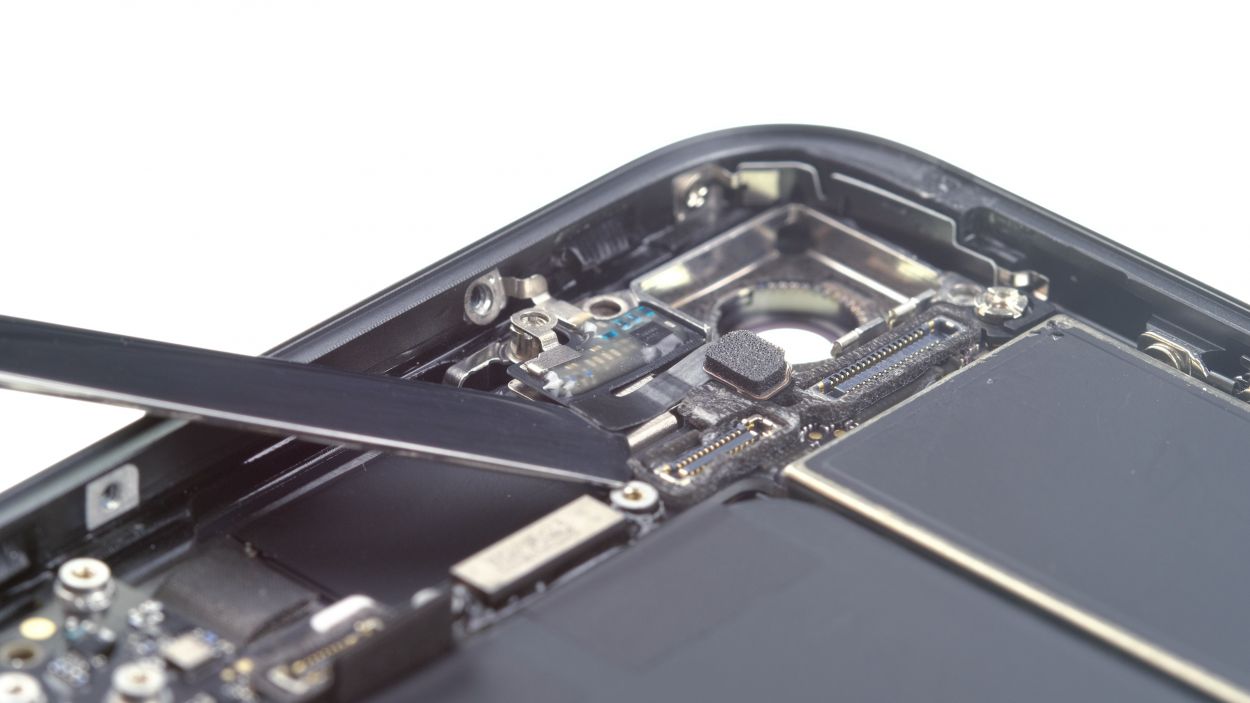
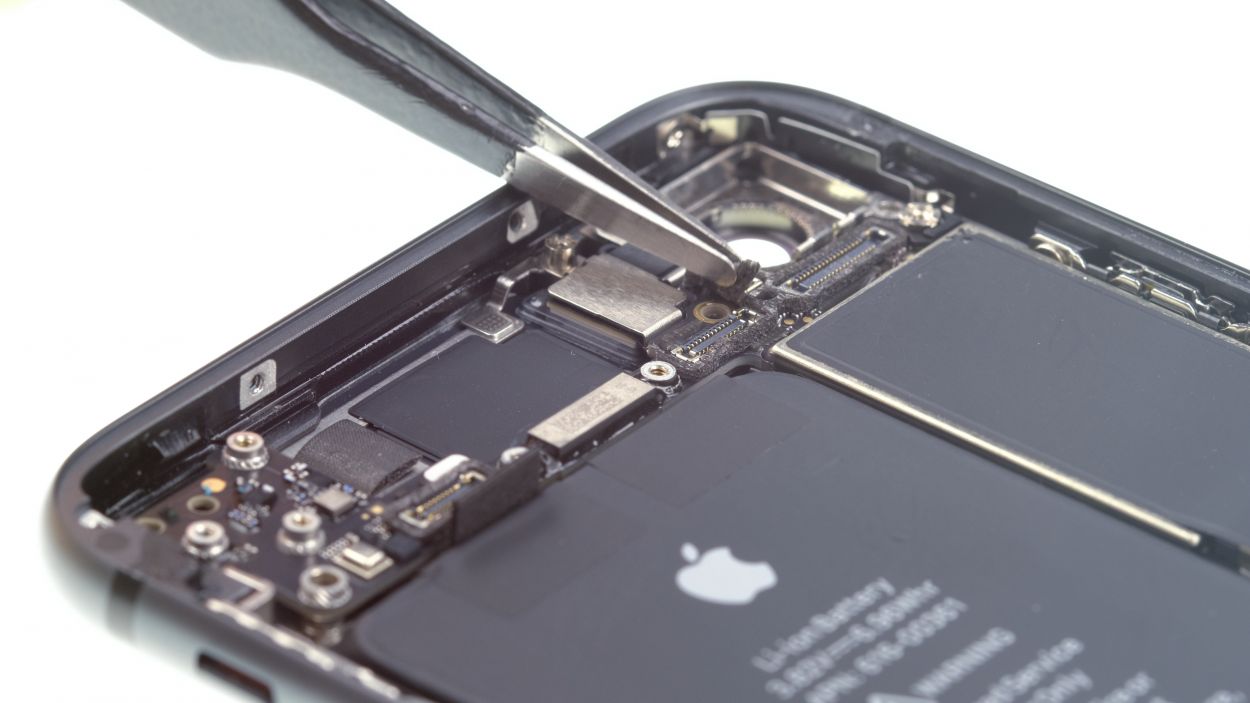
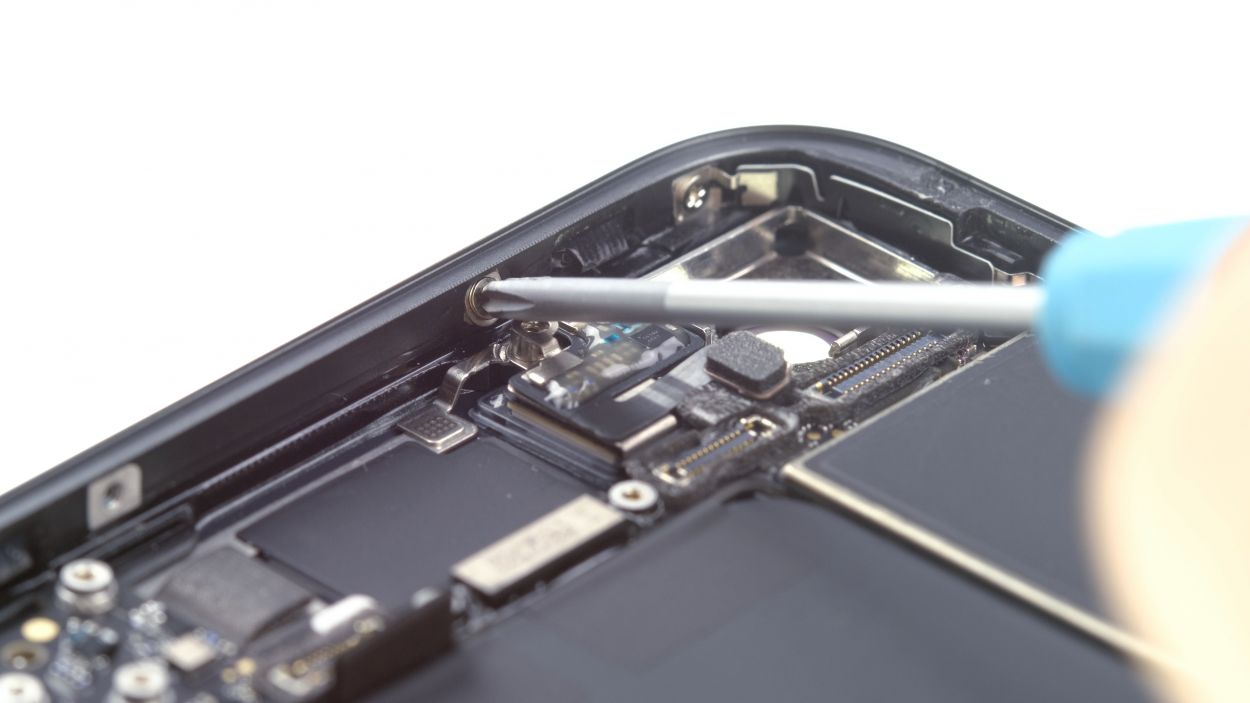
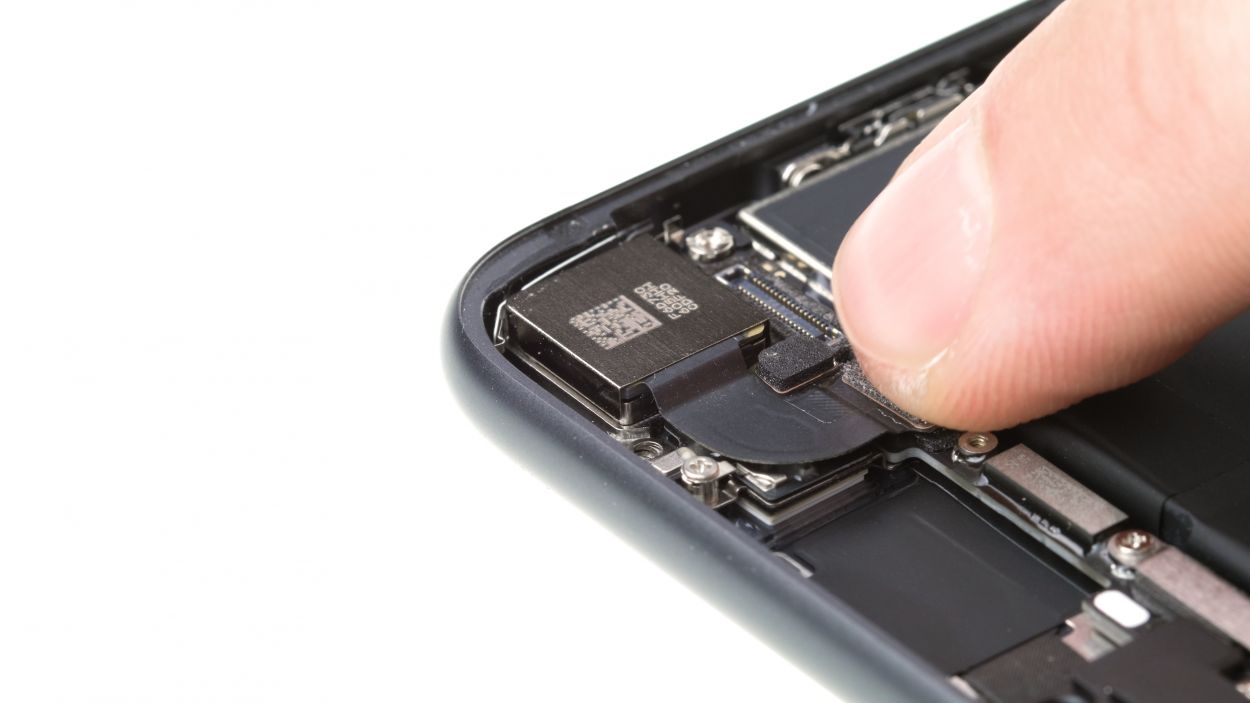
– Grab your trusty Phillips screwdriver (PH00) and loosen those three screws holding the cover over the FaceTime connector. It’s like giving it a gentle nudge!
– Now, with a spudger in hand, carefully detach the FaceTime connector from the board. You’re almost there!
– And just like that, you can now completely remove the display. Easy peasy!
Step 9

1 × 2.9 mm Phillips
1 × 3.0 mm Standoff
While there are fancy screwdrivers designed for those tricky internal thread screws, a regular, slim slotted screwdriver can totally save the day too! Just grab what you have and let’s get to work!
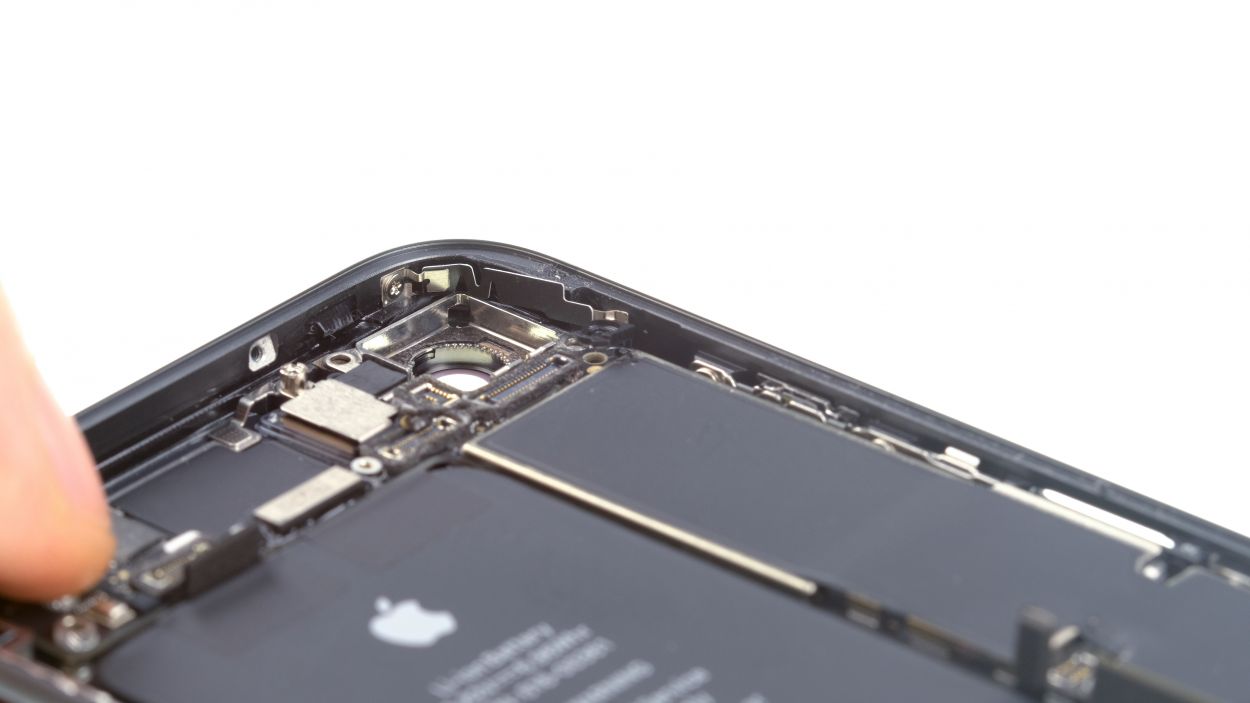
– Unscrew the two screws which fasten the bracket plate of the iSight camera and put the bracket plate aside.
Step 10
1 × 1.1 mm Phillips
1 × 2.7 mm Phillips
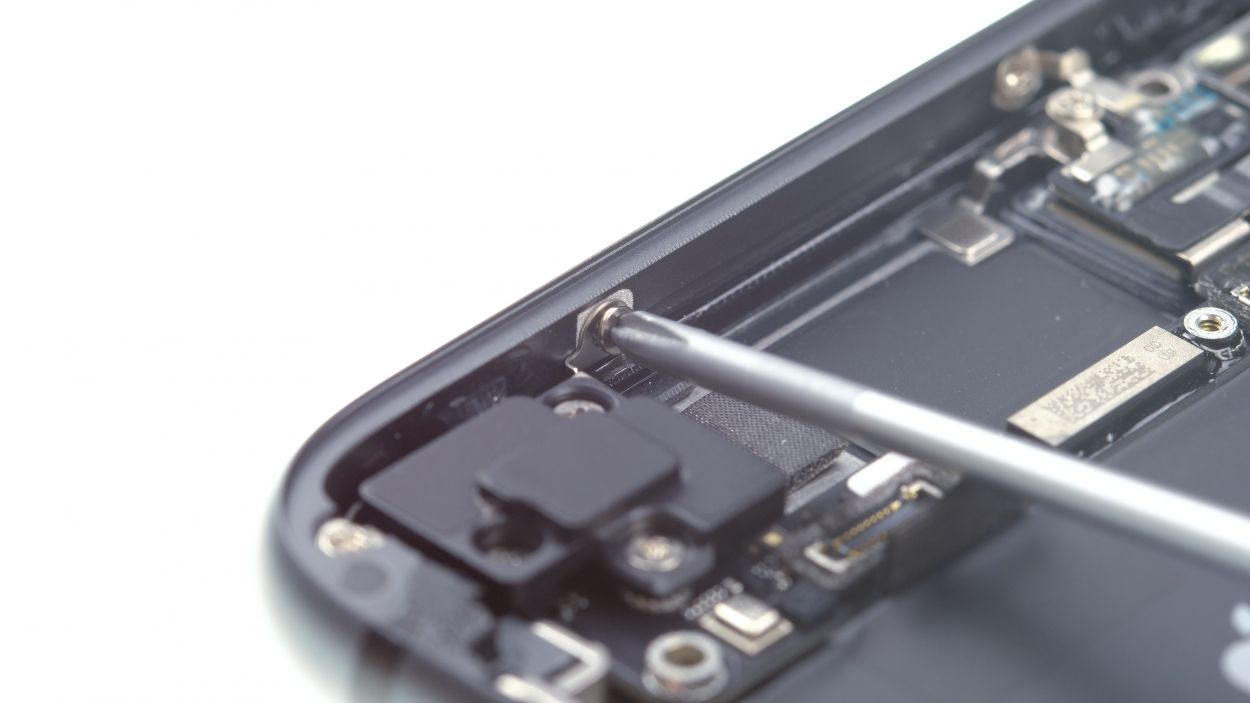
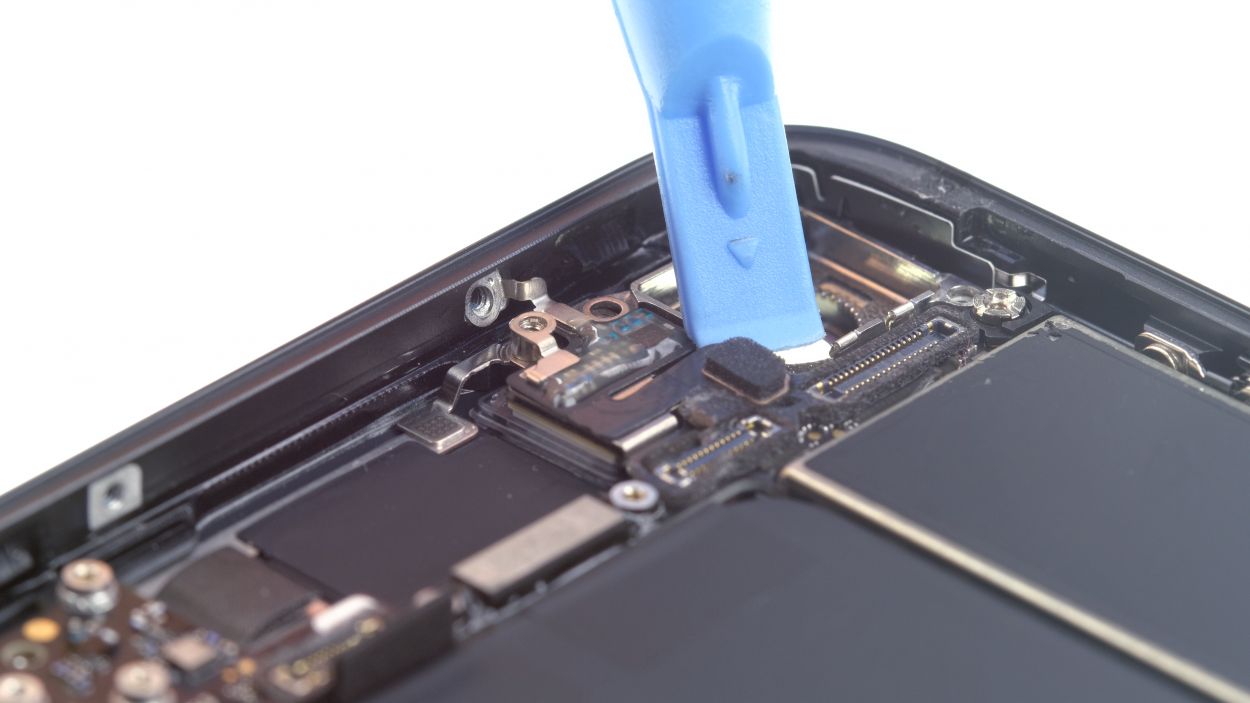
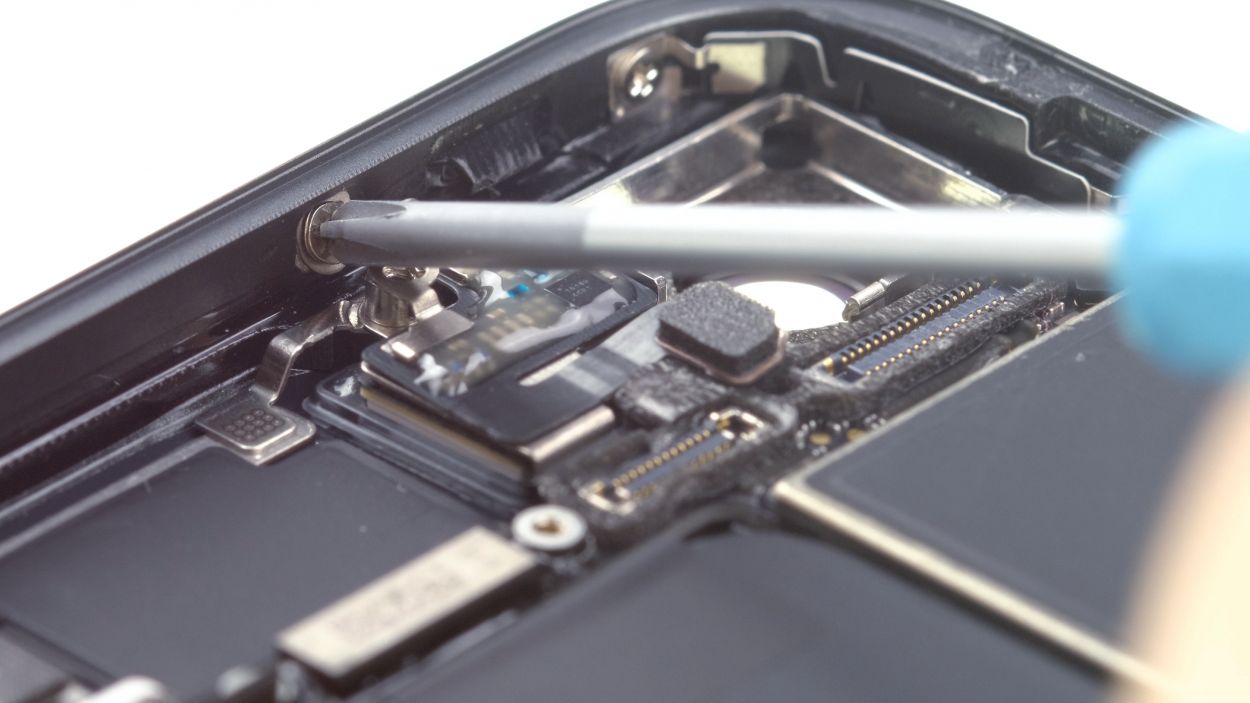
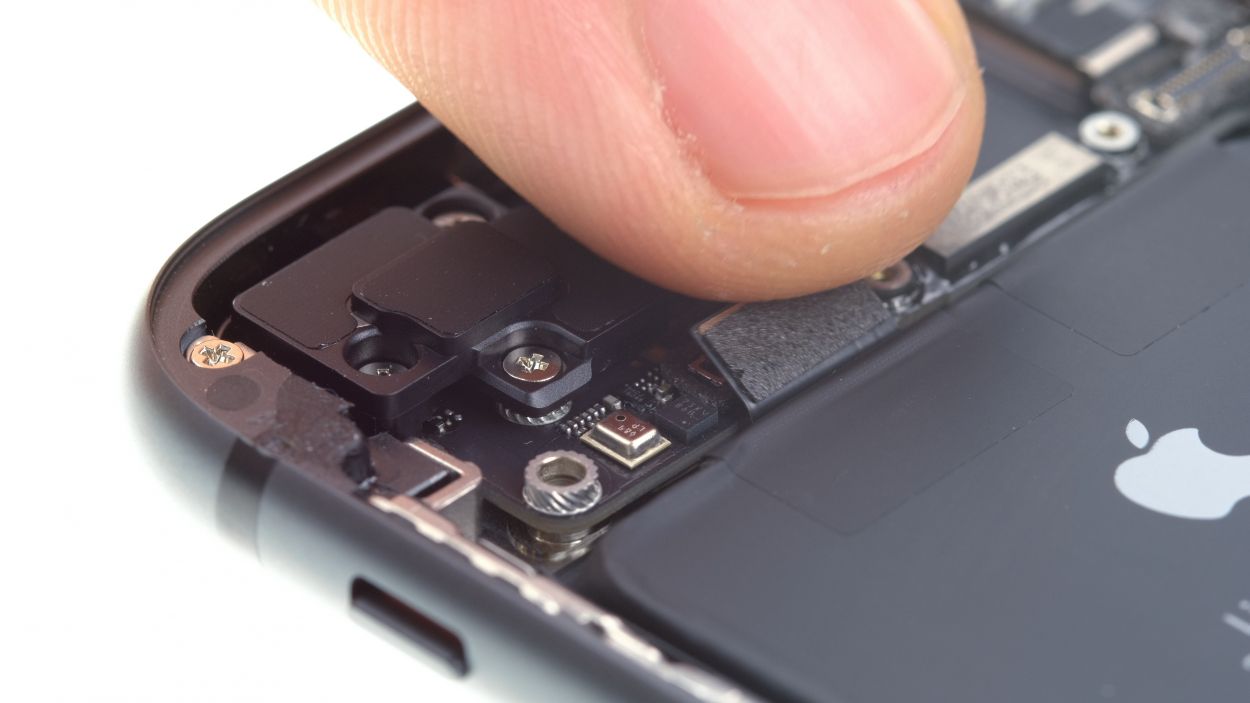
– To start off, unscrew the little screws from the bracket plate that’s sitting right above the standby and volume button connector. They’re just waiting to be freed!
– Next, with the help of your trusty spudger, gently pry that connector away from the logic board. You got this!
Step 11


2 × 1.2 mm Phillips
2 × 1.0 mm Phillips
1 × 2.5 mm Phillips
1 × 1.4 mm Phillips
One of the screws is playfully nestled into the side of the back cover, just waiting for its moment to shine!
– To kick things off, unscrew those four Phillips screws from the plastic bracket. Once they’re out, you’ll be all set to lift that bracket off like a pro!
Step 12
1 × 1.3 mm Phillips
1 × 1.2 mm Phillips
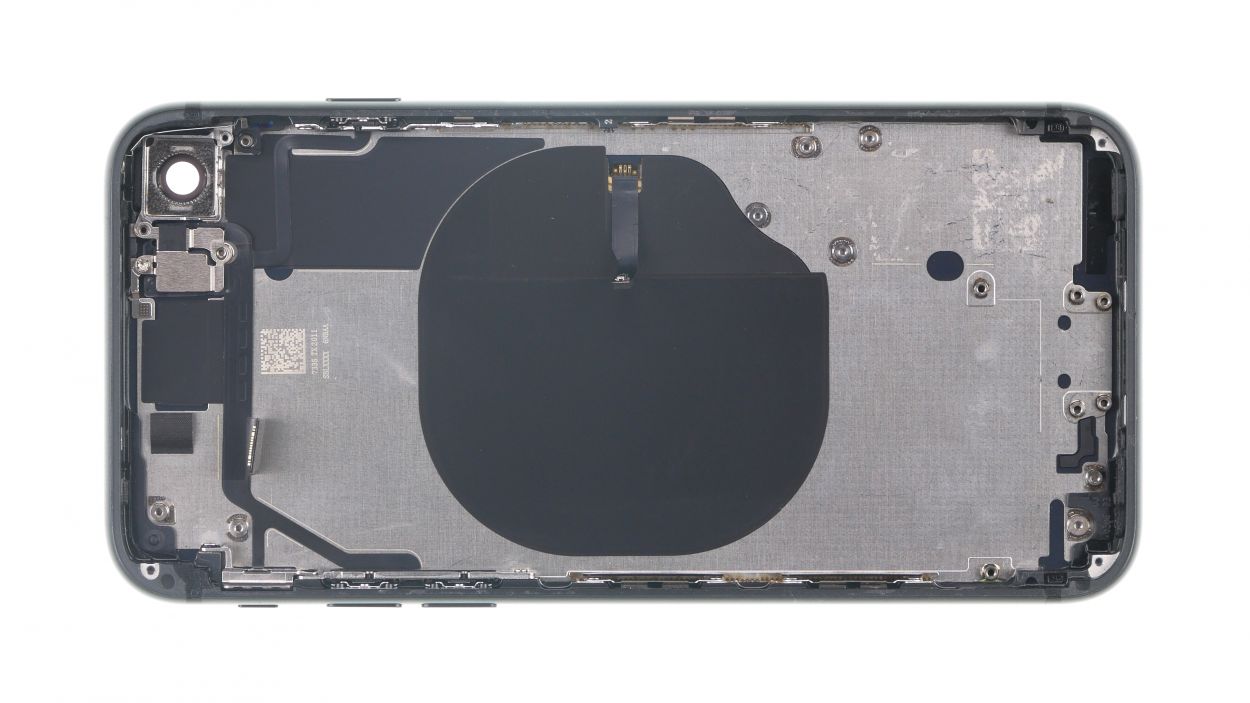
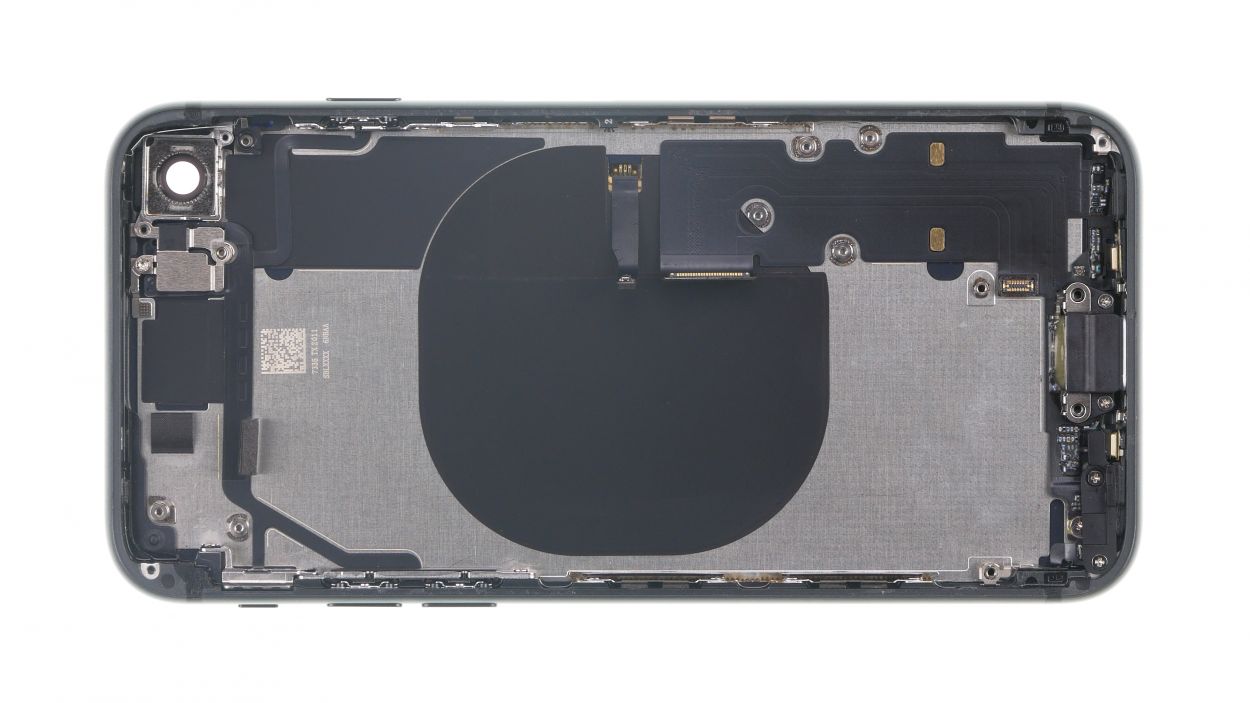
– First, let’s get those Phillips screws out that are holding the Wi-Fi antenna in place. Unscrew them like a pro!
– Next, gently use a plastic spudger to pry the antenna connector off the board. A little finesse goes a long way here!
– If the antenna is feeling a bit stubborn, warm it up with some hot air and slide a flat, stable lever tool underneath it. We usually go for a steel spatula for this task.
– Once everything is nice and loose, you can easily lift the antenna out of your iPhone SE. You’re doing great!
Step 13
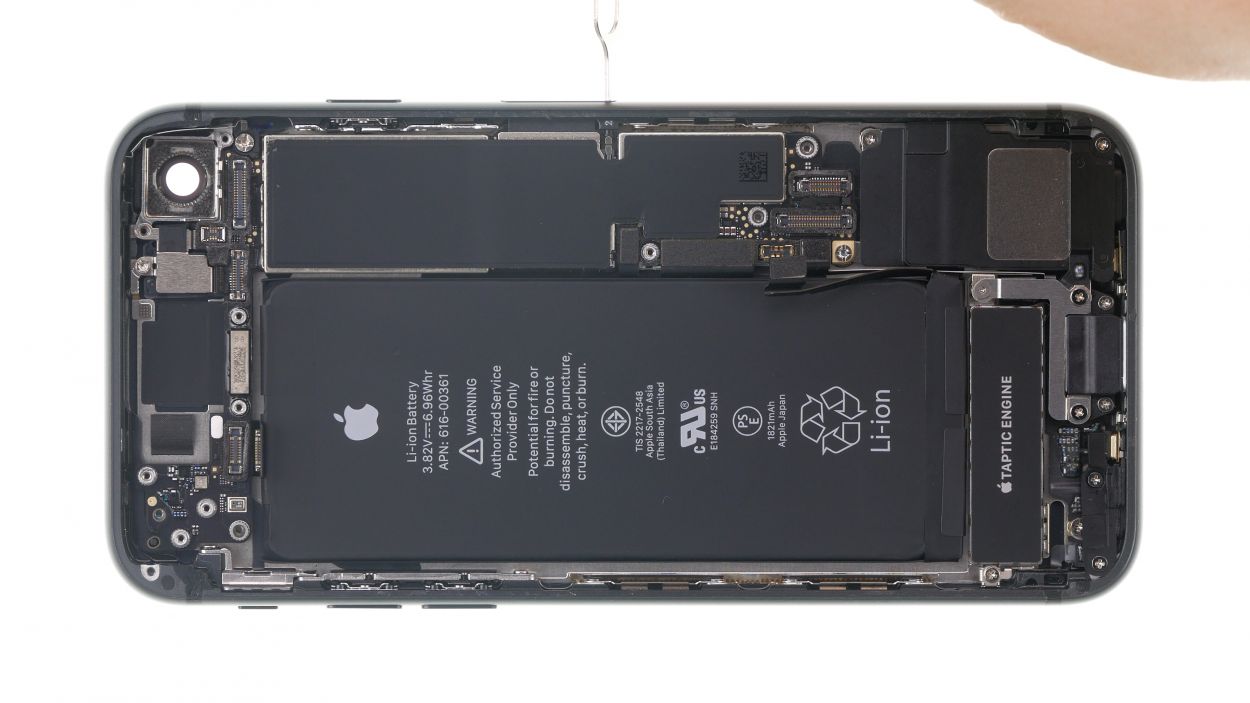
– Grab a SIM tool or a trusty paperclip to pop out that SIM card tray from your phone. Just press the tool into the tiny hole on the tray and give it a little push!
Tools Used
Step 14

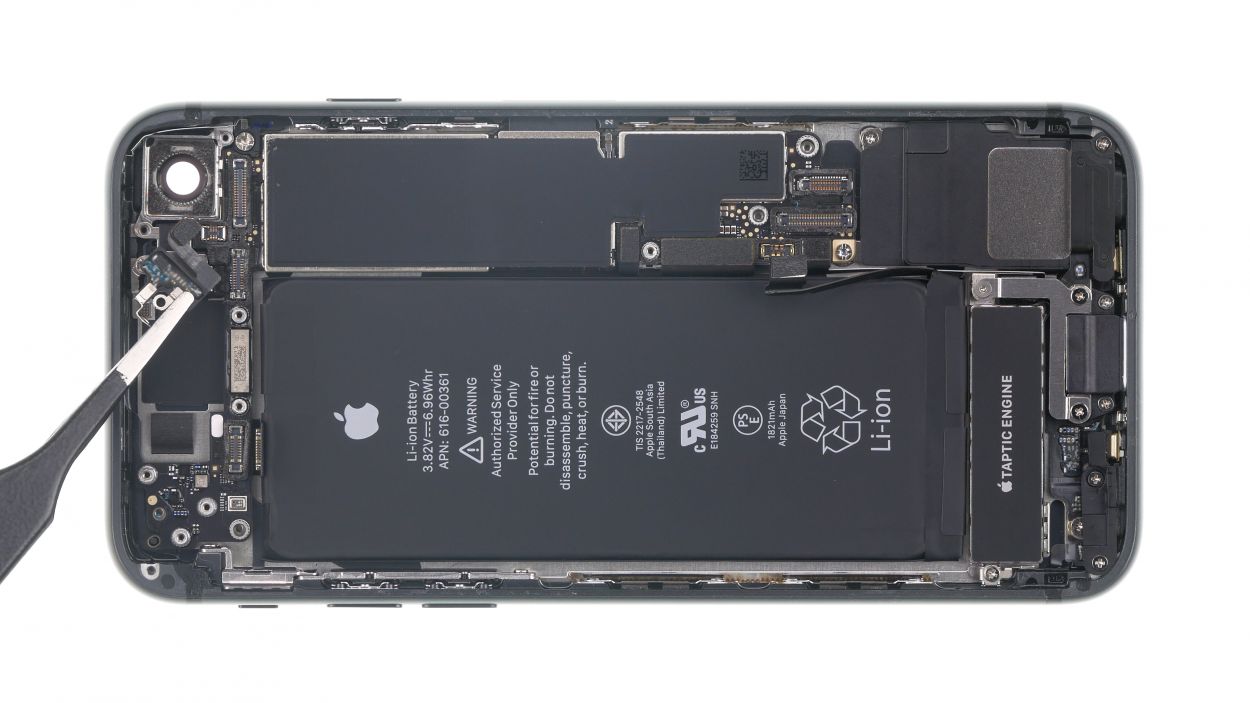
– Gently wiggle those three connectors off the logic board using your spudger. You’ve got this!
Tools Used
Step 15


1 × 2.4 mm Standoff
1 × 2.1 mm Standoff
1 × 1.6 mm Phillips
Just a heads-up! That sneaky Phillips screw is hiding under a sticker (check out our photo for a peek).
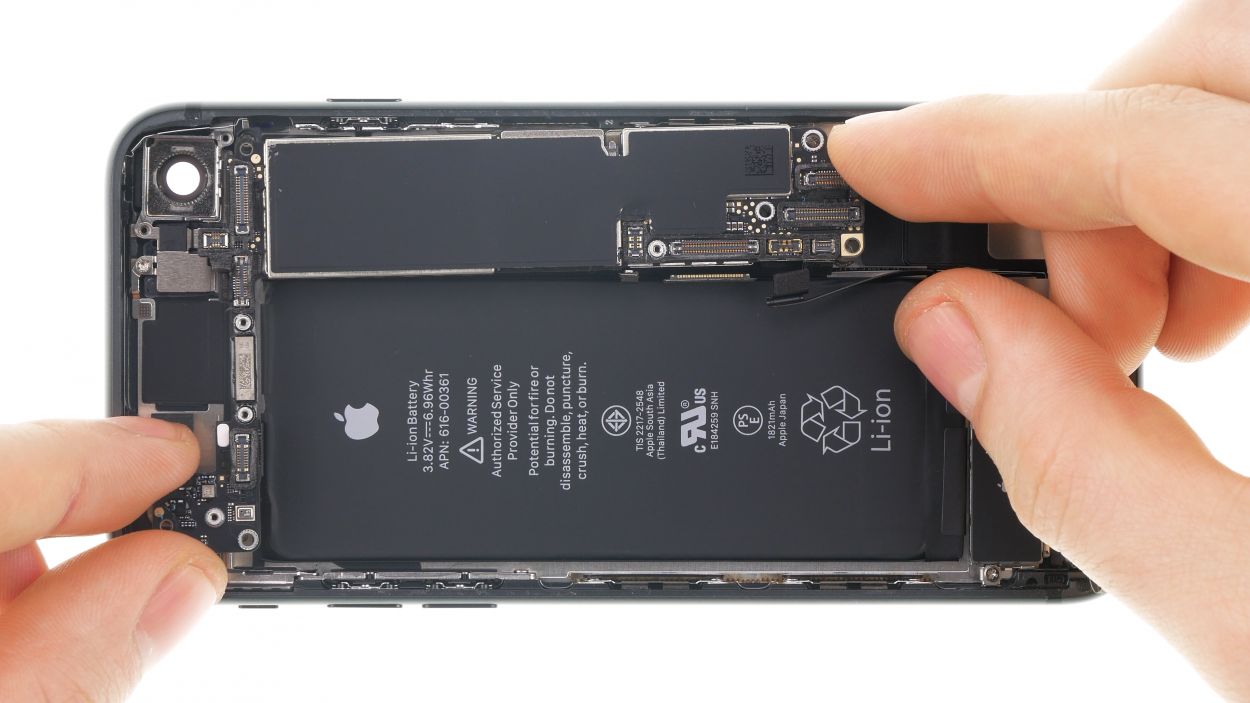
– Loosen the three screws that keep the logic board snug and secure.
– Once those screws are loose, gently lift out the logic board. Just above the logic board, near the iSight camera holes, you’ll find a little plastic holder for a screw. It’s your new buddy in this repair adventure!
Step 16


1 × 1.2 mm Y-type
1 × 2.9 mm Phillips
1 × 2.5 mm Phillips
1 × 1.4 mm Phillips
1 × 2.1 mm Phillips
For that Y-type screw, grab yourself a Y-type screwdriver that fits just right. You got this!
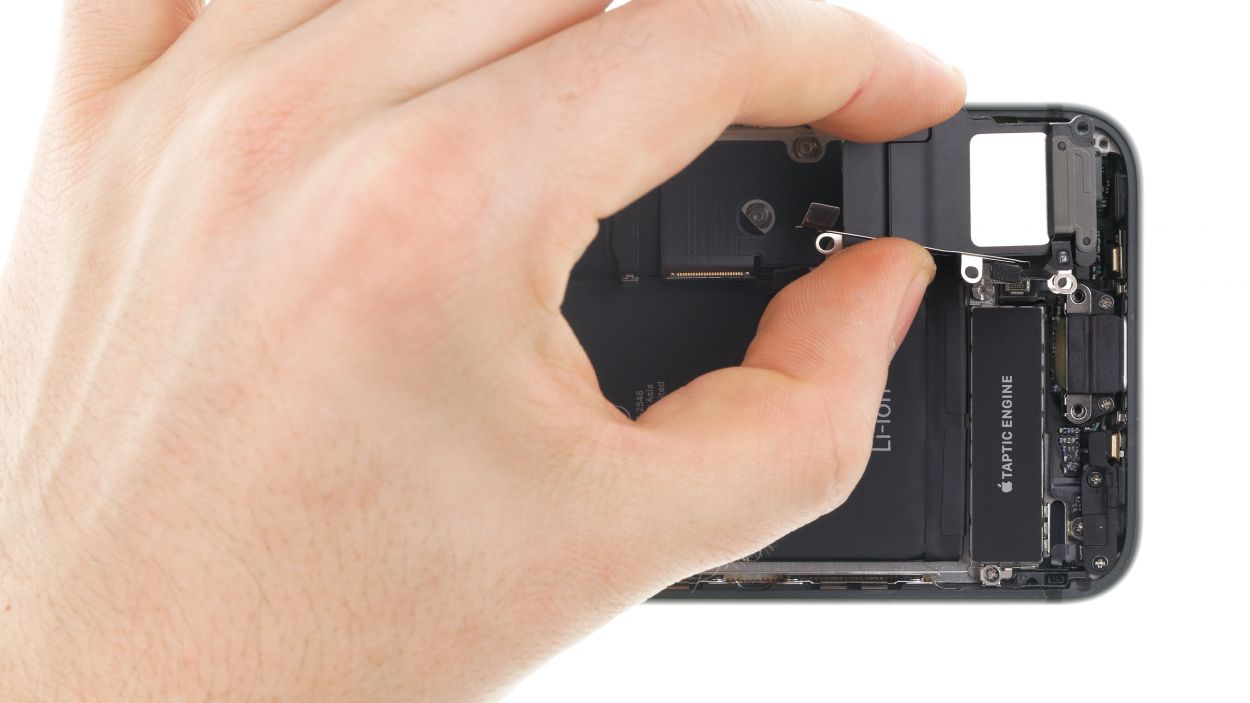
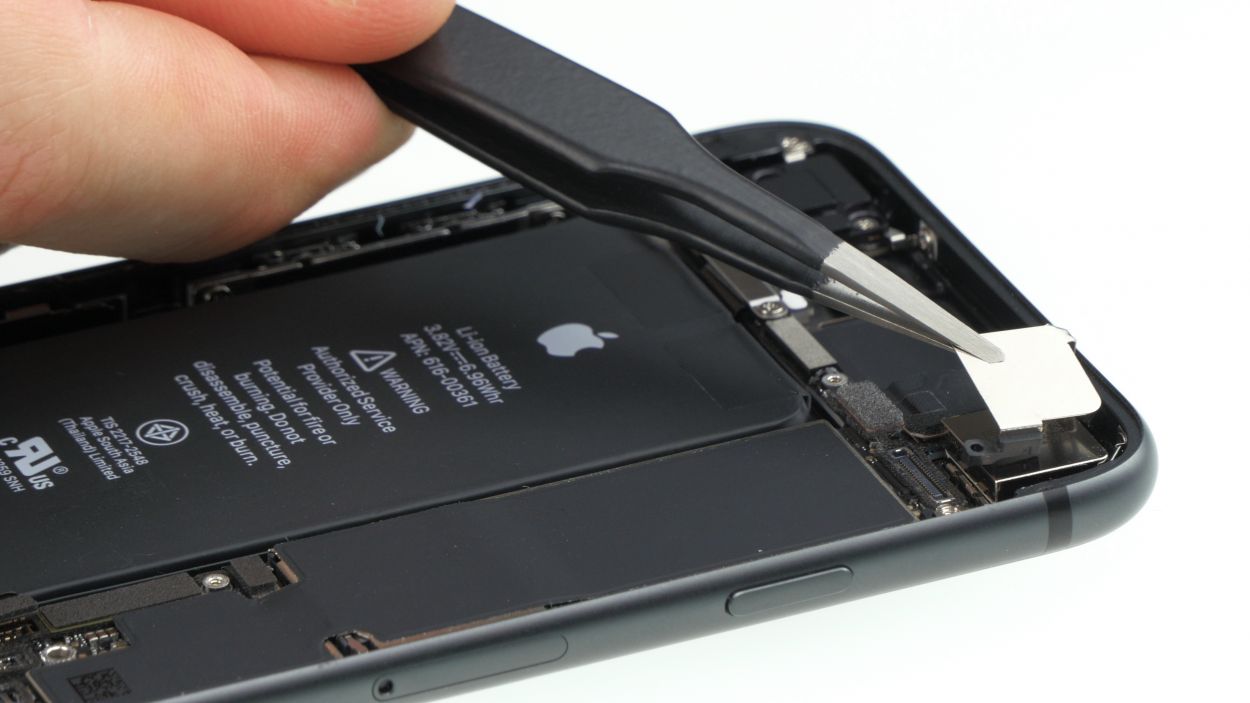
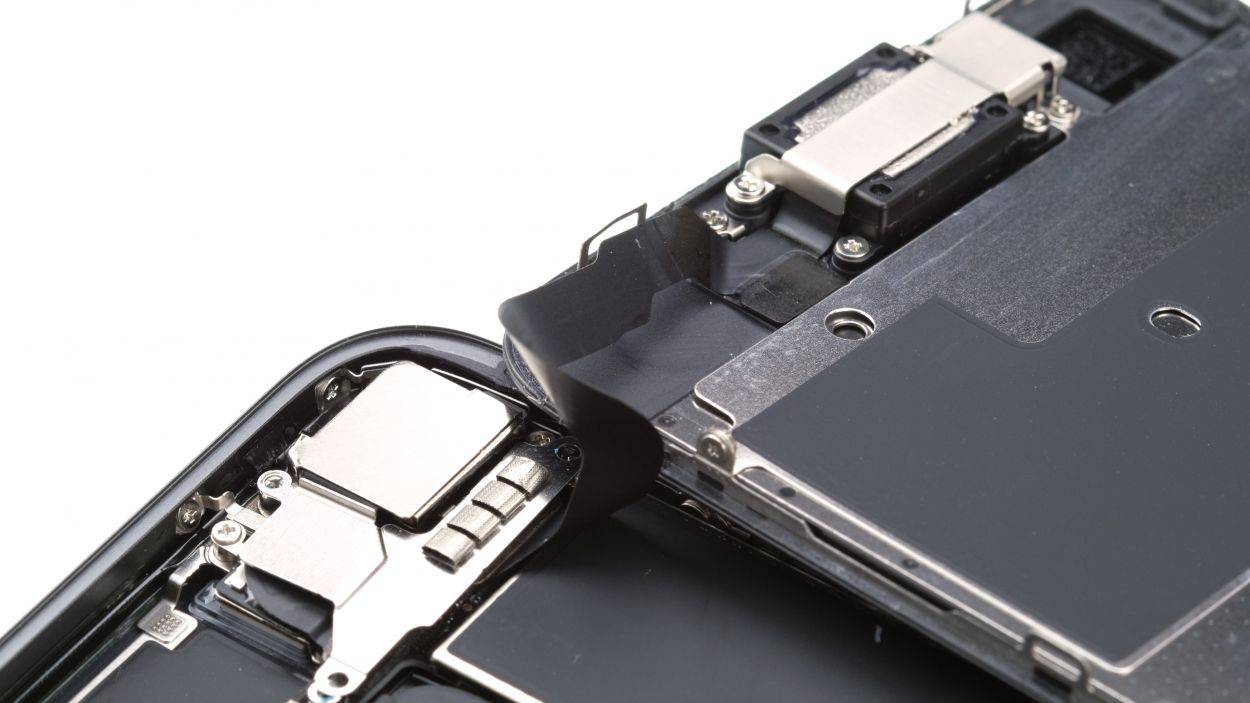
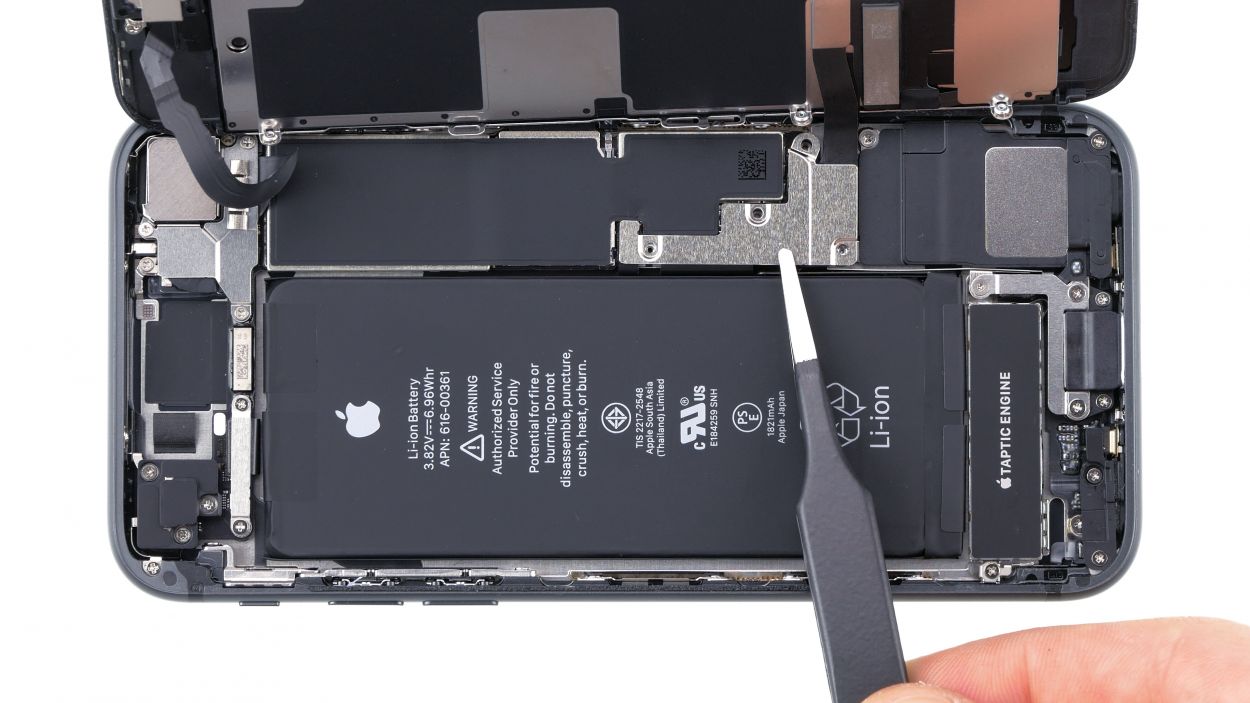
– To get things rolling, start by unscrewing the three screws that hold the cover plate snugly above the flexible cable of the speaker. Once those little guys are out, you can gently lift off the cover plate like a pro!
Step 17


1 × 2.0 mm Standoff
1 × 2.0 mm Phillips
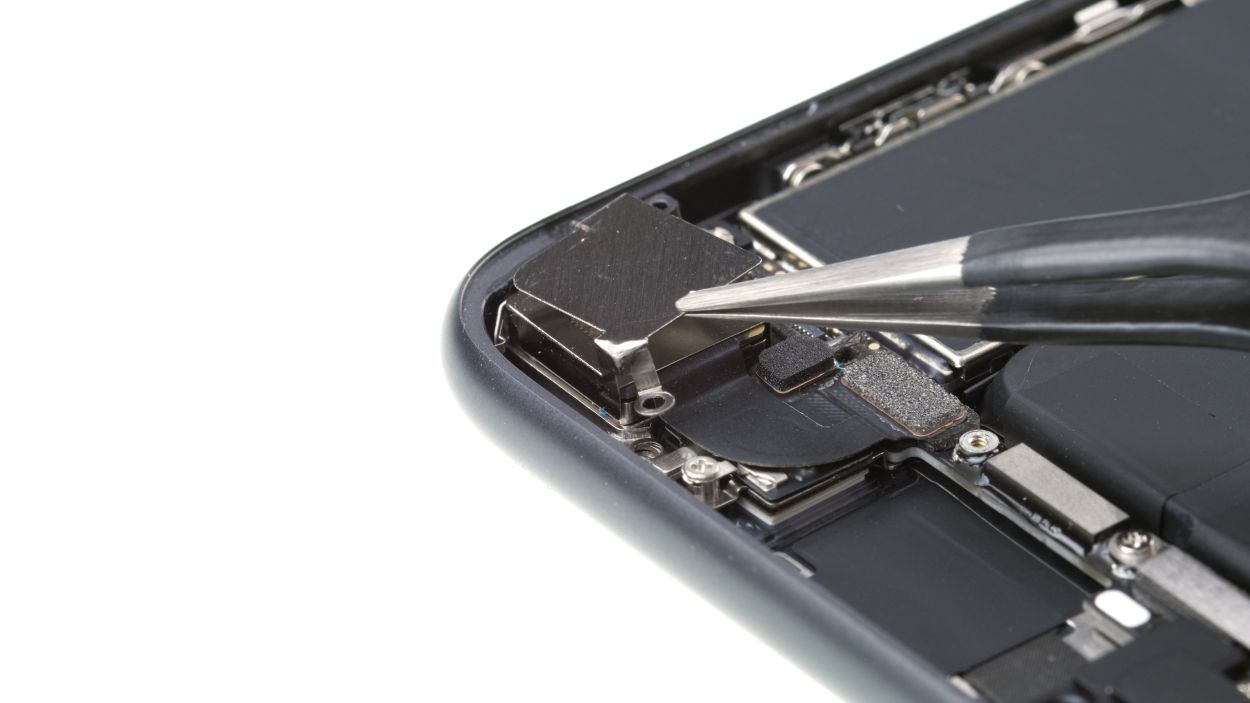
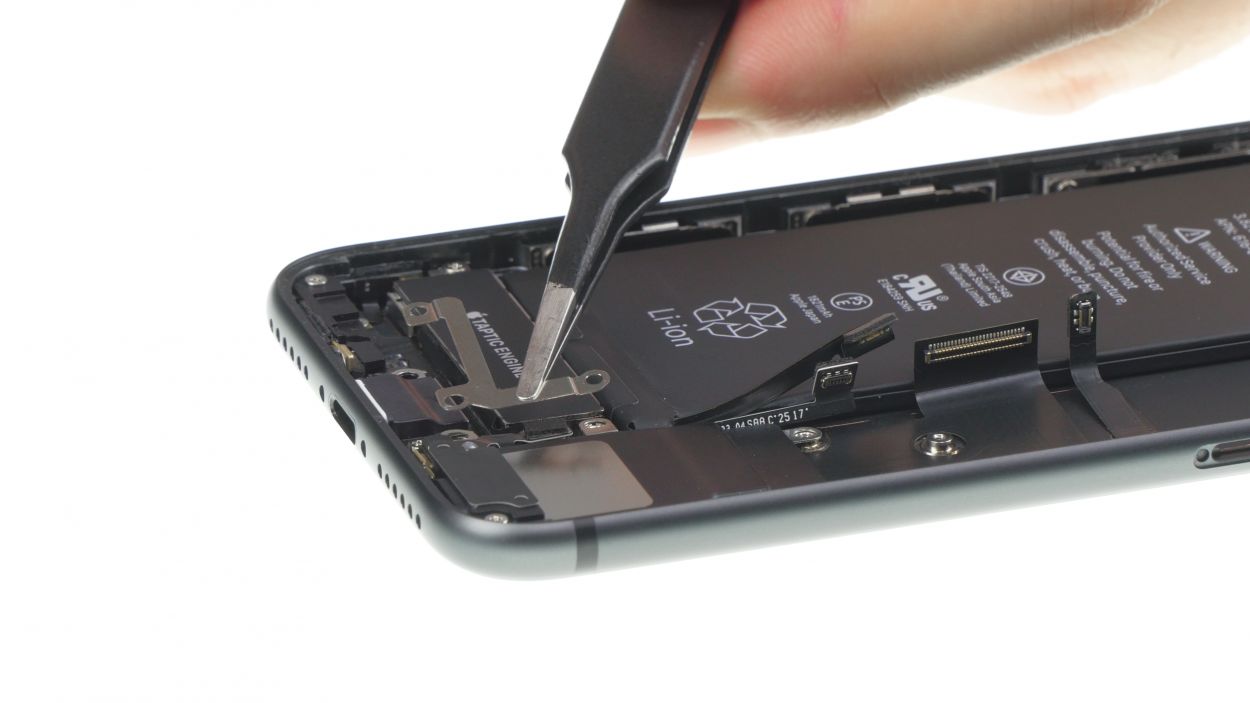
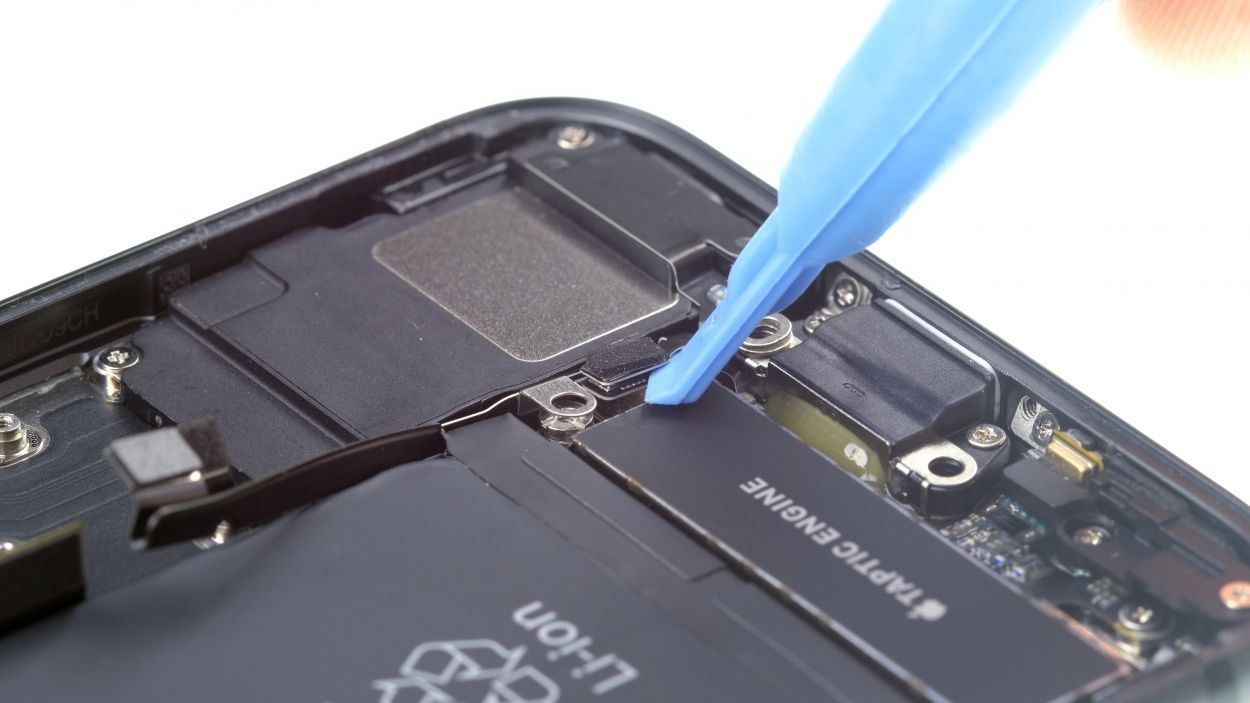
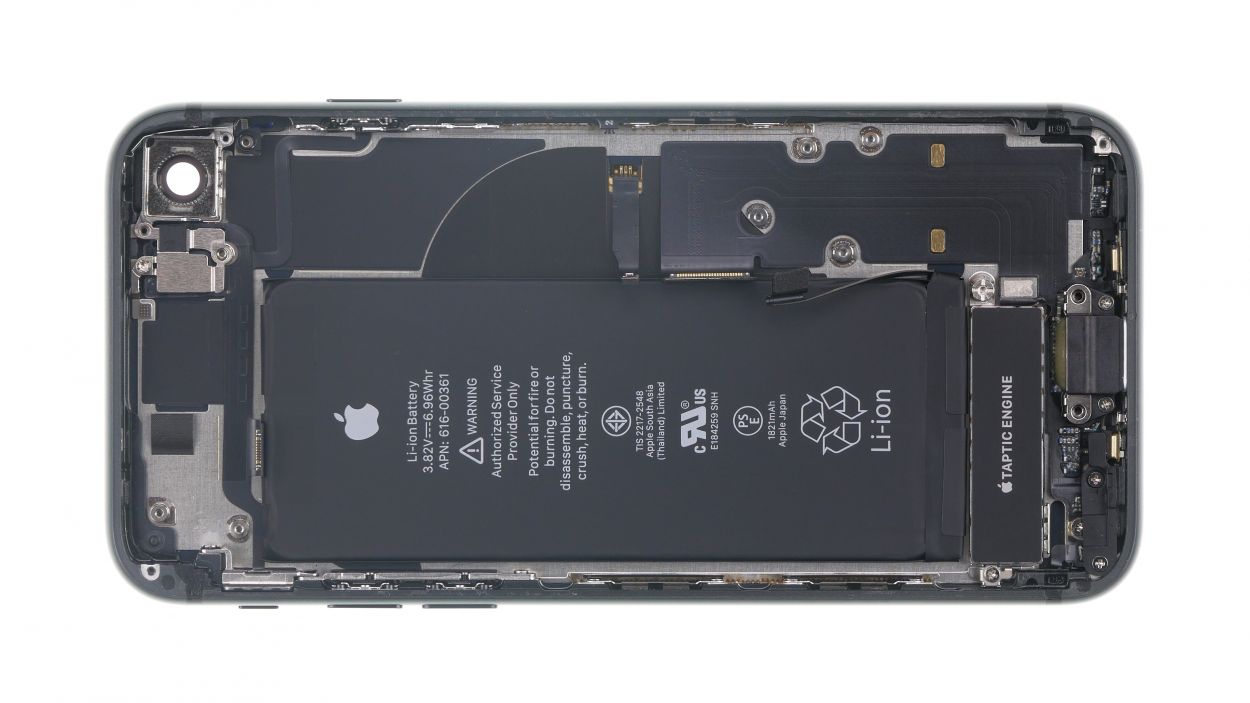
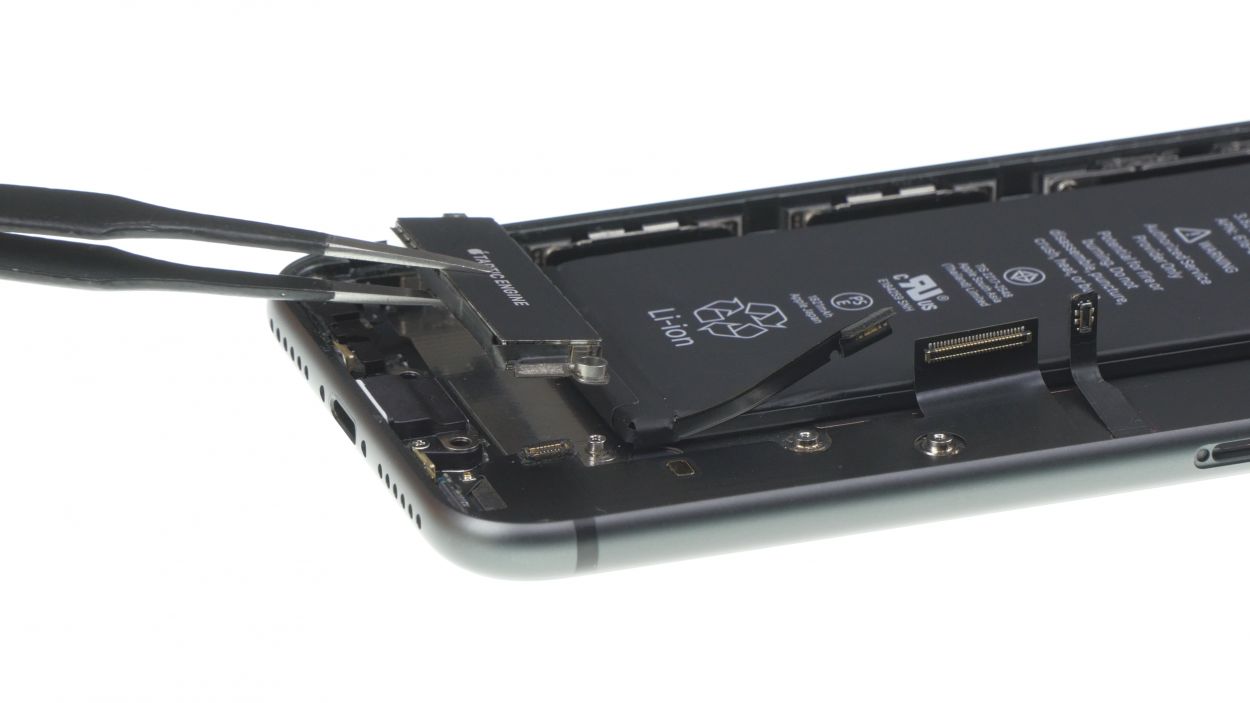
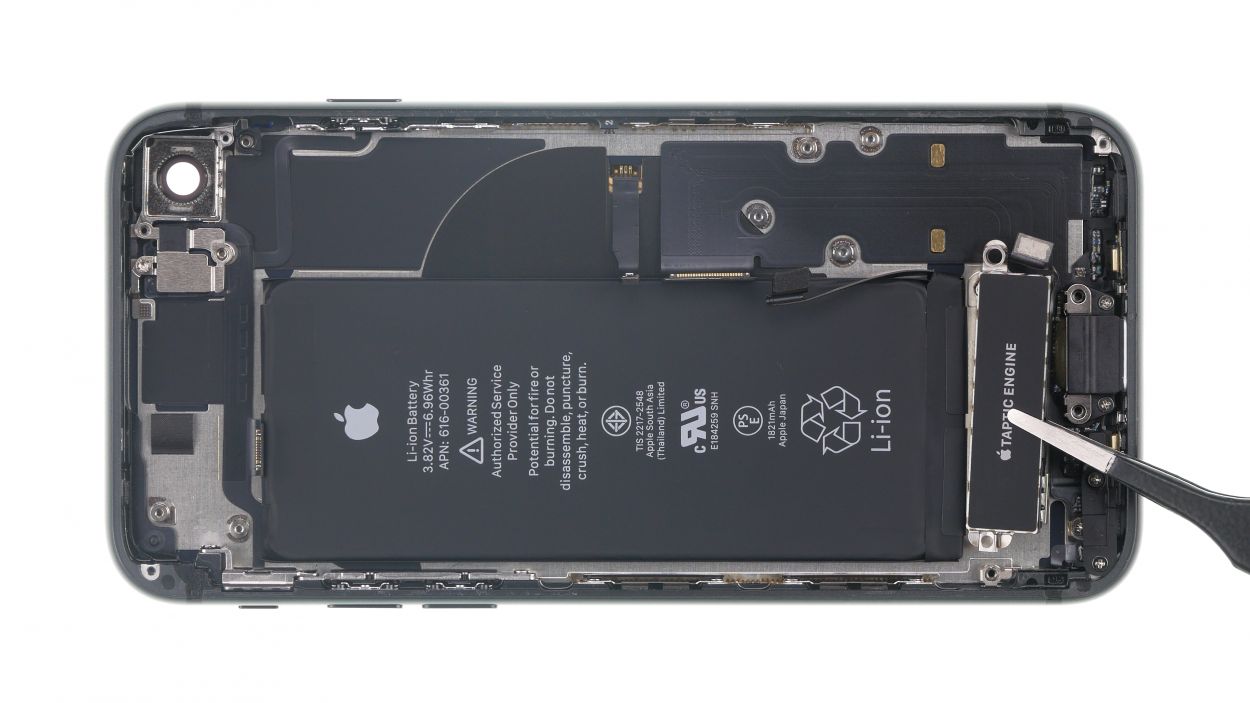
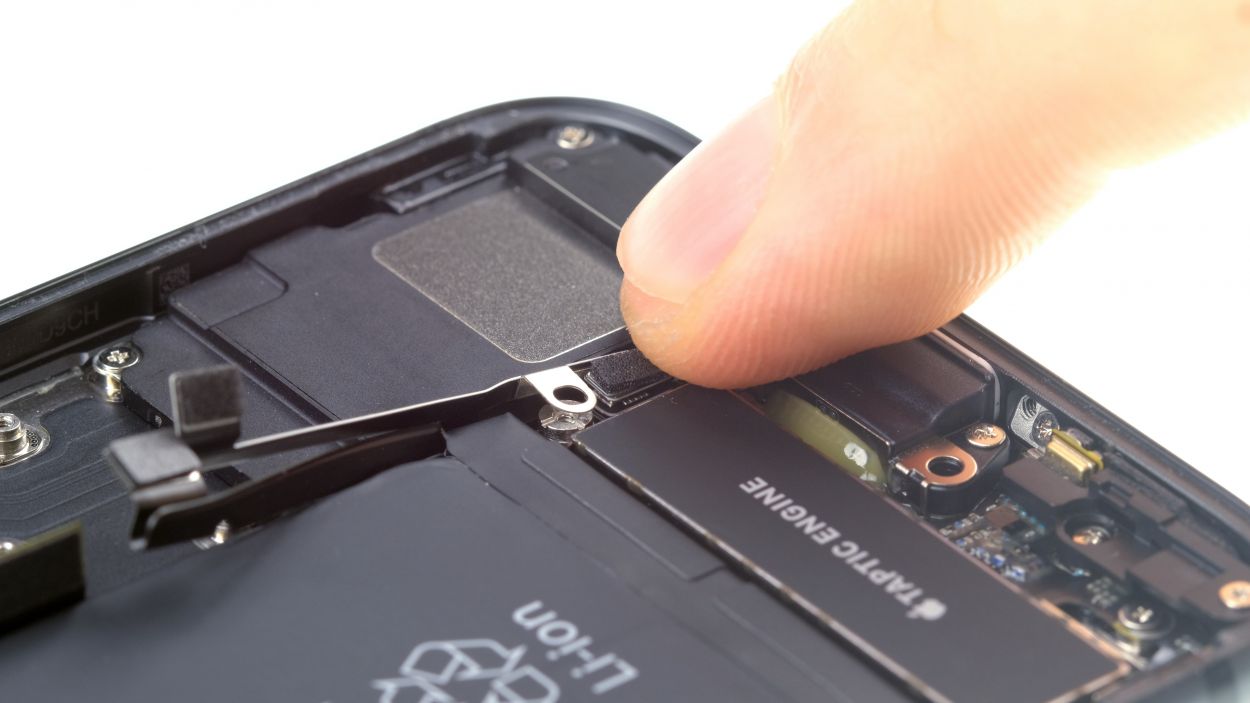
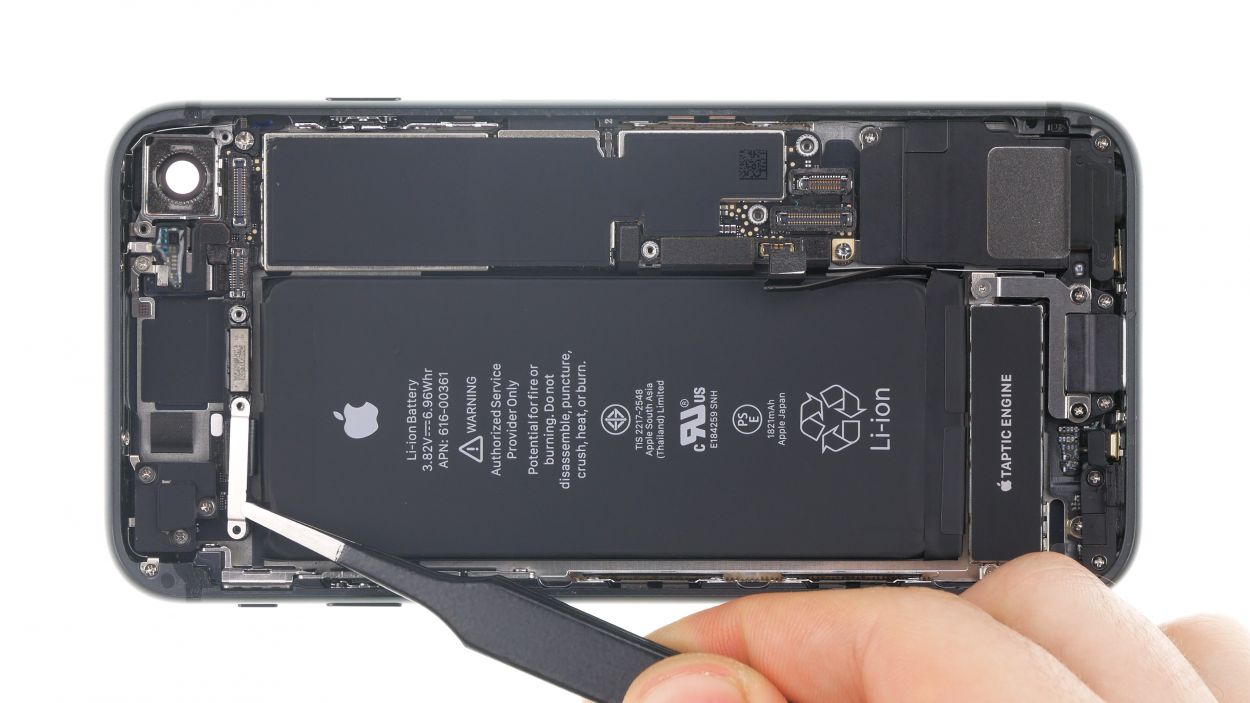
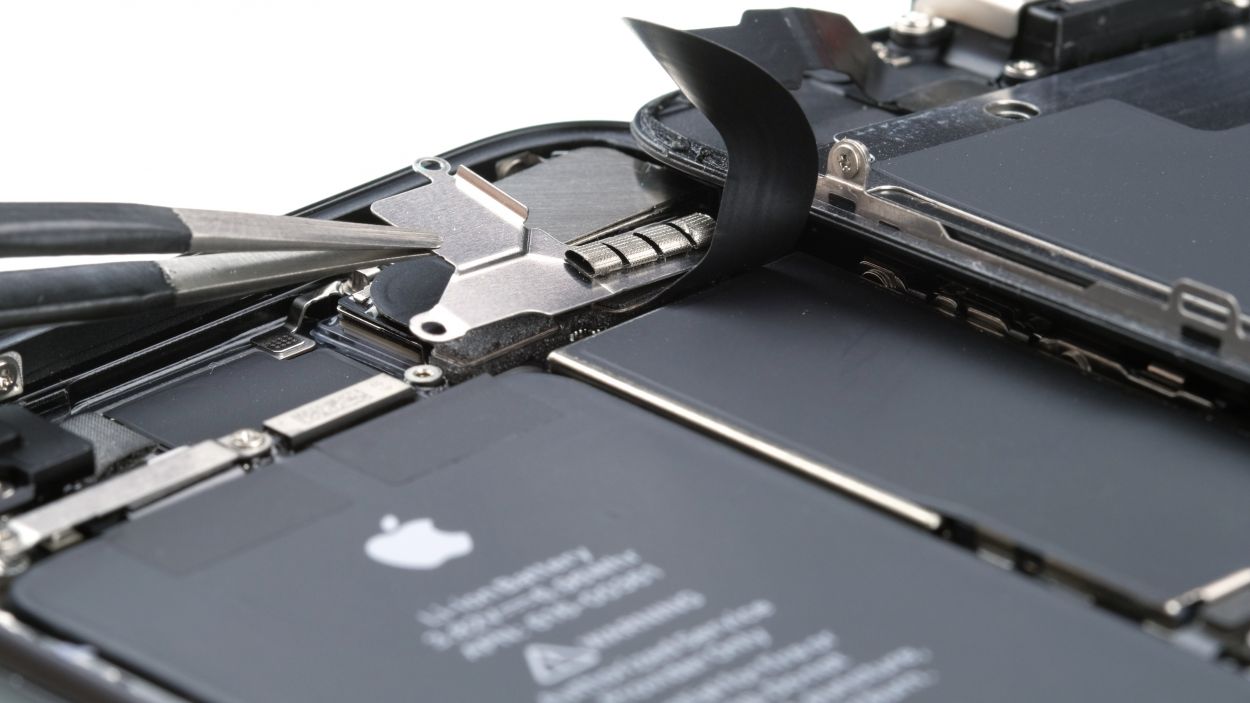
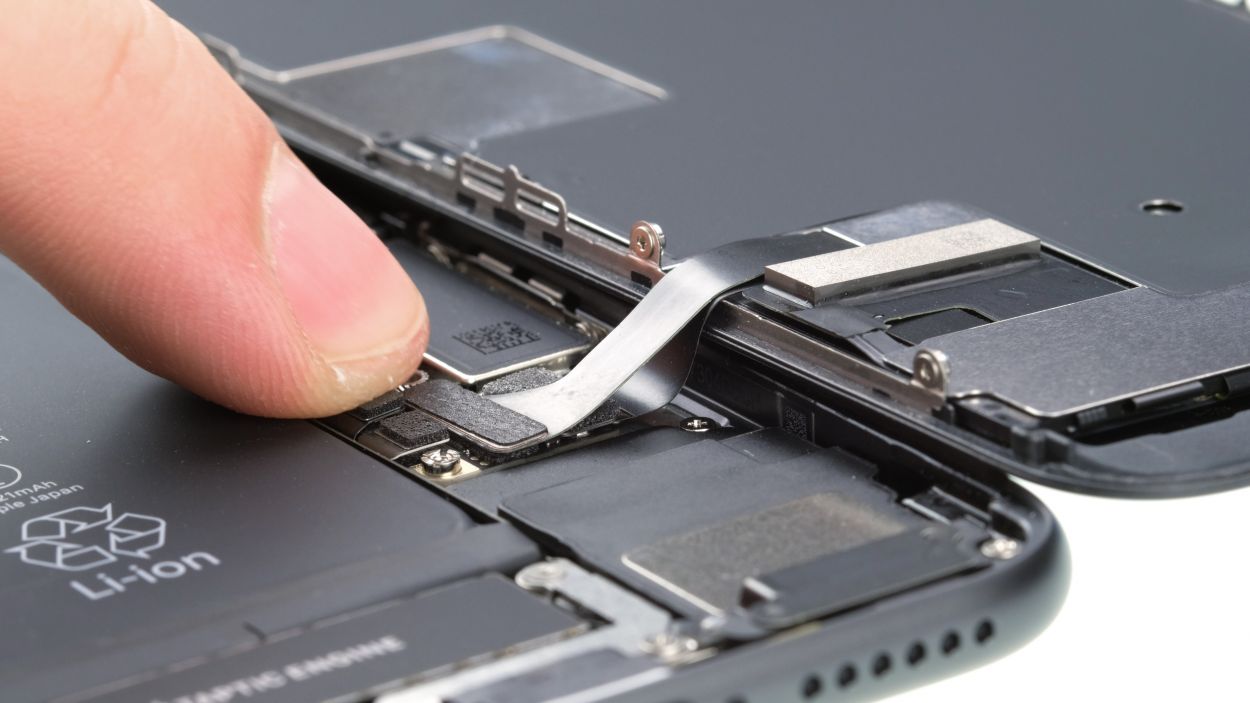
– First, gently detach the tiny flex cable that’s hanging out above the Taptic Engine connector. You got this!
– Next, loosen those screws that are keeping the Taptic Engine snug as a bug in its rug.
– Finally, grab your trusty spudger and carefully disconnect the Taptic Engine connector before lifting it out of your phone. Easy peasy!
Step 19

1 × 1.7 mm Phillips
1 × 1.9 mm Phillips
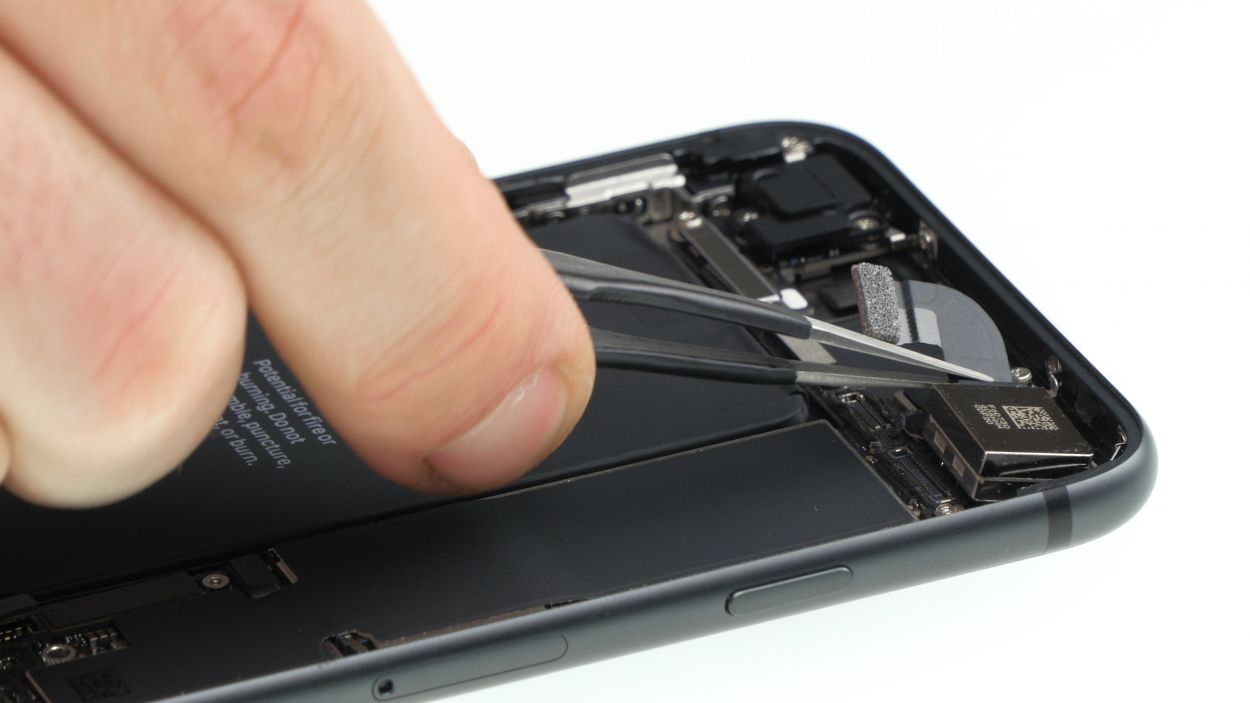
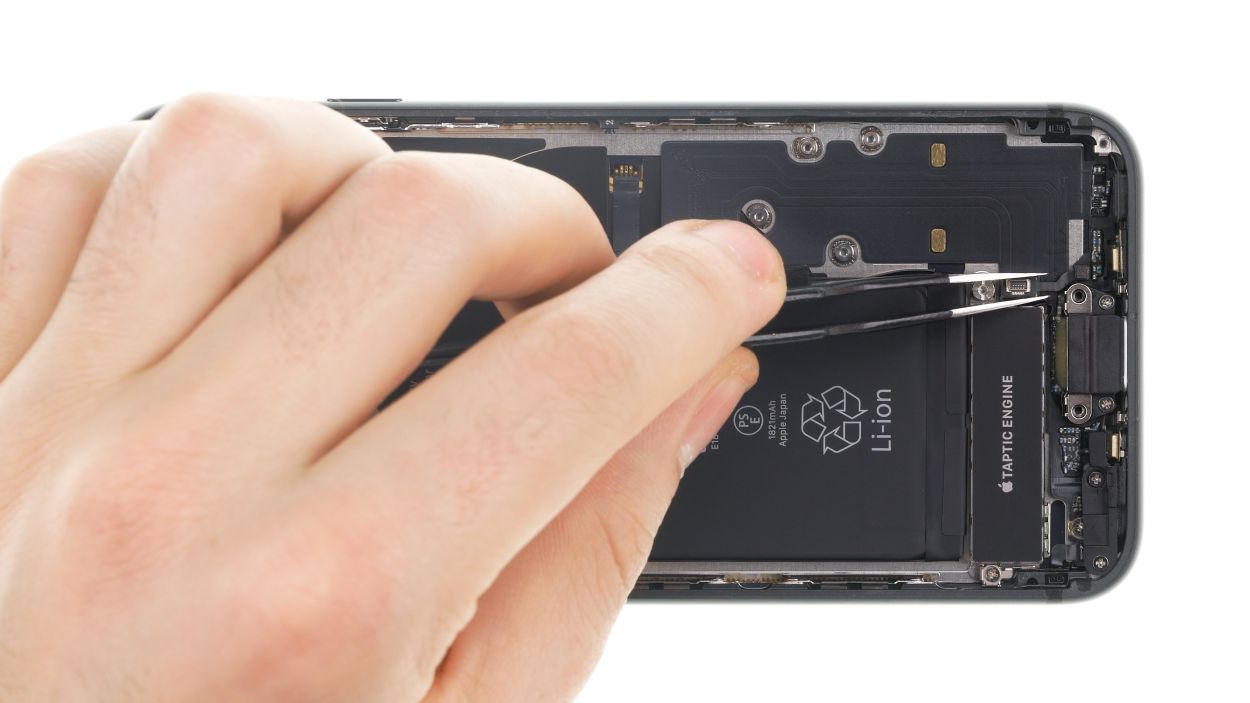
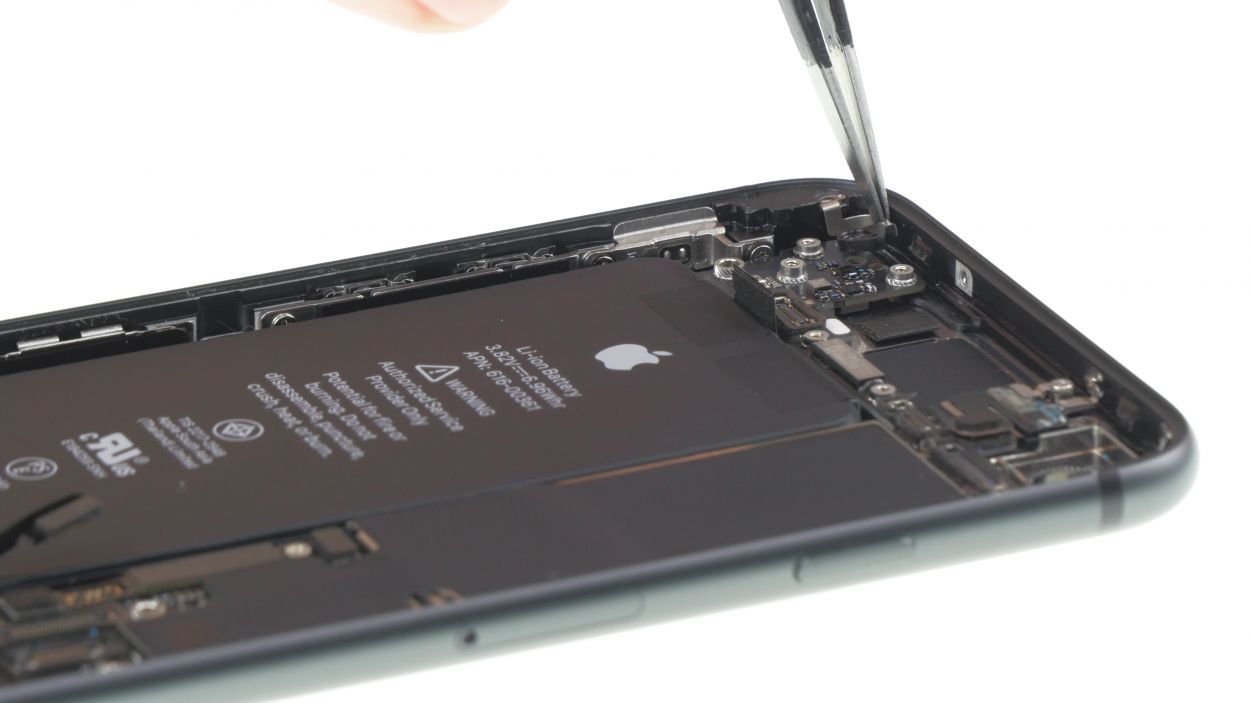
– Time to unscrew those two Phillips screws holding the barometric vent in place! Let’s get them out of there.
– Now, with a steady hand, gently use your tweezers to lift that glued barometric vent off the bottom of the back cover. You’ve got this!
Step 20


2 × 2.1 mm Phillips
3 × 1.2 mm Phillips
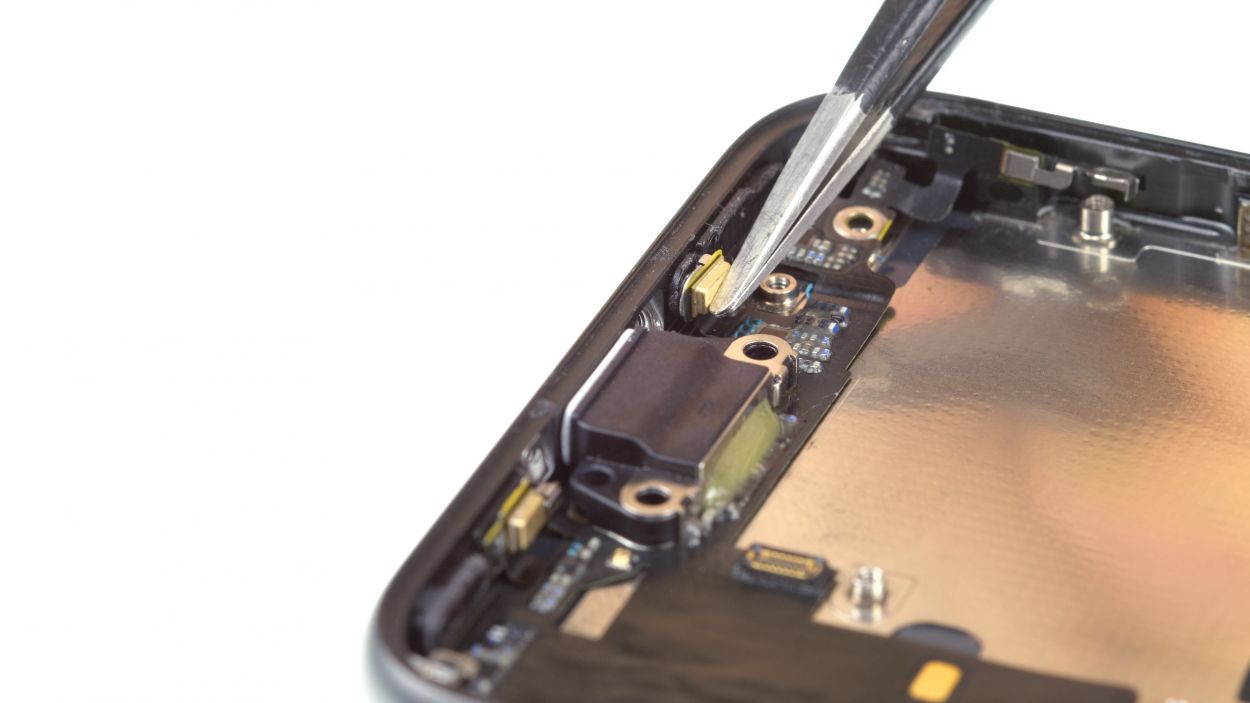
Two sneaky screws are chillin’ on the sides of the back cover, each one cleverly disguised under a piece of black tape. Time to uncover their hiding spots!
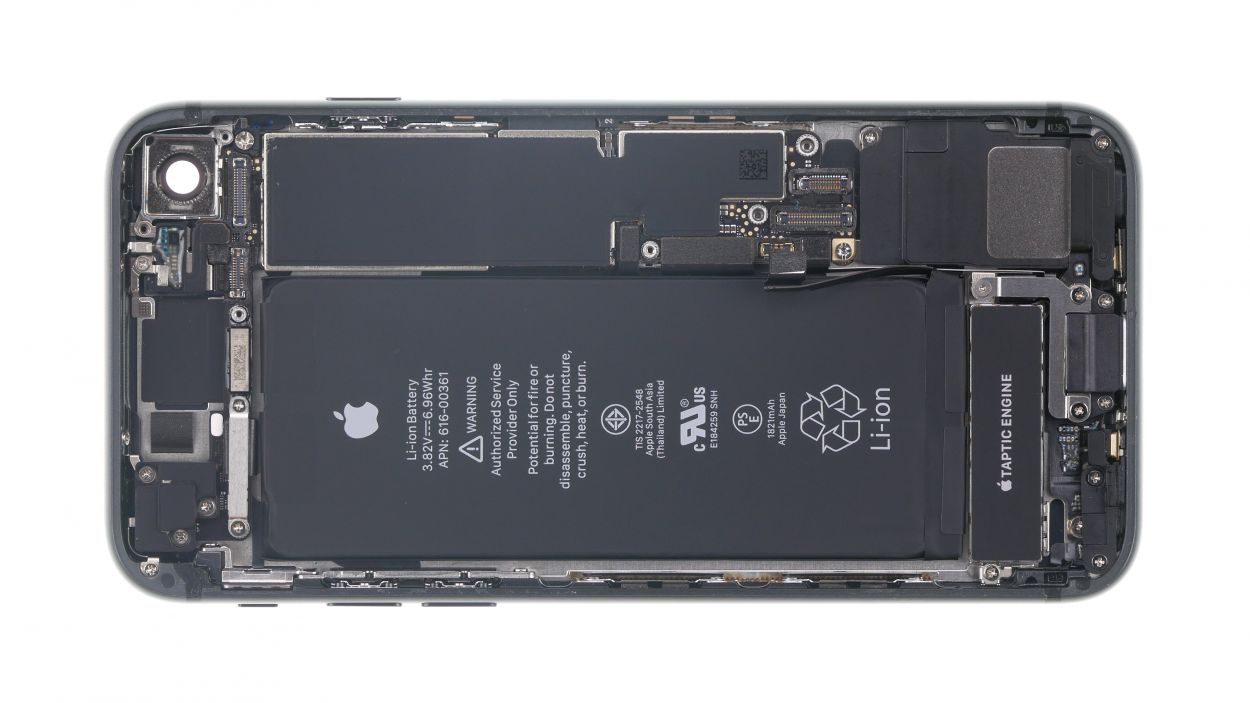
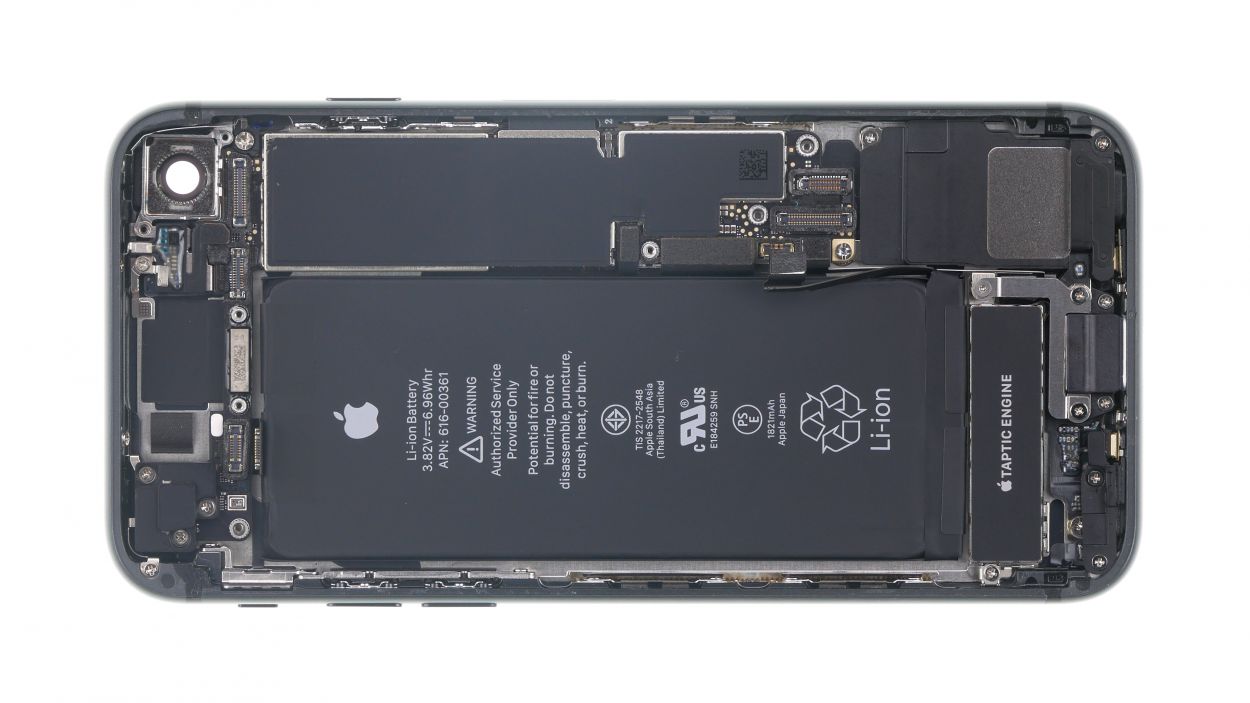
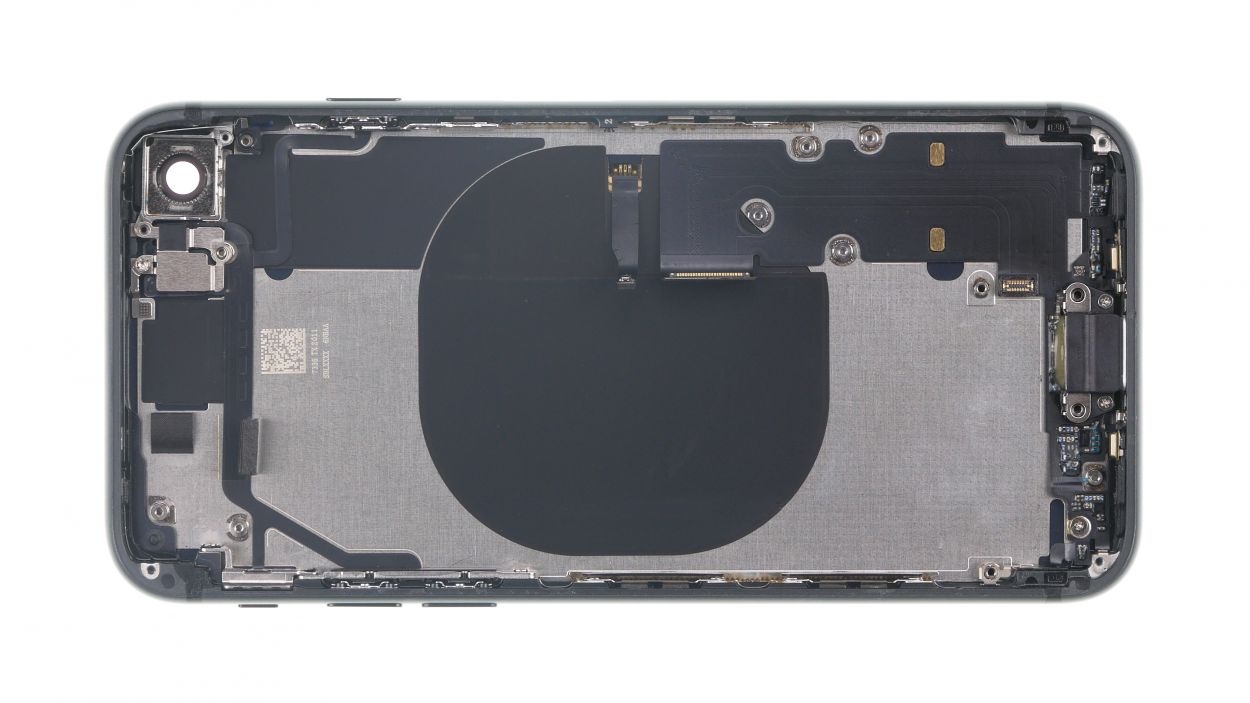
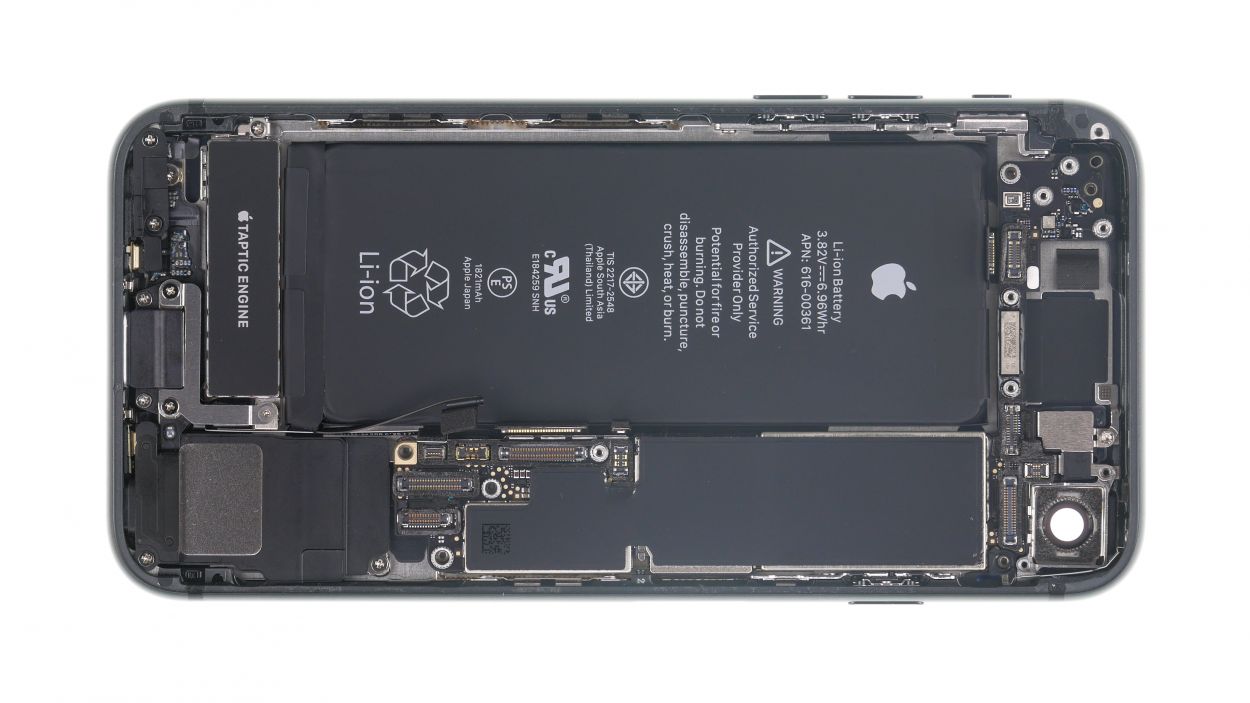
– Now remove the five Phillips screws that attach the Lightning connector and place them in a common field on the magnetic pad.
Step 21
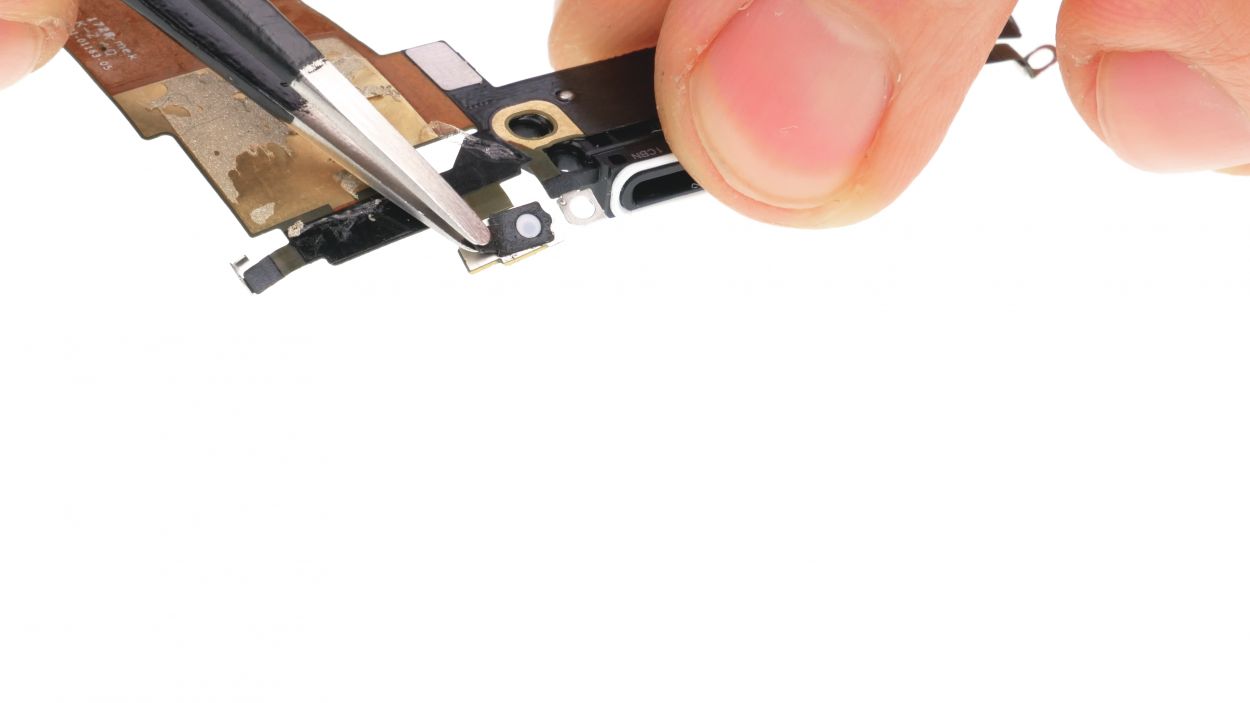
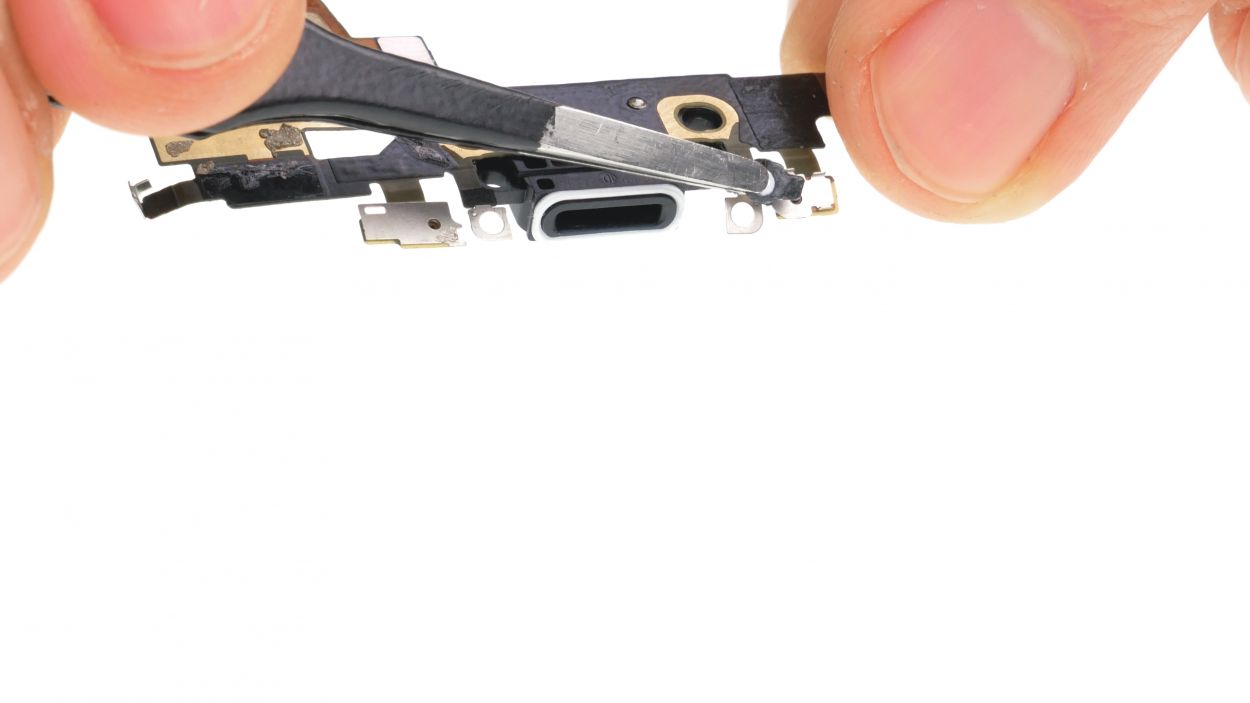
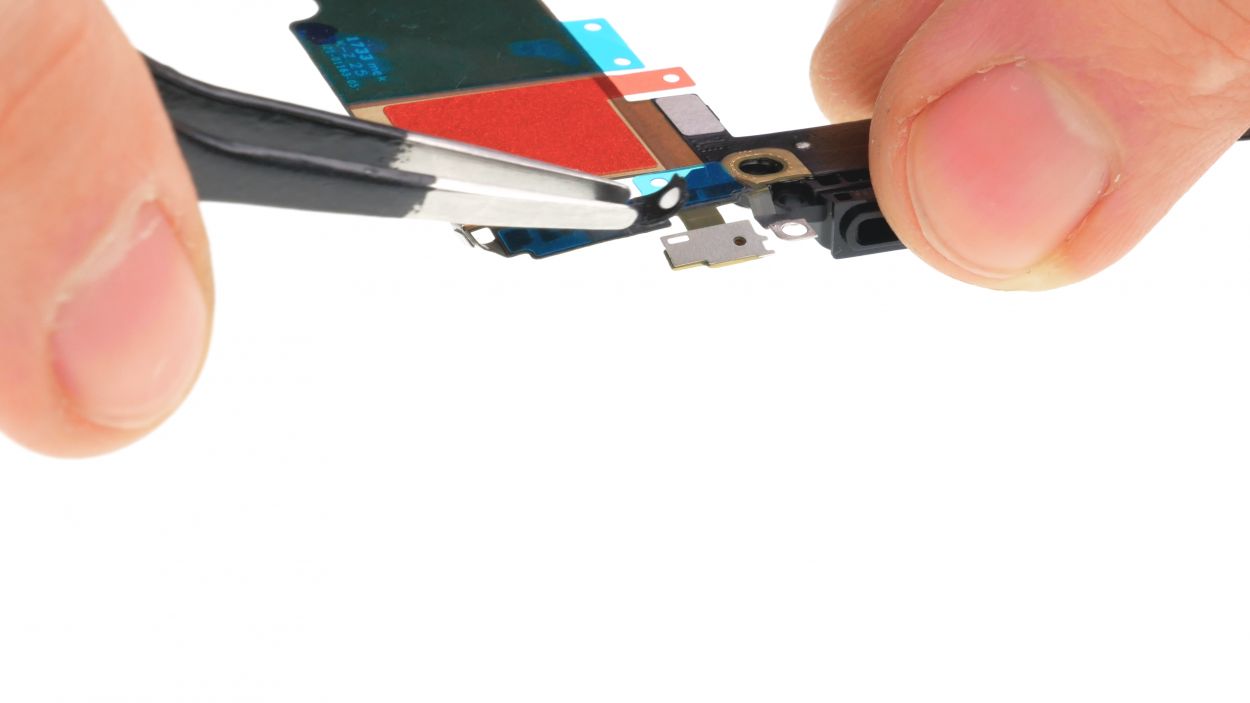
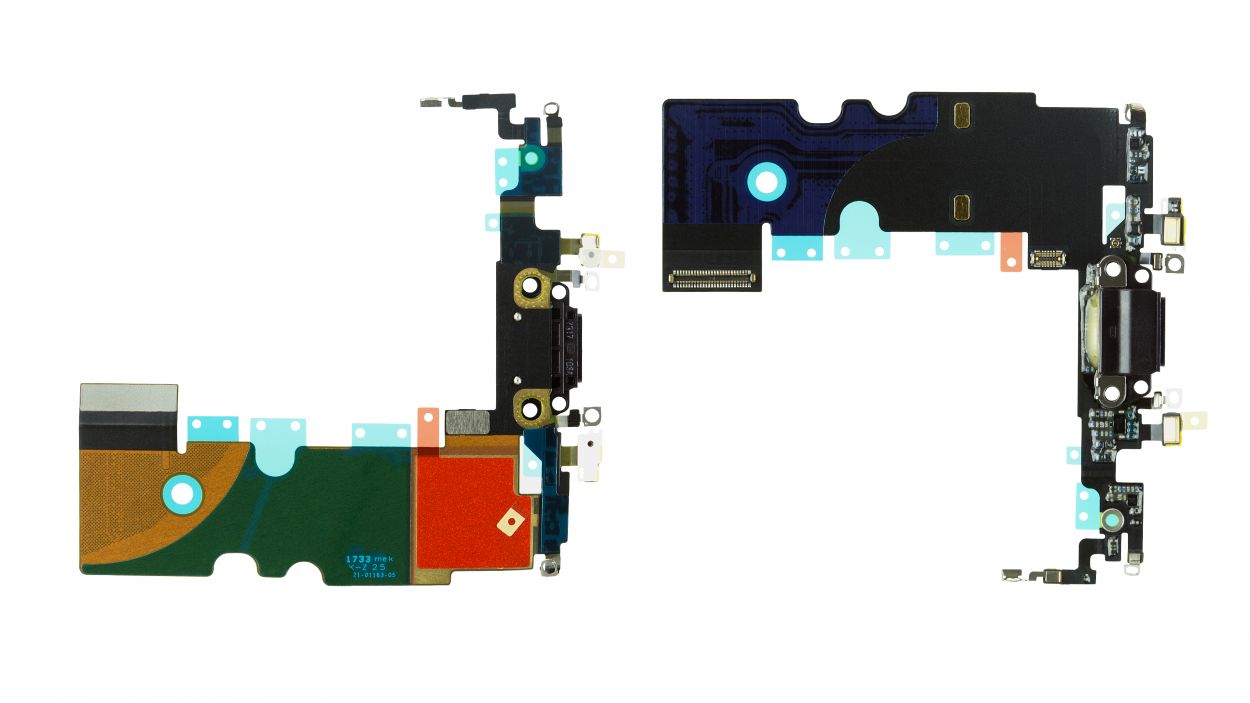
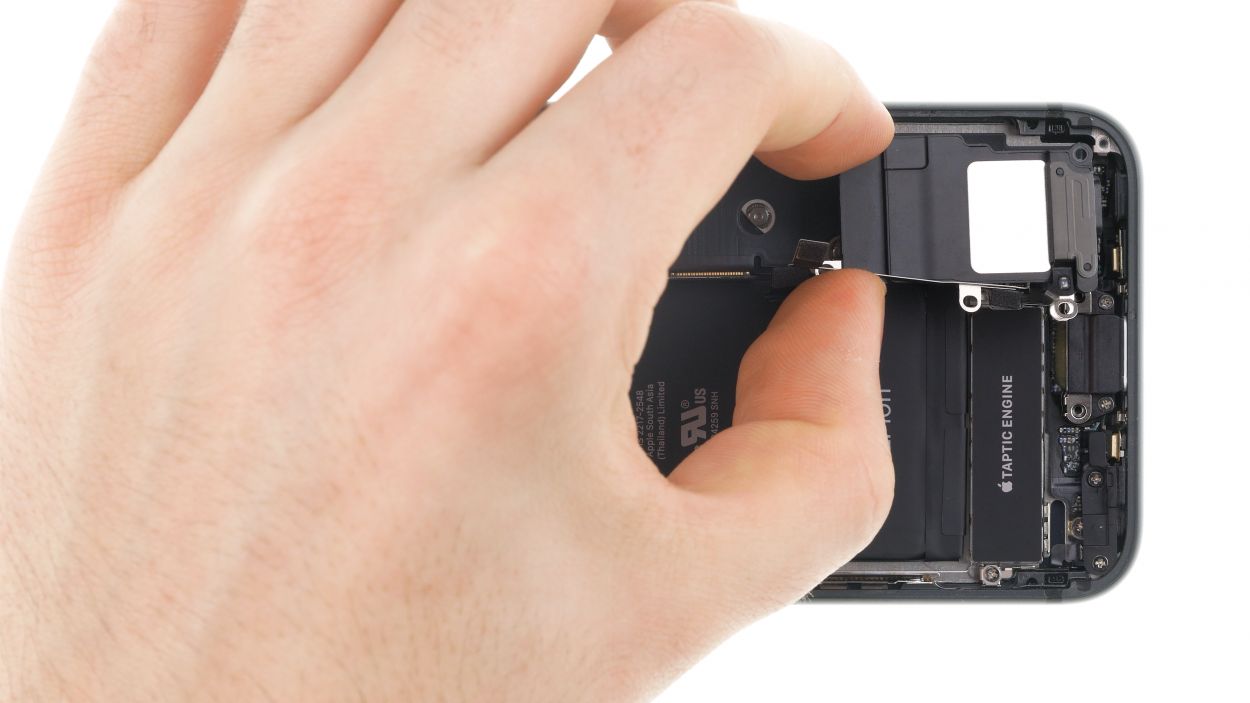
– First, let’s liberate those two rubber gaskets from the back of the microphones! They help the microphones sit just right, so don’t forget to give them a second life.
– Next up, peel off the backing films from the sticker surfaces of your shiny new Lightning connector. It’s time to make it stick!
Tools Used
Step 22

2 × 2.1 mm Phillips
3 × 1.2 mm Phillips
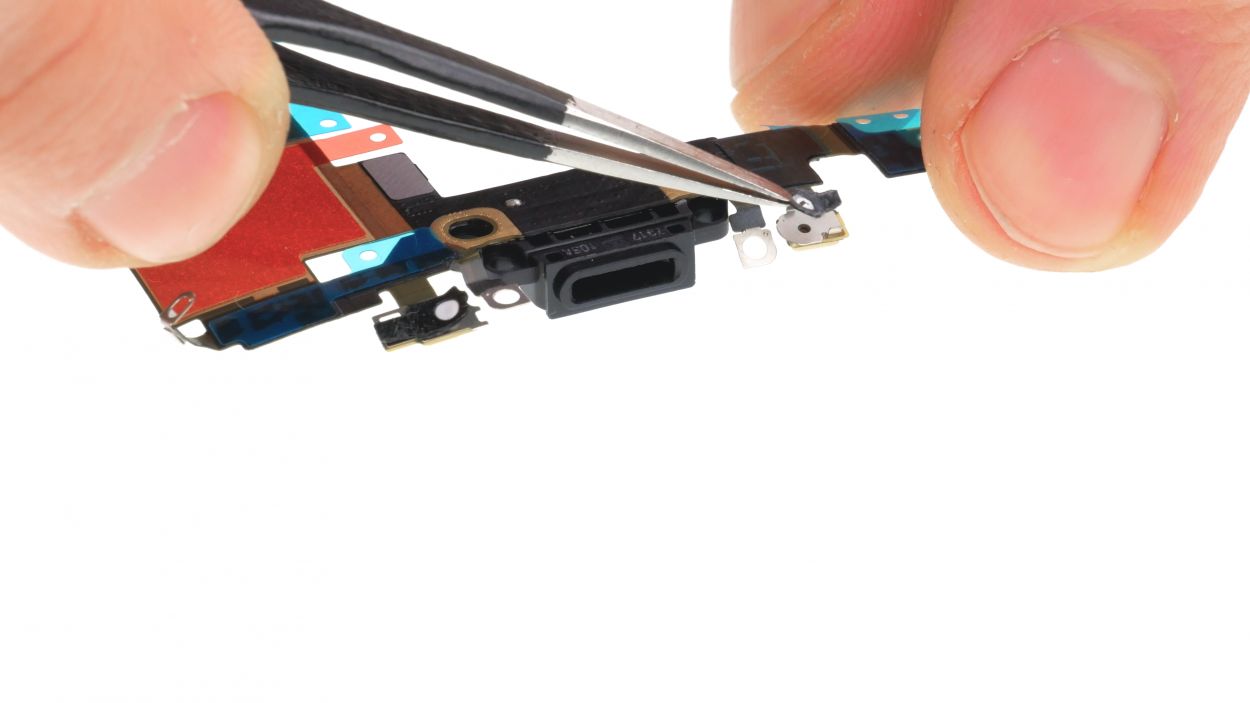
– First, tuck that flex cable of the Lightning connector back into its cozy spot and give it a good press against the back cover to ensure it lies flat and happy.
– Next, gently press those two microphones, which are snugly integrated on the flex cable, into their little openings in the back cover frame. They’ll be just where they need to be!
– Finally, grab those previously loosened screws and fasten the Lightning connector securely. You’re almost done!
Step 23


1 × 1.7 mm Phillips
1 × 1.9 mm Phillips
– Let’s get that barometric vent back into its cozy home in the back cover! Just slide it in there with care.
– Now, grab those two Phillips screws and tighten them up to secure everything in place. You’re doing awesome!
Step 24


1 × 2.0 mm Standoff
1 × 2.0 mm Phillips
Ensure those screw holes for the Taptic Engine align perfectly, like a well-choreographed dance! You’ve got this!
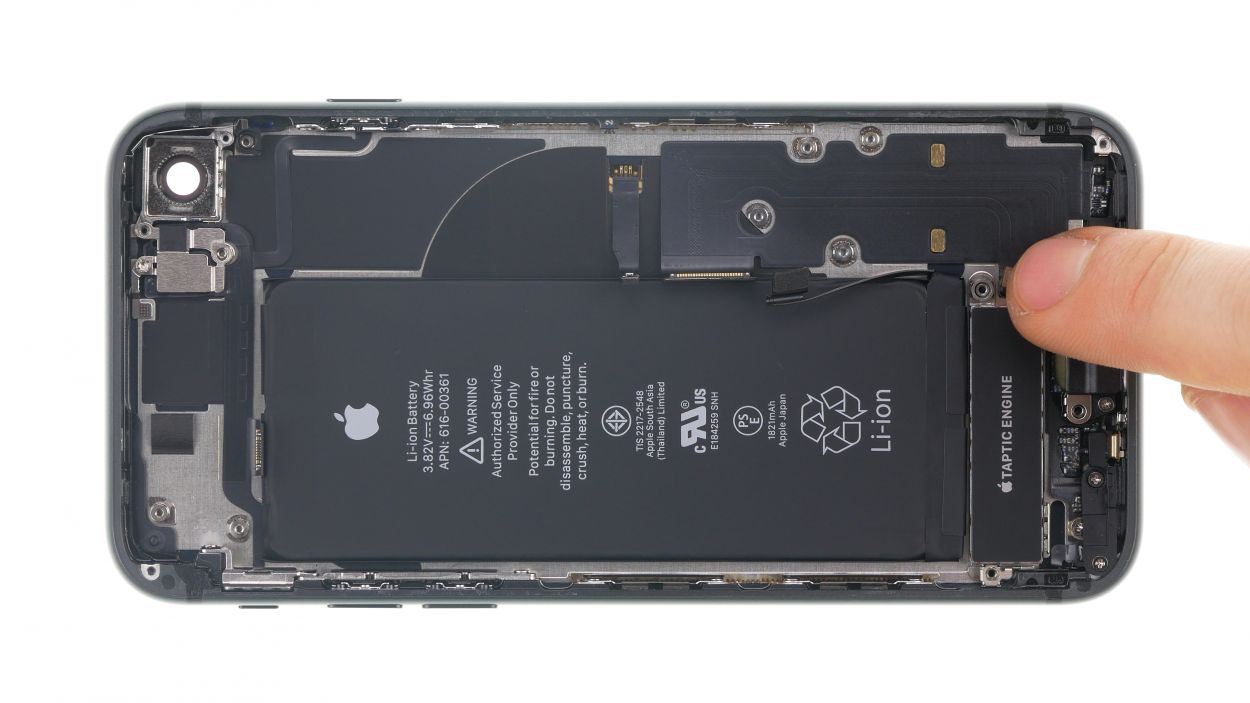
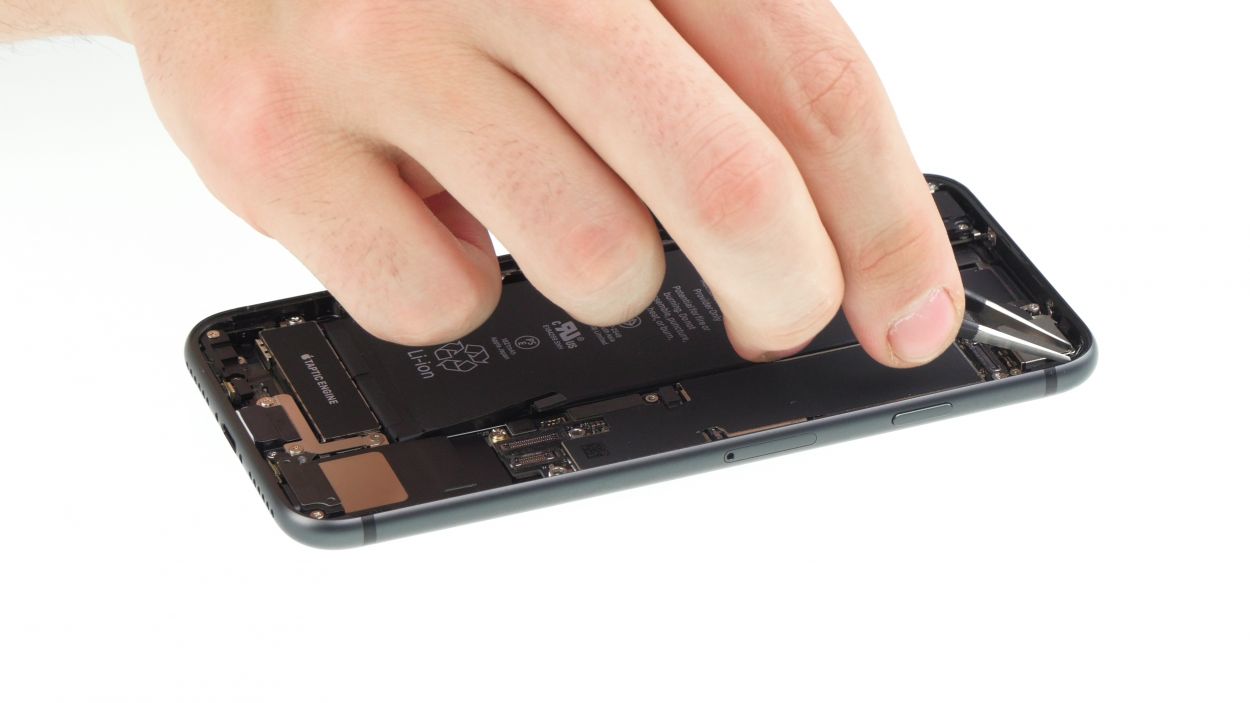
– Now, let’s tuck that Taptic Engine back in between the battery and the Lightning connector, just like it never left! Make sure it’s snug and happy in its new home.
Step 25


1 × 2.1 mm Phillips
1 × 1.4 mm Phillips
1 × 1.2 mm Y-type
1 × 2.9 mm Phillips
1 × 2.5 mm Phillips
Make sure that flex cable is nestled just right between the battery and the speaker. It’s like tucking in a cozy blanket, ensuring everything fits snugly!
– Place the speaker back in its cozy spot and give it a firm press to make sure it’s snug as a bug!
Step 26
1 × 2.4 mm Standoff
1 × 2.1 mm Standoff
1 × 1.6 mm Phillips
– Carefully place the logic board back where it belongs, ensuring that the camera bracket is snugly seated above it.
– Now, give those screws a good twist to secure the logic board tightly in place.
Step 27
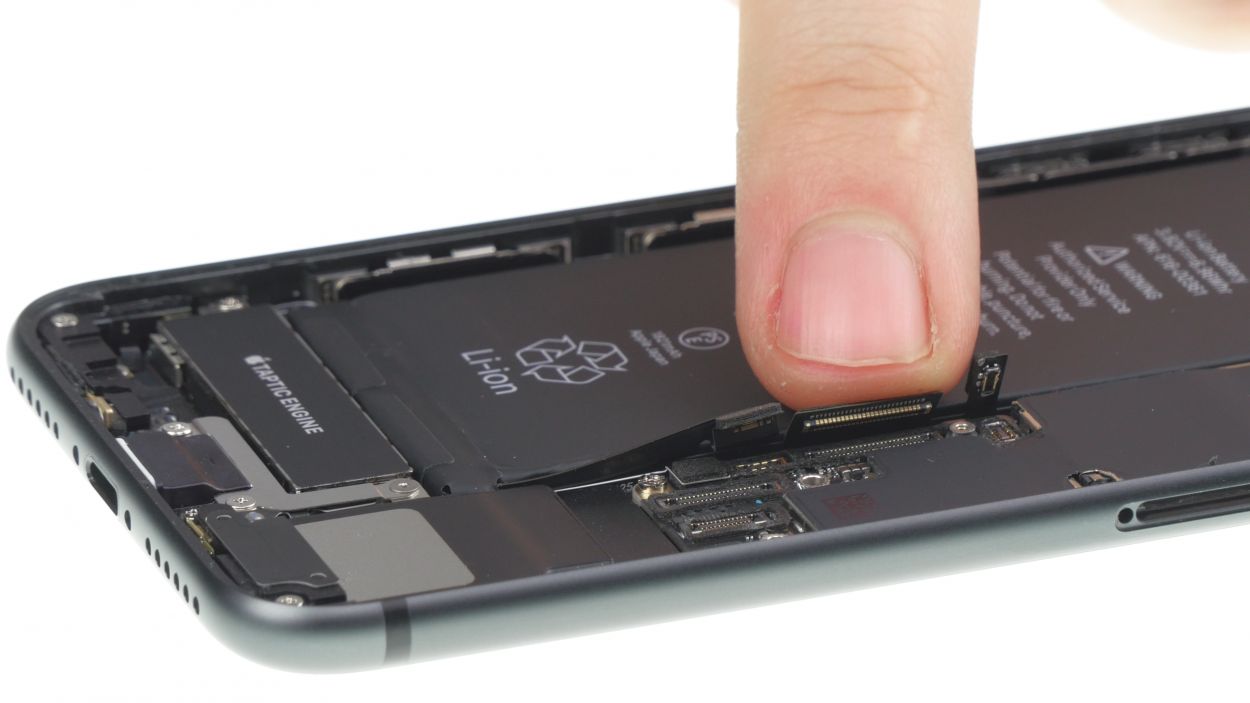
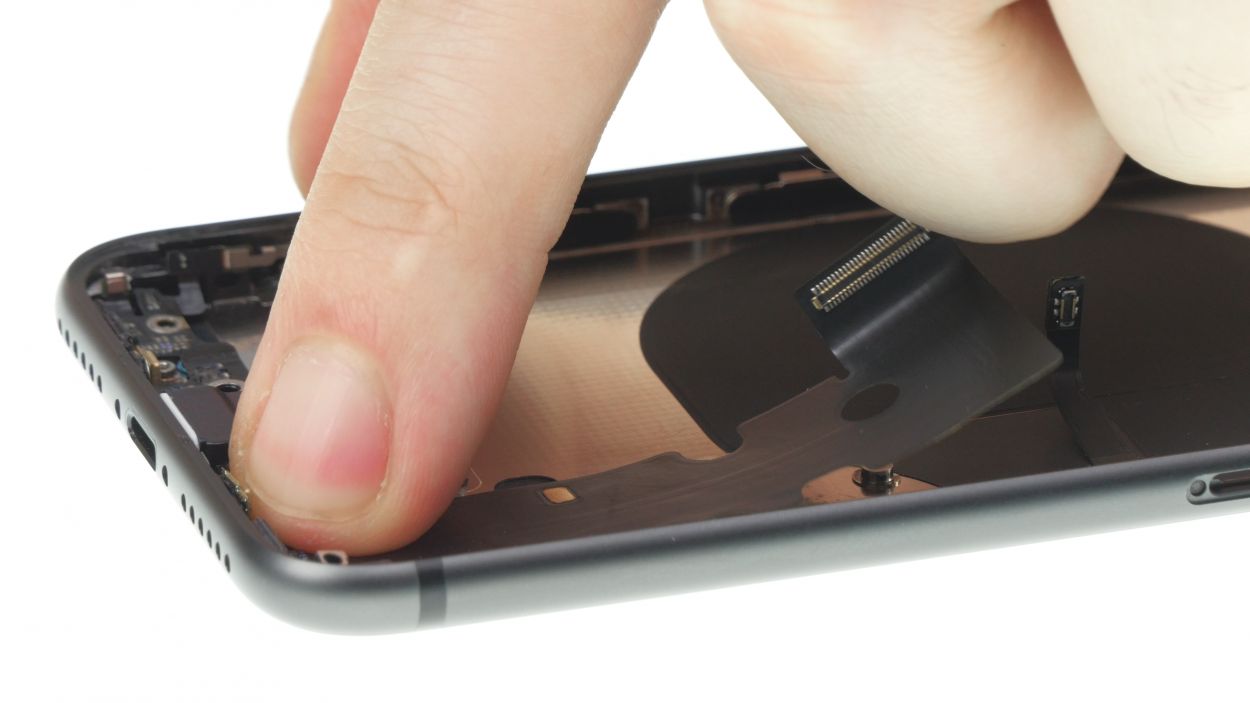
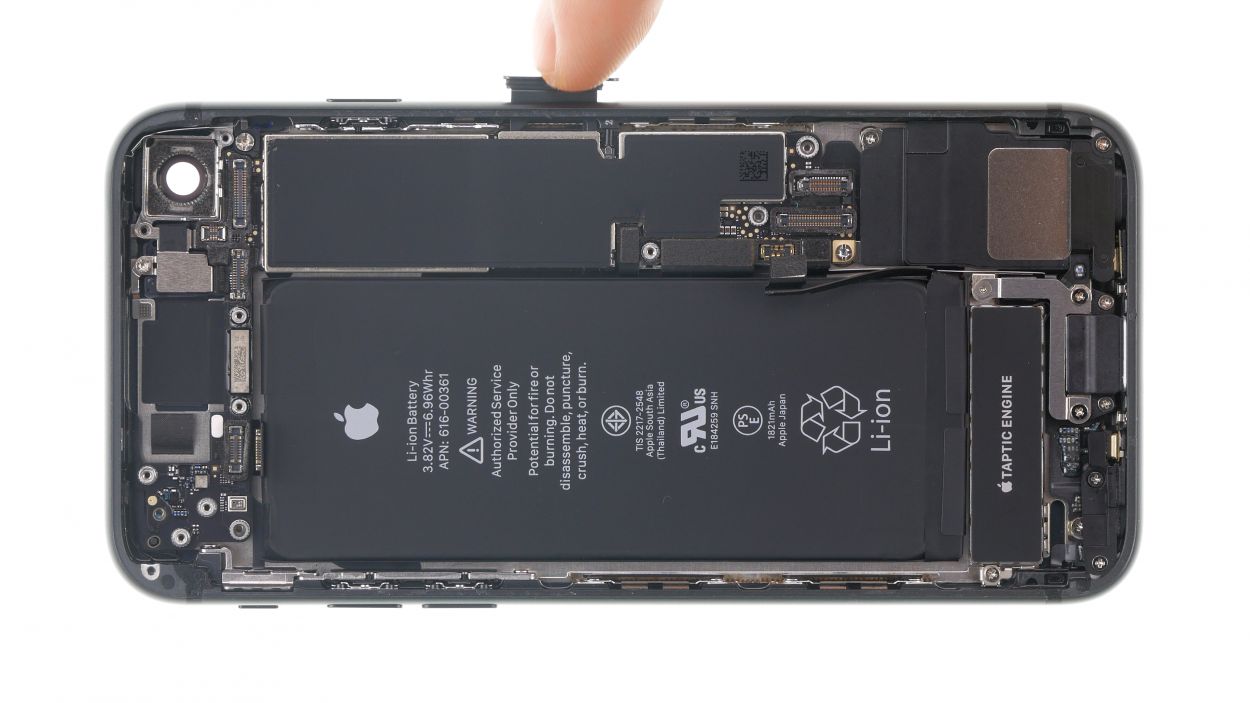
– First, line up those connectors with their cozy sockets and give them a gentle press down with your finger. You’ve got this!
Step 28
If your holder is playing hard to get, it might be time for a little logic board adjustment. Give it a quick check and see if it’s in the right spot!
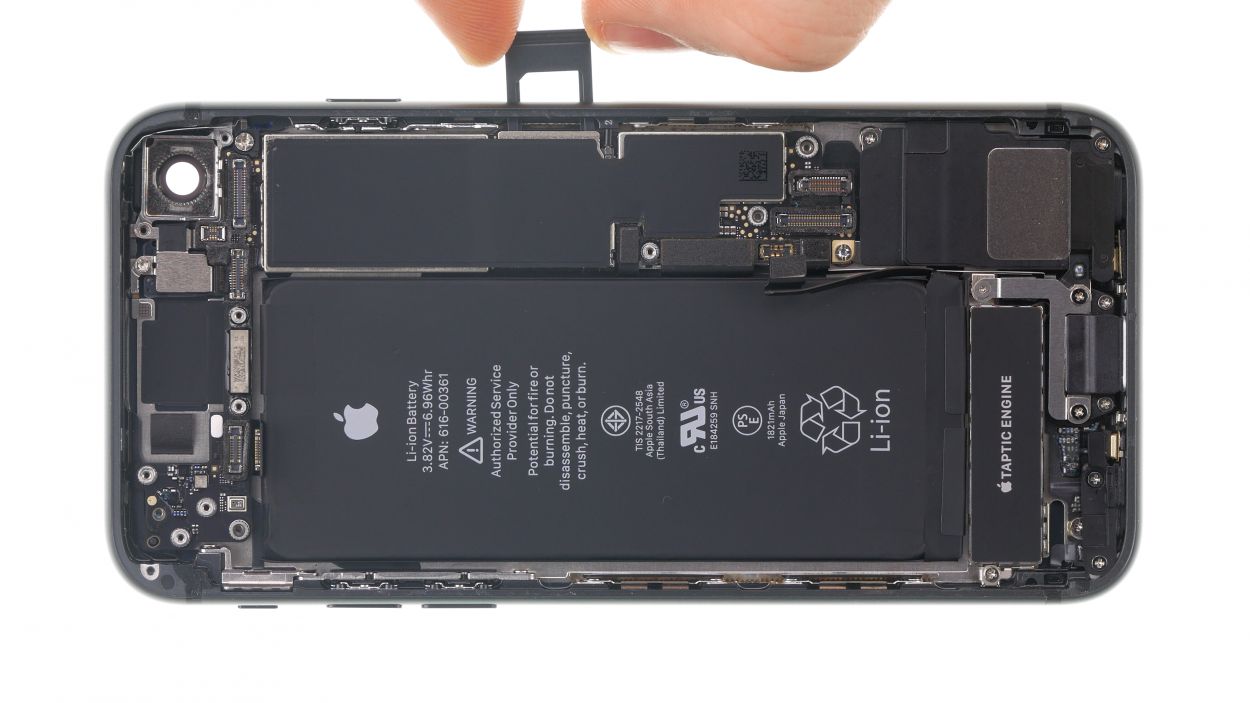
– Slide that SIM card holder right back into its designated spot on the device frame. It’s like tucking in a cozy blanket for your phone!
Step 29

1 × 1.3 mm Phillips
1 × 1.2 mm Phillips
– Pop that Wi-Fi antenna back into your iPhone SE’s cozy case!
– Screw the antenna mount securely to the case frame.
– Give it a gentle press to reattach that adhesive film like a pro.
– Now, connect the antenna’s connector and you’re all set!
Step 30


1 × 2.5 mm Phillips
1 × 1.4 mm Phillips
2 × 1.2 mm Phillips
2 × 1.0 mm Phillips
– Pop that little connector piece back where it belongs and give it a good twist to secure it tightly.
– Now, slide in that plastic bracket and tighten it up just as snugly!
Step 31

1 × 2.9 mm Phillips
1 × 3.0 mm Standoff
– Nestle that camera back into its cozy home in the case opening and give it a firm press. It’s like tucking it in for a nice nap!
– Next up, connect the camera connector. Just a little click, and it’s ready to roll!
– Now, pop the cover plate back on the camera and tighten those screws. Secure it like a pro!
Step 32


1 × 1.1 mm Phillips
1 × 2.7 mm Phillips
– Reconnect the standby and volume button connector with a little care.
– Next, slide that bracket plate back over the connector and secure it with the screws. You’re doing great!
Step 33
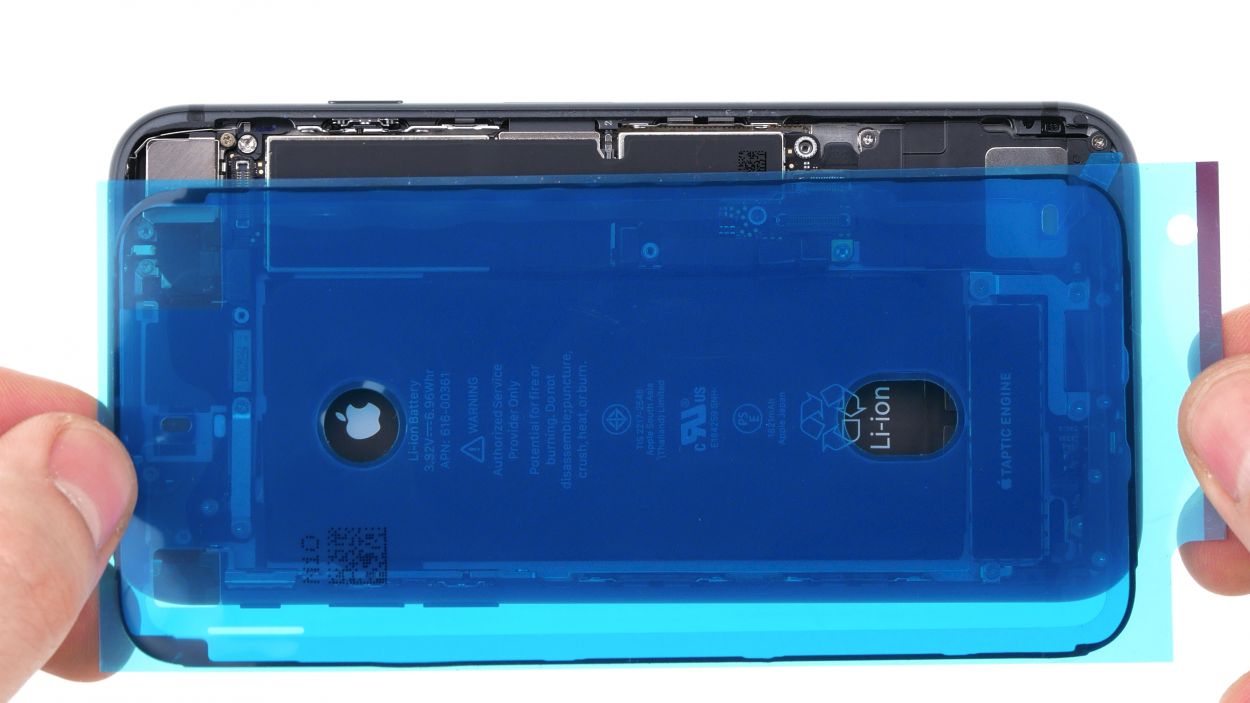
– First, let’s get rid of any leftover adhesive on the metal frame and display, so your new adhesive frame can slide right in without a hitch. Tweezers or a spudger will be your best pals here!
– Now, give that adhesive frame a little test run on the back cover of your iPhone SE to make sure it’s sitting just right. You’ve got this!
After you’ve opened up your iPhone and attached that shiny new adhesive frame, it’s back in action against dust and splashes! Just remember, it’s not quite a submarine yet—still not 100% waterproof!
The corners of the adhesive frame are your new best friends for getting that back cover lined up just right. They’re like little guides, making sure everything fits perfectly. So, let’s get that alignment on point!
Tools Used
Step 34
3 × 1.0 mm Phillips
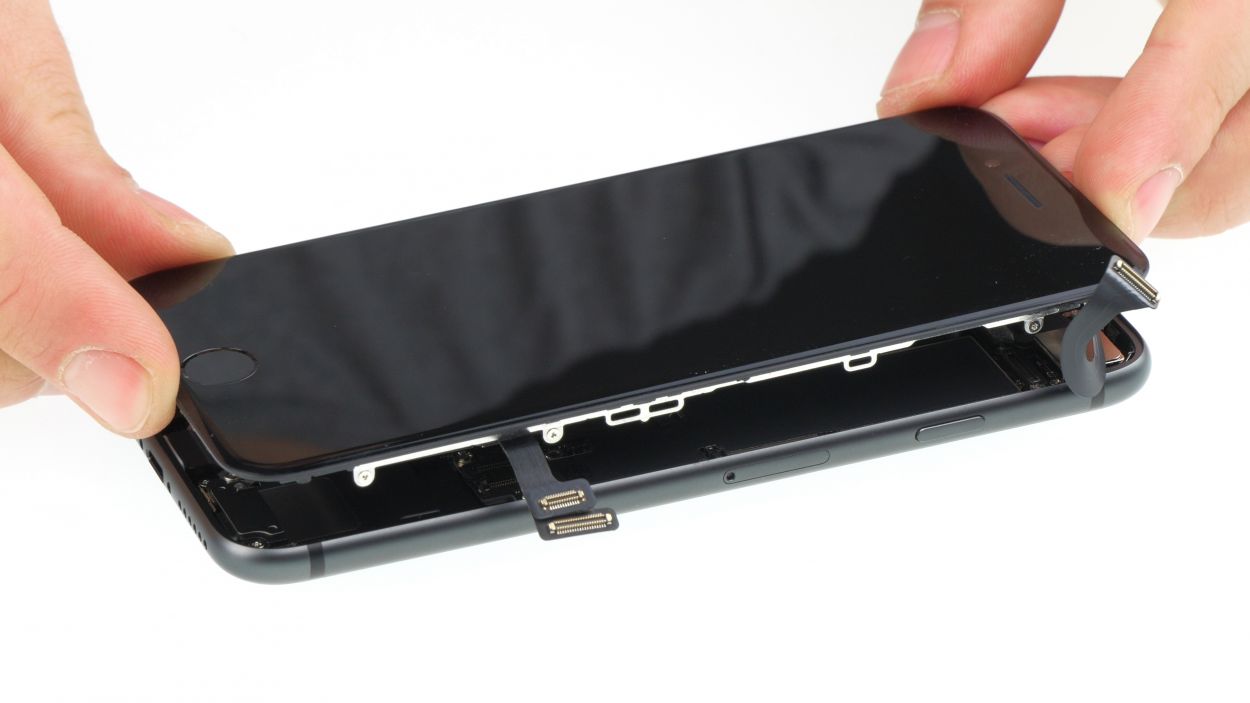
– Stand the display up on the upper case frame and connect the FaceTime connector to the logic board. You’ve got this!
– Now, gently lay the display aside on the case frame, making sure it’s comfortable.
– Put the bracket plate back over the FaceTime connector and secure it with those three Phillips screws. You’re almost there!
Step 35


– Connect the home button and display connectors to the logic board with a gentle press, ensuring they’re snug and secure. You’re doing great!
Step 37

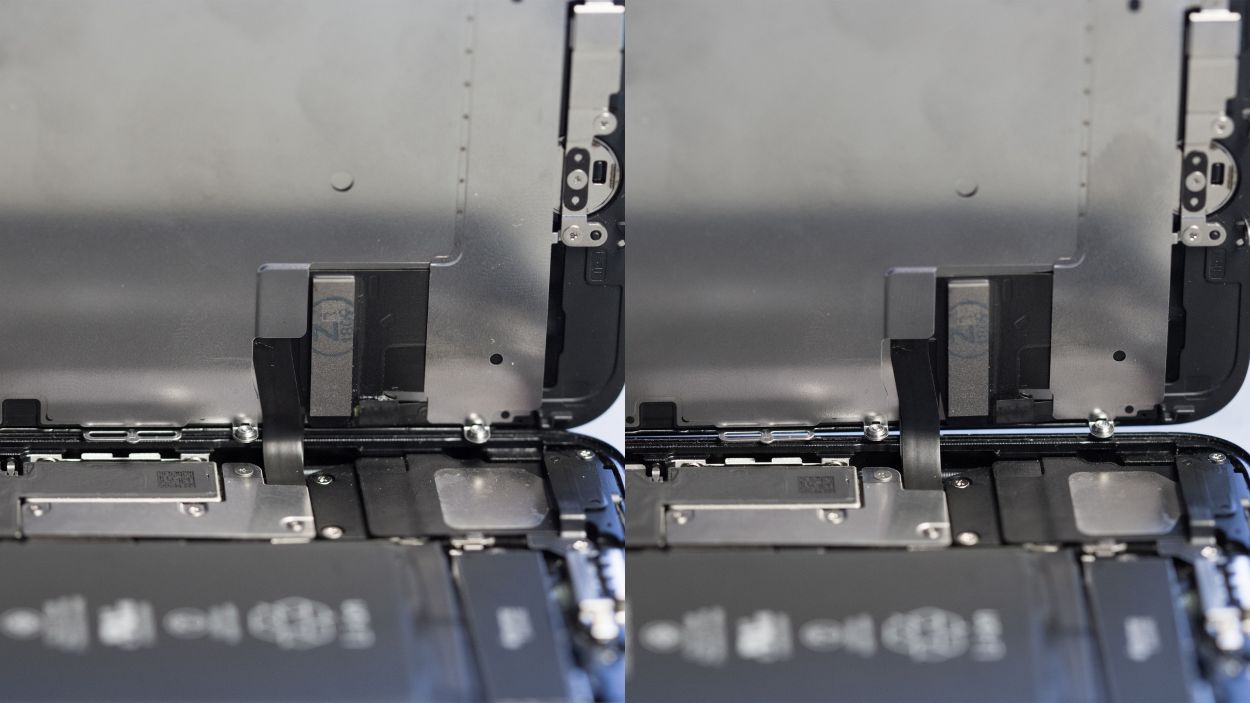
Wrong position
Right position
Hey there! Just a quick heads-up: if that cable isn’t snug in its spot, you might see some funky spots on your display. So, before you wrap things up, double-check that the chip on the cable is snug as a bug in its rug. Check out our photo for the perfect position!
Step 38

2 × 3.4 Pentalobe
– Time to fasten those two pentalobe screws snugly into the rear case of your iPhone SE, right next to the Lightning connector. Just a little twist and you’ll have them secured in no time!
Tools Used