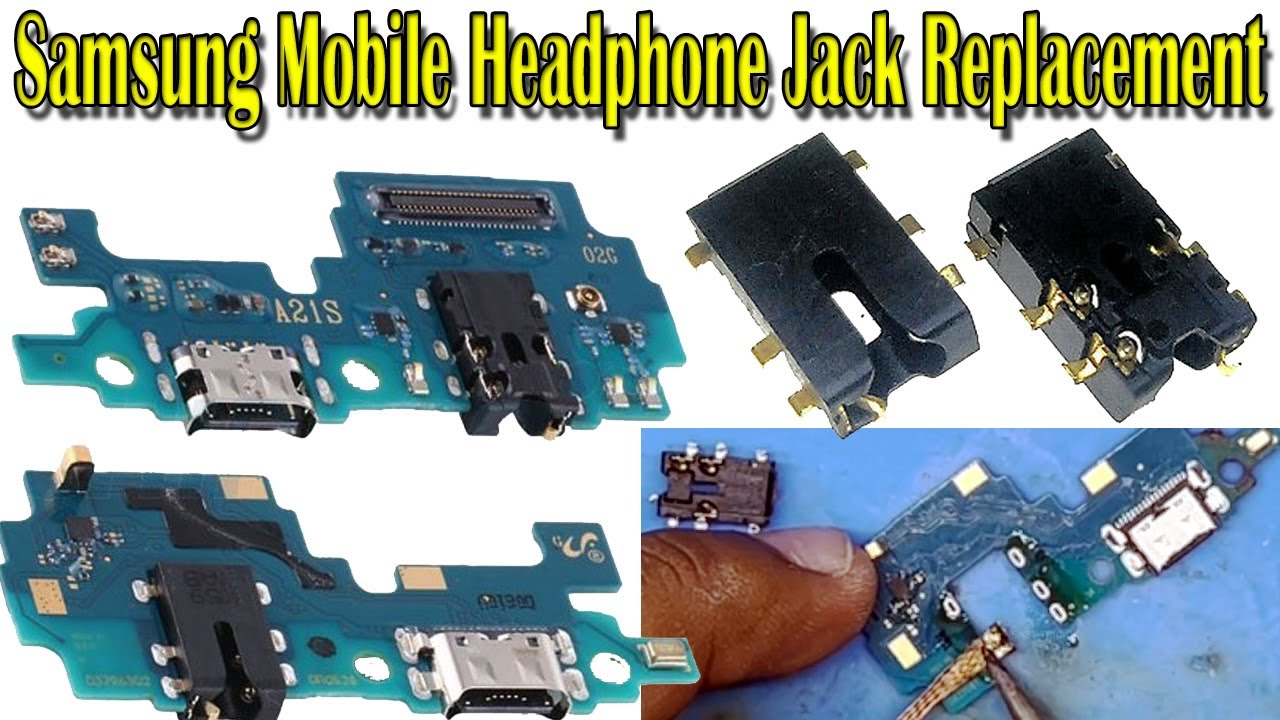
DIY Guide: Samsung Galaxy Prevail Headphone Jack Replacement
Duration: 45 minutes
Steps: 6 Steps
Get ready to rock out with clear audio again. Replacing the headphone jack is a breeze and should only take 10-20 minutes. By doing so, you’ll kiss those annoying static, muffled sounds, and poor earphone audio quality goodbye. If you need help, you can always schedule a repair.
Step 1

– Alright, time to get this party started! Let’s carefully pop the back panel open. Use your trusty hands and start at the little slit near the headphone jack. Give it a gentle push outwards – you got this!
Step 2

– Let’s get started by removing the battery. Use your fingernail or a nylon spudger to gently lift it upward from the recess at the bottom right corner. If you need help, you can always schedule a repair
Tools Used

Step 3

– Grab your trusty Phillips #00 screwdriver and get ready to tackle those (6) 4mm screws! Let’s unscrew them and keep moving forward.
Tools Used

Step 4

Hey there! Just a heads up, the metal trim of the headphone jack might get a bit loose during this process. If you need help, you can always schedule a repair!
Hey, the camera and speakers are hangin’ out on the back of the phone, so let’s keep that in mind!
– Alright, time to give that secondary rear panel a little nudge! Using your trusty nylon spudger, carefully pry it loose using the recessed tabs on the left and right sides. Just gently wiggle it free. No need to get rough!
Tools Used
Step 5

The battery is stuck to the motherboard with some sticky stuff, so you might need to give it a little push to get the speaker assembly off. No worries, it’s all part of the fun! If you need help, you can always schedule a repair.
– Using the spudger, give that speaker assembly a gentle lift upward. This will give you a clear view of the headphone assembly, ready for the next step!
Tools Used
Step 6


– Time to get started! Use your trusty spudger to carefully unplug and remove the headphone port assembly. Just lift upward on the ribbon cable and it should come right out.
– You’re doing great! The headphone jack should now lift off of the motherboard. If you need help, you can always schedule a repair
Tools Used


