DIY Guide: Samsung Galaxy Tab A 7.0 Replacement Tutorial
Duration: 45 minutes
Steps: 6 Steps
Step 1
– Grab your trusty plastic opening tool and pick any corner of the tablet to start your adventure. Gently slide the tool between the back and front panels.
– Now, take a little tour around the tablet with the tool to help those panels break free from each other.
Step 2
– Let’s get started! Carefully pry the back panel away from the front panel to reveal the inner workings of your tablet.
– Now that the back panel is removed, you’ll get a glimpse of the tablet’s inner components – don’t worry, we’ll guide you through it!
Step 3
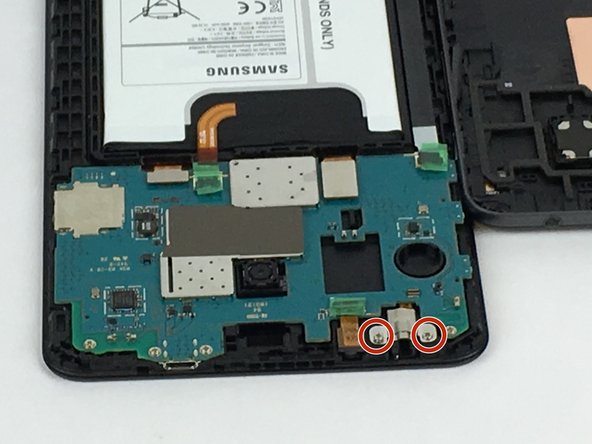
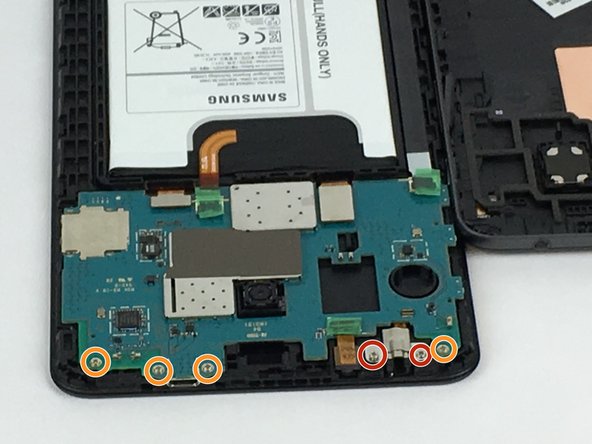
– Grab that P000 screwdriver and pop out the two Phillips screws holding the auxiliary port to the plastic frame. You got this!
– Next up, use the same P000 screwdriver to take out the four Phillips screws securing the motherboard to the plastic case. Keep going!
Step 4
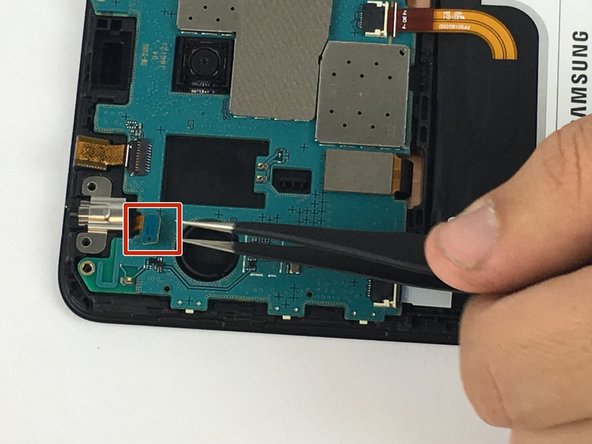
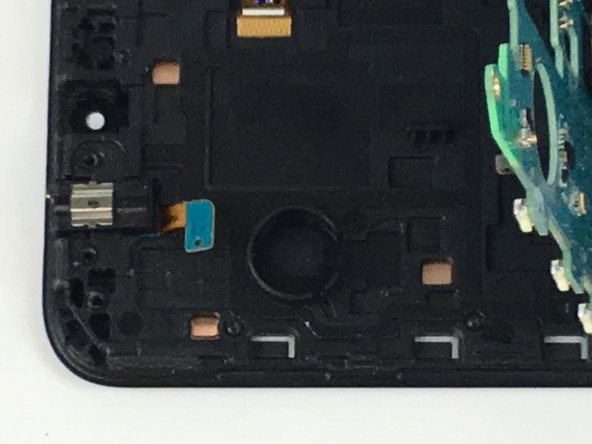
– Grab those tweezers and gently unplug the headphone jack connector from the motherboard.
Tools Used
Step 5
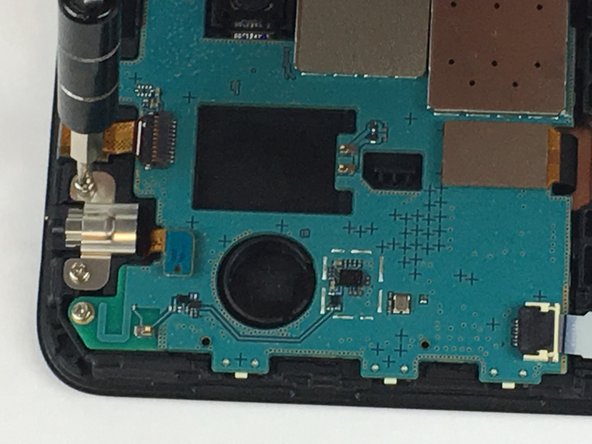
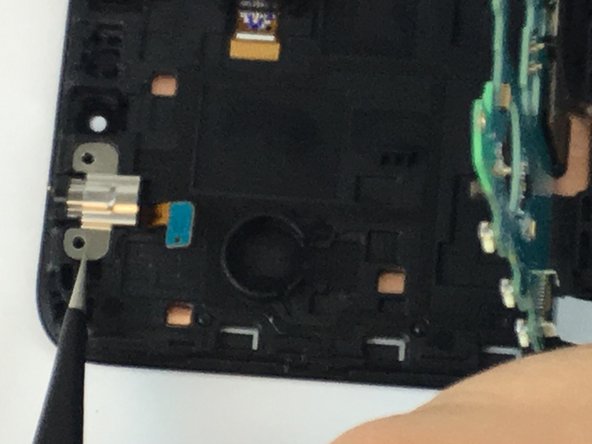
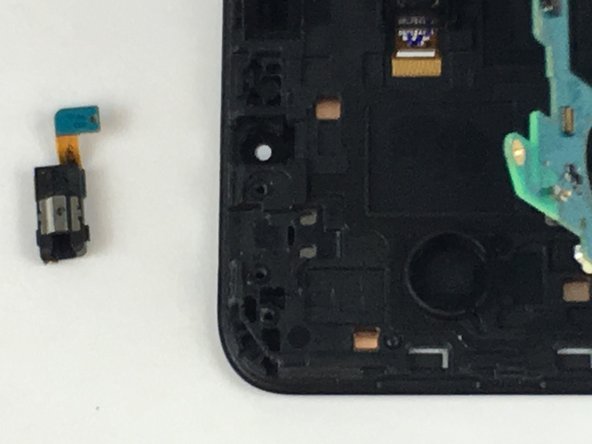
There’s a light adhesive keeping the metal jacket in place, so you might need to give it a little extra tug to pop it off. No worries, you’ve got this!
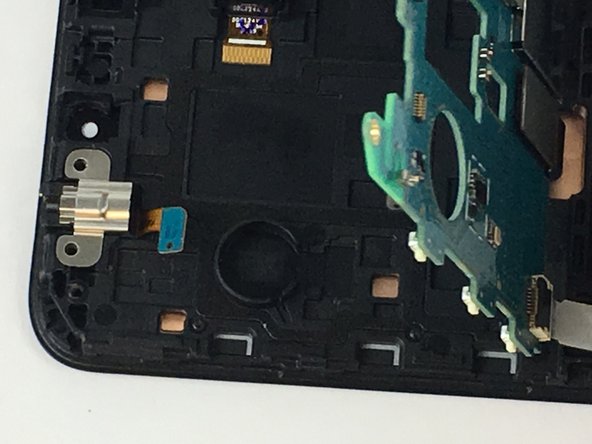
– Grab your trusty tweezers and gently lift the motherboard—no sudden moves, just smooth and steady.
– Now, using those same tweezers, carefully unclip the metal jacket holding the headphone jack. There’s a handy little recess in the left corner—perfect for grabbing onto. Take your time and ease it out like a pro!
Tools Used
Step 6
– To get your device back together, just follow these steps in reverse.
– Didn’t finish? No worries, you can always try again later!
– If you need help, you can always schedule a repair.
Success!


