DIY Guide: Screwdriver Best Practices for Household Devices
Duration: 45 minutes
Steps: 7 Steps
Hey there! Just a friendly reminder to handle your device with care. If you hit a snag or feel overwhelmed, don’t hesitate to schedule a repair. We’re here to help you get back on track!
You’re probably familiar with the saying “righty-tighty, lefty-loosey,” but we’ve gathered some extra tips to sharpen your screwdriver skills and help you dodge the dreaded stripped screw. If you stumbled upon this a little too late, feel free to check out our stripped screw removal guide!
Step 1


– Different screw types require specific drivers. Whether you’re dealing with Phillips, Japanese Industrial Standard (JIS), Pozidrive, Torx, Triwing, or the classic Flathead, make sure to grab the right driver for the job.
– Sure, using a driver that’s ‘close enough’—like using a Flathead on a Phillips screw—might work in a pinch, but trust us, that’s just asking for trouble down the line.
– Feeling overwhelmed by all these drivers? No worries! Consider snagging a set of interchangeable bits, like the handy 64 Bit Kit for electronics or the Universal Bit Kit for the bigger stuff. It’ll make your life a whole lot easier!
Step 2


A properly sized driver should snugly fit into the screw head, making full use of the socket’s depth and width.
– Once you’ve spotted a driver that seems just about right, take a moment to check out the next size up and the one just below it before moving forward.
– As a general rule of thumb, opt for the largest driver size that fits snugly into the screw. It makes everything easier!
Step 3


Steer clear of using screwdrivers as makeshift pry tools or chisels. They’re great for turning screws, but not so much for prying things open!
– Keep your drivers in tip-top shape by using them just the way they were meant to be used!
– To prevent those pesky stripped screws, stick to drivers that are in great condition.
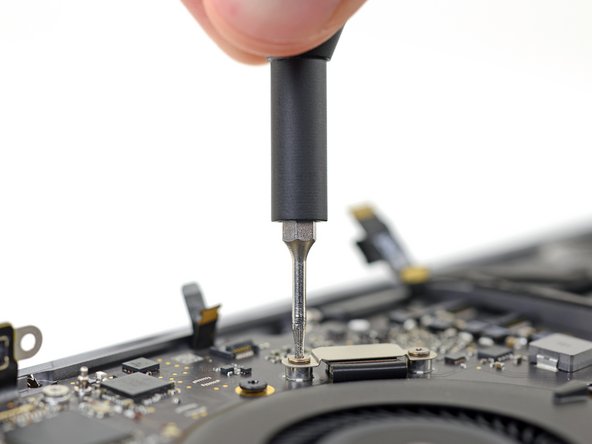
Step 4


– Apply a steady downward force to ensure the driver tip stays snug against the screw.
Step 5


Tilting the driver can lead to a shaky connection with the screw head, causing it to slip and potentially harm the screw. Let’s keep it straight for a smooth repair journey!
Sometimes, the screw likes to take a little detour and enter the surface at a jaunty angle. Make sure your driver is lined up just right with the screw, not just the surface it’s diving into.
– Align the driver straight with the screw, making sure the shaft is positioned right above the screw head. Keep both the driver and screw in perfect harmony, creating a nice straight line.
Step 6


Tightening a screw with misaligned threads can turn into a real struggle—it’s like trying to fit a square peg in a round hole! This little mishap is called “cross-threading,” and it can lead to some serious damage. So, let’s avoid that and keep everything running smoothly!
A screw that’s installed correctly will spin smoothly until it’s nice and snug.
– Whenever you’re ready to install a screw, give it a little twist to the left first—just like you’re loosening it up! This will help the screw find its happy place. Keep it chill and let it seat itself before you tighten it up.
Step 7

Remember, those tiny screws are like delicate little flowers; they don’t need a lot of pressure! Over-tightening can ruin their threads, so be gentle and give them just the right touch.
– Alright, let’s wrap this up! When you’re tightening those screws, make sure to use just the right amount of torque. You want them snug, but not so tight that your driver starts doing a little dance. Keep it smooth!
– Now, those tiny screws from your phones and tablets? They don’t need much love. Just a gentle touch! Once you feel a bit of resistance, give it a little extra quarter turn at most, and then it’s time to stop. Easy peasy!