DIY Guide: Step-by-Step Nintendo GameCube Panel Replacement
Duration: 45 minutes
Steps: 5 Steps
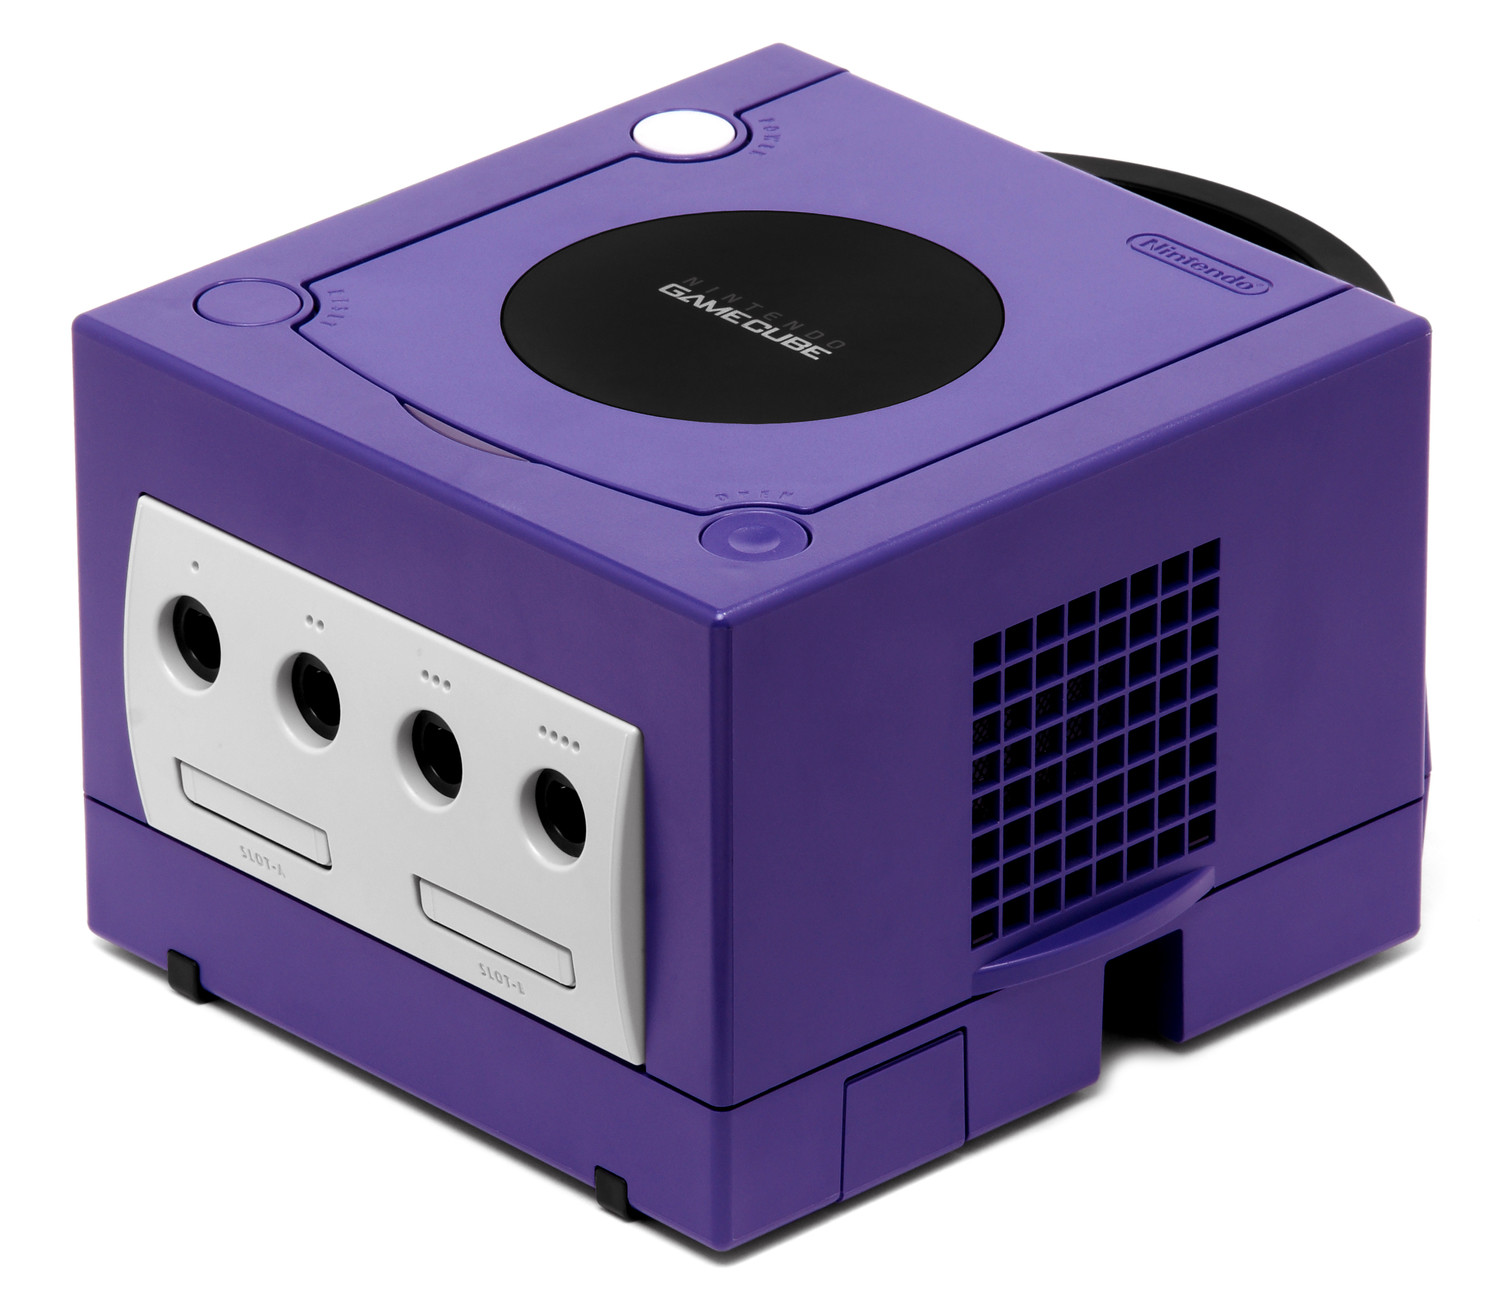
Popping off these panels gives you a backstage pass to the inner workings of your GameCube. Time to see what makes this classic console tick!
Step 1


– Flip the Gamecube over so it’s chilling upside down.
– Grab your trusty 4.5 mm Gamebit screwdriver and unscrew all four screws holding it together.
Step 2


– Flip your GameCube over so the bottom side is facing up and the screws are out of the way. Gently separate the outer shell from the top half — it should come off smoothly, so no need to force it.
– Now, rotate your GameCube so that the inside is facing up. You’re almost there!
Step 3

– Gently press down on the clips on both sides of the back panel to release them.
– Carefully lift off the back panel from the GameCube, taking your time to avoid any damage.
Step 4

Hey there! Just a friendly reminder that the ribbon cable (highlighted in orange) is still connected to the unit. So, let’s keep it plugged in and avoid any disconnections, shall we?
– Pop off the controller ports at the front of the unit with care. They’re the spots where the controllers hook up to the console, and they have a cool half-circle design.
Step 5


This step might be optional, depending on what you’re trying to achieve – so take a look and decide if it’s right for you!
– Put everything back together by working through the steps in reverse—it’s like hitting rewind on your repair adventure!
– If you hit a snag, no worries—Salvation Repair’s got your back. Schedule a repair anytime.
Tools Used

Success!