DIY Guide to Complete Disassembly of Power Tool Soldering Iron
Duration: 45 minutes
Steps: 16 Steps
Hey there, tech whiz! Just a friendly reminder to take your time and be careful while you work on your device. If you find yourself in a pickle, don’t hesitate to reach out for help. You can always schedule a repair if you need a hand. You’ve got this!
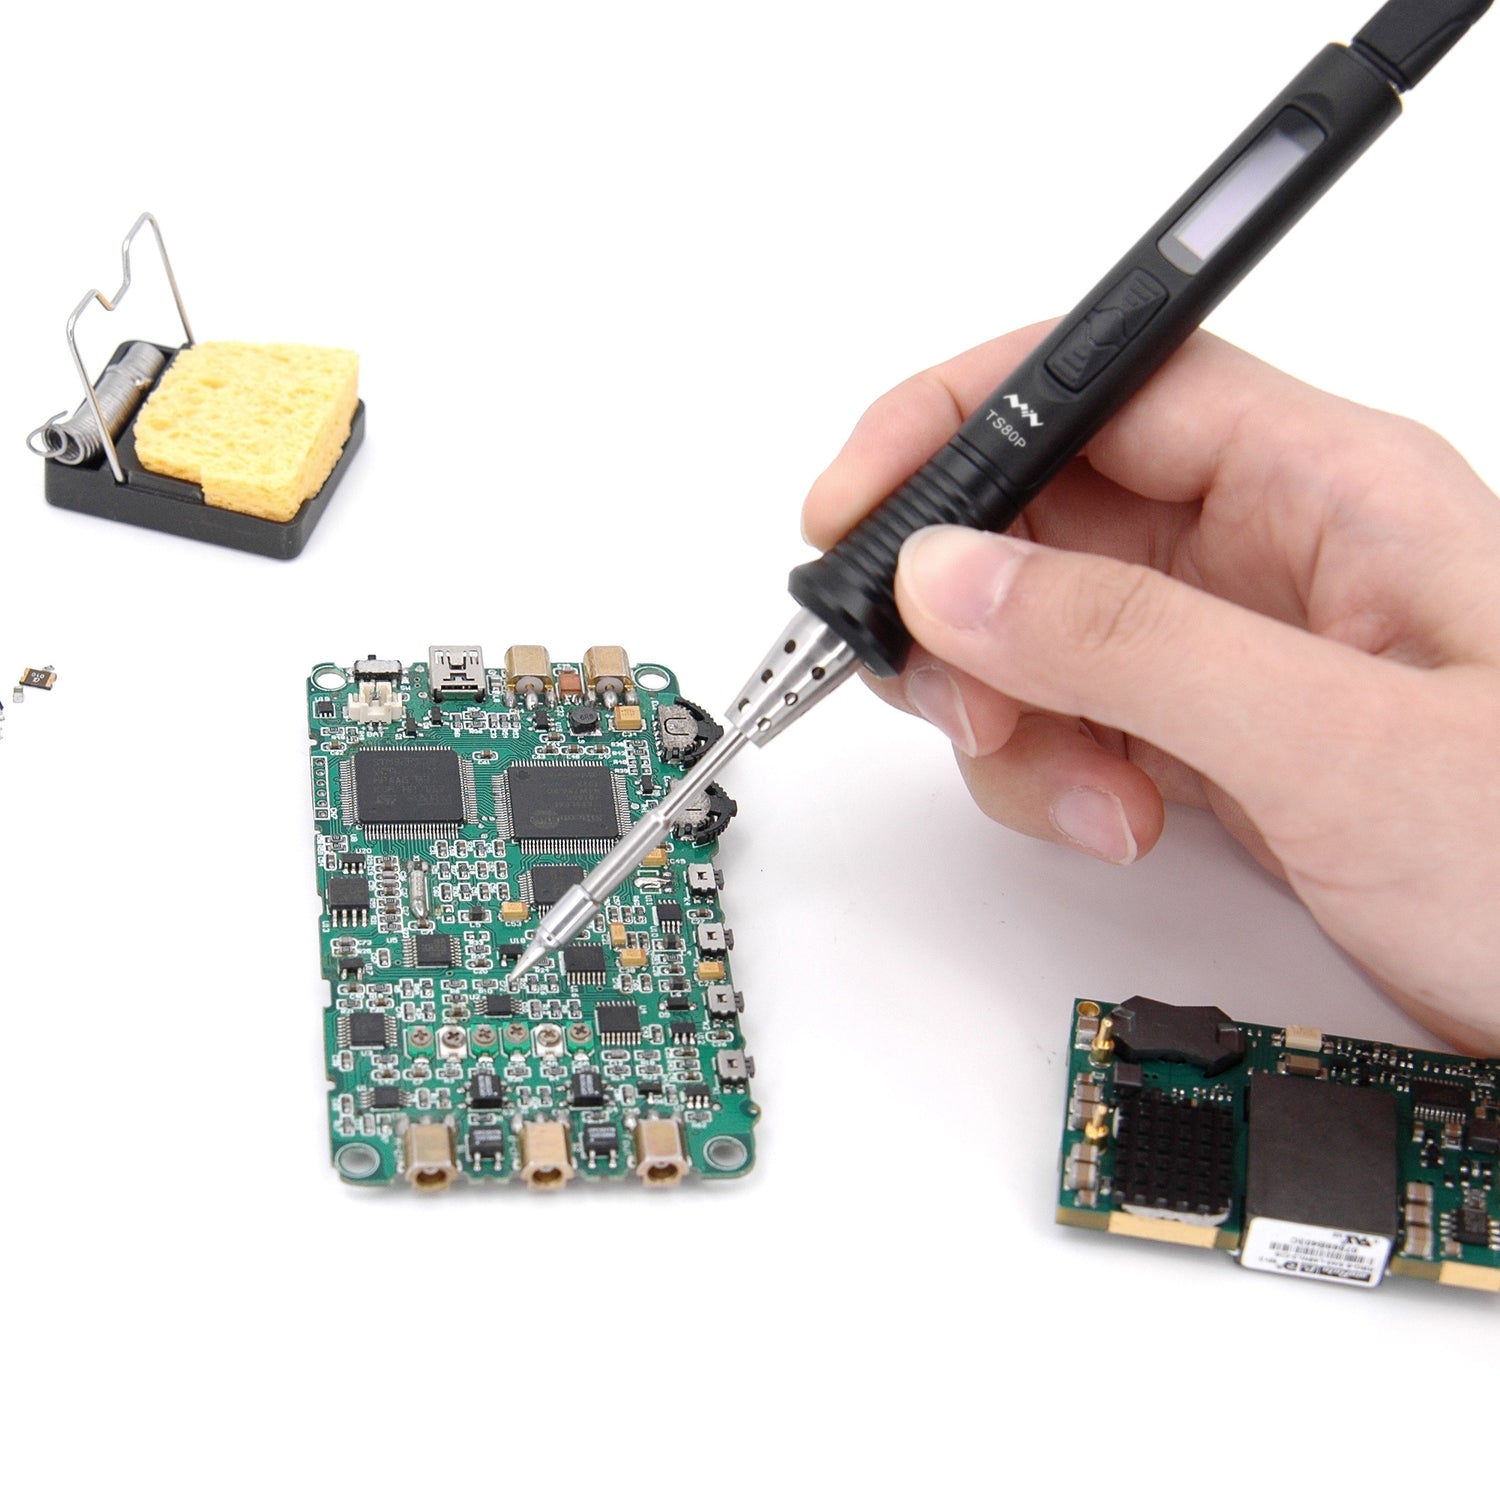
Get ready to dive into the world of disassembly with your FixHub Smart Soldering Iron! If you’re curious to see the inner workings, take a peek at the electrical schematics right here.
Step 1


The color of the Touch-Safe Indicator LED tells you what’s going on with the soldering iron tip. Just a heads up: the grip of the soldering iron is always cool to touch, so no worries there!
– Blue LED: The iron has cooled down to a cozy 40 °C (100 °F), so feel free to give it a gentle touch.
– Purple LED: When it’s pulsing, the iron is busy heating up or cooling down. If it’s steady, the iron’s in Idle Mode, and just a heads-up, the tip is still a no-touch zone.
– Orange LED: The iron has hit the sweet spot temperature and is all set for some serious soldering action. Remember, the iron tip is still too hot to handle.
Step 2


The sliding power switch comes with a handy color indicator for each setting:
When the LED glows purple and pulses, it’s just letting you know that the iron is winding down. Pretty neat, huh?
– Give that power switch a gentle slide to the blue OFF position. You’re doing great!
– Keep the soldering iron plugged in until the indicator ring shines blue. That means it’s safe to give the tip a touch!
Step 3
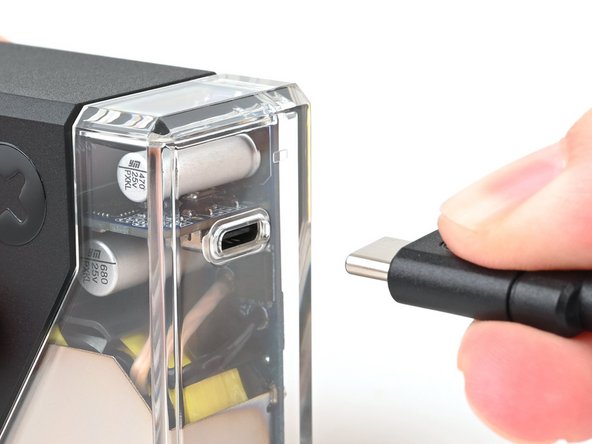

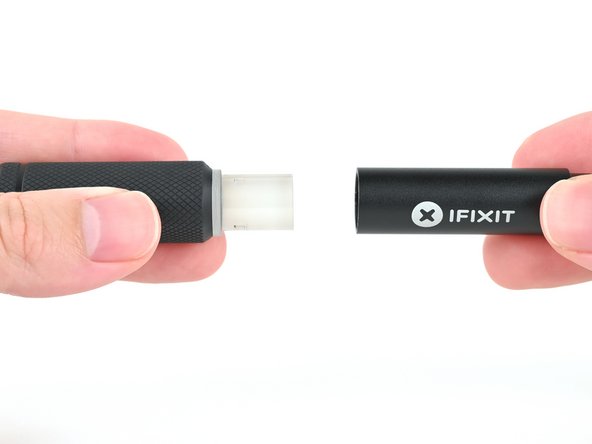
– Unplug that USB-C cable from the iron and free it from its power source!
Step 4


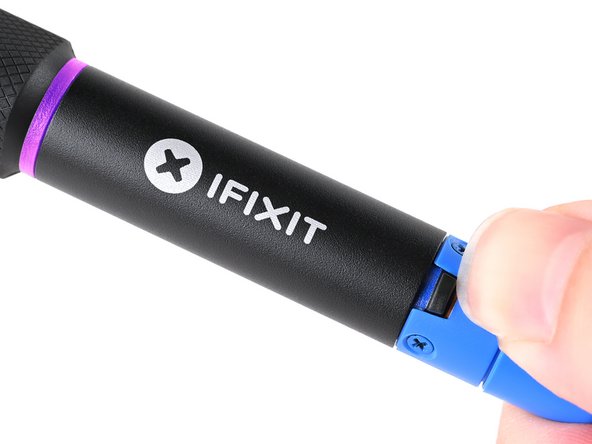
– Give that blue cable collar a twist to the left and gently lift it up to set it free from the iron.
Step 5

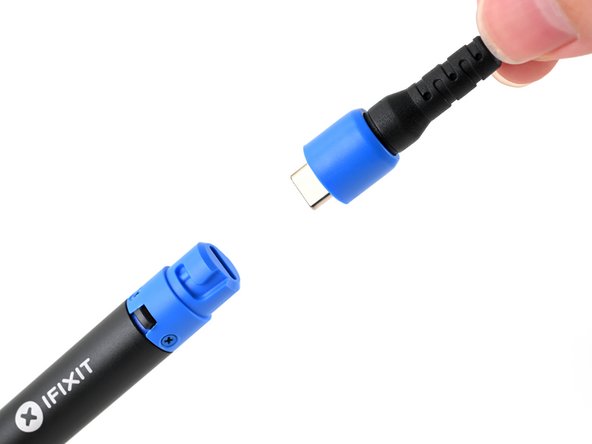
– Unplug the USB-C cable from your Smart Soldering Iron and give it a little breather.
Step 6

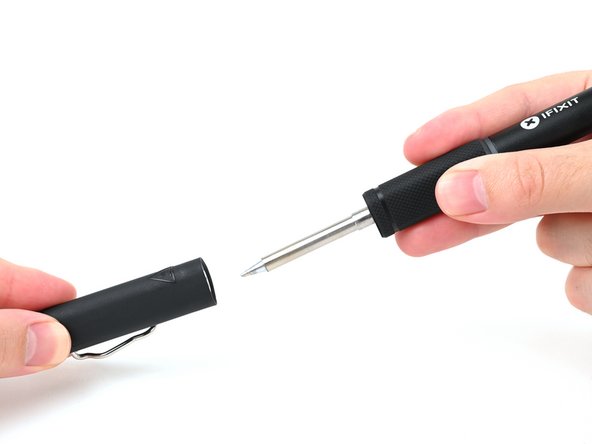
– Grip the iron firmly at both ends and give a gentle tug to pop off the cap.
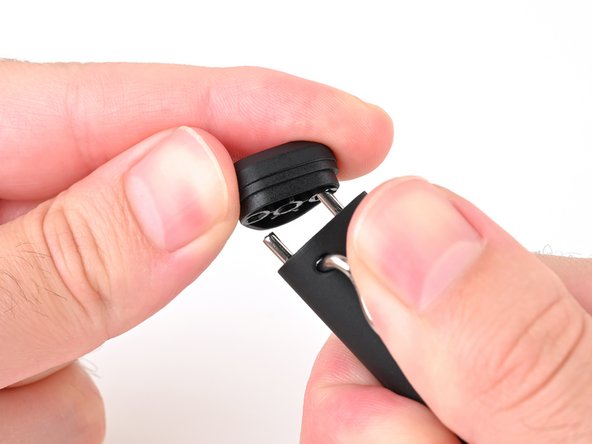
Step 7


– Grab your trusty Phillips screwdriver and let’s get to work! Start by removing the 8.0 mm-long screw located at the bottom of the soldering iron cap’s opening. This little screw is holding the cap tip and clip spring in place, so give it a twist and set it aside!
Step 8

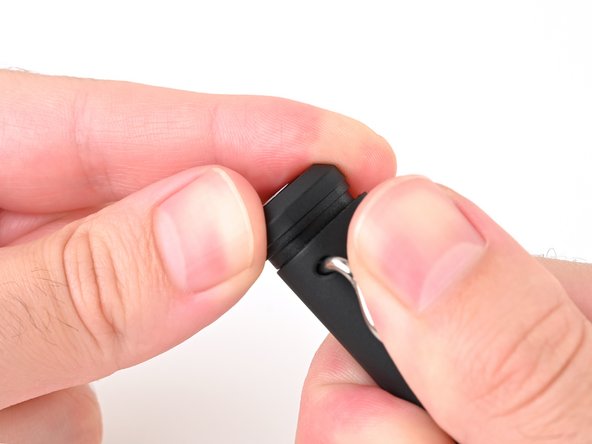
– Give the cap tip a gentle upward tug to pop it off the cap.
– When putting it back together, align the iron prongs at the top of the cap with the holes in the bottom of the cap tip. You’ve got this!
Step 9

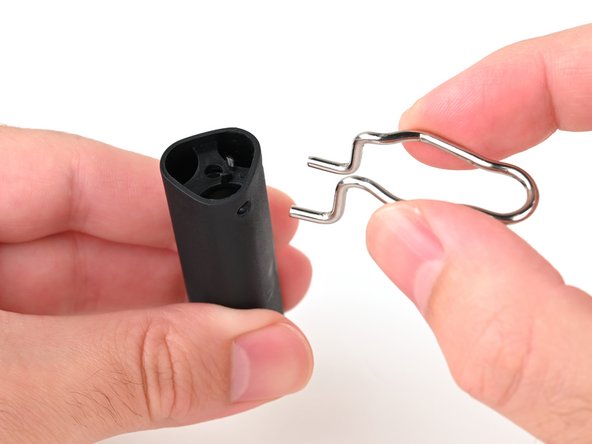
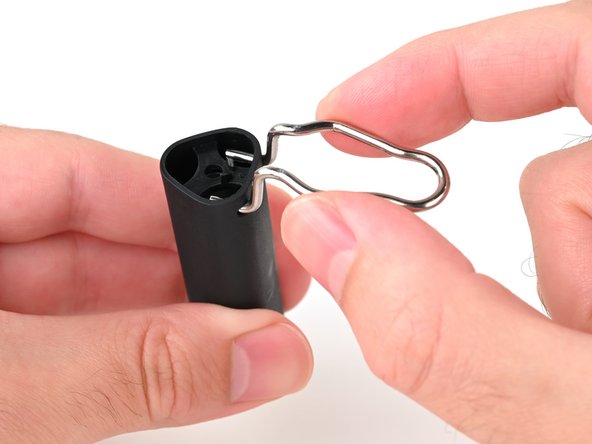
– Gently lift the cap spring clip from the bottom, like you’re opening a treasure chest.
– Carefully pull the ends of the spring clip straight out through the holes in the cap to free it. Easy peasy!
Step 10

Wait for the tip to cool down completely before giving it a touch. Your fingers will thank you!
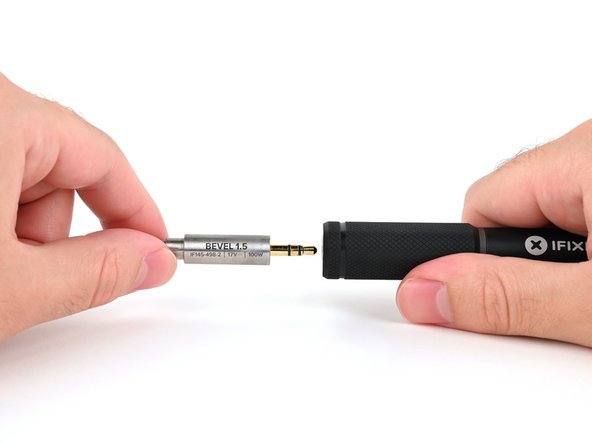
– Grip the base of the tip firmly and gently pull it away from the front of the iron handle to detach it.
Step 11

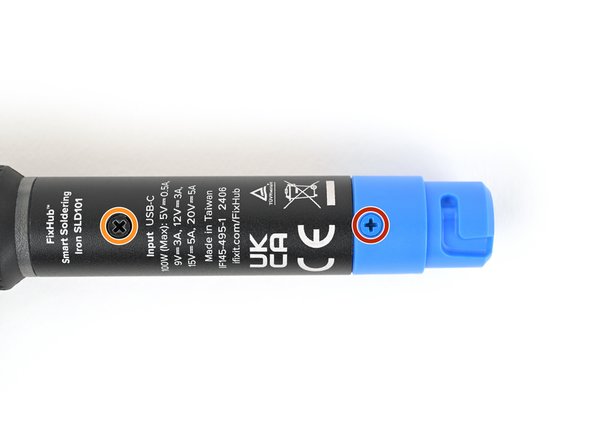
– Grab your trusty Phillips screwdriver and get ready to unscrew! Start by removing the three blue screws that are 3.4 mm long, holding that charming blue end cap in place.
– Next up, let’s tackle the lone black screw at the base of the enclosure. It’s also 3.4 mm long, so give it a gentle twist with your Phillips screwdriver and set it aside.
Step 12
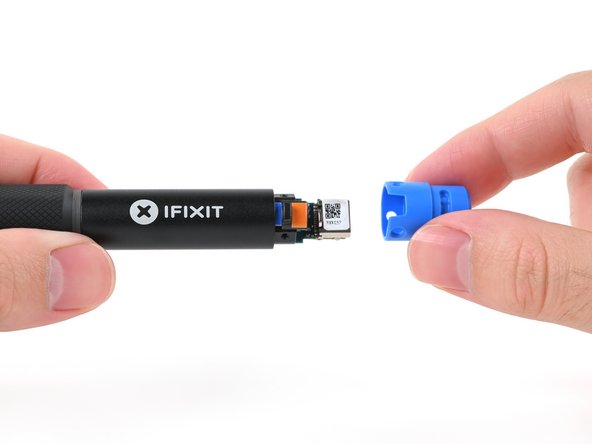

– Give that blue end cap a gentle tug to pop it off the iron handle. You’re doing great!
Step 13

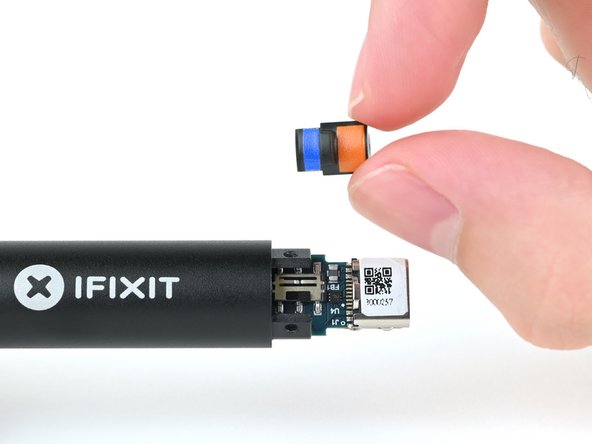
– Gently take out the blue and orange power switch, like you’re giving your device a little hug. It’s time for a makeover!
Step 14
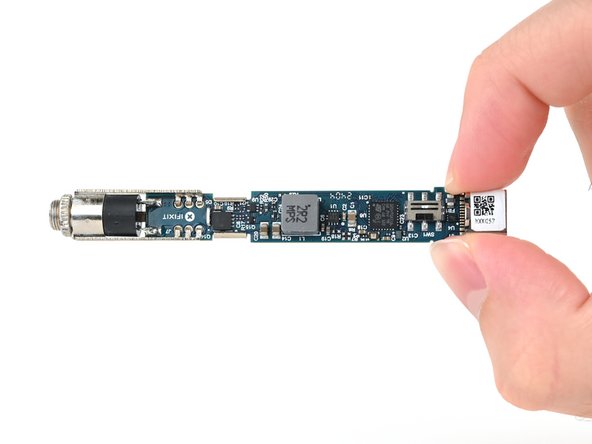

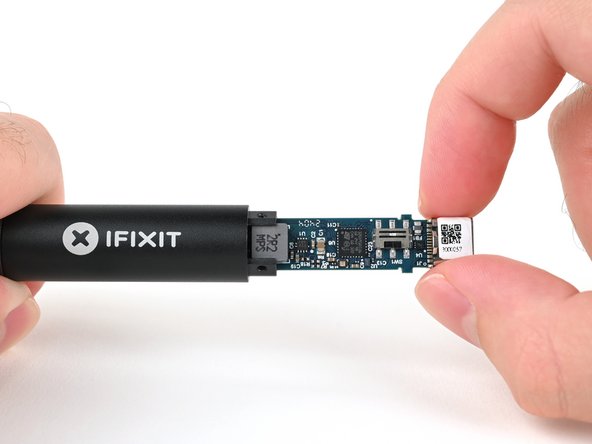
– Grab hold of the part of the main board peeking out from the soldering iron handle.
– Gently pull to slide the main board out of the handle.
– When it’s time to put your iron back together, remember to insert the main board with the shiny end of the iron auxiliary port going in first!
Step 15

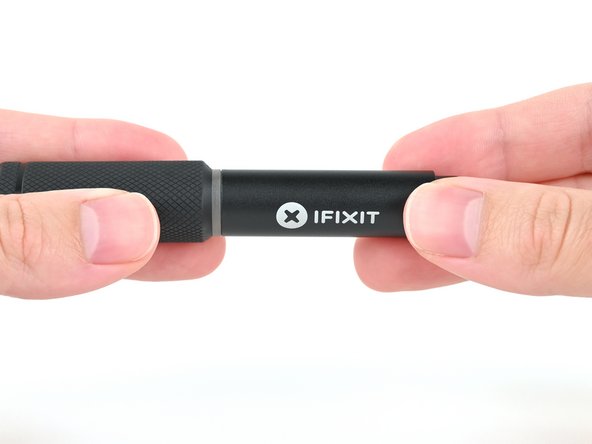
– Give that iron enclosure a little twist below the grip and gently pull it apart to free the grip from the enclosure. Now, you’re left with just the grip!
Step 16

– Congratulations! Your Smart Soldering Iron is all set and ready to roll!


