DIY Guide to Remove LG G6 Main Board – Step-by-Step Tutorial
Duration: 45 min.
Steps: 14 Steps
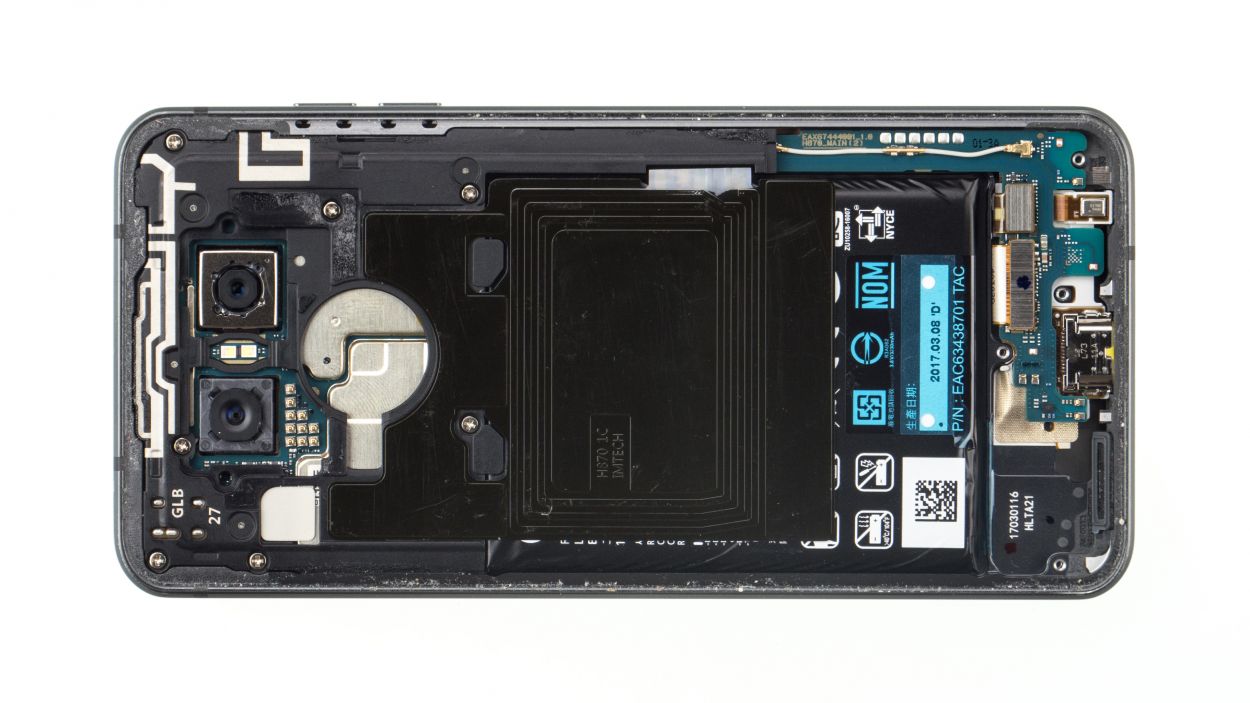
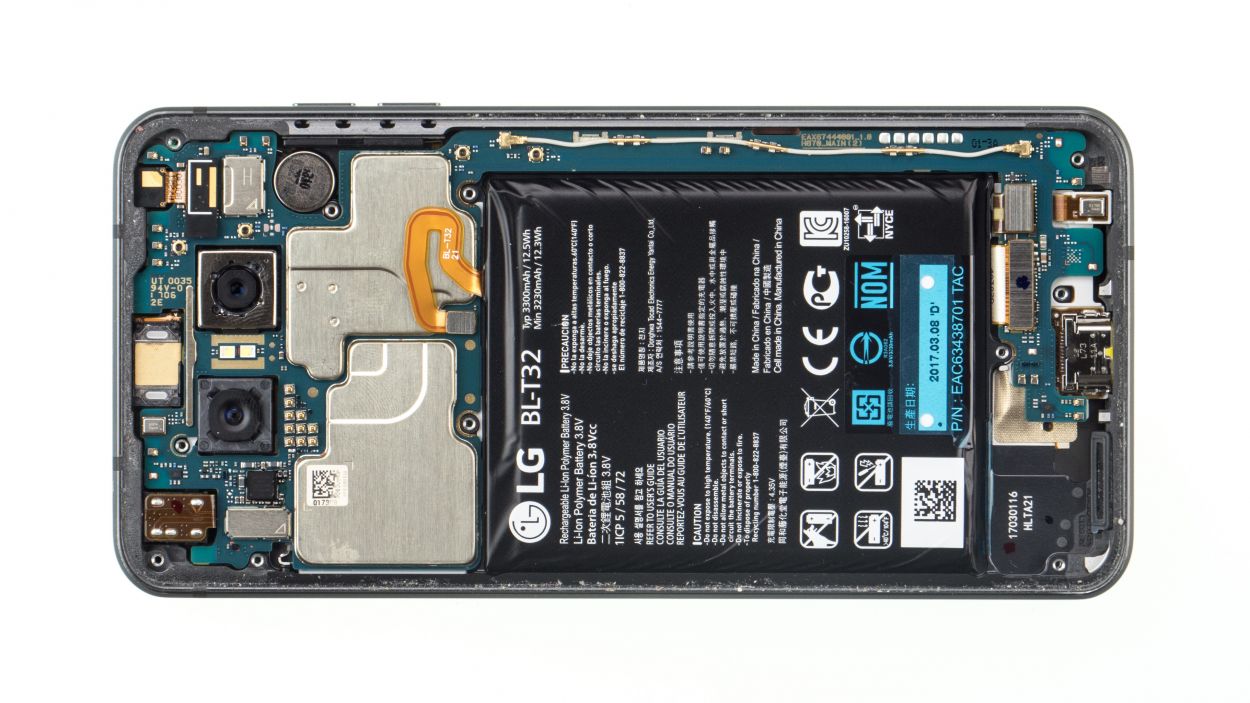
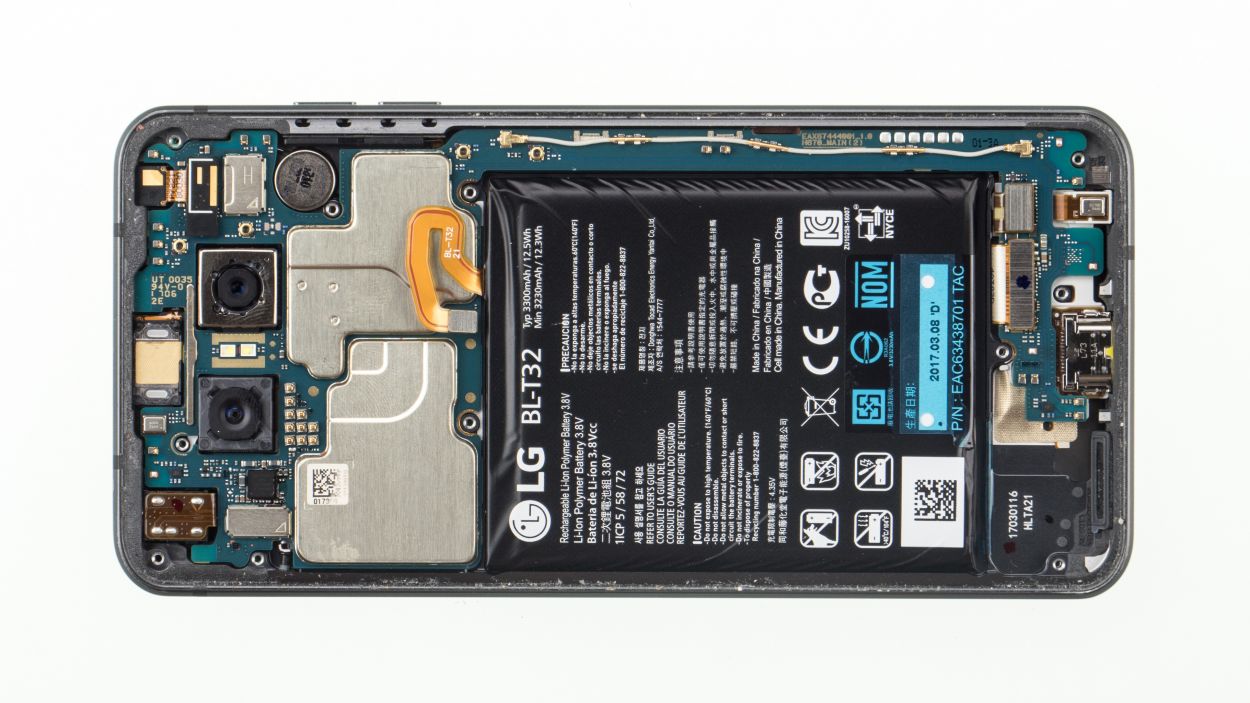
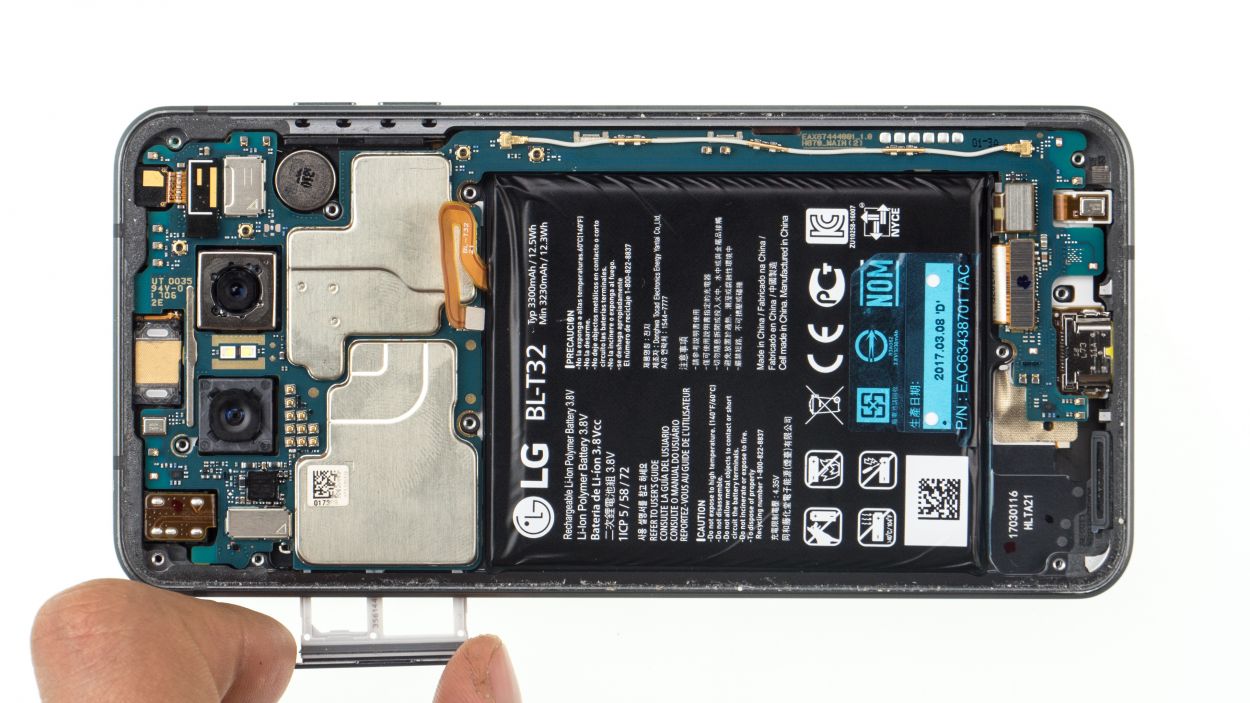
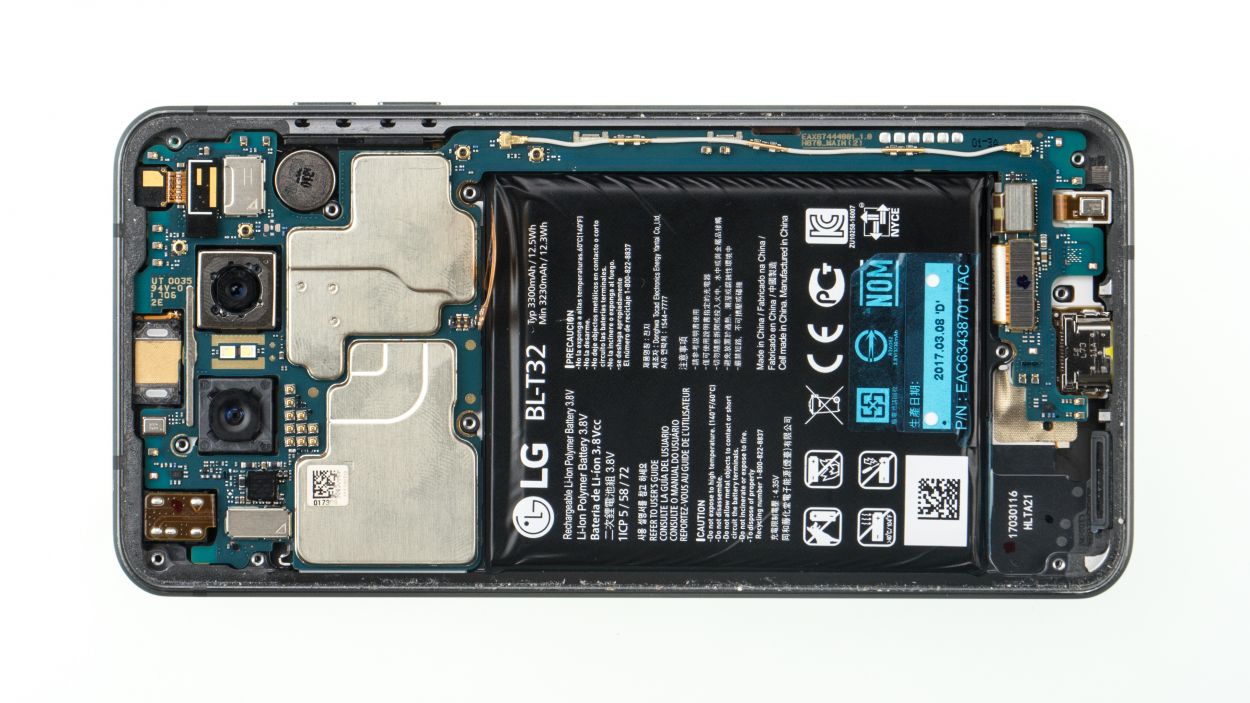
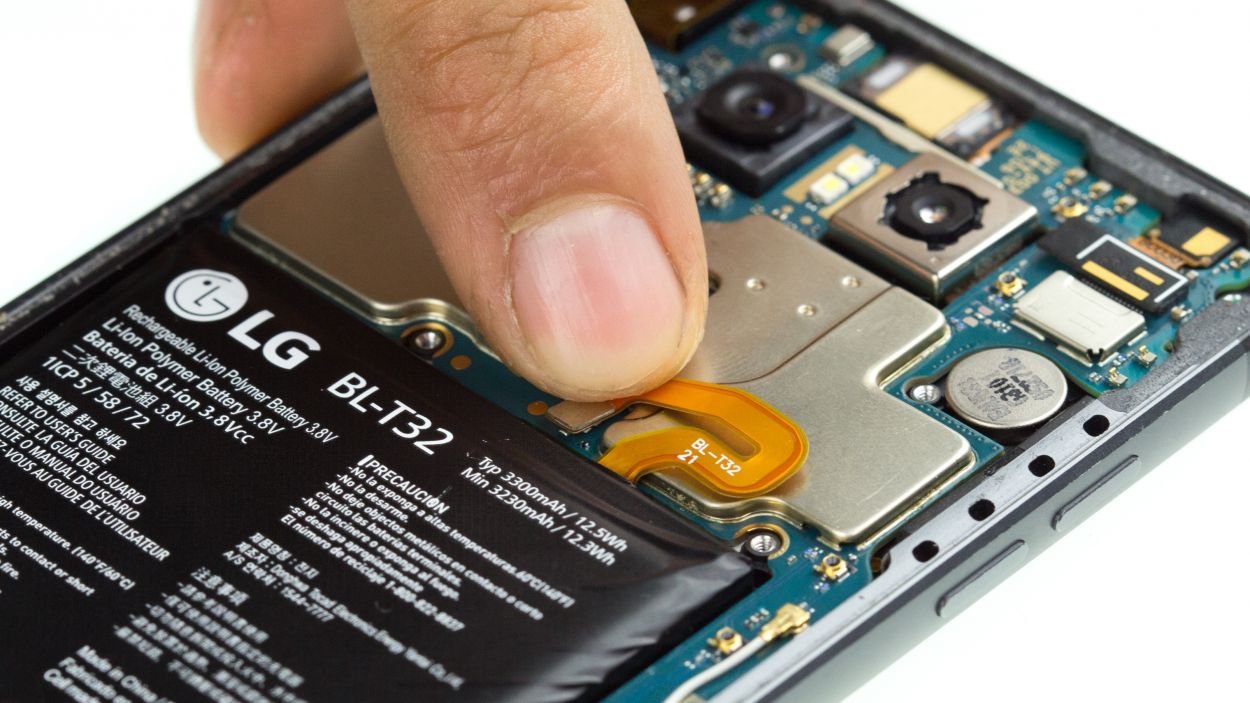
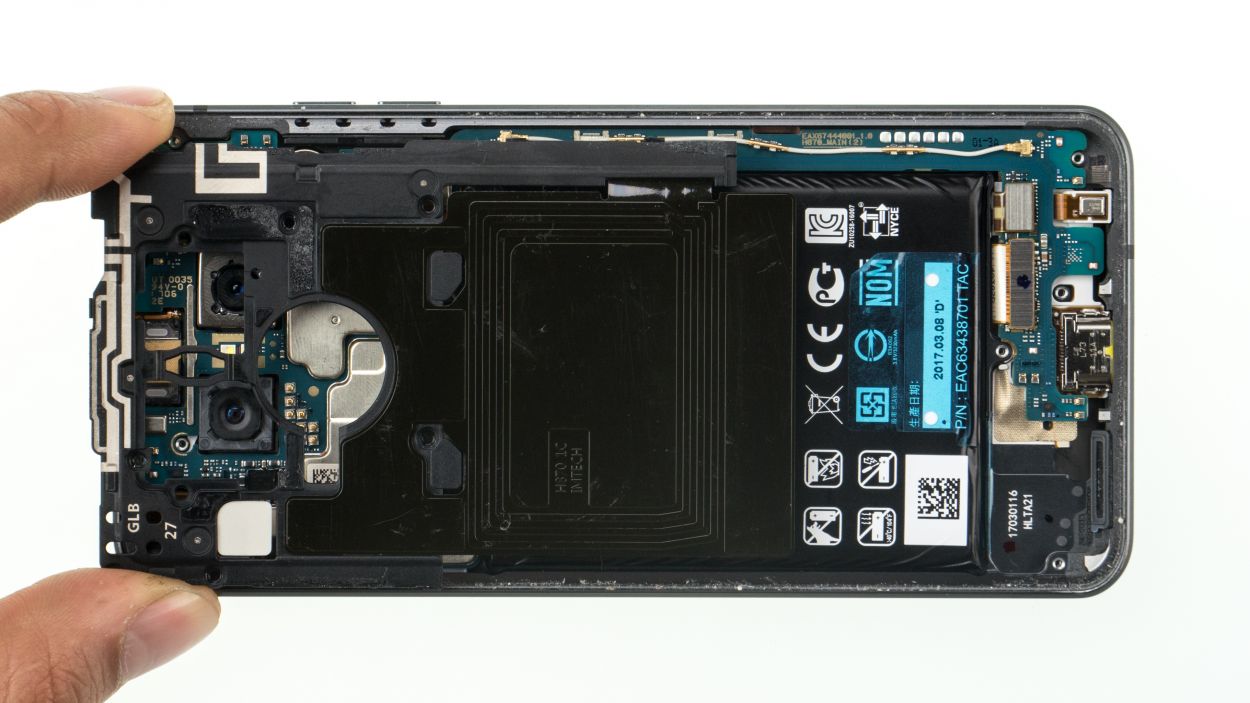
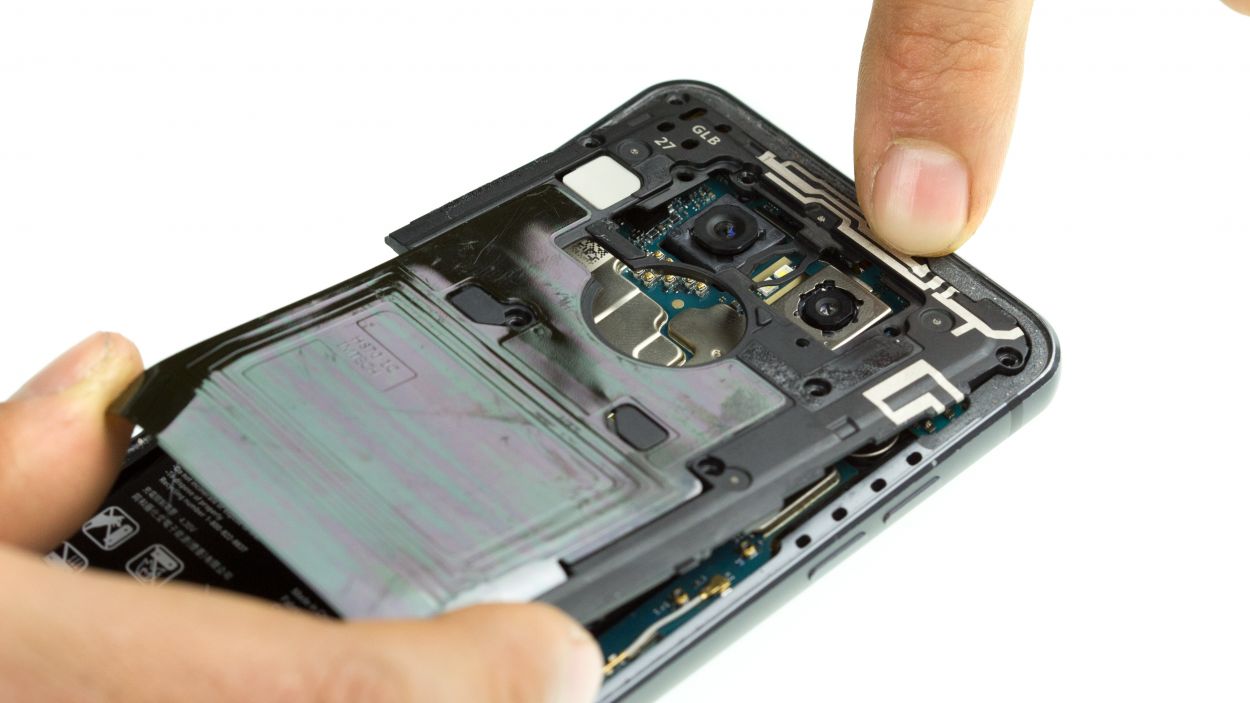
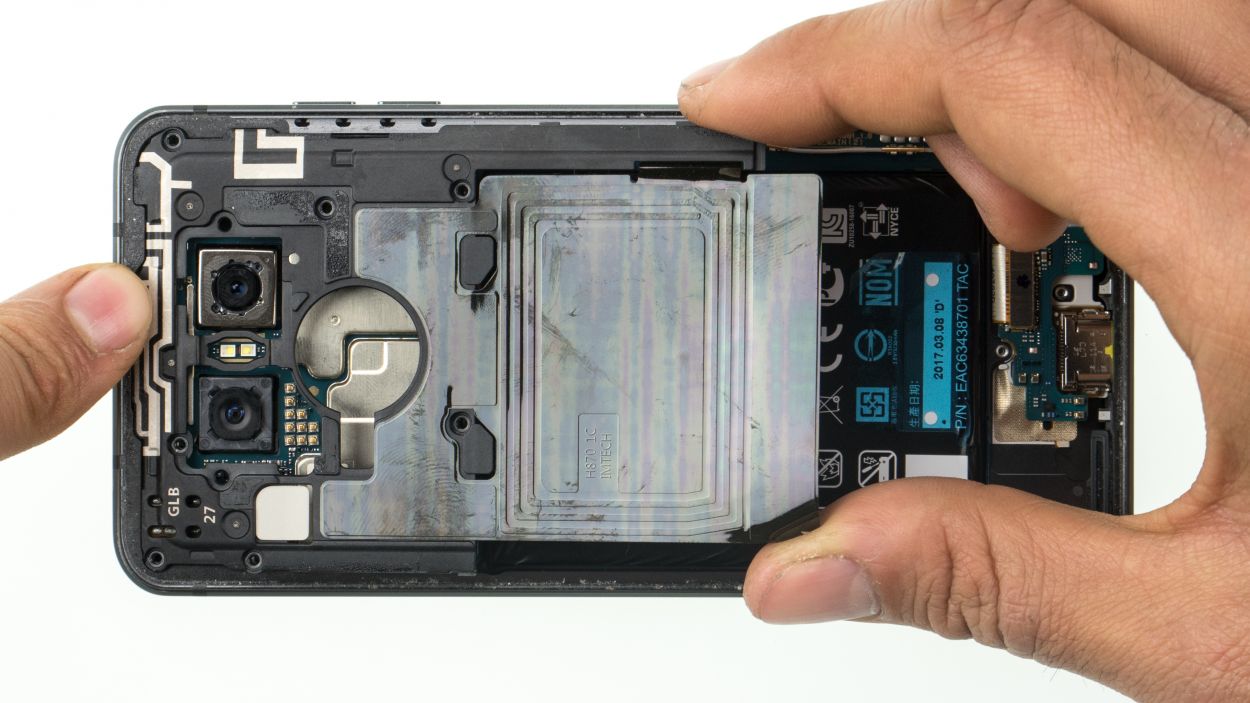
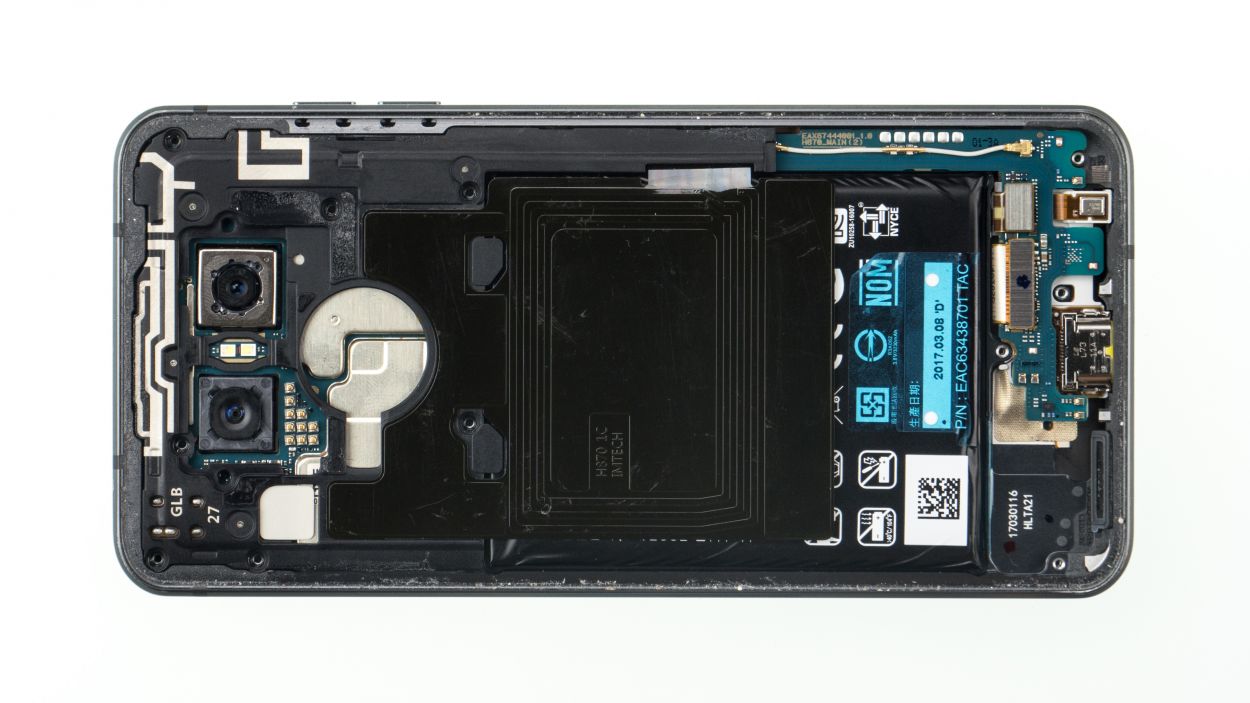
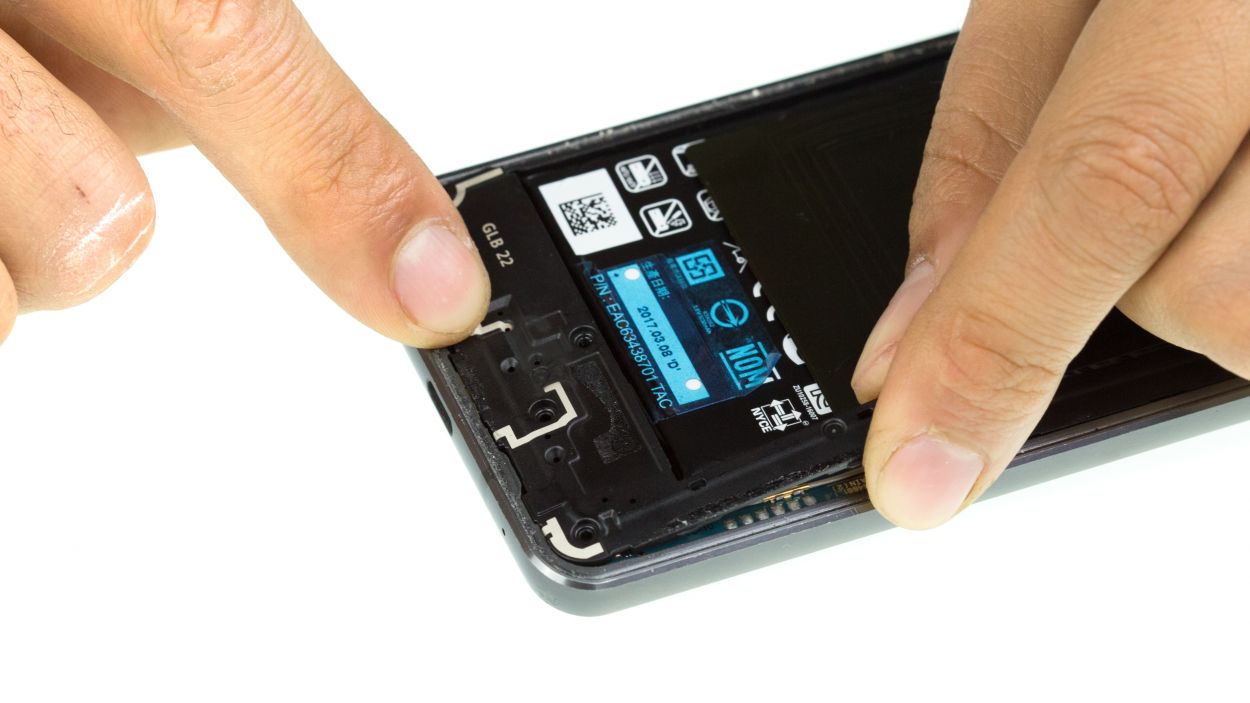
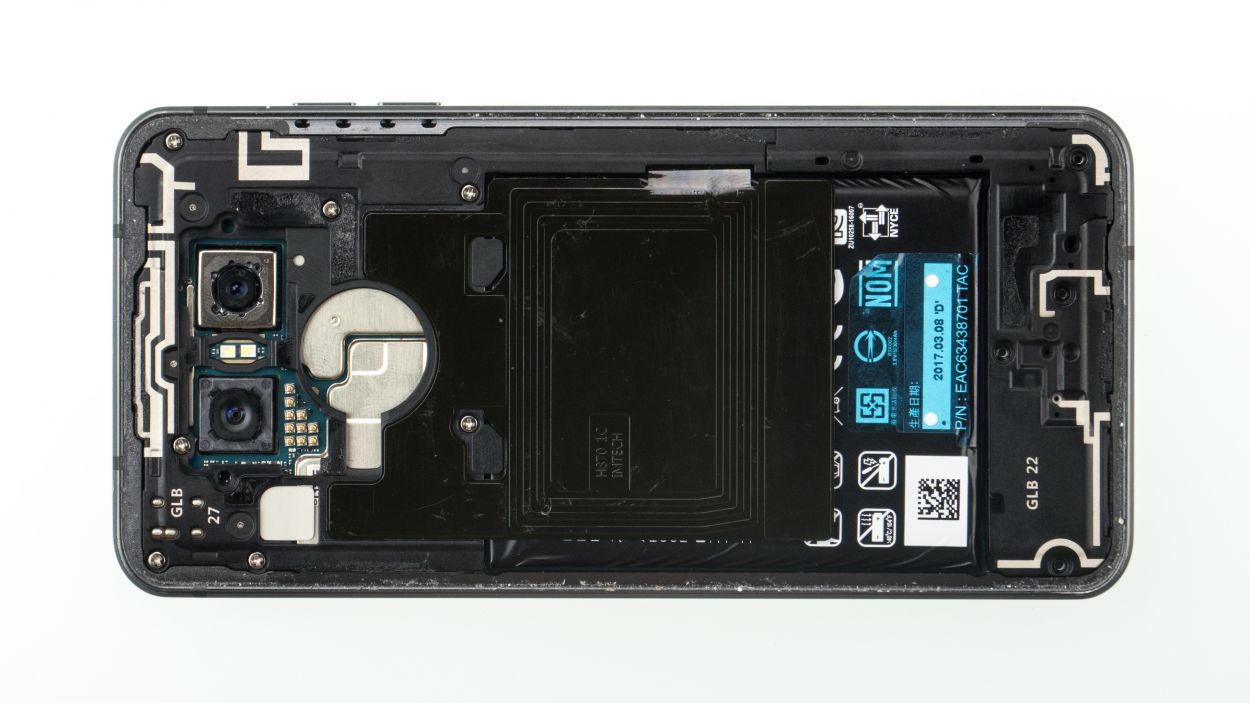
In this repair guide, we show you how to remove the motherboard of your LG G6. You need to remove the PCB if you want to clean it after water damage.
Step 1
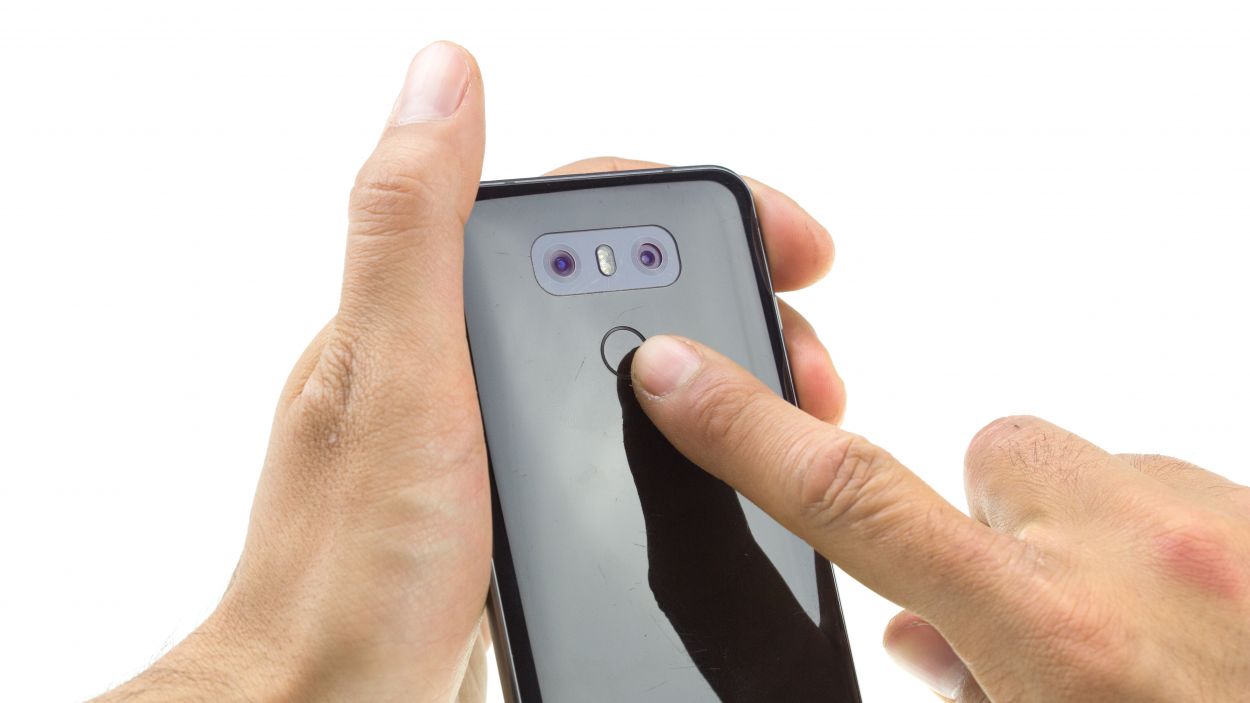
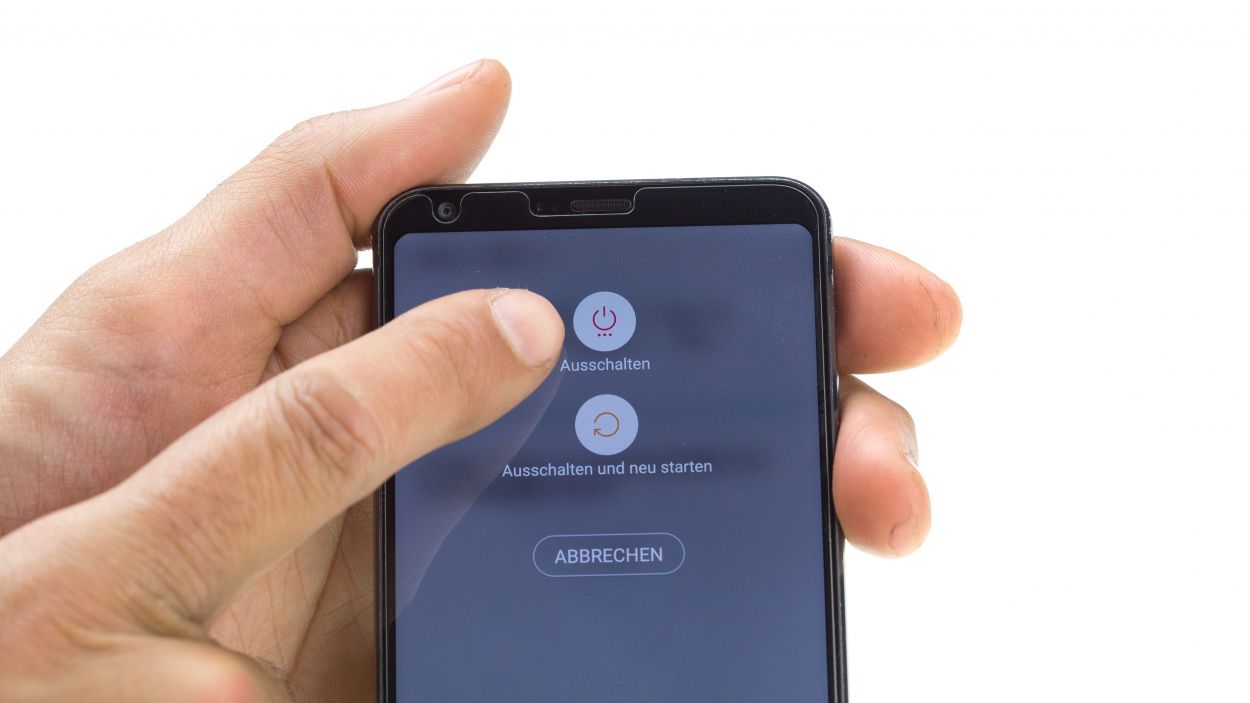
– Turn off your device by holding down the power button on the back until the “Power off” option appears.
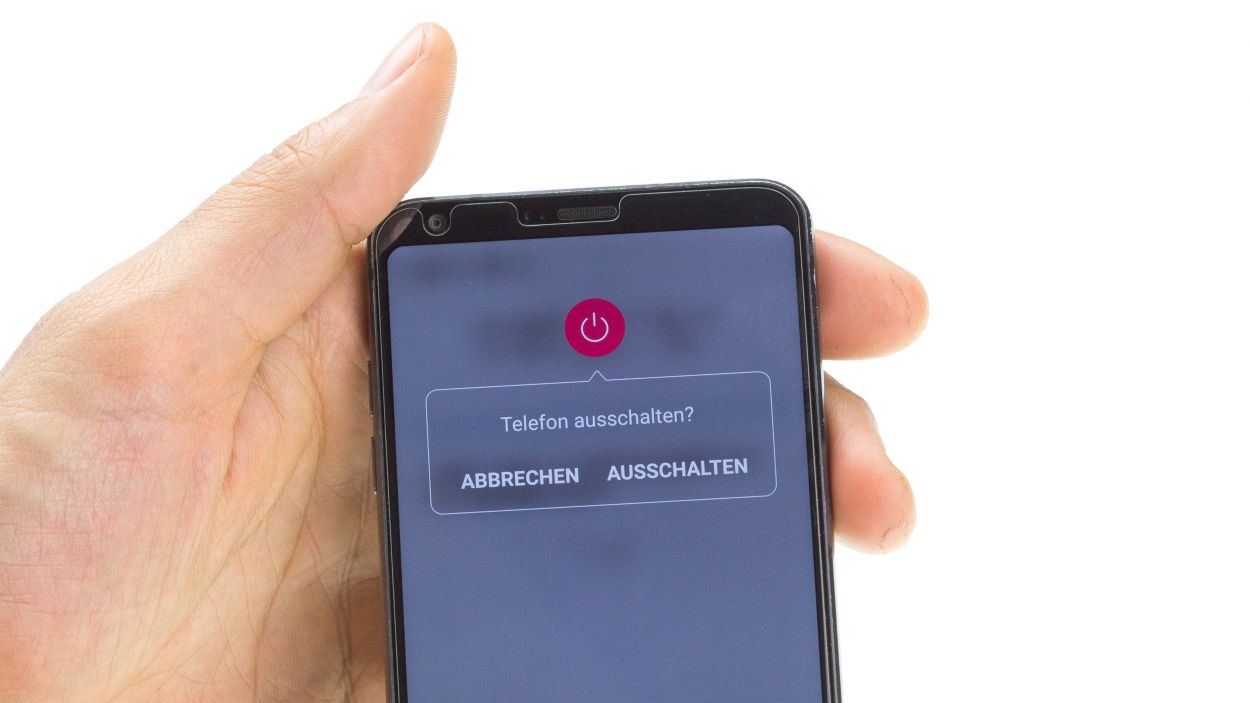
– Tap to confirm and wait until the screen goes black.
Step 2
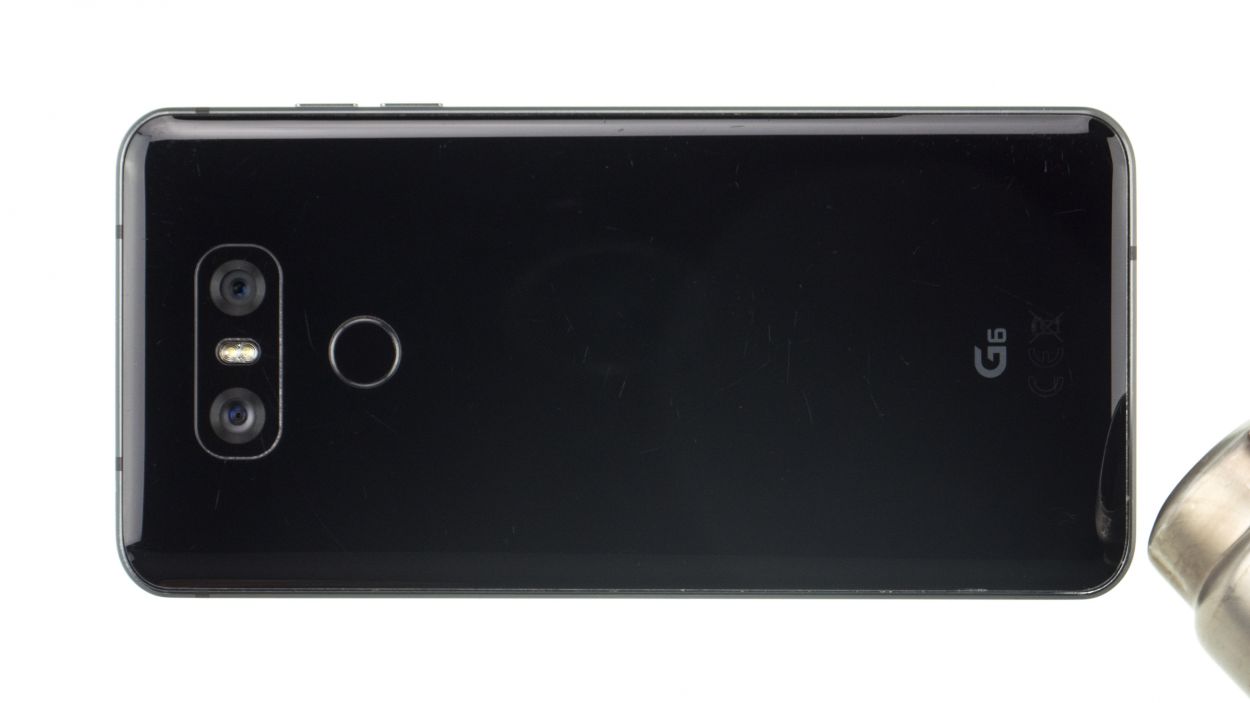
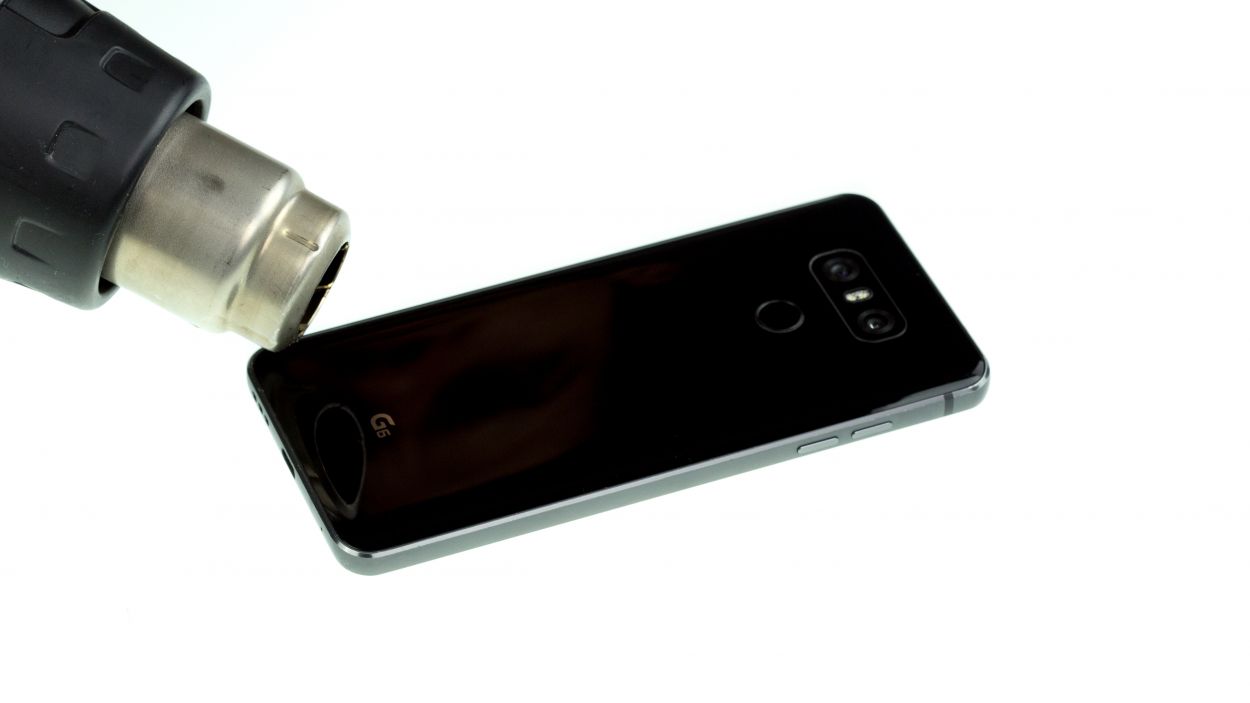
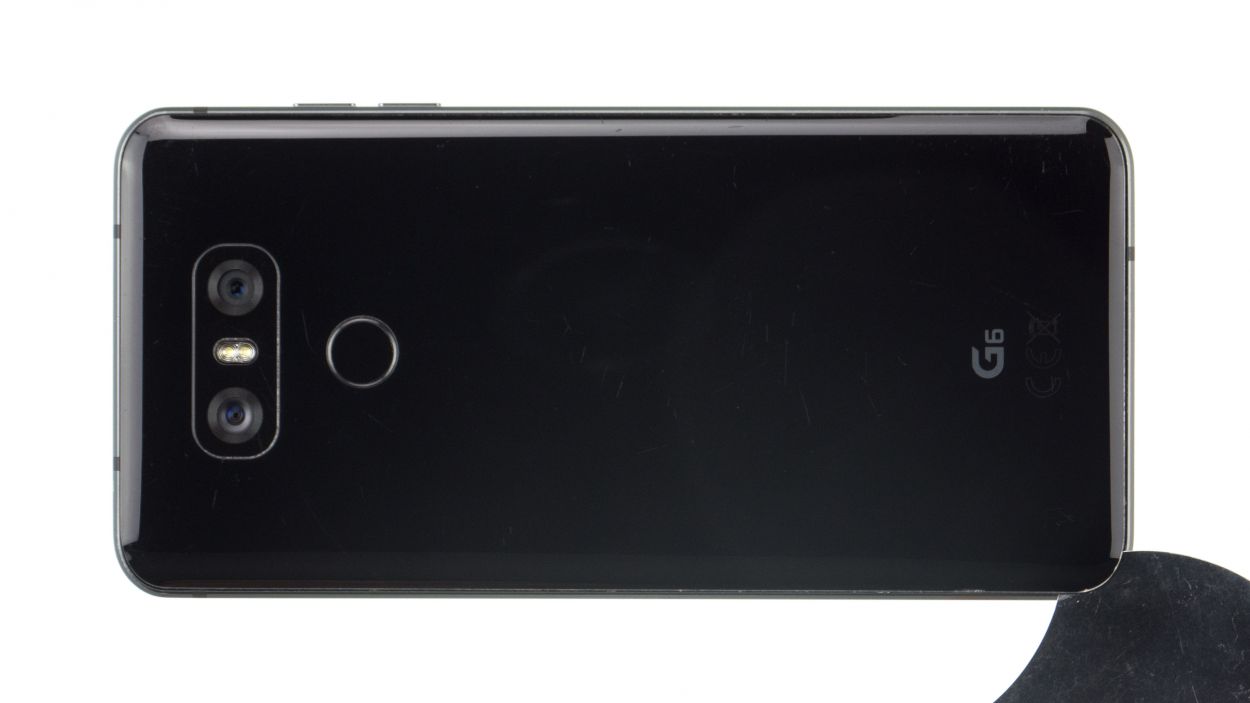
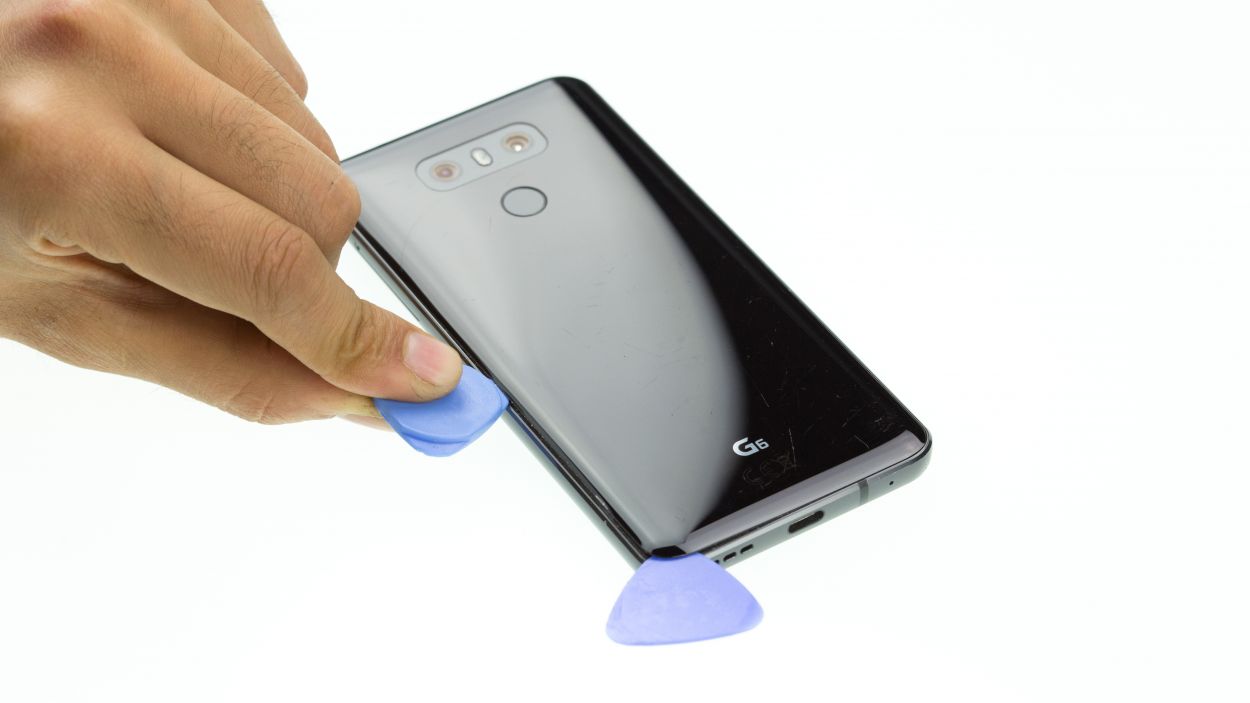
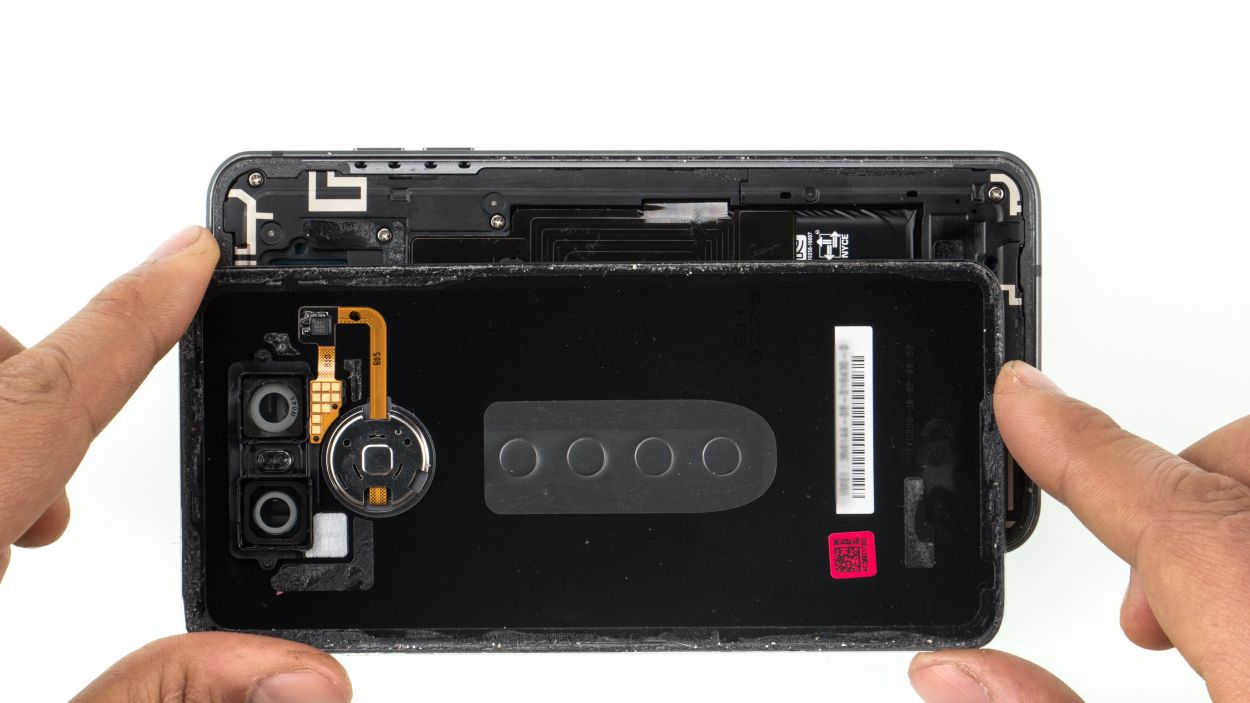
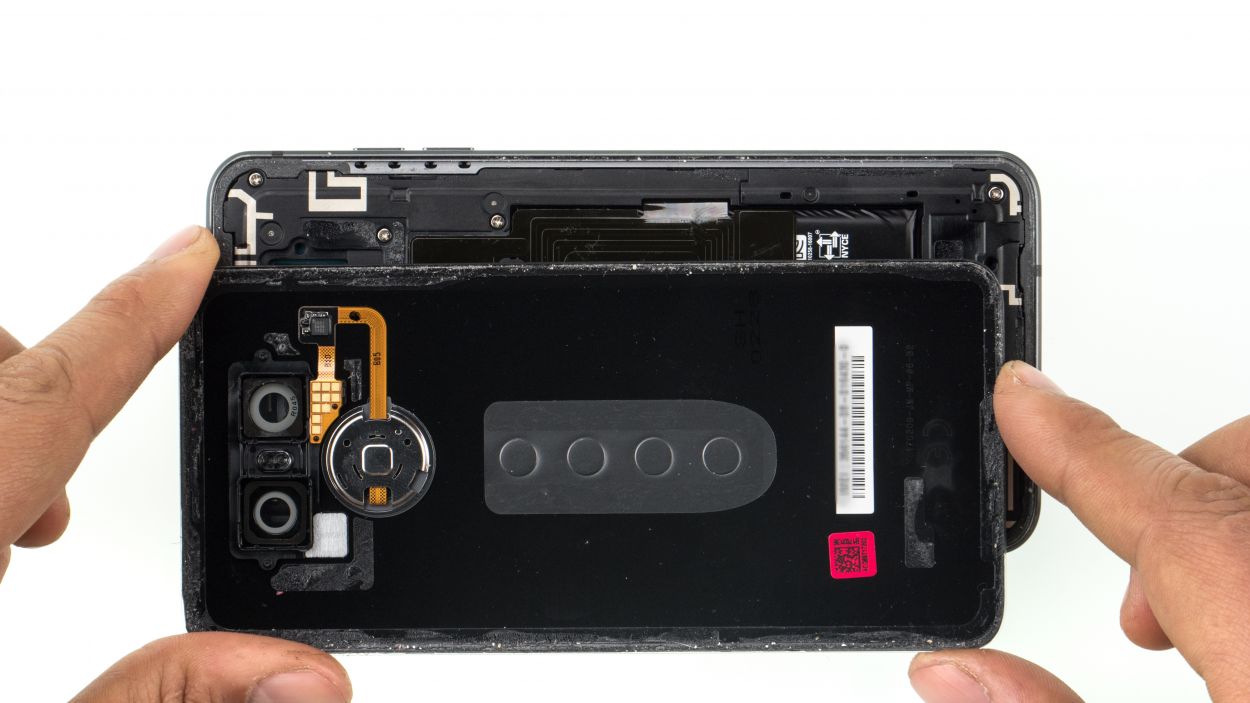
– Warm up that rear glass all around! It’s got a strong bond along the edges, around the home button, and over the USB port.
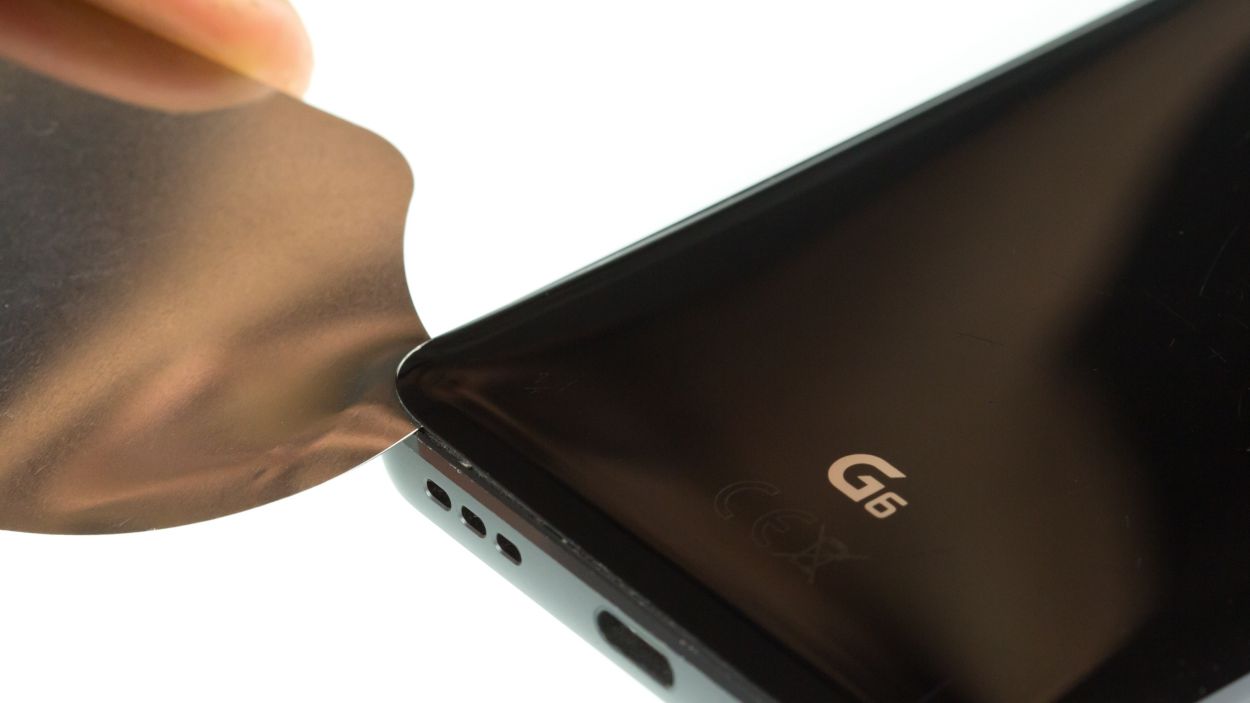
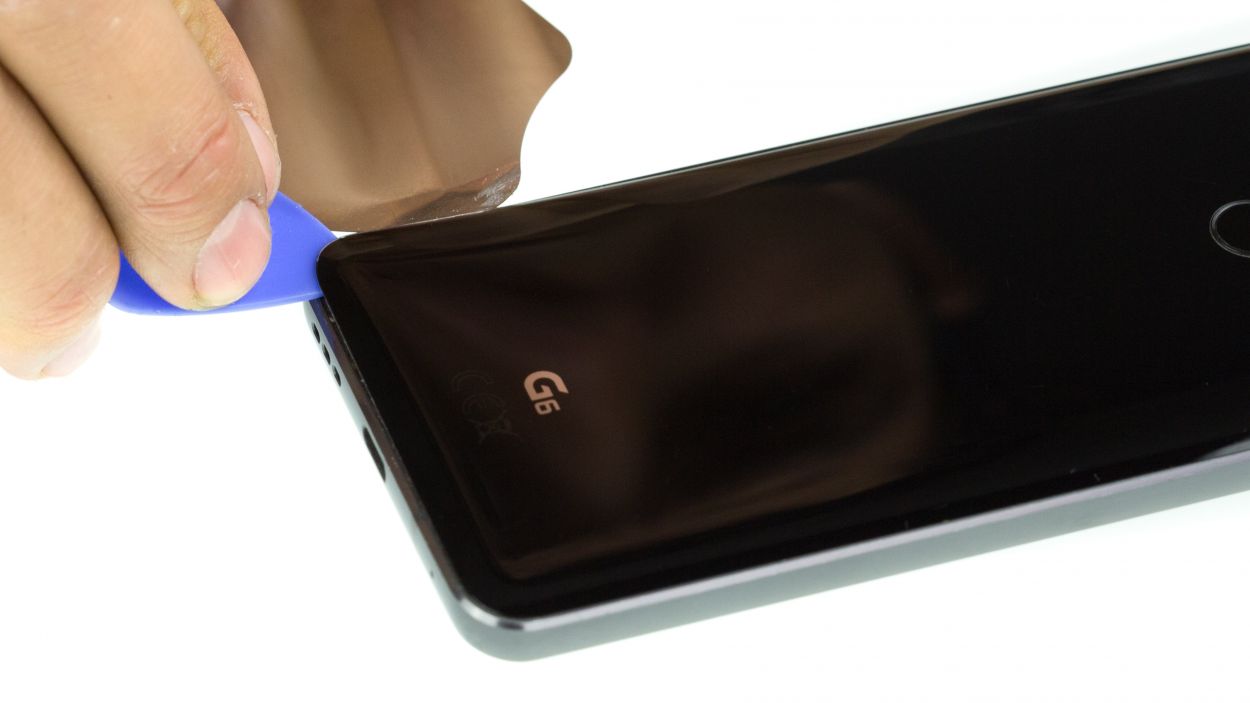
– Gently slide the iFlex between the rear glass and the frame, but keep it to a maximum of 5 mm. We want to be careful here!
Hey there! Just a heads up, the back cover is a bit fragile, so handle it with care! Instead of prying, gently slide the tool around the edges. If things aren’t budging, don’t hesitate to apply some heat and give it another go. Removing the back cover may require a little patience, so take your time and work carefully to keep everything intact. You got this!
Step 3
4 × 2.7 mm Phillips
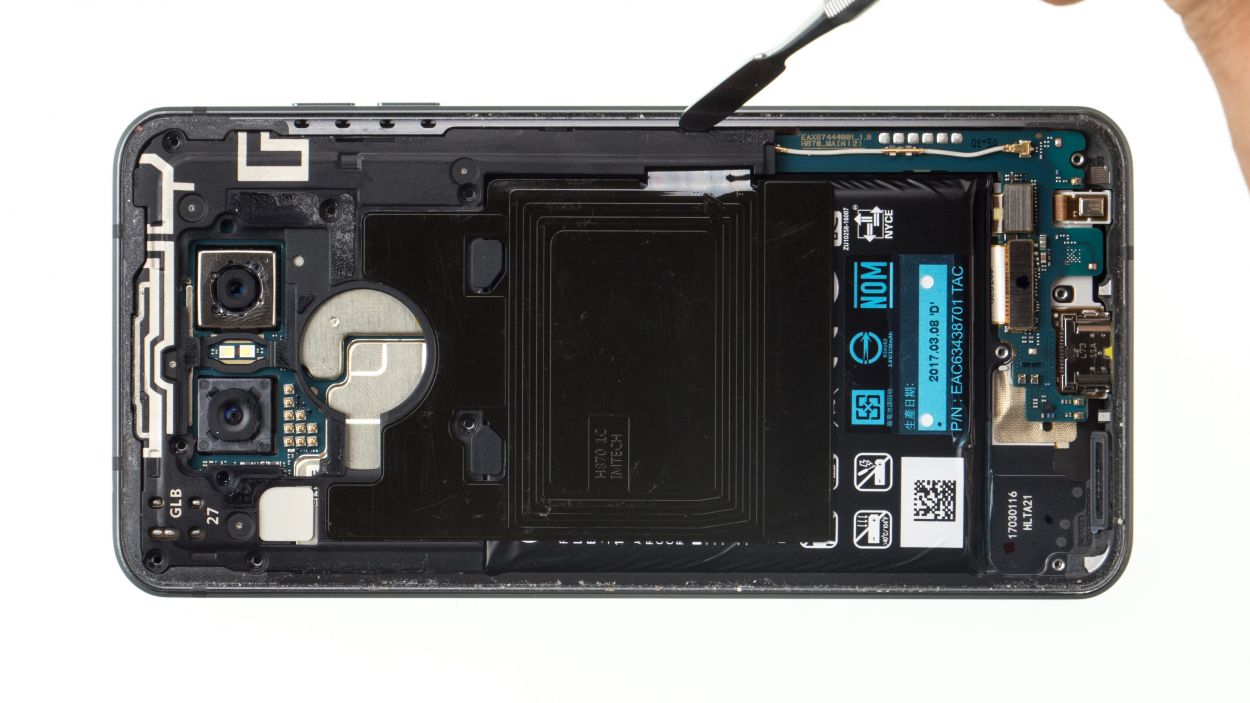
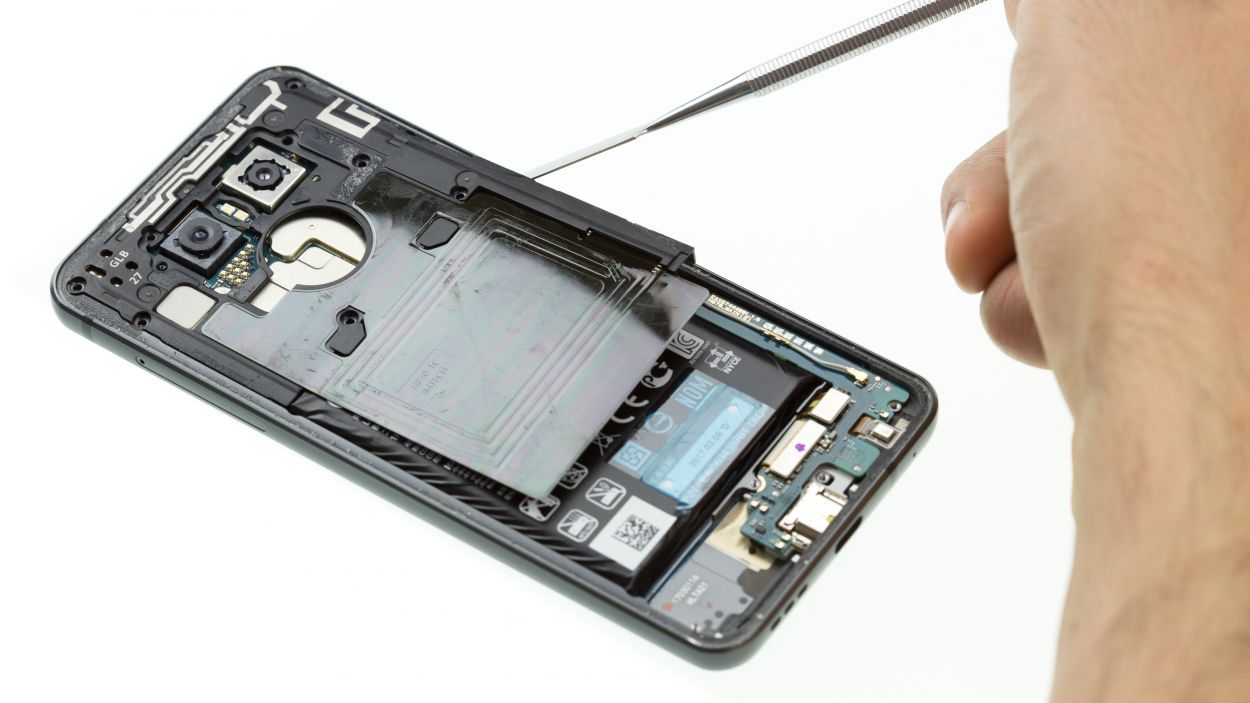
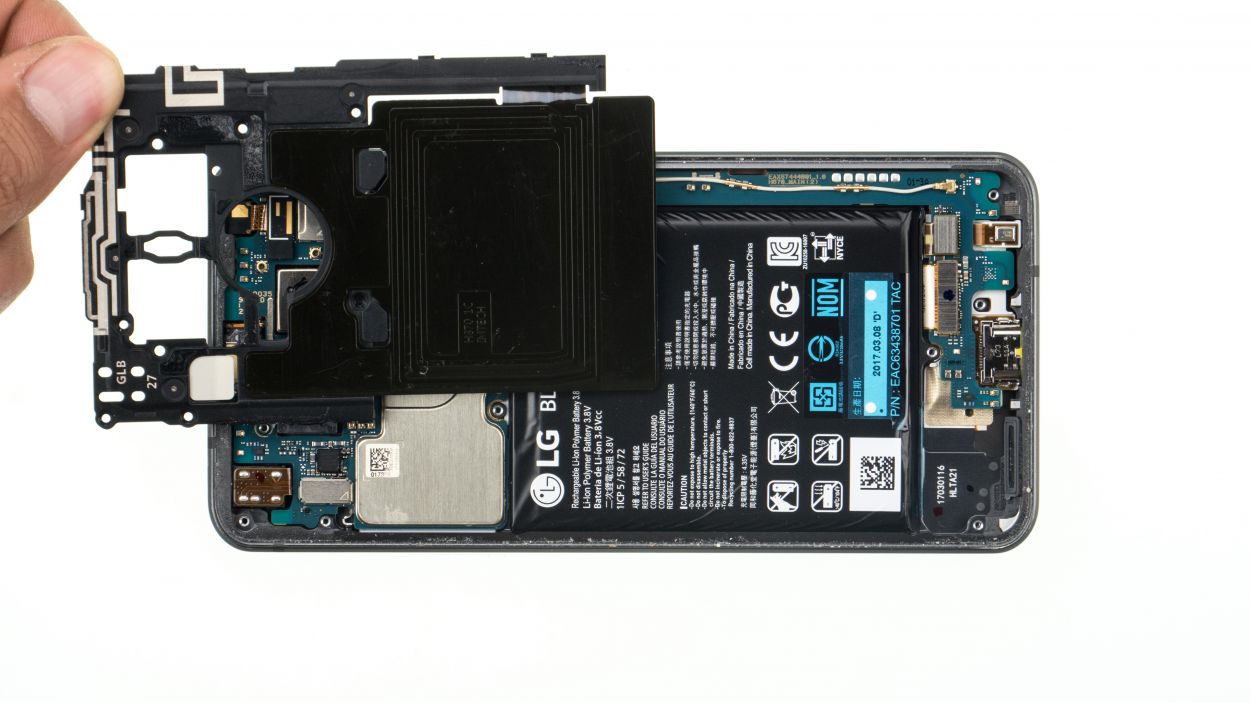
The LG G6 features a single screw length, and it’s the midframe and speaker that are held in place with screws. Keep it light and breezy, and remember: if you need a helping hand, feel free to schedule a repair!
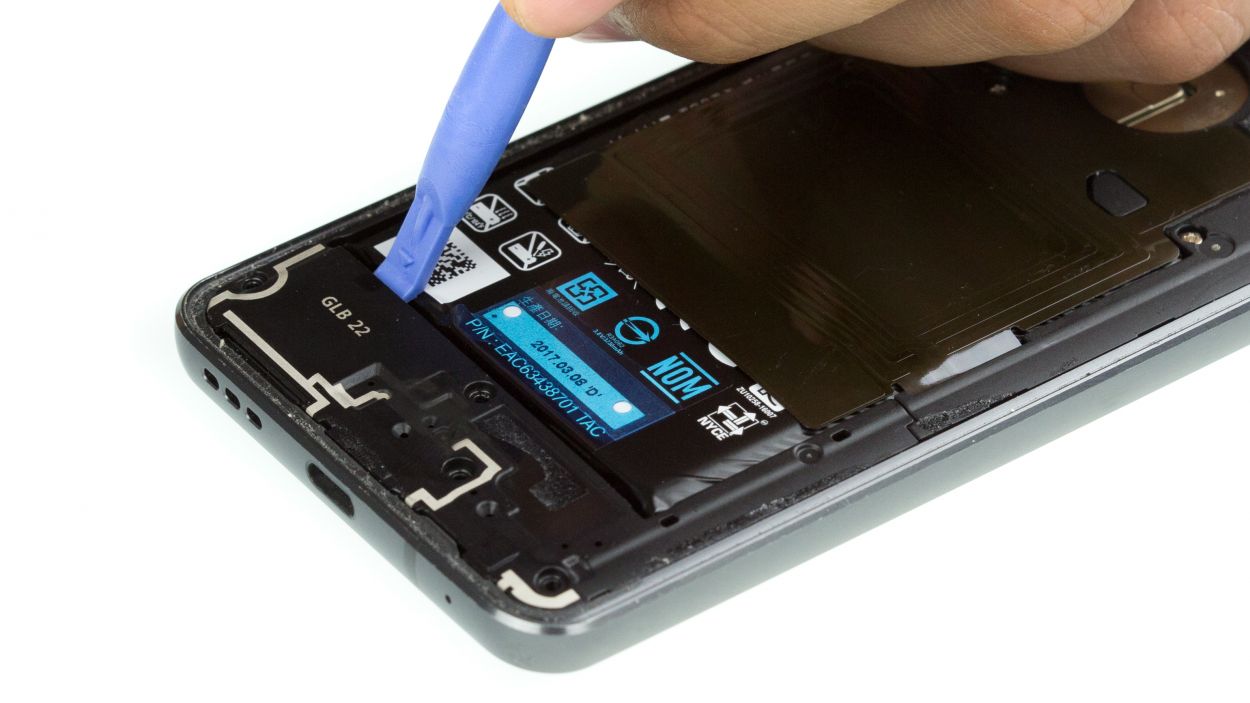
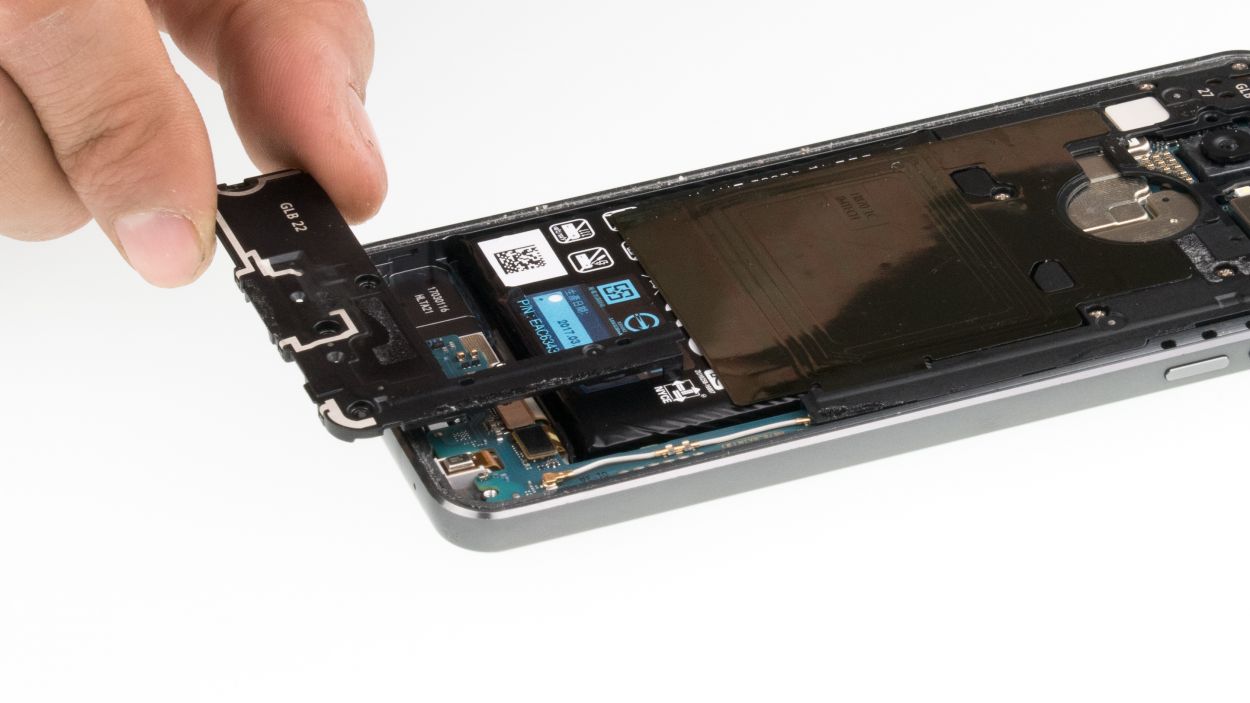
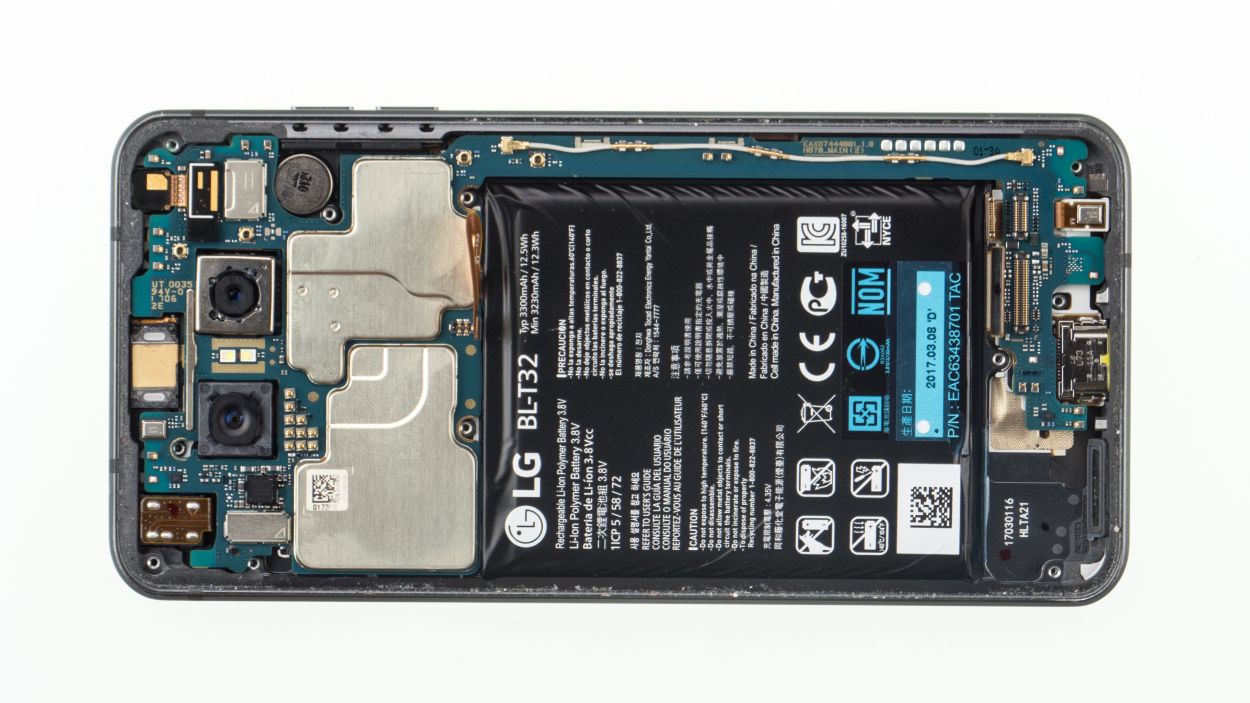
– Remove the equal-length Phillips screws from the speaker and store them for later.
– Then pry out the speaker from the side of the battery and take it out of the device.
Step 6
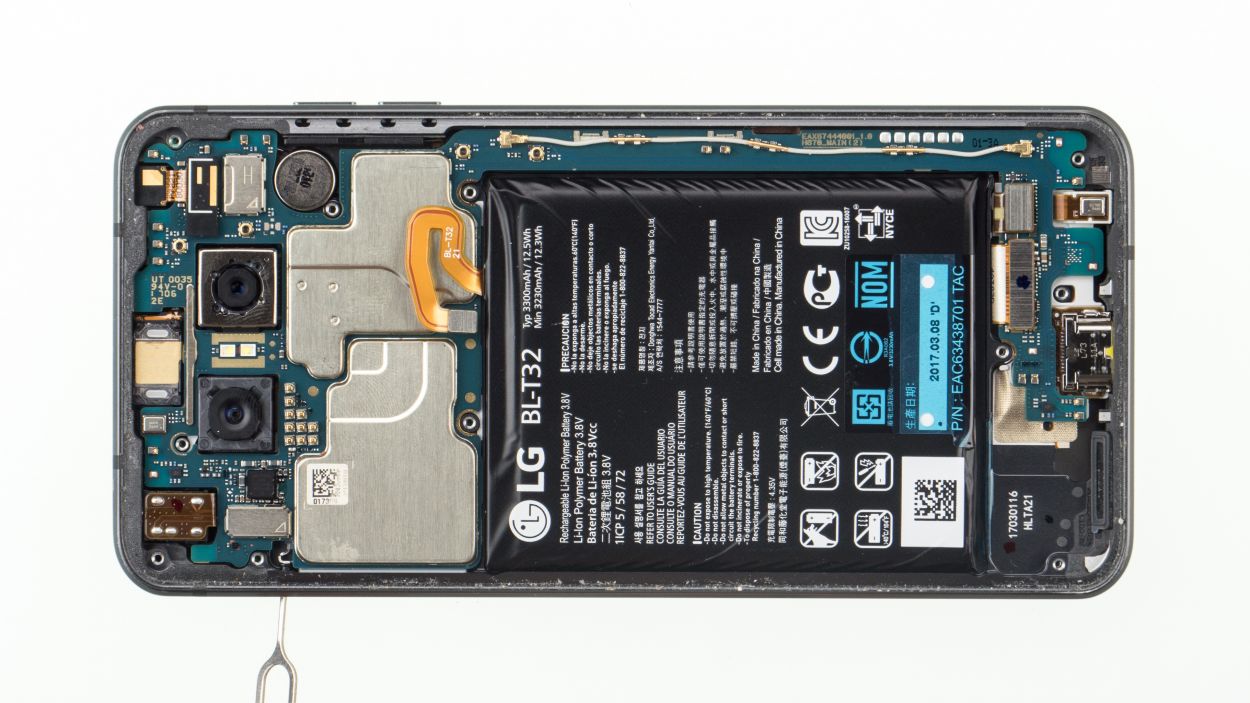
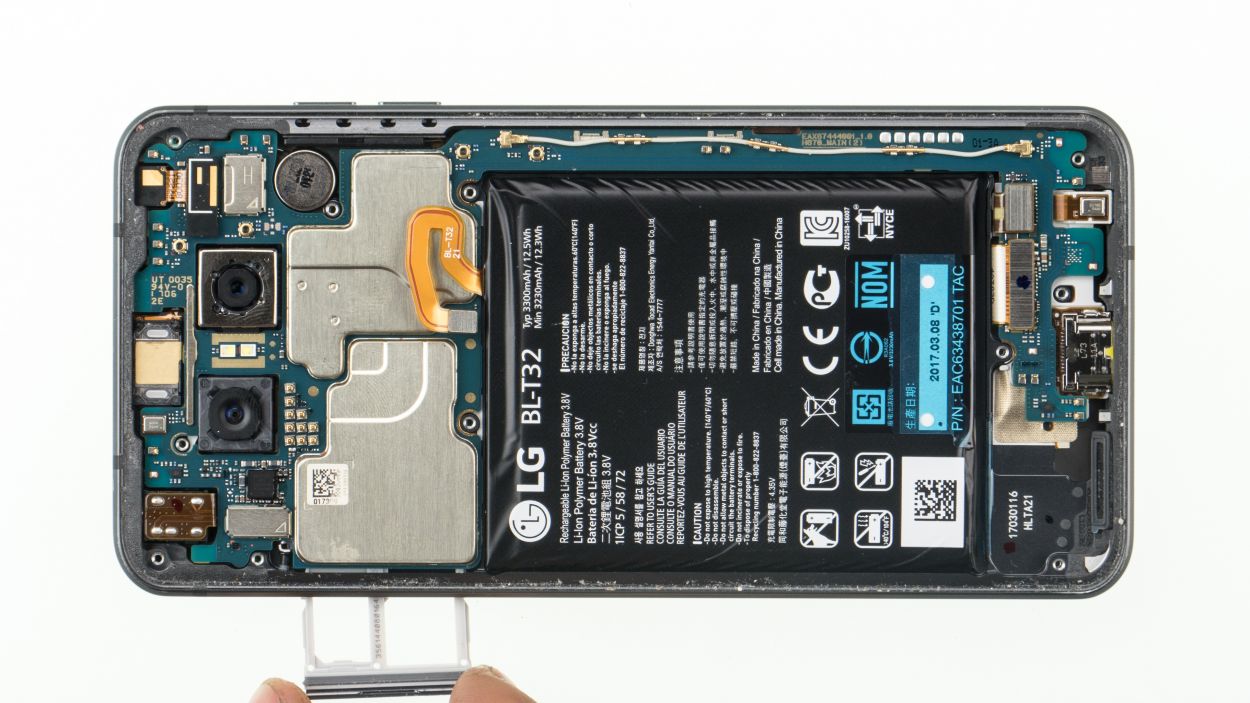
– Gently pop a SIM tool into the little hole on the SIM tray.
– Carefully pull the SIM slider out of your device.
Step 7
Handle the logic board with care—it’s a delicate little thing that can break if you bend it!
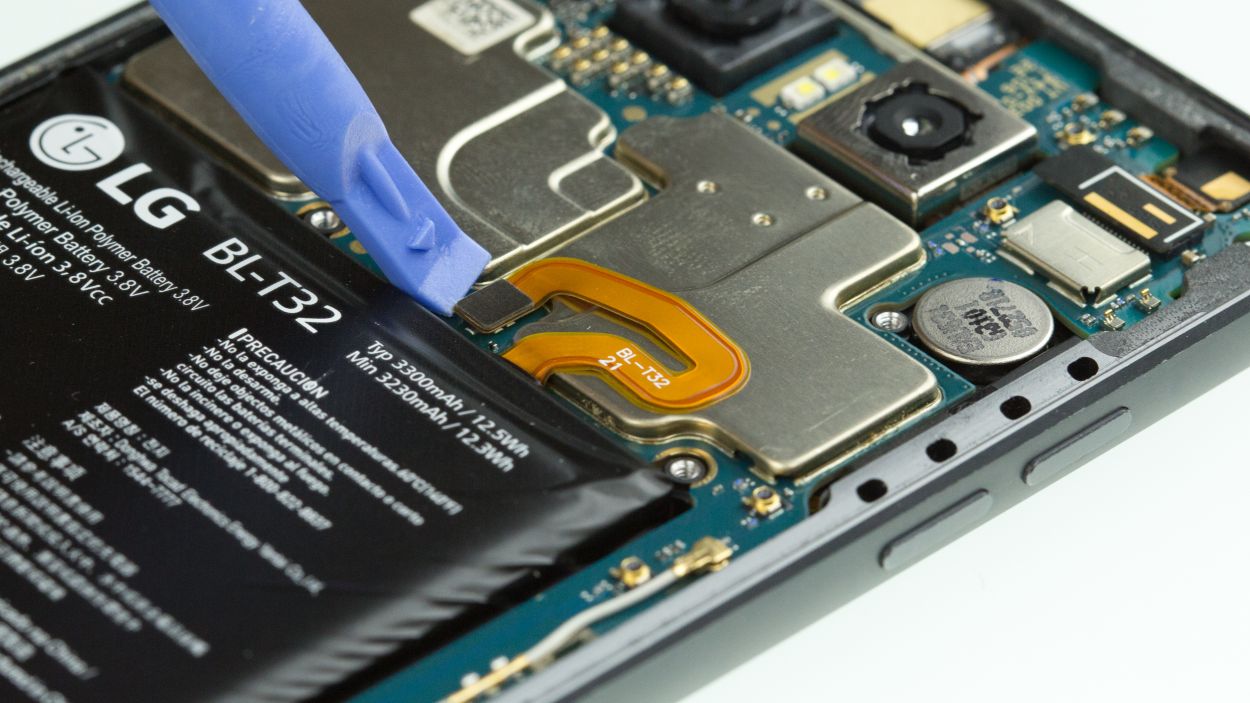
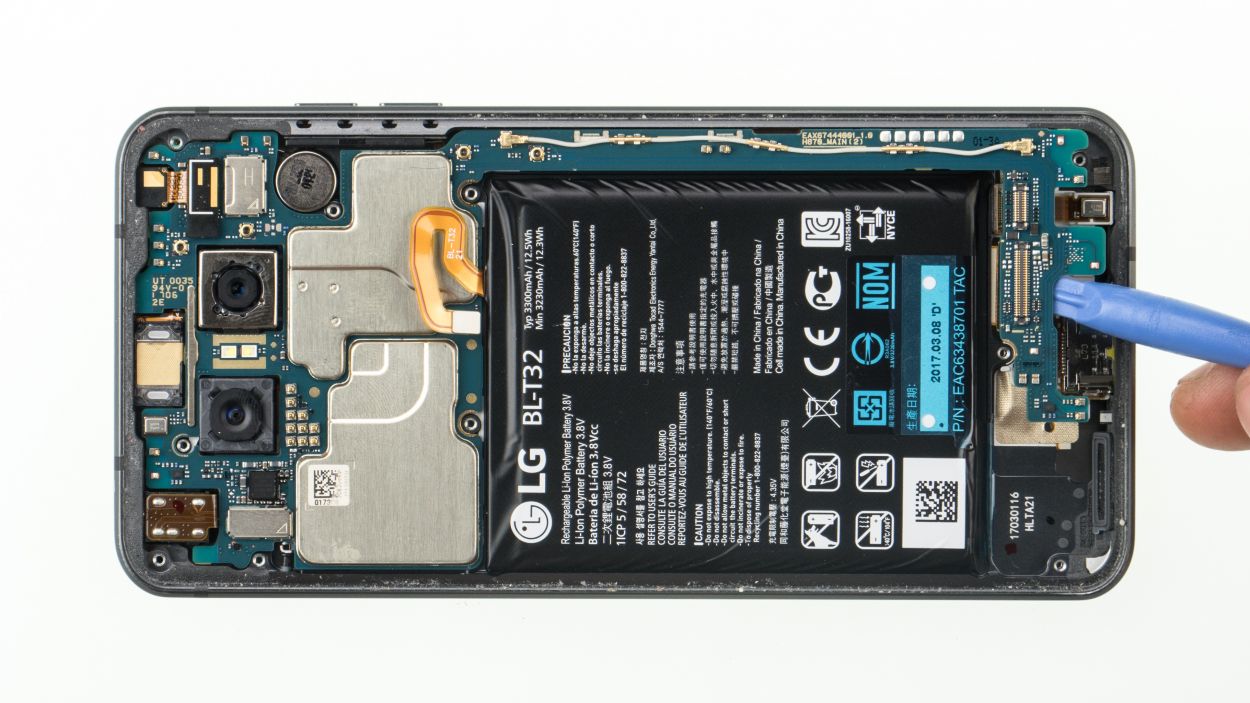
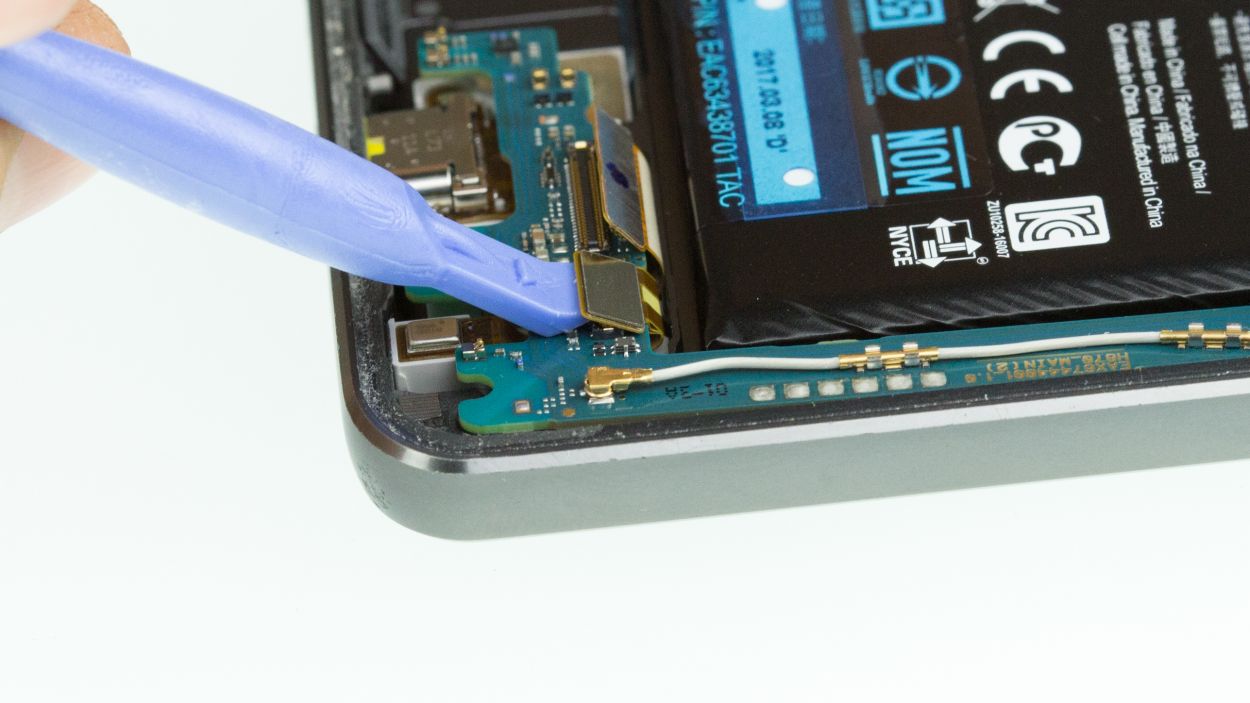
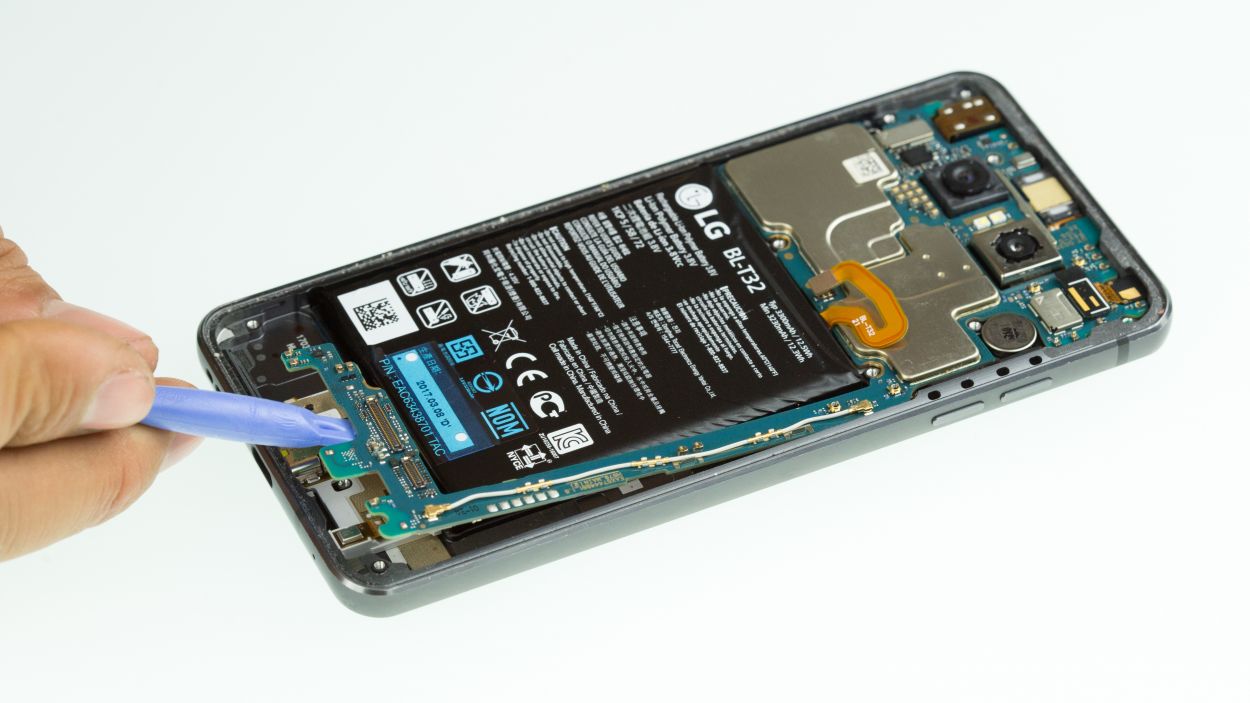
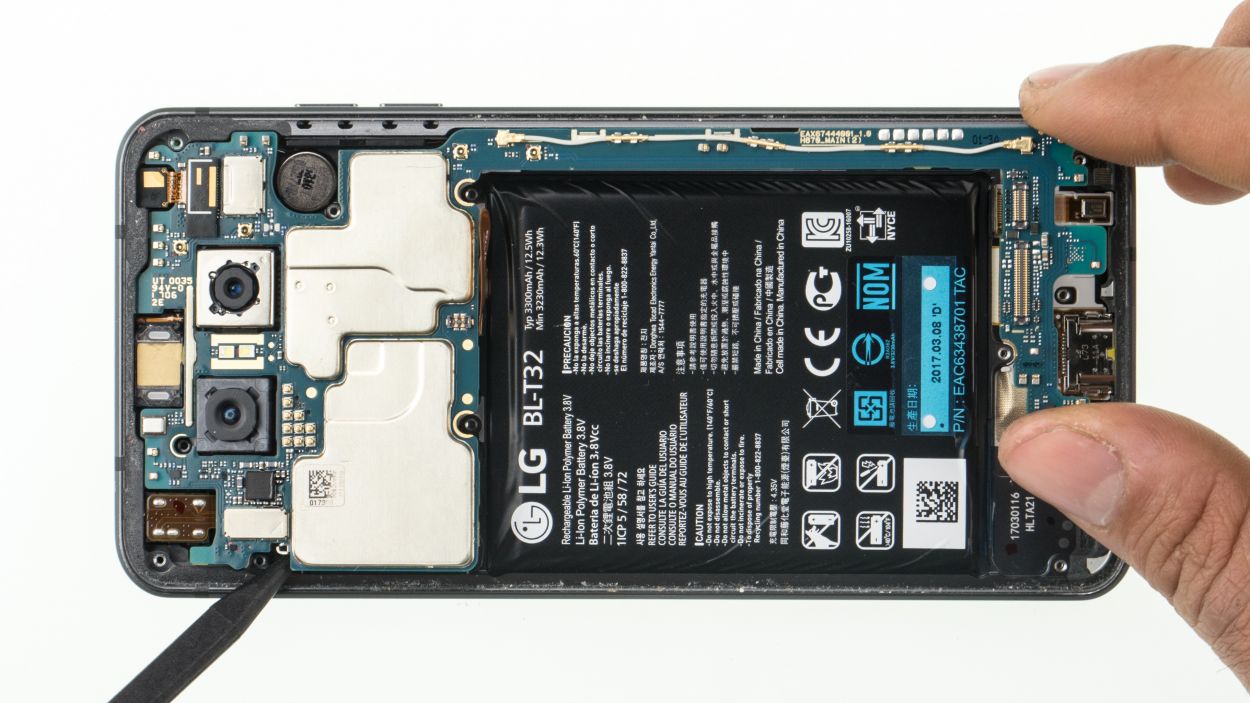
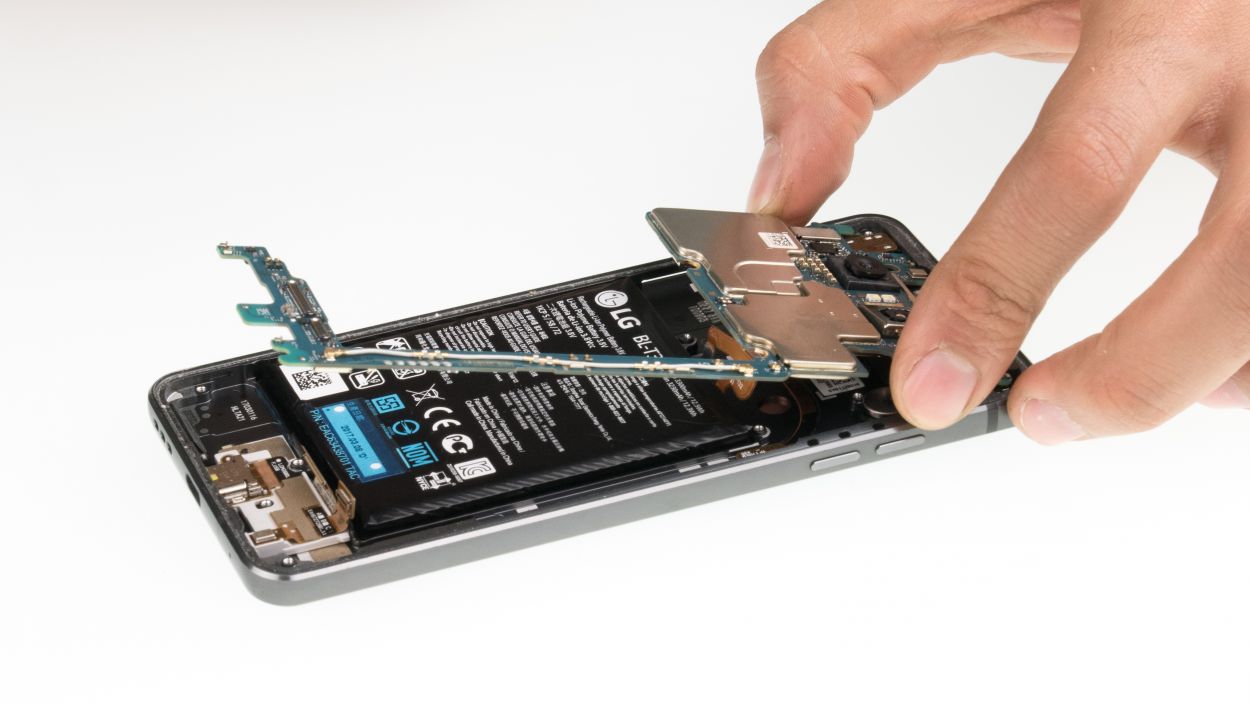
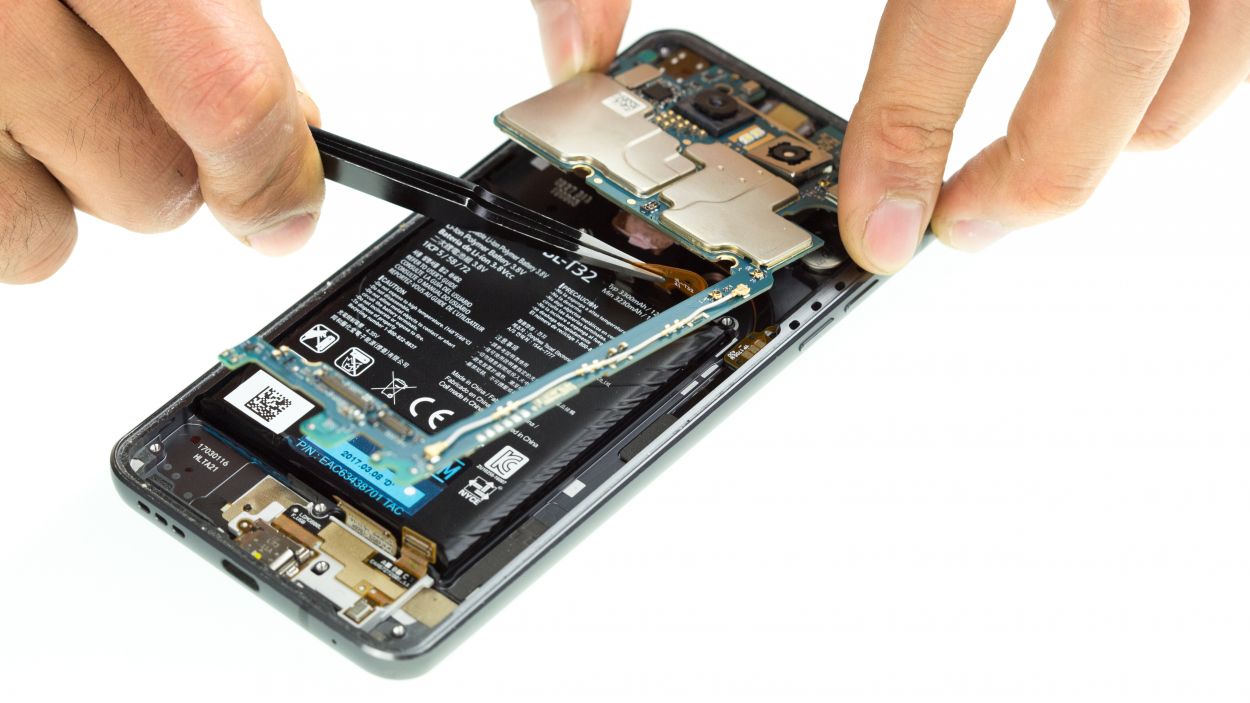
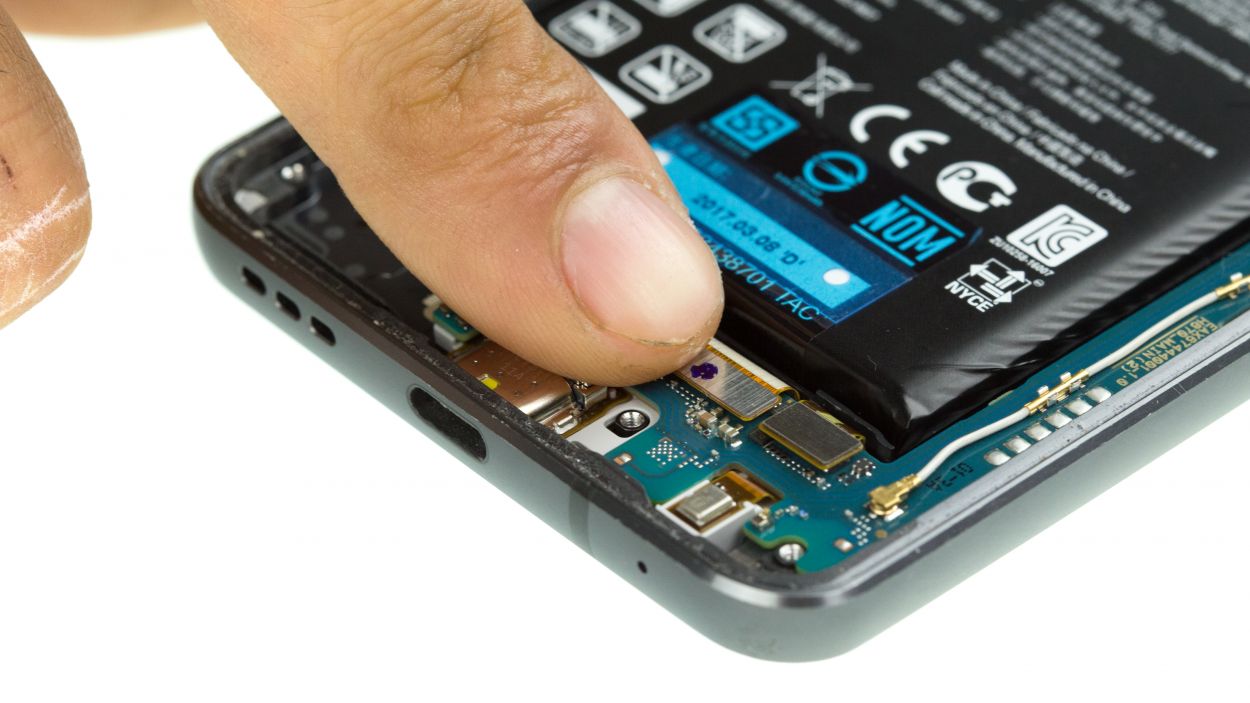
– First things first, let’s disconnect those two connectors hanging out on the lower side of the logic board.
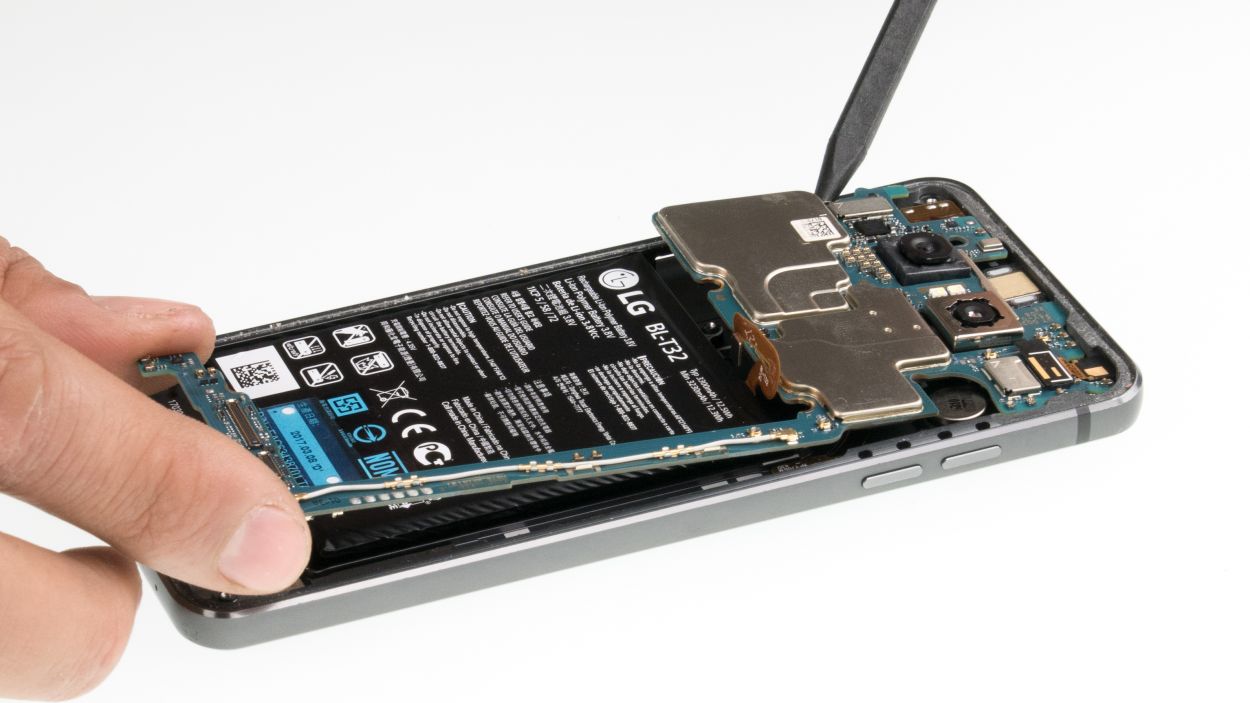
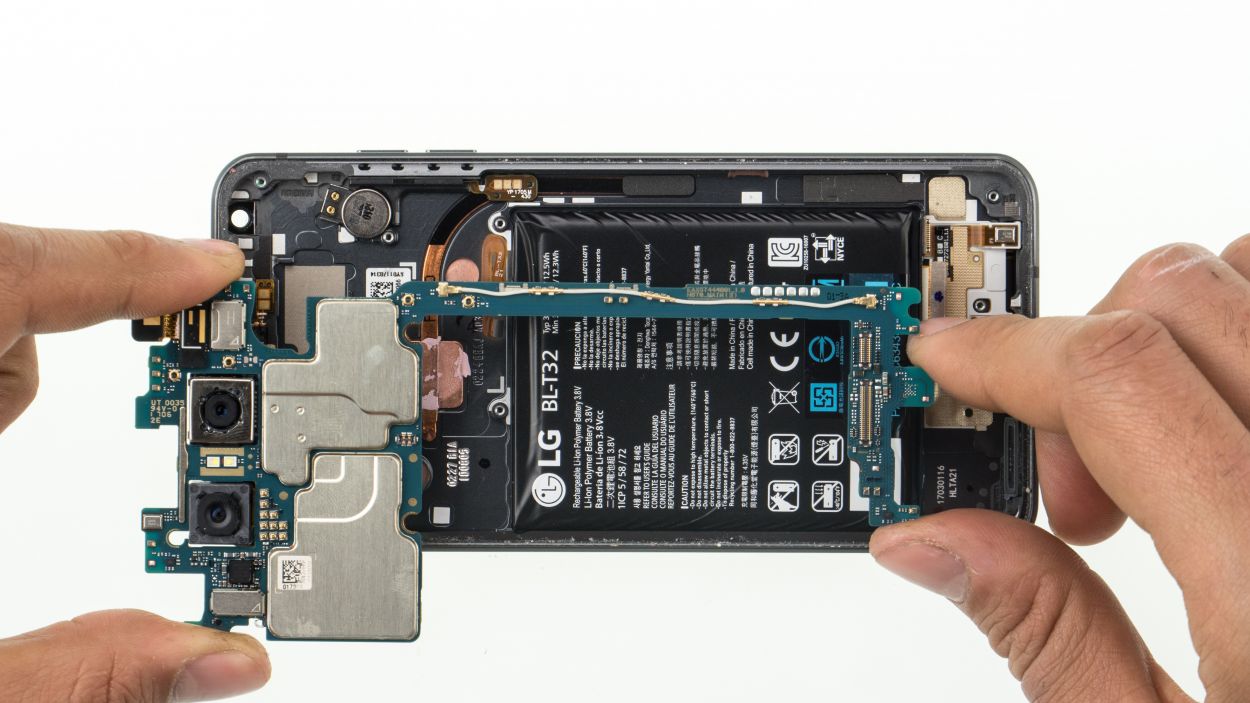
– Next up, gently pry out the lower side of the logic board. Don’t forget to unclip it from all the other spots where it’s snugly held in place!
Step 8
Keep the beat going- Make sure the battery cable and those two connectors at the bottom are groovin’ and don’t get tied up under the board!
– First check if the pin for the SIM tray is in place. If not, put it back in its opening.
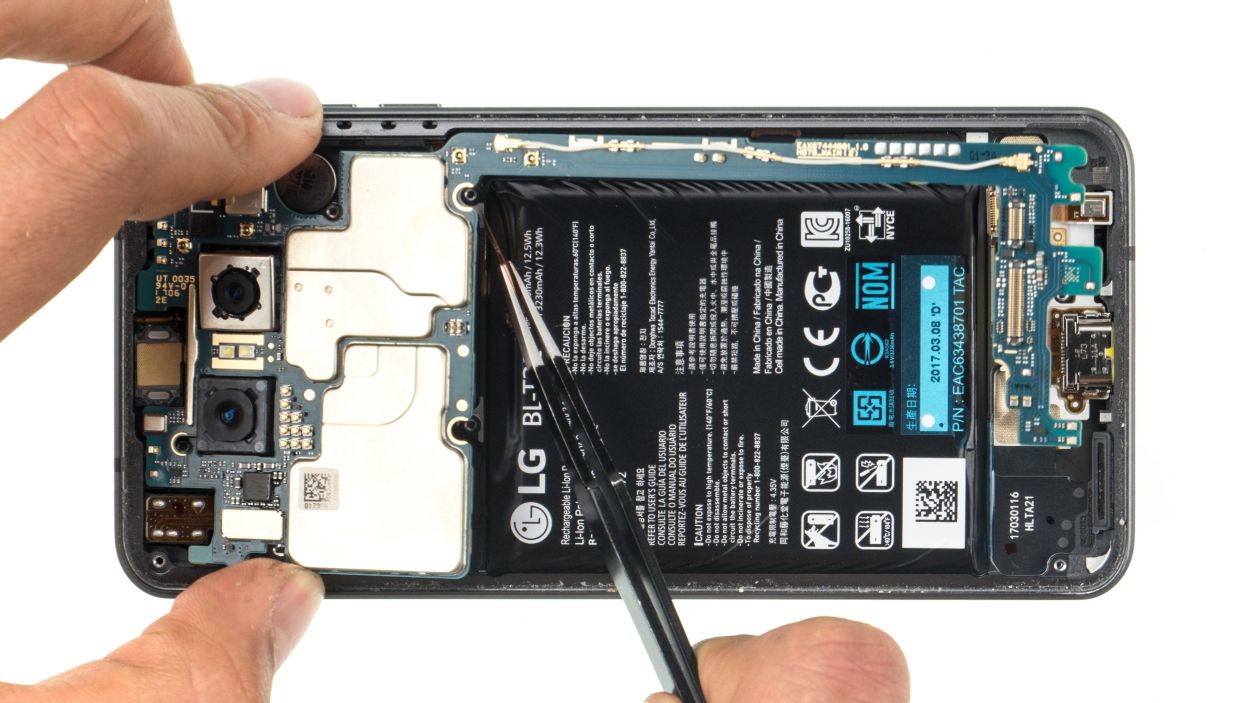
– Place the logic board back into the device.
Step 9
If you’ve got SD or SIM cards, make sure to pop them in first!
– Gently slide the SIM tray back into your device like a pro!
Step 11
7 × 2.7 mm Phillips
– Gently pop the midframe back into your device and give it a little press to secure it.
– Tighten it up with those trusty Phillips screws to keep everything snug.
Step 12
4 × 2.7 mm Phillips
– Gently pop the speaker into the device and give it a little press to make sure it’s snug.
– Tighten those Phillips screws to keep everything in place!
Step 13
You can heat the rear glass again to make the glue stick better.
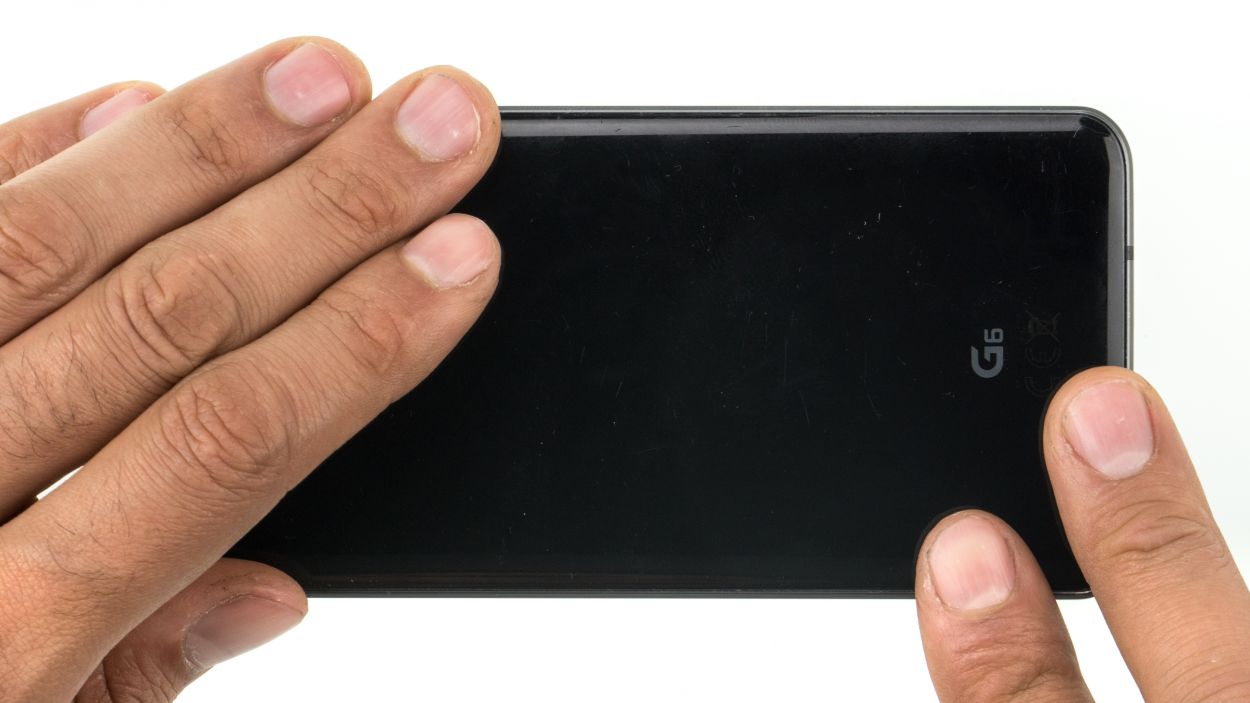
– Place the rear glass back on the device and press it on.
Step 14
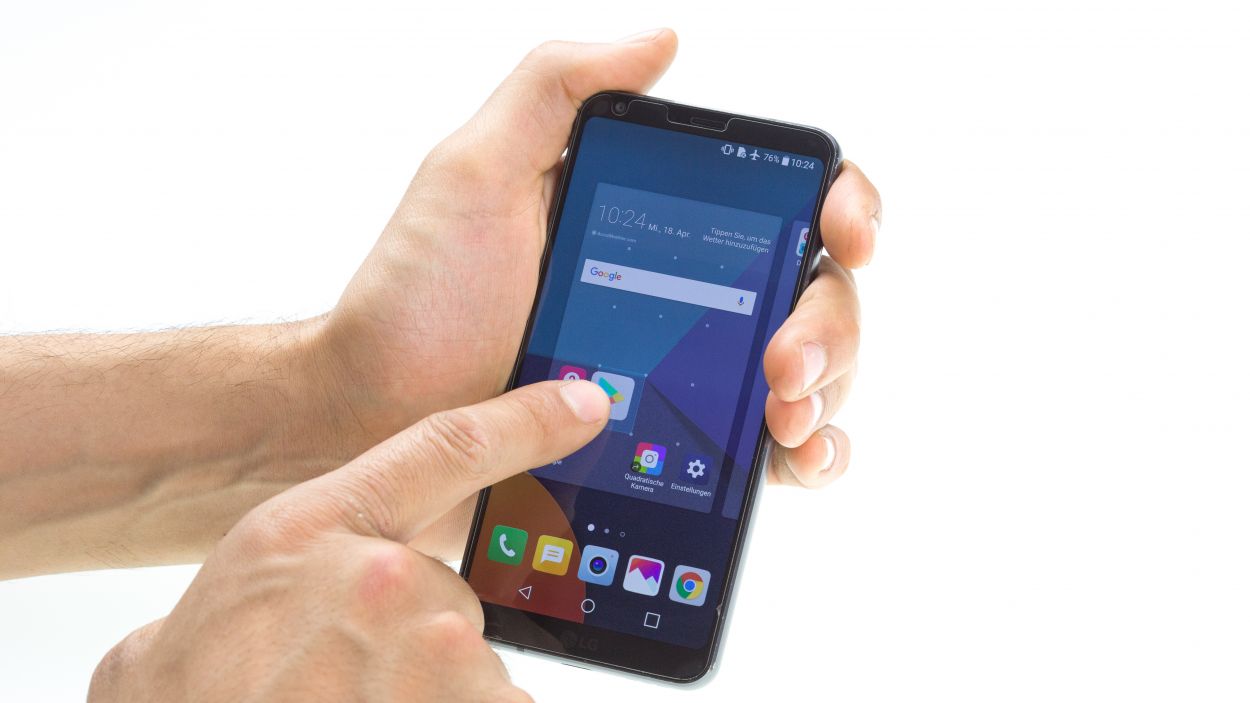
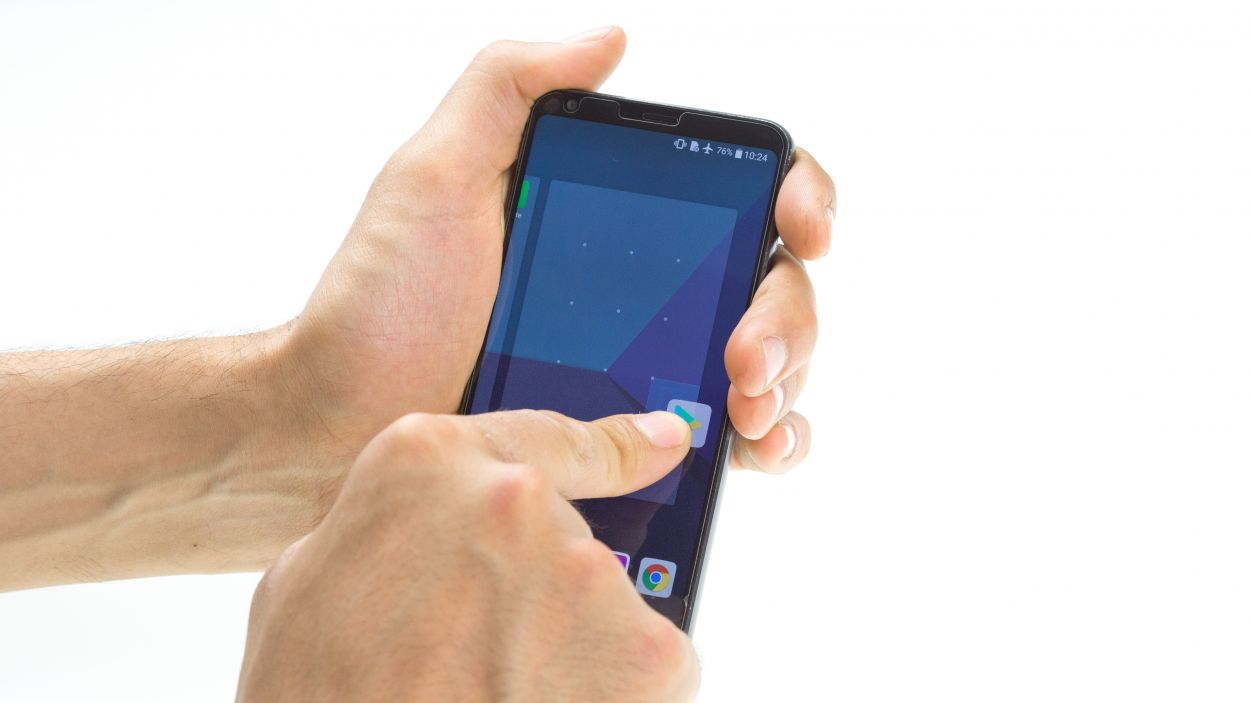
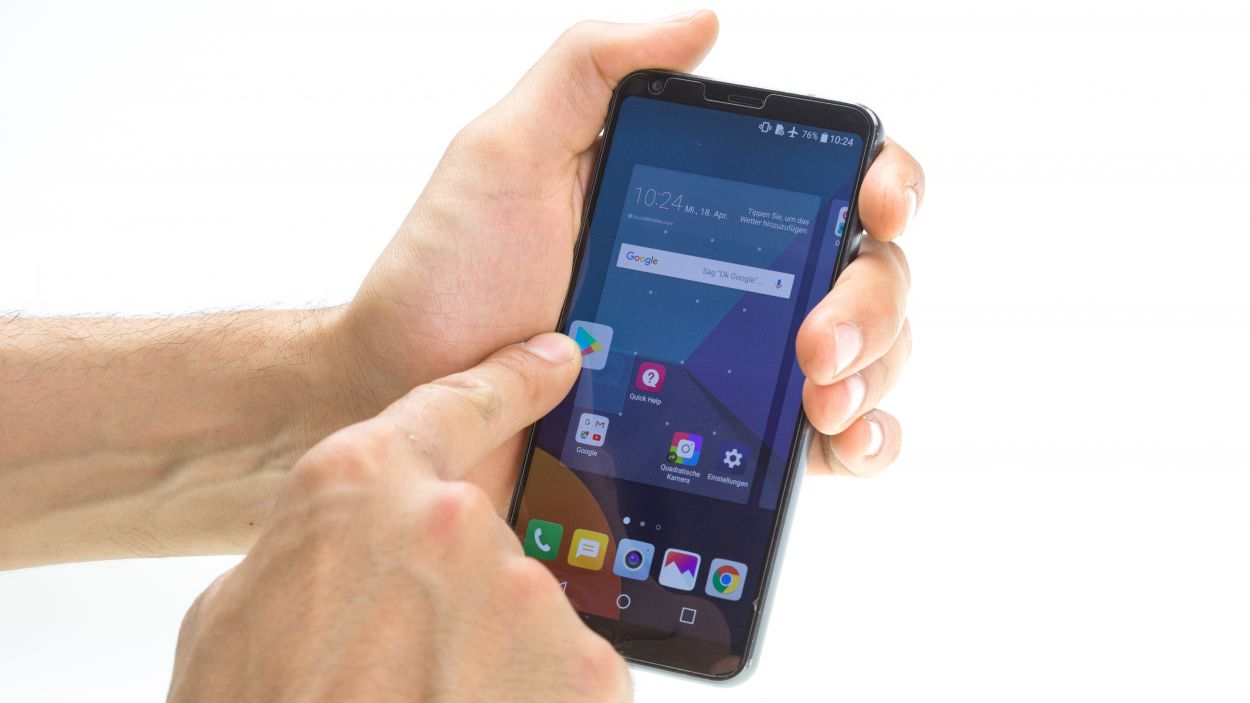
– Fire up your device and give it a little dance by dragging any app all around the screen! Make sure to take it for a spin along the edges and then do a fun zigzag across the display. Just remember, the app is your dance partner, so let it follow your lead!
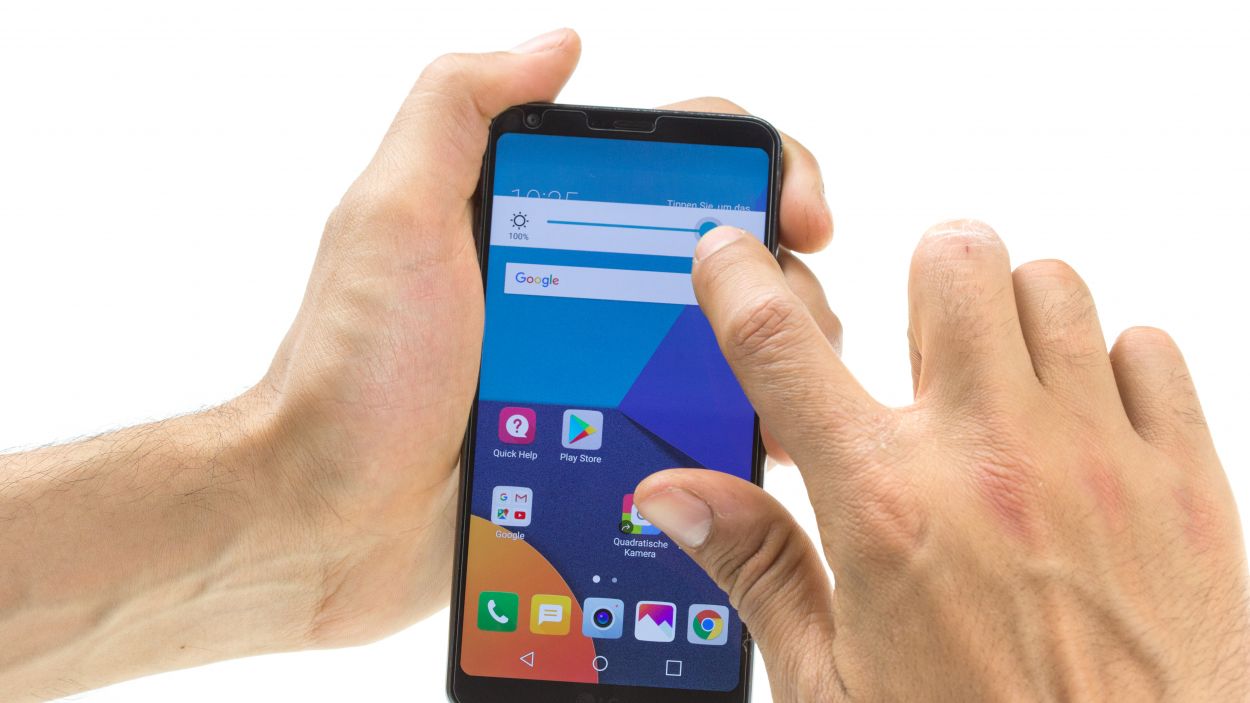
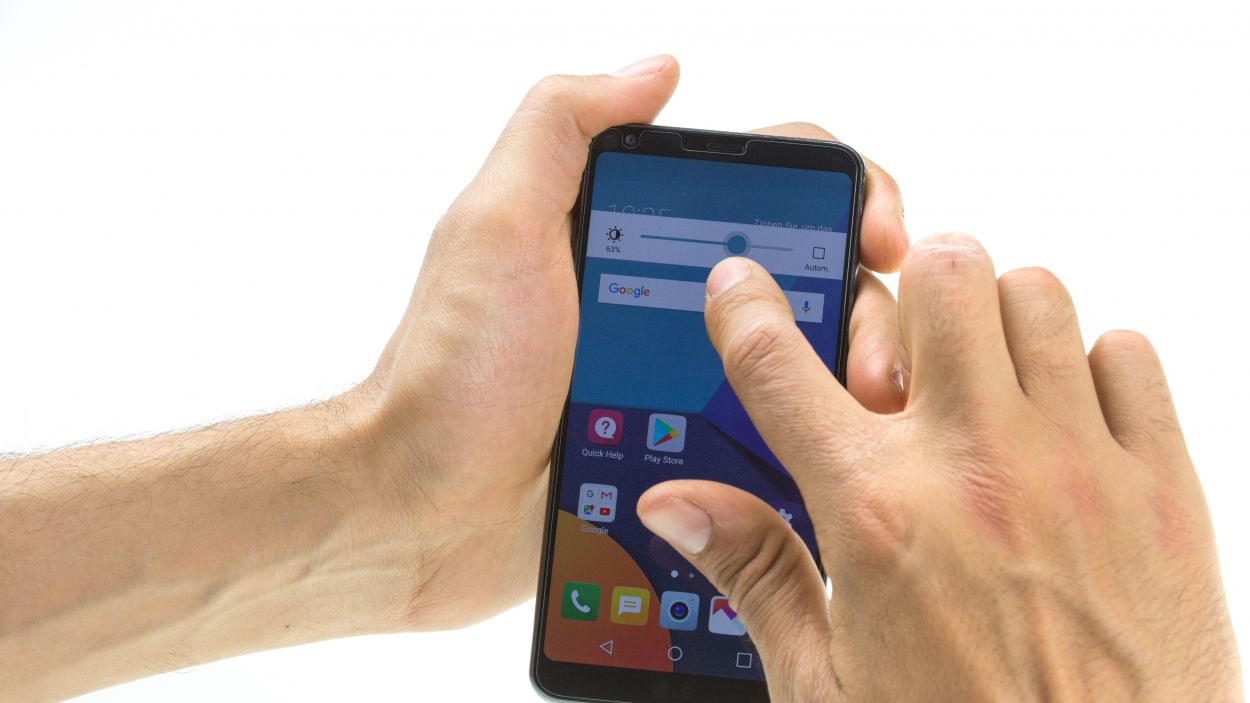
– Next, let’s check out the brightness! Slide that brightness slider all the way down to the minimum and then crank it up to the max. It’s like giving your screen a little workout!
