DIY Guide to Replace Antennas in Galaxy S7
Duration: 15 min.
Steps: 11 Steps
In this guide, we’re here to help you tackle the task of removing the antennas from your Galaxy S7 all by yourself! If your device took a tumble and the antennas are no longer doing their job, or if you’re experiencing signal issues, it’s time to get those antennas out. Plus, if wireless charging has become a thing of the past for your device, this repair is just what you need. Let’s get started!
Step 1
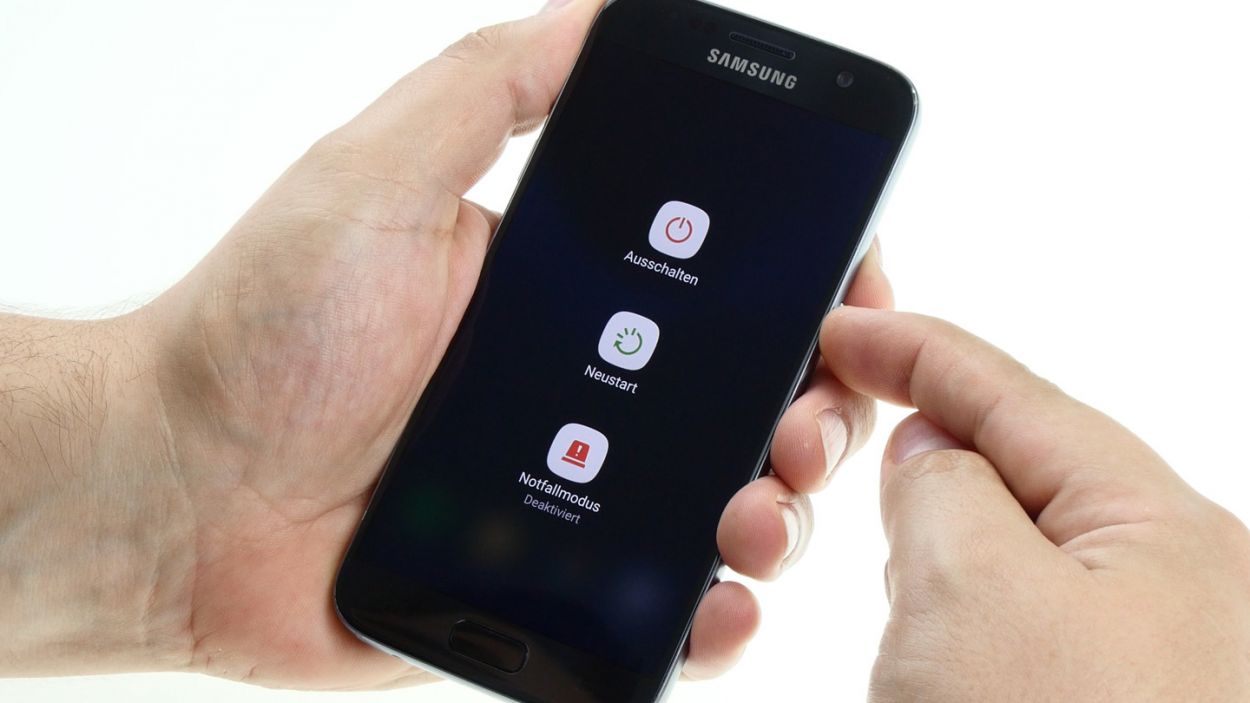
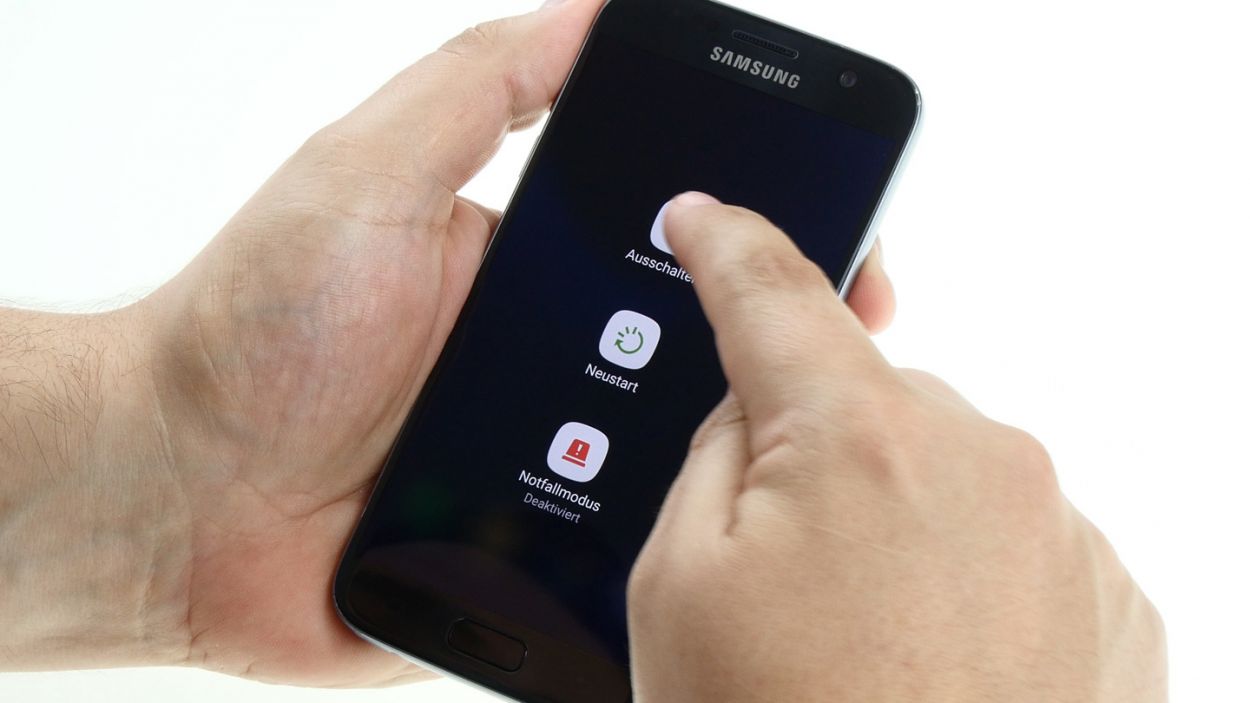
– First things first, let’s power down your device! Just press and hold that power button until you see the ‘Power off’ option pop up.
– Now, give it a gentle tap with your finger to confirm you’re ready to shut down your Galaxy S7. Sit back and relax while you wait for the screen to go dark.
Step 2


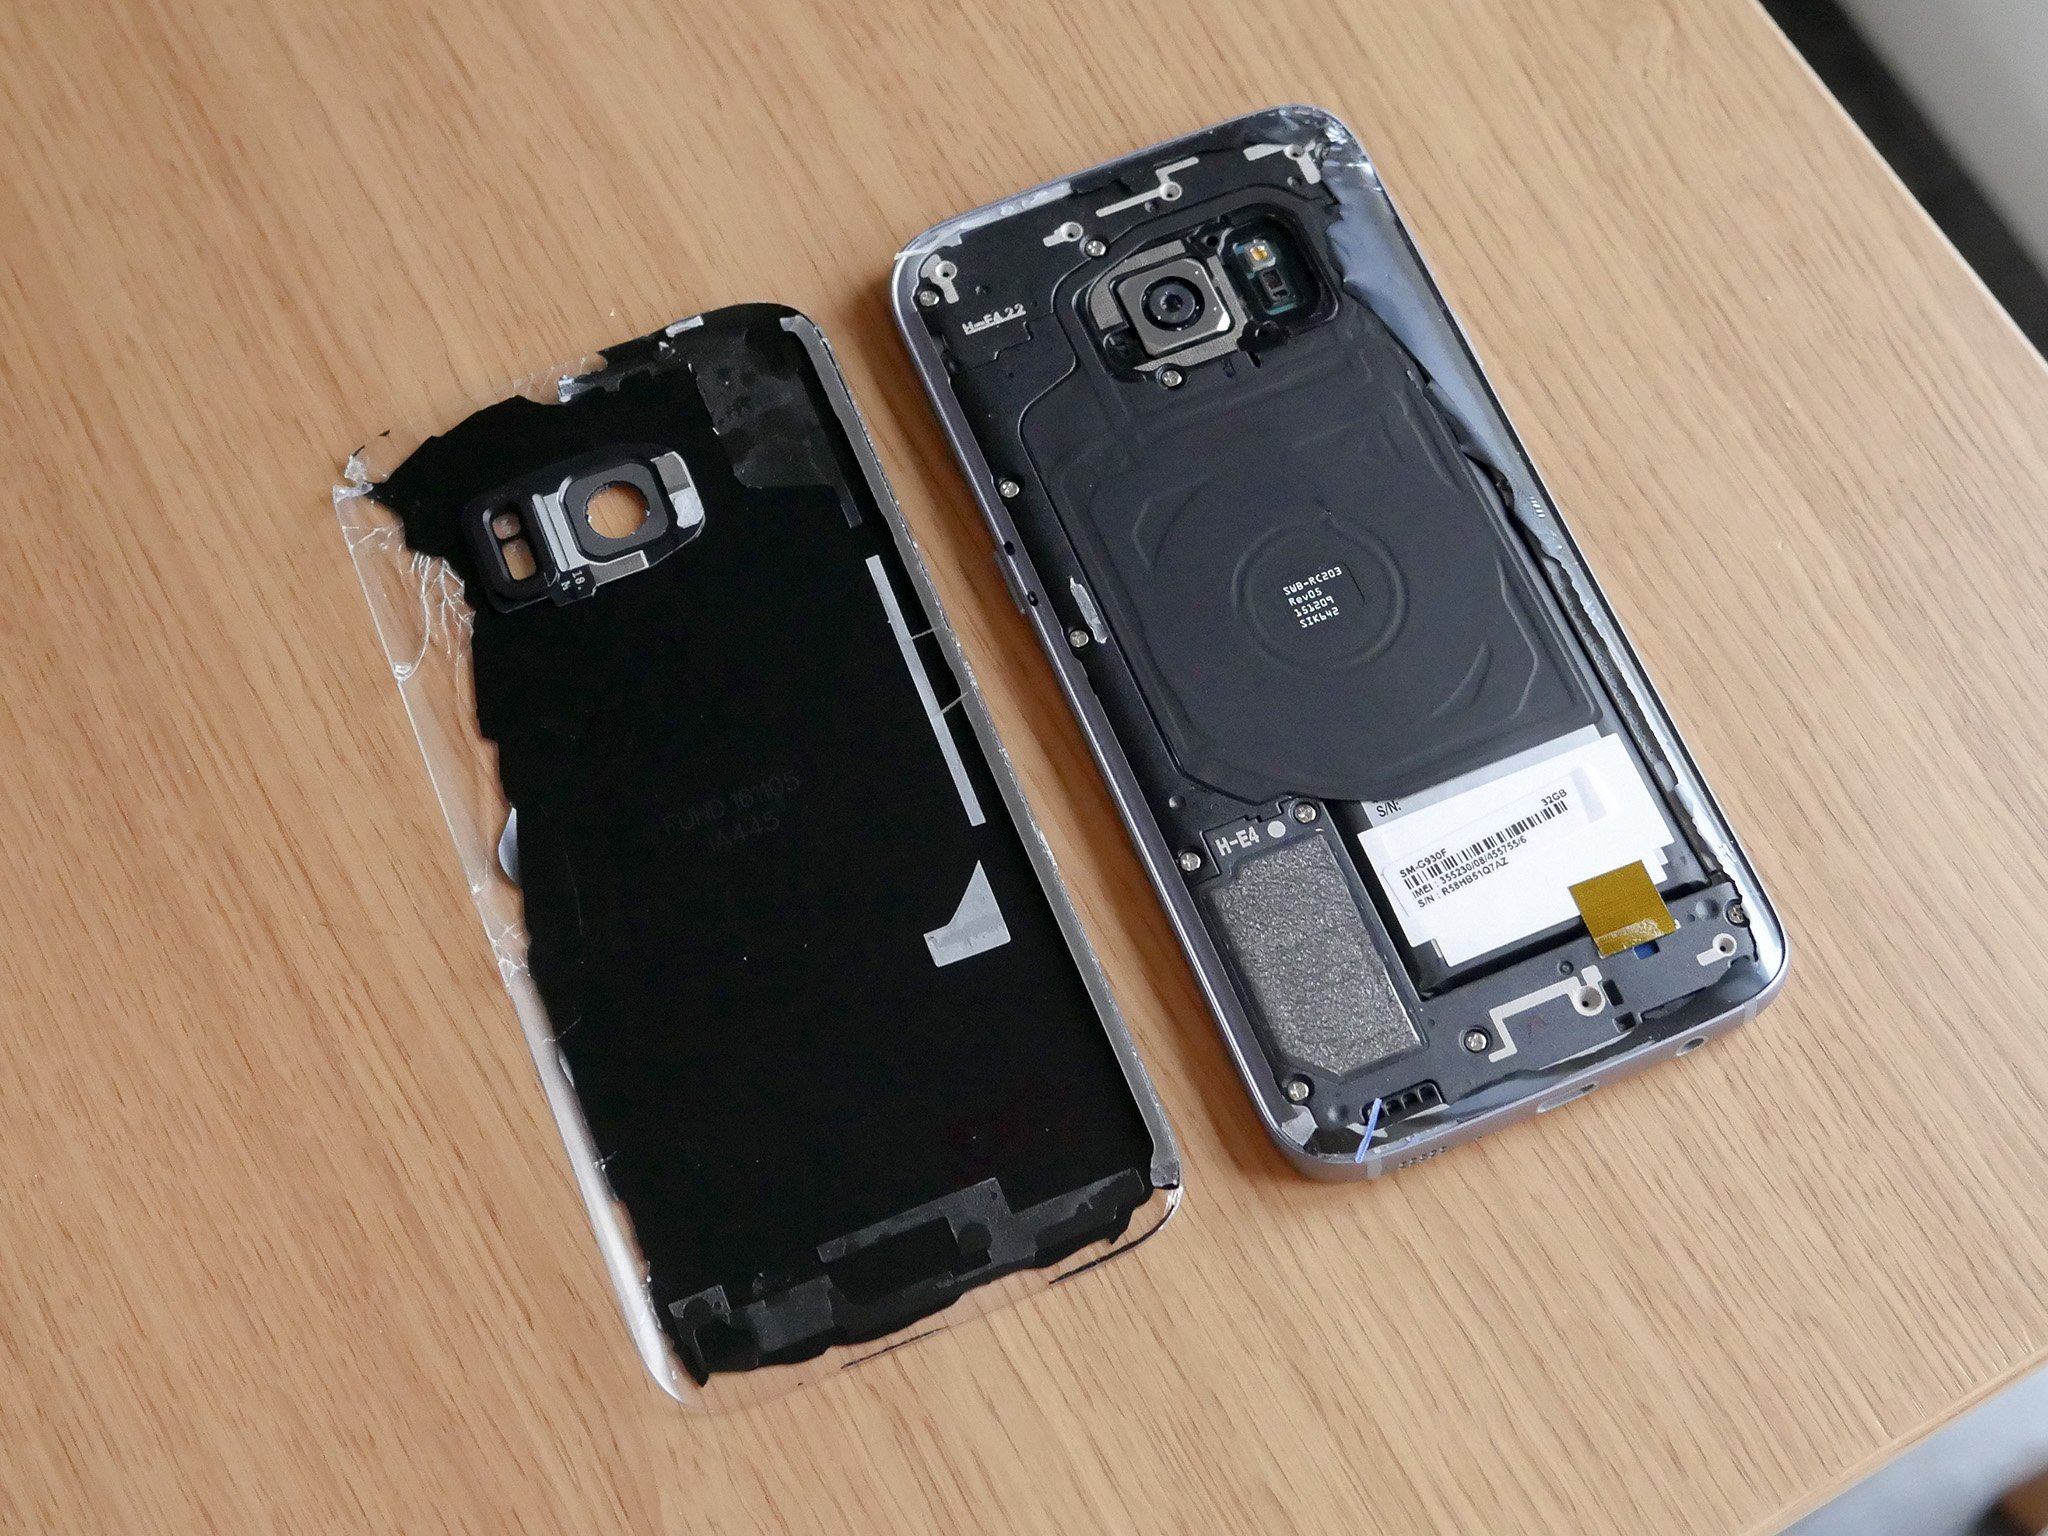
The back cover’s got a secret paint job on the inside! Gently remove any sticky stuff left behind—let’s avoid those pesky scratches or cracks, shall we?
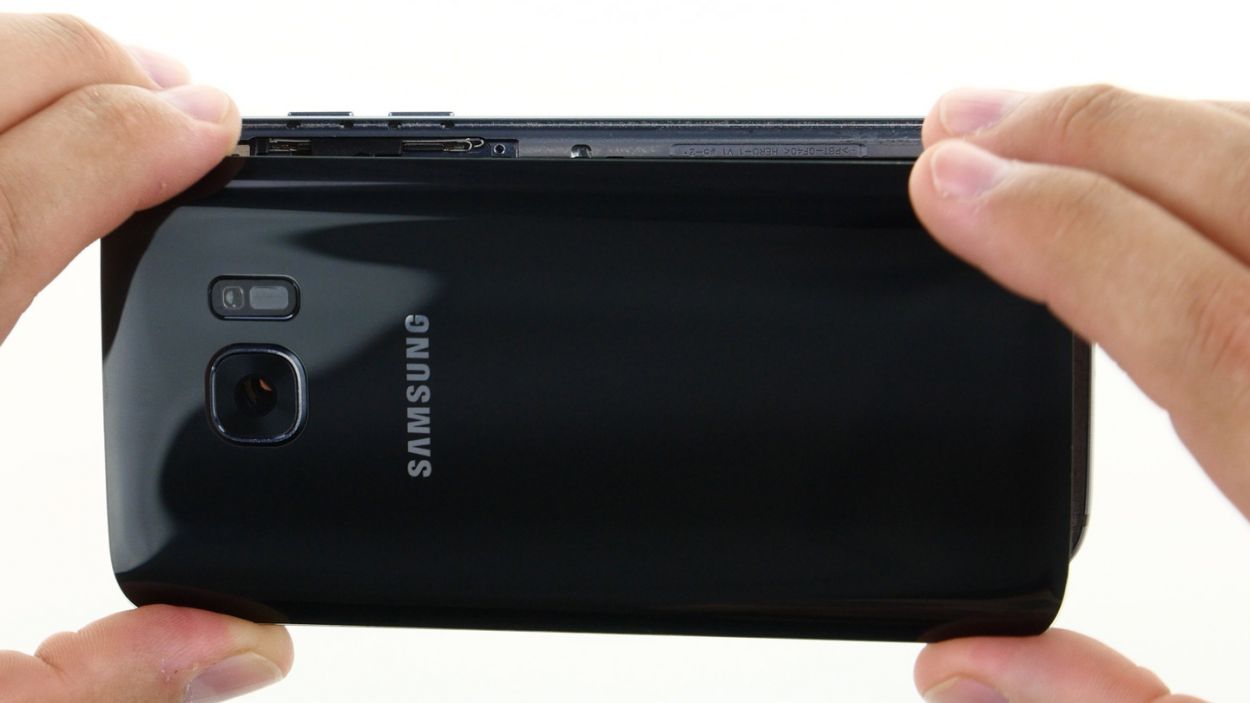
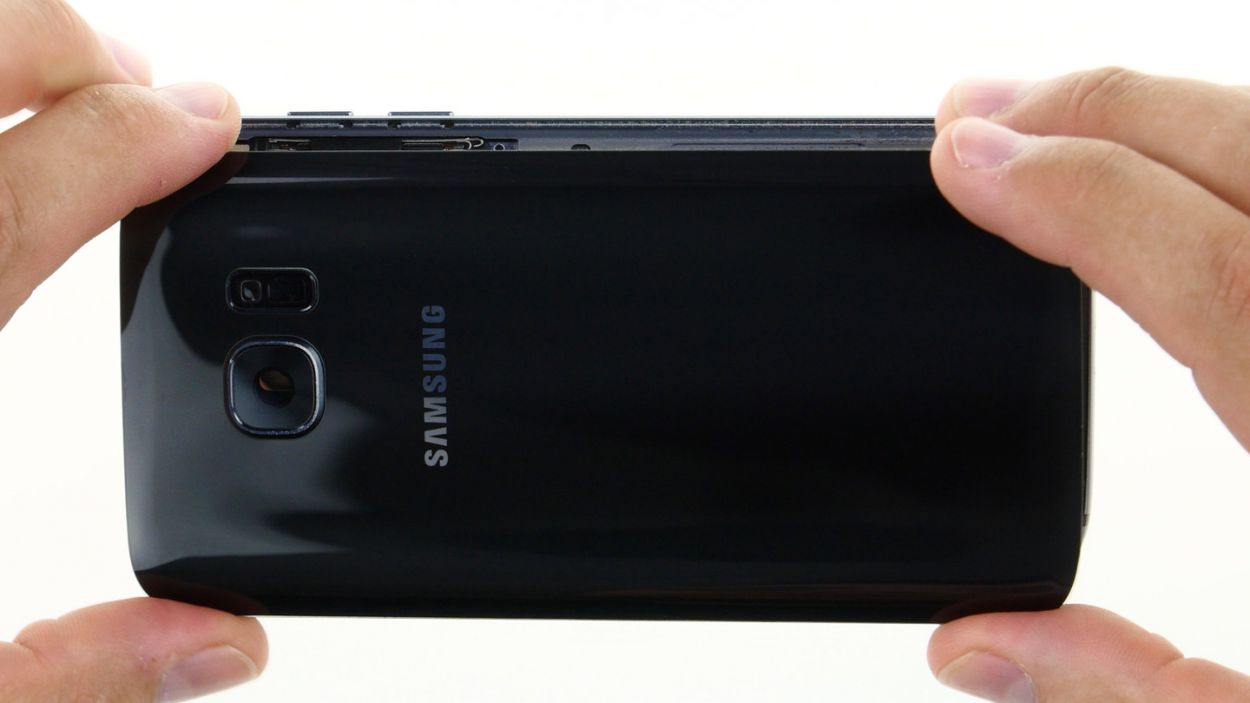
– Time to tackle that glass back cover! It’s stuck on tight, so grab a suction cup and give it a gentle pull. A pick will help you nudge the frame a bit, too. Remember, a little heat from a hot air source first will make the glue much more amenable to parting ways.
– Once you spot a gap opening up between the back cover and the chassis, it’s pick time! Slide that pick in and get ready to keep moving forward.
– Keep the momentum going by using more picks to gently unstick those corners one by one until it’s all loose.
– As soon as all that pesky glue is loosened up, lift off the back cover and you’re golden!
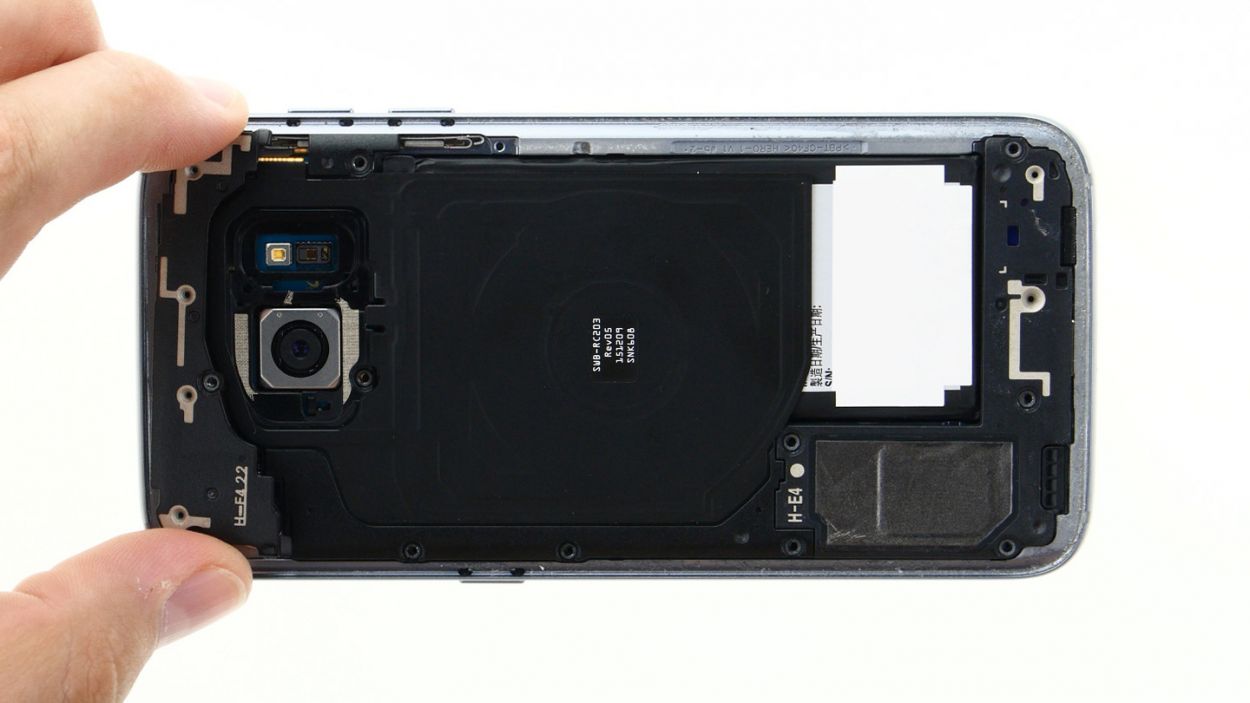
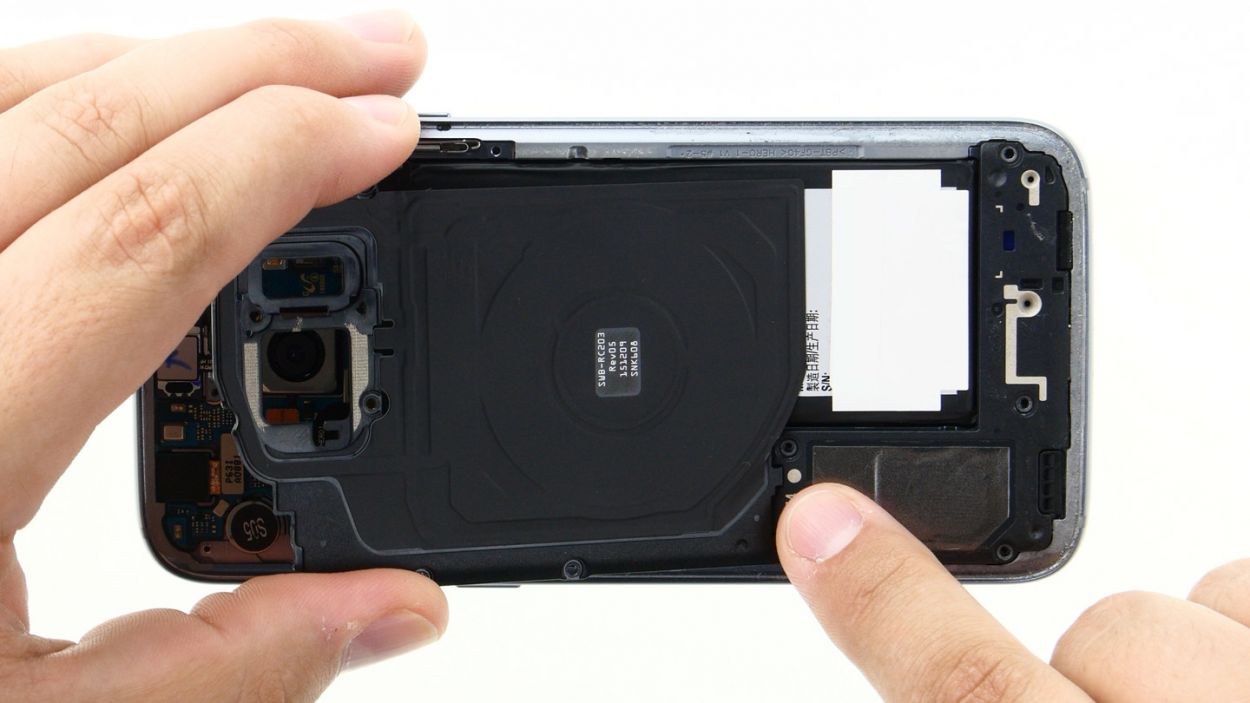
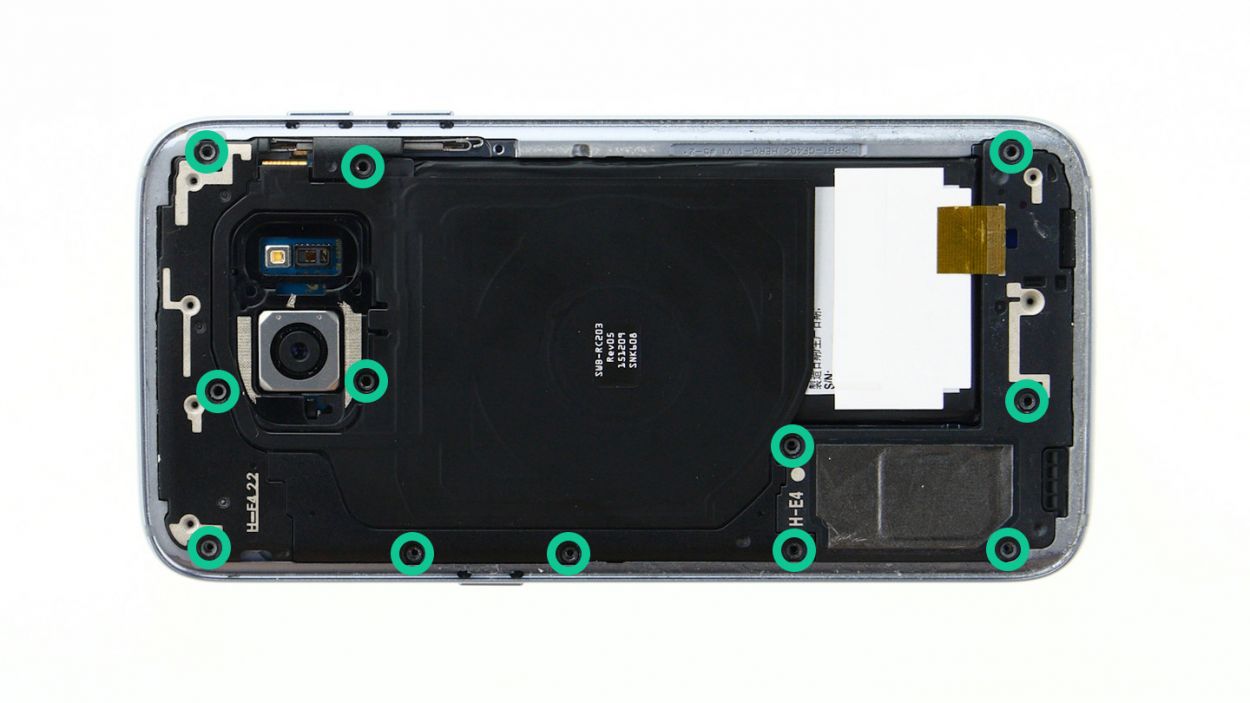
Step 3
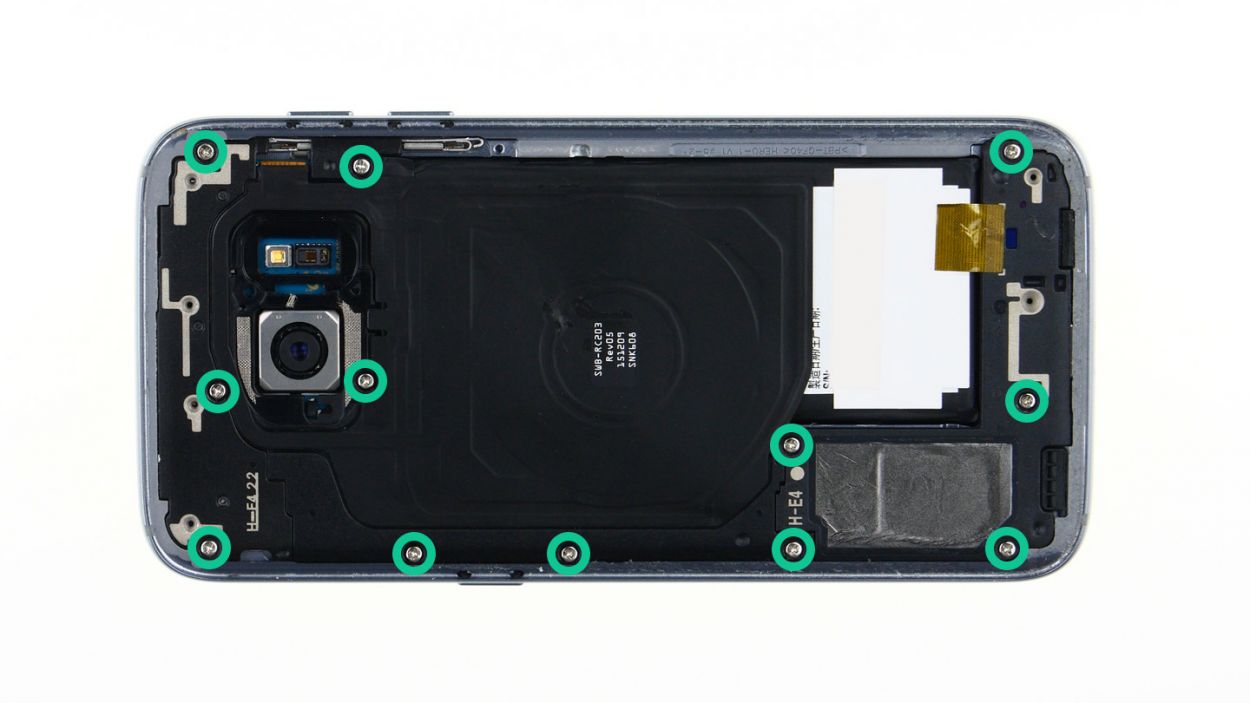
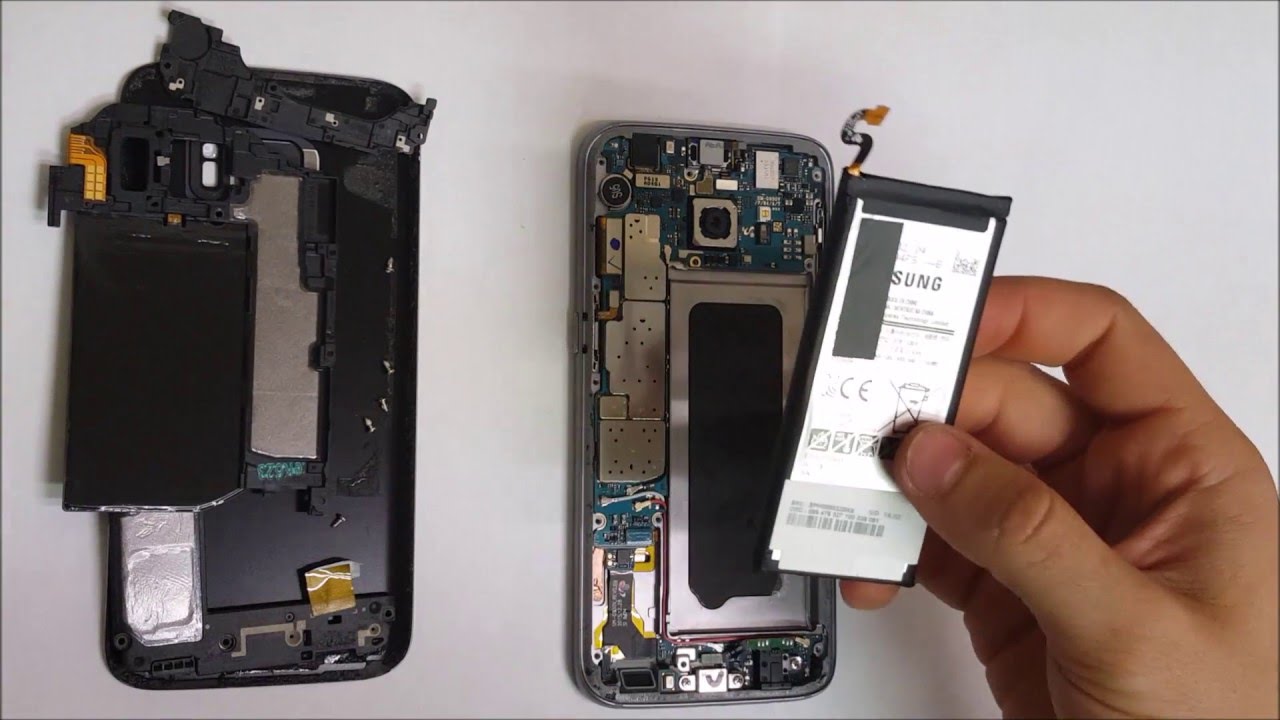
– Let’s get those antennas and speaker free! Start by unscrewing the twelve screws holding them down. You’ll need 12 x 3.3 mm PH00 Phillips screws for this job.
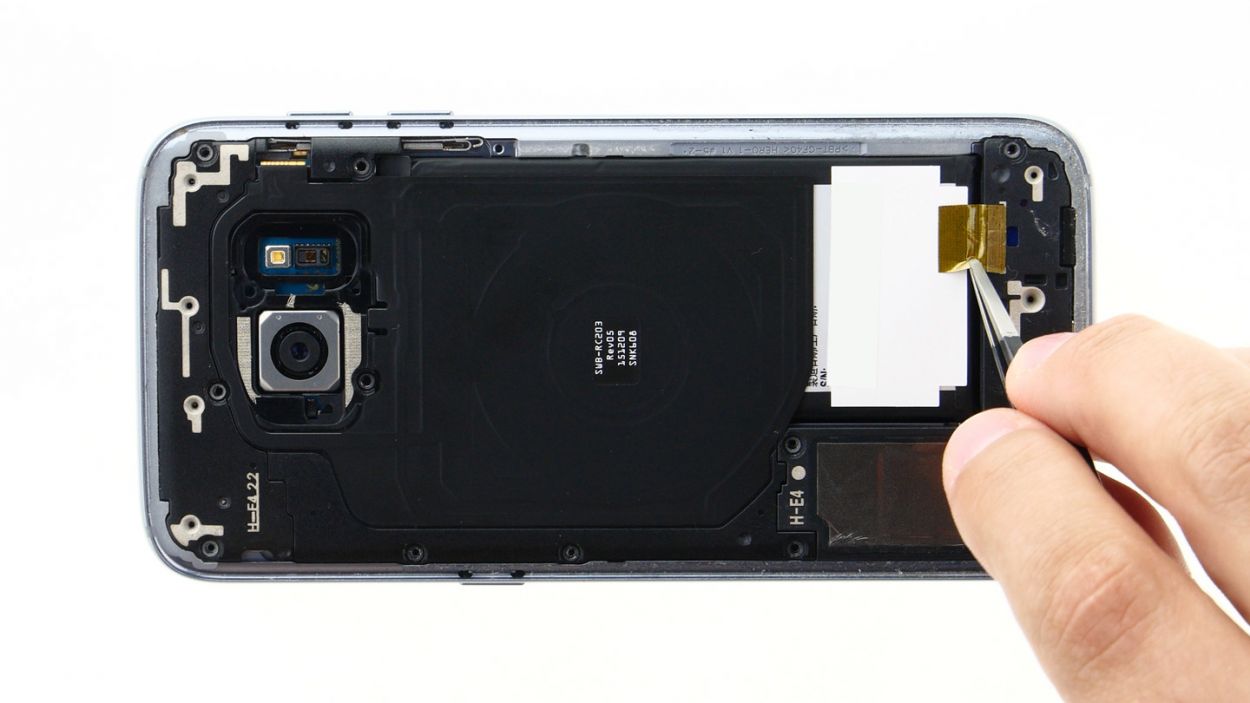
– Next up, gently peel away the yellow adhesive strip. You’re doing great!
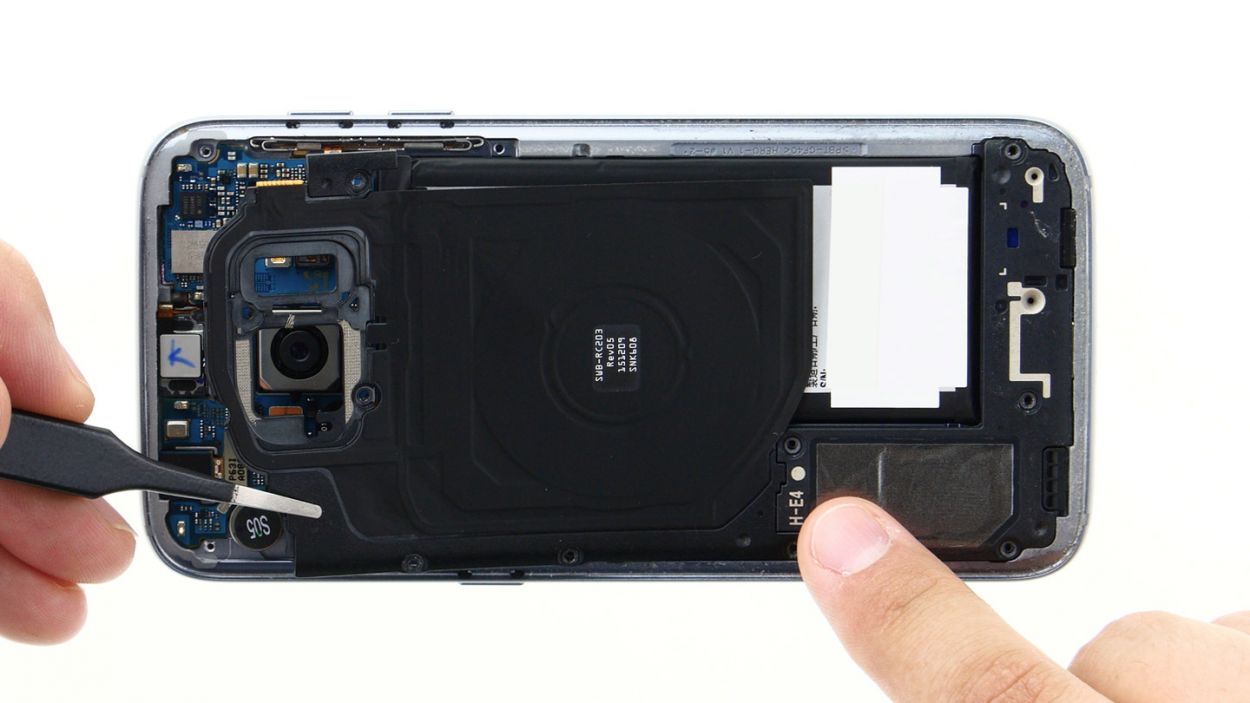
Step 4
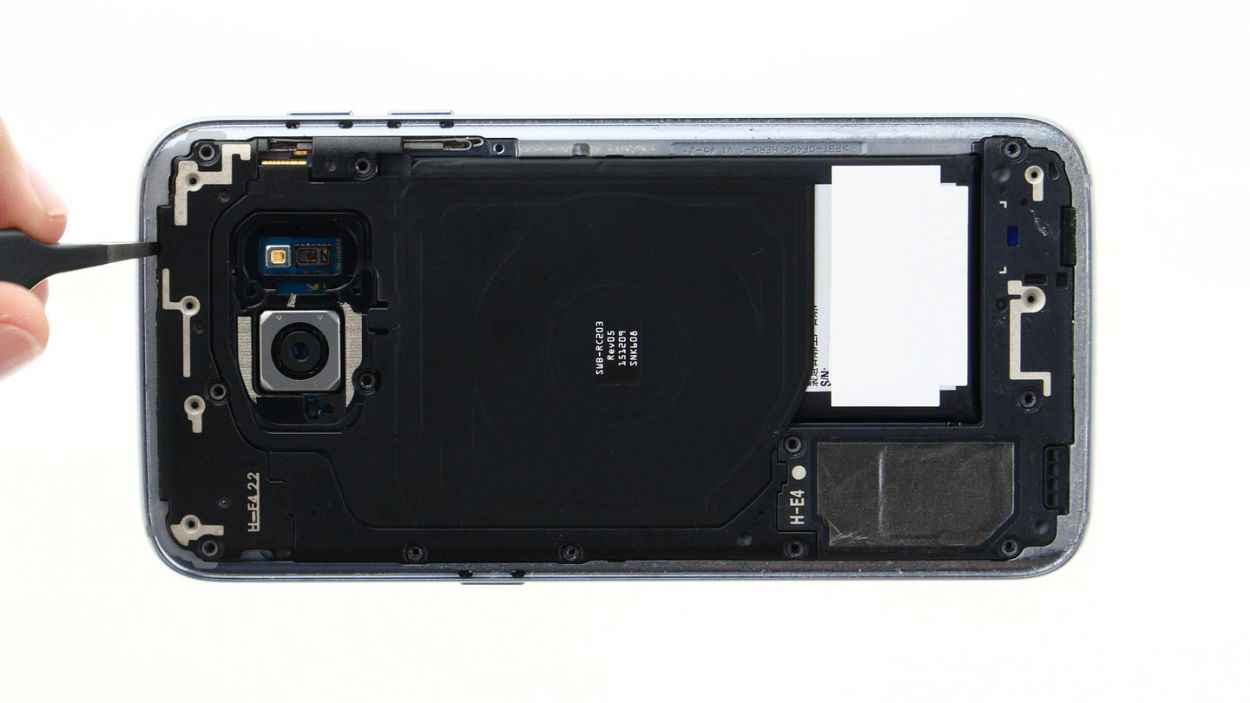
– First, let’s get that upper antenna disconnected from the enclosure. It’s hooked on, so start at the upper right corner and gently pry it off.
– Once the right side is free, carefully pull the antenna up in the middle to release the left side – you got this!
– Now, go ahead and remove the antenna from the enclosure. If you need help, you can always schedule a repair
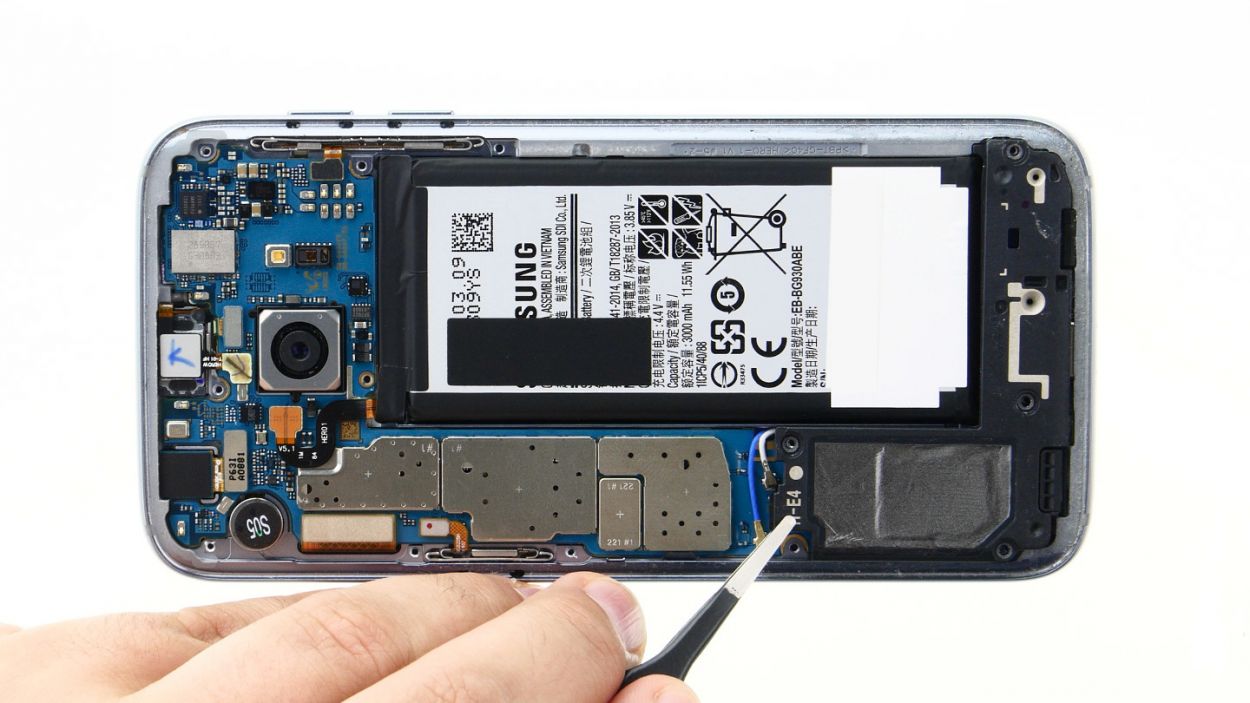
Step 5
– Gently wiggle the middle antenna out of its cozy home in the enclosure. Just a heads up, it’s got a little buddy, the lower antenna, that it’s attached to!
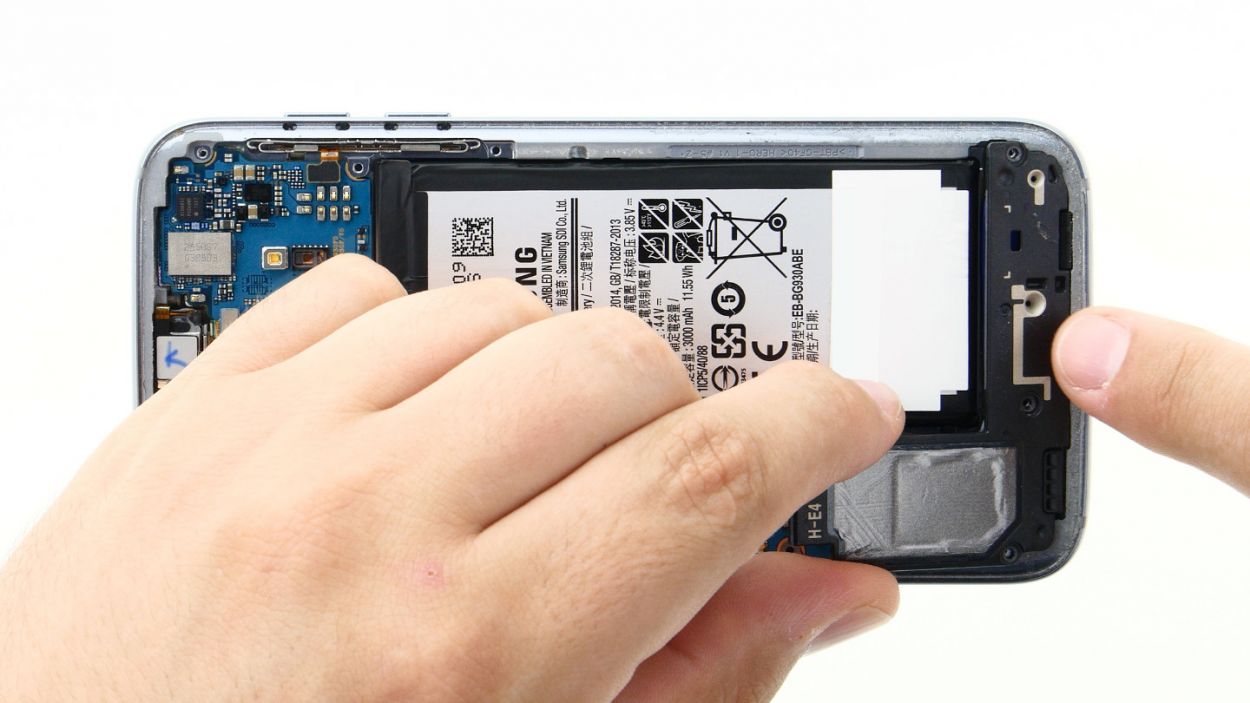
Step 6

– Grab those tweezers and gently unhook the speaker from the left side. You’ve got this!
– Now, carefully lift the speaker out of the enclosure. Easy peasy!
Step 7
– Place the speaker snugly at the bottom of the enclosure.
– Gently press down on the speaker until you hear that satisfying click, securing it in place.
Step 8
– Carefully slide the antenna back into its cozy spot in the enclosure after you’ve hooked it onto the lower antenna. It’s like tucking it in for a good night’s sleep!
– Give that antenna a gentle press with your fingers until you hear a satisfying click. It’s a little sound that means everything is snug and secure in its home!
Step 9

– Time to tuck that antenna back into its cozy home! Start by placing it on the left side and give it a gentle yet firm press with your fingers.
– Listen closely! You should hear a satisfying click as the antenna locks into place.
Step 10

– Time to stick that cheerful yellow adhesive strip back in its happy place!
– Now, let’s secure everything with those trusty screws. Grab your 12 x 3.3 mm PH00 Phillips screws and get to it!
Step 11
– Carefully place the back cover back where it belongs.
– Give the back cover a good press all around to make sure the glue sticks like it should.
– For an extra boost, warm up your device with some hot air, then weigh it down with a couple of books or clamp it. This will help the glue bond even better!