DIY Guide to Replace Apple Watch Battery Step-by-Step
Duration: 15 min.
Steps: 6 Steps
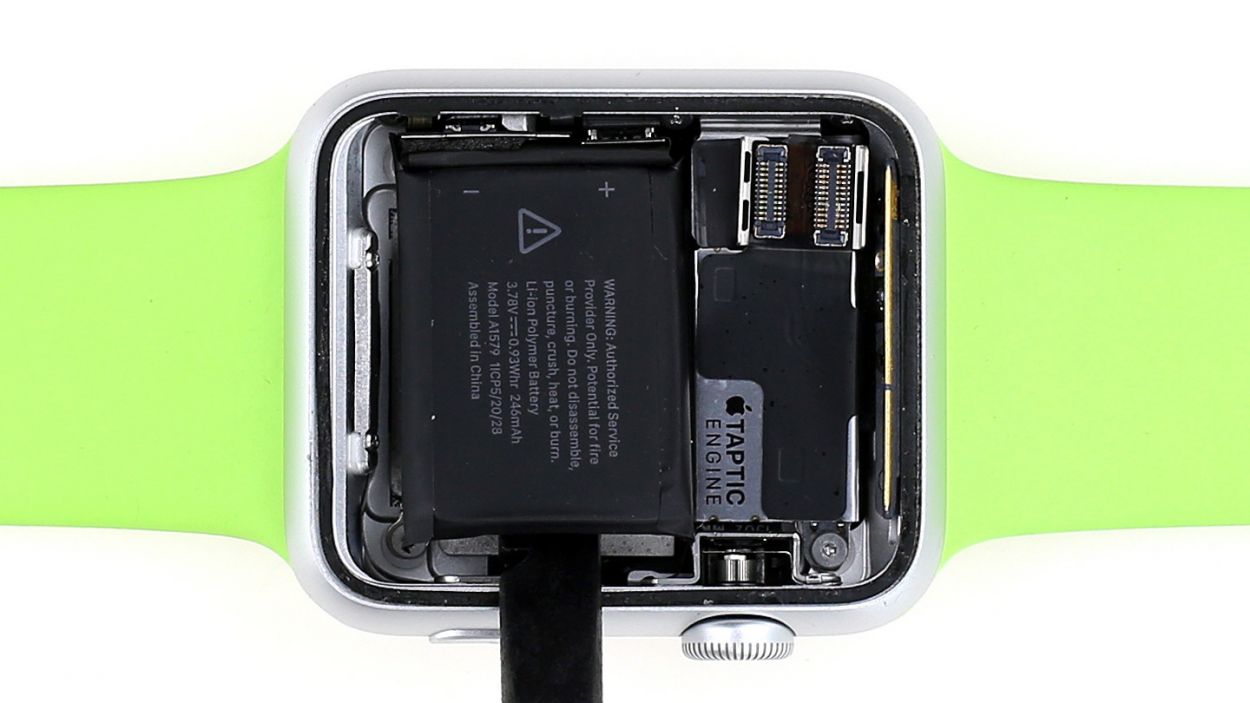
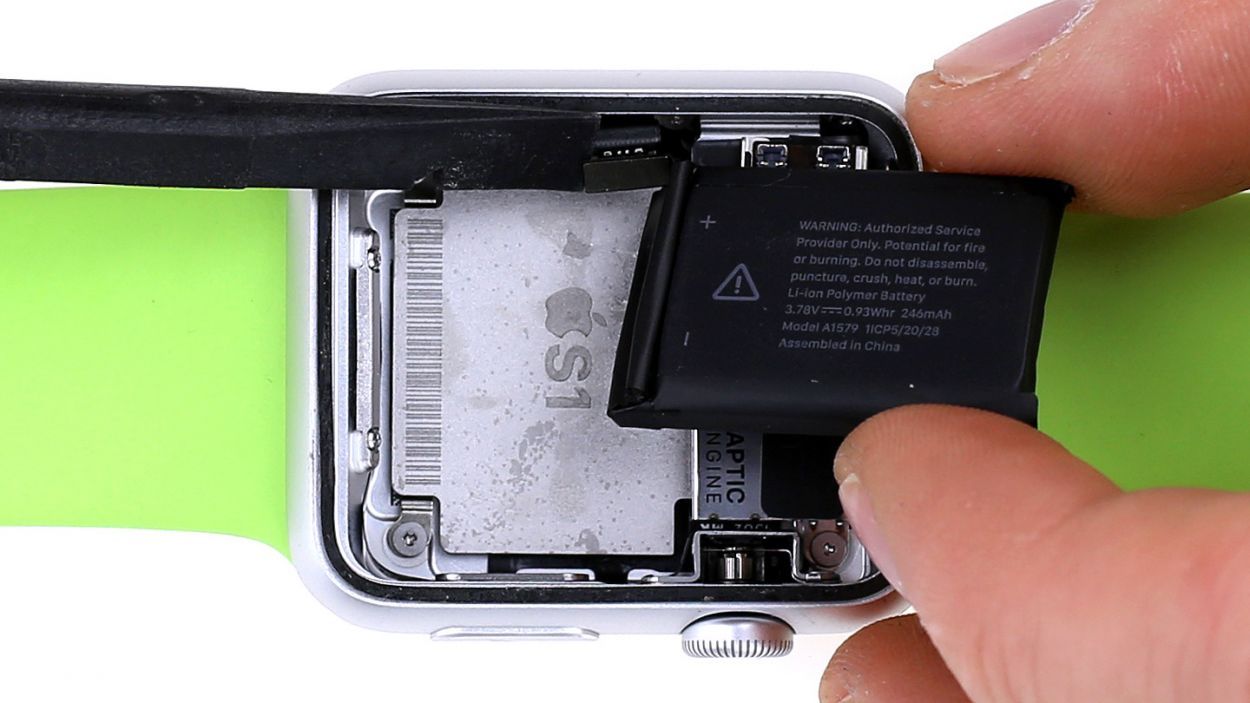
In this guide, we show you how to replace your Apple Watch’s defective battery on your own. This repair can help if your Apple Watch crashes during heavy use because the voltage temporarily drops, you can no longer charge it or turn it on, or the battery life is very low. In this guide, we show you how to replace your Apple Watch’s defective battery on your own. This repair can help if your Apple Watch crashes during heavy use because the voltage temporarily drops, you can no longer charge it or turn it on, or the battery life is very low.
Step 1
If you’re using a sharp blade, make sure it doesn’t slip. If necessary, wear appropriate gloves.
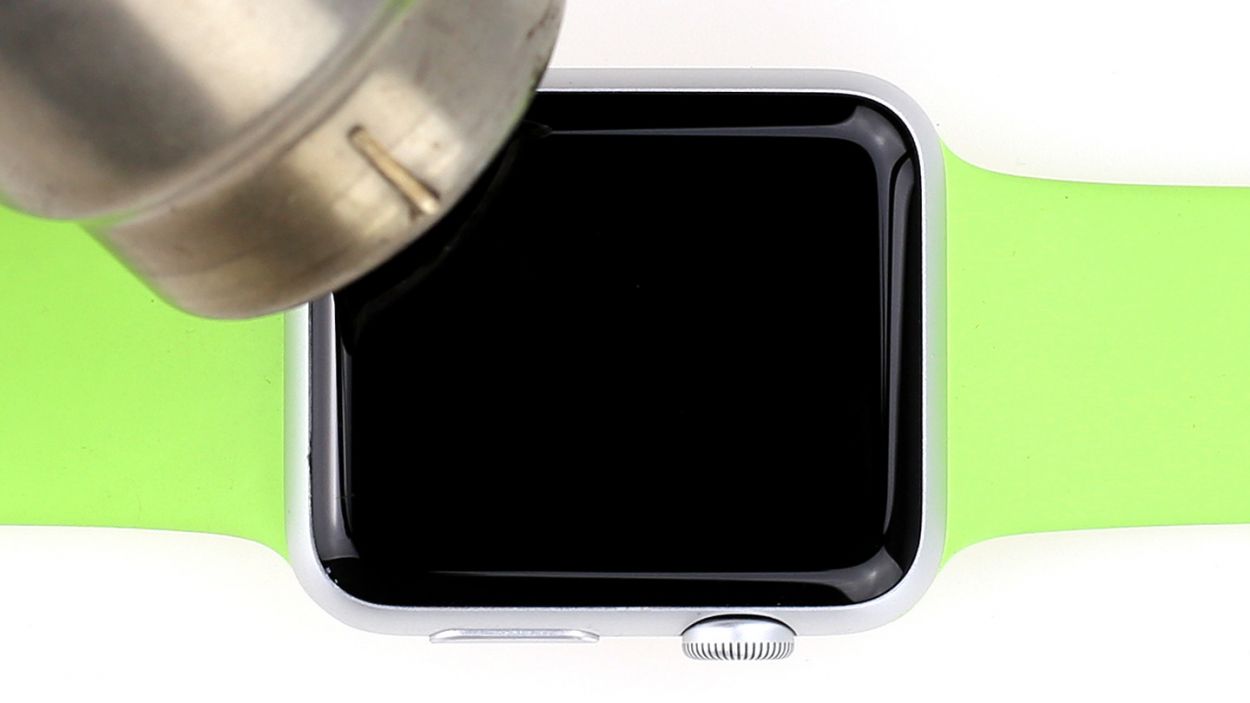
– First you have to heat your Apple Watch’s display using a heat gun.
– The gap between the aluminum frame and the display is very small. We recommend that you use a very flat, sturdy object to get between them.If you’re using a sharp blade, make sure it doesn’t slip. If necessary, wear appropriate gloves.
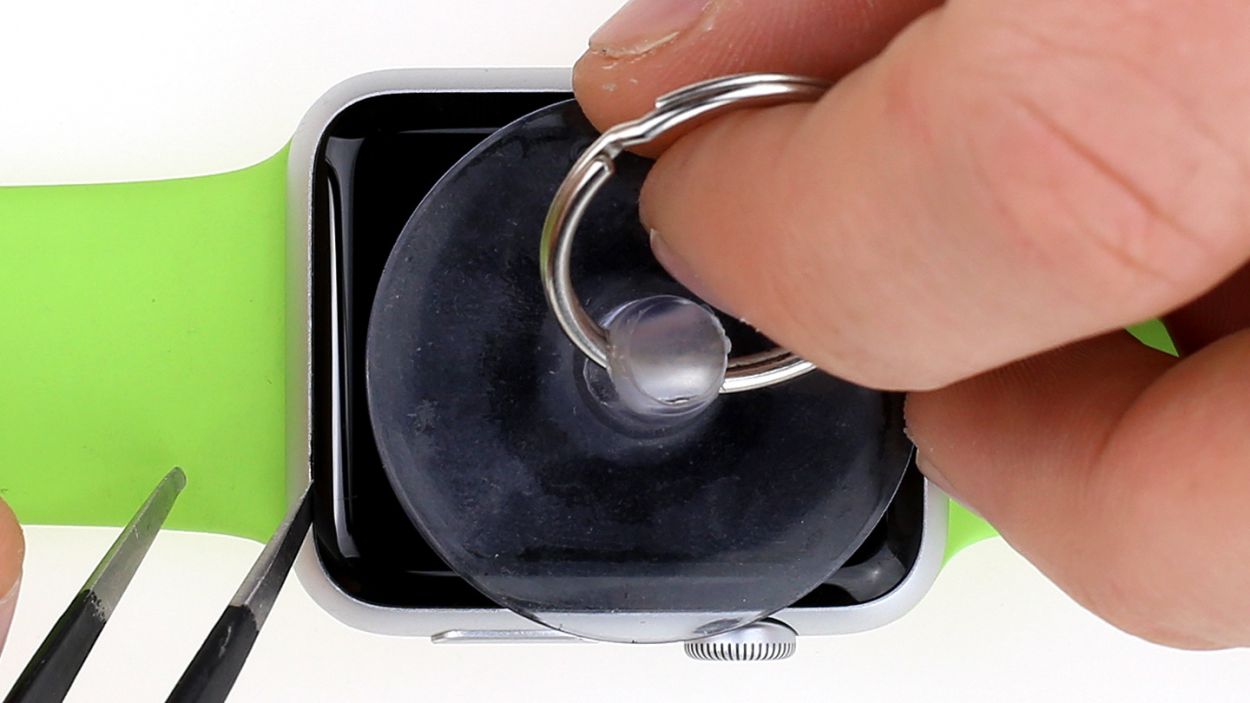
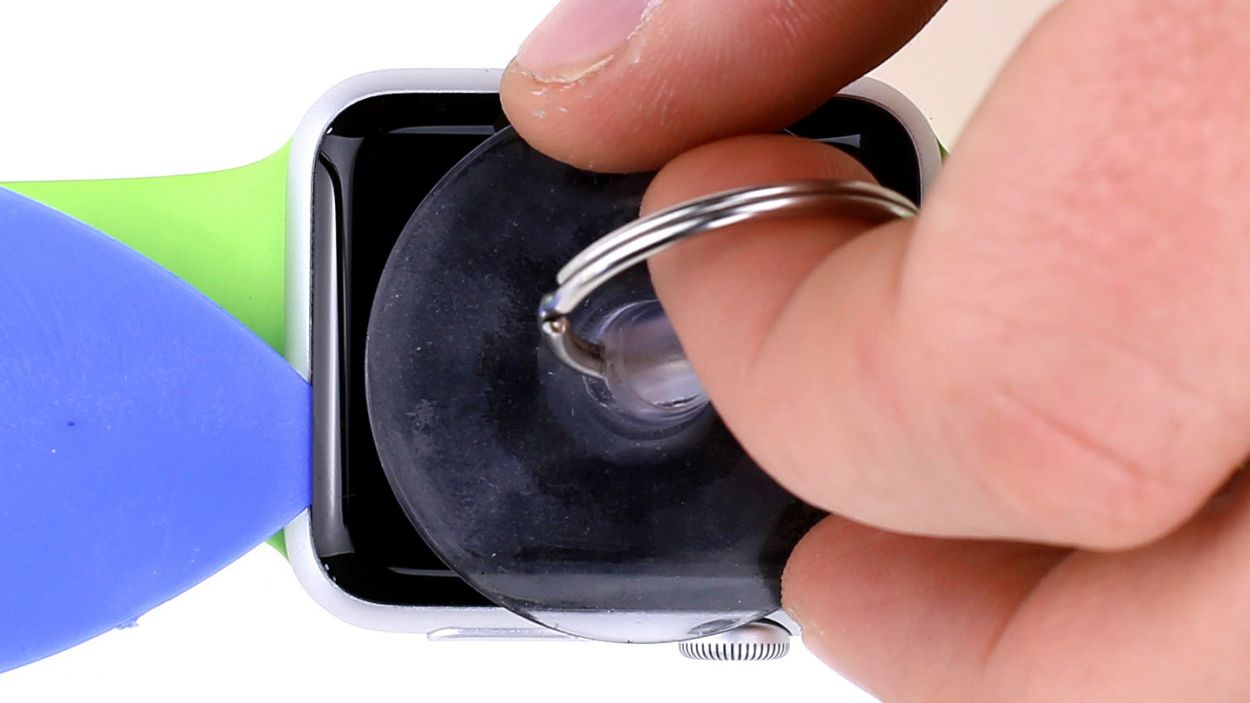
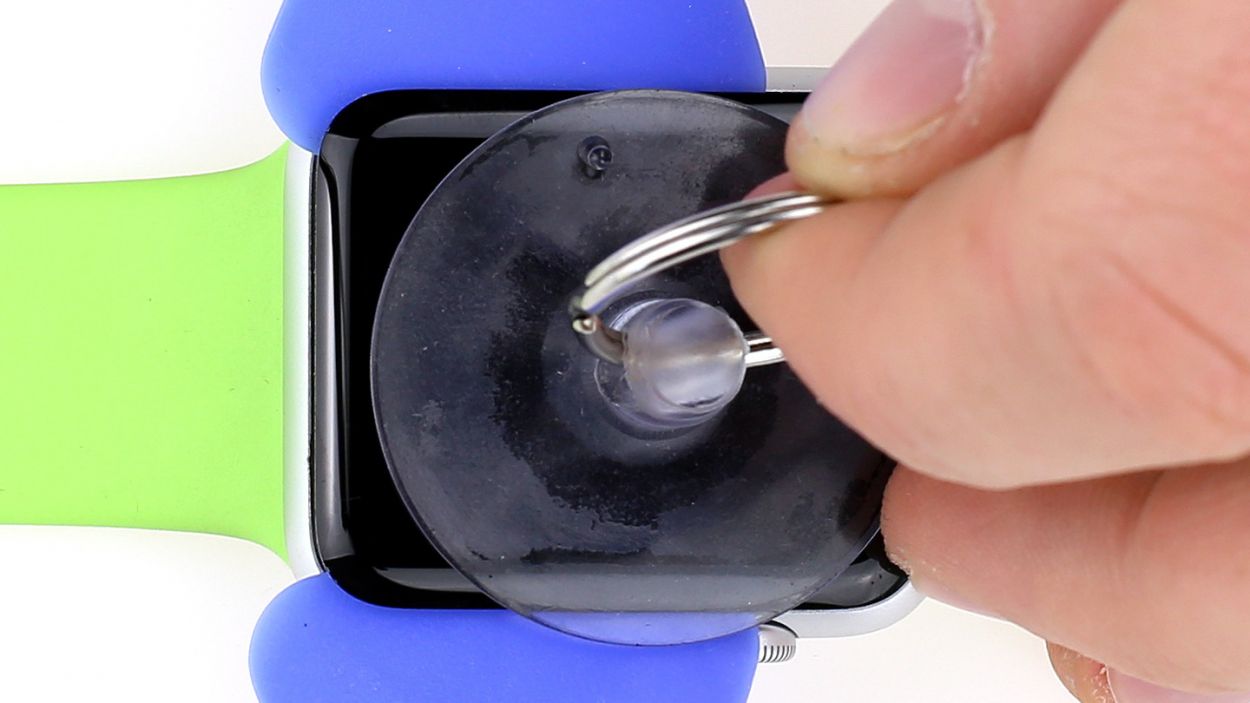
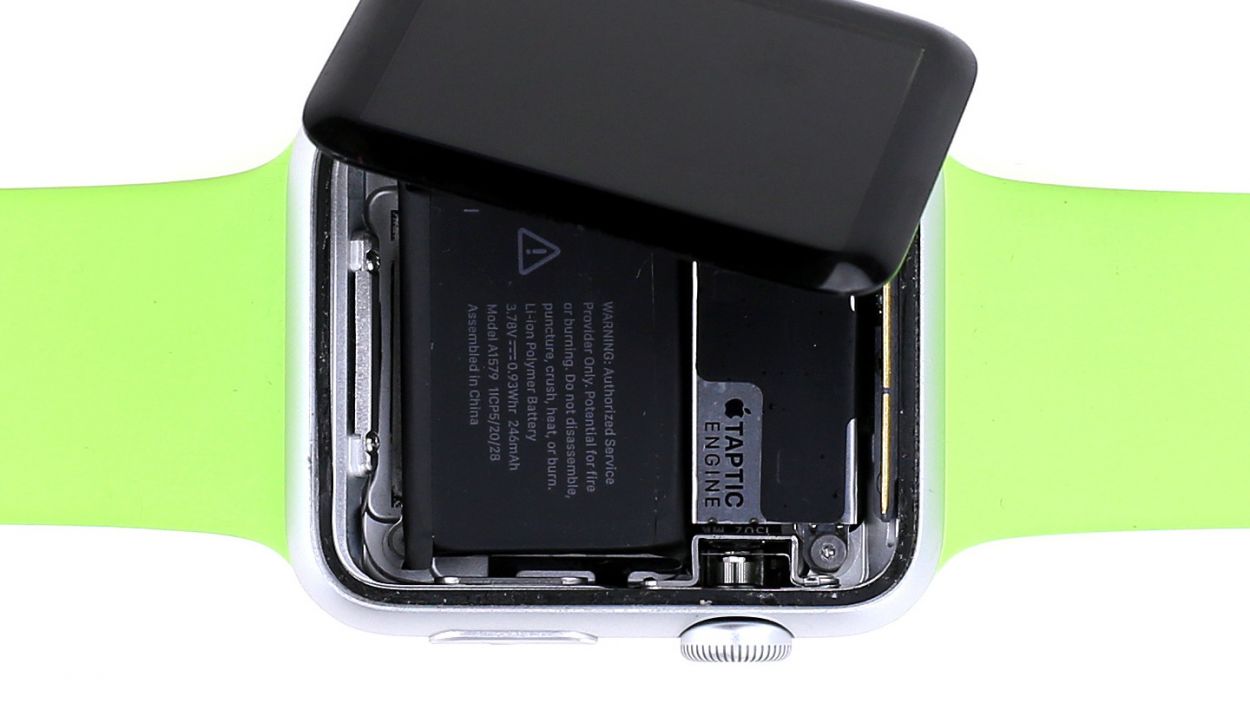
– Carefully lift the display using a suction cup.
– As soon as a little gap opens up, use the plastic pick to avoid damaging the aluminum.
Step 2
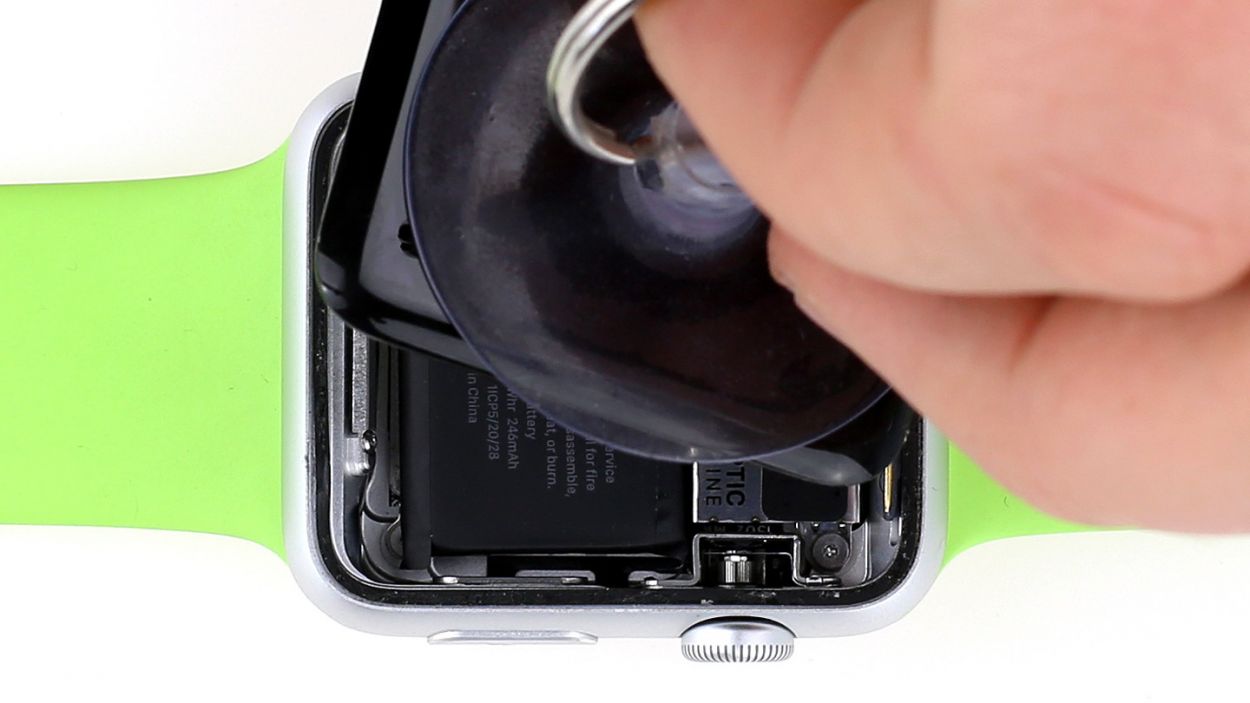
– You should only insert the pick about two or three millimeters between the display and the frame to prevent damage inside the enclosure.
– The display is glued to the entire outer edge of the Apple Watch. Move the pick once around the entire device.
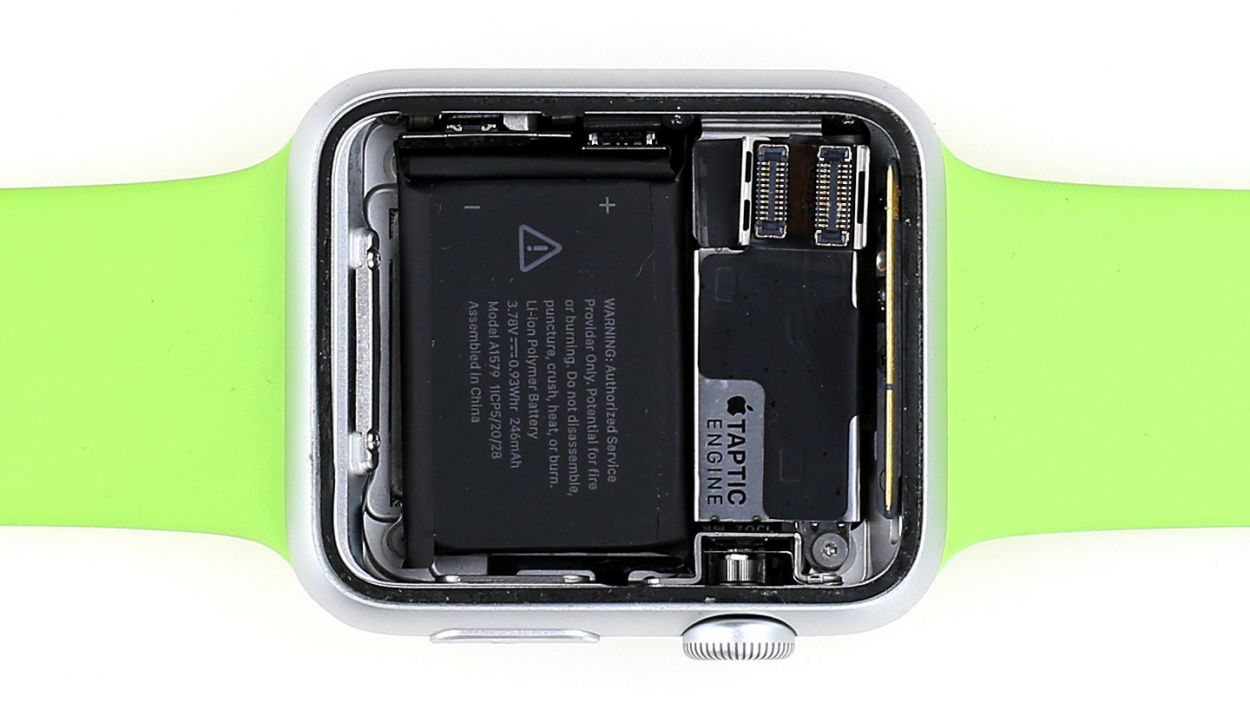
– The NFC antenna also acts as a seal and is glued to the aluminum enclosure. Make sure you don’t lift it with the display and that it stays on the aluminum frame.


Step 6

– Check all the functions of your Apple Watch before you attach the display again.
– Now check whether the seal’s glue is still sticky enough.
– If everything’s okay, you can put the display back on. Heat it slightly and press it into the enclosure for a few minutes.
– Now you can use your Apple Watch as usual. Have fun!