DIY Guide to Replace Battery in Galaxy Note 8
Duration: 60 min.
Steps: 13 Steps
Get ready to tackle your Galaxy Note 8 battery replacement with this fun and easy-to-follow guide! While it might be a bit tricky since you’ll need to pop open the glass back cover, don’t worry—it’s totally doable! Just make sure to set aside some time for this adventure. And hey, before you dive in, remember to back up your data, work on a tidy surface, and take your time. If you hit a snag, feel free to reach out through our live chat or drop a comment on the step you’re stuck on. Let’s get started!
Step 1
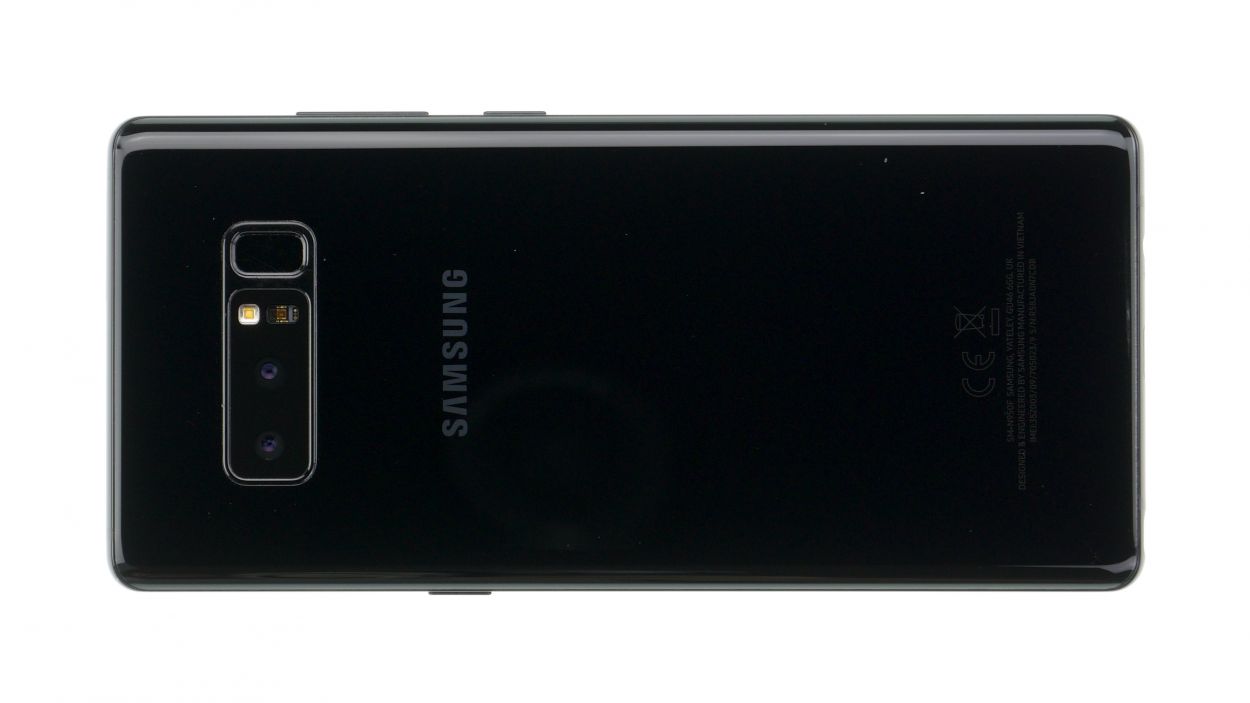
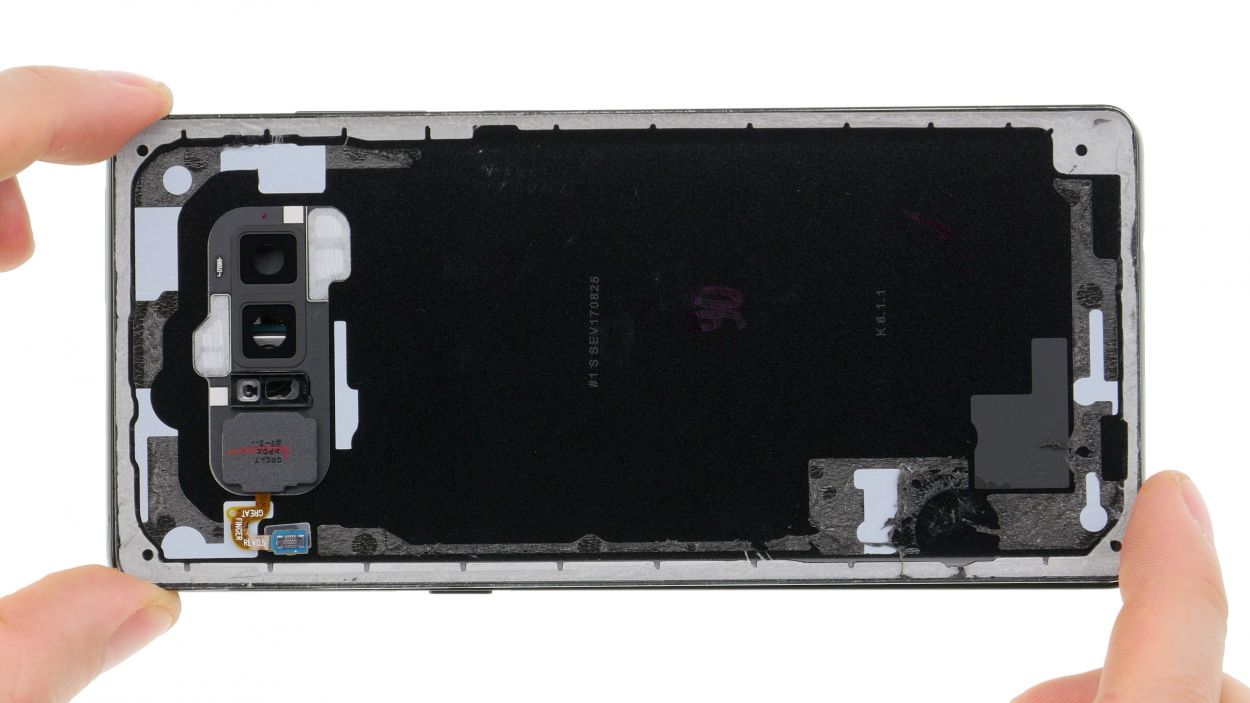
Take a look at the Galaxy S9 in the pictures! Our Note 8 was playing hide and seek with its screen, so we had to improvise. Let’s get started on this repair journey together!
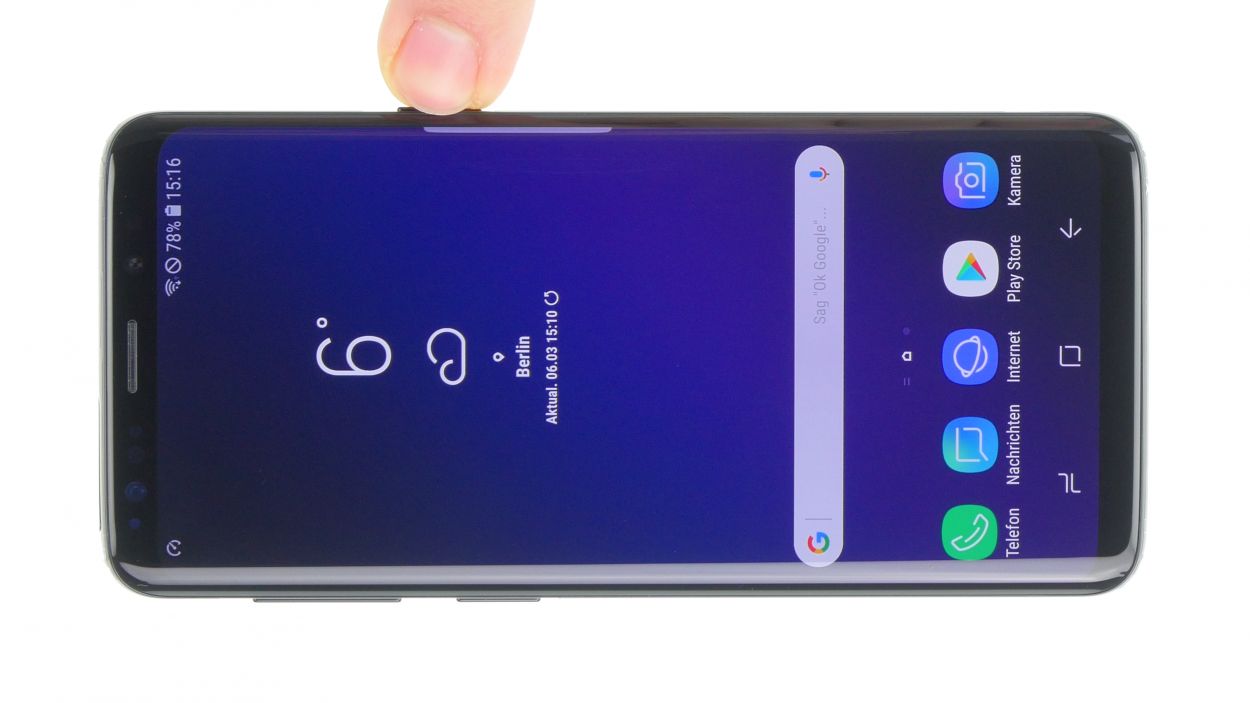
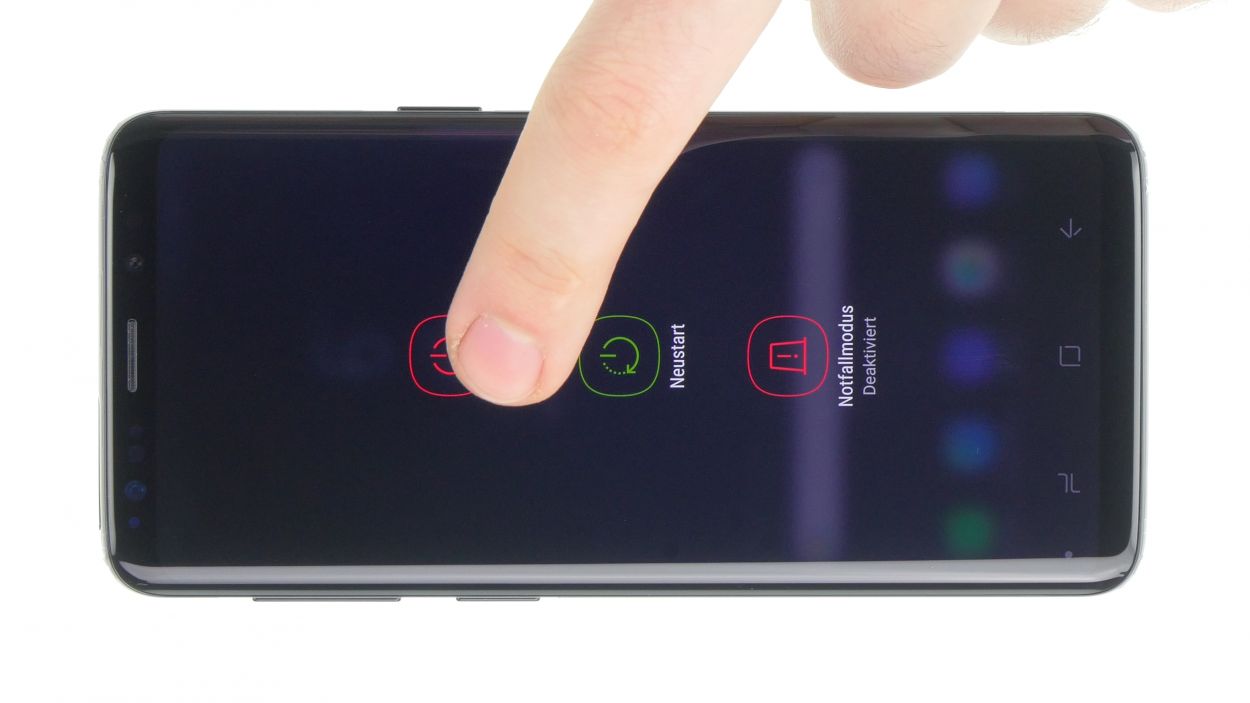
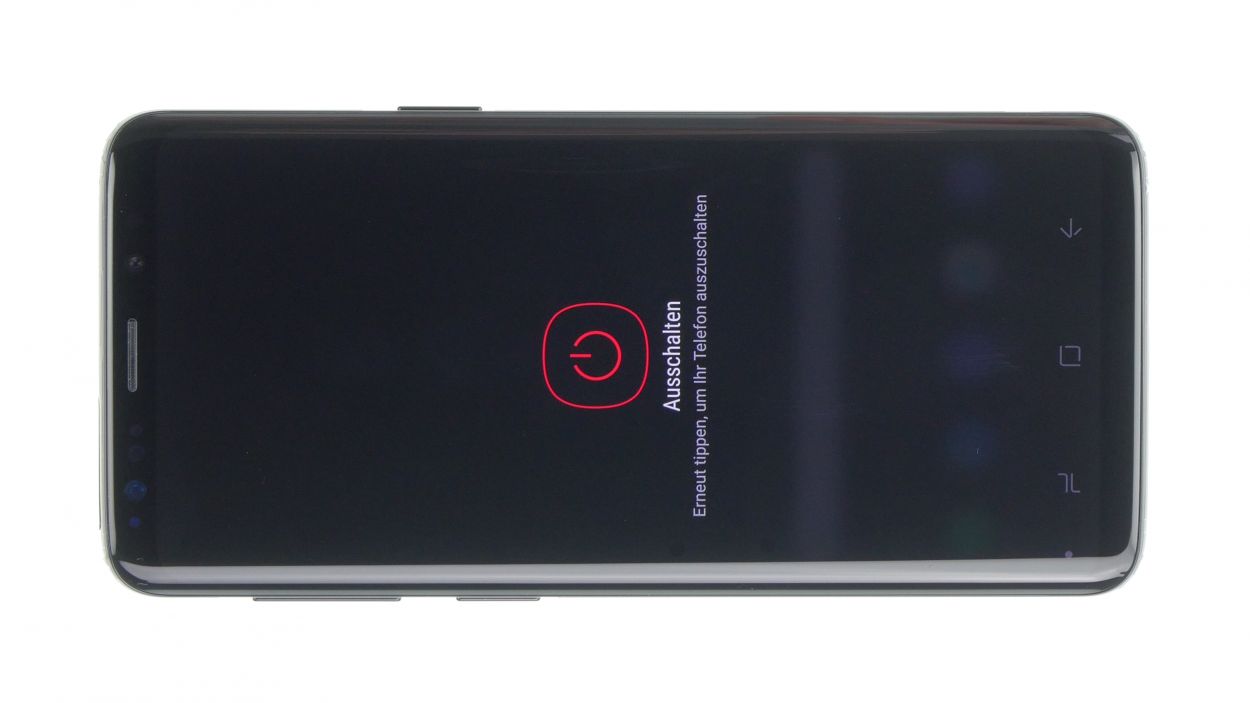
– First things first, let’s power down your device! Press and hold that power button until you see the ‘Power off’ option pop up on your screen.
– Now, give it a gentle tap with your finger to confirm that you really want to turn off your Galaxy Note 8. Sit tight and watch as the screen fades to black!
Step 2
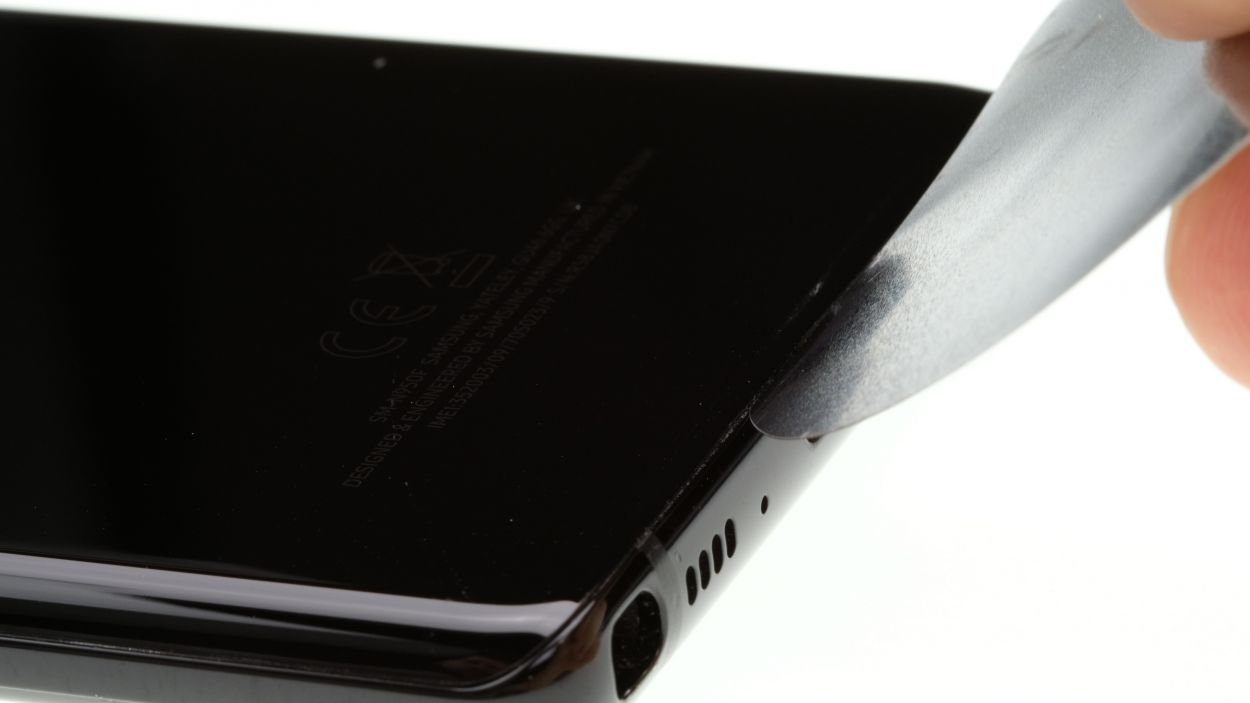
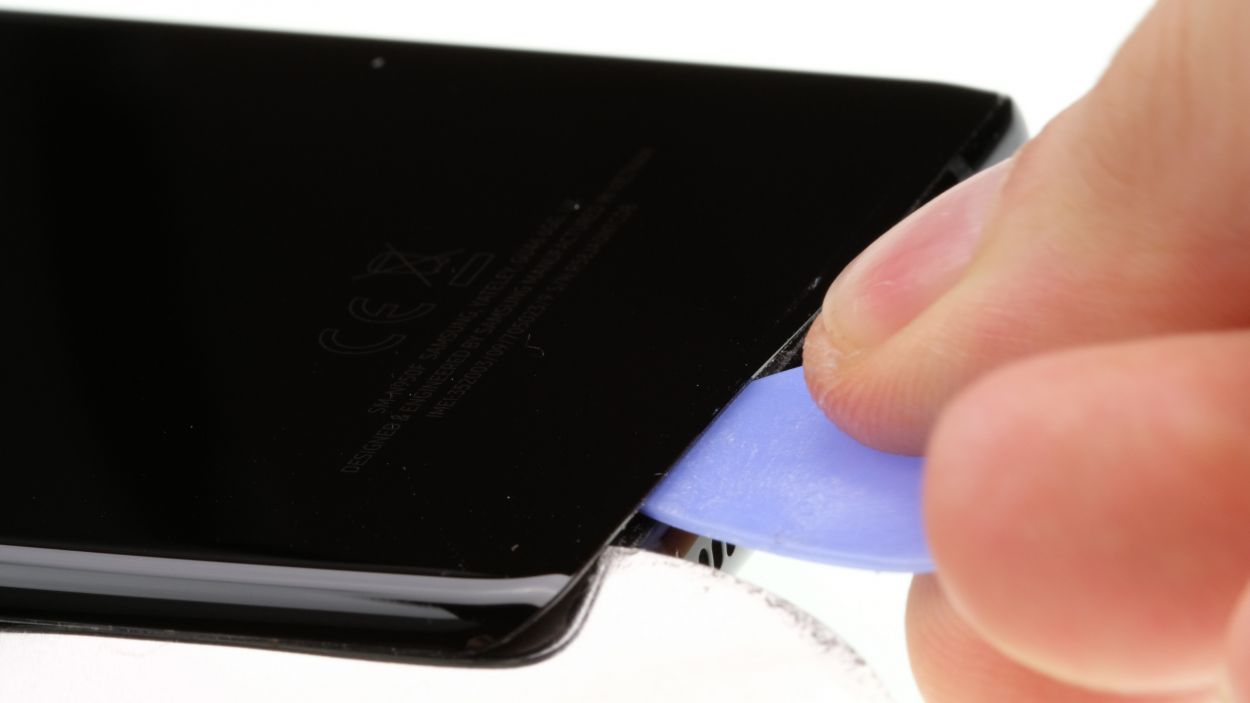
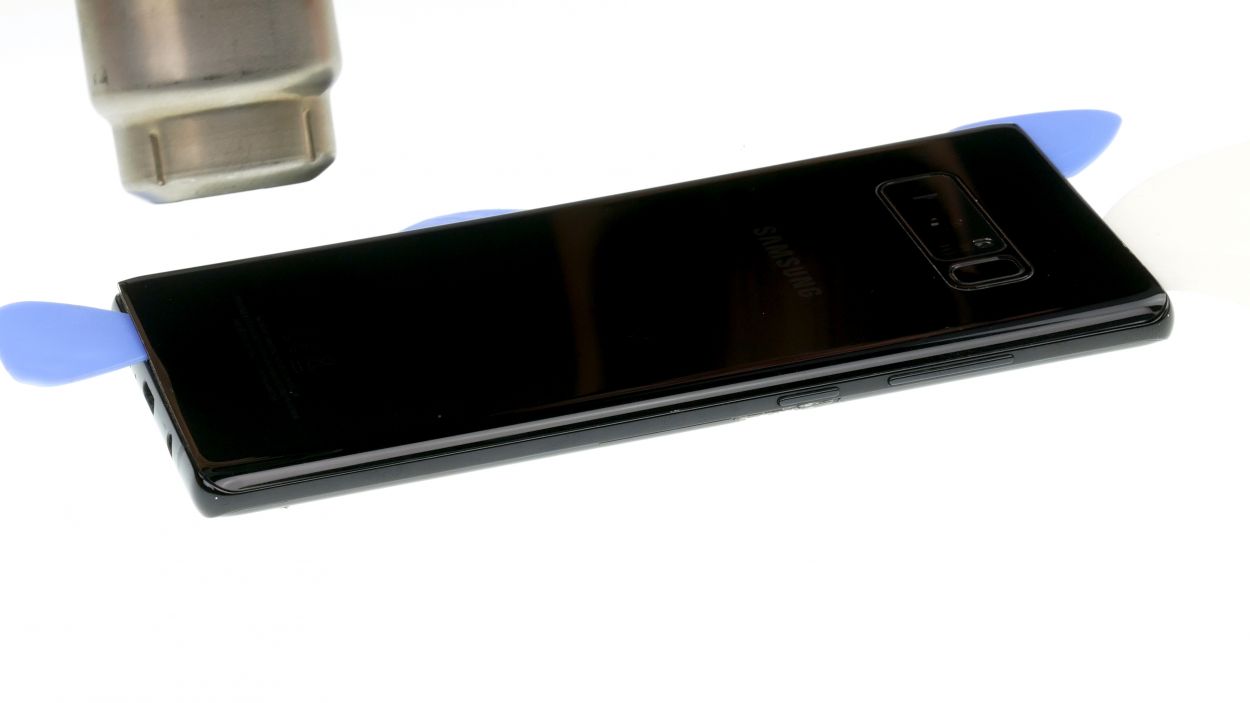

– The back cover is really stuck to the chassis, but don’t worry! Just warm up your device evenly with some hot air to loosen that glue up. A cozy temperature of 60 – 80°C should do the trick. Remember, it should still be cool enough to touch comfortably.
– To make things easier, grab a flat and flexible tool like the iPlastix or iFlex. You’ll also want a few picks handy to gently pry the back cover loose all the way around. You’ve got this!
Hey there! Just a friendly reminder to handle that back cover with care—it’s a bit delicate and can crack easily. If you find it stubborn, don’t hesitate to warm it up a couple more times and give it another go. Removing the back cover might take a bit of time, around half an hour, so take it slow and steady to avoid any mishaps. You’ve got this!
The iPlastix is crafted from plastic, so it’s gentle on your device and won’t leave any scratches. However, it can be a bit soft and a little tricky to get in there. If you need help, you can always schedule a repair!
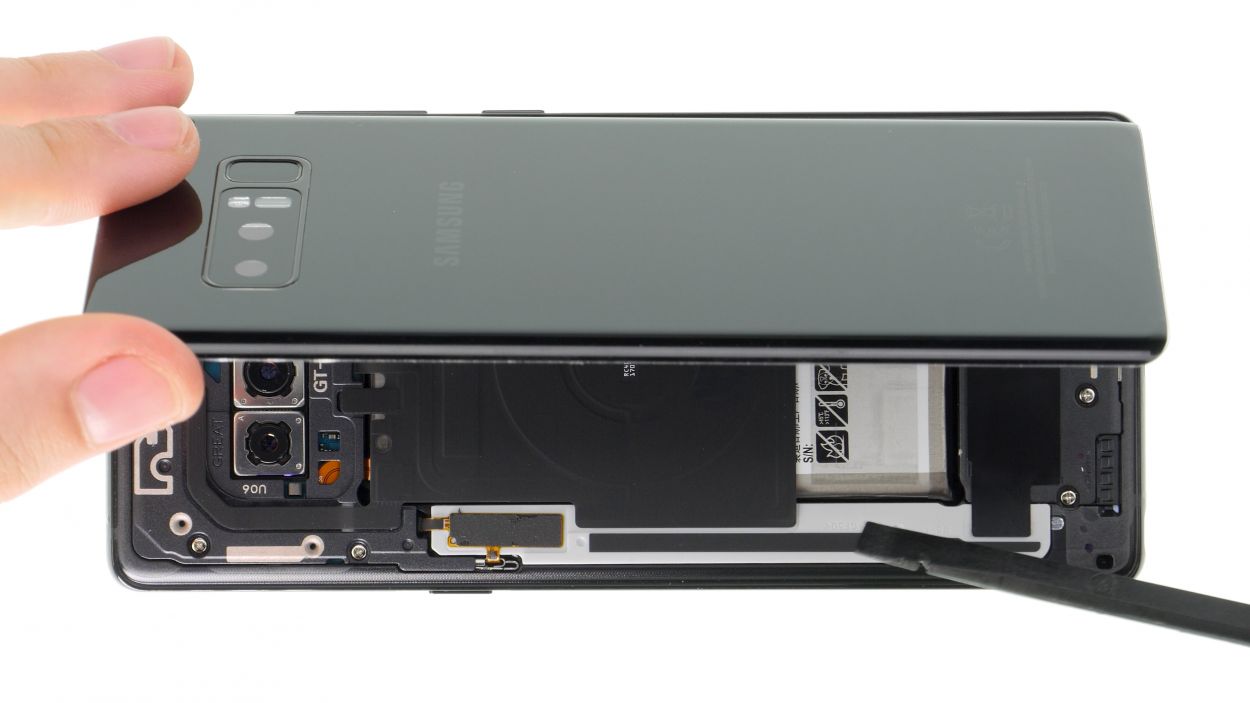
Step 3
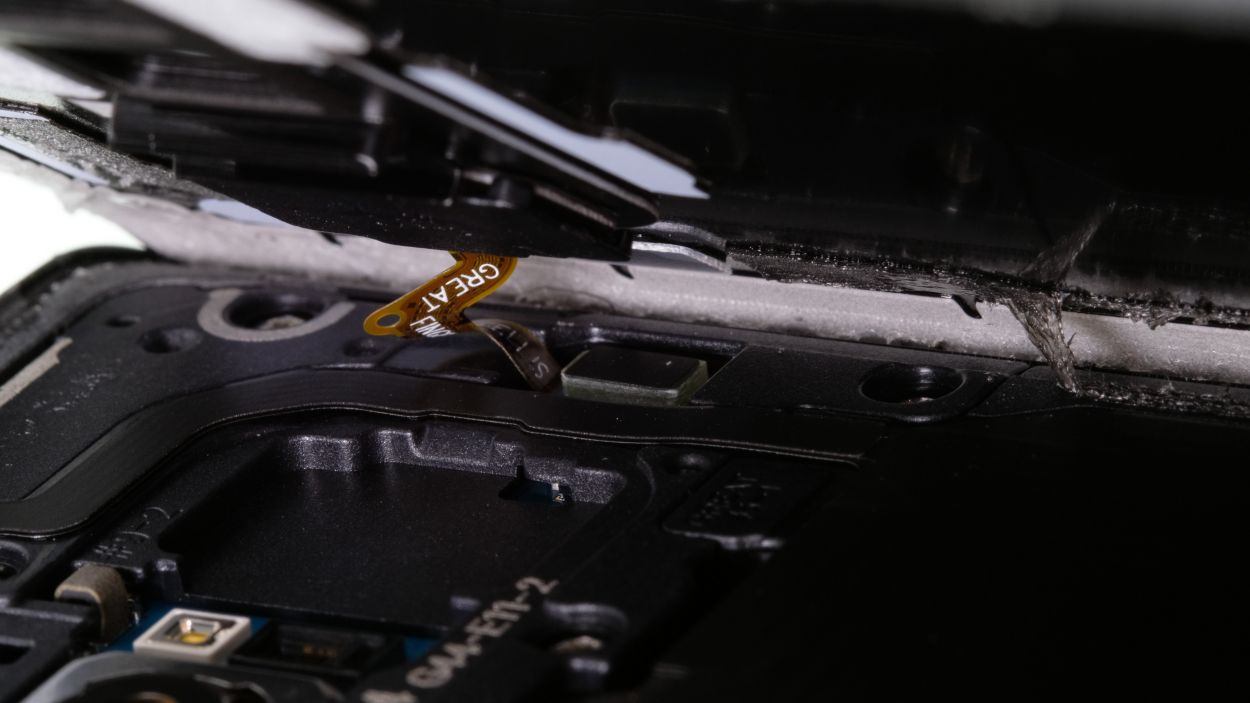
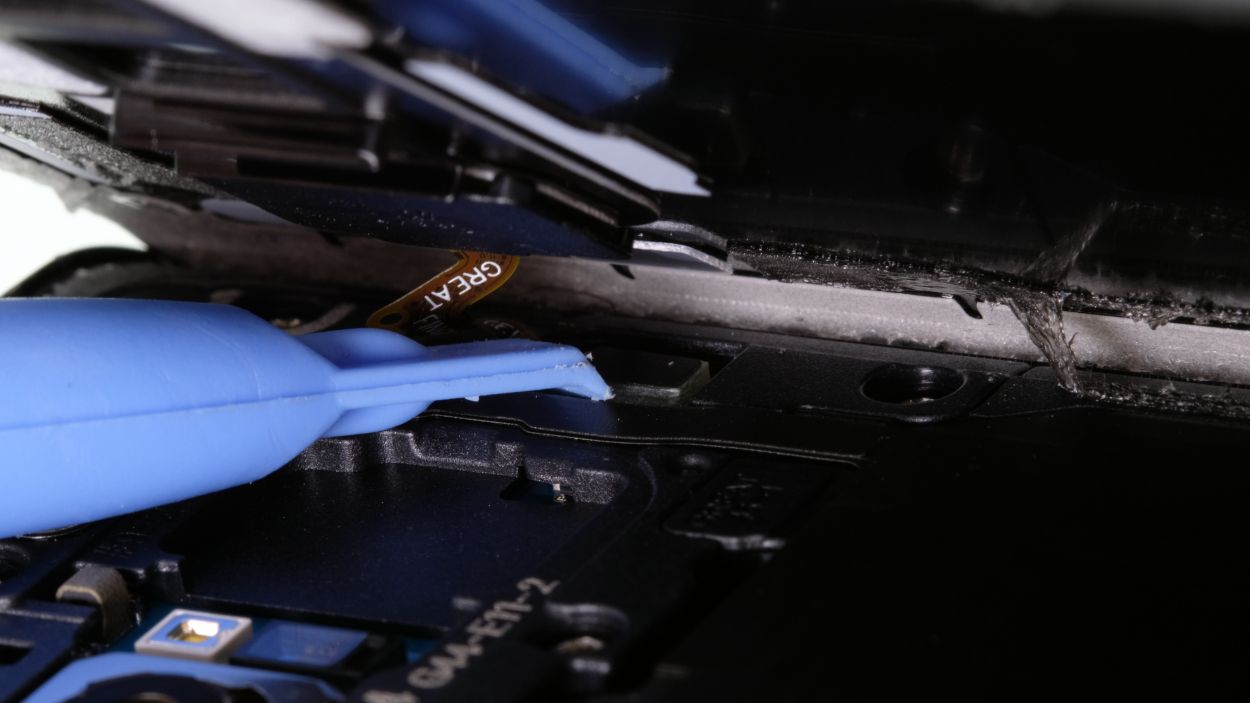
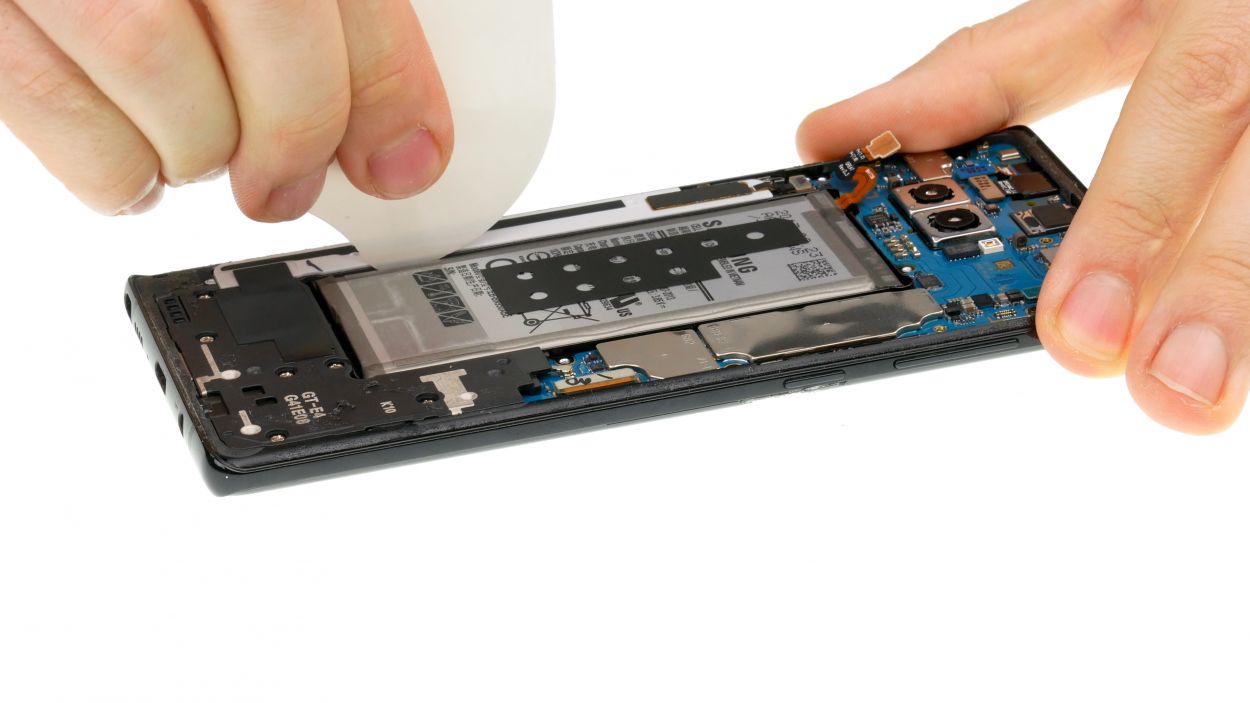
– Once you’ve popped off the back cover, gently lift it away and disconnect the fingerprint sensor with your trusty spudger. You’ve got this!
– Now that you’ve freed the back cover, you can totally set it aside and move on to the next step.
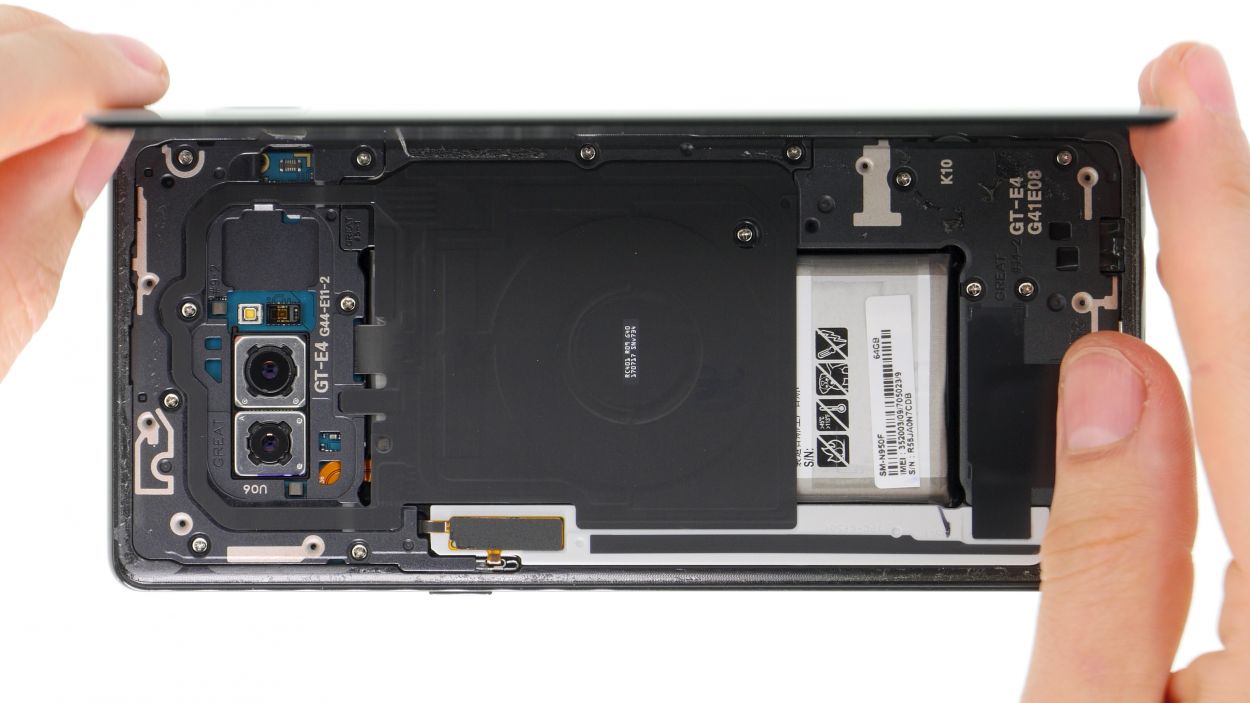
Step 4
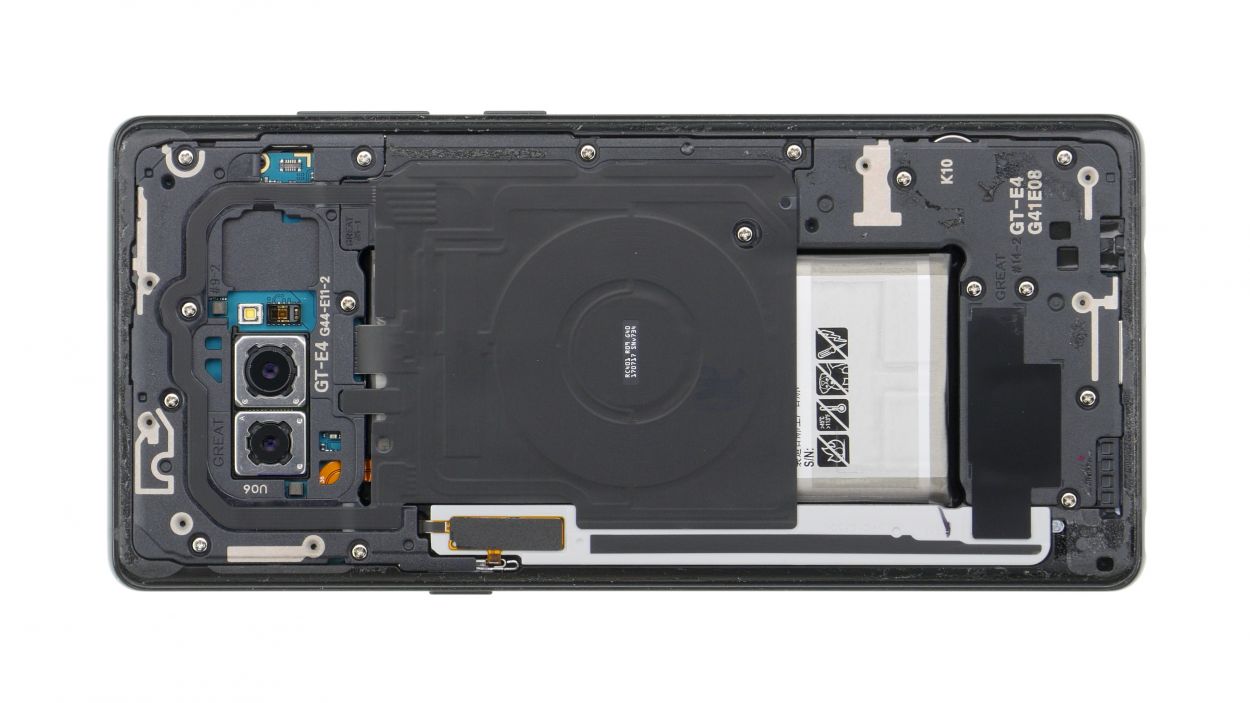
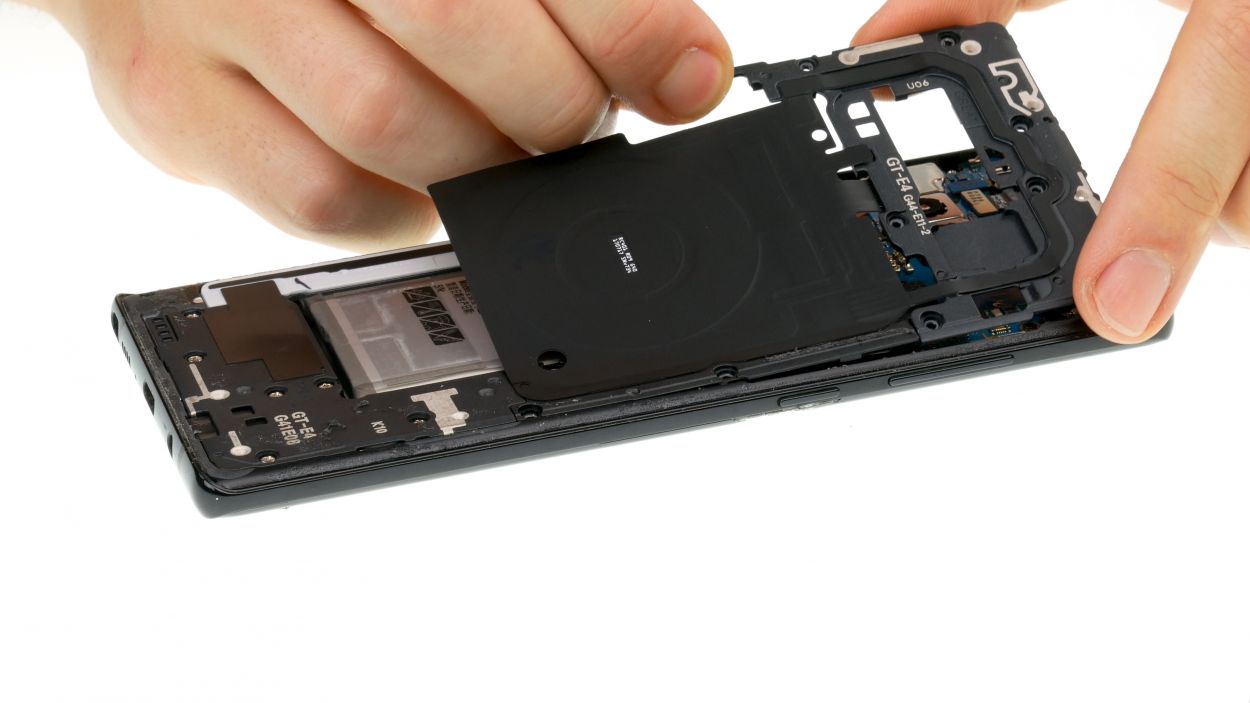
10 × 3,7 mm Phillips
– First up, let’s tackle those screws holding the upper cover to the display. Time to unscrew and groove!
– Next, the cover is snugly latched onto the case, with the lower part of the antenna giving it a gentle hug. Grab a flat tool and slide it under the latches to free them up.
– And now, it’s antenna removal time! Go ahead and take that off.
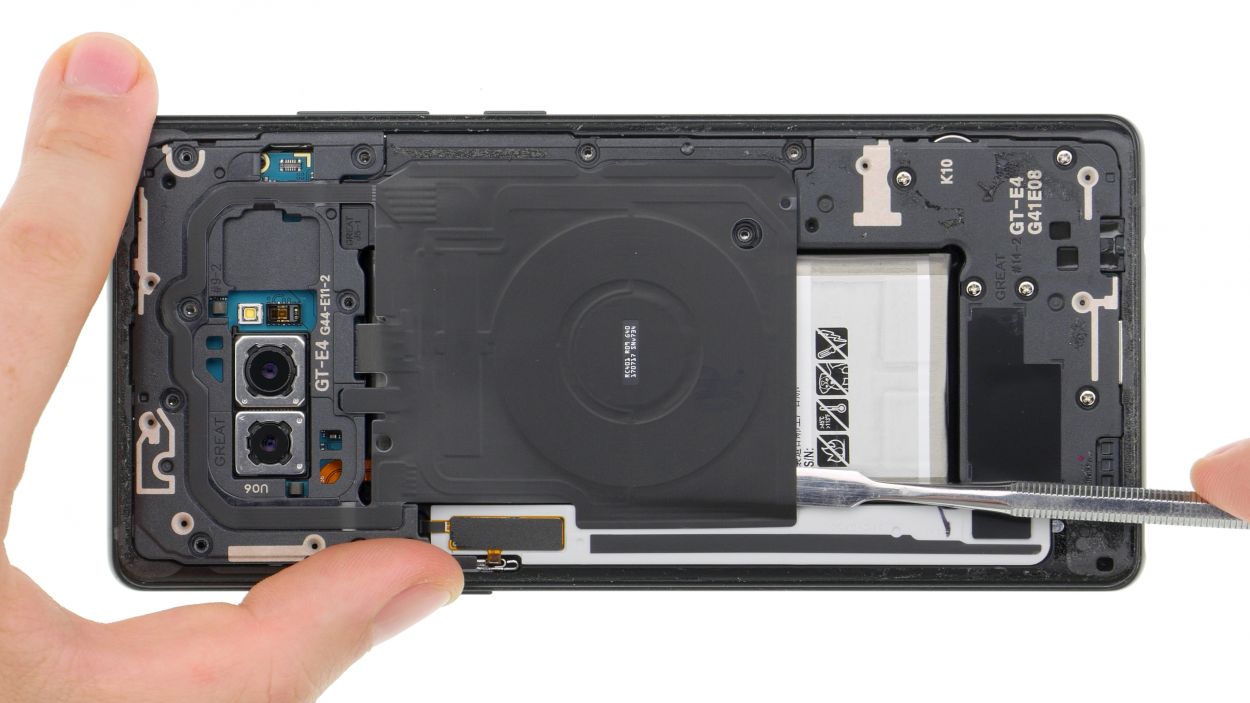
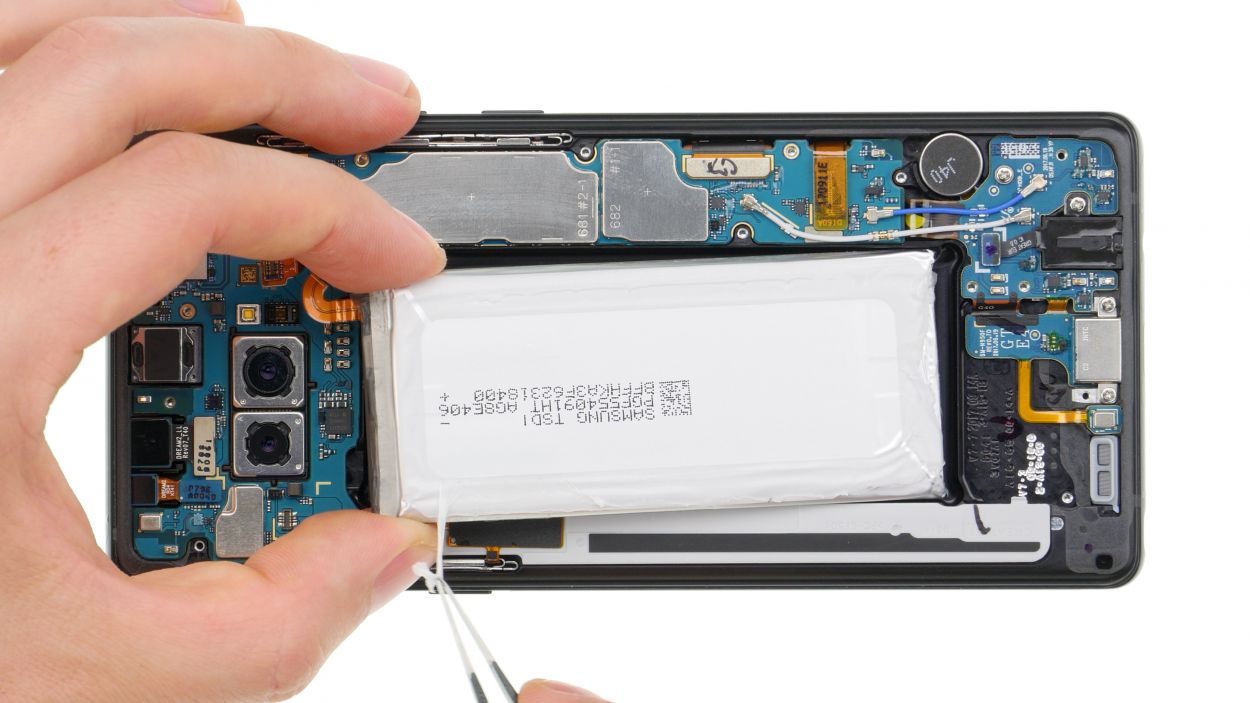
Step 5
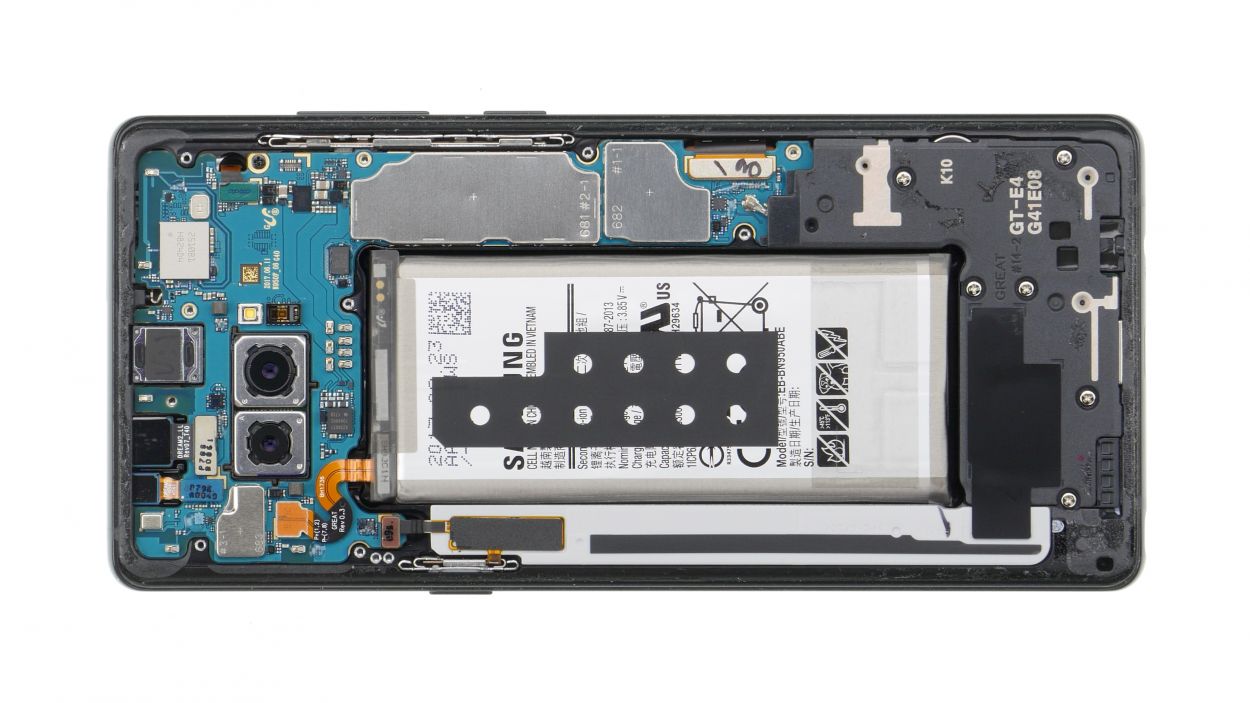
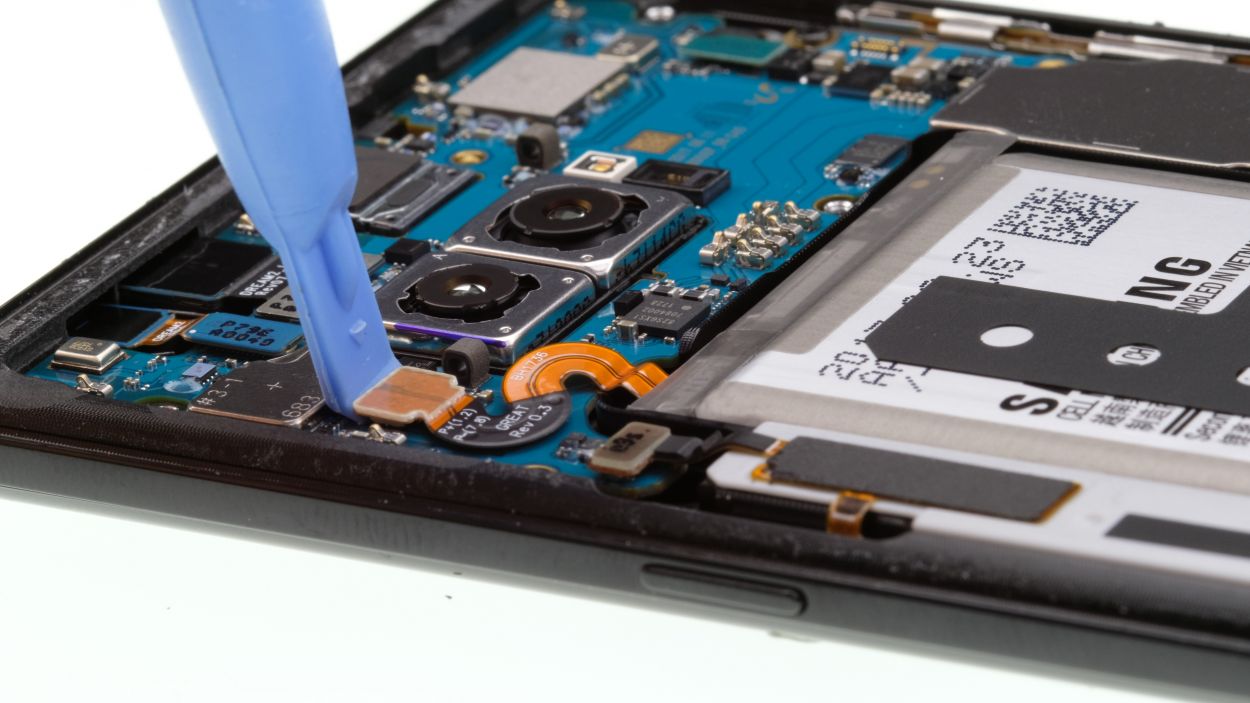
Battery connector
– With your trusty spudger in hand, gently pry the battery connection away from the motherboard. You’ve got this!
Step 6
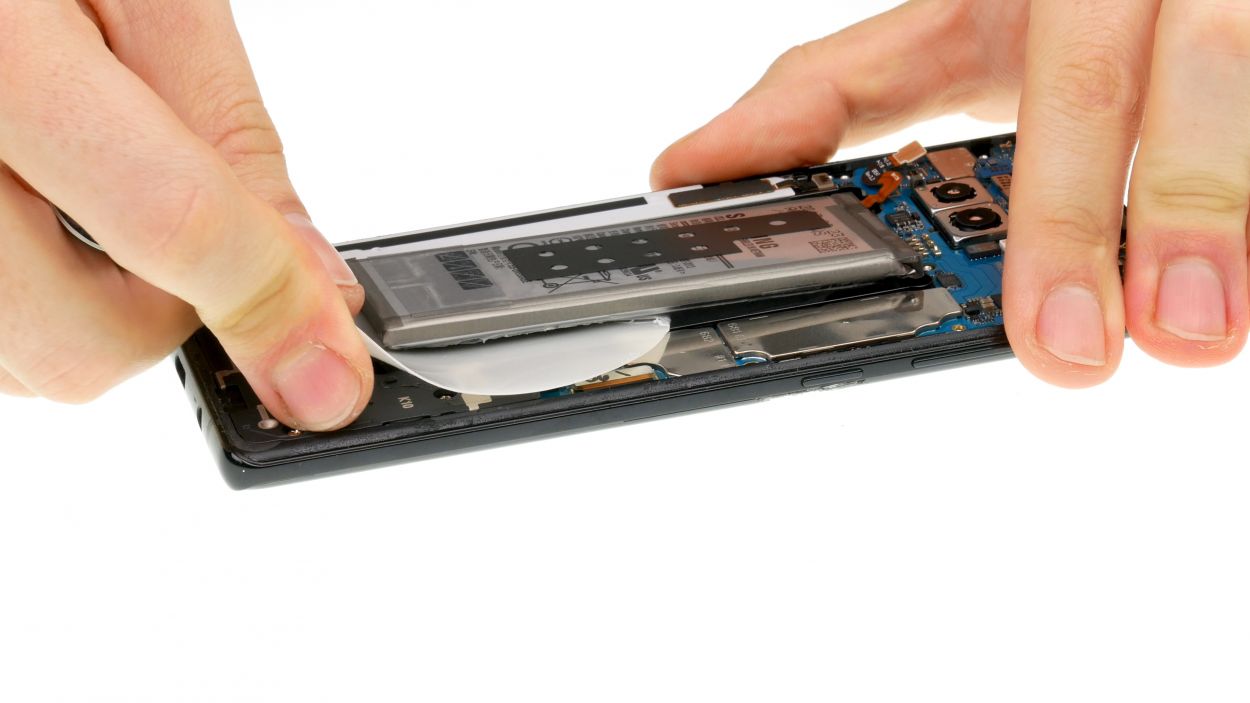
Heating the battery directly is a no-go, and bending it is a definite don’t. Keep it straight and cool for a smooth repair experience!
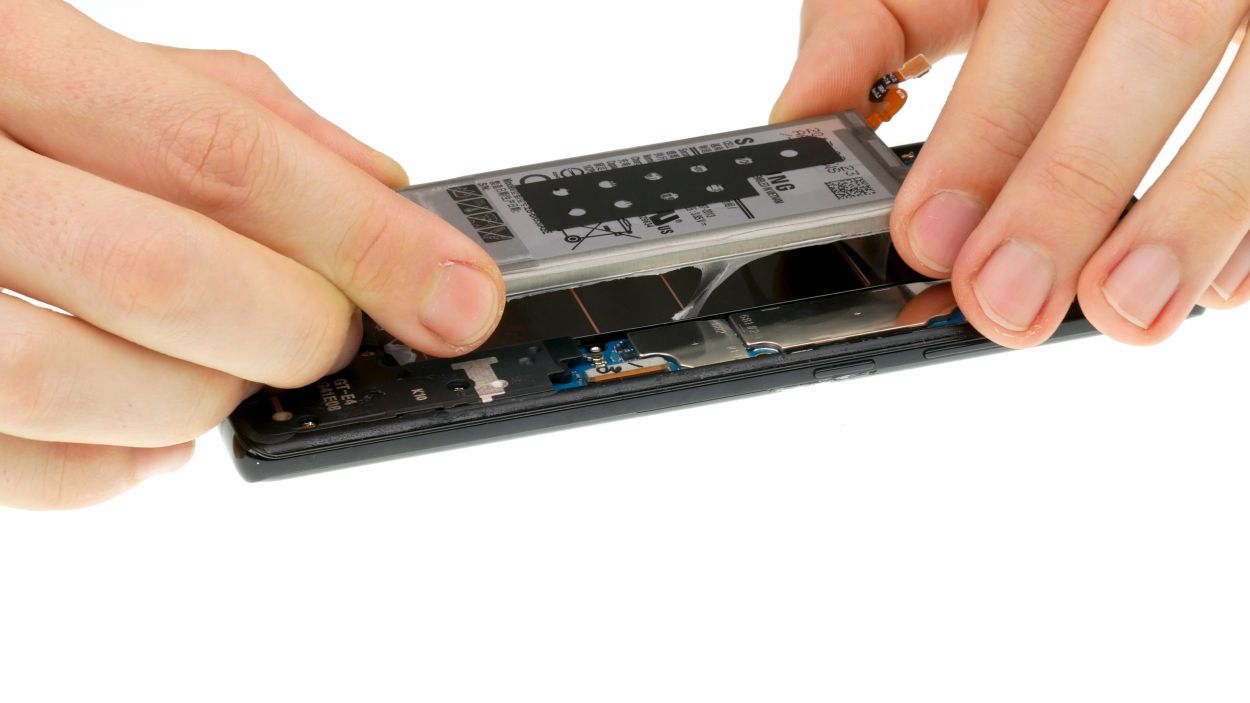
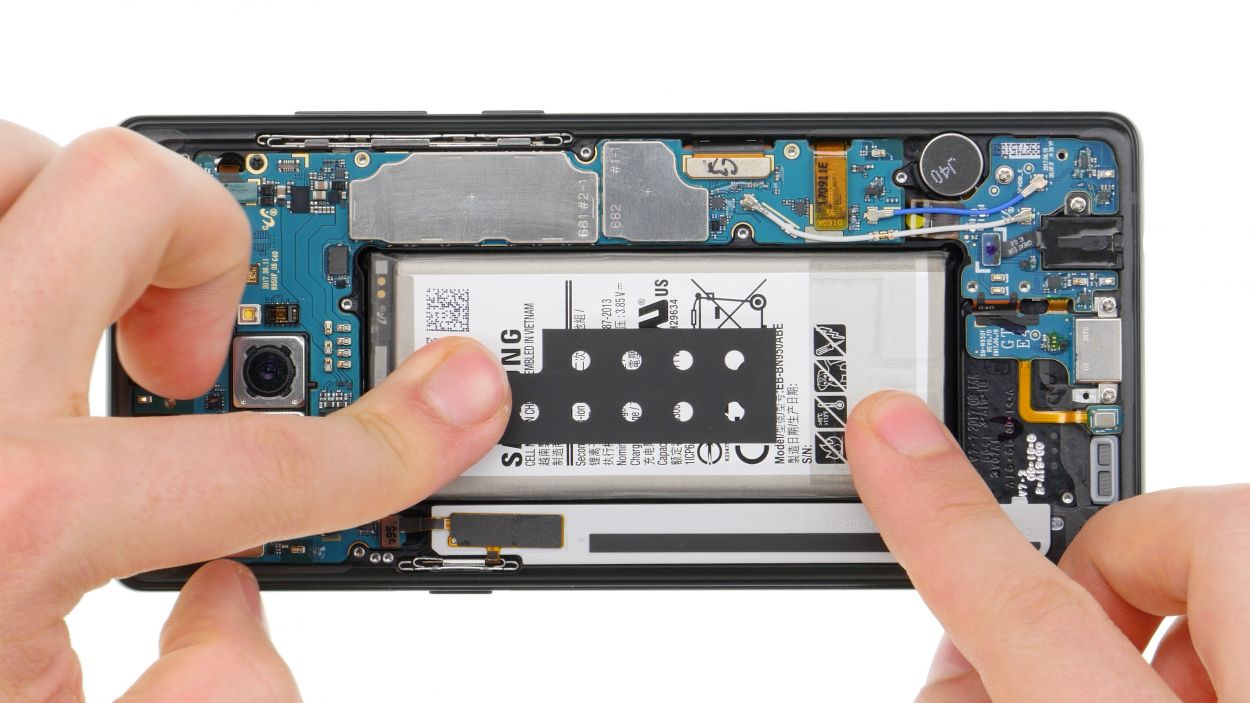
Step 7
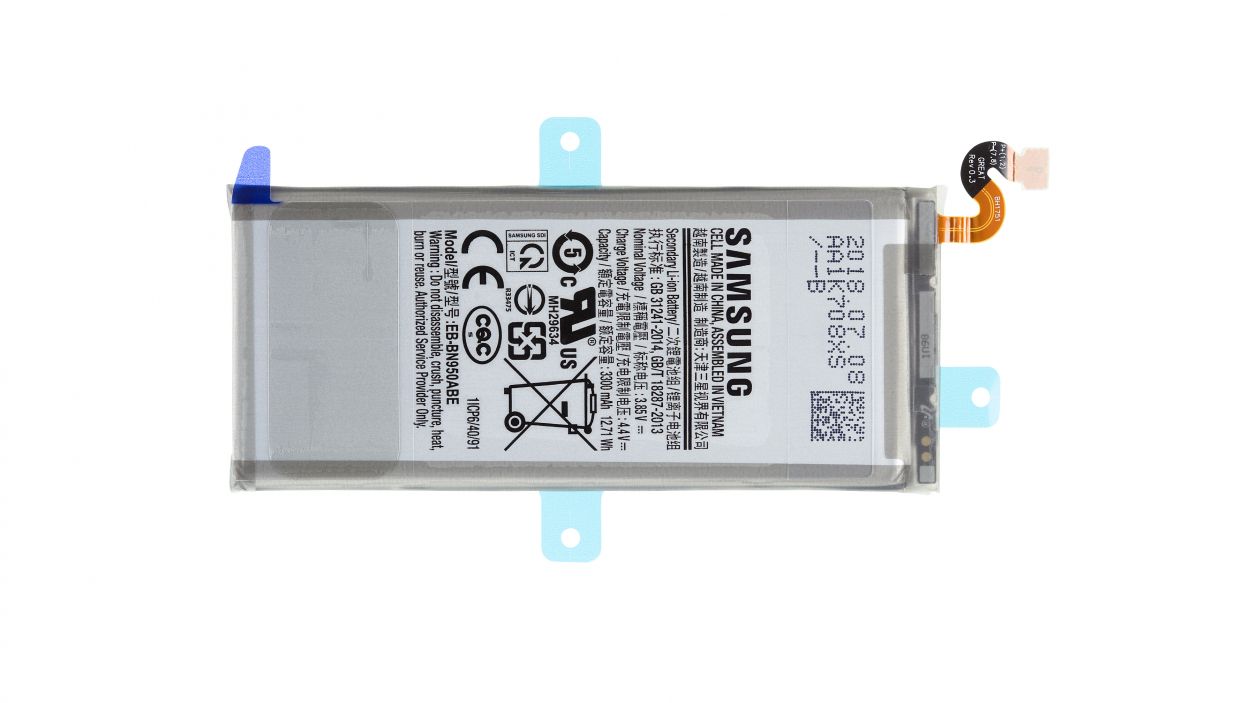
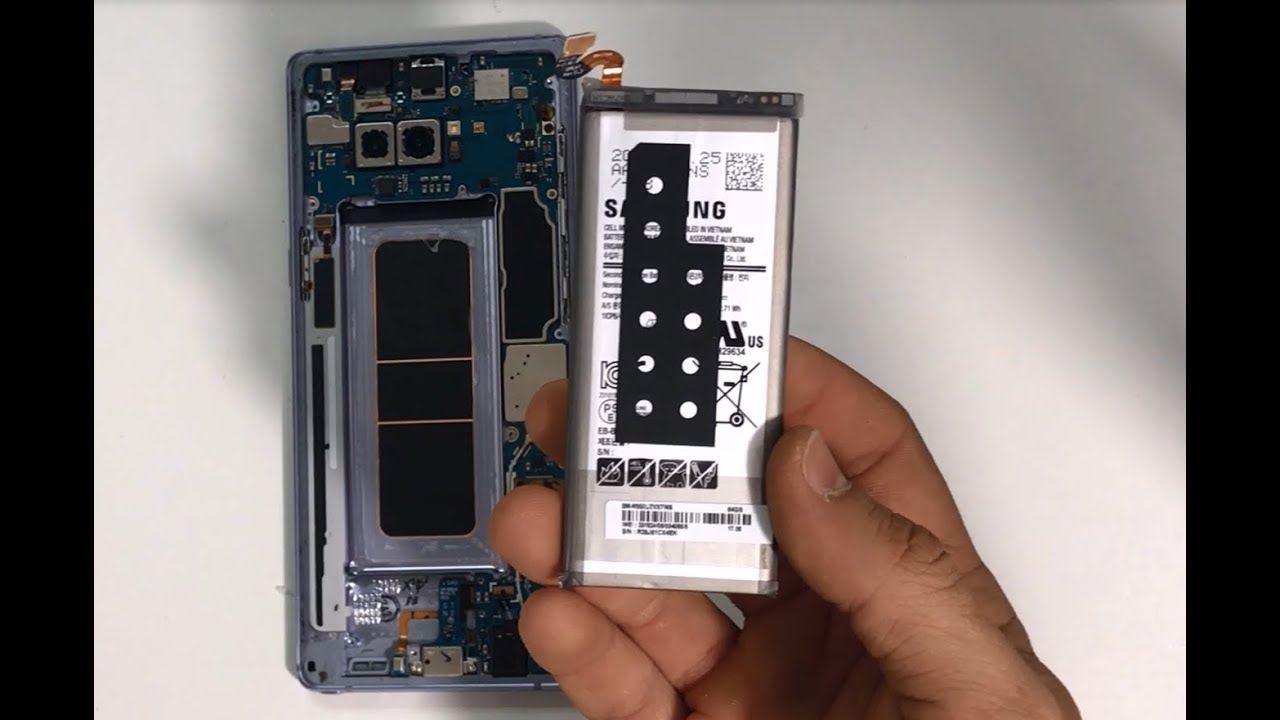
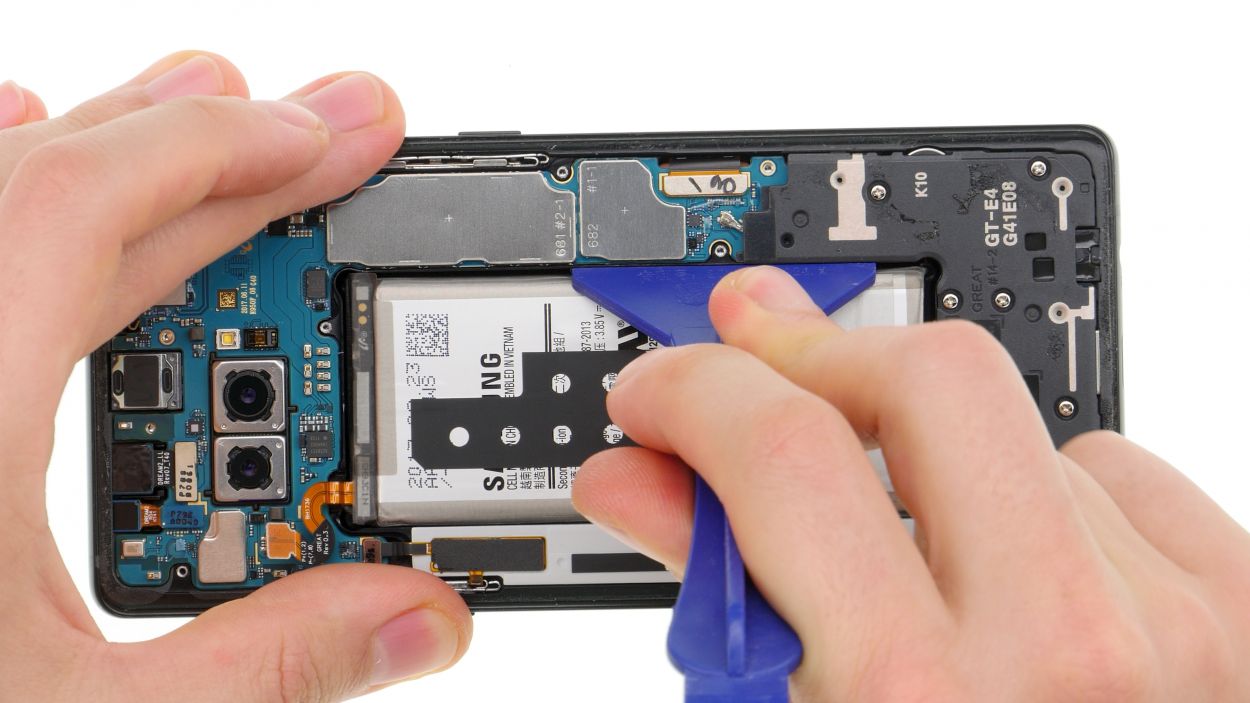
– Time to get sticky! Take that black sticker from the old battery and slap it onto the new one. Don’t worry, it’s easy peasy with a pair of tweezers.
– New battery, who dis? Remove that protective film on the back and get ready to rock this repair! If you need help, you can always schedule a repair.
Step 8
Step 9

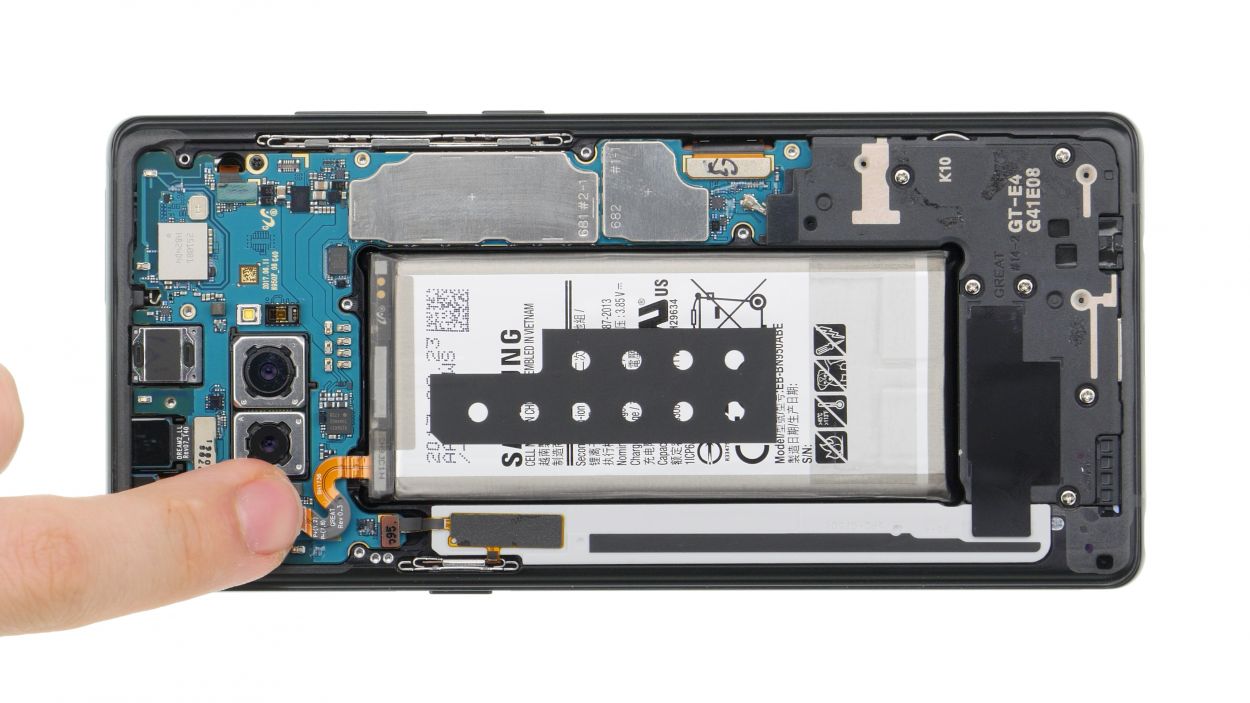
Battery connector
– Plug the battery into the motherboard. Give it a gentle press until you hear that satisfying click, letting you know it’s snug and secure.
Step 10

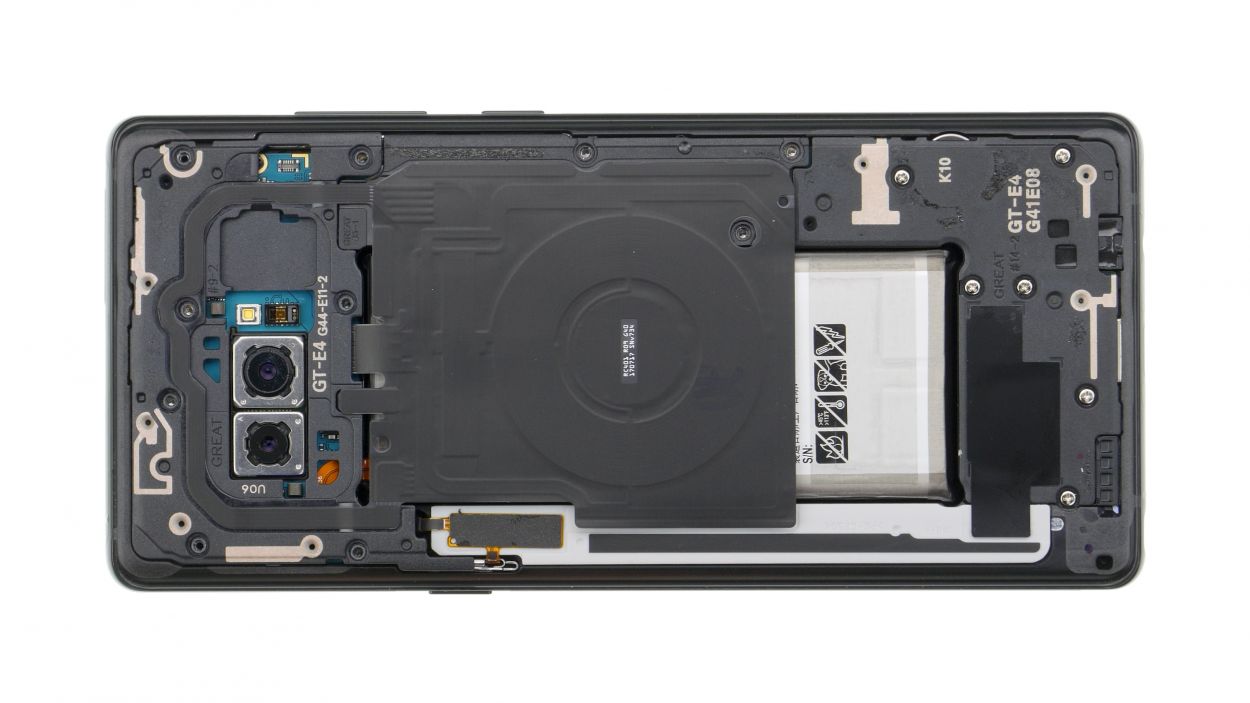
10 × 3,7 mm Phillips
– Carefully place the cover with the antenna back into the enclosure, making sure to hook it onto the top first.
– Give the cover a gentle press with your fingers until you hear that satisfying click all around.
– Now, grab your Phillips screwdriver and fasten those screws snugly.
Step 11
– Before you snap that back cover into place, take a moment to check out the adhesive. It should be sitting pretty and even along the edge, allowing the back cover to fit snugly. If you spot any extra glue hanging around, feel free to tidy it up!
Step 12
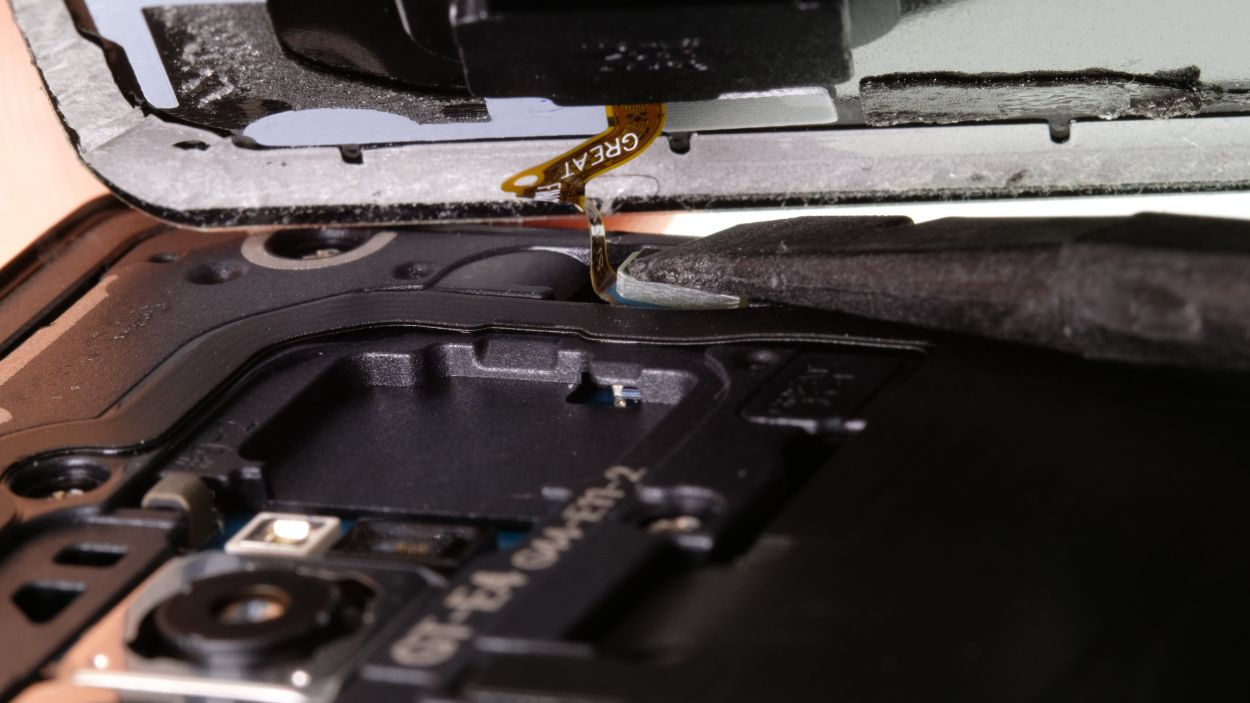
– Before you snap on that back cover, make sure to connect the fingerprint sensor. It’s a small but mighty step!
– Grab a plastic tool to help you reach that connector. You’ve got this!
Step 13


Feeling a bit crafty? Try warming up your device with some hot air, then give it a gentle hug with a couple of books to help that glue bond like a champ!
– Carefully place the back cover back where it belongs, like a puzzle piece finding its home.
– Give the back cover a gentle press all around to ensure the glue makes a solid bond. You’ve got this!