DIY Guide to Replace Battery in Galaxy S10e
Duration: 90 min.
Steps: 10 Steps
Ready to tackle that pesky battery replacement for your Galaxy S10e? With our handy step-by-step photo guide, you’ll be a pro in no time! Just a heads up, the repair is a little tricky since you’ll need to remove the super-glued glass back cover to access the battery. It might take a bit of time, so make sure to set aside a good chunk of your day for this adventure. And hey, before you dive in, it’s a smart move to back up all your data and work on a clean, well-lit surface. If you hit a snag, don’t hesitate to reach out to us via live chat – we’re here to help! If you need help, you can always schedule a repair.
Step 1

Tap that little Play button in the top right corner of the image to watch a video for each step. It’s like having a buddy guiding you through the repair!
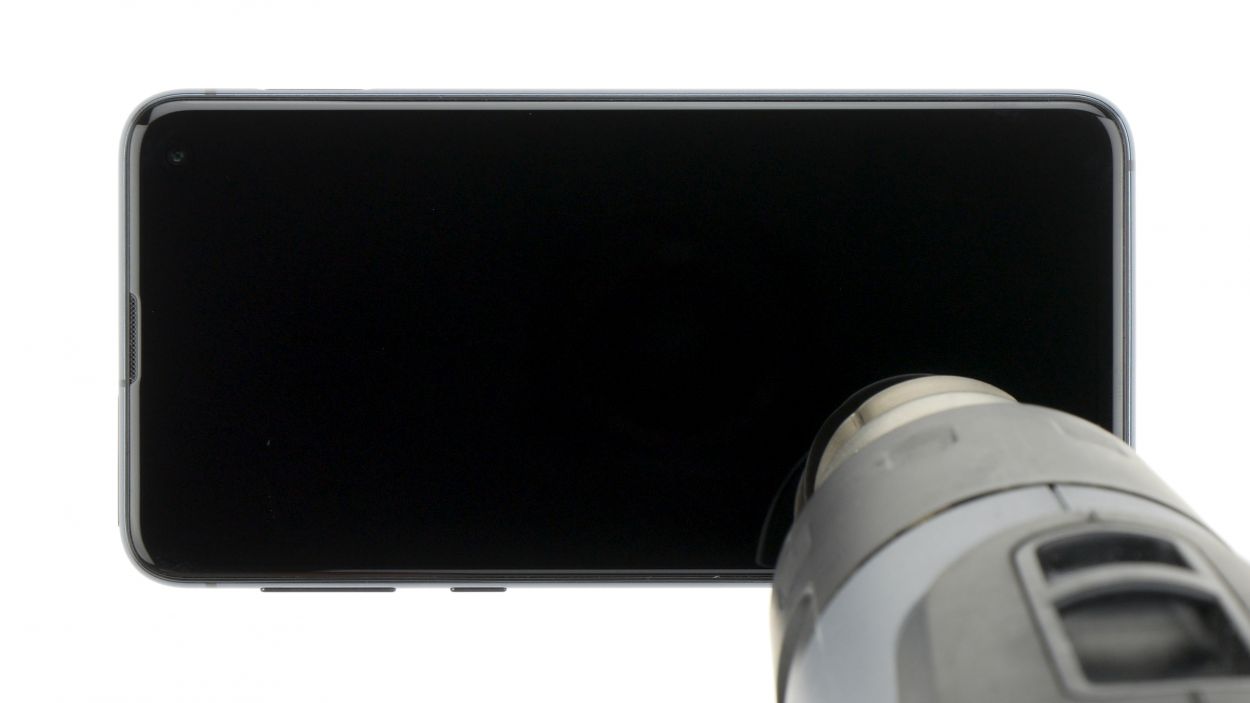
– First things first, let’s give your device a little nap! Press and hold that power button until you see the ‘Power off’ option pop up on your screen.
– Now, give it a gentle tap with your finger to confirm that you really want to shut it down. Sit tight and watch as the screen fades to black!
Step 2

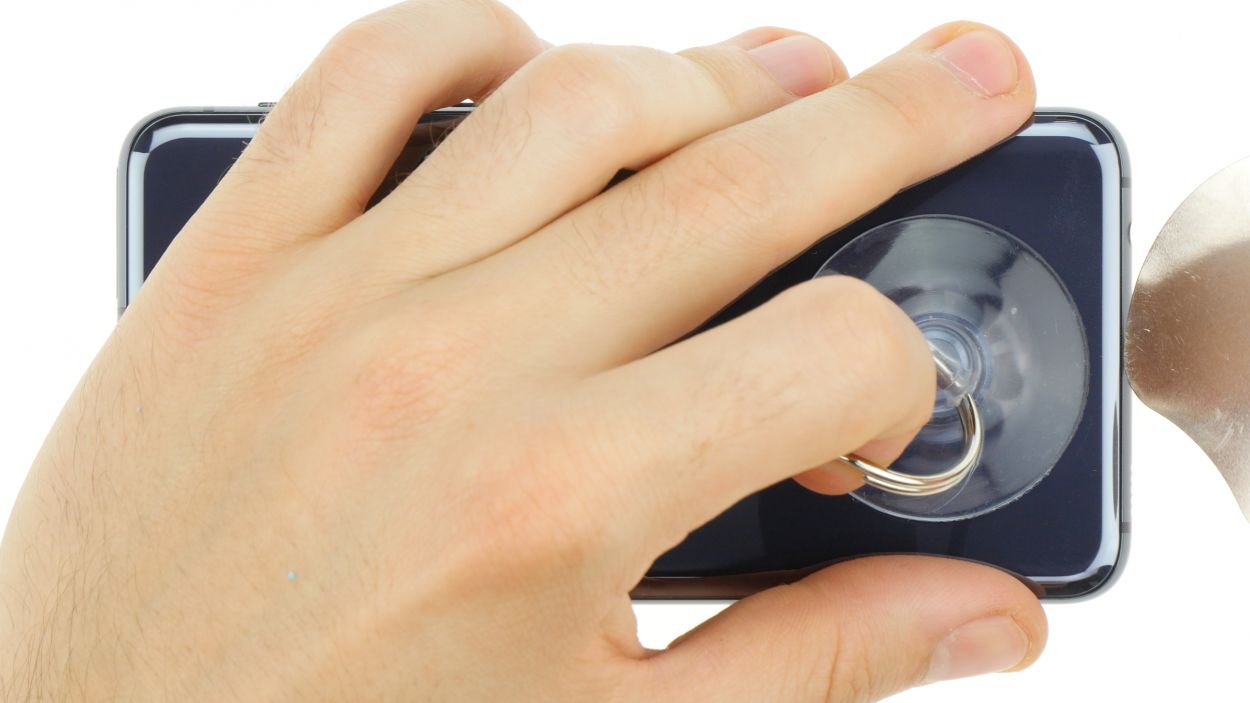

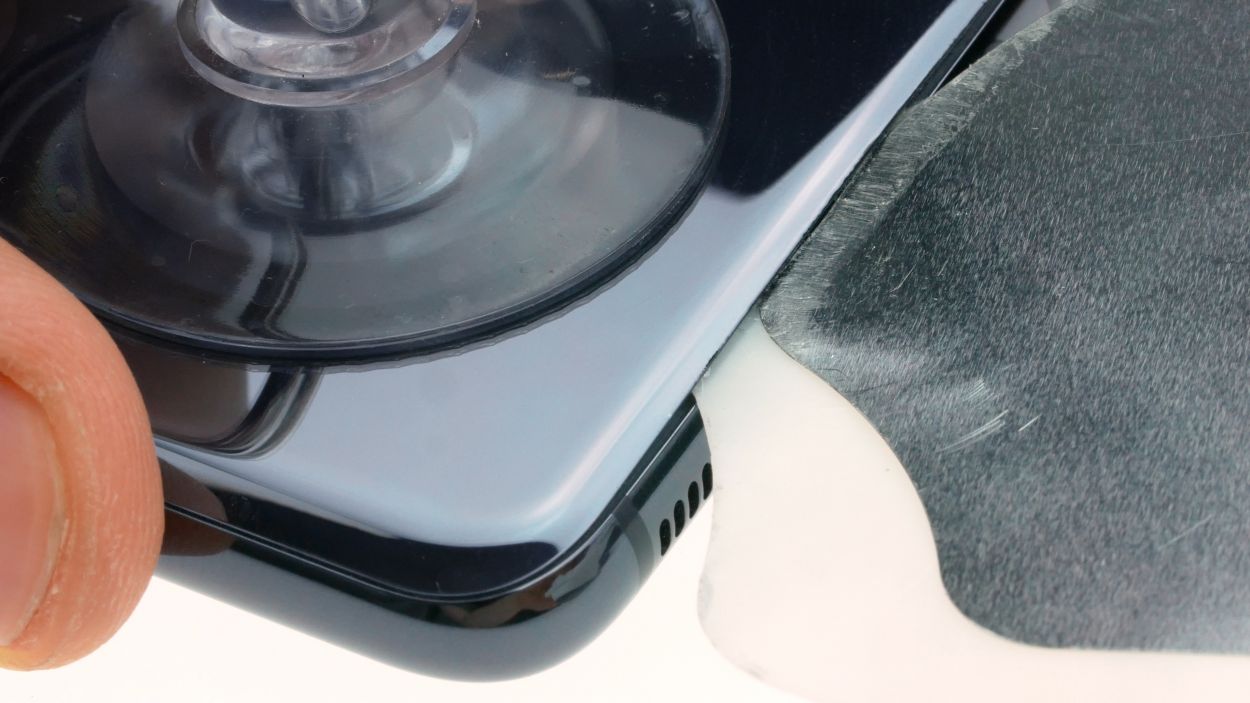


– The back cover is stuck on there pretty well, but don’t sweat it! Start by warming up your device evenly with some hot air to loosen that glue. Aim for a cozy temperature of 60 – 80°C; it should feel warm but still comfortable to touch.
– To get that back cover off, grab a flat and flexible tool like the iPlastix or iFlex. You’ll also want a few picks handy to help unstick the cover all the way around.
– Begin by heating the area where you’re starting, then slide a flat tool between the back cover and the frame. You’re on your way!
Hey there! Just a friendly reminder to handle that back cover with care – it’s a bit delicate and can break if you’re not gentle. If things aren’t going smoothly, don’t hesitate to warm it up a couple of times and give it another go. Removing the back cover might take a little while, so take your time and work carefully to avoid any mishaps. You’ve got this!
The iPlastix is your go-to buddy for keeping your device scratch-free since it’s made of plastic! Just a heads up, it’s a bit soft and can be a little tricky to get in there. Now, the iFlex is like the cool kid on the block, sliding effortlessly into the gap between the glass and the frame thanks to its super thin, sturdy metal design. Just remember to be gentle, as it might leave a mark on your S10e’s frame. Start your journey with the iFlex to get in there, and switch to the iPlastix as soon as you can for a smooth ride!
Tools Used
- heat gun to heat parts that are glued on so they’re easier to remove.
In most cases, you can also use a hairdryer.” rel=”noopener”>Heat gun - screen and the frame. The practical iFlex is made of stainless steel and sits comfortably in the hand. This makes it the perfect assistant for every smartphone repair.” rel=”noopener”>iFlex Opening Tool
- battery? Then the iPlastix with its large blade will help you. The practical assistant is made of flexible, especially sturdy plastic and lies comfortably in the hand. Thanks to its design, you can even get into smaller gaps, for example to lift the screen or to prevent it from sticking together again.” rel=”noopener”>iPlastix Opening Tool
- VAKUPLASTIC Suction Cup
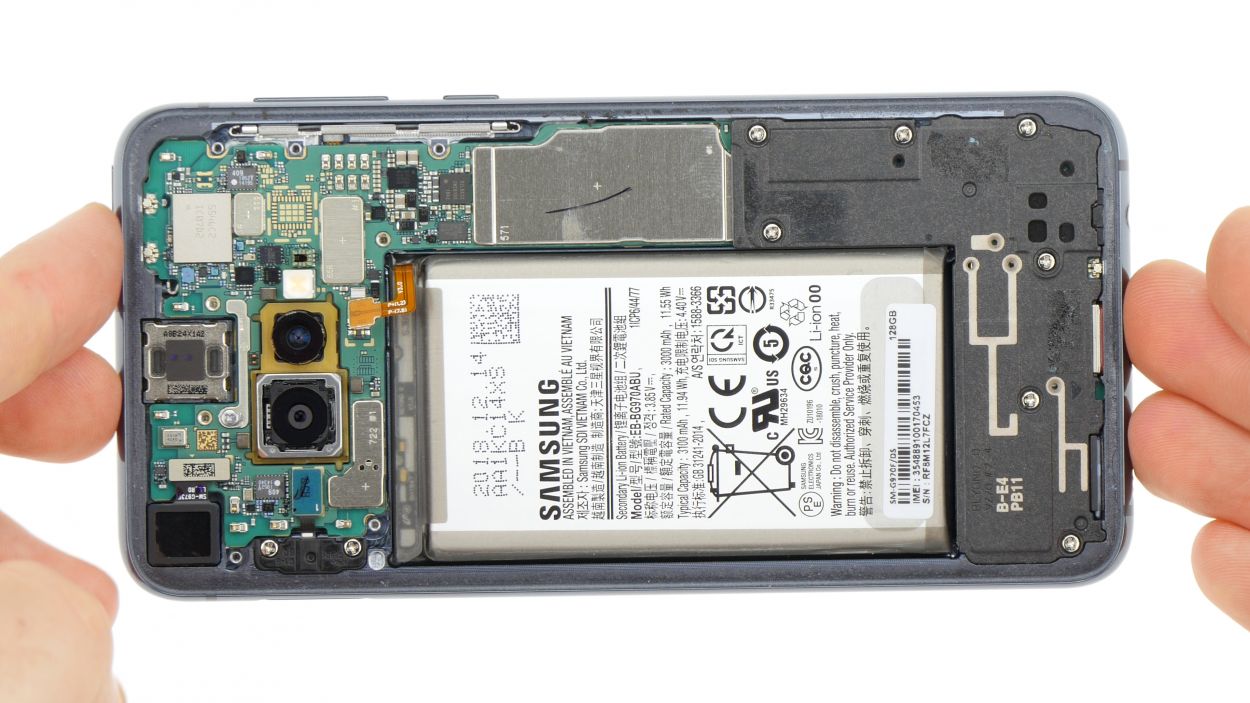
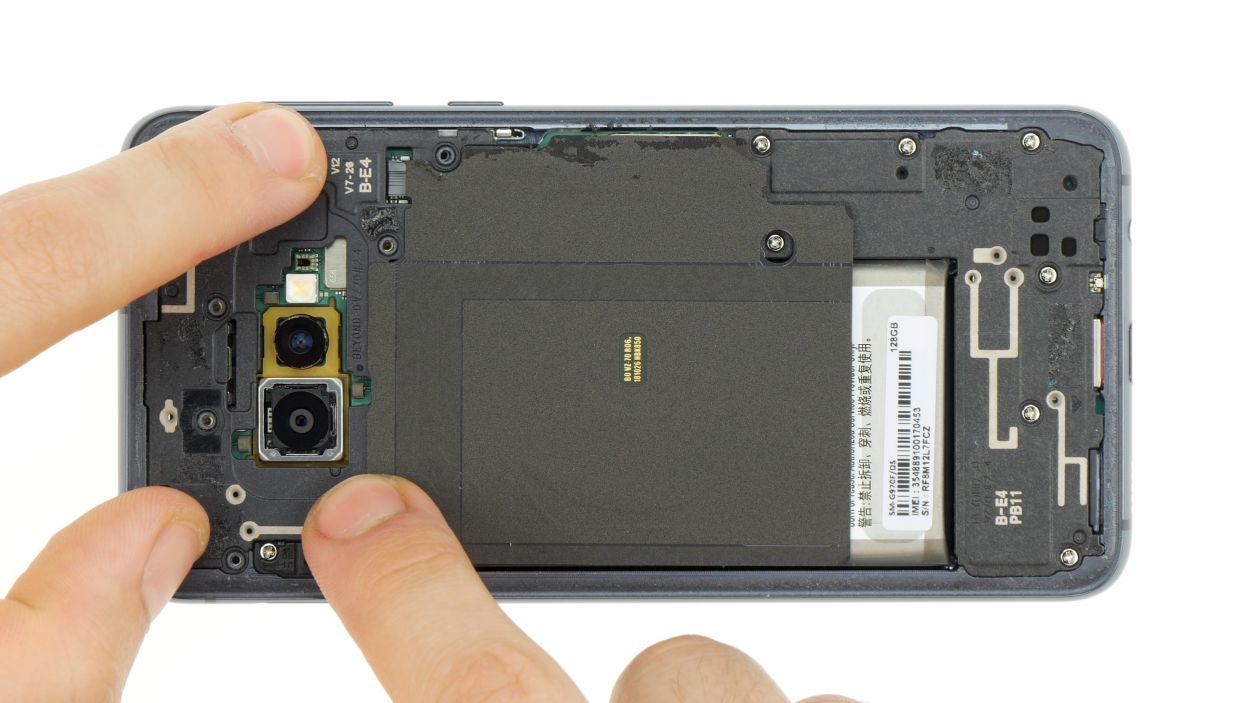
Step 3
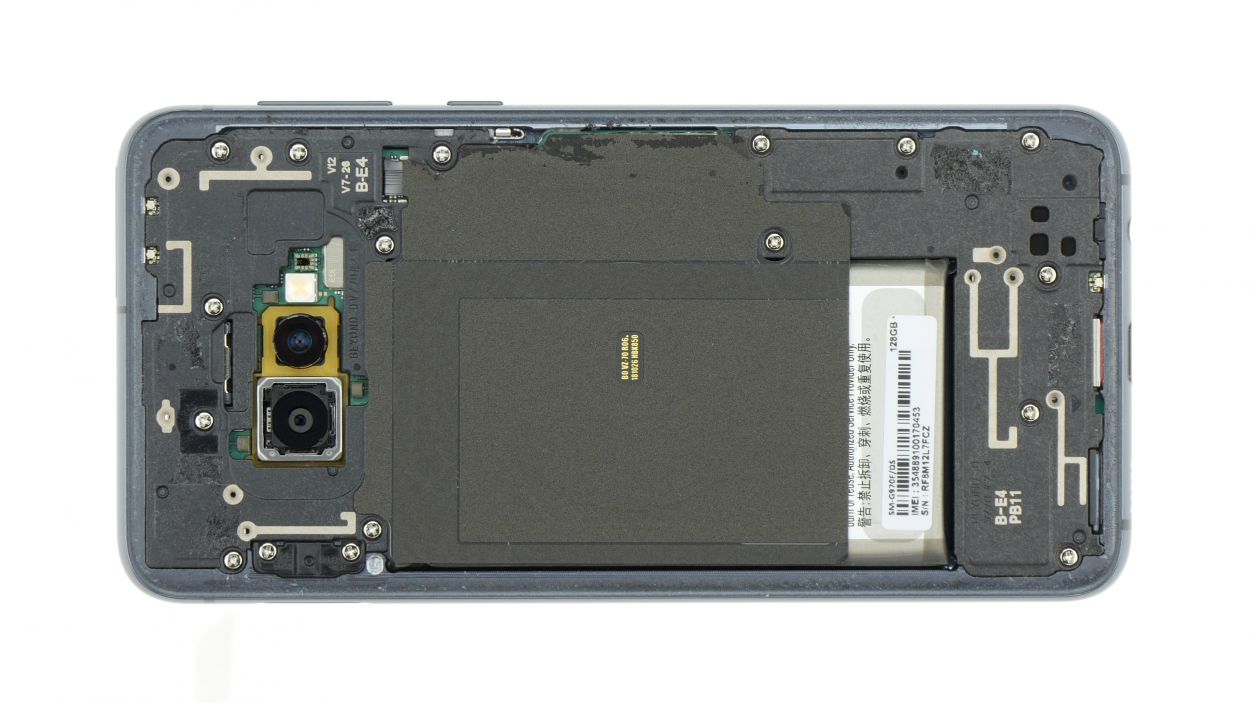


8 × 3,9 mm Phillips
– Start by loosening those Phillips screws holding the cover in place. Just a heads up, the contactless charging coil and NFC antenna are cozying up to the plastic cover.
– The cover is snugly hooked at the top and has a little glue love at the bottom. Gently slide a flat tool under those attached spots and give them a little nudge to loosen things up.
– Now, with a bit of care, you can lift off the cover along with the coil. Easy peasy!
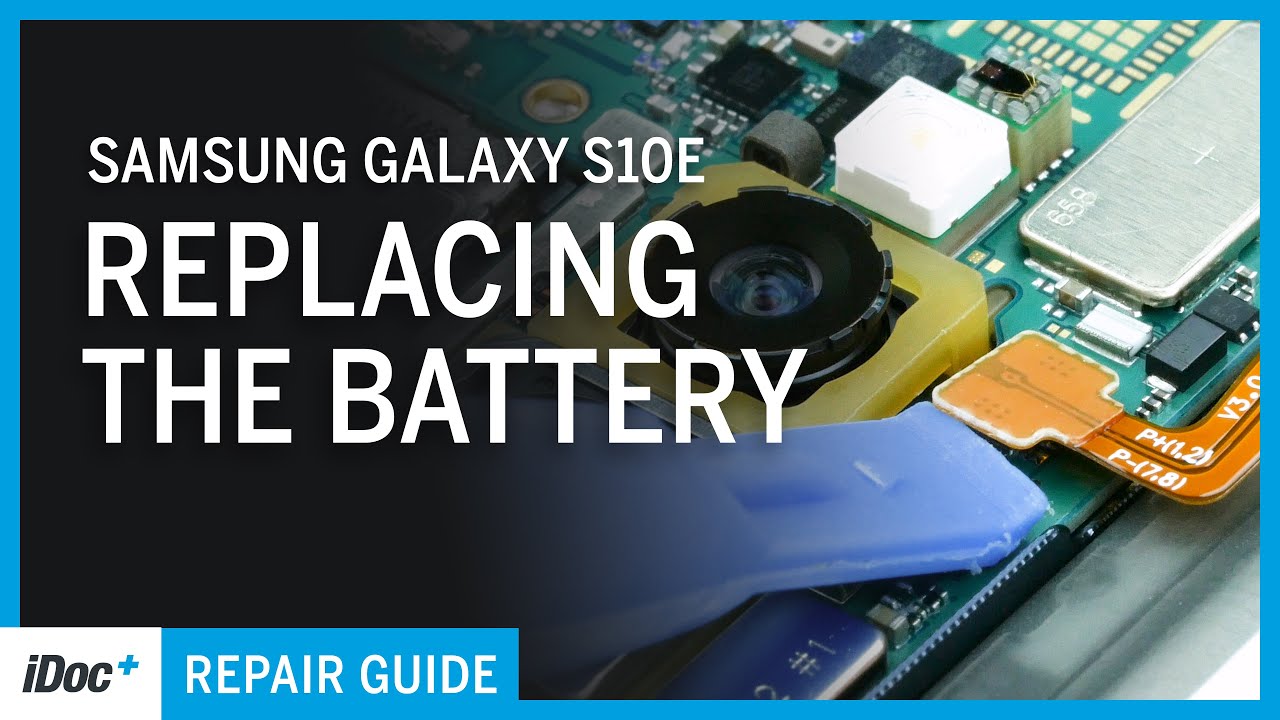
Step 4
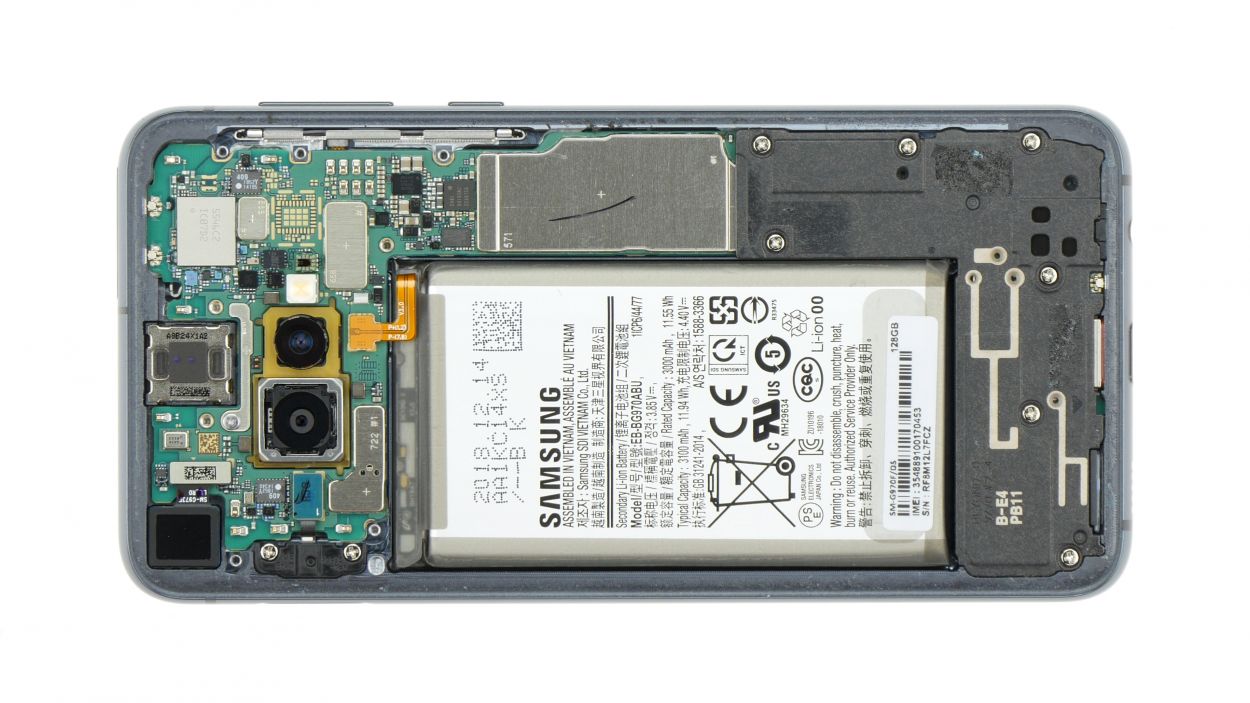
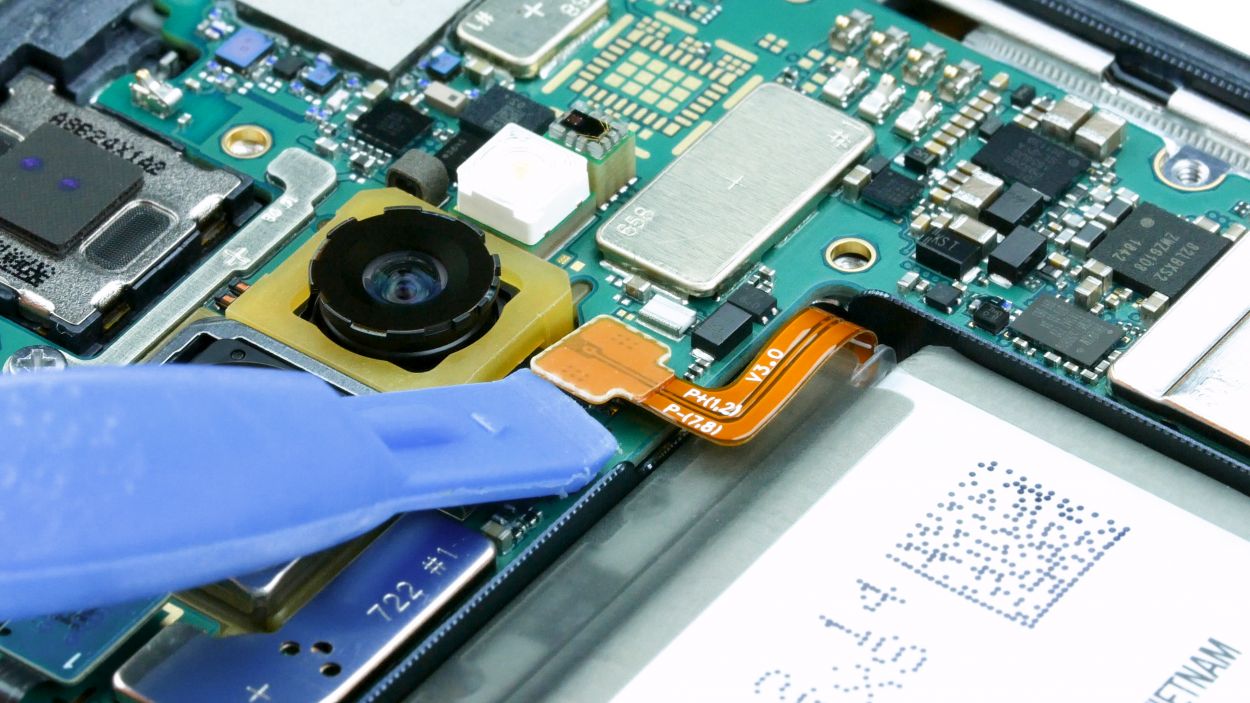
Battery Connector
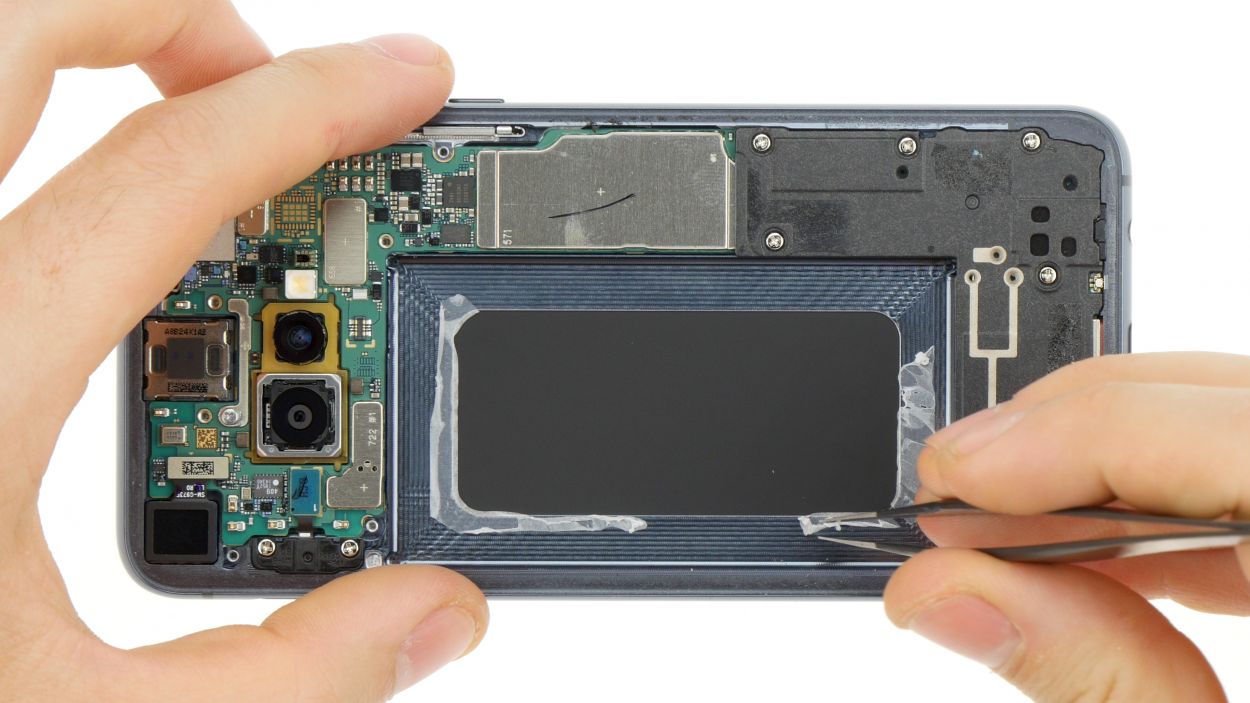
When you’re prying things apart, always start from a side that’s free of tiny components on the motherboard. This little tip helps you dodge any accidental damage to those delicate capacitors or ICs. Keep it smooth and safe!
– With a spudger in hand, gently detach the battery connector from the motherboard. You’ve got this!
Tools Used


Step 6


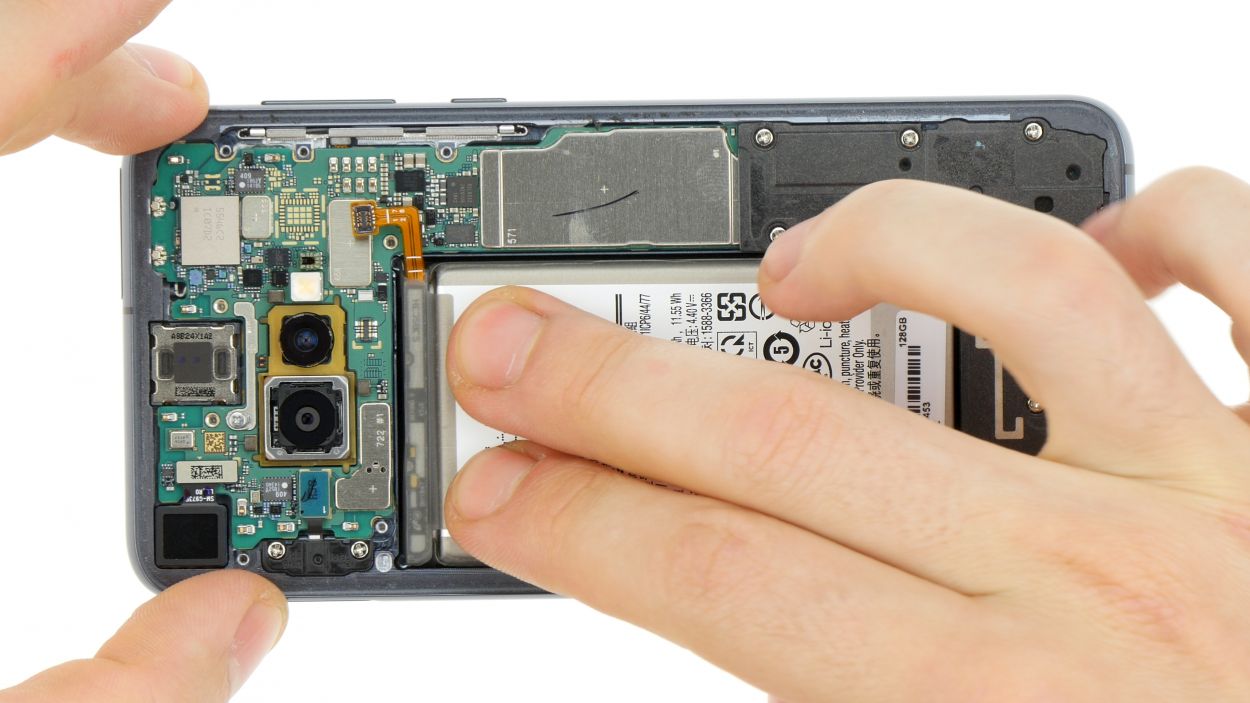
If your new battery doesn’t come with fresh adhesive surfaces, no worries! Just grab some thin double-sided tape to secure that battery back in its cozy spot. Just a quick tip: keep the sticky stuff away from the black back of the display and stick it only on the metal frame at the edge. You’ve got this!

Step 8
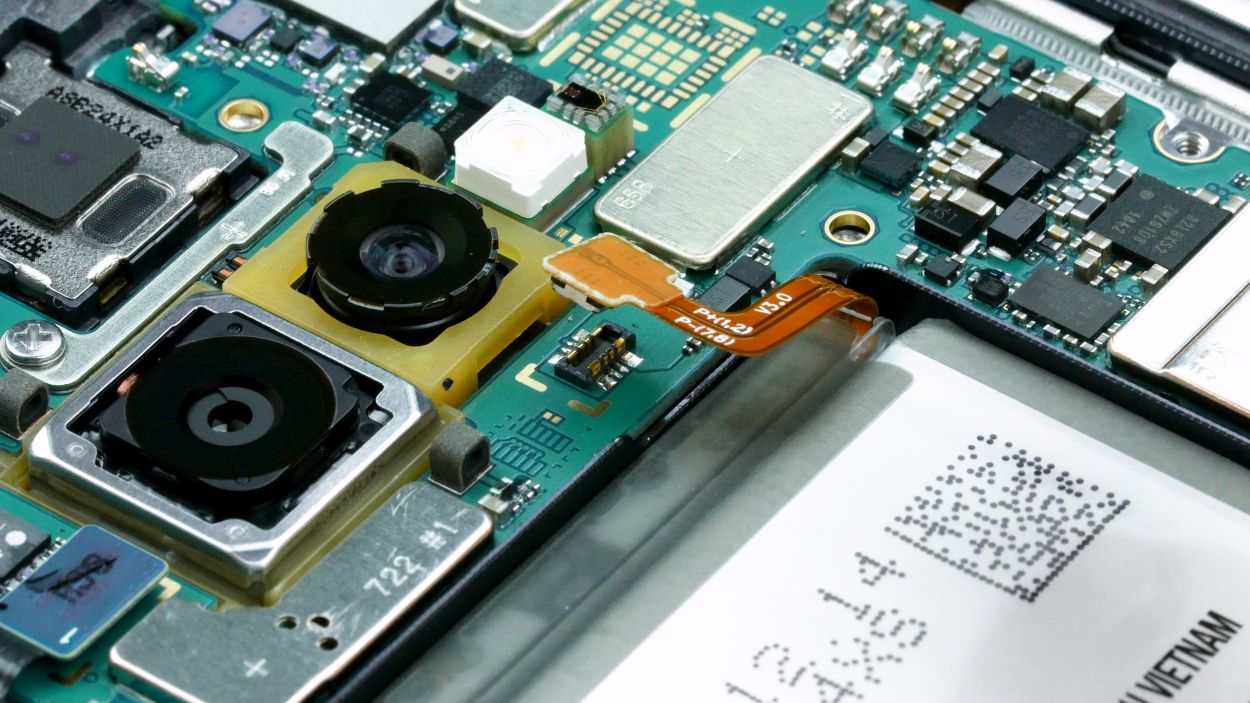
Battery Connector
– Hook up the battery to the motherboard. Give that connection a little press until you hear it snap into place with a satisfying click!
Step 9


8 × 3,9 mm Phillips
– First, let’s get that cover with the antenna back into the enclosure. Just hook it onto the top and you’re halfway there!
– Now, give it a gentle press with your fingers until you hear that satisfying click. It’s like a little victory dance!
– Finally, grab your Phillips screwdriver and fasten those screws tight. You’re almost done!
Step 10


If the adhesive on the back cover is still holding strong, you can wrap up your device without needing a fresh adhesive frame. Keep it together and let’s get your gadget back in action!
– Carefully place the back cover back where it belongs.
– Give the back cover a good press all around so the glue can do its magic.