DIY Guide to Replace Battery in Google Pixel 2 XL
Duration: 90 min.
Steps: 22 Steps
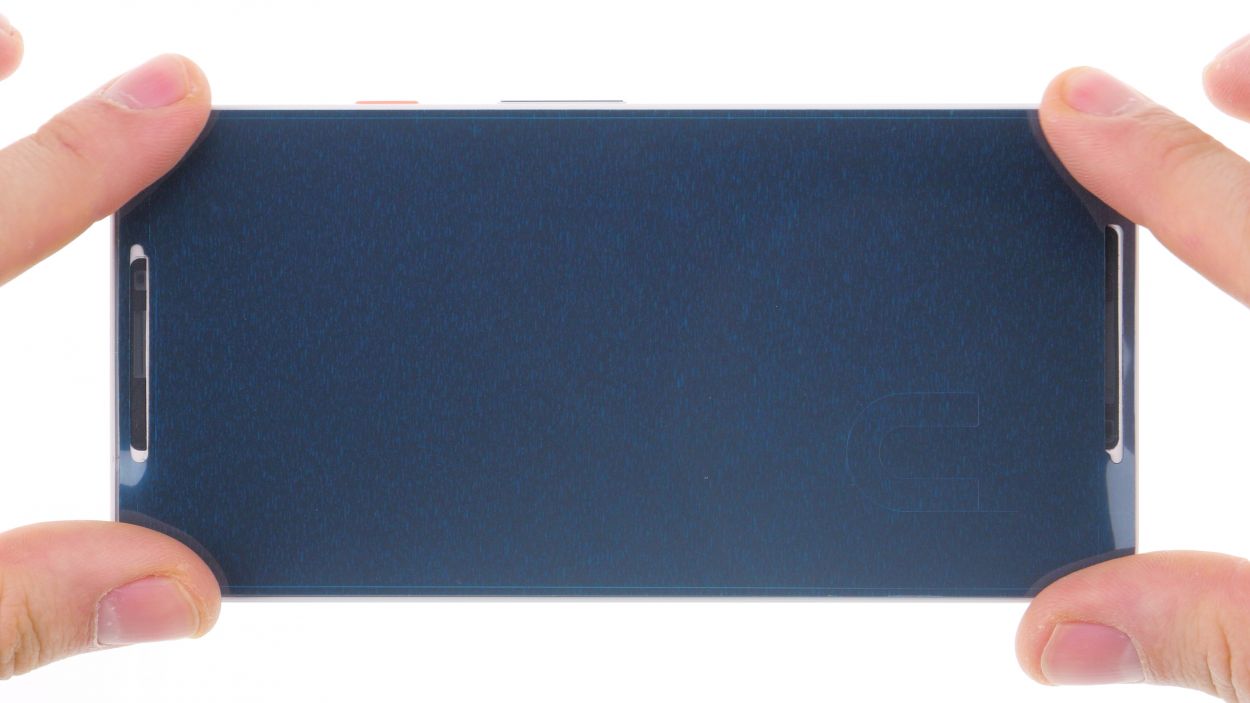
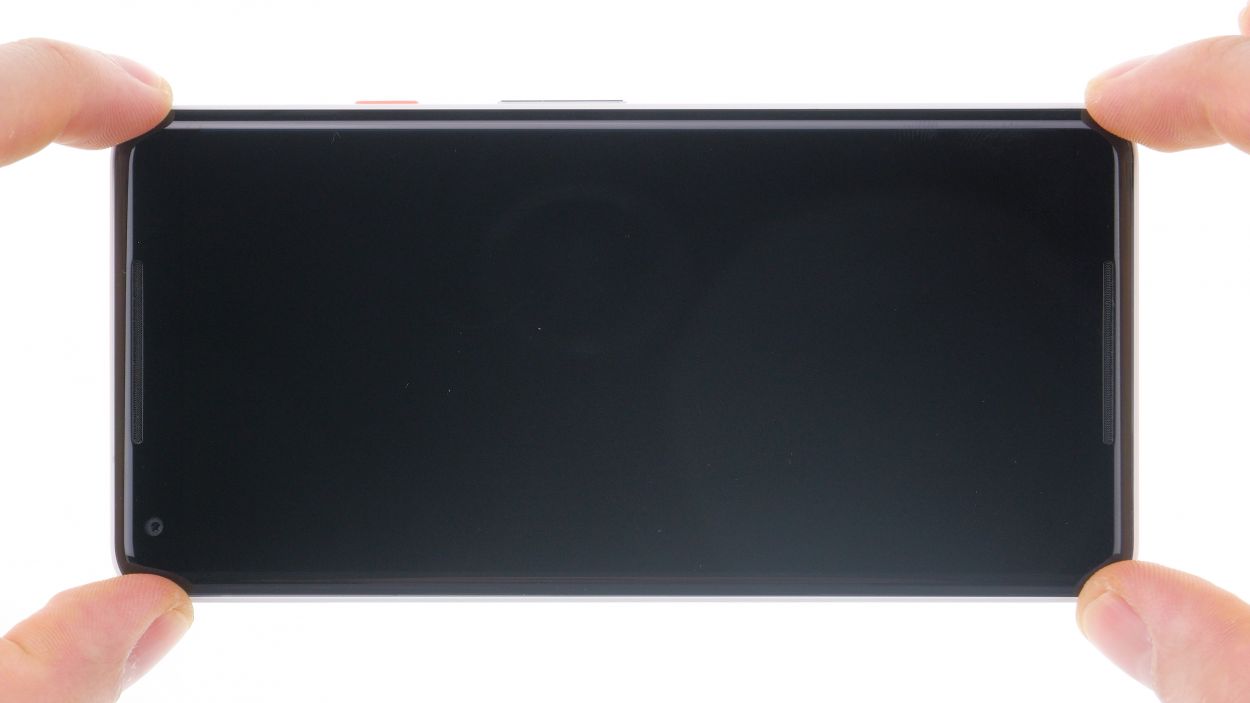
Ready to bring your Google Pixel 2 XL back to life? Let’s roll up our sleeves and replace that pesky battery! If your phone feels like it’s about to give up during intense usage, or if it simply refuses to wake up or charge, it’s time for a change. Heads up: the screen is glued down tight, so this mission requires your inner screen whisperer to delicately coax it off without a crack. Make sure to have an adhesive frame handy to seal the deal on your display once opened. Remember, only embark on this journey if you’re feeling confident in your tech skills. And hey, if you get stuck, a helping hand is just a click away at schedule a repair.
Step 1
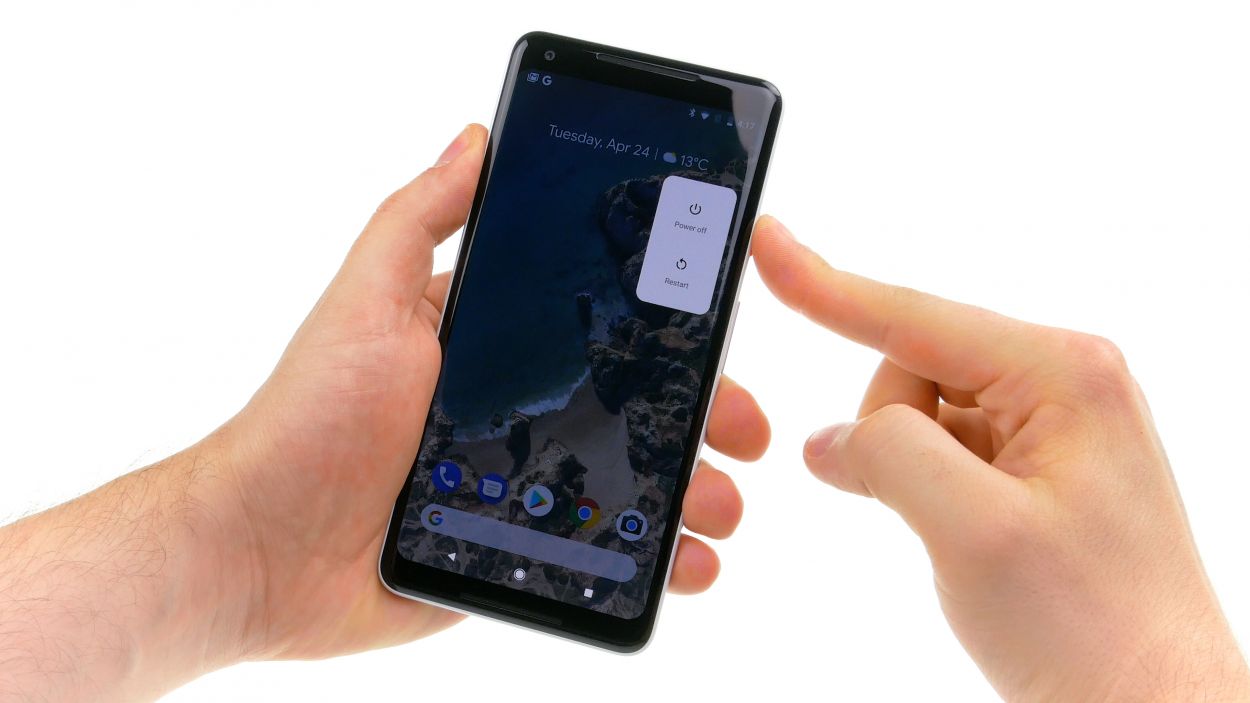
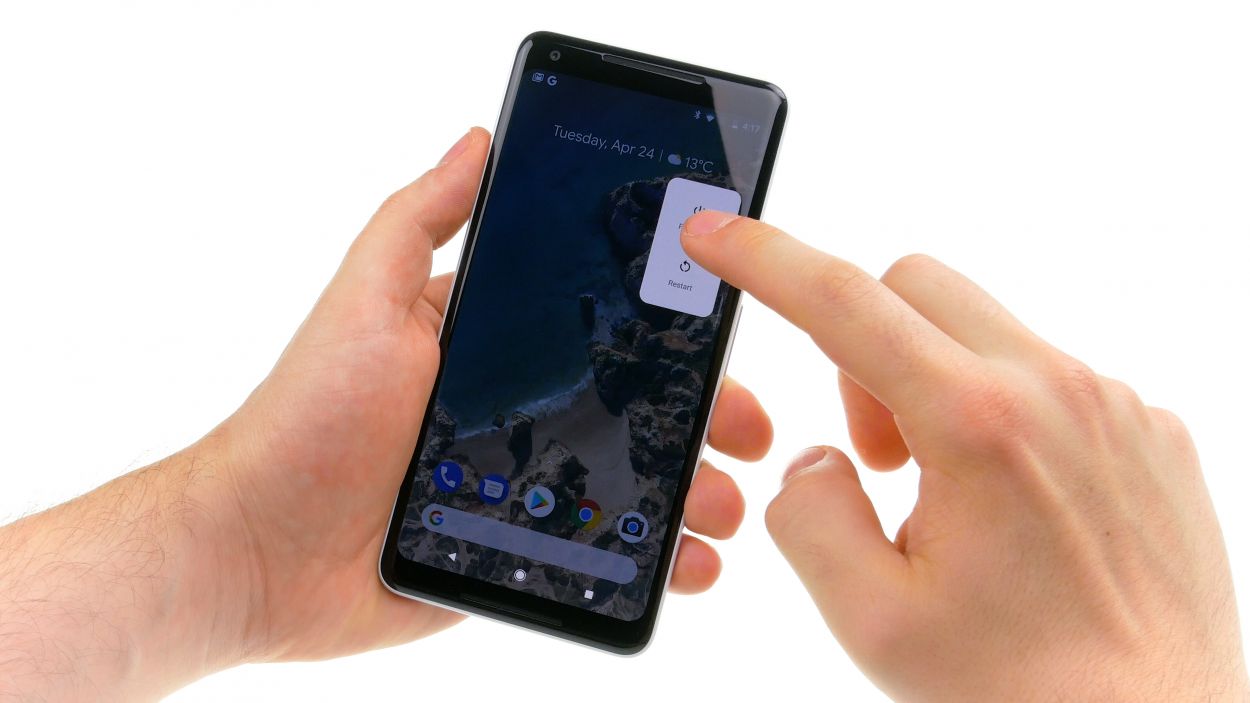
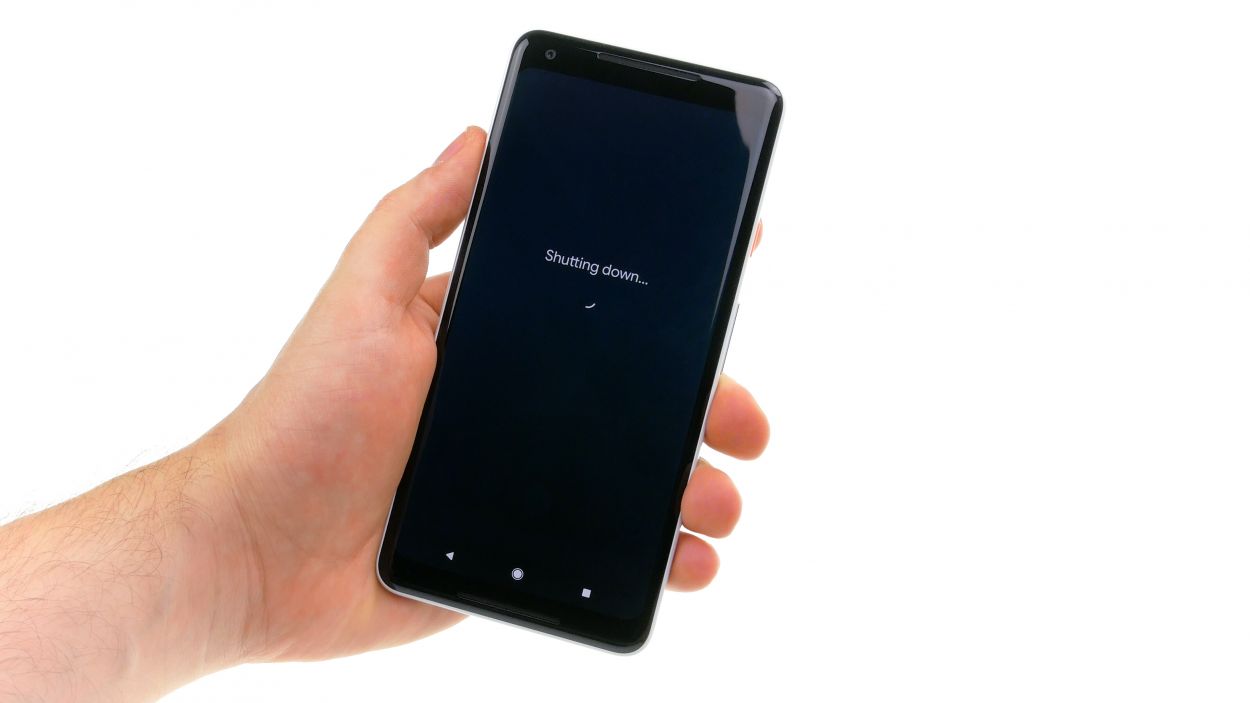
– Hold down the standby button until you see the ‘Power off’ prompt shimmy its way on screen.
– Give it another tap to confirm, and chill out while your device powers down.
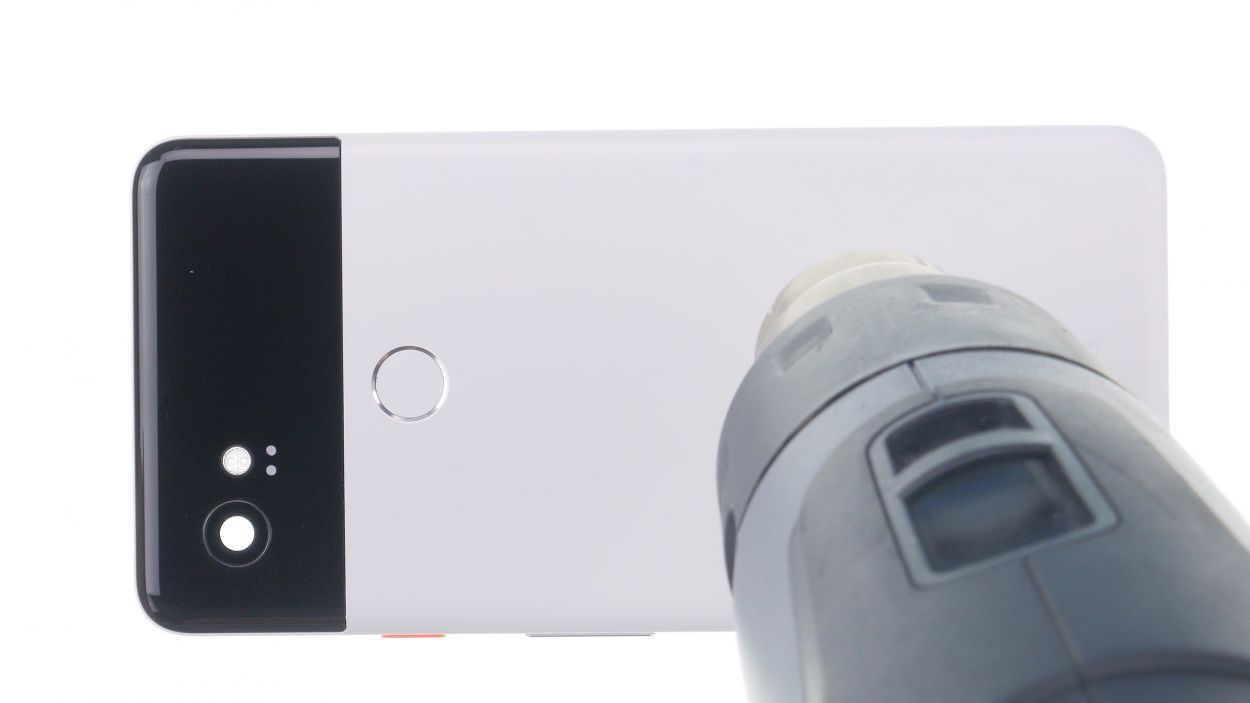
Step 2
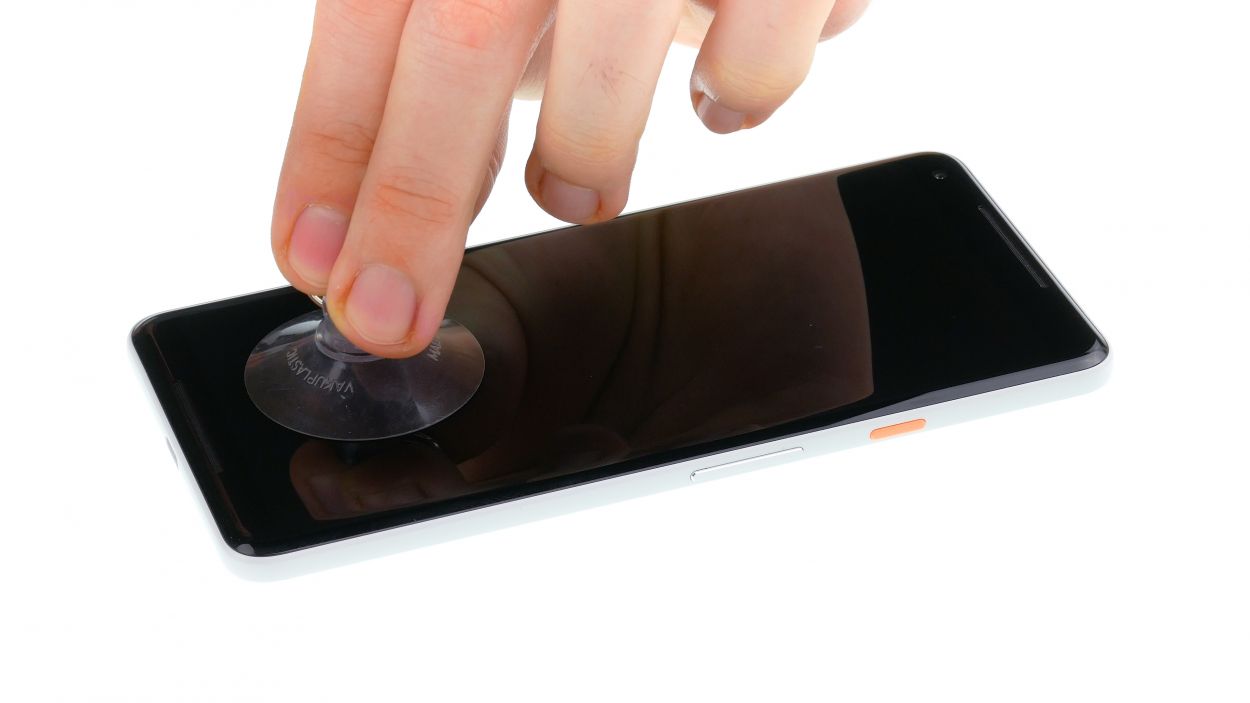
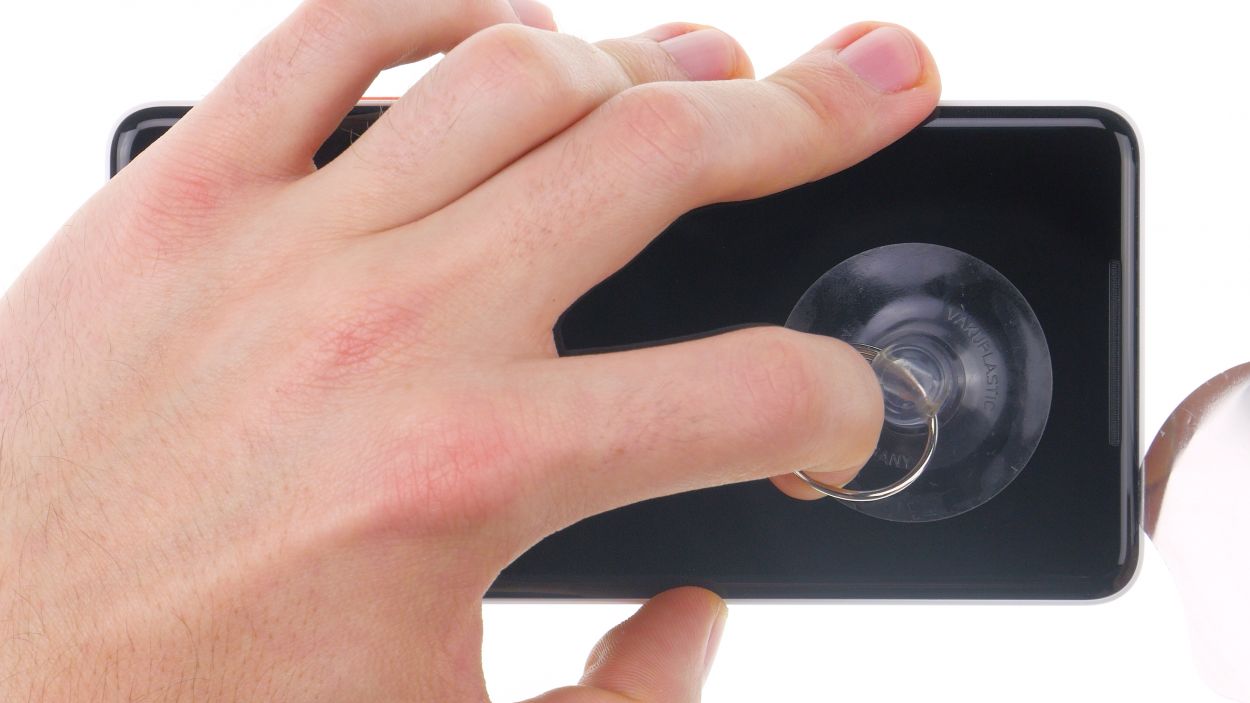

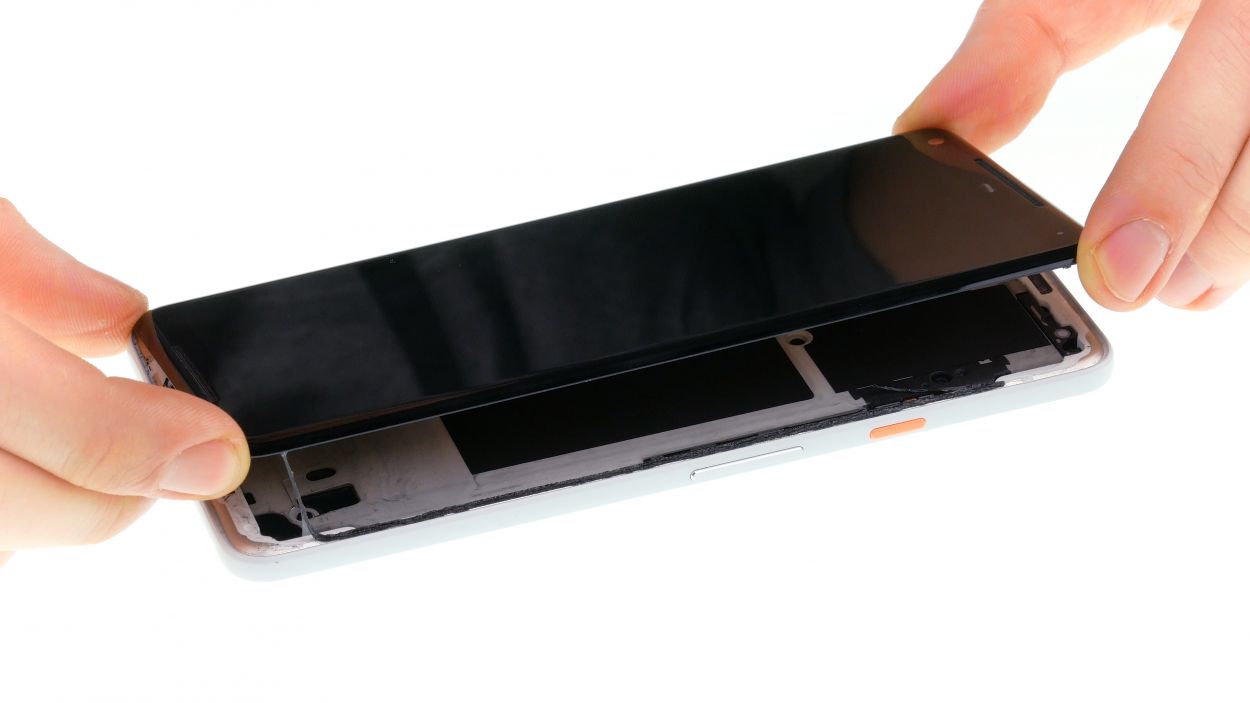
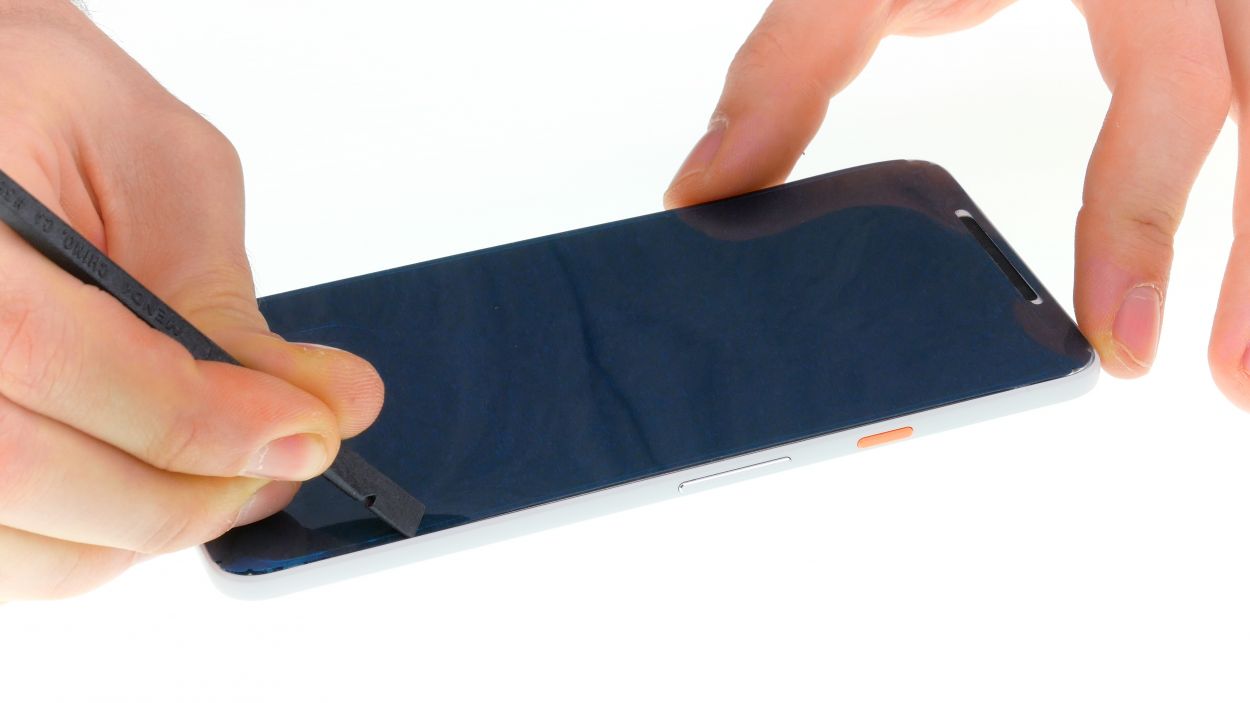
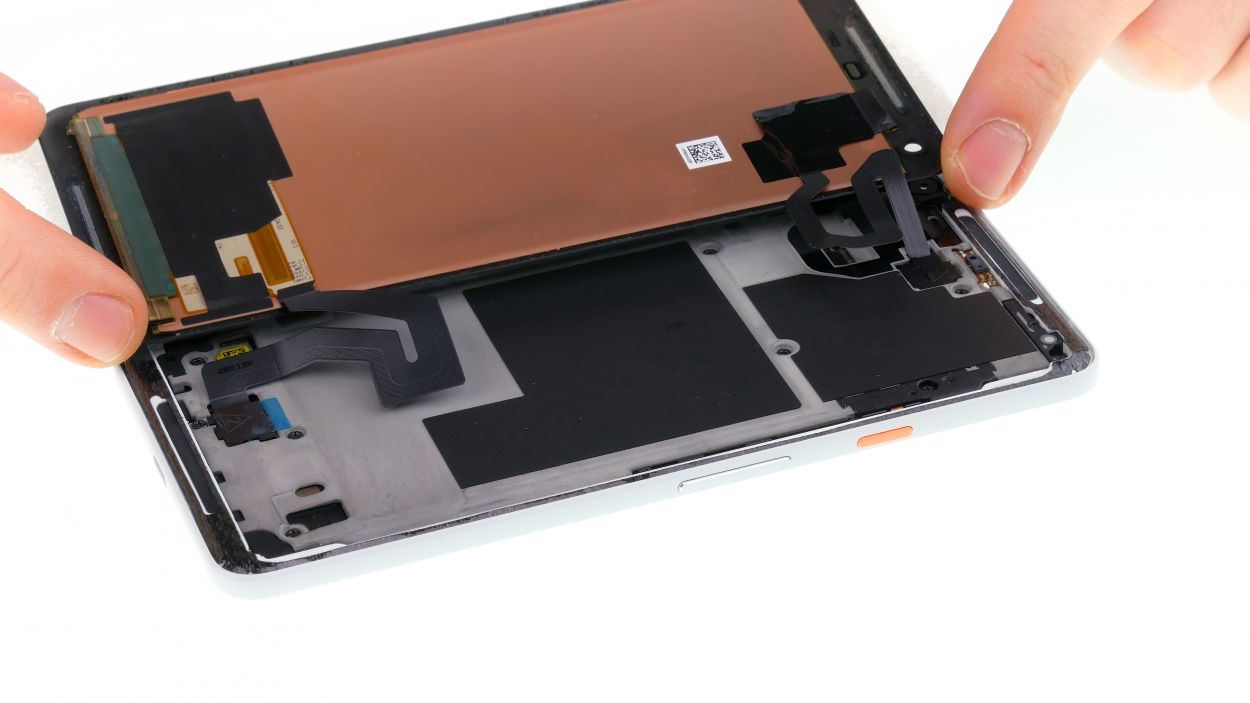
– Crank up the heat! Use a hot air tool to soften the glue on the edges up to a toasty 60°C. Keep at it until the display feels just about too hot to handle.
– Pop a suction cup down low near the USB connector and give it a good tug upwards.
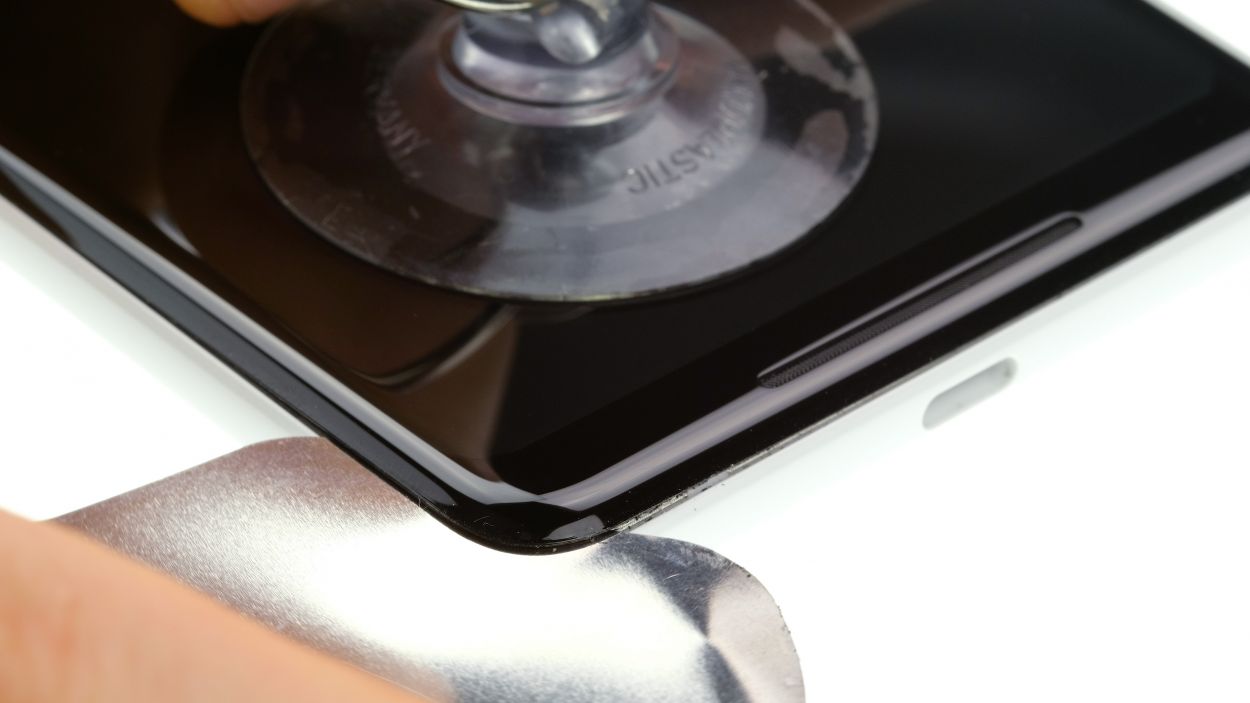
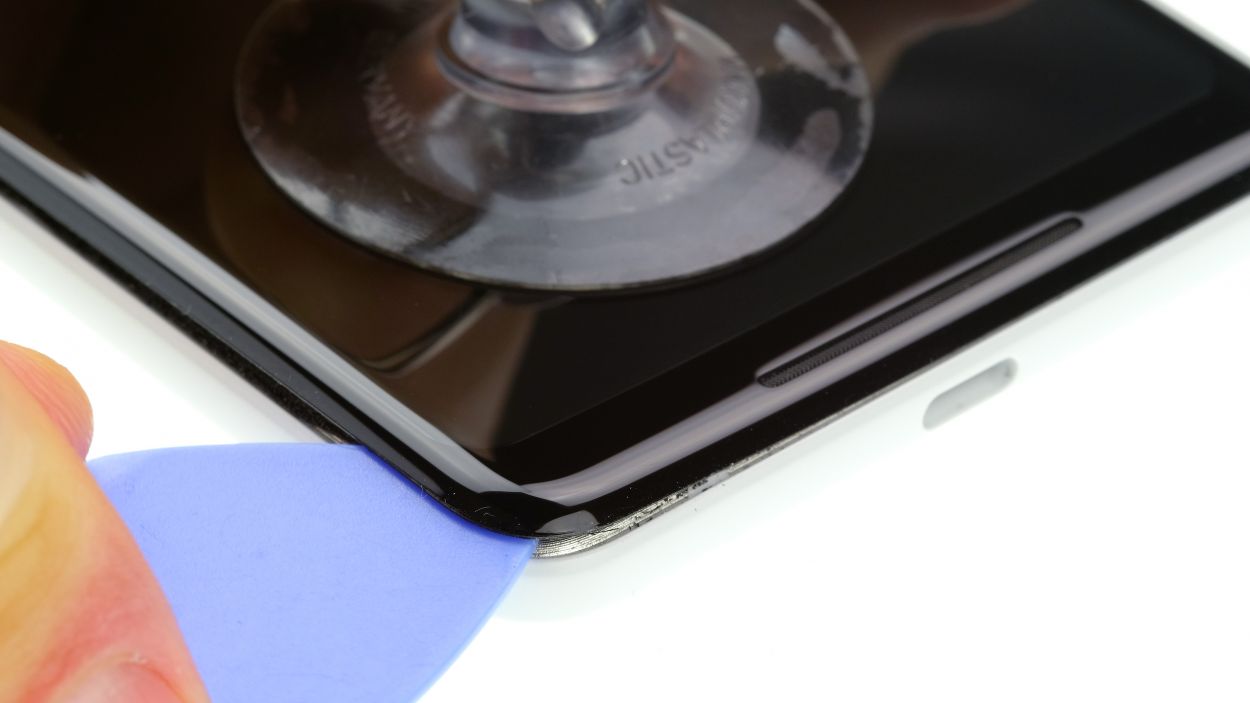
– Next, wiggle a super thin tool right between the display and the frame. Skim it around the edge to pop one corner of the display free.
– Slip a pick in the gap you just made between the frame and display. Feel free to use more picks to completely unstick the display, but remember, no deeper than 5 mm!
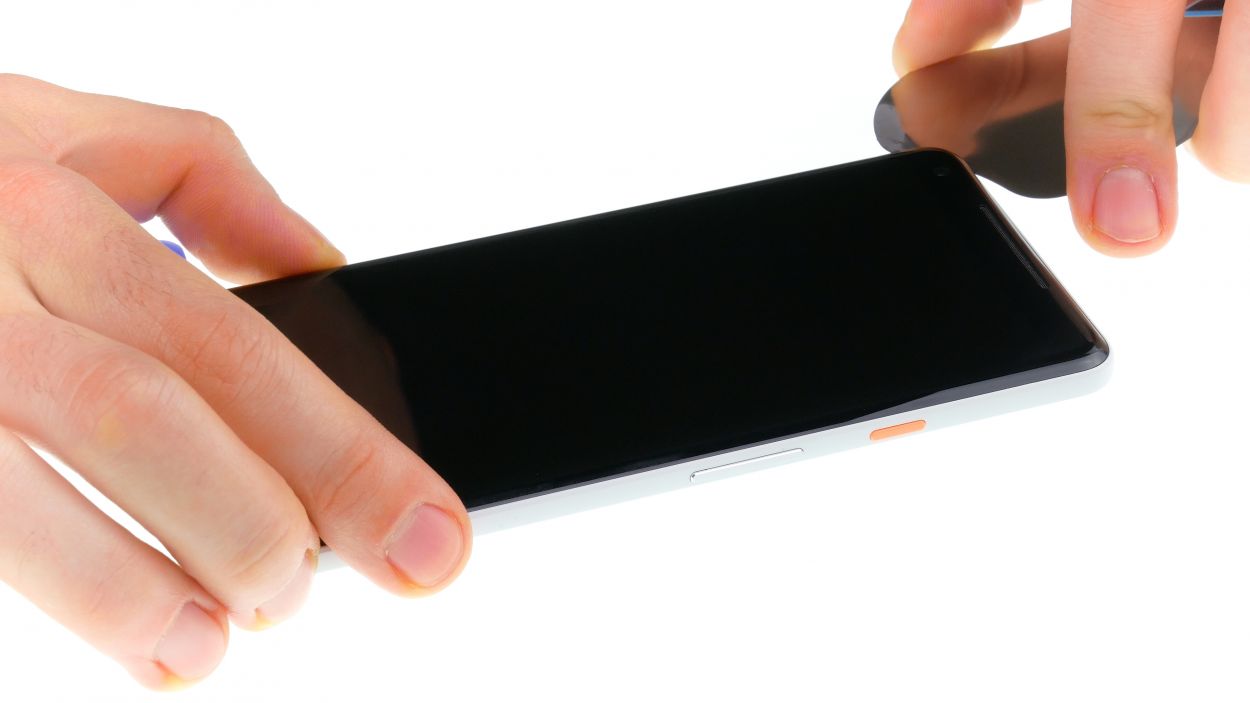
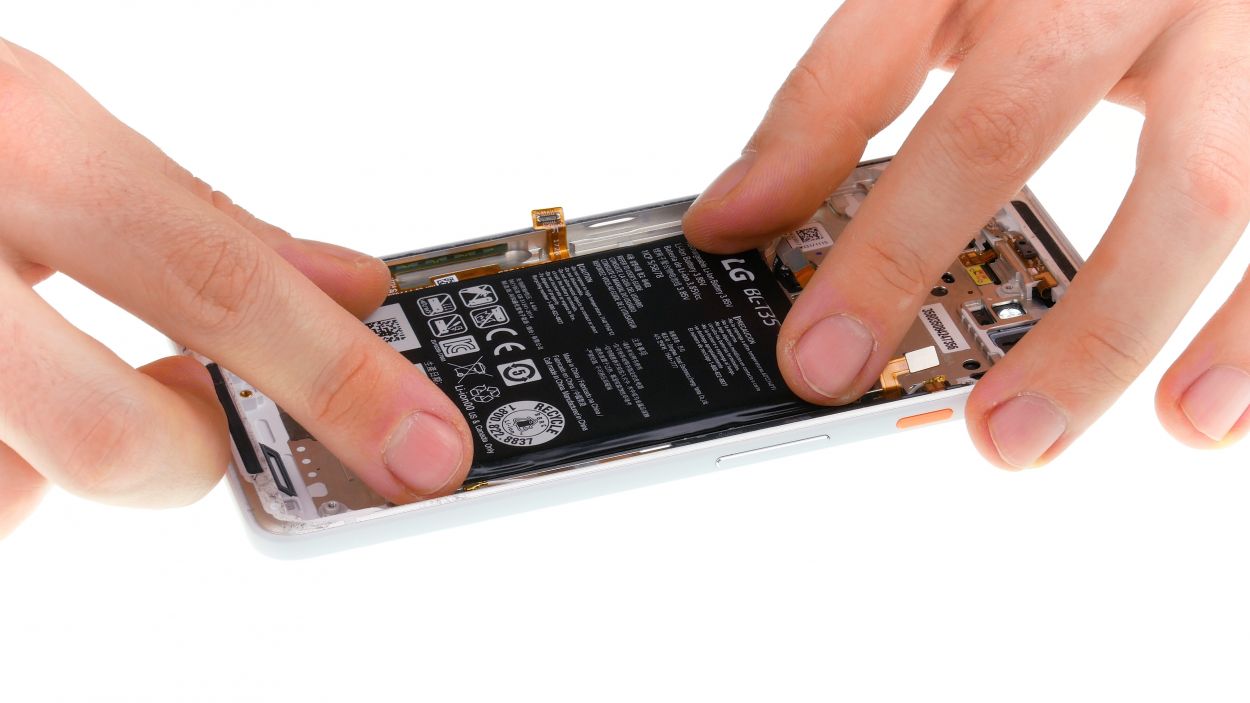
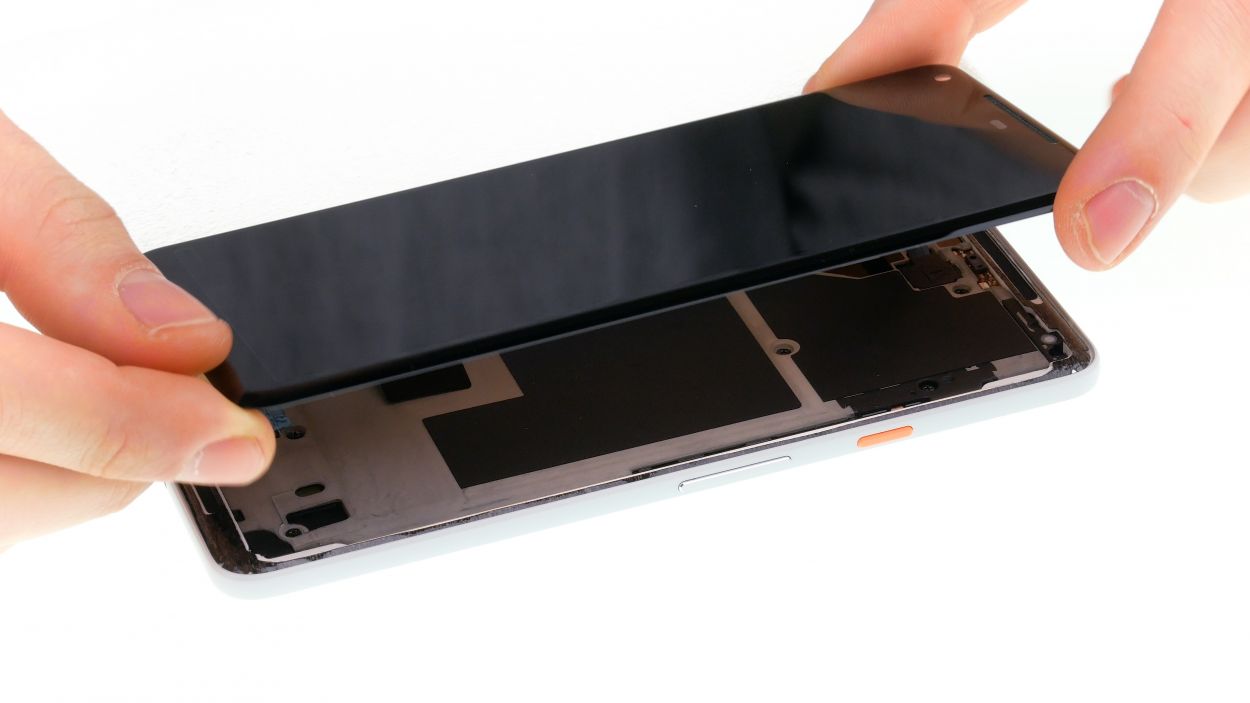
– Once all the glue says ‘goodbye’, lift off that display. Gently tilt it towards the top like you see in the picture, taking care as there are two flex cables still holding on.
Heads up, DIYer! The screen on this gadget is quite the drama queen—super prone to tantrums, aka damage. So, let’s only dive into swapping internal parts like the battery when the display’s already singing its swan song. Deal?
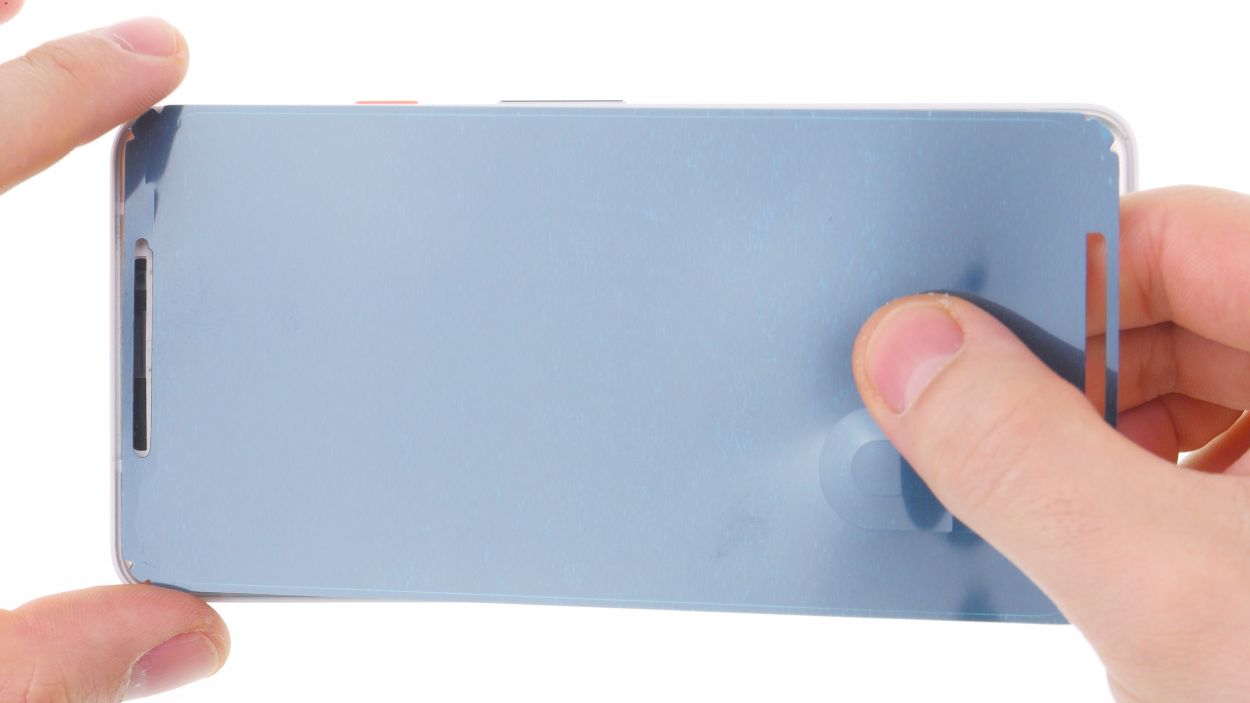
Heads up, the display on this device is super slim! If it’s shattered, you’ll have to gently coax it out of the frame piece by piece, like picking up the pieces of your favorite dropped cookie. Use a flat metal tool to carefully remove any stubborn glass leftovers from the frame. If you need help, you can always schedule a repair.
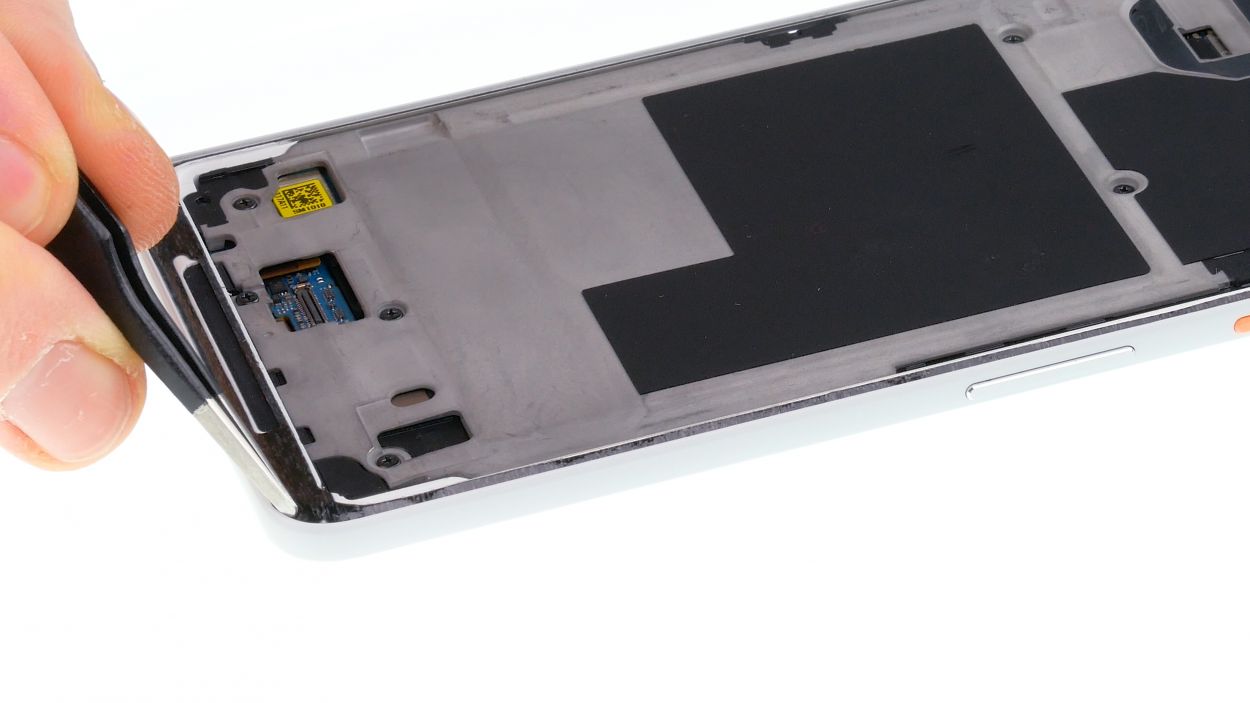
Step 3
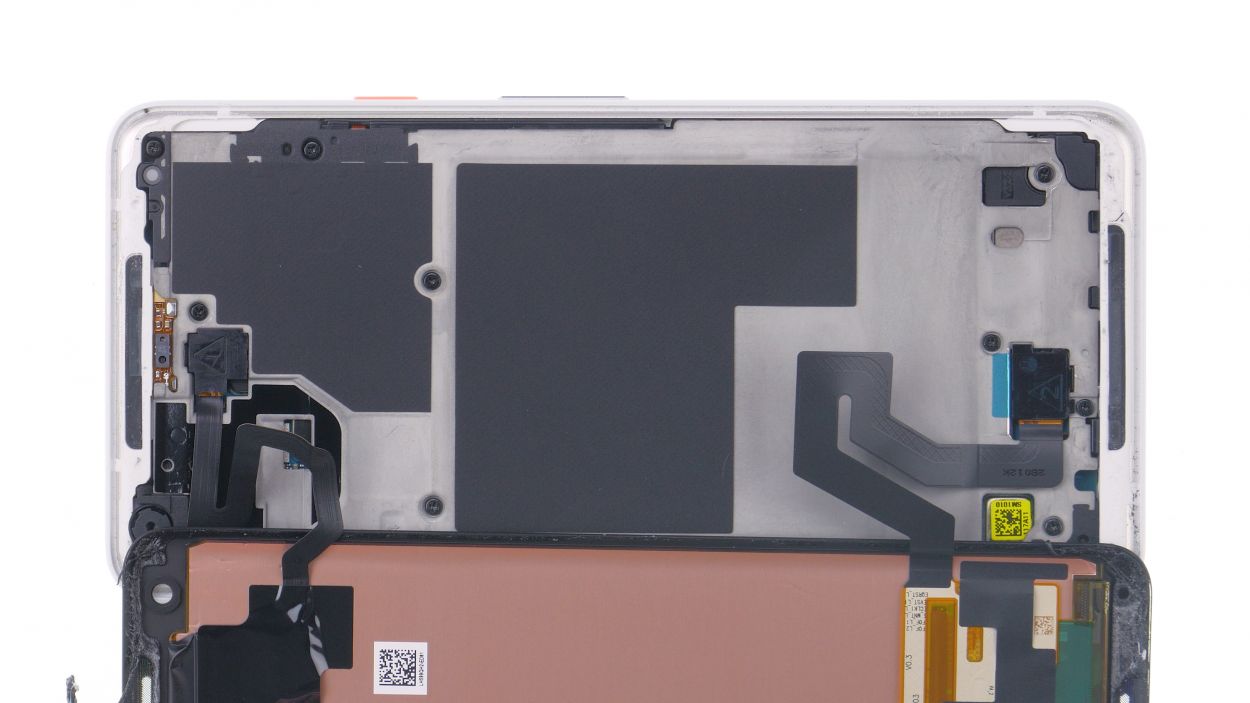
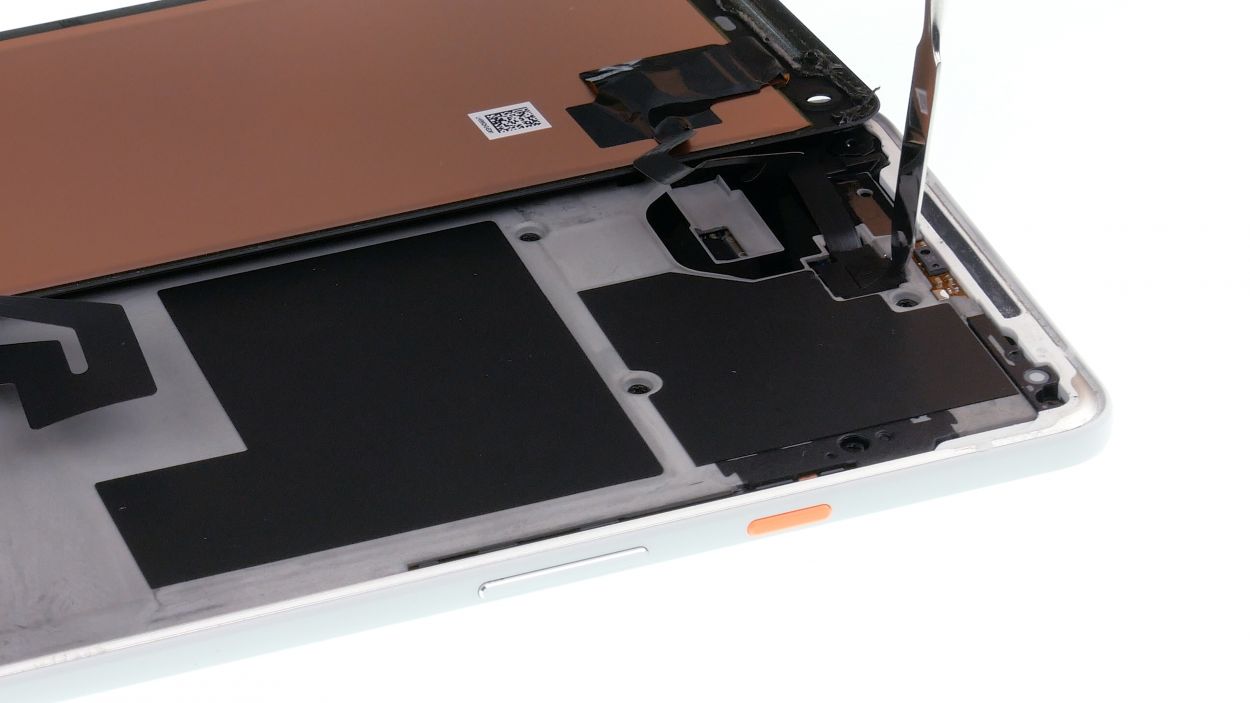
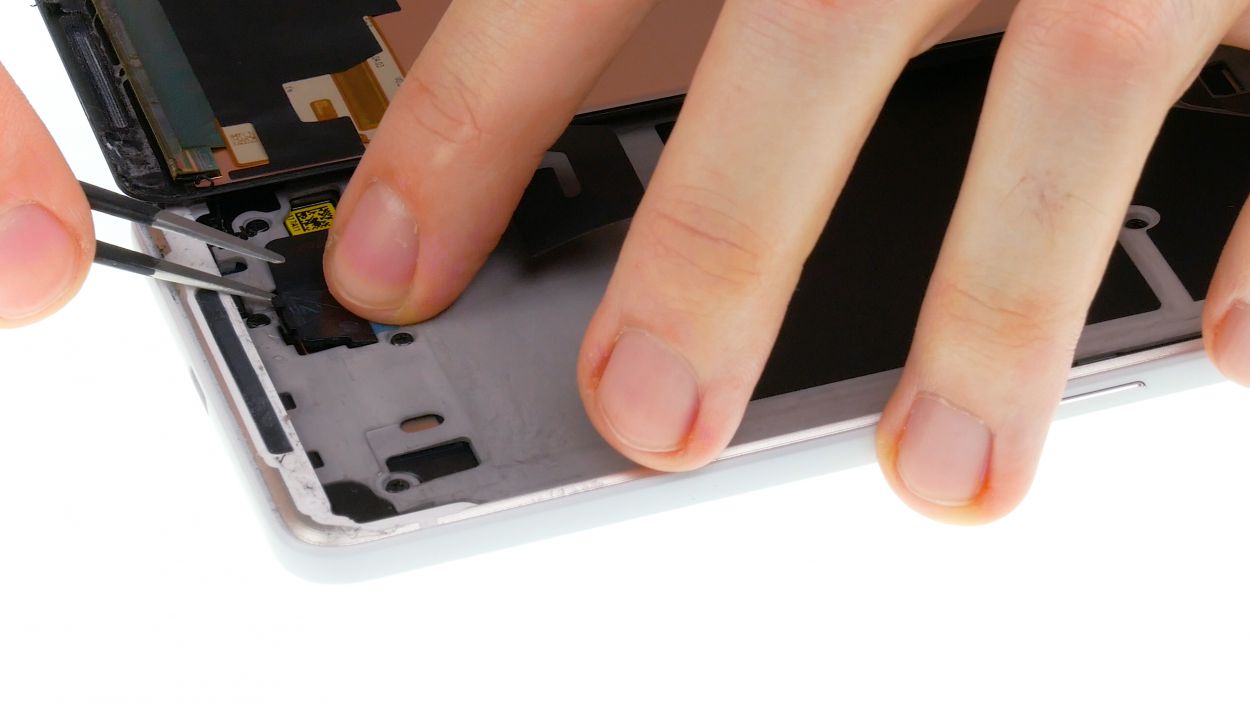

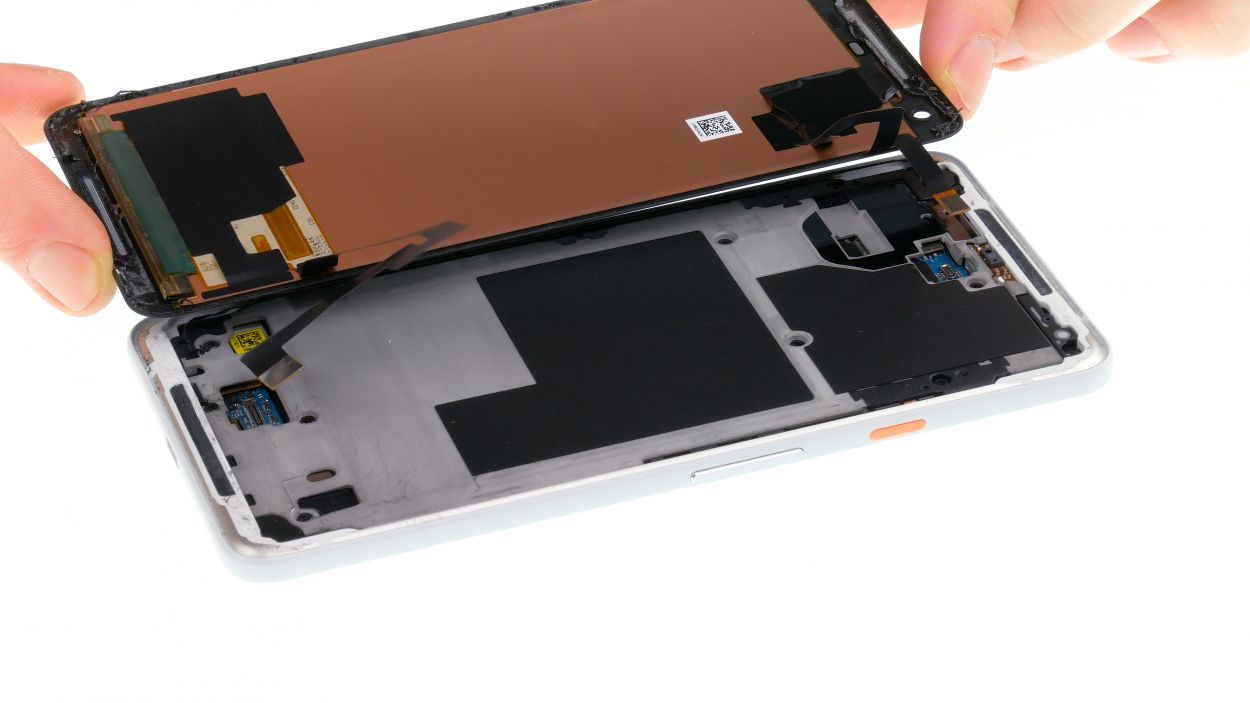
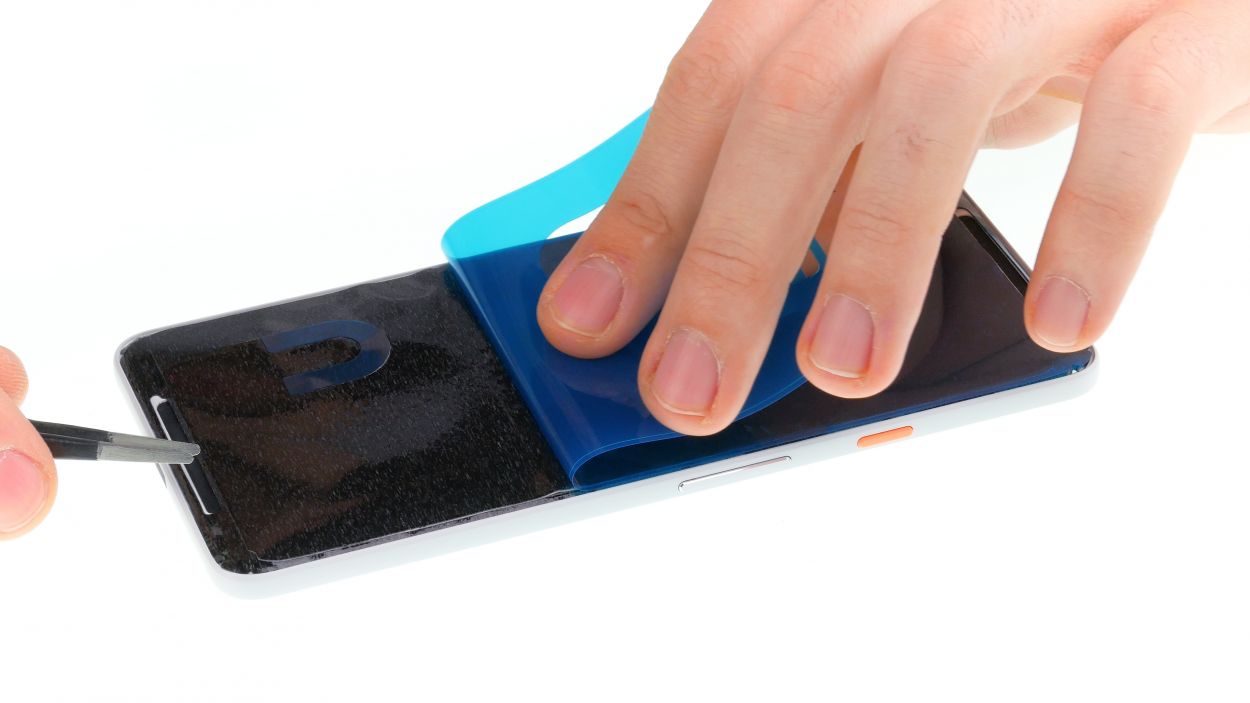
– Gently lift the display, but watch out for those two super delicate flex cables hiding underneath! We don’t want to strain them.
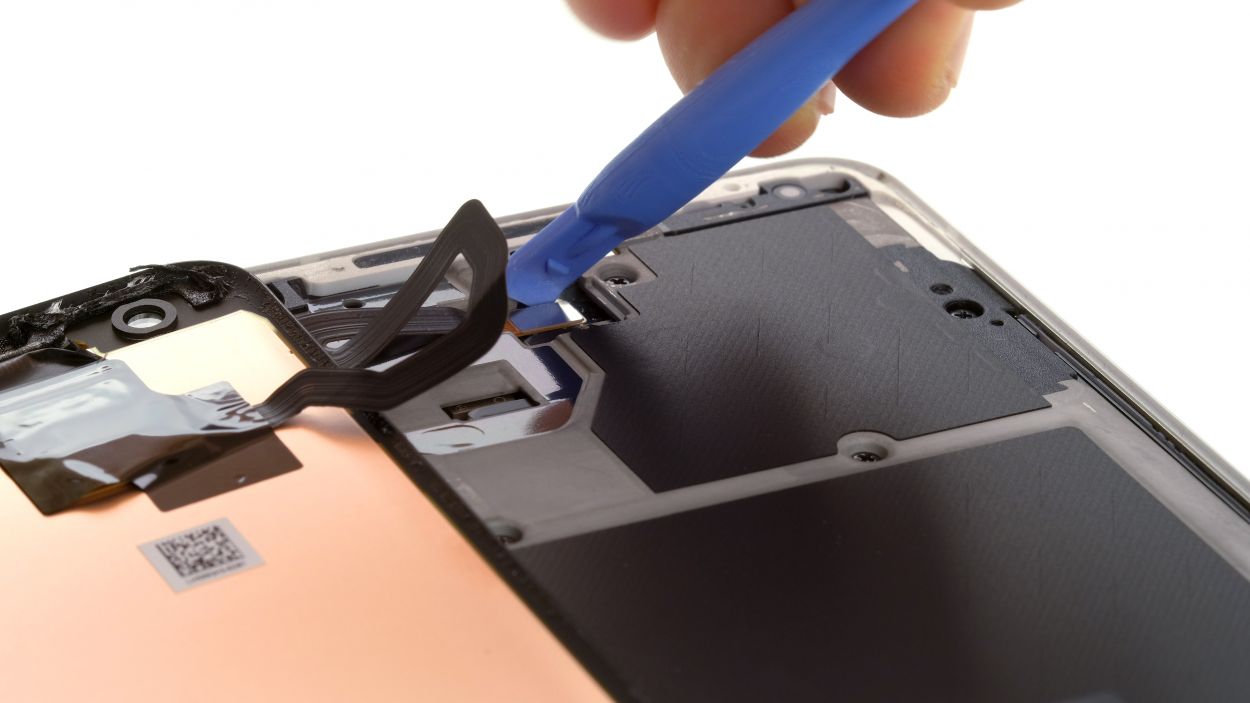
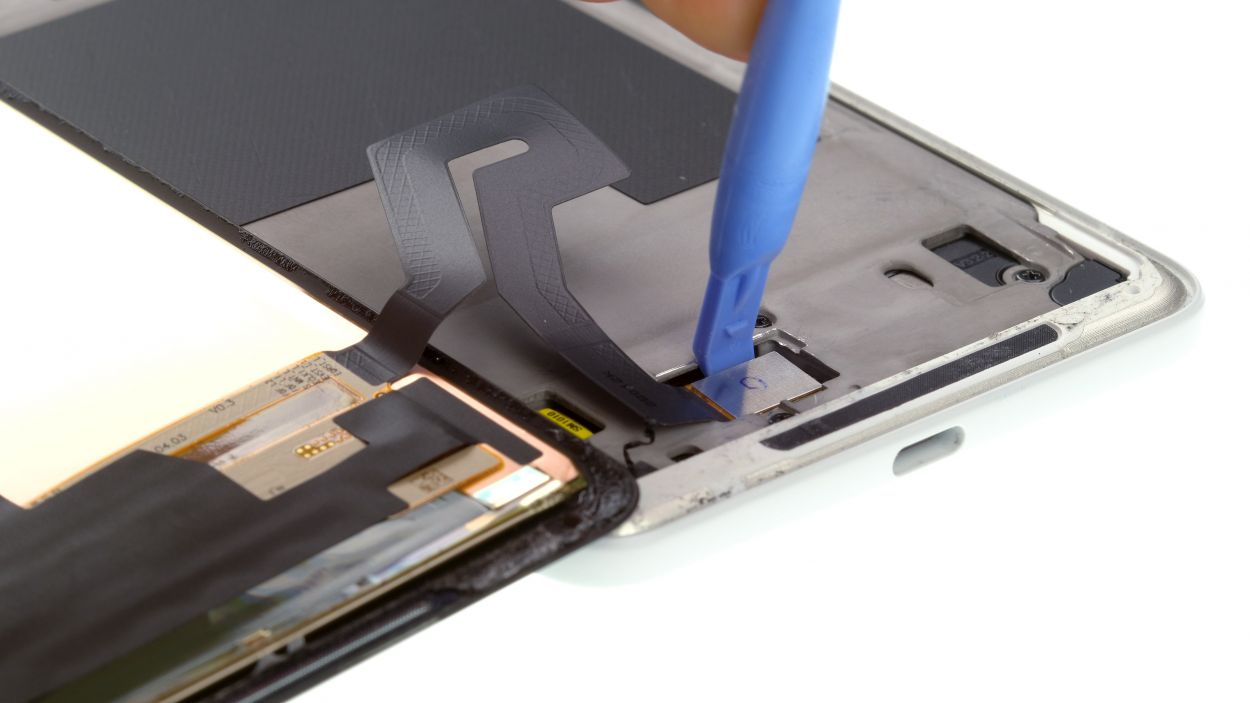
– Time to tackle the plastic cover marked with “1”! Slide a flat tool into the gap and give it a little nudge to pop it out.
– Next up, cover number 2! It’s got a tiny tape strip that you’ll need to peel off before moving on.
– Unplug both connectors with a spudger, and you’re on your way!
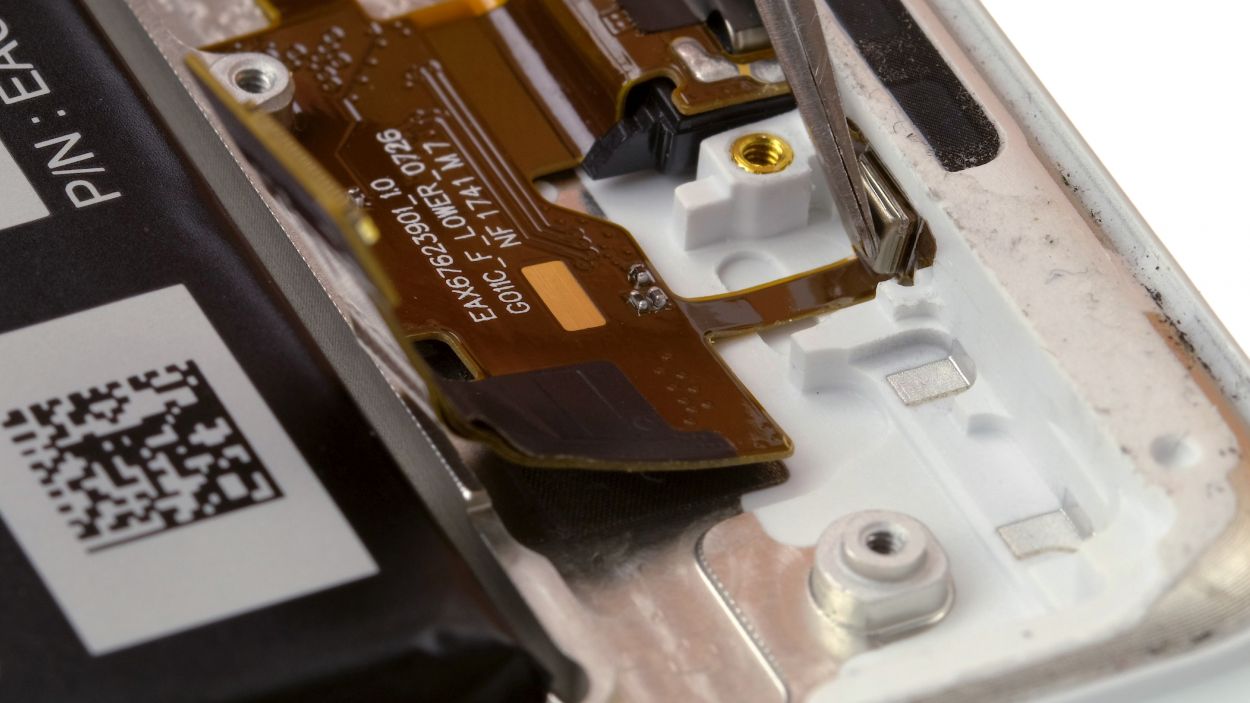
Hey there! Just a friendly reminder to tread lightly around the lower contact. Right next to the connector, there are some delicate components on the circuit board that are just waiting to be accidentally damaged. So, keep your cool and handle with care!
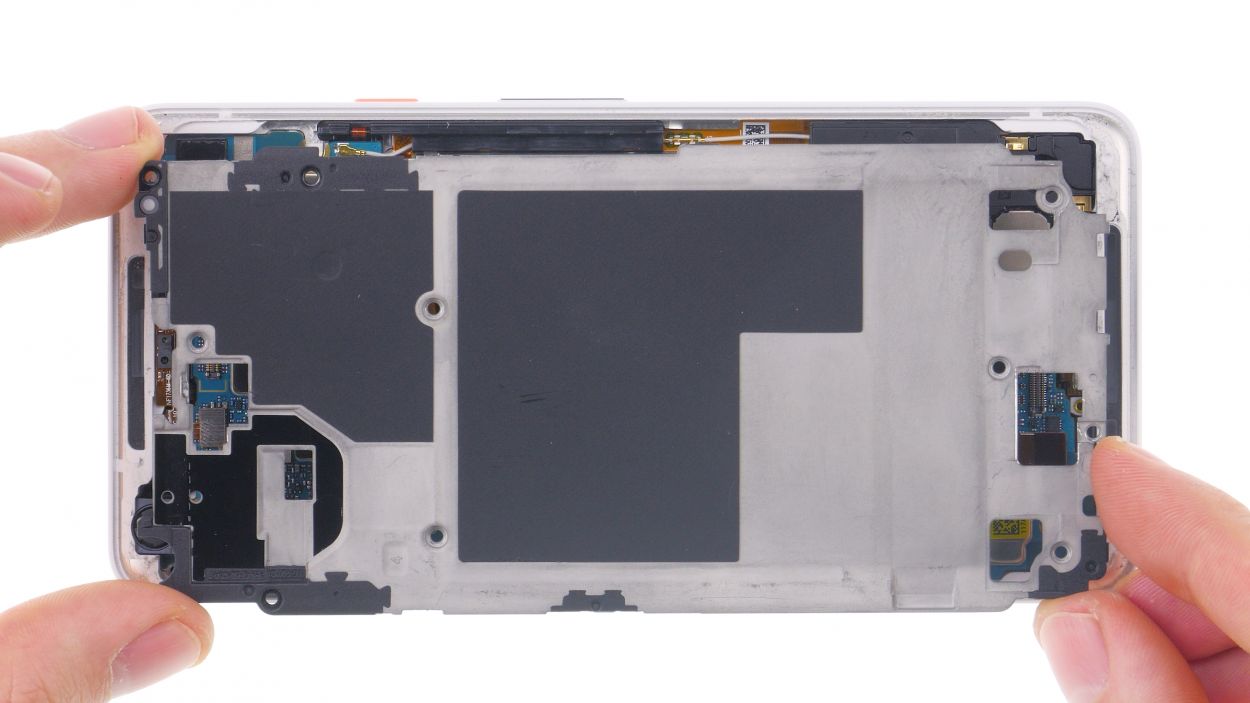
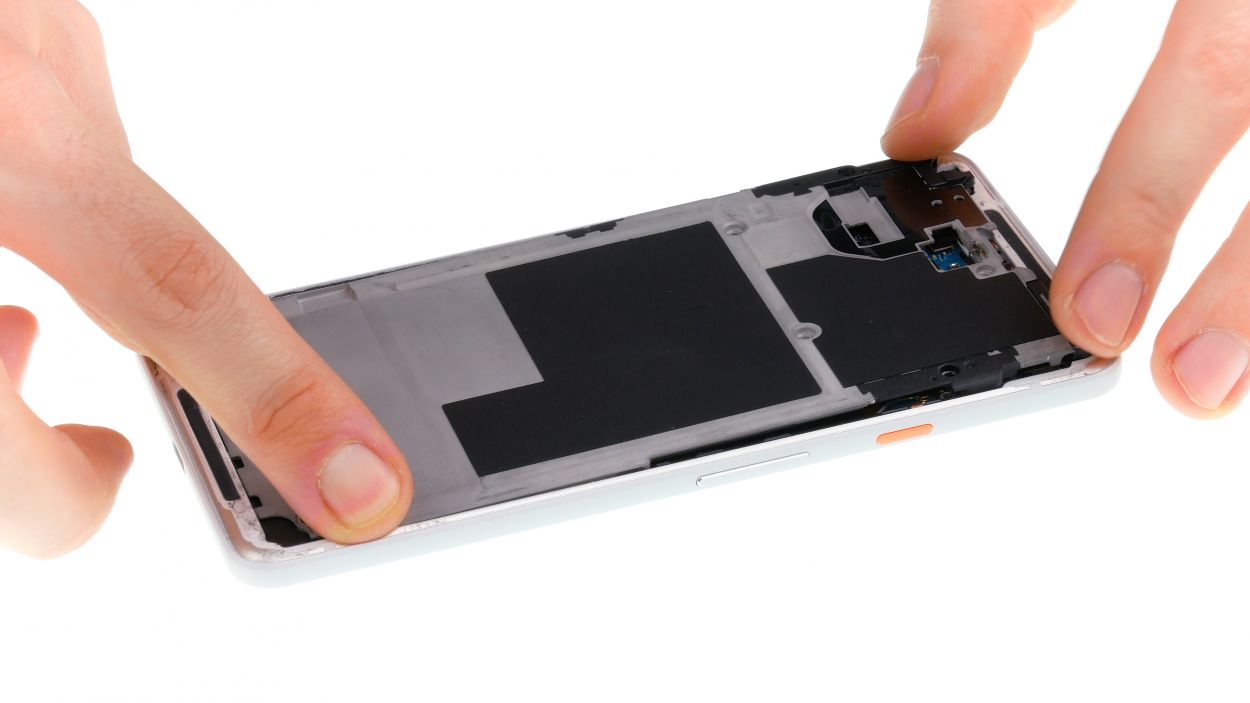
Step 4
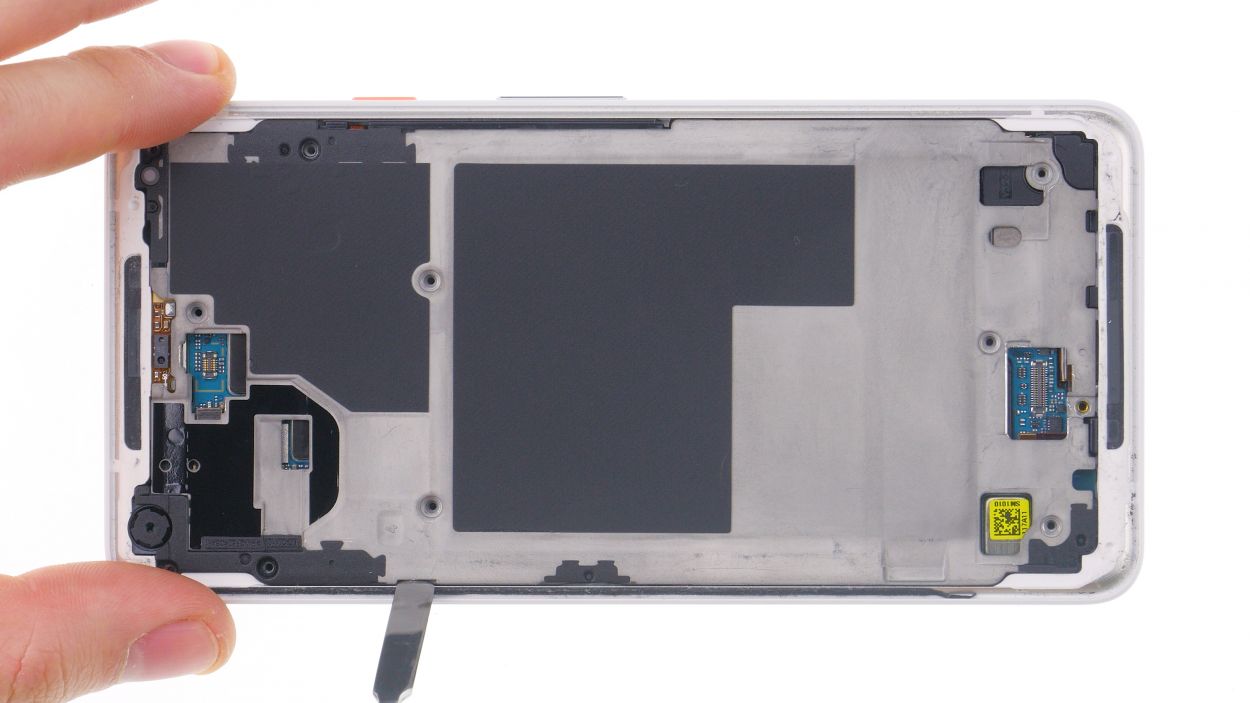
11 × 2.7 mm Phillips
– First things first, grab your trusty screwdriver and unscrew all those little screws! Keep them together so they don’t wander off. No worries about mixing them up; they’re all the same length!
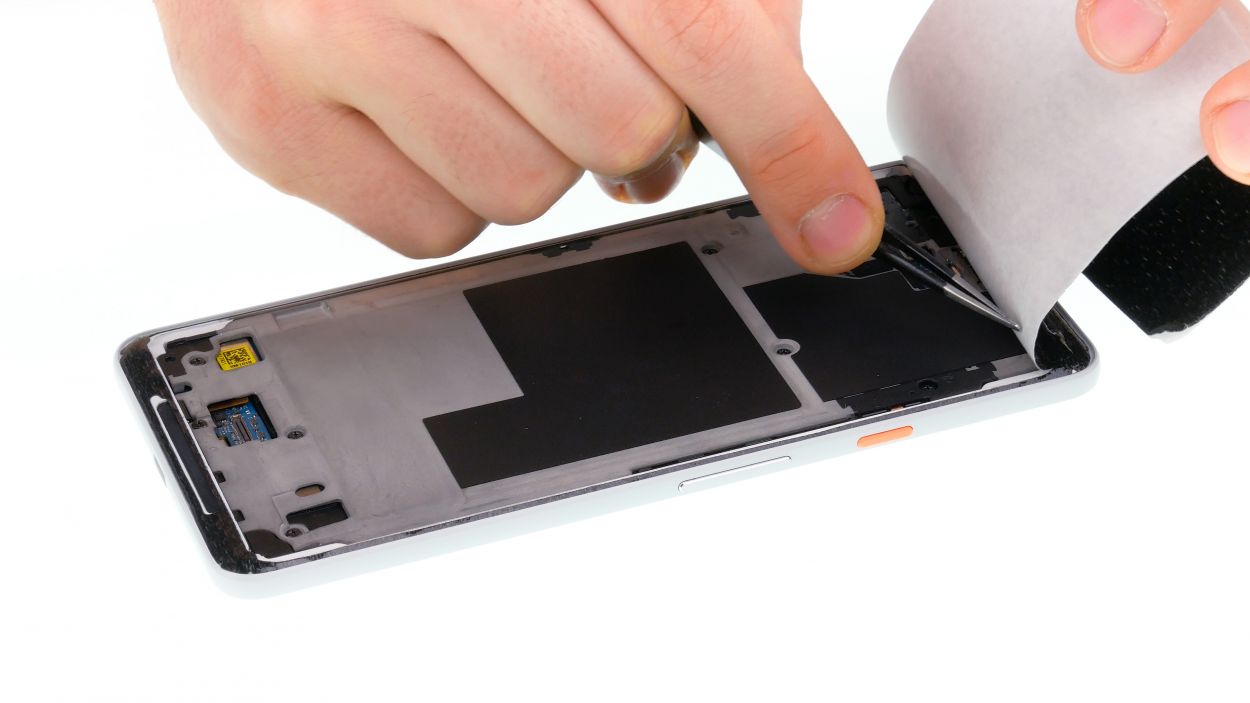
– Next up, take a flat plastic tool and gently slide it into the tiny slot in the bottom right corner of the device.
– Now, run that tool all around the device like you’re giving it a little massage, and then pop off the midframe. You should hear those clips letting go!
– Once all the clips are free, you can easily lift out the midframe. You’re doing great!
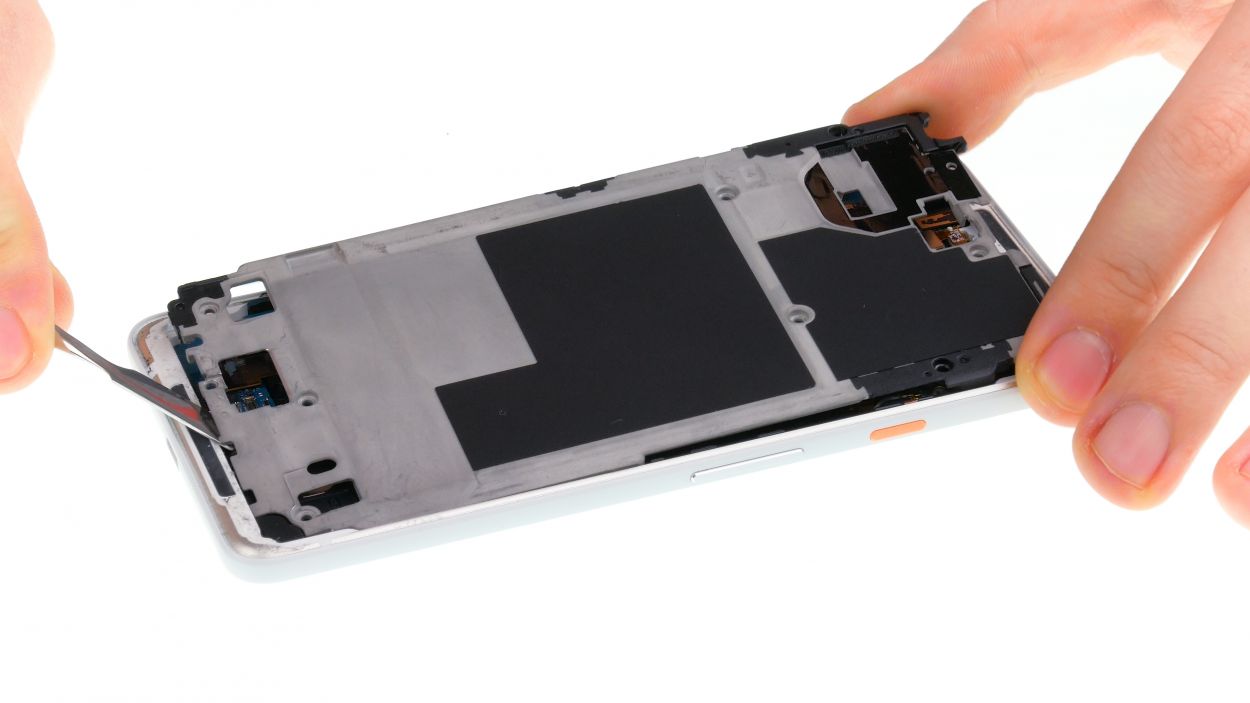
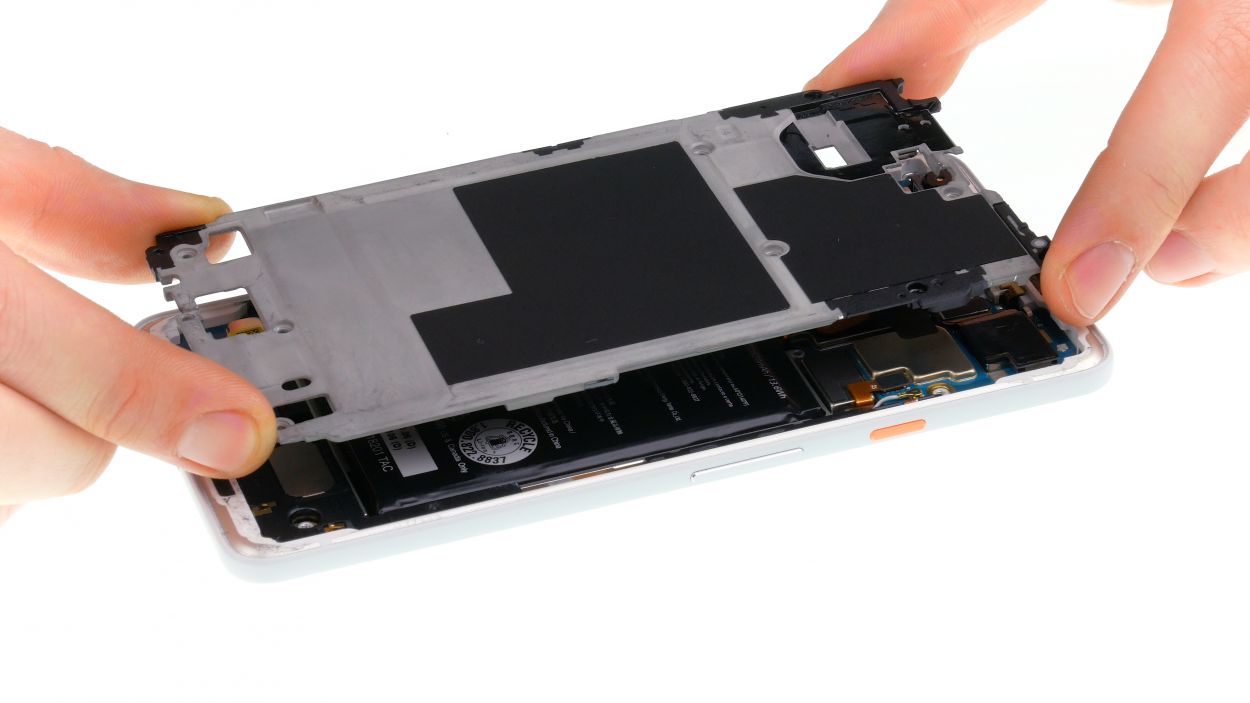
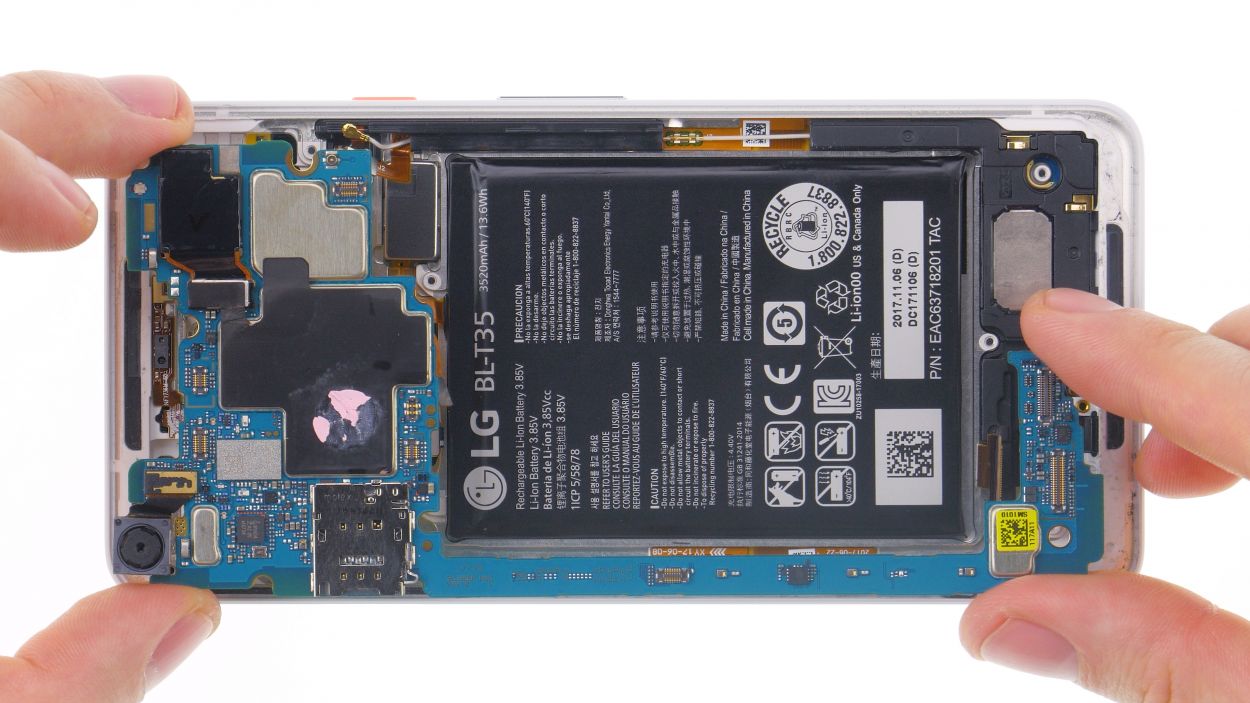
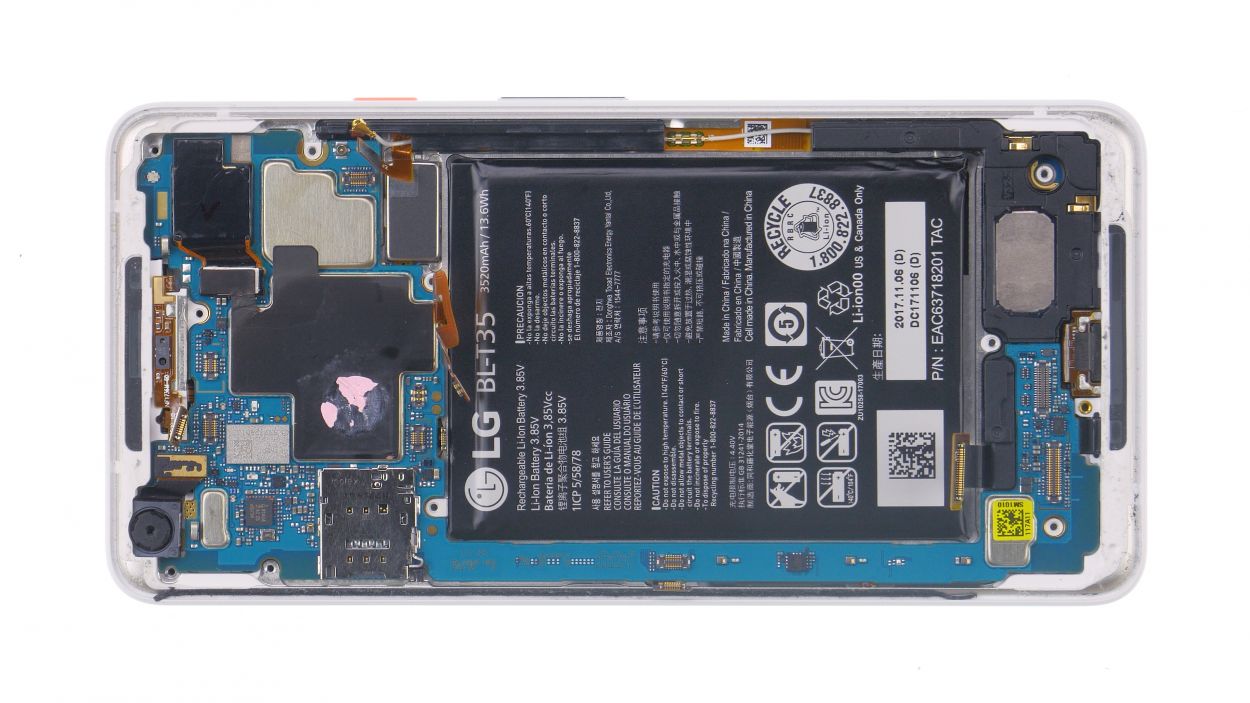
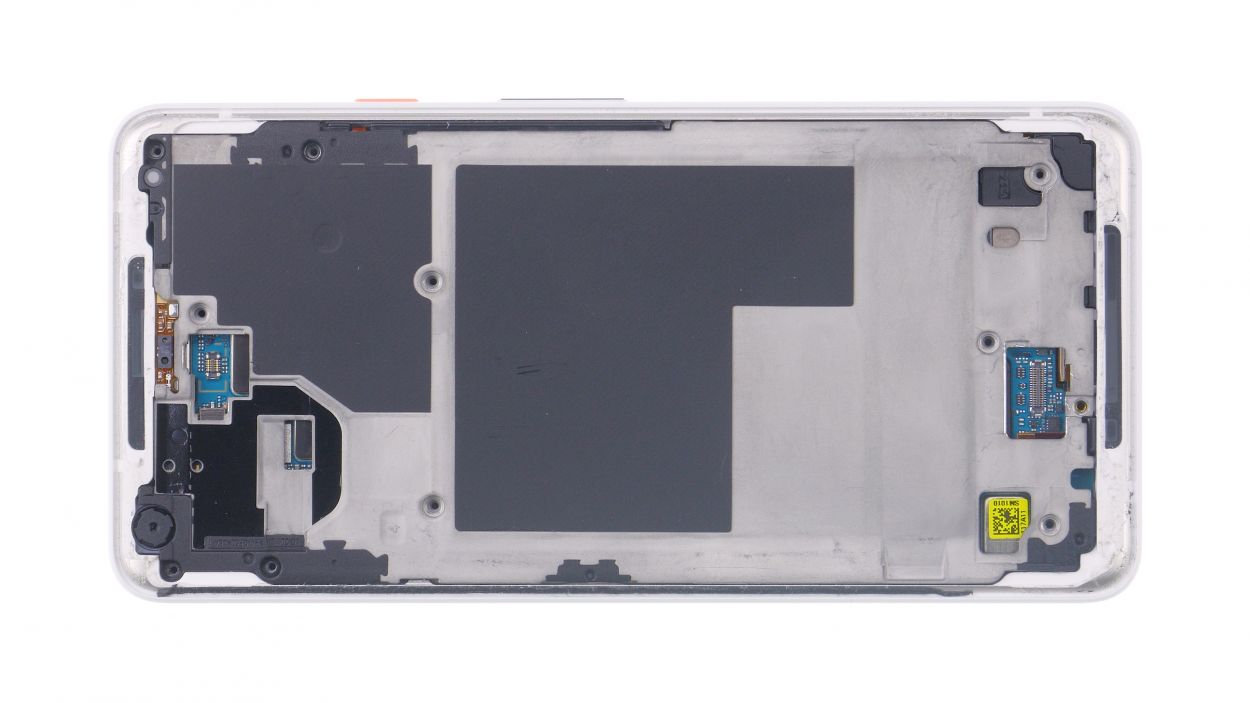
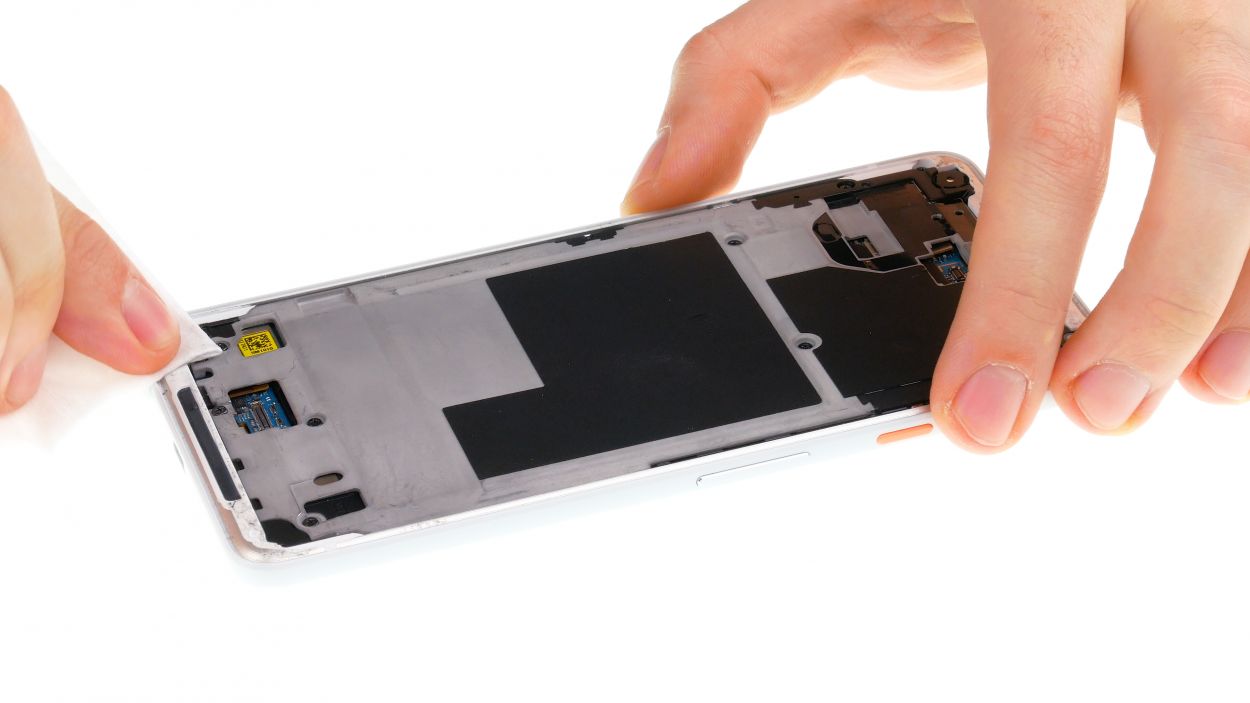
Step 5
Grab those trusty plastic tools for all your electrical parts! Metal can be a bit of a troublemaker, scratching contacts and causing short circuits. Keep it cool and safe with plastic, and your devices will thank you. If you need help, you can always schedule a repair!
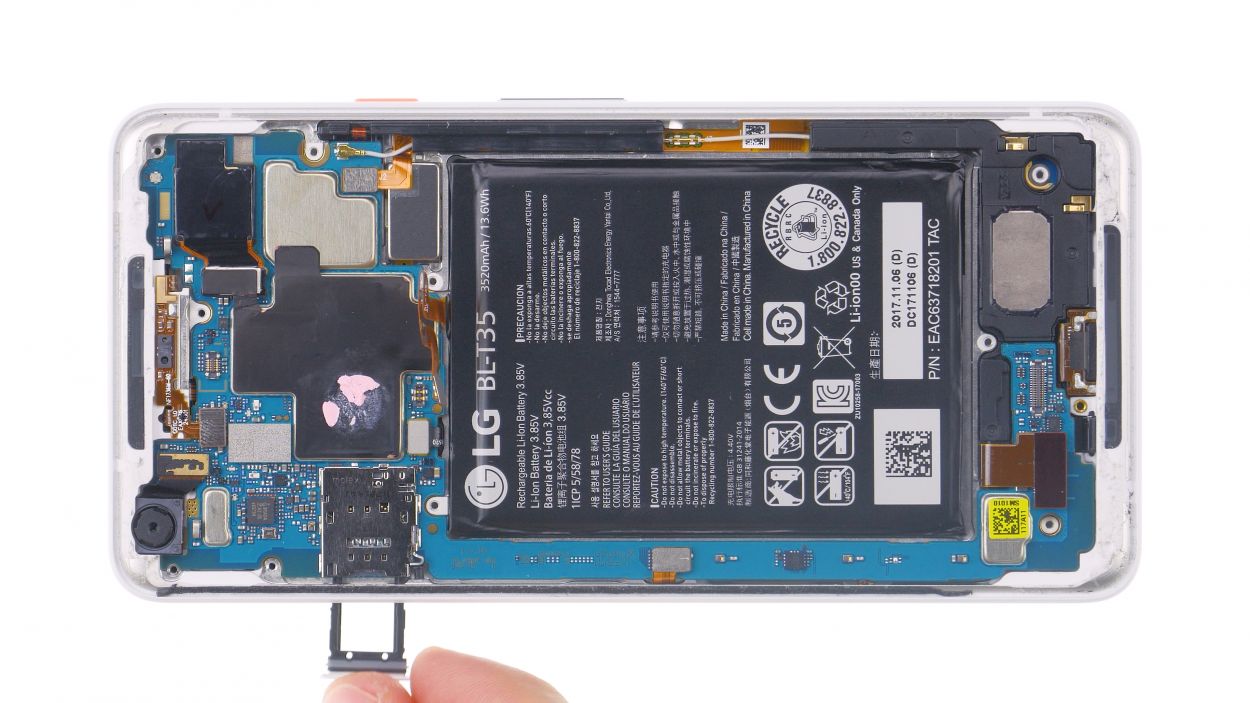
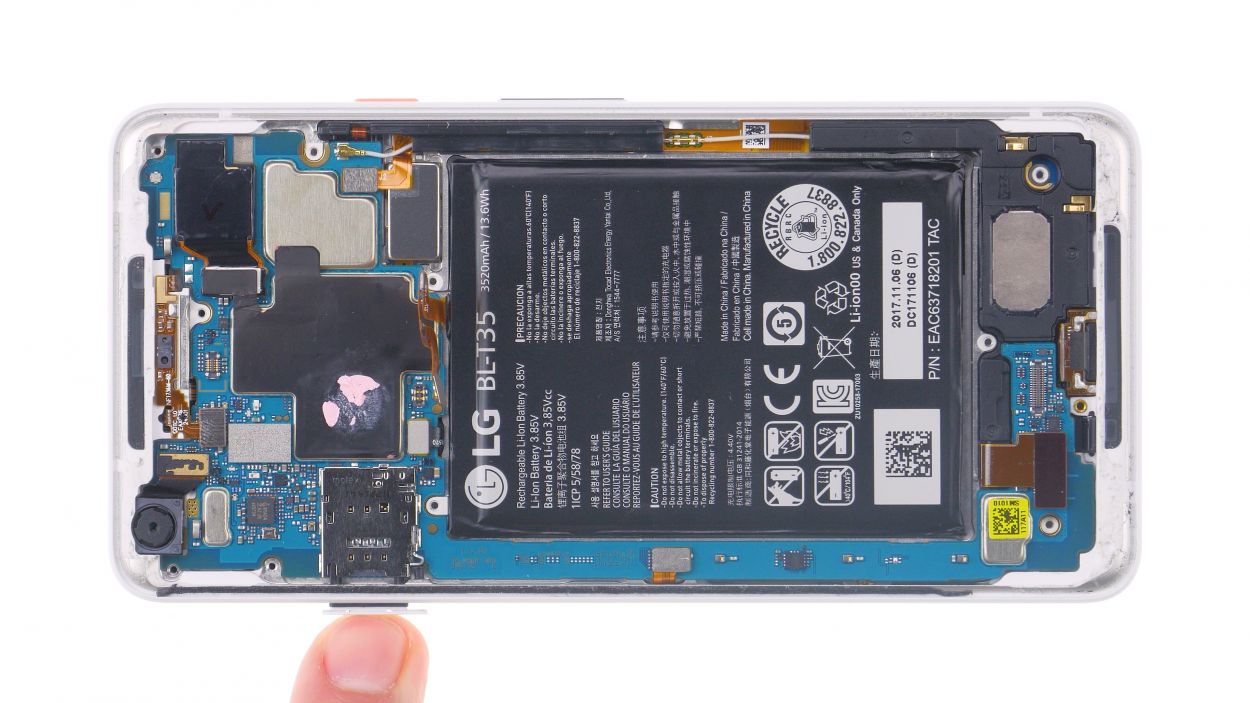
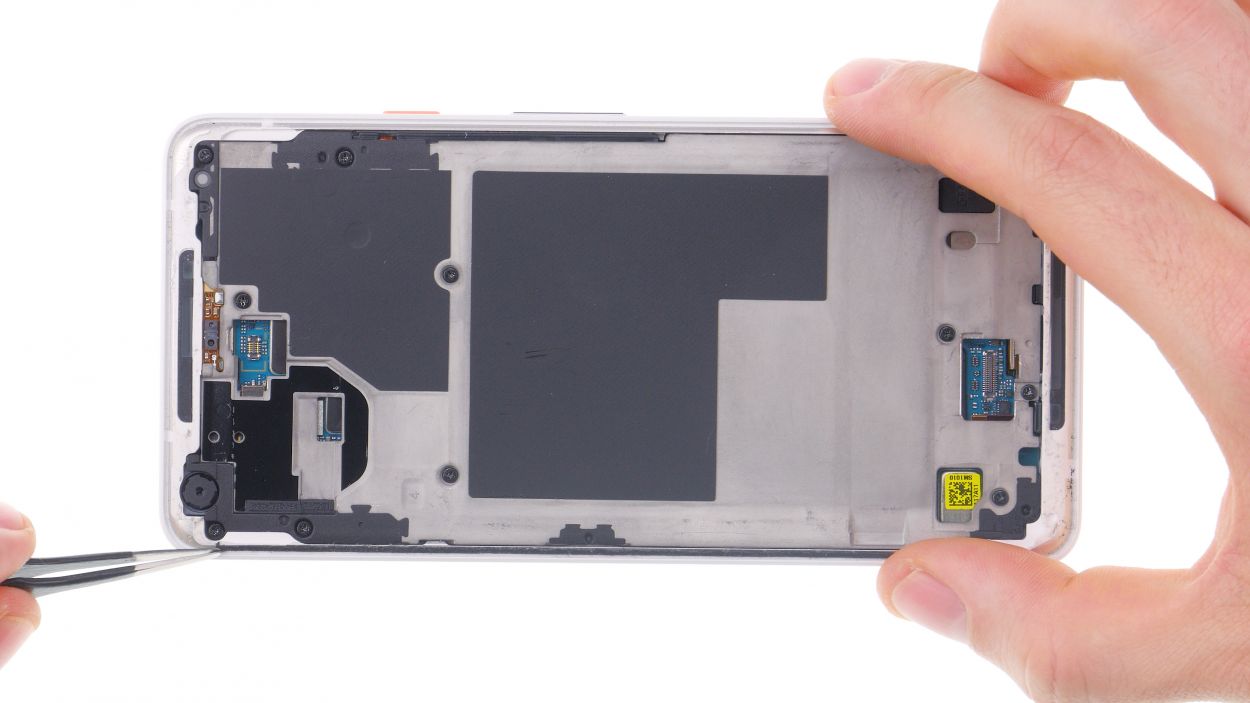
Step 6

– Pop that SIM tool into the little hole on the SIM tray.
– When the tray slides out, go ahead and take it out!
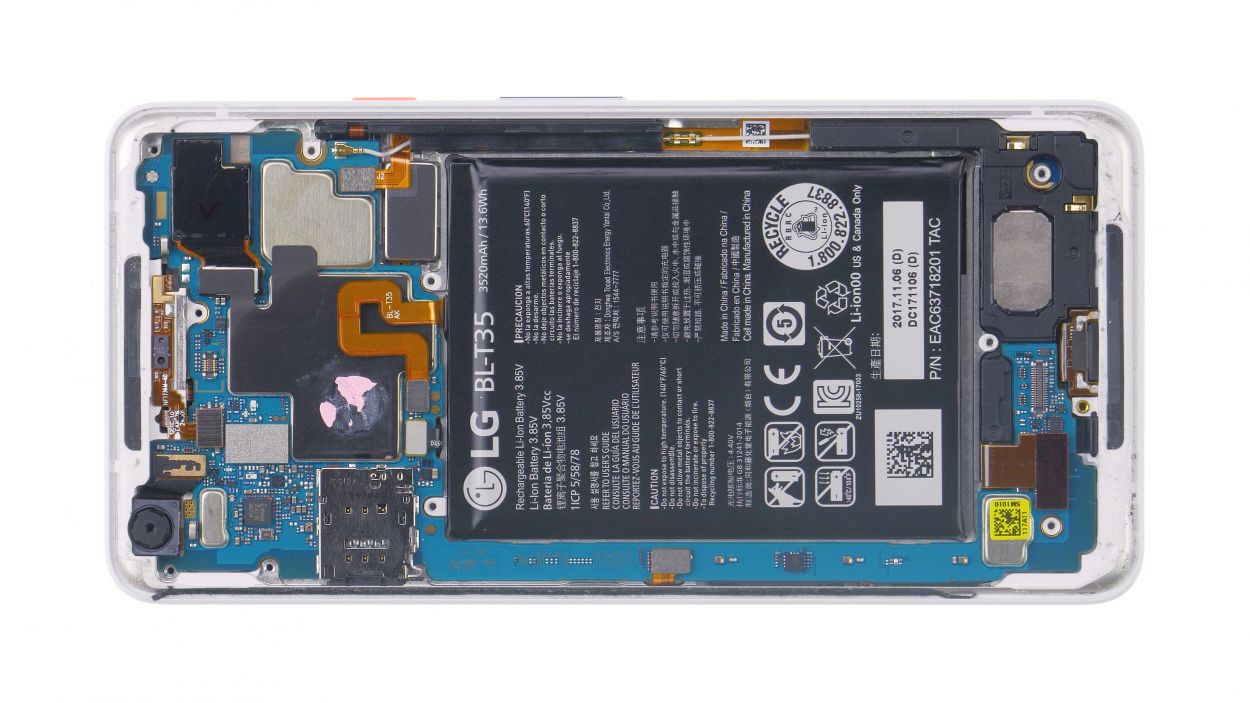
Step 7


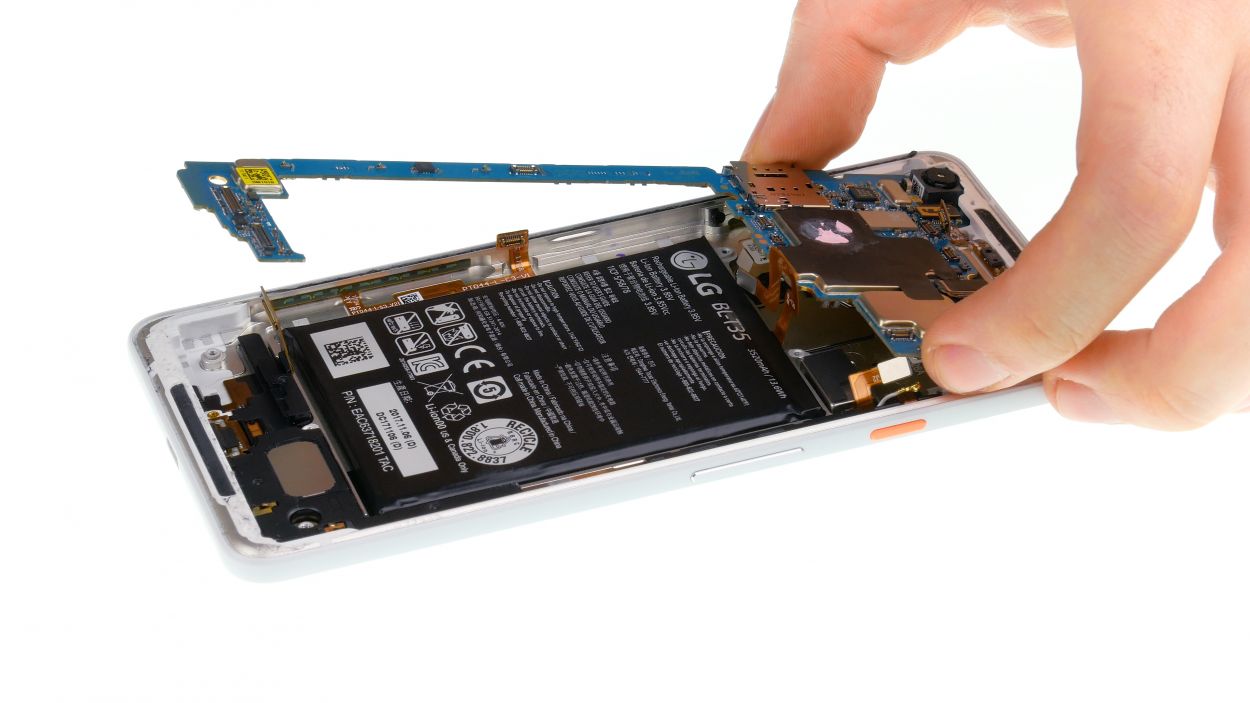
Antenna
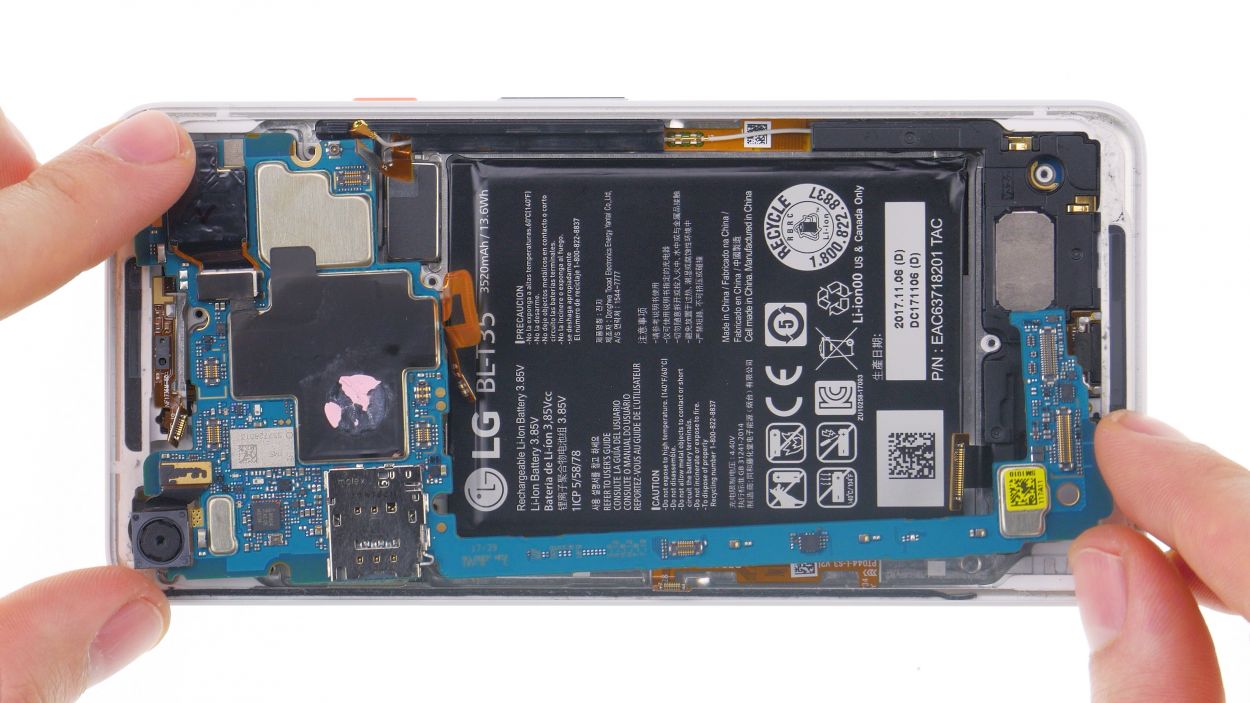
The mainboard is like a delicate piece of art—long and slender! Handle it with care to avoid any mishaps. Gently lift it at different spots and remove it at an angle. Only take it out once it’s completely free and clear!
– Separate the antenna plug with a slight twist of the tweezers.
– Unplug the connectors from the mainboard.
– Pry out the mainboard and remove it. First insert a pointed plastic tool at the inner corner of the mainboard.
Step 8
– Grab a trusty plastic tool and gently nudge the speaker out from the corner.
– Carefully lift the speaker out of the device and set it aside.
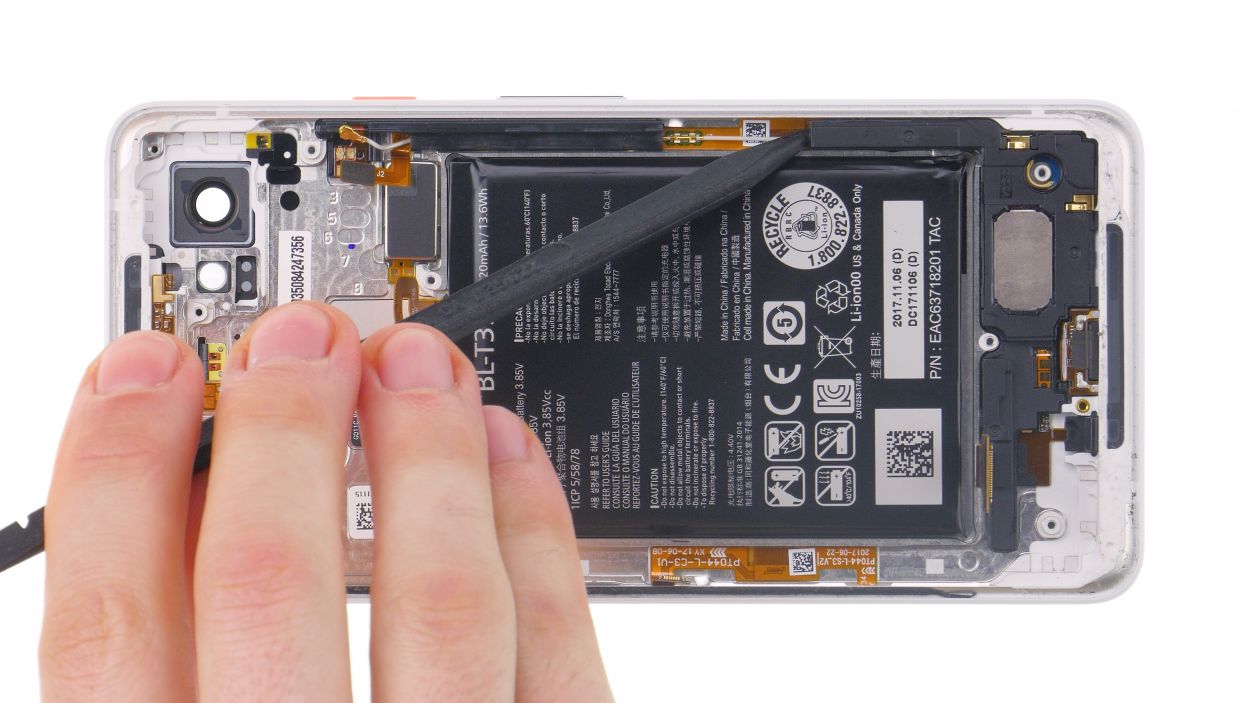
Step 9

Antenna
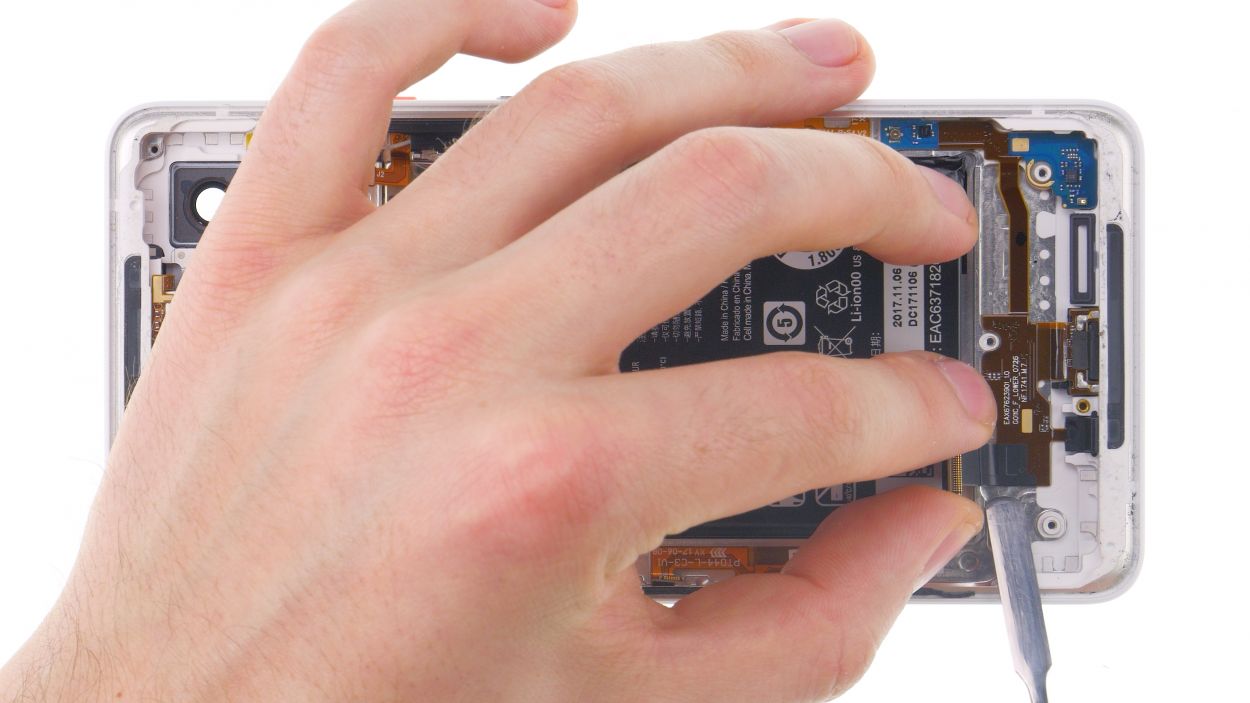
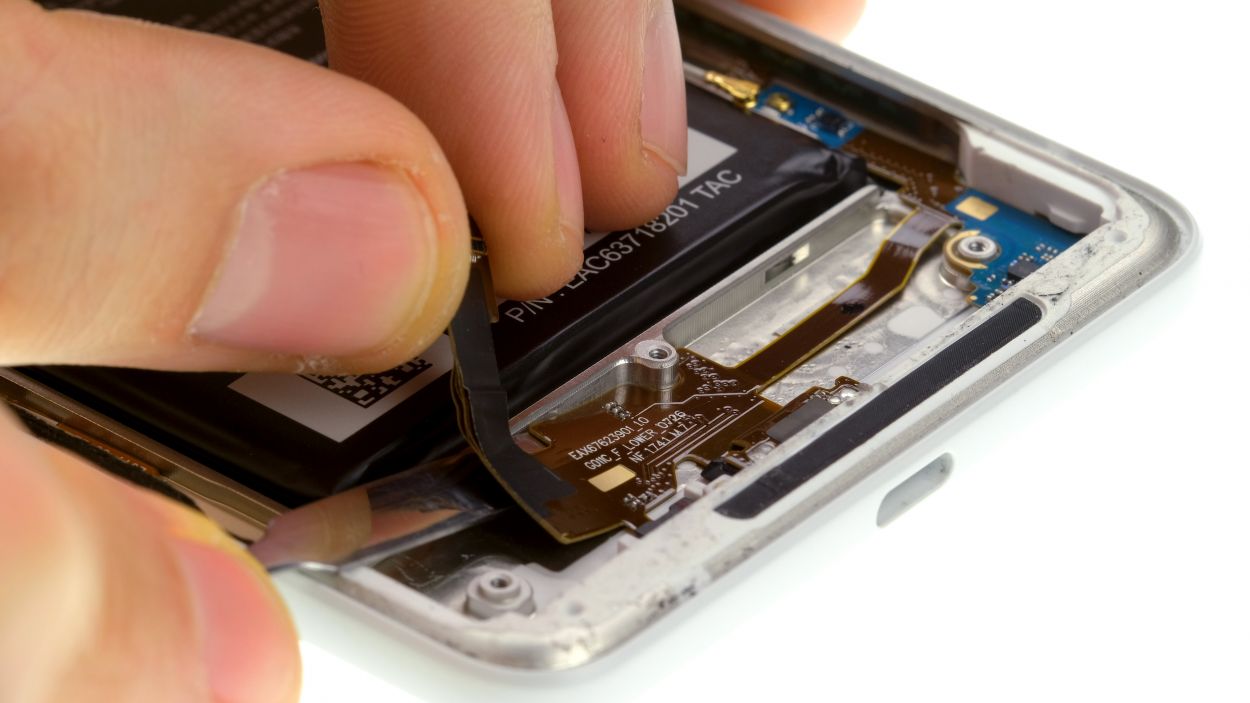
Hey there, watch out for that USB cable! They can be a bit fragile, so handle it with a little extra TLC.
– Handle that USB cable with extra love—it has a knack for breaking easily!
– Start by disconnecting the antenna cable plug. Just give it a gentle twist while holding the plug, and it should pop right off.
– Warm up the USB flexible cable a bit to melt the adhesive. A little heat goes a long way!
– Carefully slide a flat tool beneath the flex cable and start easing it out slowly.
– Be cautious near the antenna plug, as that area has some super strong glue. Use a plastic tool to gently pry under the board and loosen the adhesive.
– Next, take off the plastic holder for the microphone beside the USB port, then gently free the glued microphone from the frame.
– Once you’ve successfully loosened the entire USB flex cable, you can easily lift it out of your device.
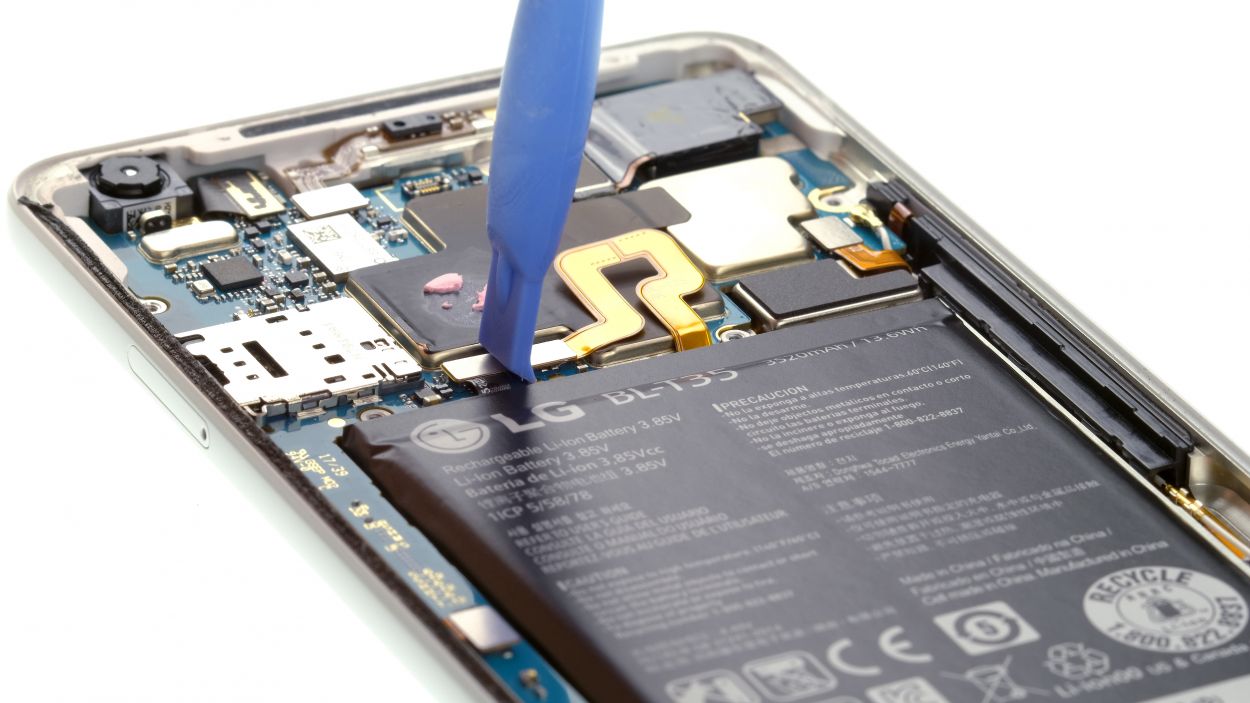
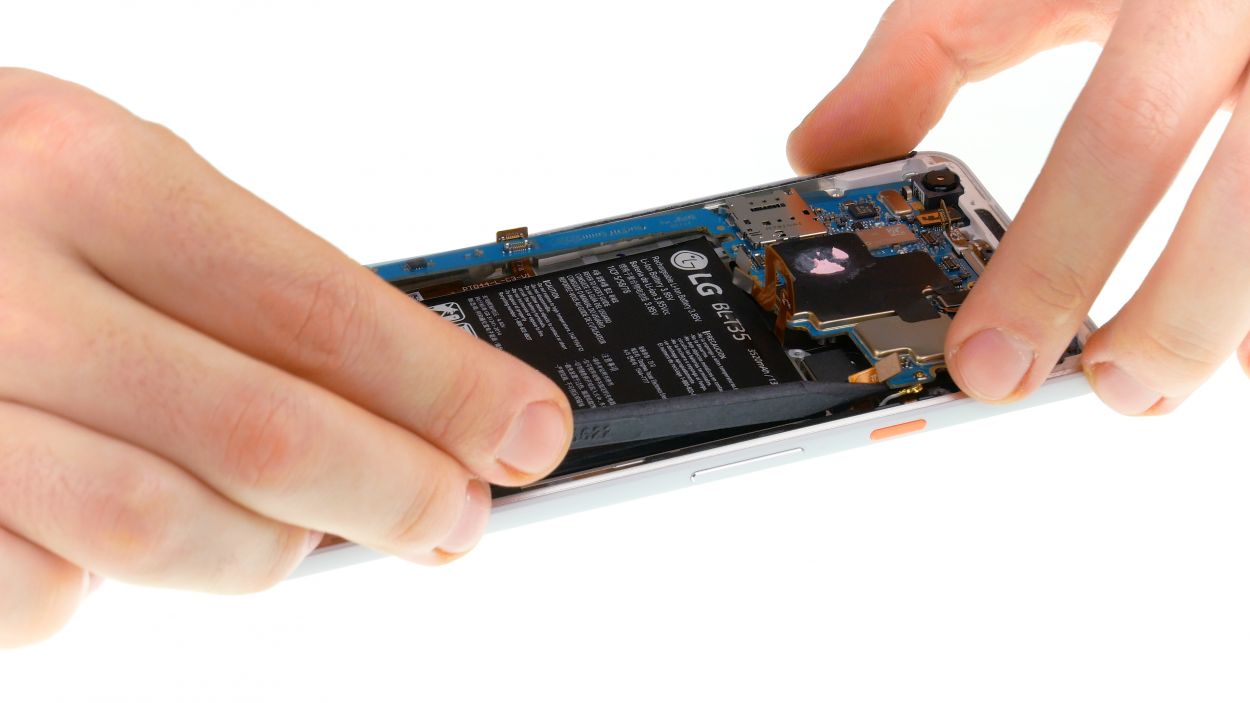
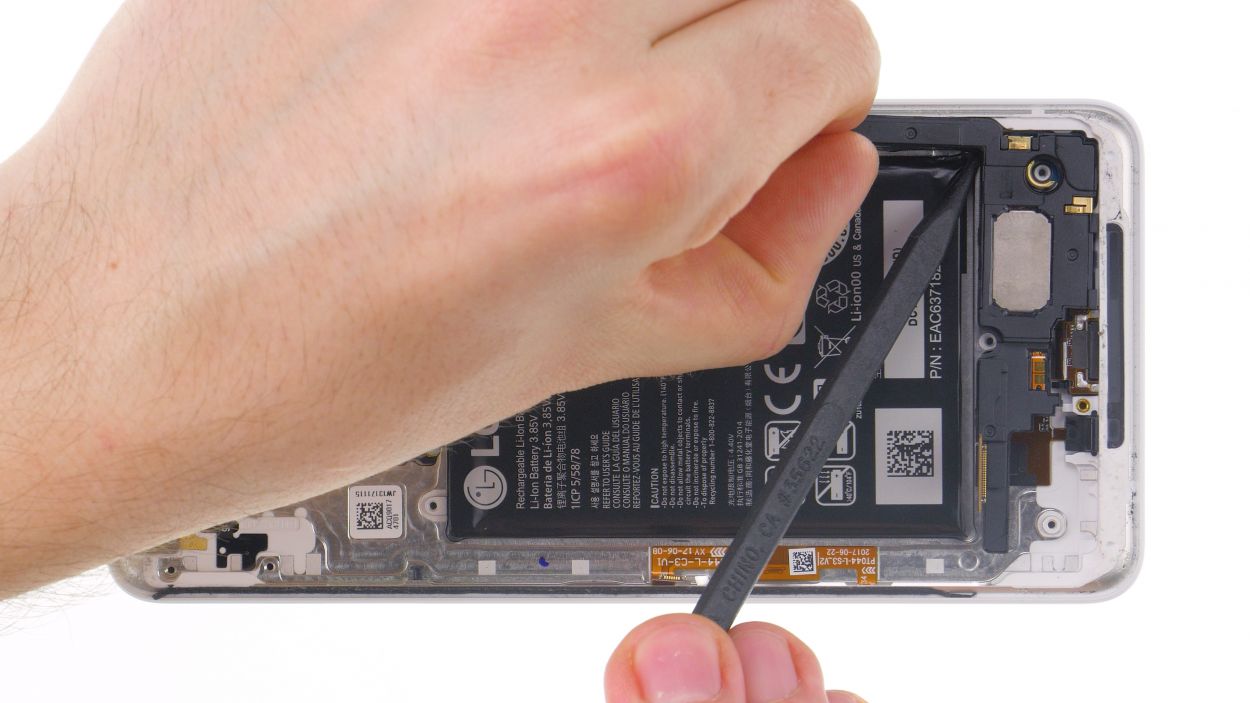
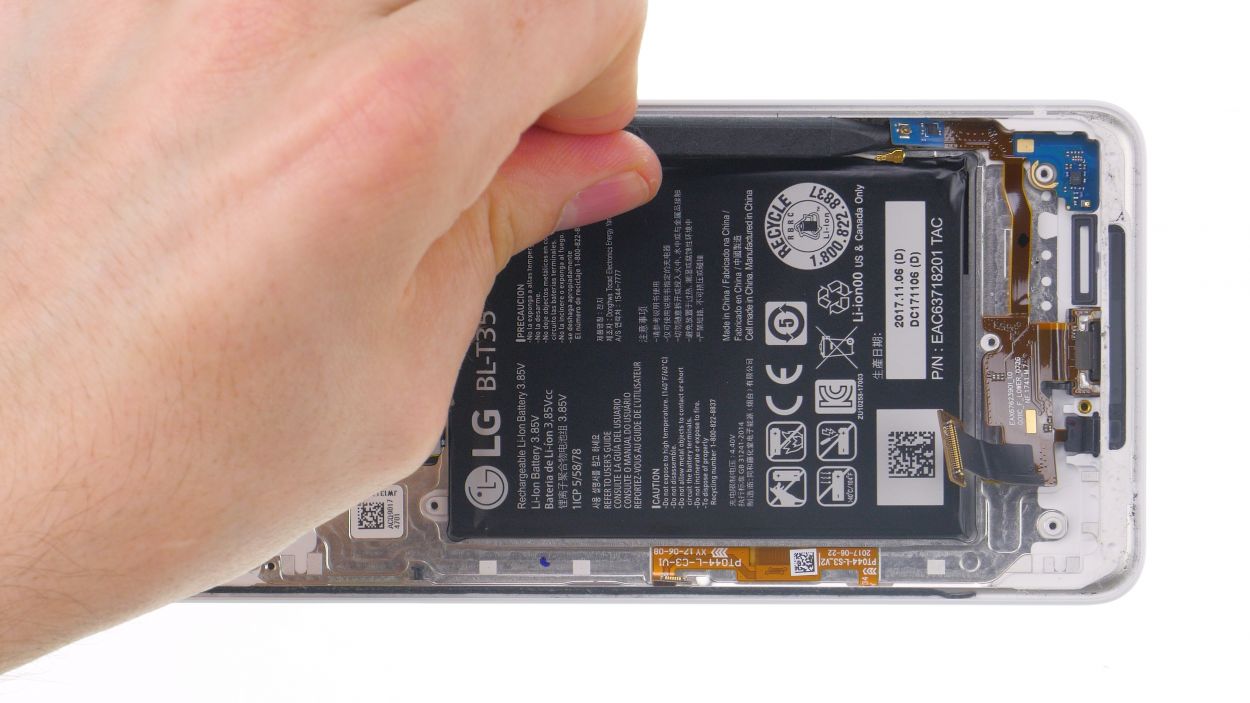
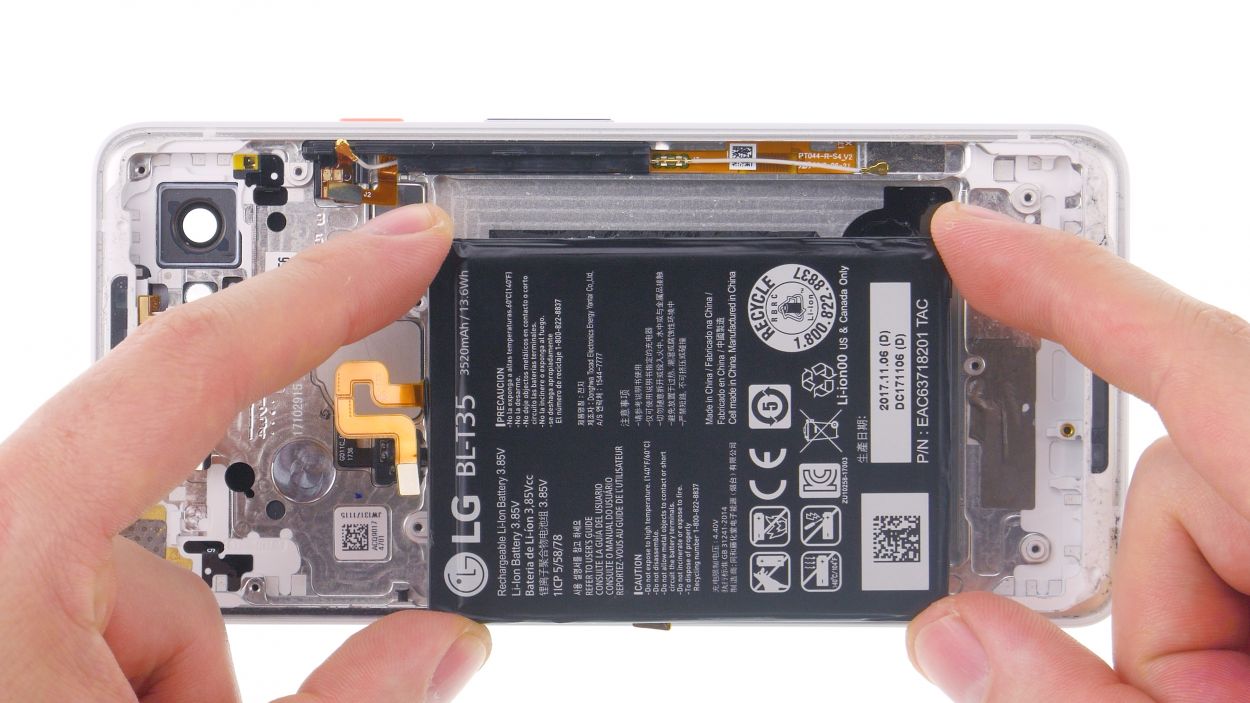
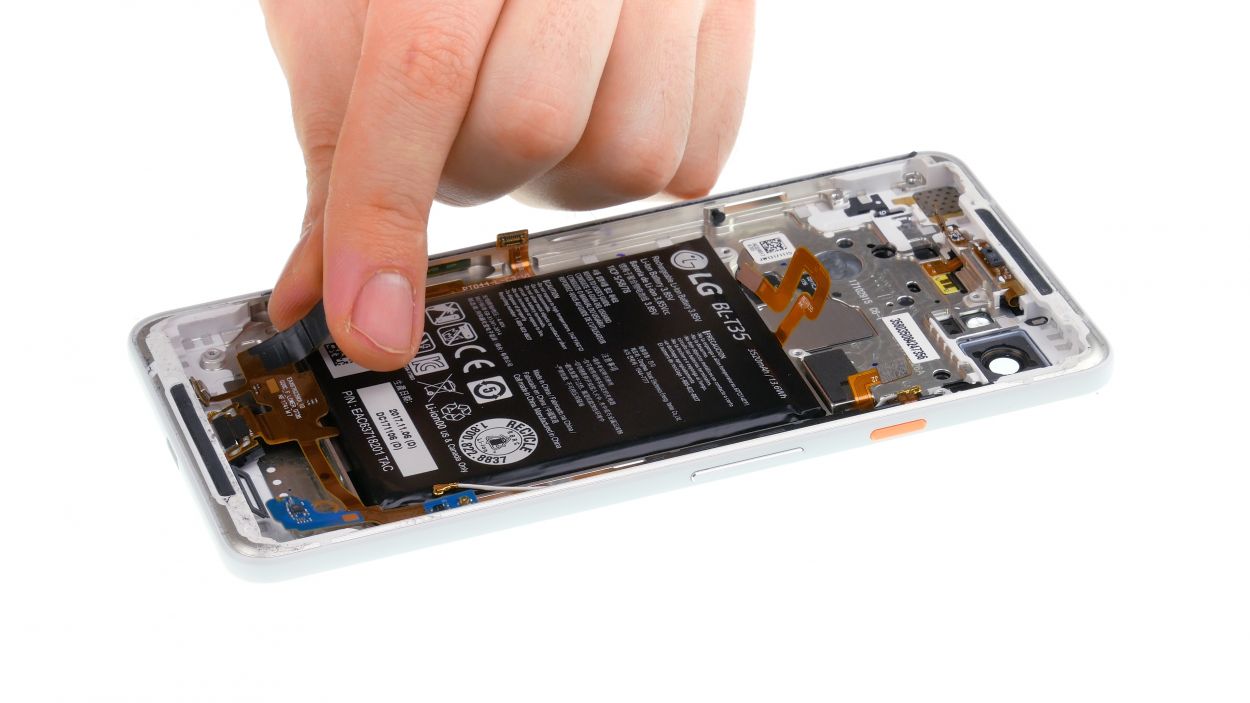
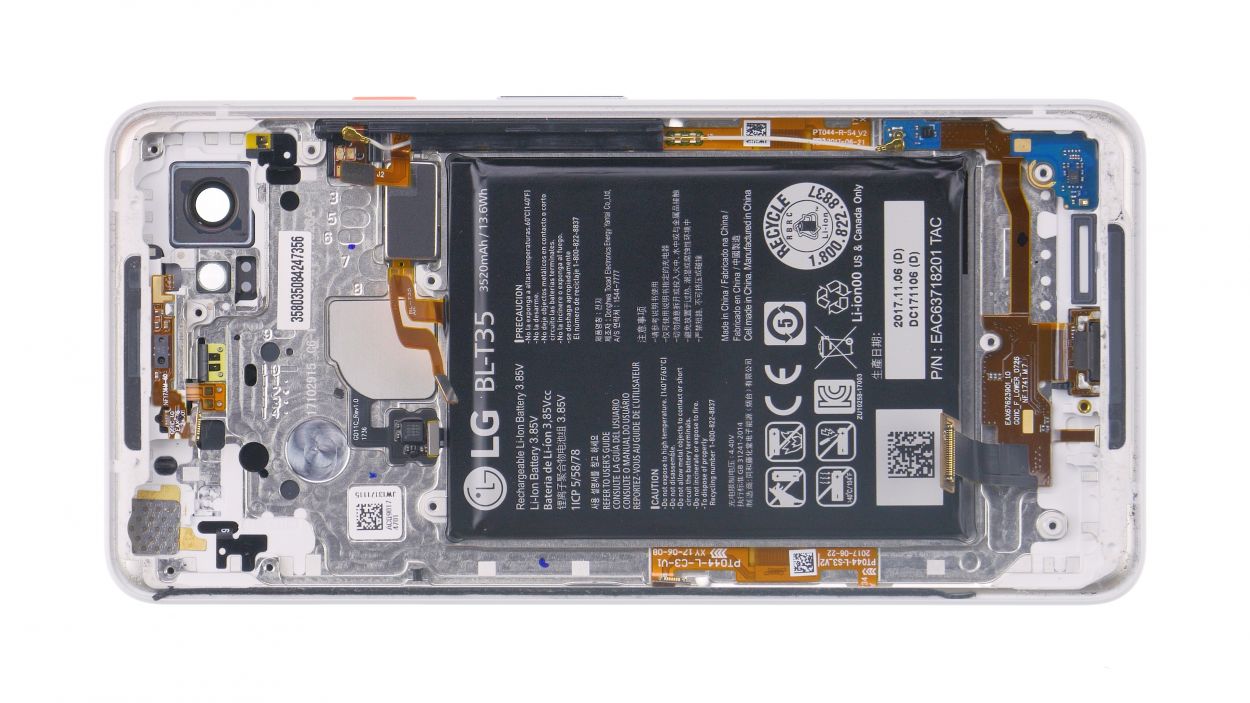
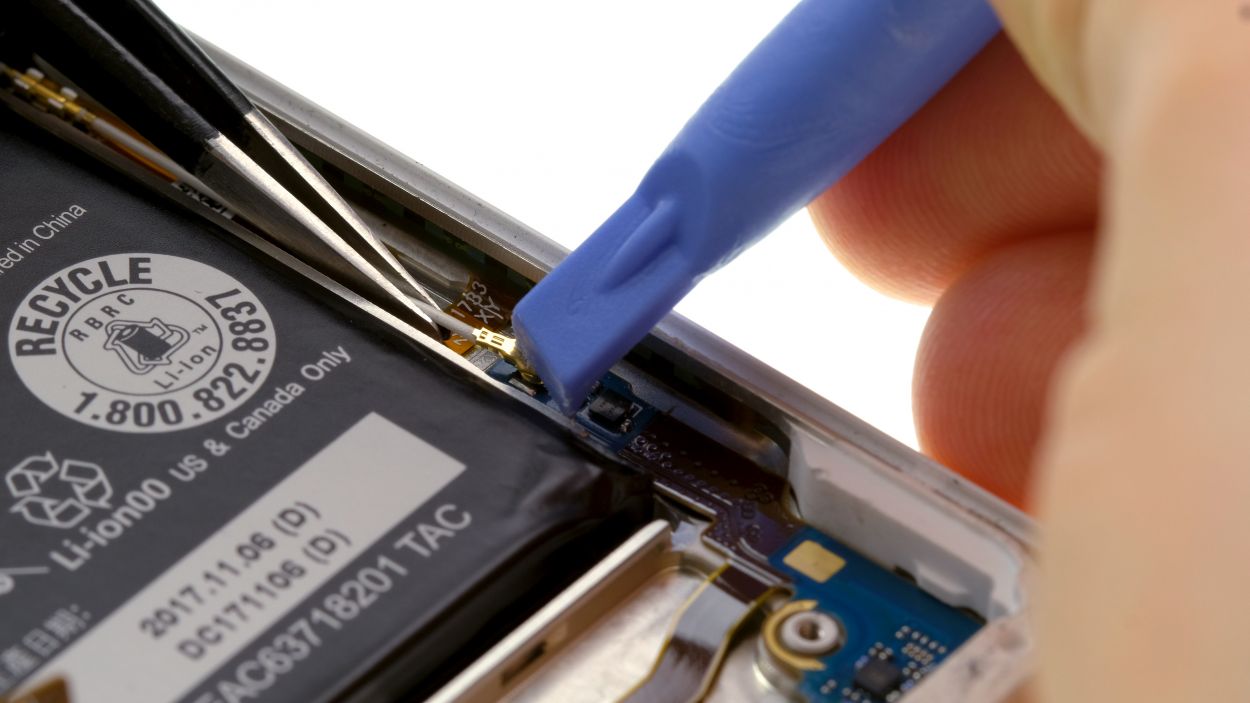
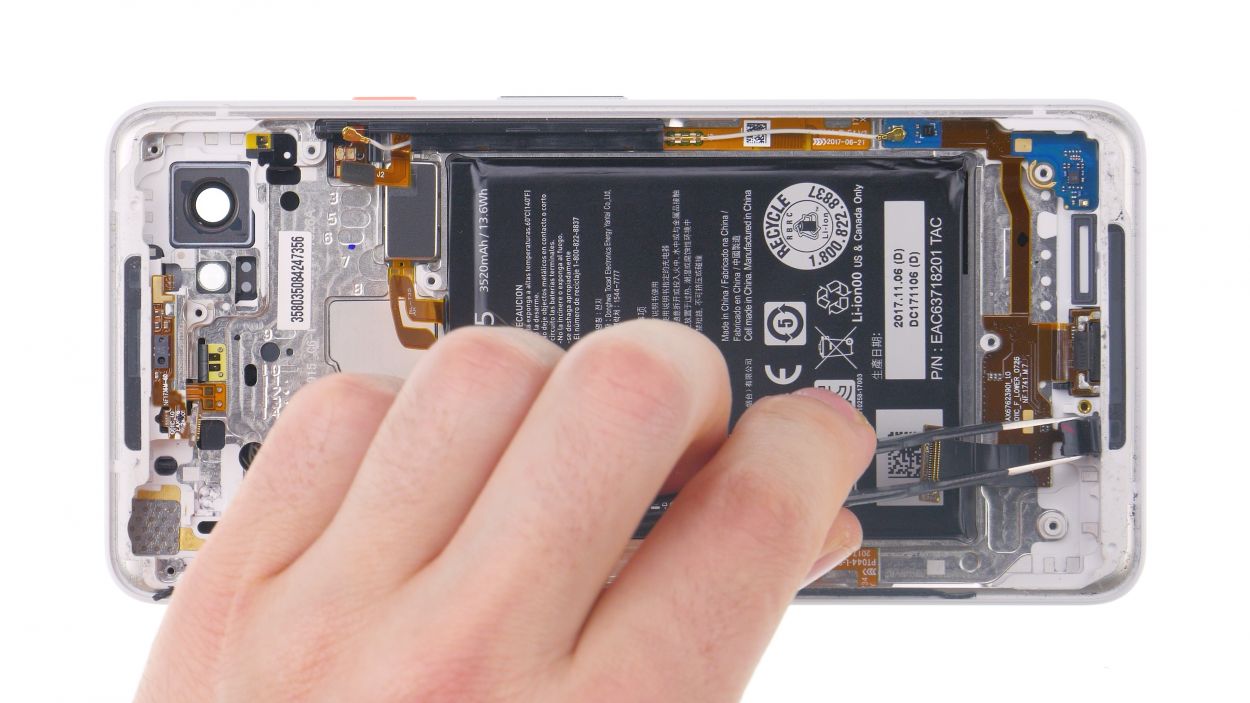
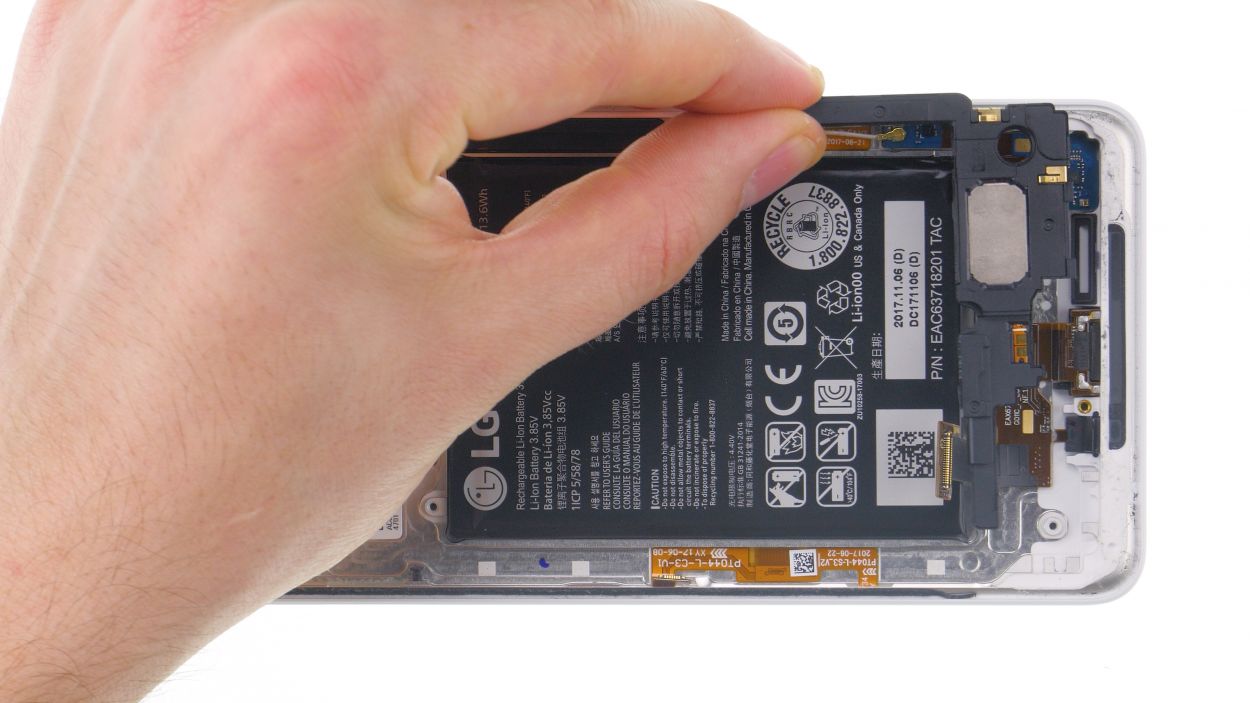
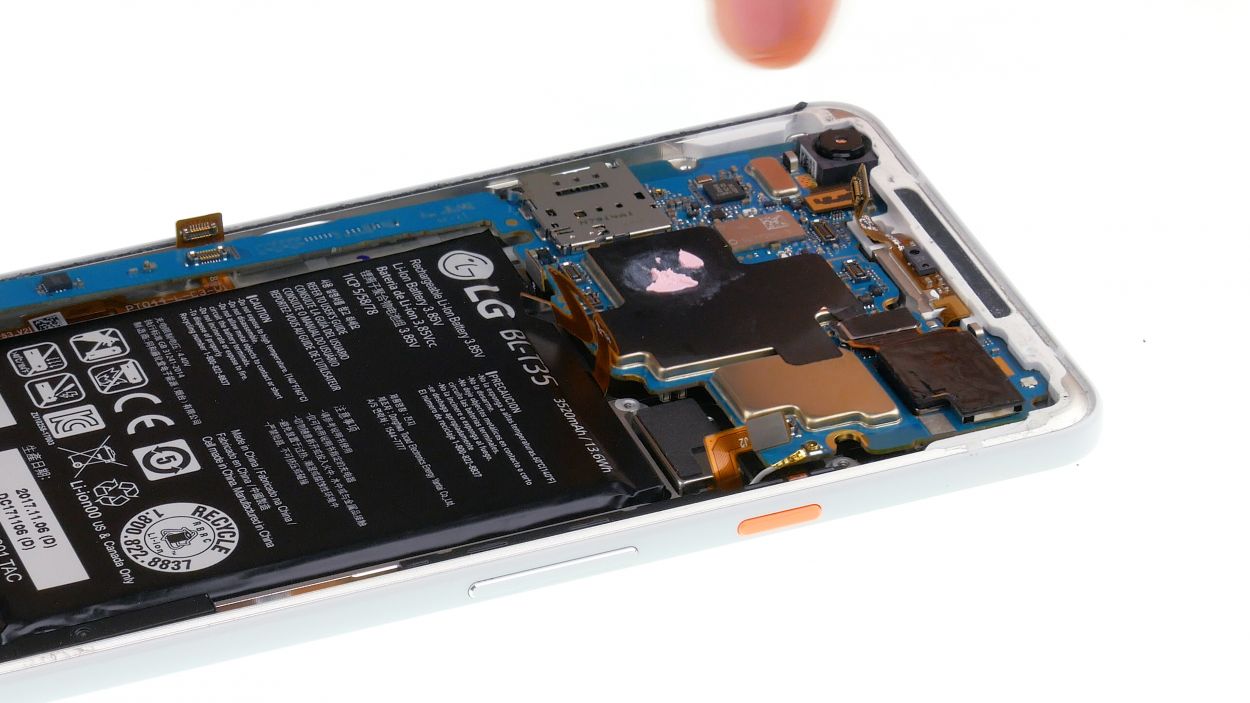
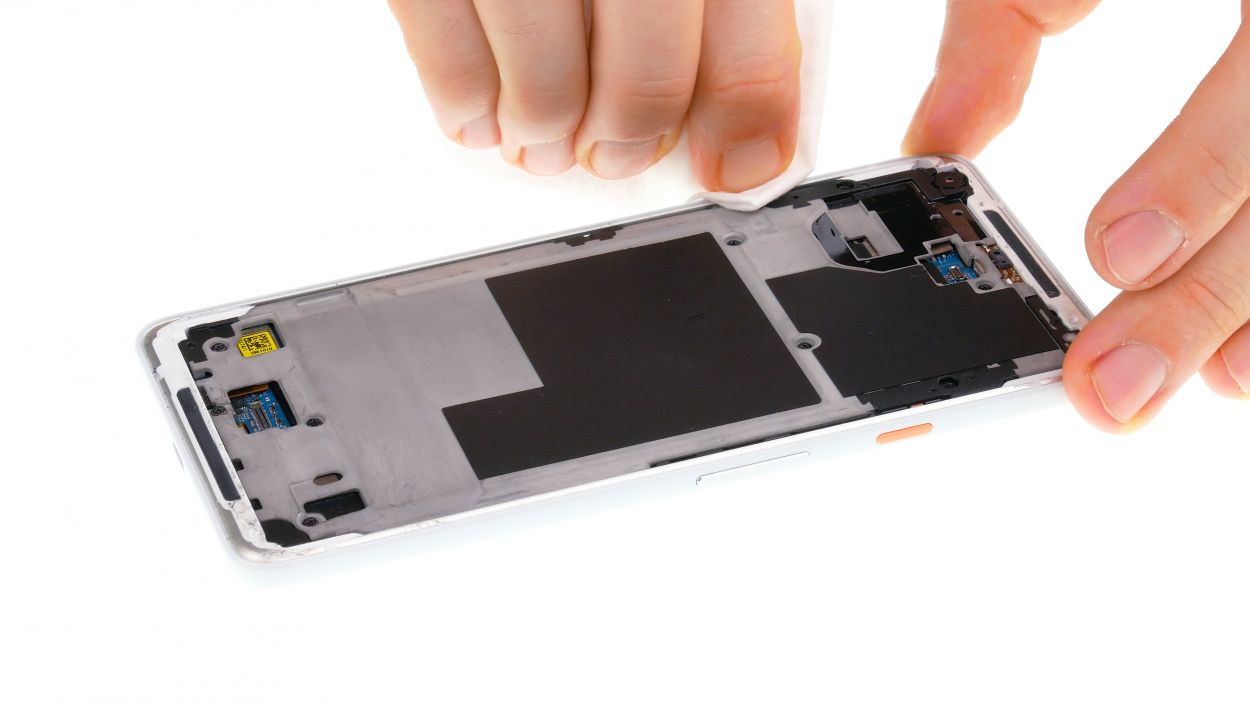
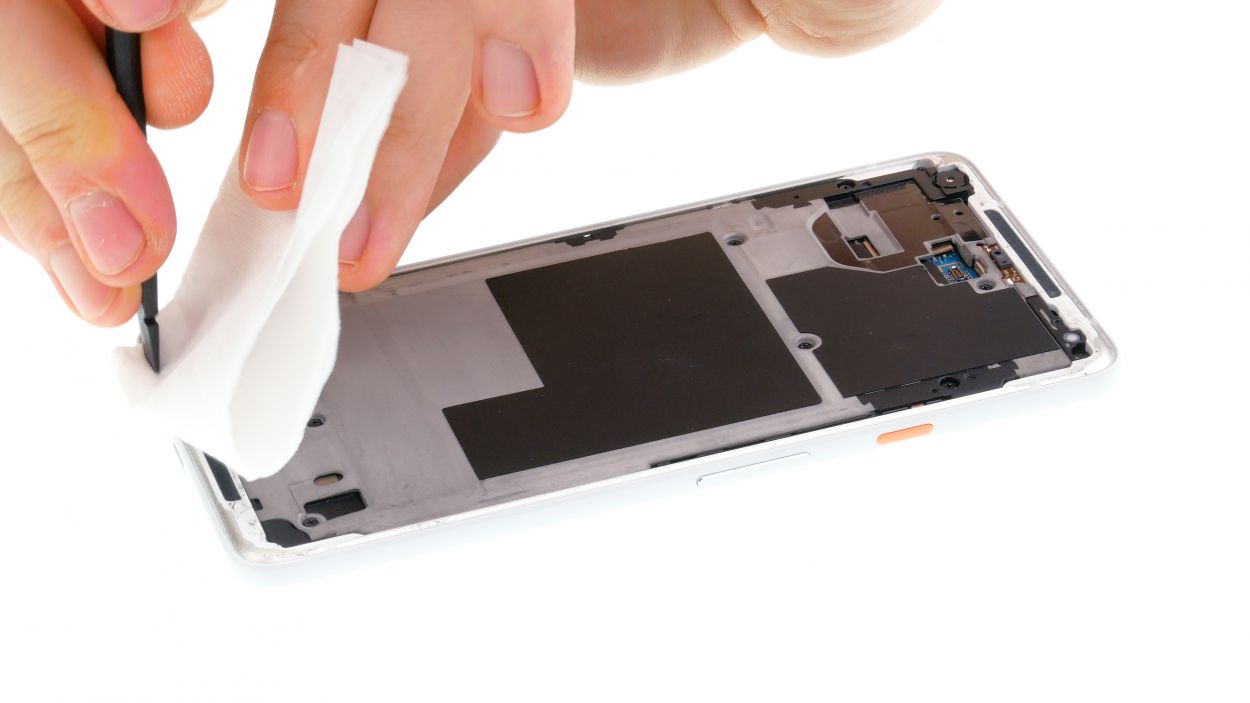
Step 10

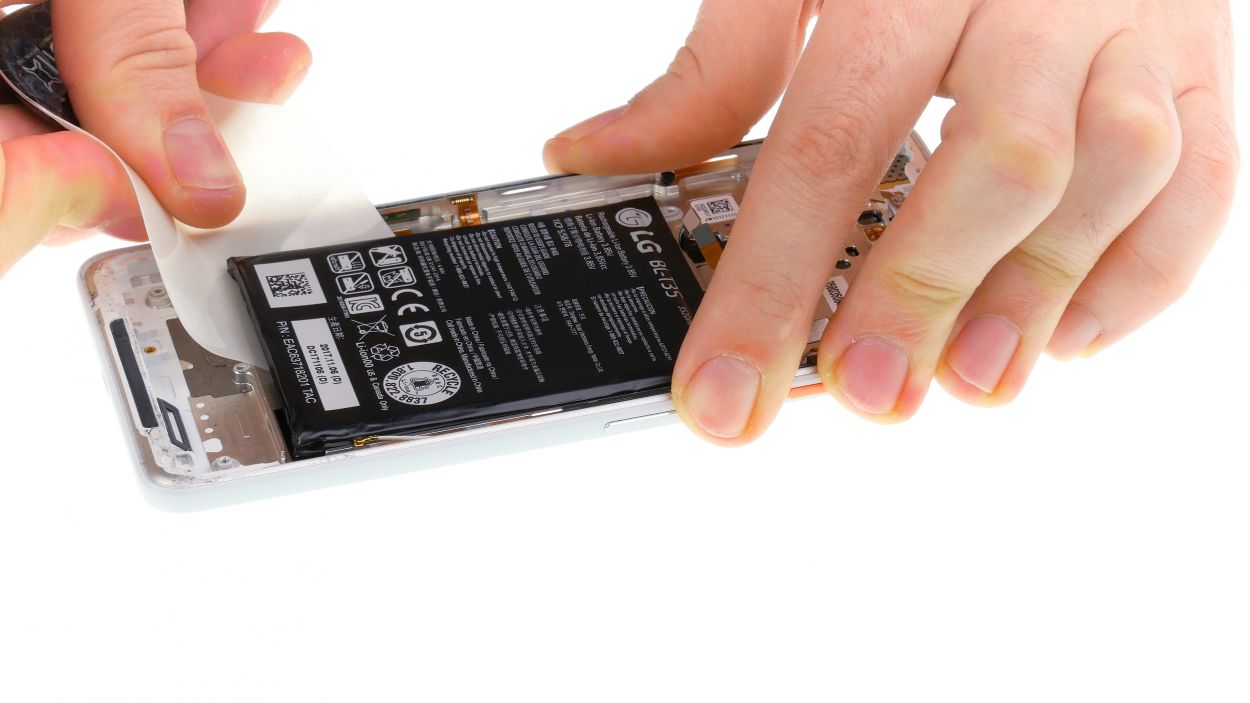
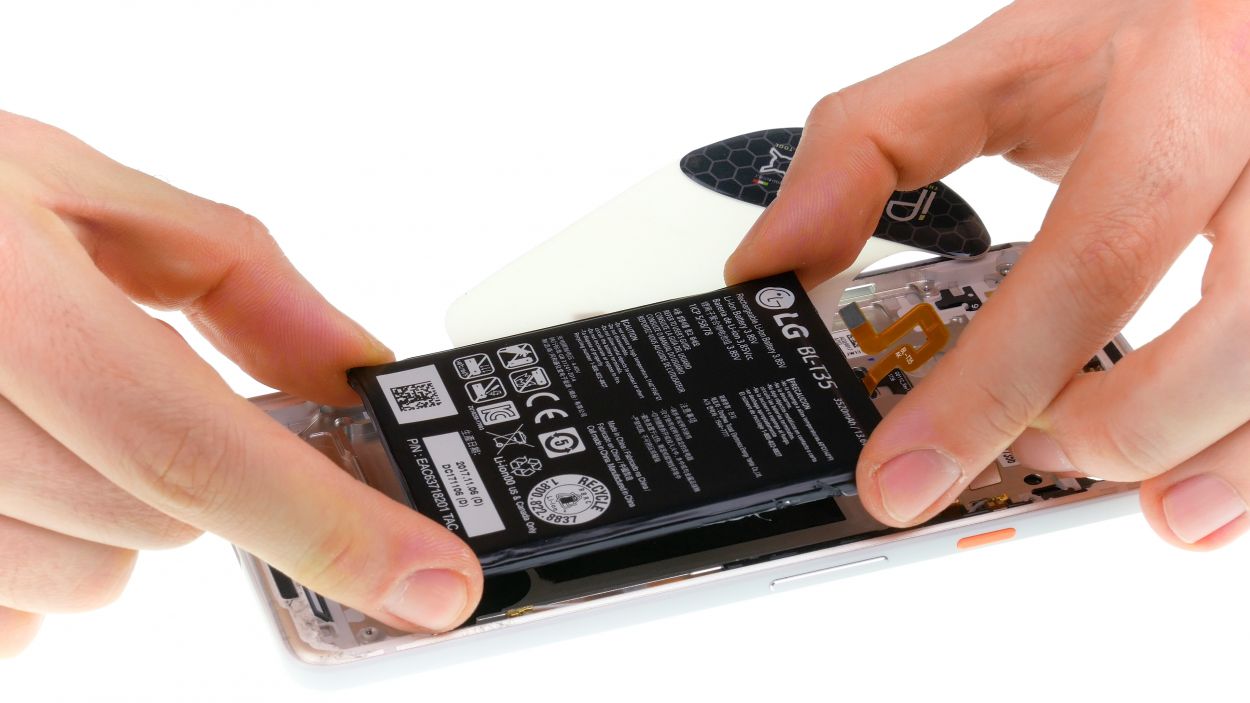


– The adhesive loves to hang out in the center of the battery. Warm up the back case, but give the battery a little space—no direct heat, please!
– Slide a flat plastic tool, like the trusty iPlastix, beneath the battery. Work gently to break free the glue without prying too hard.
– Keep that tool in place under the battery and give the rear case a few warm hugs with your heat source.
– Carefully wiggle your tool around to encourage the glue to let go.
– Once the glue is ready to part ways, you can confidently lift the battery out!
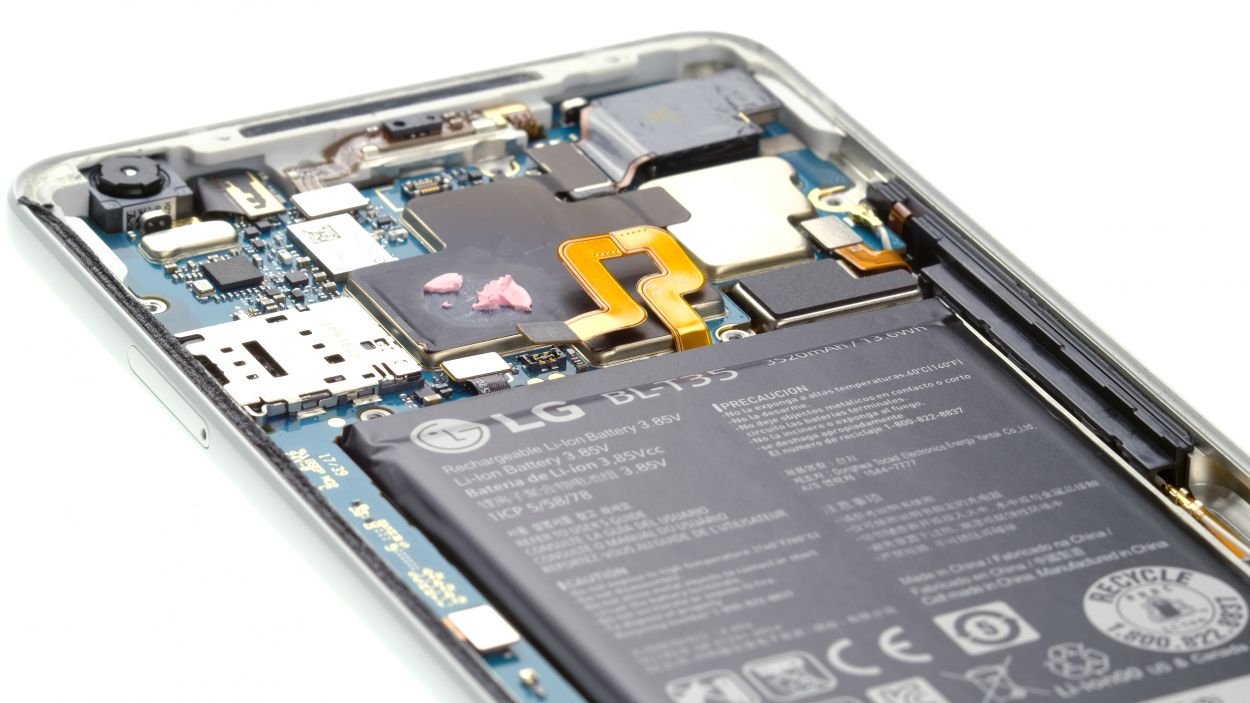
Be super careful with the battery! It’s a bit wobbly when you try to lift it out, especially if it’s feeling warm and toasty. Instead of blasting it with hot air, gently warm up the bottom of your device. And remember, no sharp or metal tools – go for a sturdy plastic tool to do the job right. If you need help, you can always schedule a repair.
Step 13
Antenna
– Slide in that USB flexible cable like a pro!
– Pop the microphone and USB port into their cozy spots in the frame.
– Gently press down on all parts of the flex cable to make sure they’re snug as a bug.
– Connect the antenna cable plug—grab the end sleeve with tweezers and give it a little push.
– Now, let’s get that microphone holder in place and give it a nice press to secure it.
Step 14


– Place the speaker in the device and press it in all around.
Step 15

Antenna
– First, gently nudge all the connectors to the side so they don’t get cozy under the board.
– Next up, slide the board into the device with a gentle touch and make sure it fits snugly.
– Now, connect the various connectors on the main board – you’ll hear a satisfying click when they lock in place.
– Finally, place the antenna plug over its socket like a perfect puzzle piece and press it down carefully.
Step 16
If the tray isn’t sliding in smoothly, don’t go all Hulk on it! First, take a moment to check if the logic board is snug and secure. You’ve got this!
– Don’t forget your trusty sidekick, the SIM card! Pop it back in if you had to take it out.
– Give the SIM tray a gentle push back into its home.
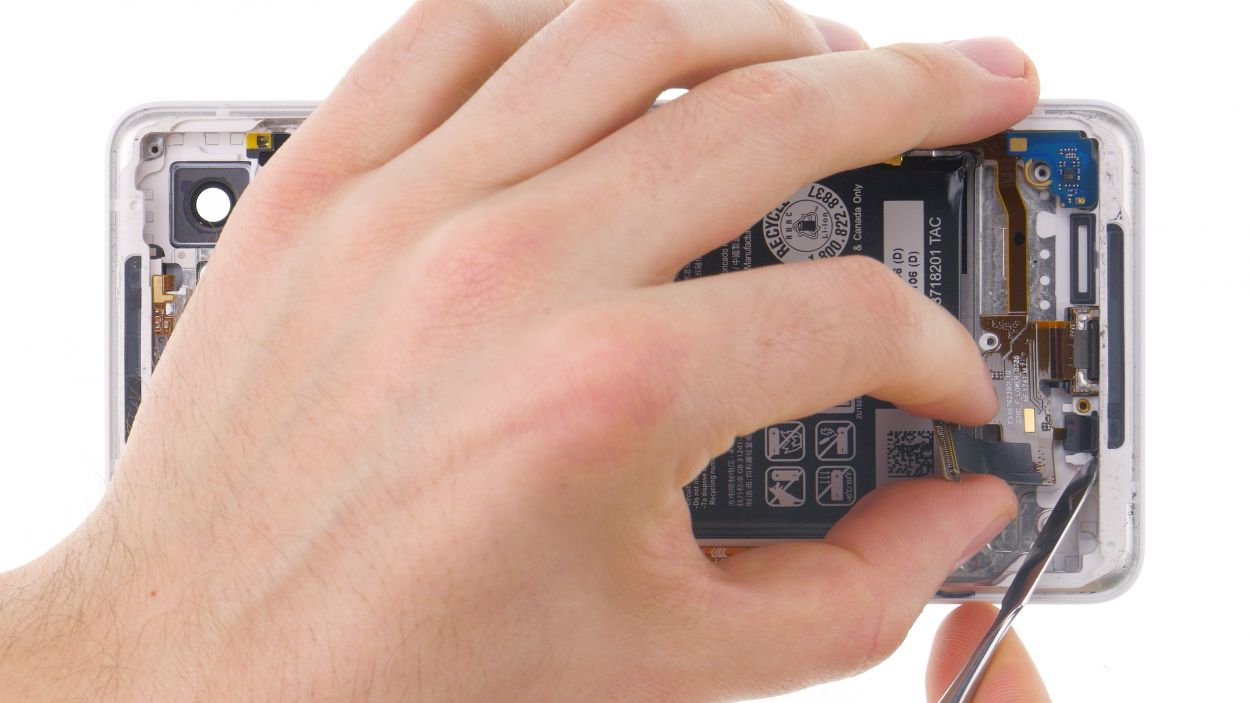
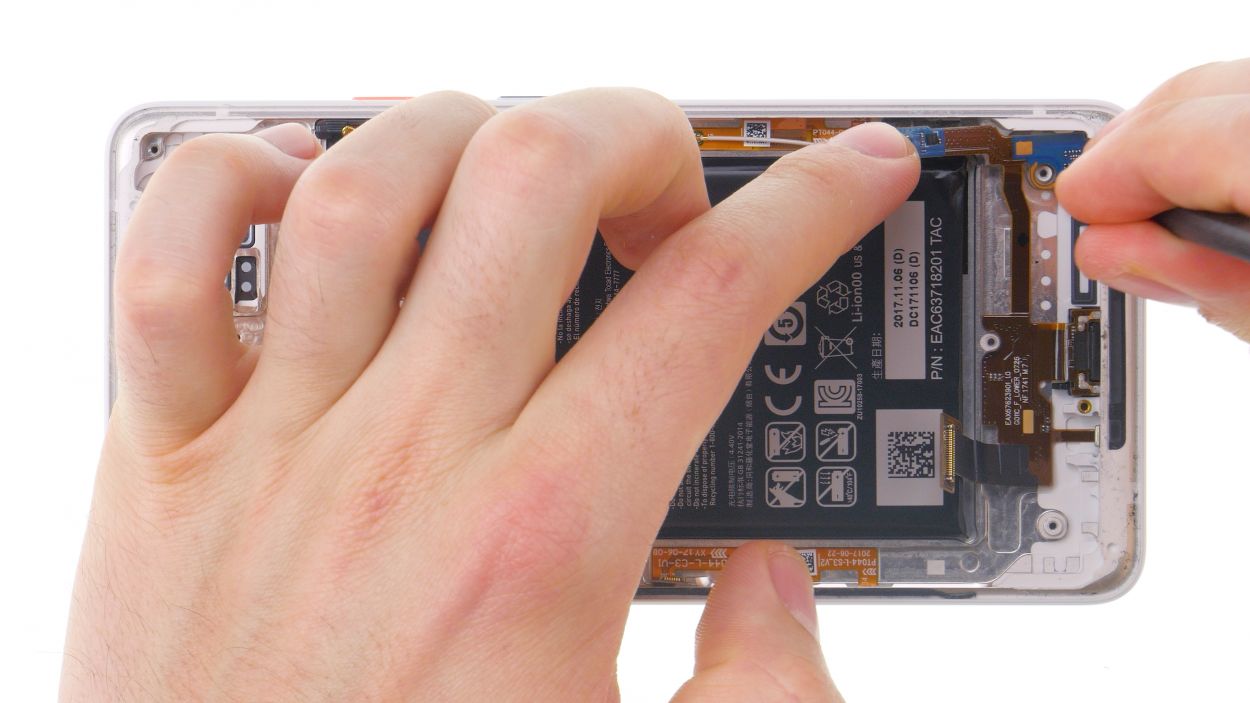
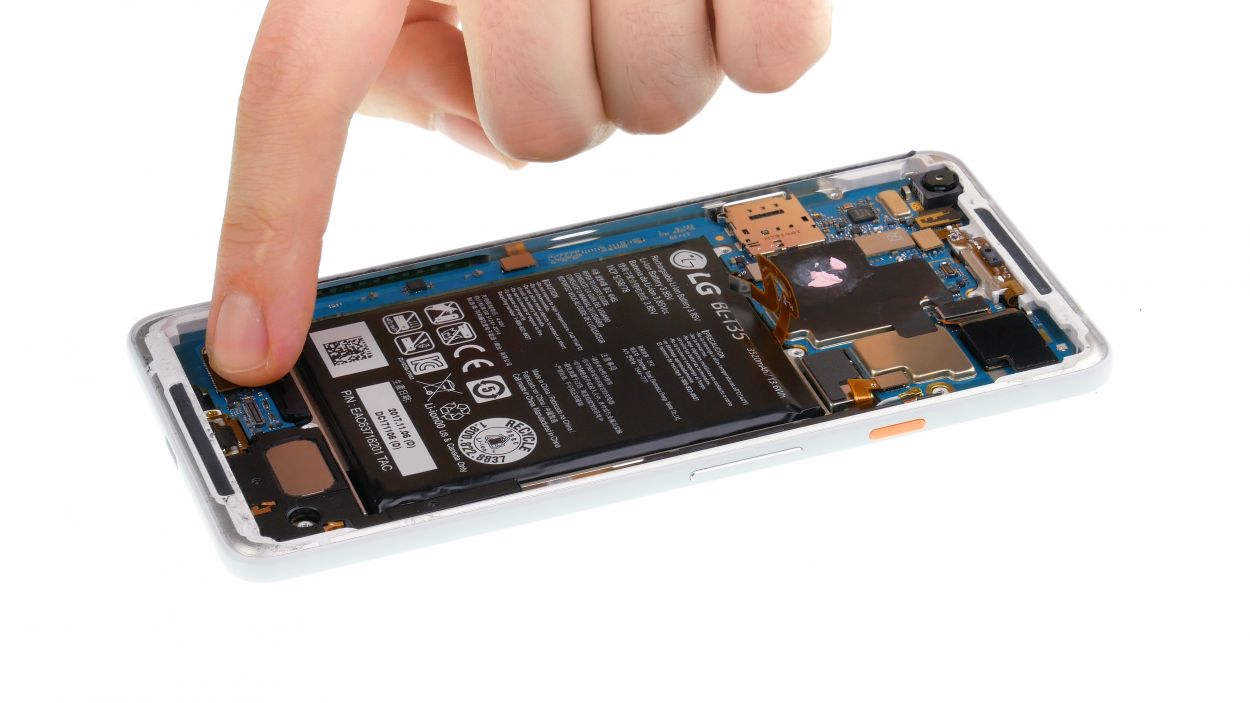
Step 17
Battery connector
– Plug in that battery connector like a pro! You’re almost there, keep it up!
Step 18
11 × 2.7 mm Phillips
– Gently set the midframe into the device and give it a little press to secure it in place.
– Next up, grab those Phillips screws of the same length and fasten them all snugly.
Step 19
Hey there! Just a friendly reminder to keep those fingers safe and sound—maybe rock some gloves while you work. Safety first, fun second!
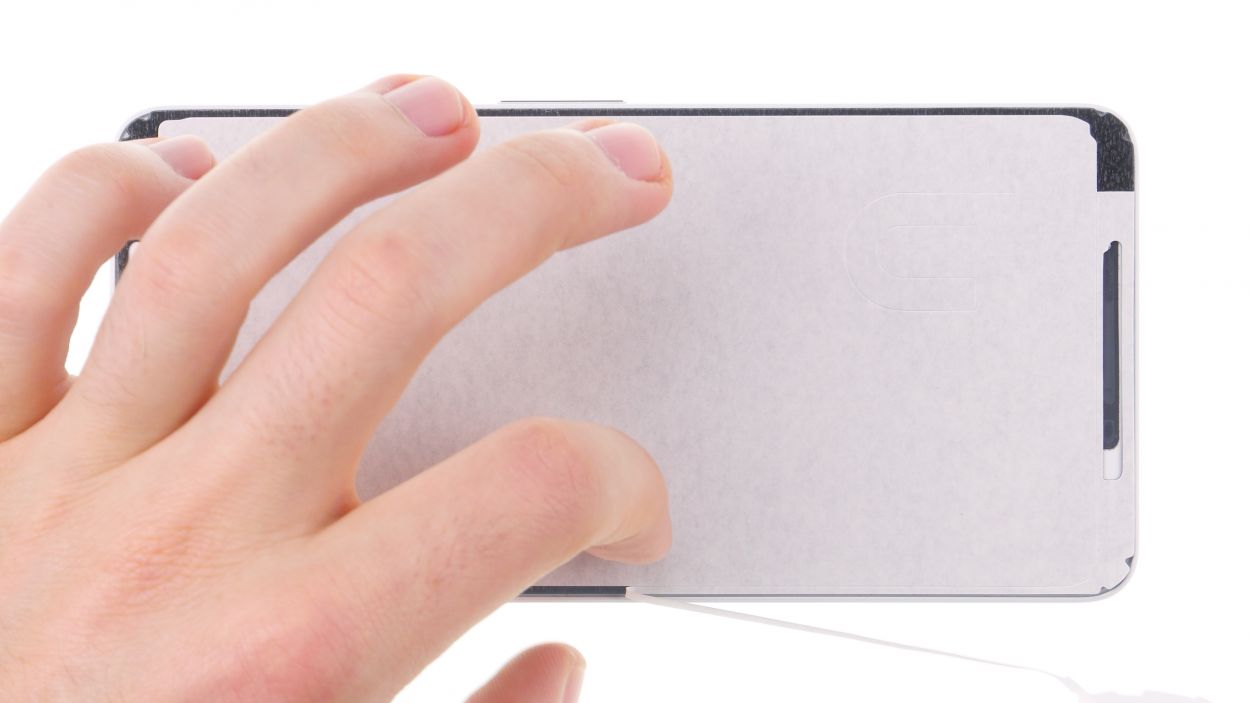
– Carefully remove all bits of broken glass.
Step 21
Step 22


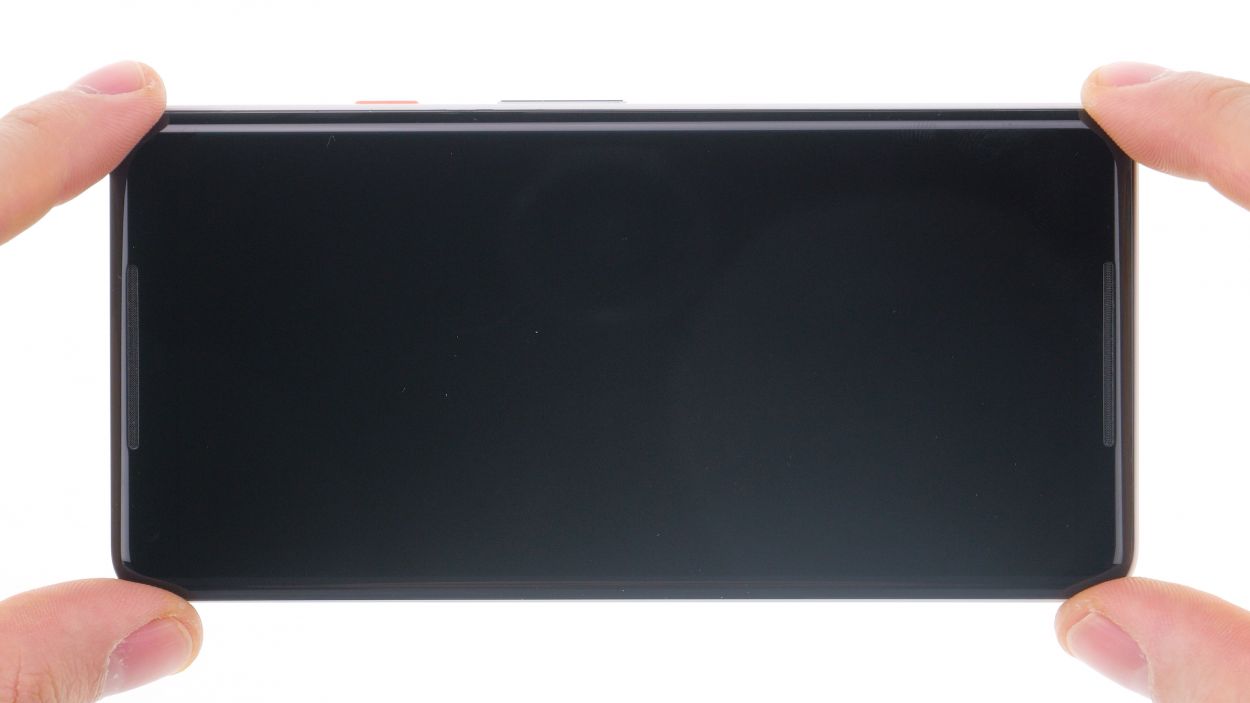
Hey, keep a close eye on that screen! Don’t let it slip and slide, but also, don’t force it on just yet. We’re taking our time here. If you need a hand, you can always schedule a repair
– Give your apps a fun zig-zag workout! If they don’t bounce back like crazy, you’re good to go!
– Now, let’s check the screen’s brightness – crank it up, then down low. Keep an eye out for any mischievous pixels!