DIY Guide to Replace Battery in Lumia 950XL
Duration: 15 min.
Steps: 5 Steps
If your Lumia 950XL is more hit or miss than a Mario Kart participant, it might be time for a battery replacement. We’re here to walk you through a simple DIY fix that’ll get your phone up and running in no time. If your Lumia crashes during heavy use due to voltage dips, won’t charge, or has laughably low battery life, this repair is a must. Don’t worry, we’ve got you covered! If you need help, you can always schedule a repair
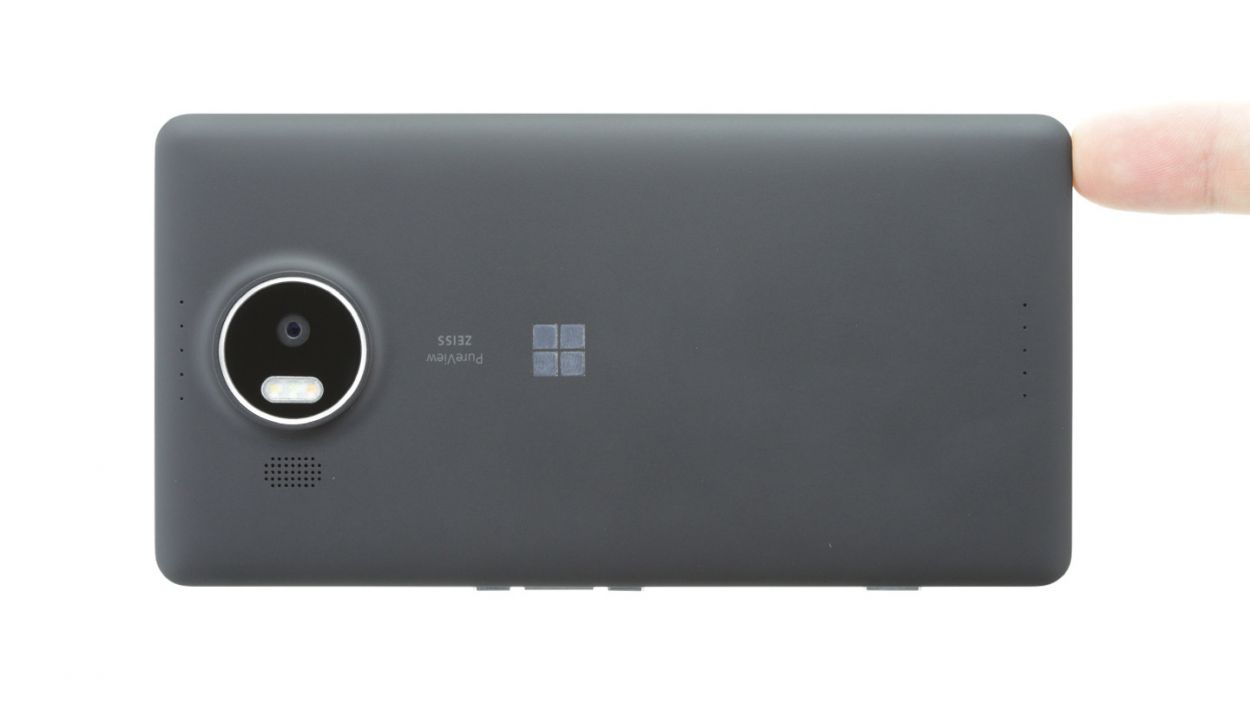
Step 1
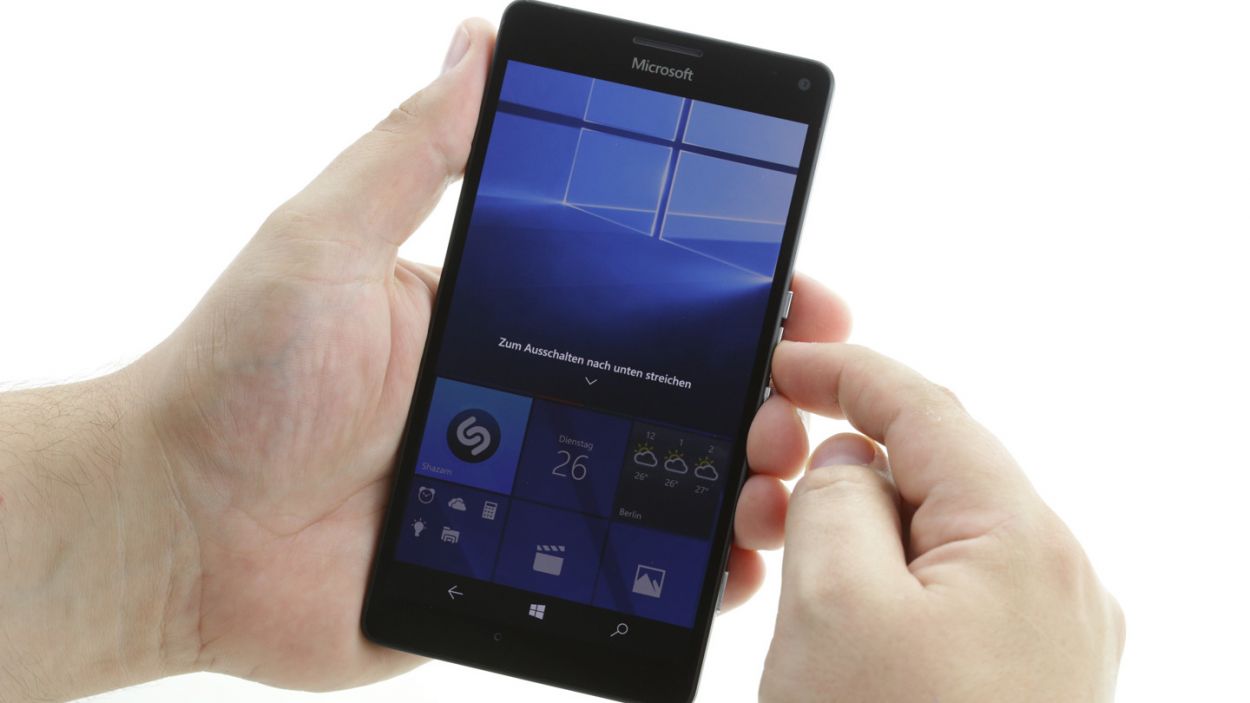
– Press and hold the power button on the right side of your device until the ‘slide down to power off’ message appears.
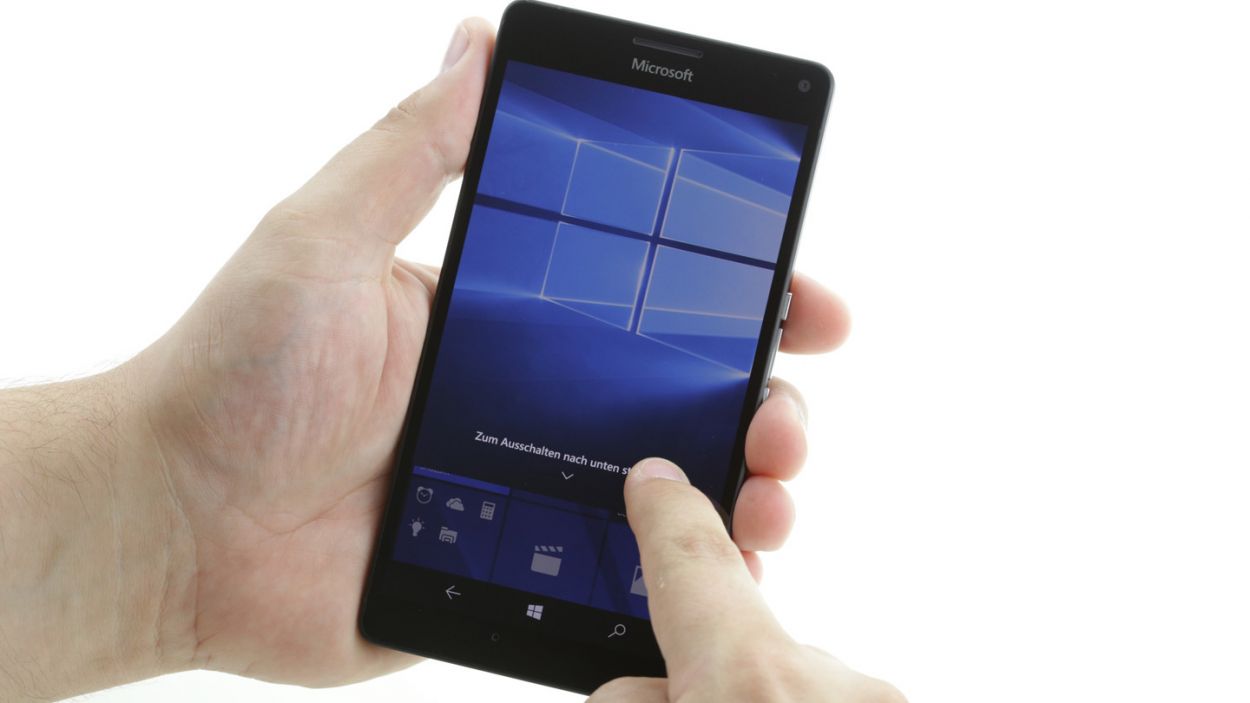
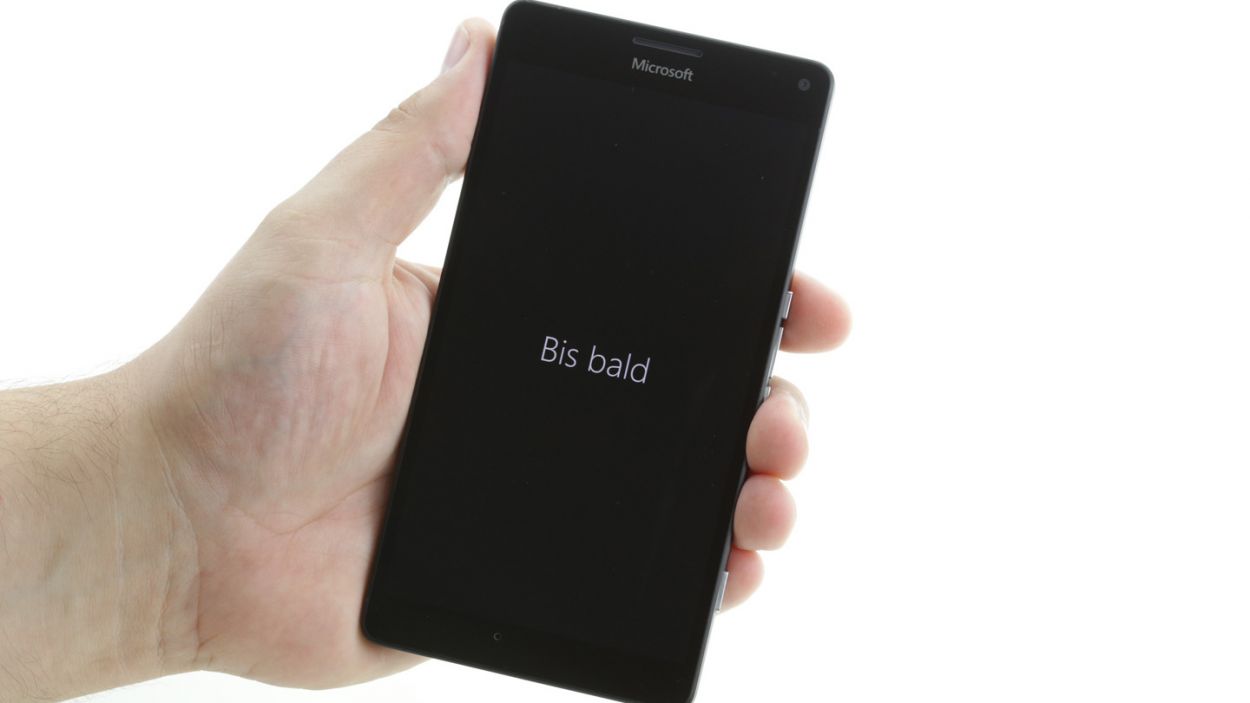
– Slide your finger down on the touchscreen from the top of the screen until the ‘goodbye’ message appears and your device is shut down.
Step 2

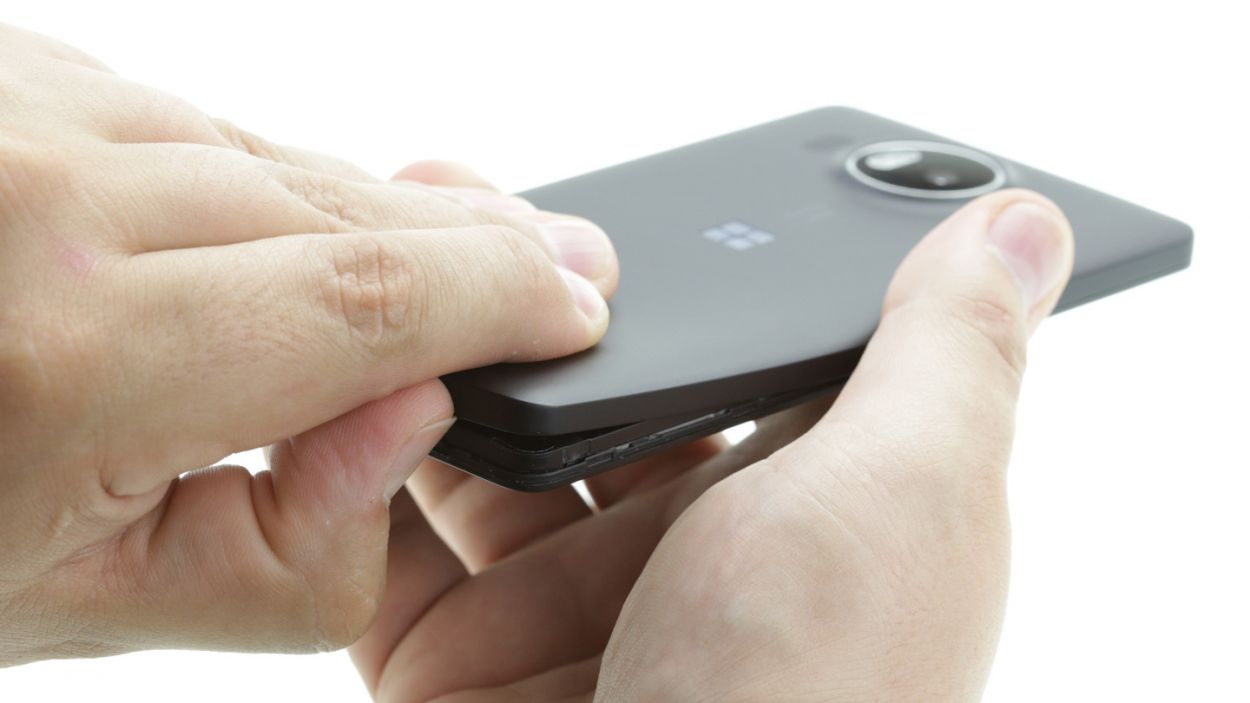

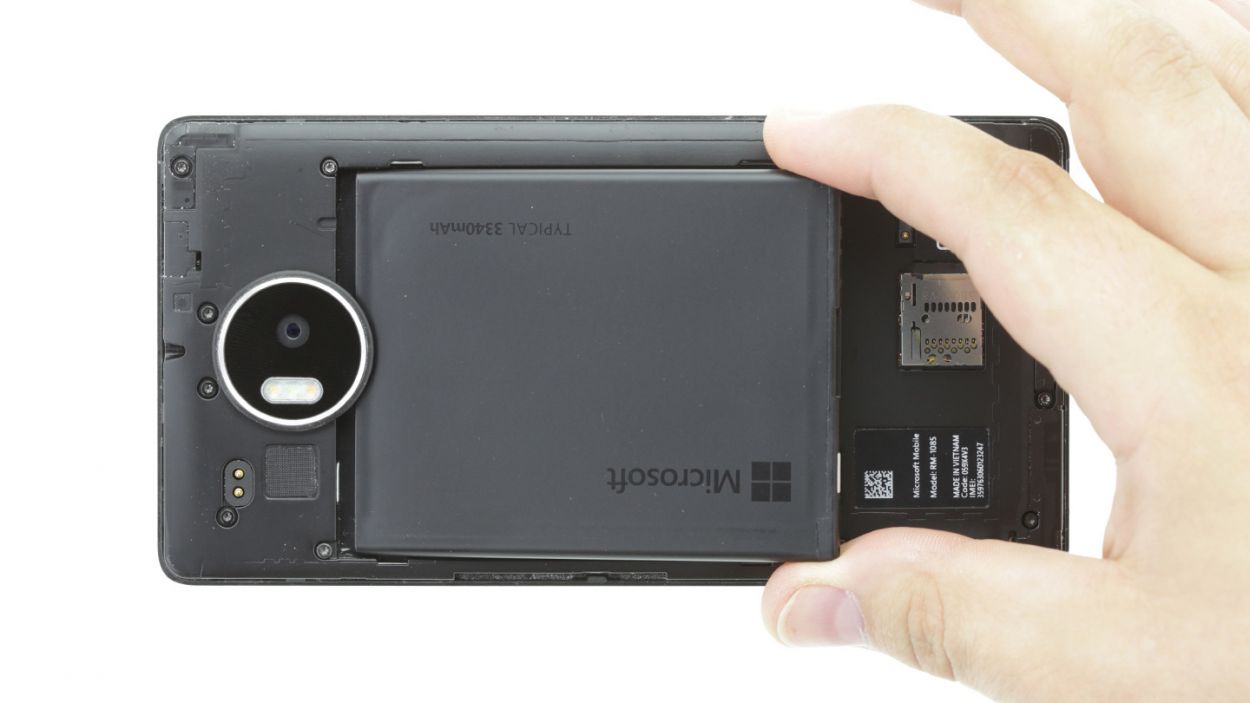
– Gently pry off the back cover from the enclosure frame. There’s a nifty little slot at the bottom just waiting for your fingernail or a handy tool to slide in.
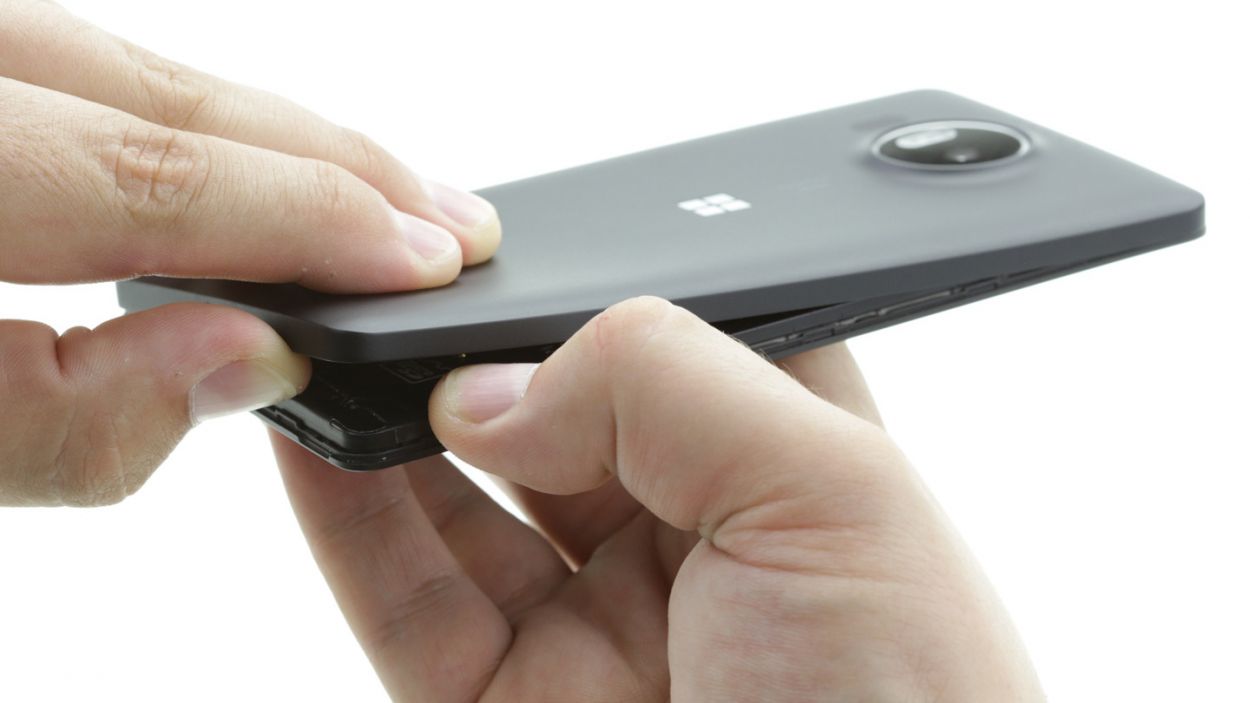
– Take your time and carefully detach the back cover from your device.
– Now, go ahead and lift the back cover off your device like a pro!
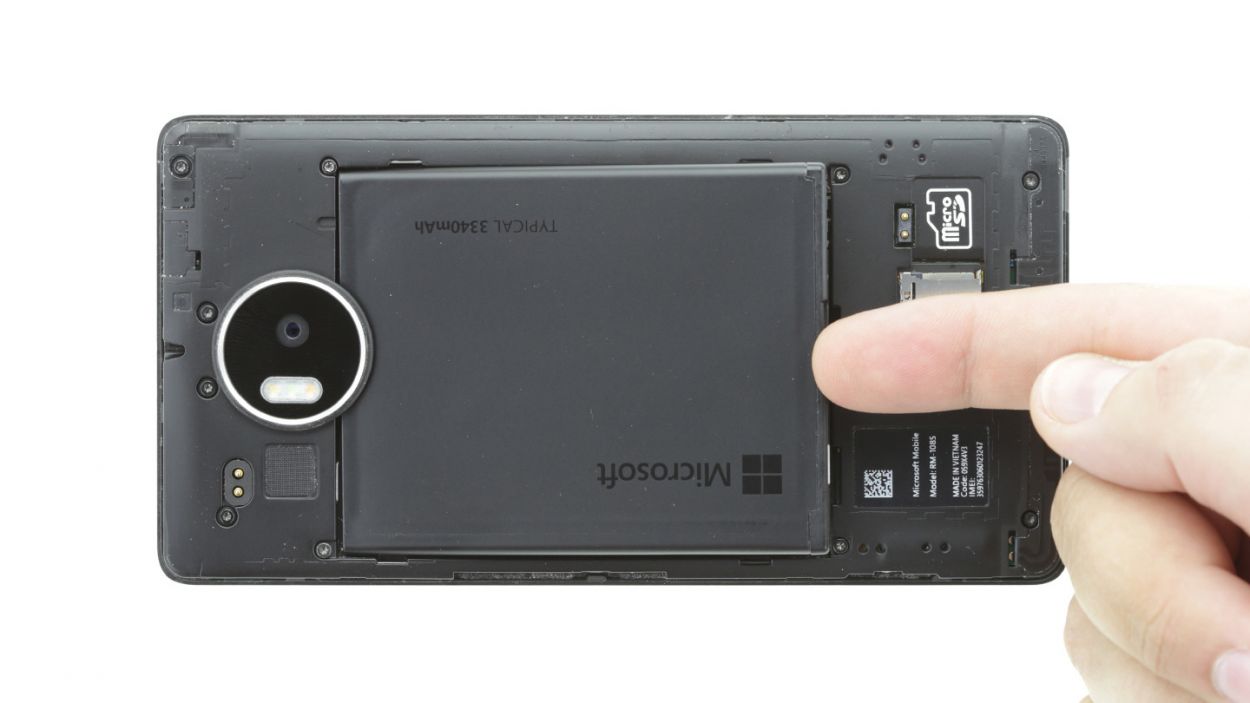
Step 4
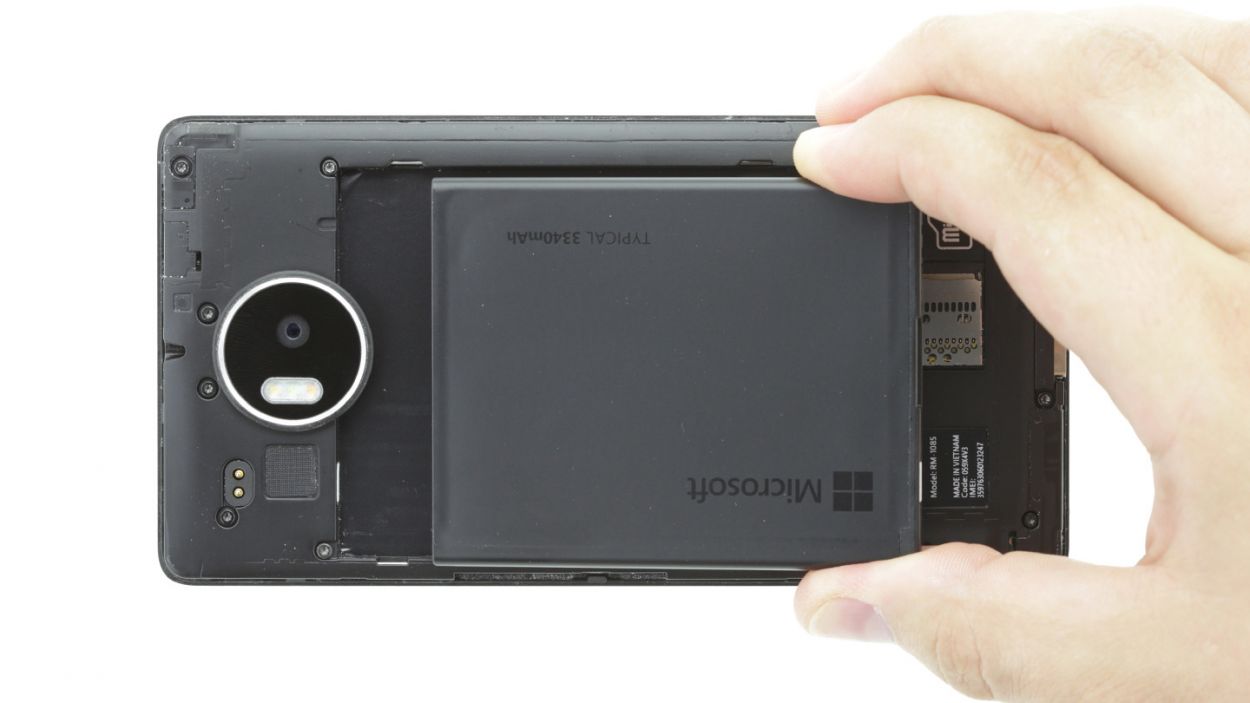
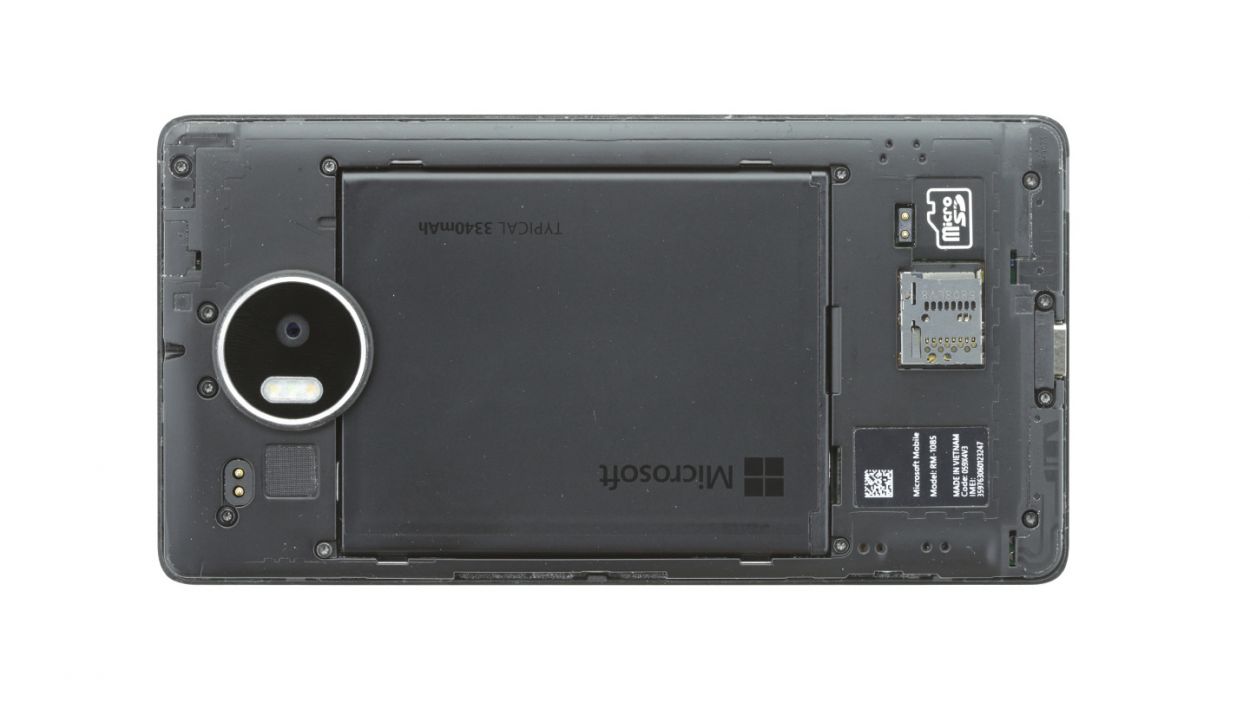
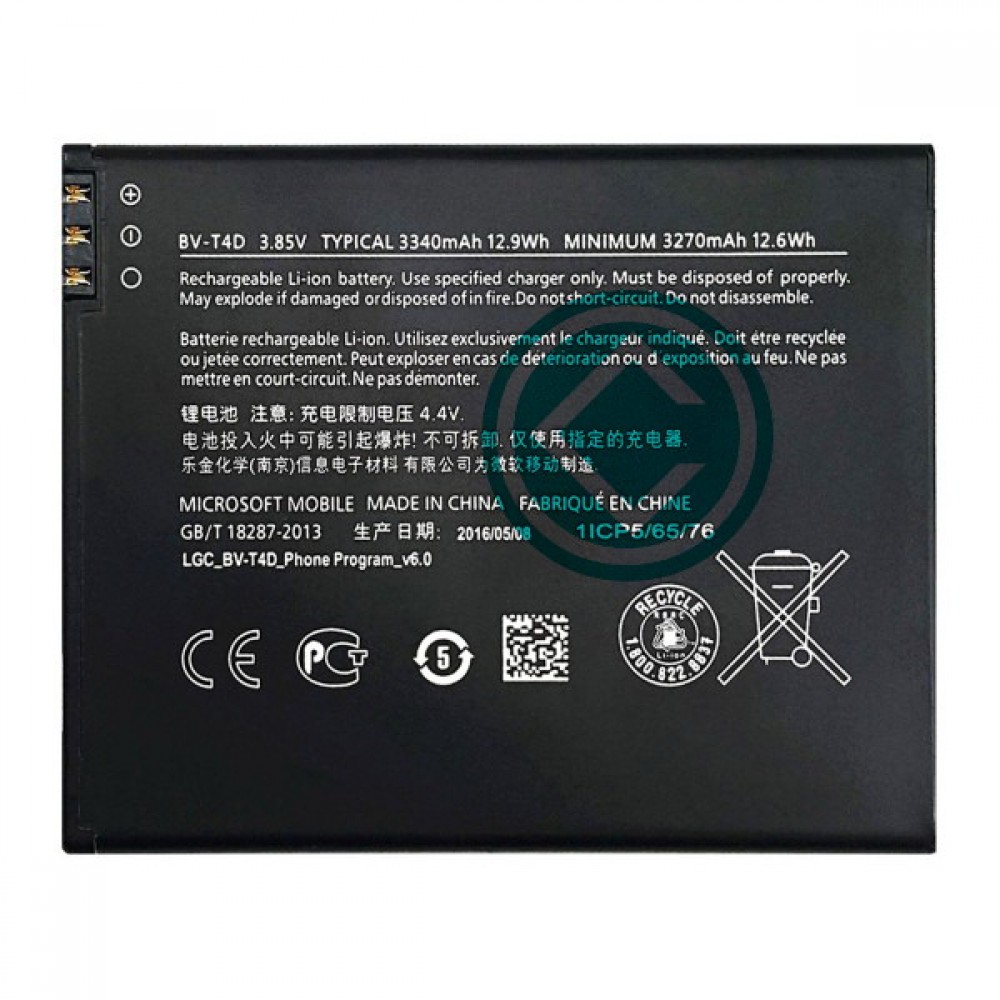
– Time to pop that battery back into your device! You’ll notice three parallel slots at the bottom of the battery. Make sure those little gold contacts line up perfectly with the three slots in your device.
– Once you’ve got the battery in the right spot, it should sit nice and flush with the enclosure. You’re doing great!
Step 5
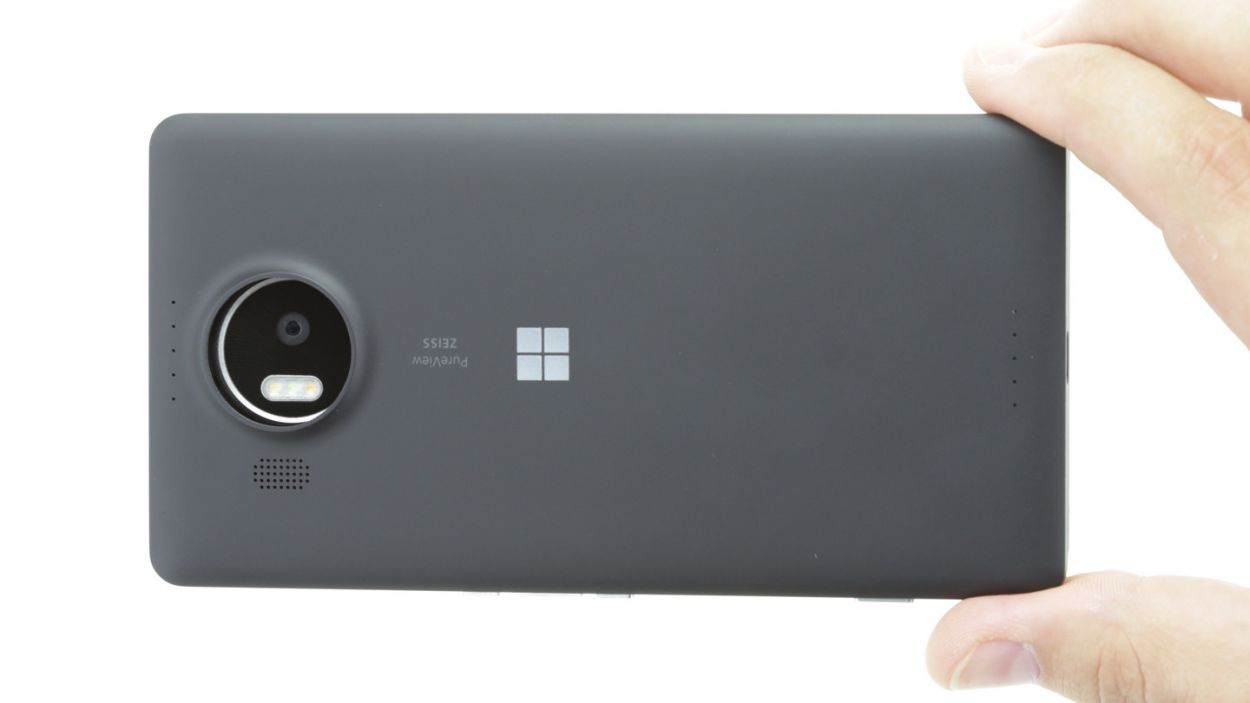
– Put the back cover back on.
– Use your finger to press it onto the entire frame so all the clips on the back cover click into place on the enclosure.