DIY Guide to Replace Battery in Samsung Galaxy S21 5G
Duration: 75 min.
Steps: 31 Steps
Remember, once you crack open your device, the special IP certification (shield against dust and water sneakiness) might decide to take a vacation.
Is your Galaxy S21 5G battery giving up the ghost faster than a week-old donut? Don’t sweat it! This step-by-step guide will show you how to swap in a fresh battery. If your manufacturer’s warranty is long gone, it’s time for a DIY battery boost. Let’s get this show on the road! If you need a hand, you can always schedule a repair
Step 1

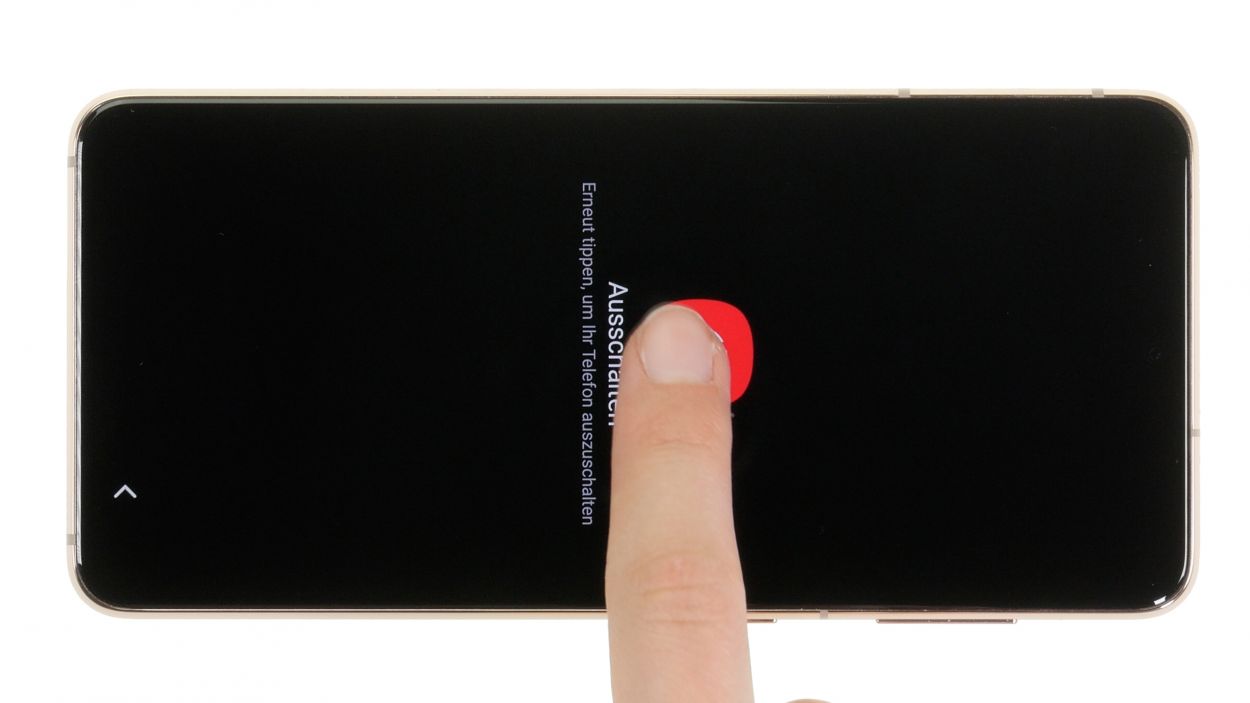
Before diving into the repair, give our checklist a whirl to test the basic functions of your Galaxy S21 5G. This way, you can celebrate your success later by checking if everything’s working like a charm!
– Hold down the side button and volume down button together for a few seconds.
– In the menu that pops up, tap Power off and confirm with your unlock code.
Step 2

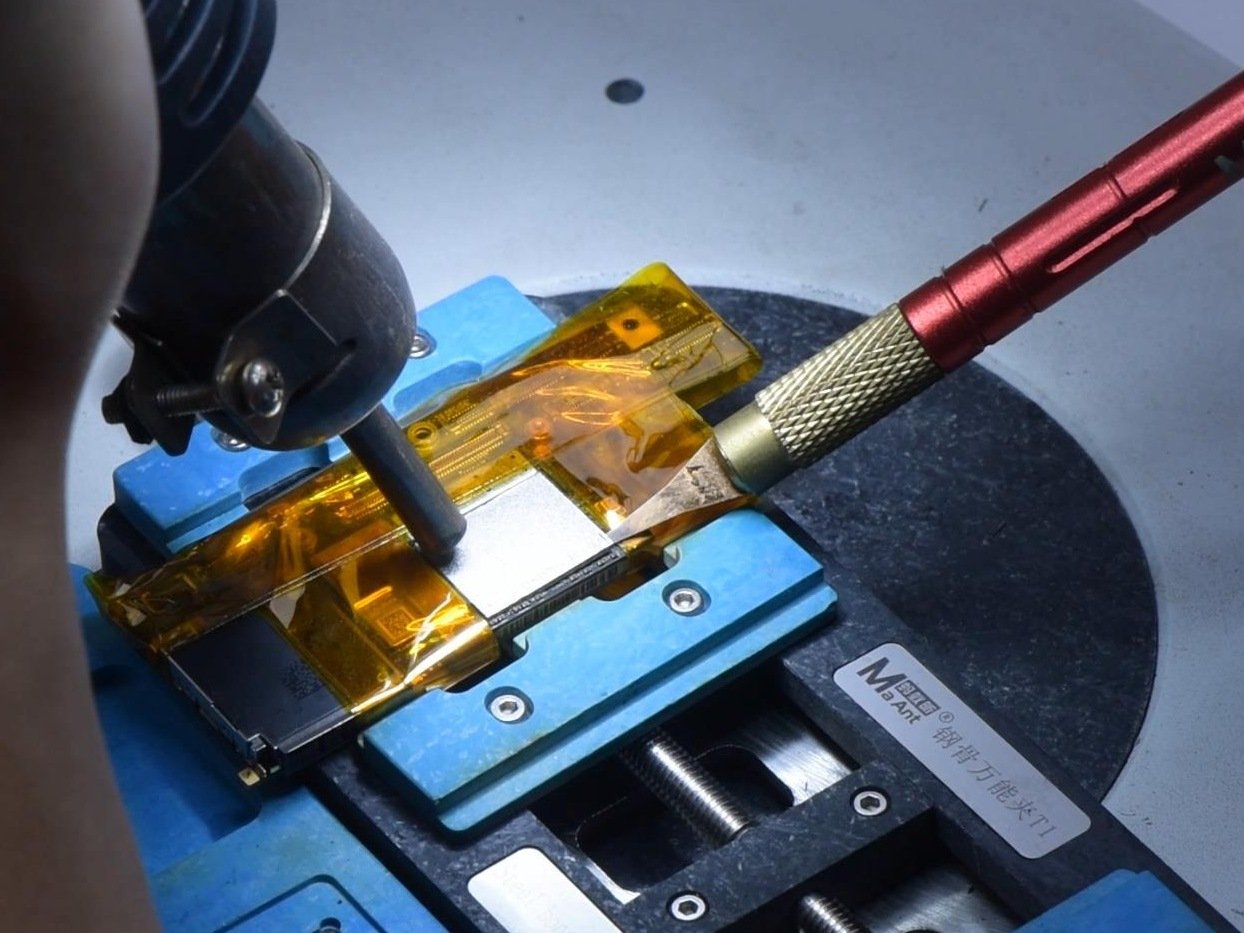
Watch out for those hot fingers! Heat the back cover just enough so it’s warm to the touch, but not too hot to handle.
The back cover is glued on tight, so let’s give it some heat love first. Grab a heat gun or a hair dryer and warm up the edges. If you need help, you can always schedule a repair
– Warm up the edge of the back cover by gliding the hot air device evenly over it.
Tools Used
- heat gun to heat parts that are glued on so they’re easier to remove.
In most cases, you can also use a hairdryer.” rel=”noopener”>Heat gun
Step 3
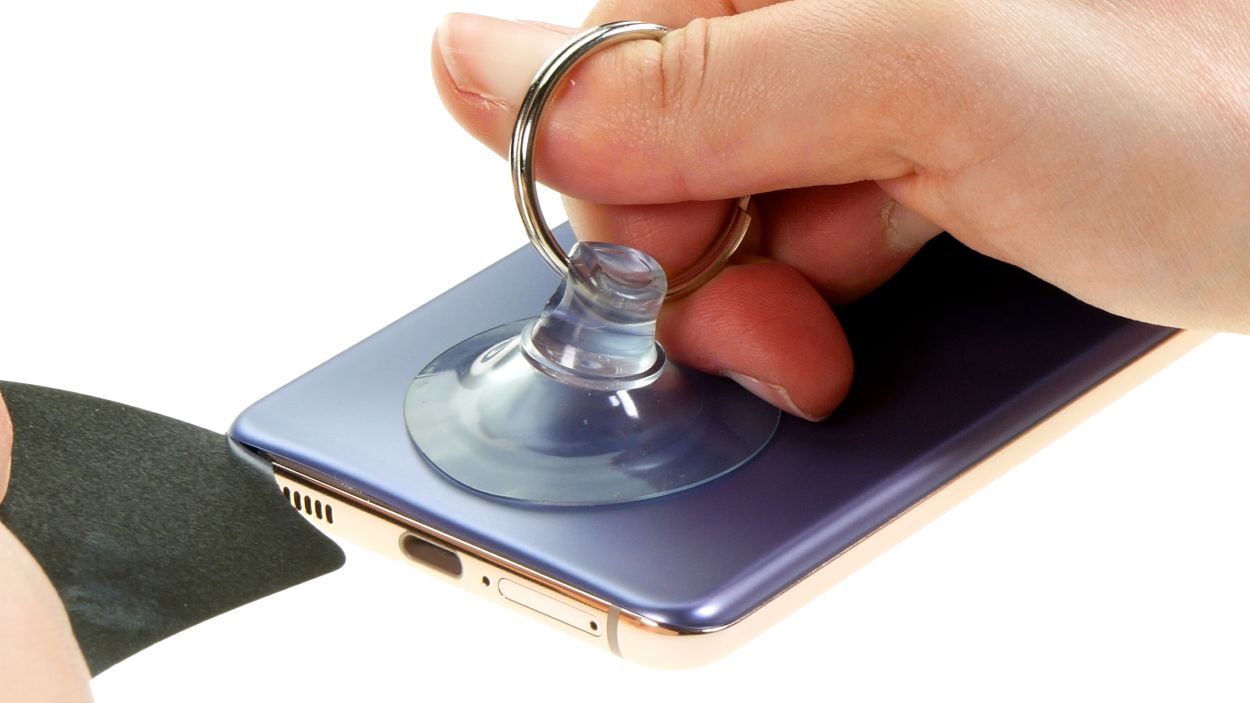
To make a snug little space between the back cover and the display unit, grab a flat and stable tool. The iFlex is a solid choice here, thanks to its sharp edges that slide in like a charm!
– Stick a funky suction cup on the lower edge of the back cover and give it a fun little tug upwards. Slide in the iFlex between the display unit and the back cover with a groovy twist.
Tools Used
- screen and the frame. The practical iFlex is made of stainless steel and sits comfortably in the hand. This makes it the perfect assistant for every smartphone repair.” rel=”noopener”>iFlex Opening Tool
- VAKUPLASTIC Suction Cup
Step 4


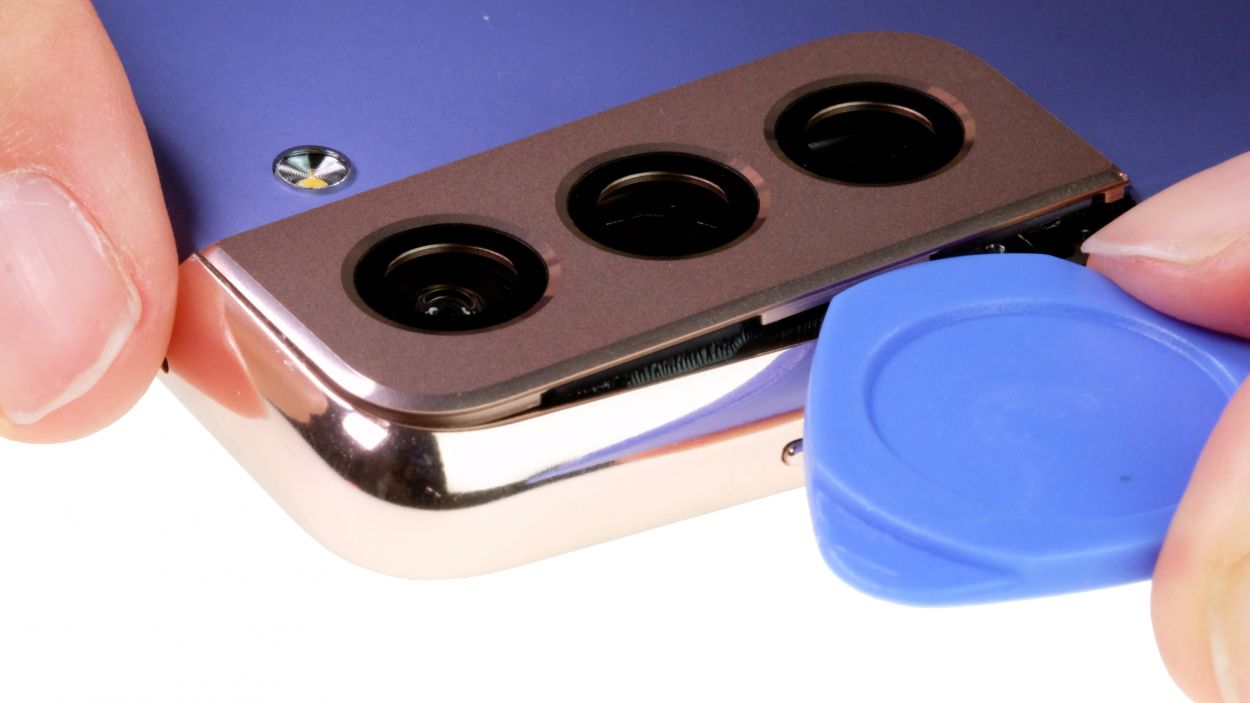
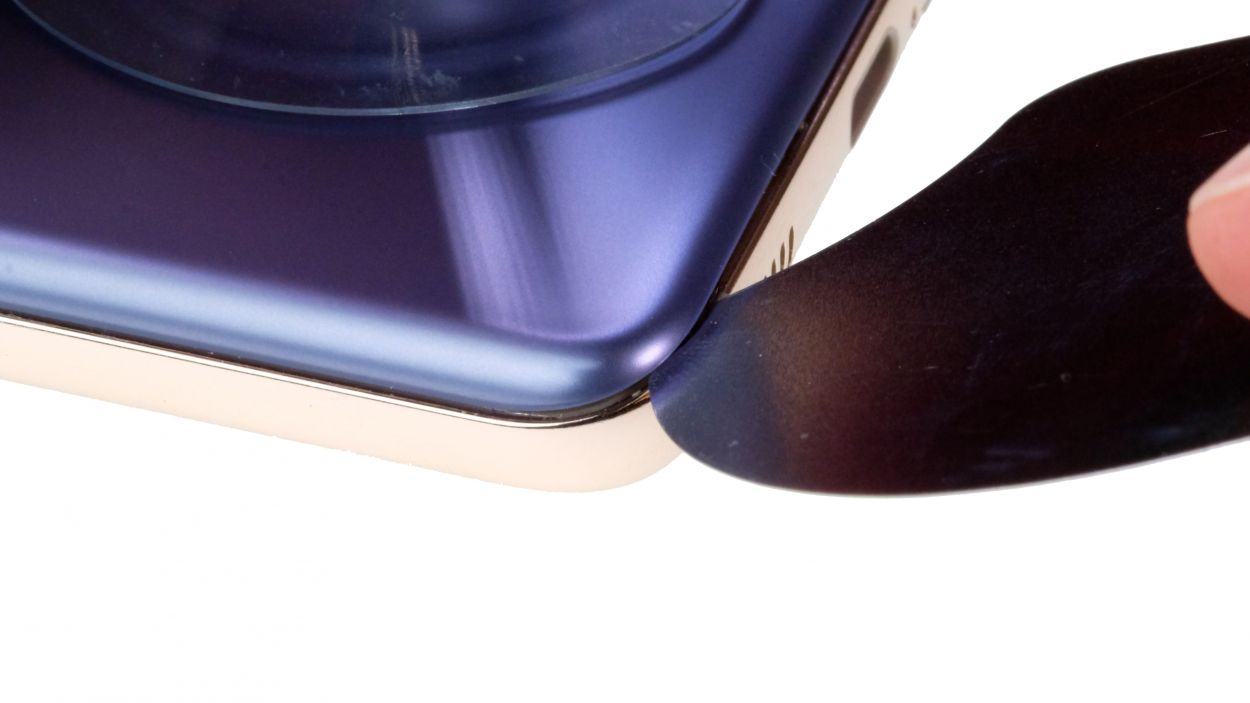
– Let’s get this party started! Gently work your tool around the back cover’s edge, loosening it bit by bit.
– Slide those flat picks under the cover at even spaces—we don’t want that glue sneaking back in!
Hey there! Just a friendly heads-up—when you’re diving into the depths of your device, keep your tool on a short leash. The hard plastic pick is a superstar for this mission, thanks to its design that prevents any deep dives into the camera module. Let’s keep that precious camera safe!
To keep your case looking sharp and avoid any nicks from the iFlex’s edges, it’s best to switch to a plastic buddy like the iPlastix as soon as you can. Your phone will thank you!
Tools Used
- heat gun to heat parts that are glued on so they’re easier to remove.
In most cases, you can also use a hairdryer.” rel=”noopener”>Heat gun - Pick Set
- Flat Picks
- battery? Then the iPlastix with its large blade will help you. The practical assistant is made of flexible, especially sturdy plastic and lies comfortably in the hand. Thanks to its design, you can even get into smaller gaps, for example to lift the screen or to prevent it from sticking together again.” rel=”noopener”>iPlastix Opening Tool
- VAKUPLASTIC Suction Cup
Step 5
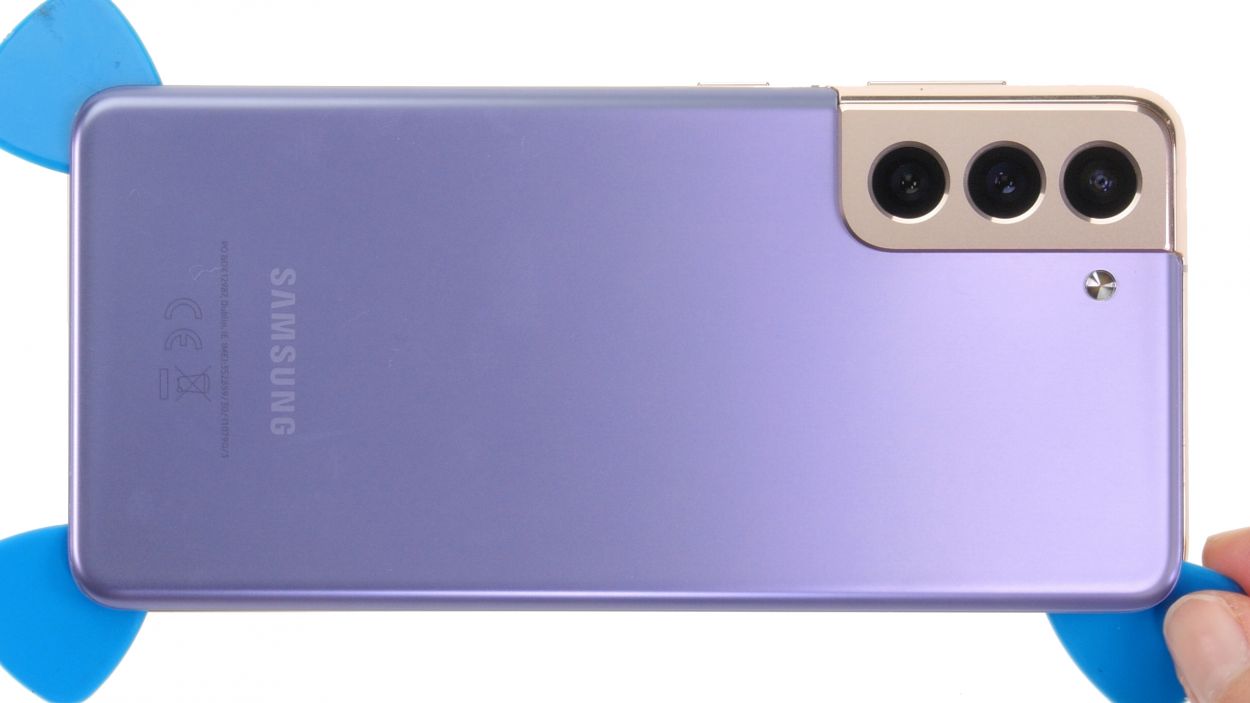
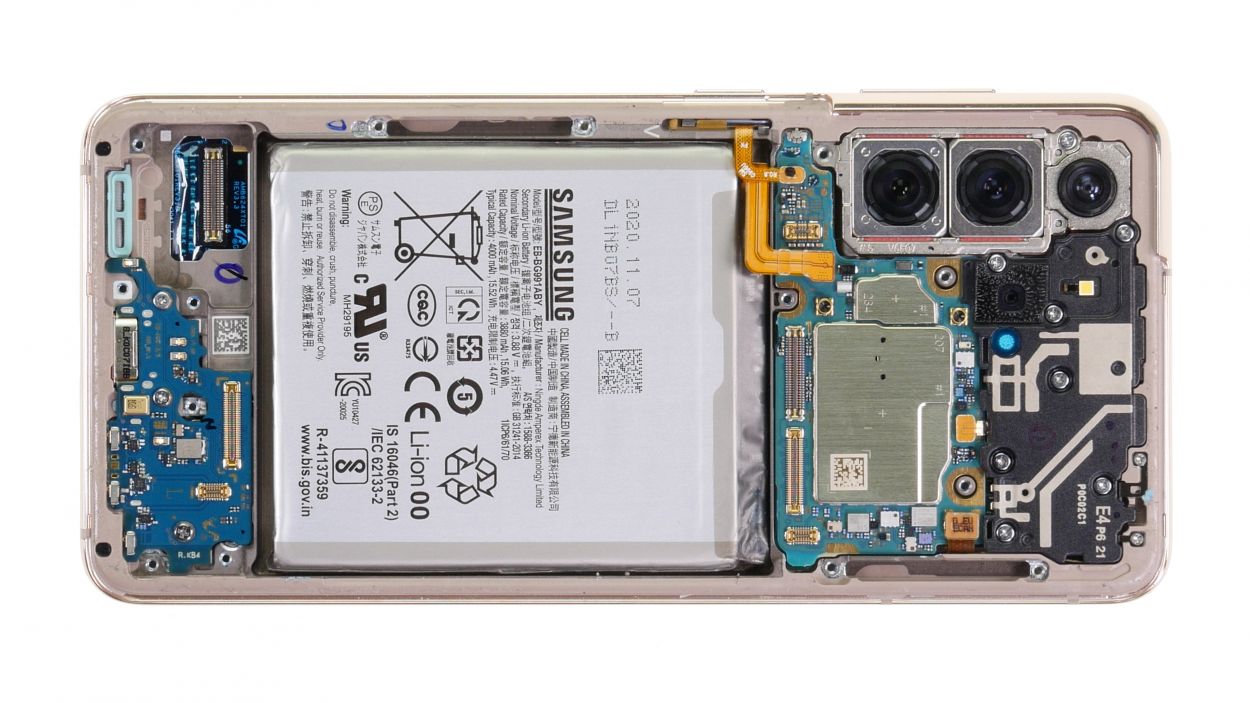
– Once you’ve successfully popped off that back cover, make sure to take out all those plastic picks first—let’s clear the stage!
– Now, fold everything up neatly and place it to the side like a pro.
Step 6
5 × 4.9 mm Phillips
Keep your screws organized and avoid the dreaded screw mix-up! A trusty old sewing box can do the trick, or better yet, use our nifty magnetic pad to ensure everything stays put and nothing goes rogue.
– Loosen up those five Phillips screws holding the charging coil cover like you’re unburdening a backpack full of rocks.
– Then, be sure to place them on your magnetic pad, providing a cozy home for your tiny metal friends.
Step 7

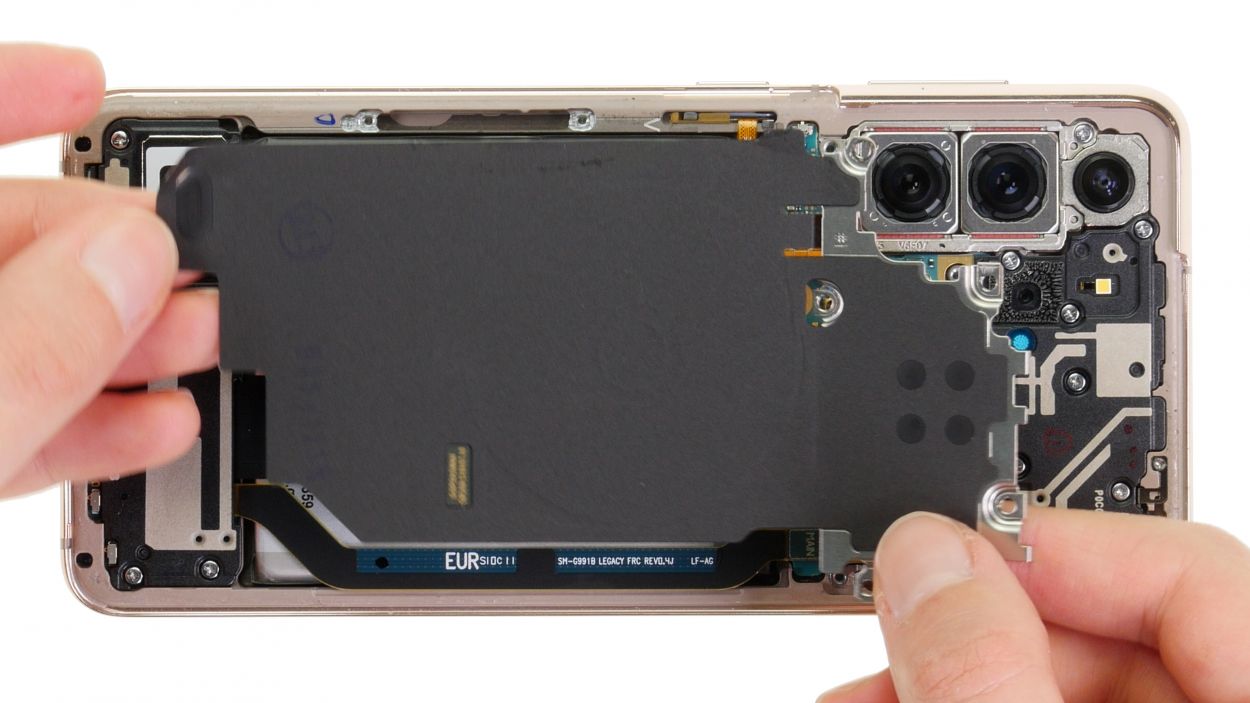
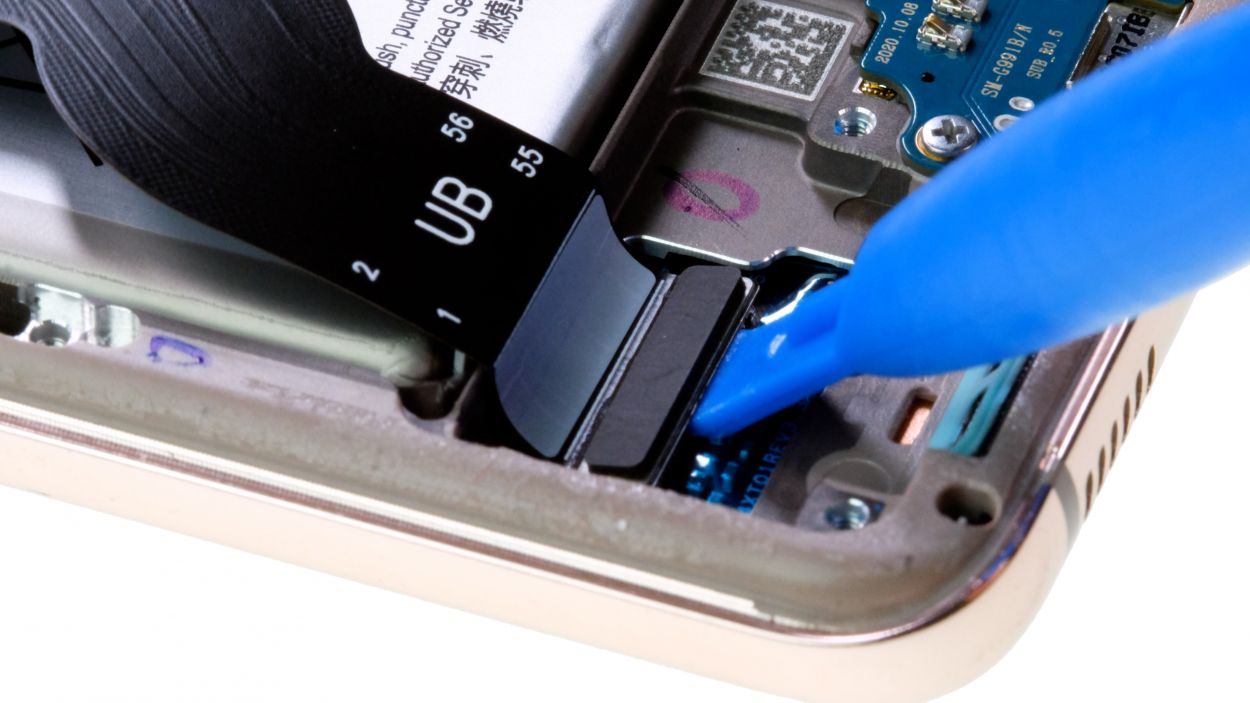
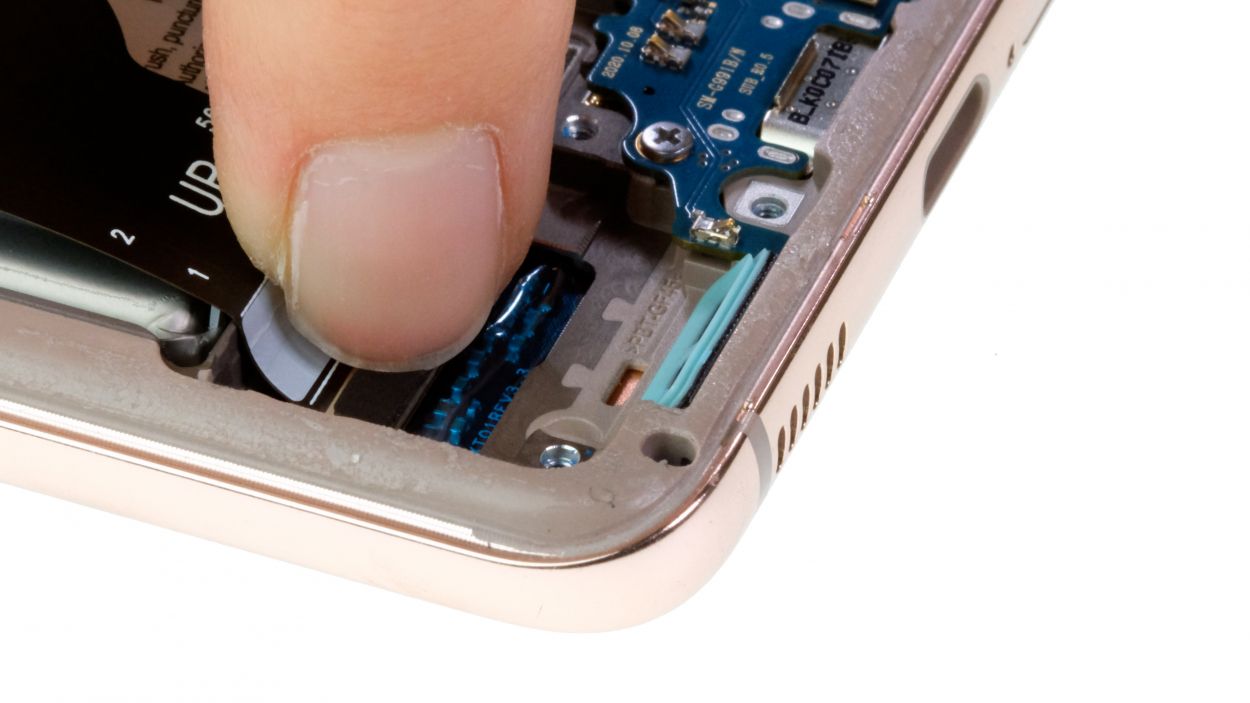
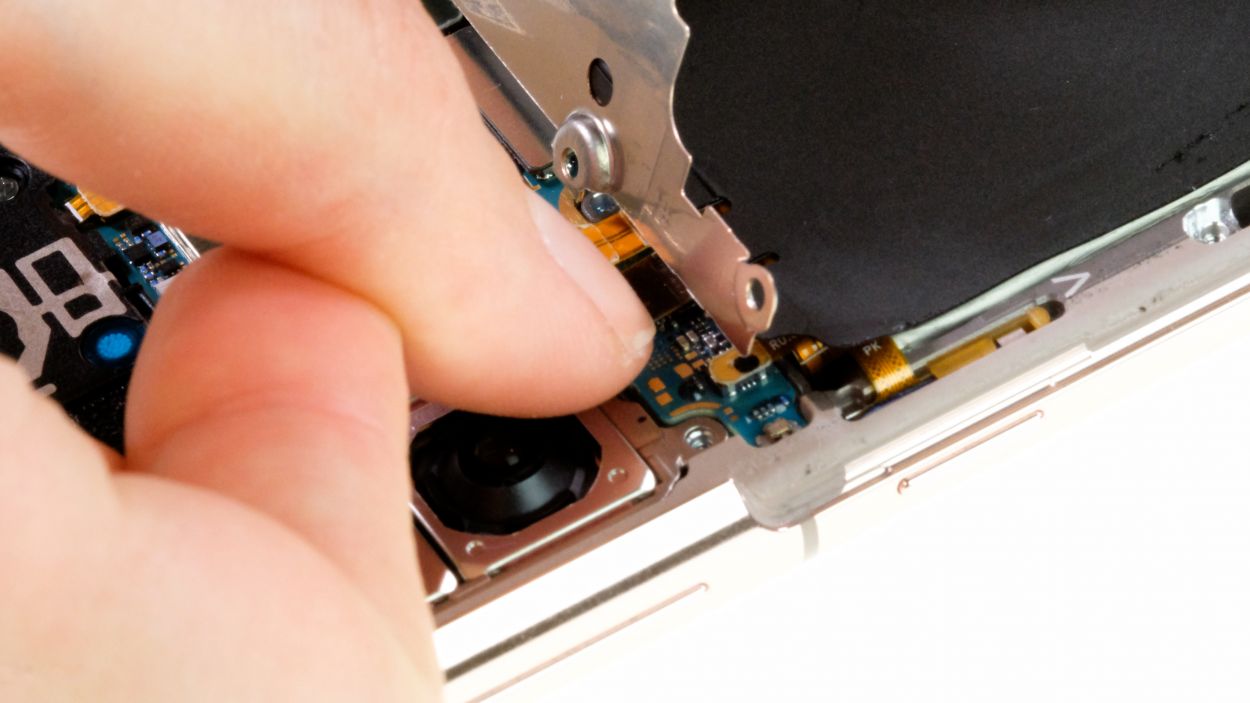
Be sure to disconnect the battery connector pronto! It’s the best way to keep any sneaky short circuits at bay.
– Gently lift the metal cover of the NFC antenna like you’re unveiling a surprise!
– With a steady hand, use a plastic lever tool to carefully pry the orange battery connector from the motherboard. A plastic spudger works wonders for this task!
Tools Used
Step 8

– Next, give that black connector of the charging coil a gentle nudge with your spudger to pop it off the circuit board. Remember, you’re the boss of this repair—take it slow and steady!
Tools Used
Step 9

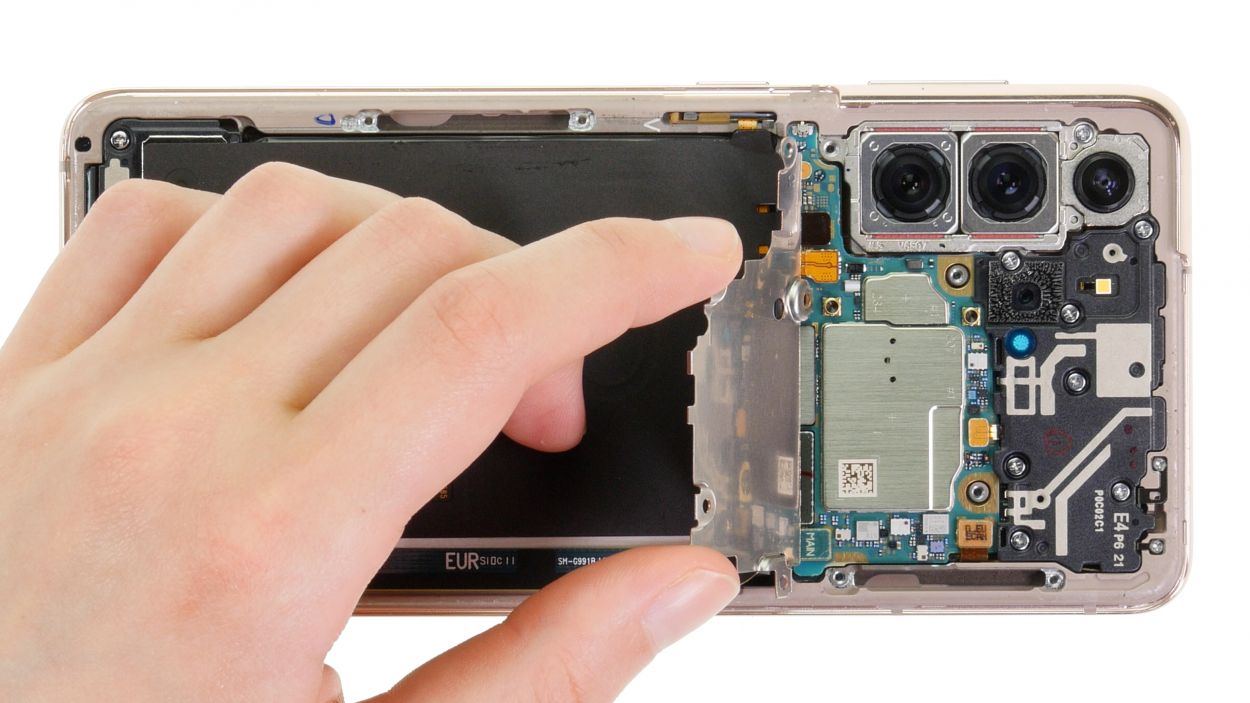
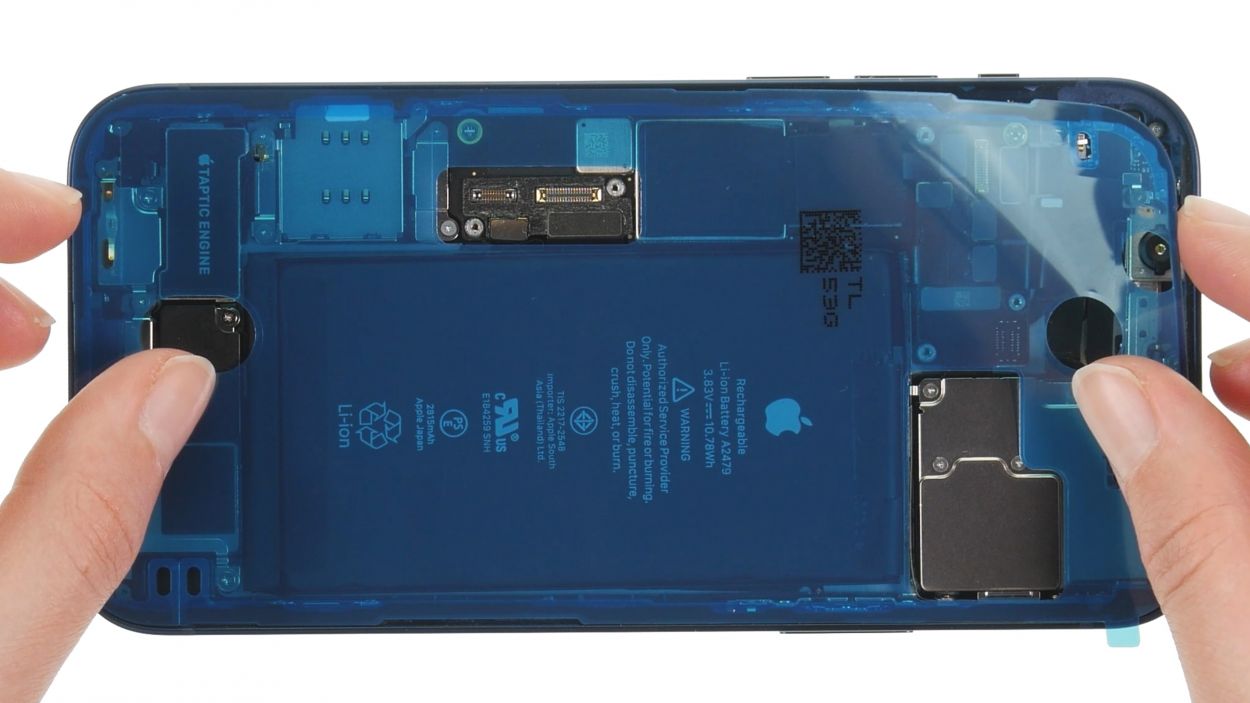
That charging coil is feeling a little sticky on the bottom? No worries, let’s gently persuade it to come loose!
– Once you’ve given those connectors the ol’ heave-ho, gently pull off the charging coil—like taking off a cozy sweater!
Step 10
6 × 4.9 mm Phillips
– Unscrew those six Phillips screws from the speaker module like a pro!
– Then, give them a comfy spot on your magnetic pad to chill out.
Step 11
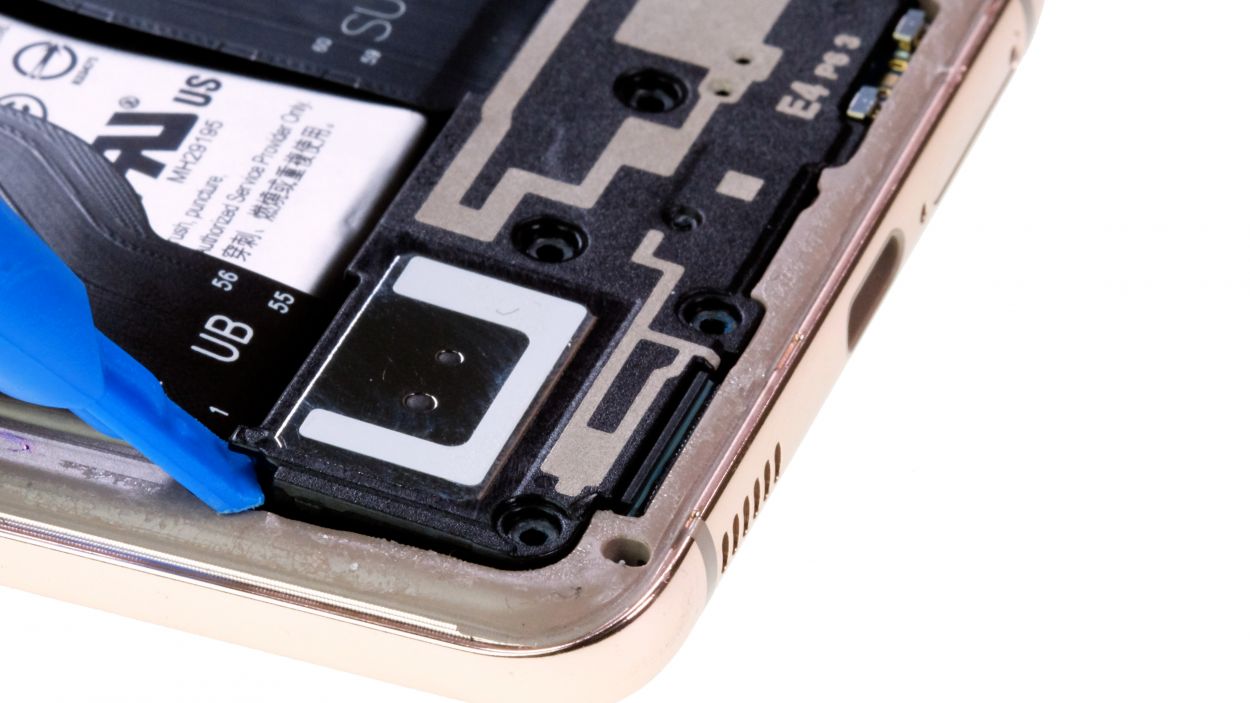
Look out for the nifty little arrow in the upper left corner—it’s your guide that points out exactly where to pop in your tool. Happy repairing!
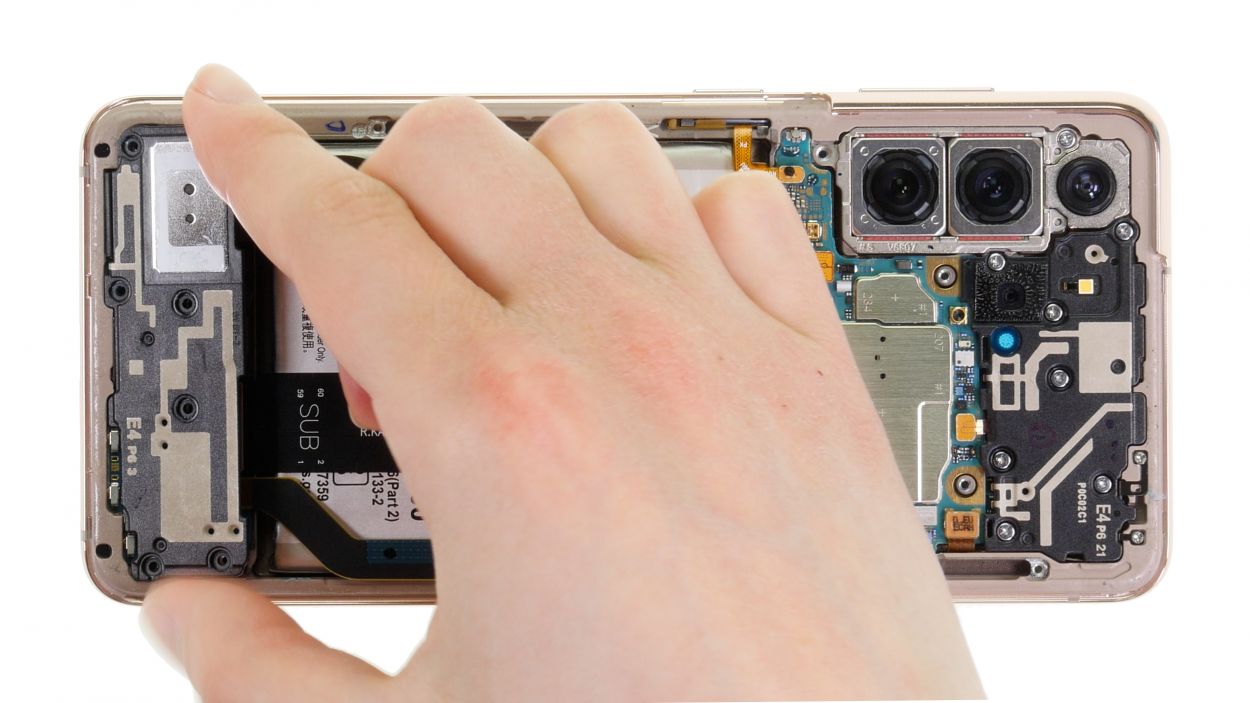
– Gently coax the speaker module out of its cozy little spot and set it aside for now.
Tools Used
Step 12
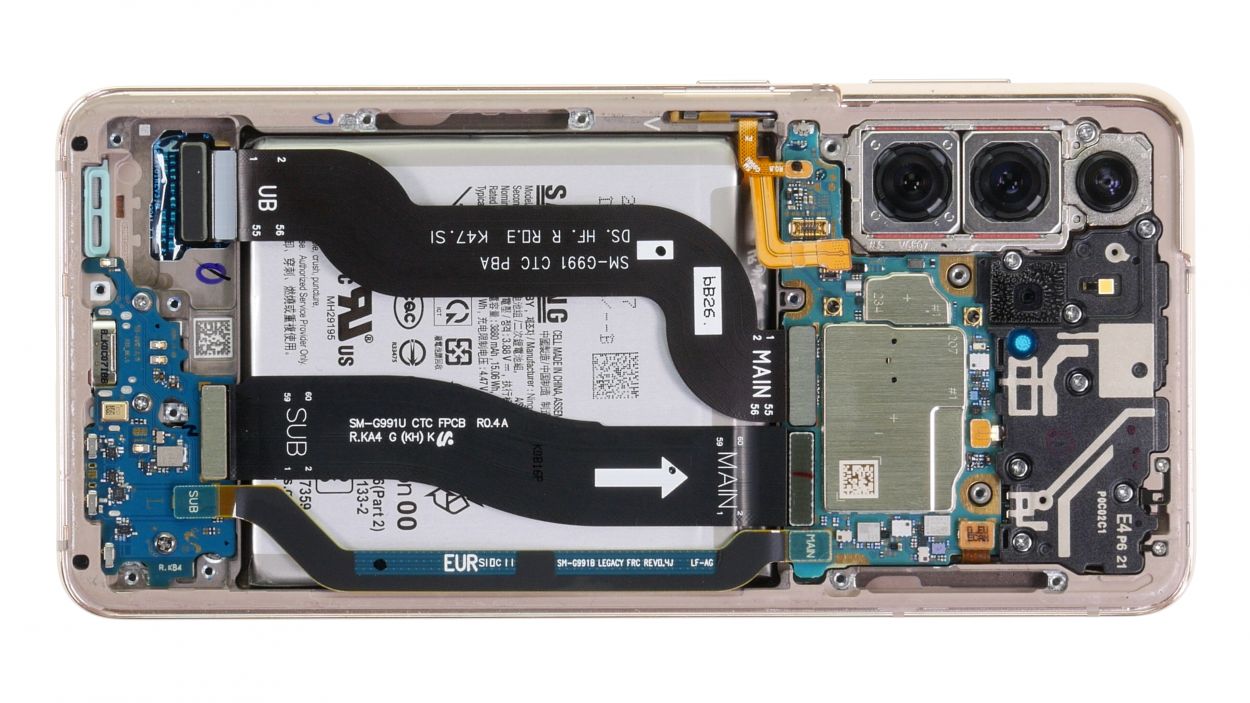
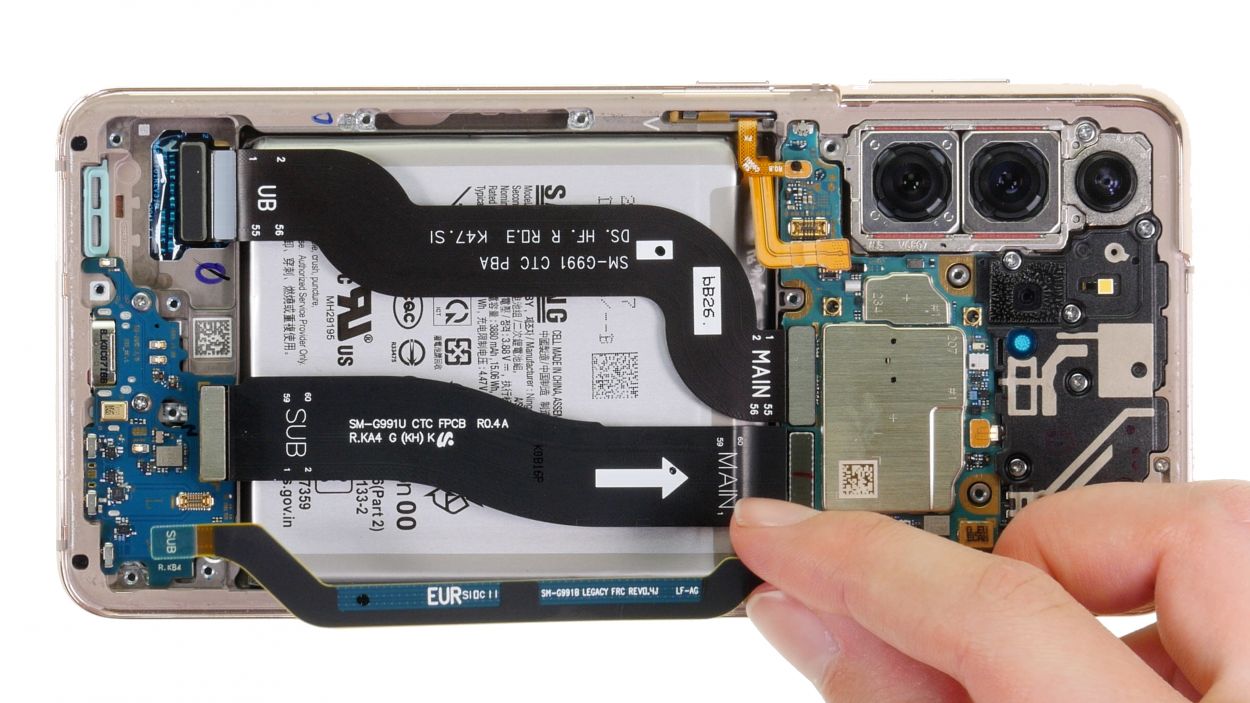

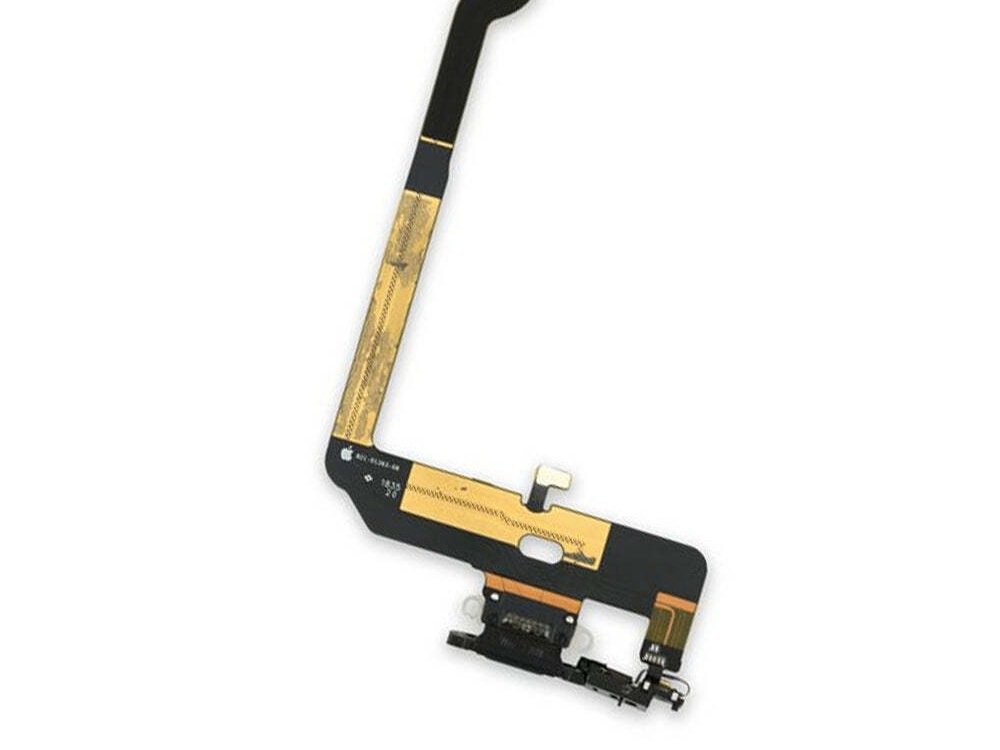
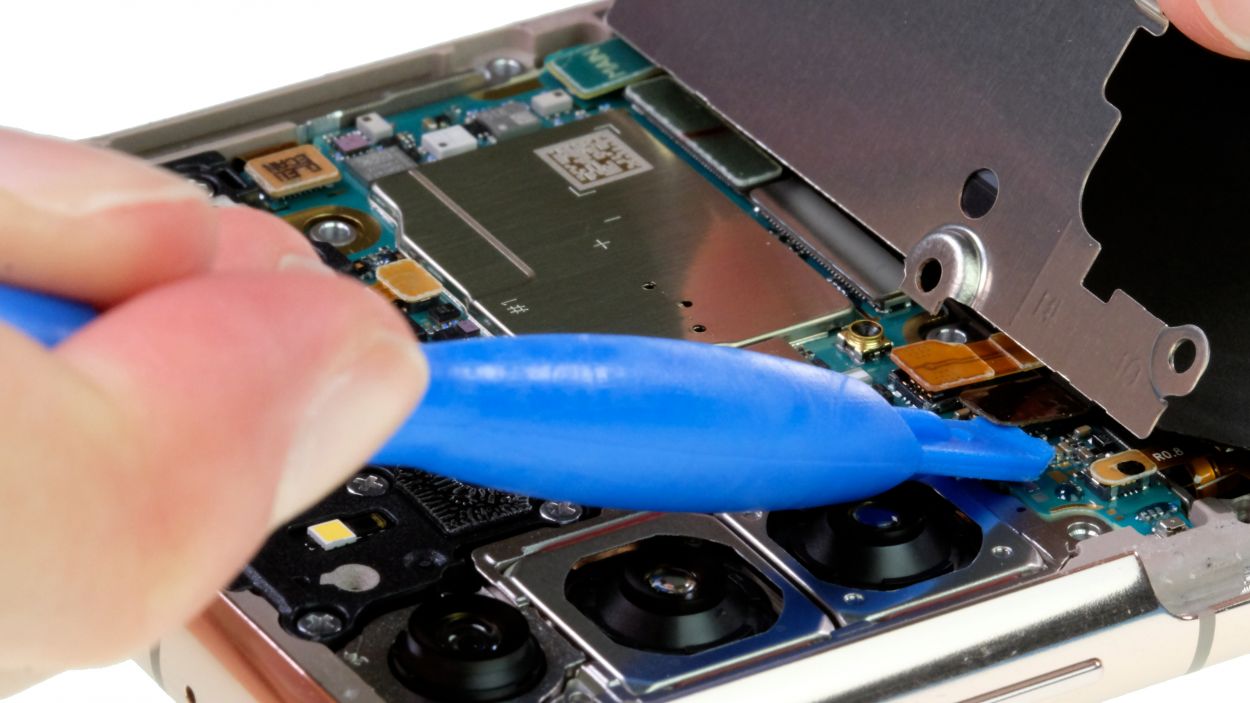
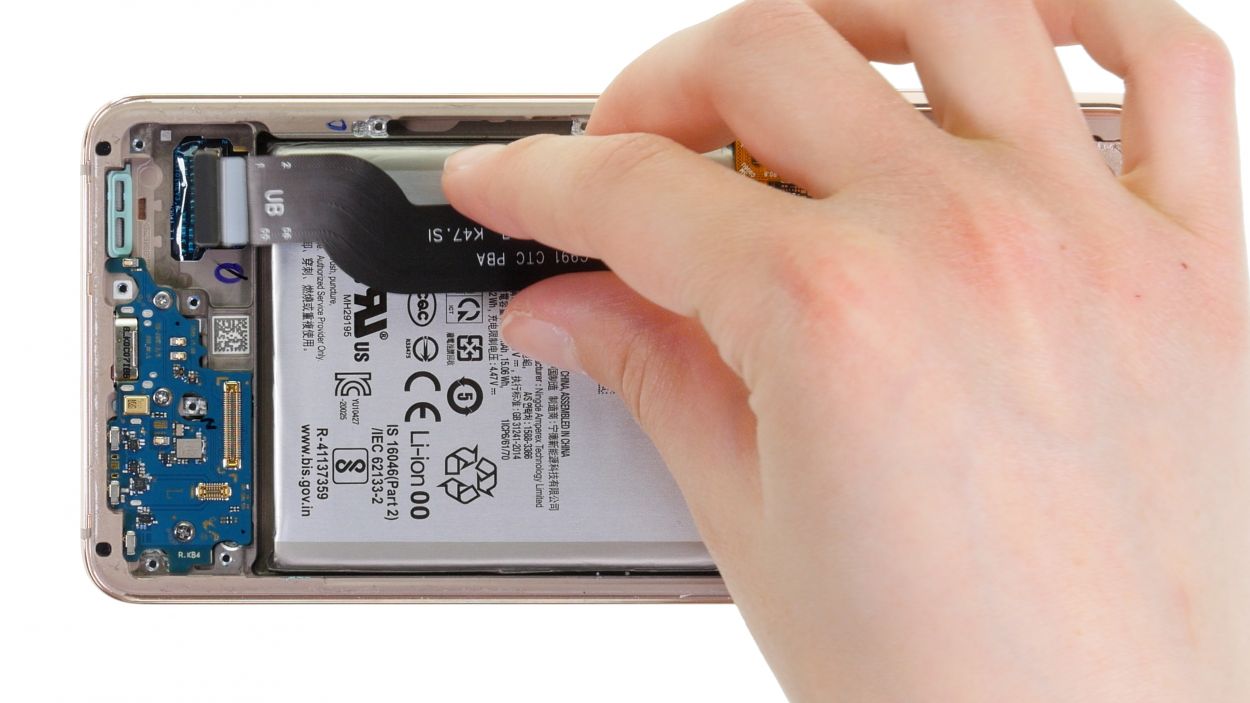
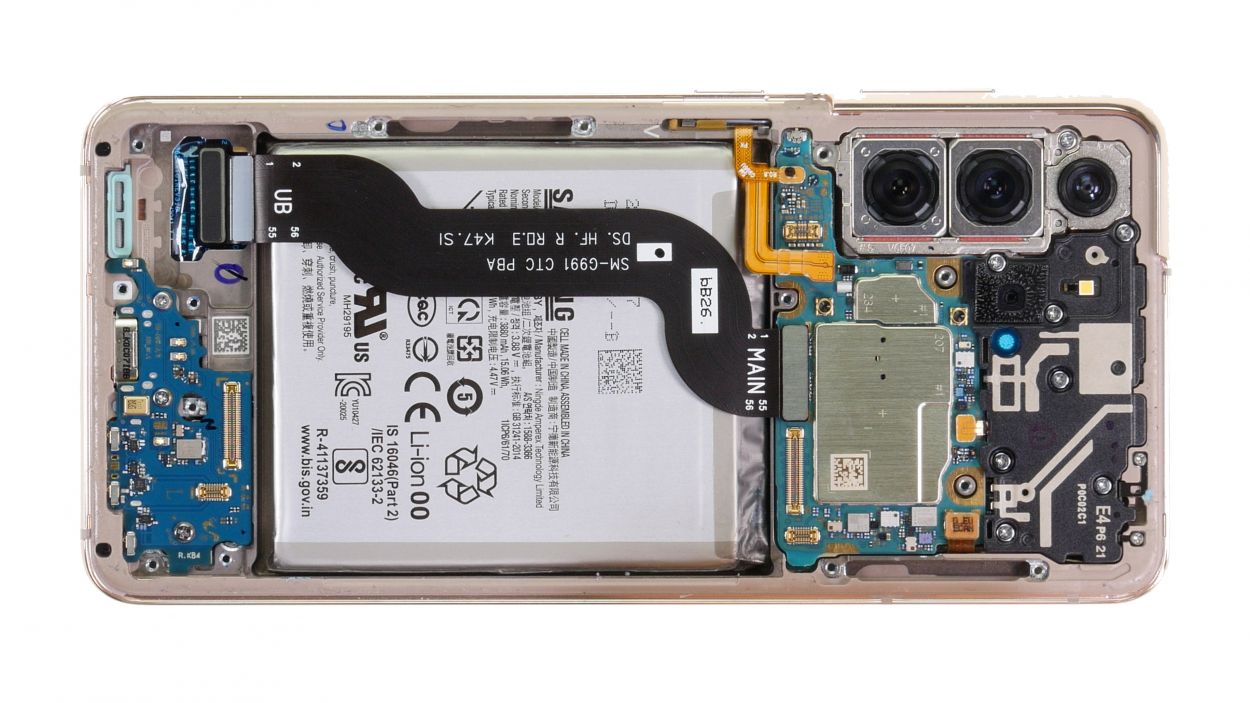
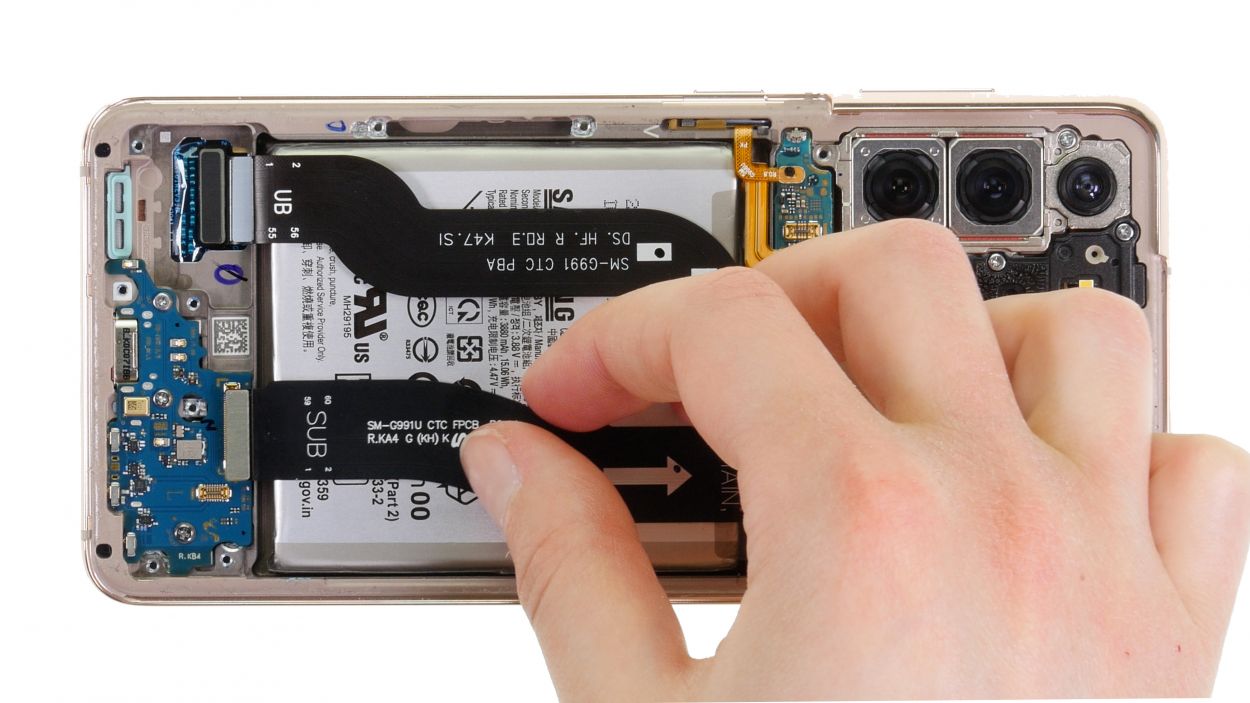
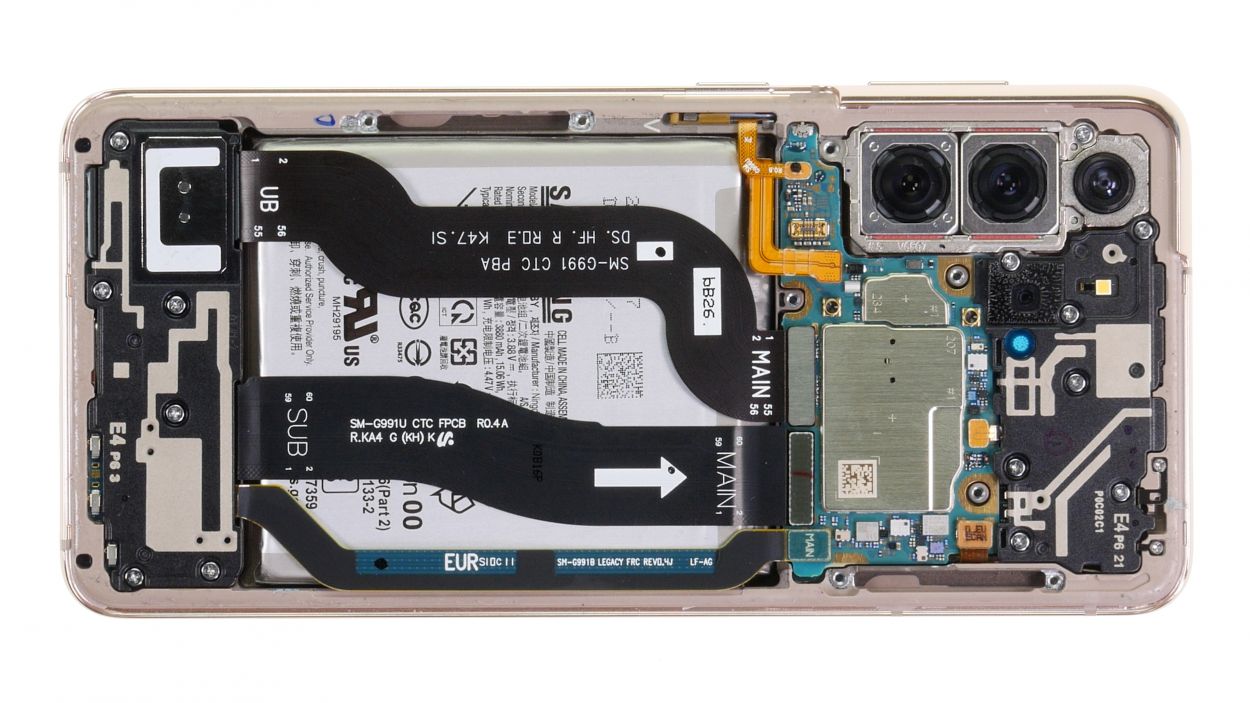
– Unplug the connectors of the two cables from both the USB and the motherboard. It’s like giving them a little break!
– Now, gently pull those cables out of your device and set them aside.
Tools Used
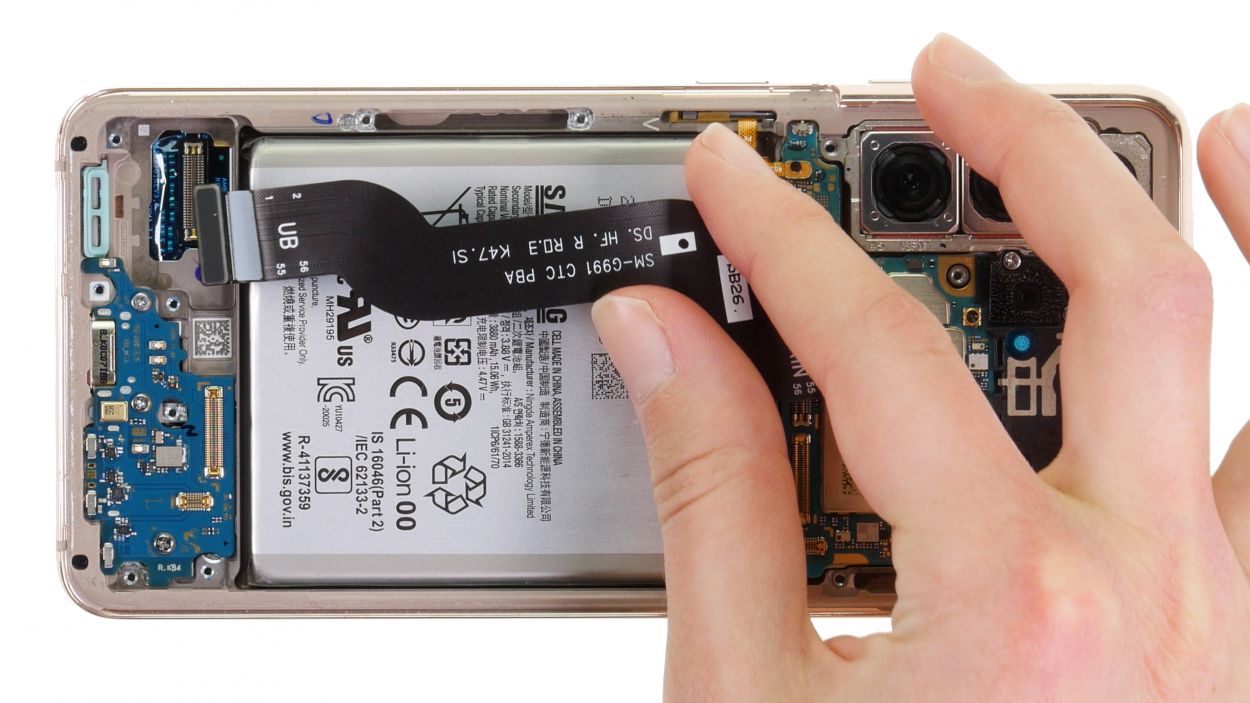
Step 13
To keep your case looking sharp and prevent any scratches on the screen glass, ensure your workspace is tidy and level.
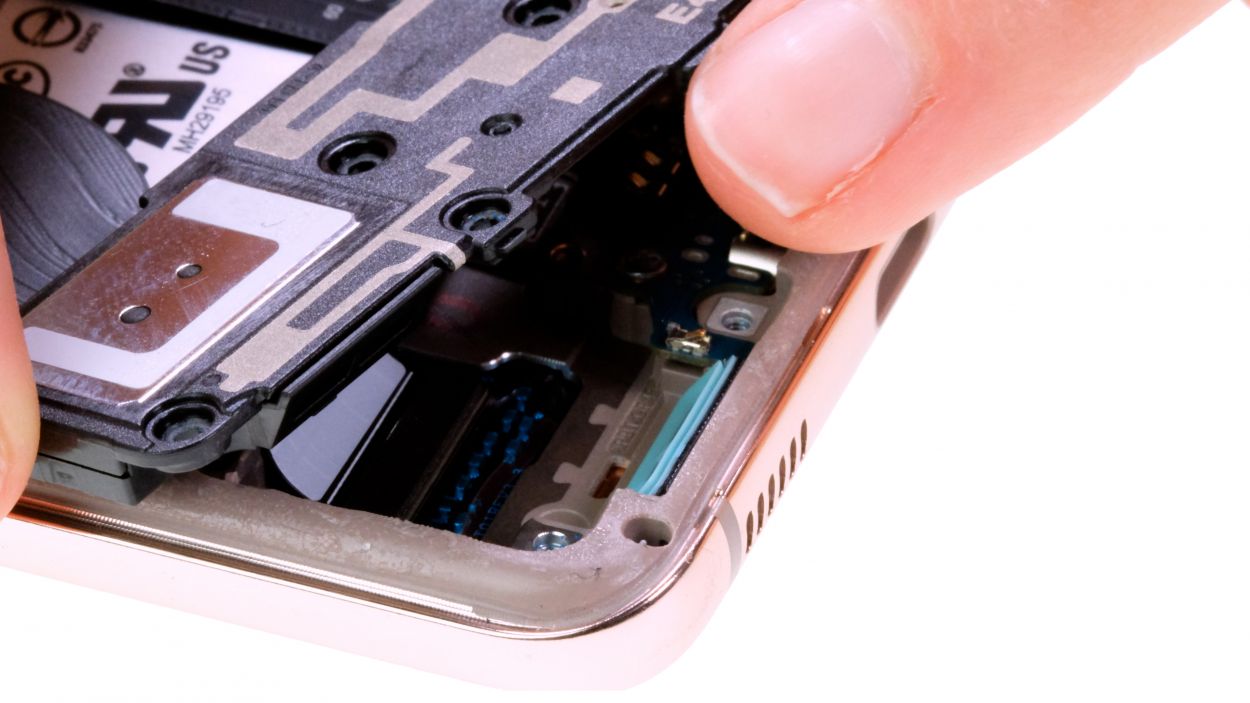
– Use a spudger to gently pop the connectors of the screen cable off the USB and motherboard like you’re giving them a little nudge to say goodbye!
Tools Used
Step 15

Hey there! Let’s keep things cool and groovy—remember, when showing some love to your battery, always heat it gently from the display side. We want that battery feeling the warmth, but not too hot to handle, you dig? If you need some backup, you can always schedule a repair
To make the battery removal process a breeze, let’s show that glued battery some warm love first. Grab your heat gun or hair dryer, and give it a cozy heat-up session. If you need a helping hand, feel free to schedule a repair.
Tools Used
- heat gun to heat parts that are glued on so they’re easier to remove.
In most cases, you can also use a hairdryer.” rel=”noopener”>Heat gun
Step 16
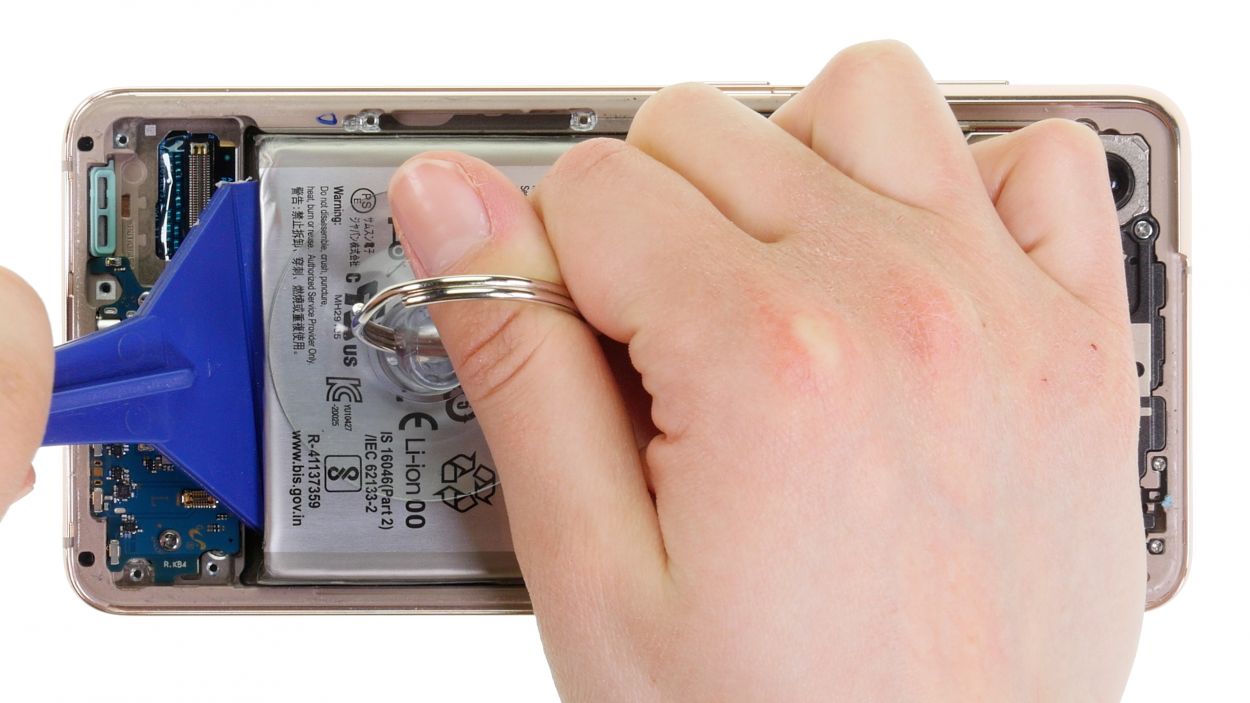
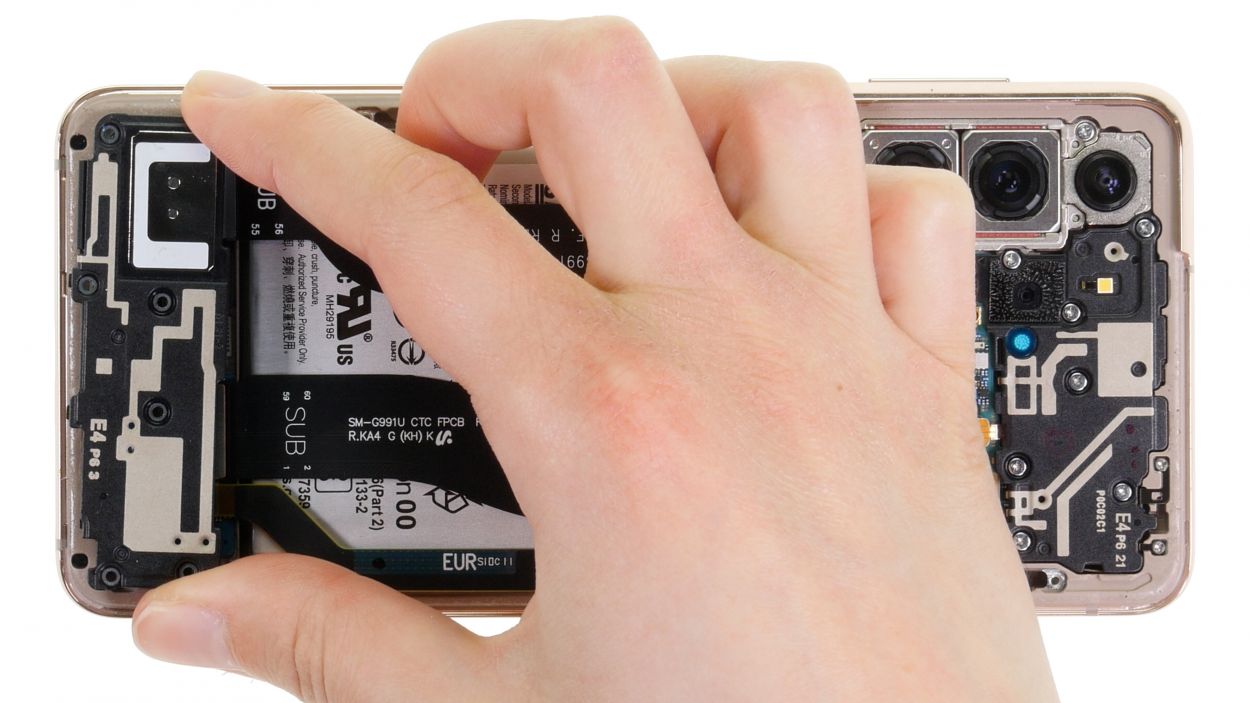
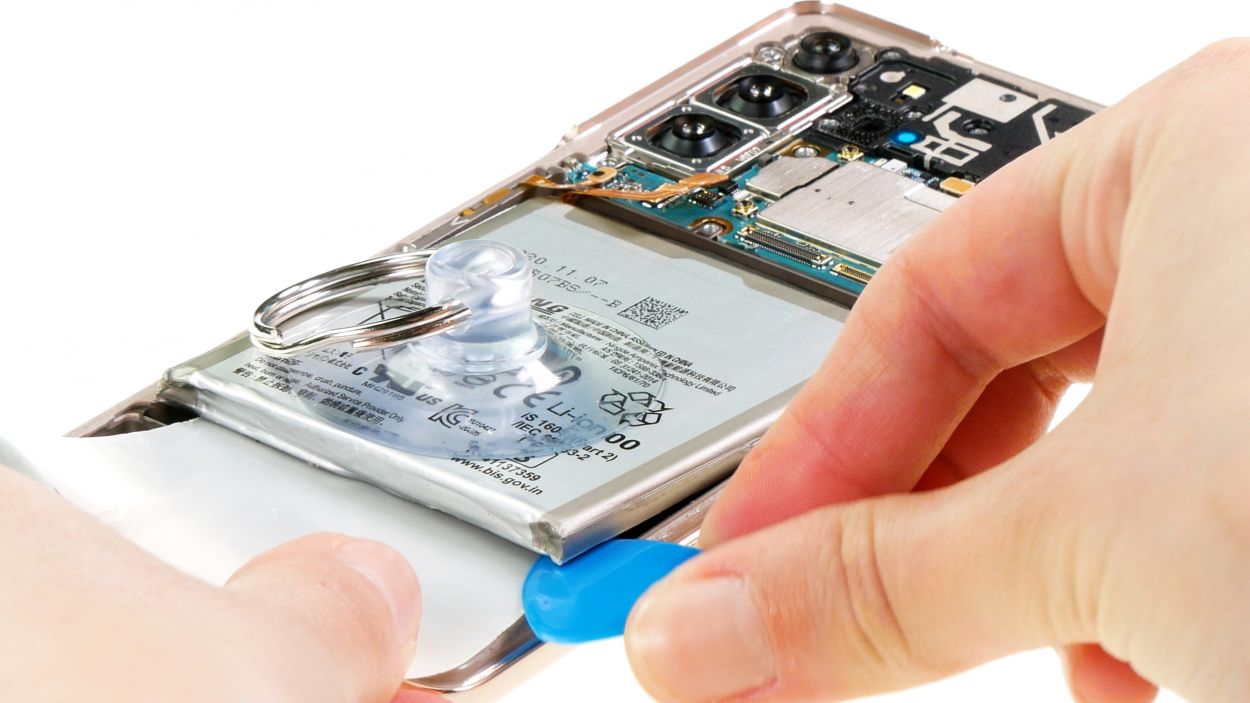
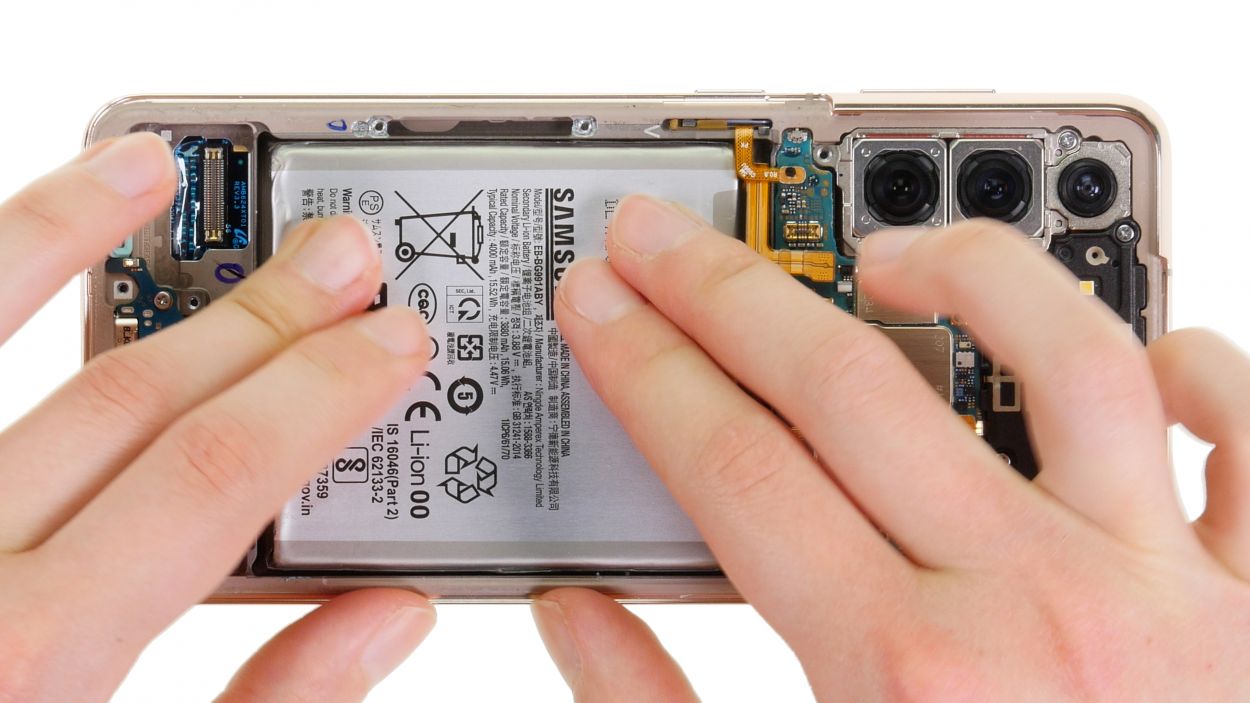
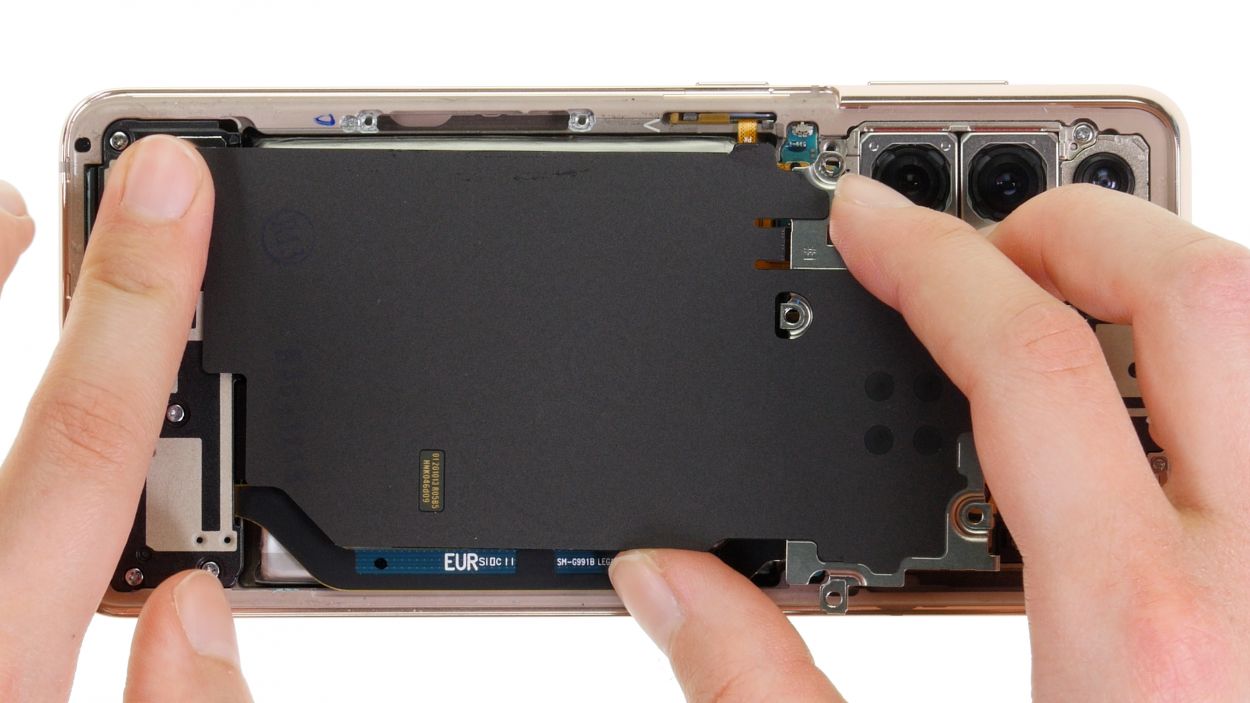
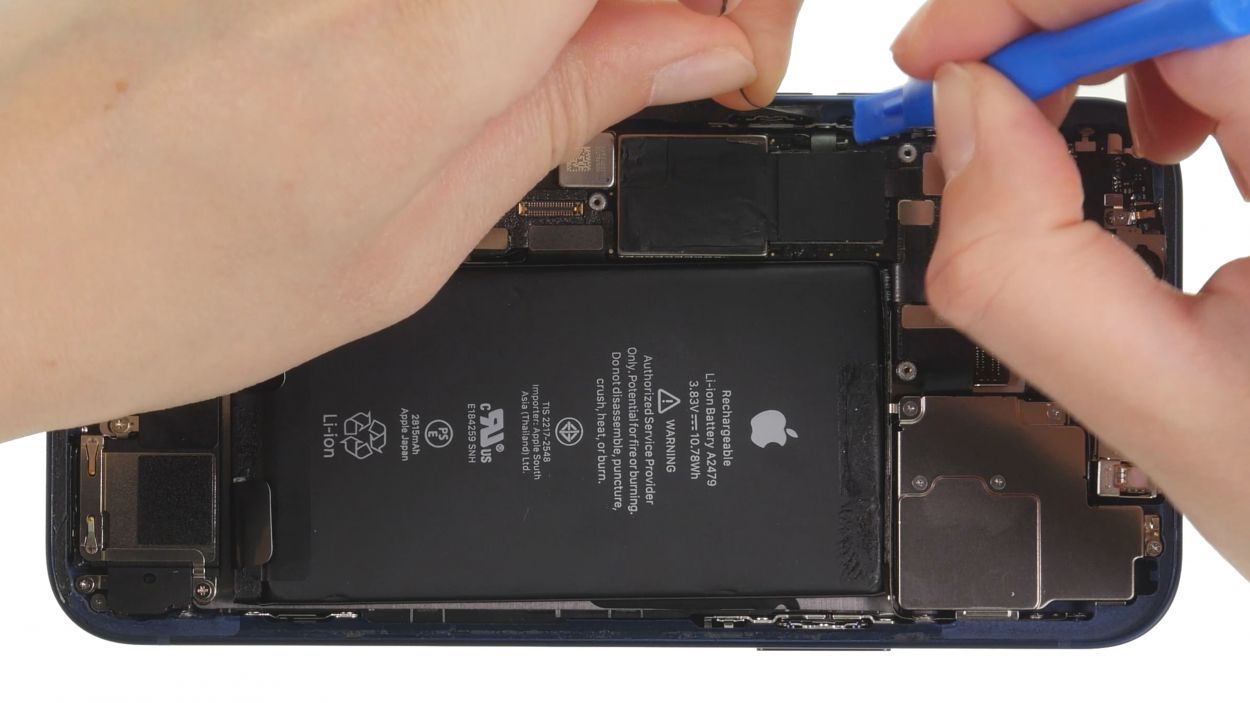
Once that adhesive is feeling nice and toasty, the best way to lift the battery is with a trusty suction cup and a plastic lever tool. You’ve got this!
– Get ready to boogie! Stick a suction cup onto the battery’s lower edge and gently pull it upwards. Think of it as a battery high-five!
– Simultaneously, use a plastic pry tool (a battery spudger is awesome) on the lower edge to give that battery a little upward nudge. It’s like a team effort!
Tools Used
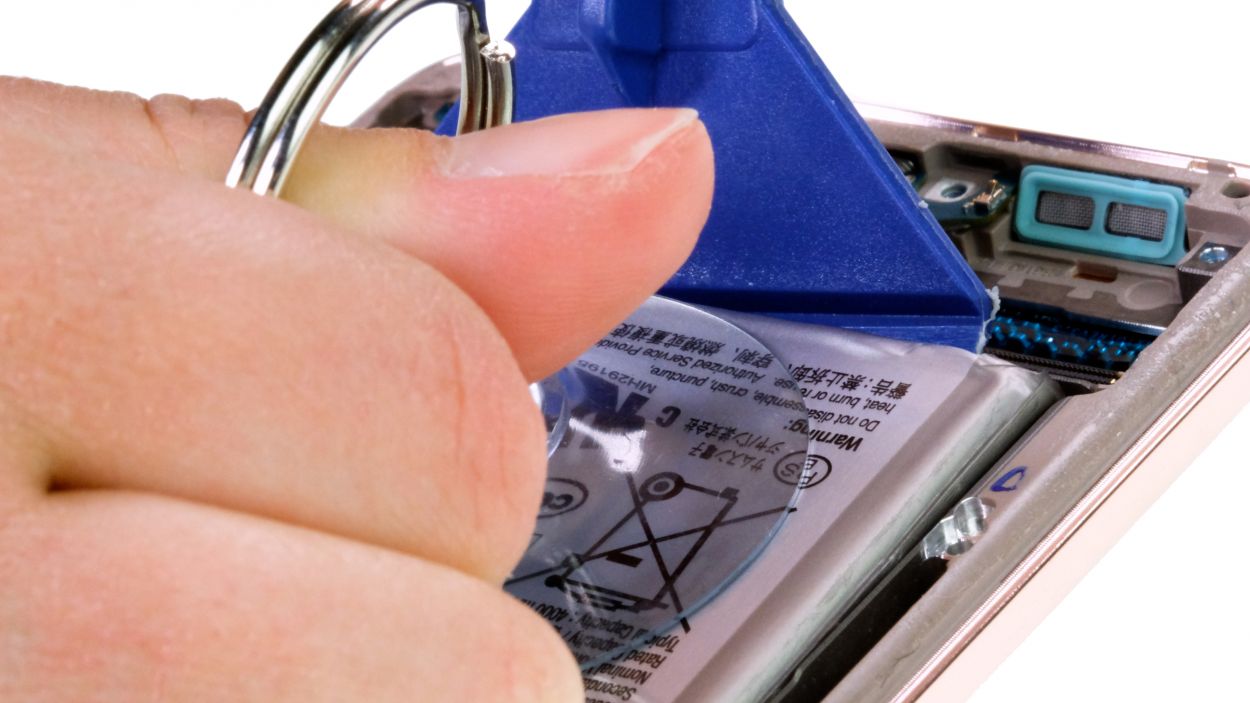
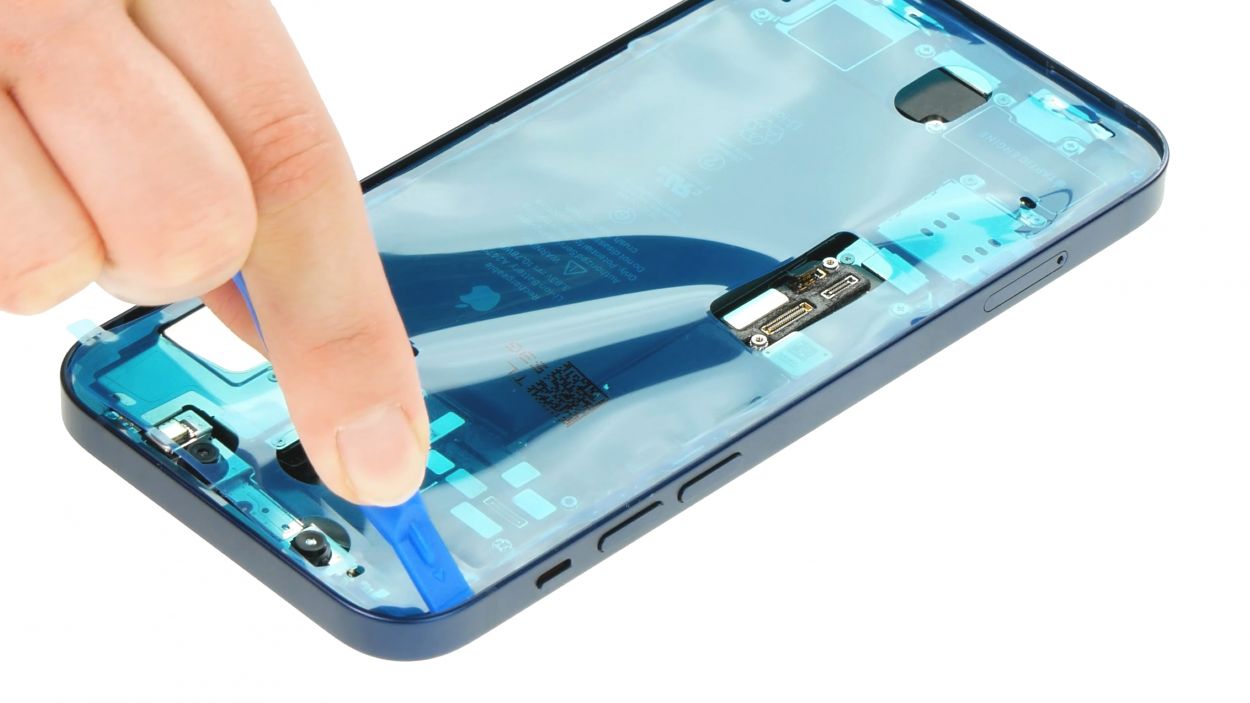
Step 17
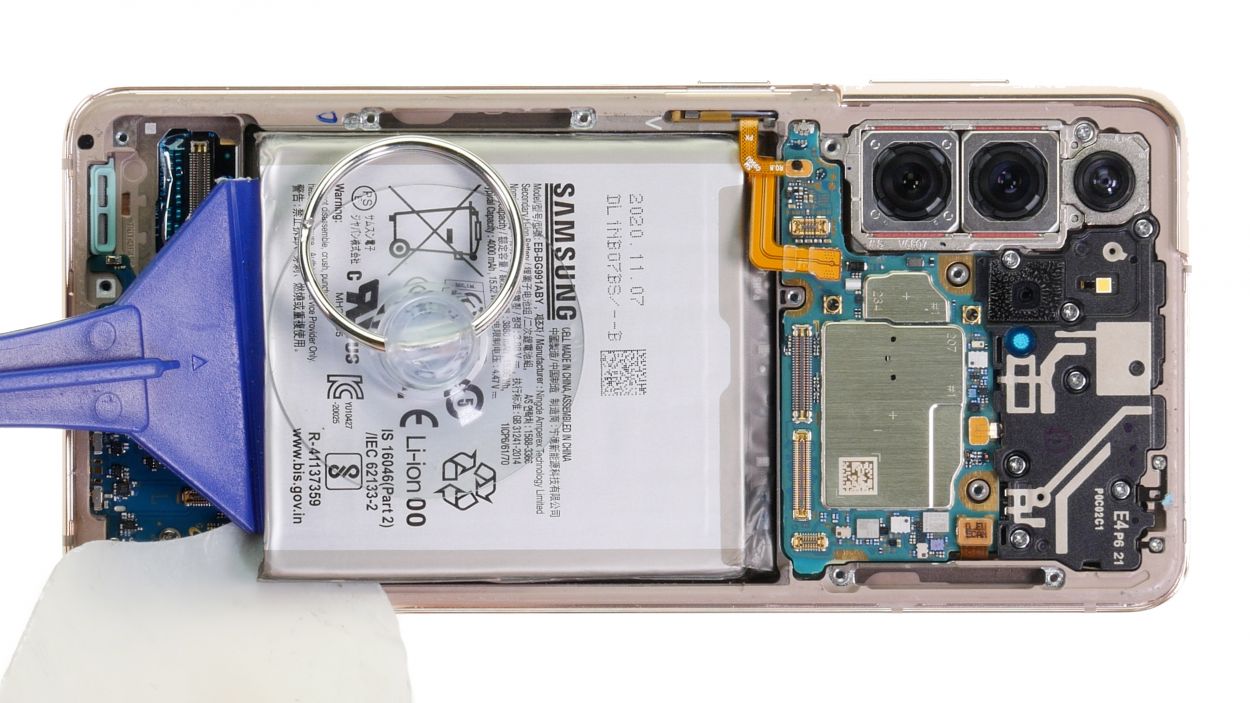

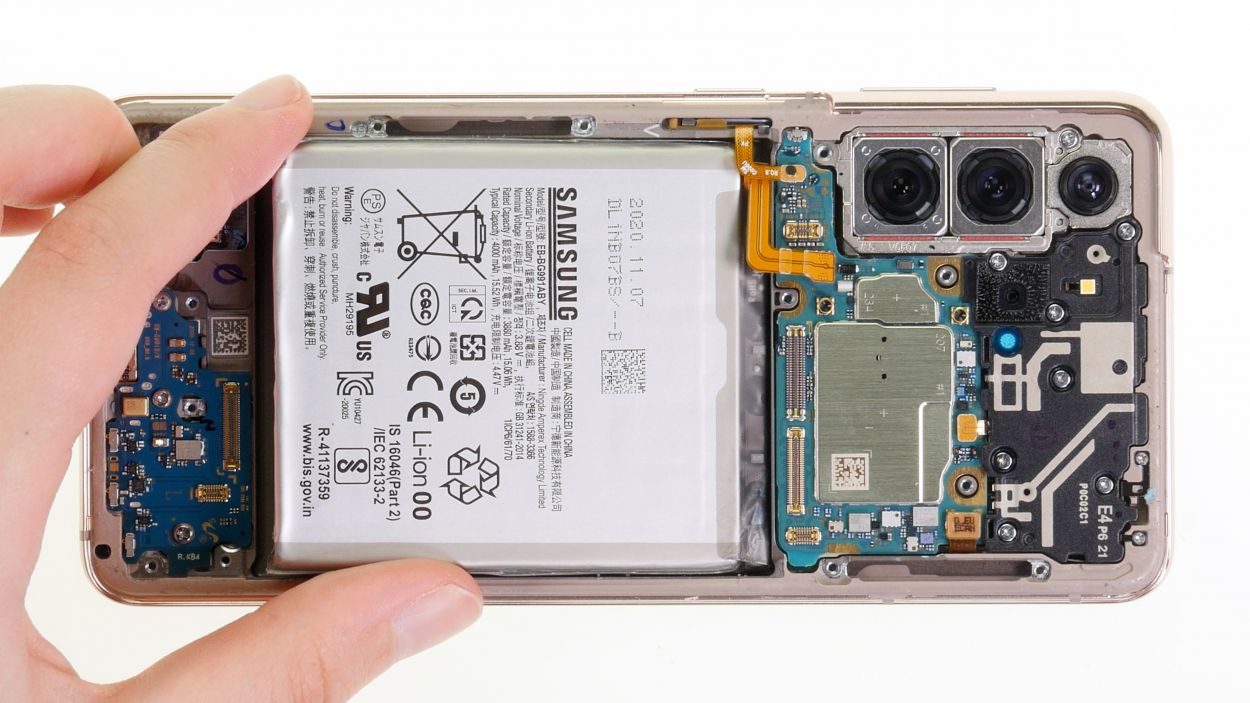
– Slide the flat iPlastix tool under the battery starting from the edge you’ve lifted, gently working your way along until it’s completely free from the screen unit. It’s like freeing a stuck door—it just needs a little shimmy!
Tools Used
- Flat Picks
- battery? Then the iPlastix with its large blade will help you. The practical assistant is made of flexible, especially sturdy plastic and lies comfortably in the hand. Thanks to its design, you can even get into smaller gaps, for example to lift the screen or to prevent it from sticking together again.” rel=”noopener”>iPlastix Opening Tool
- VAKUPLASTIC Suction Cup
Step 19
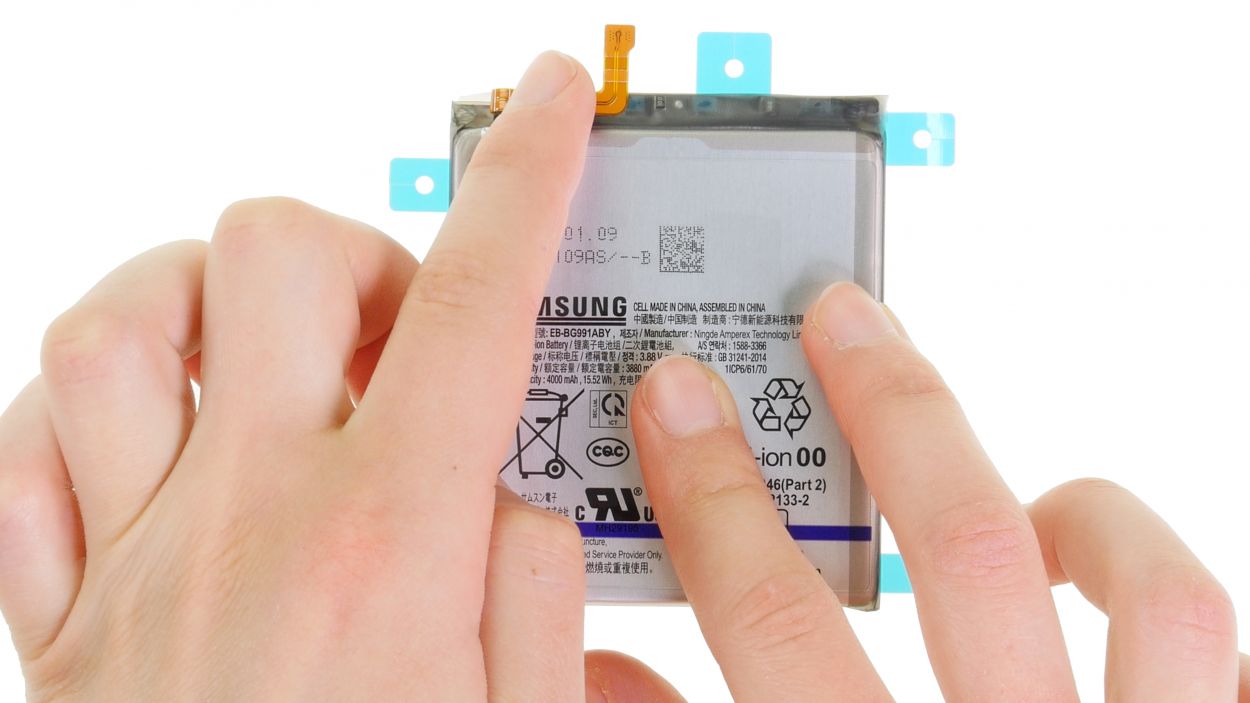
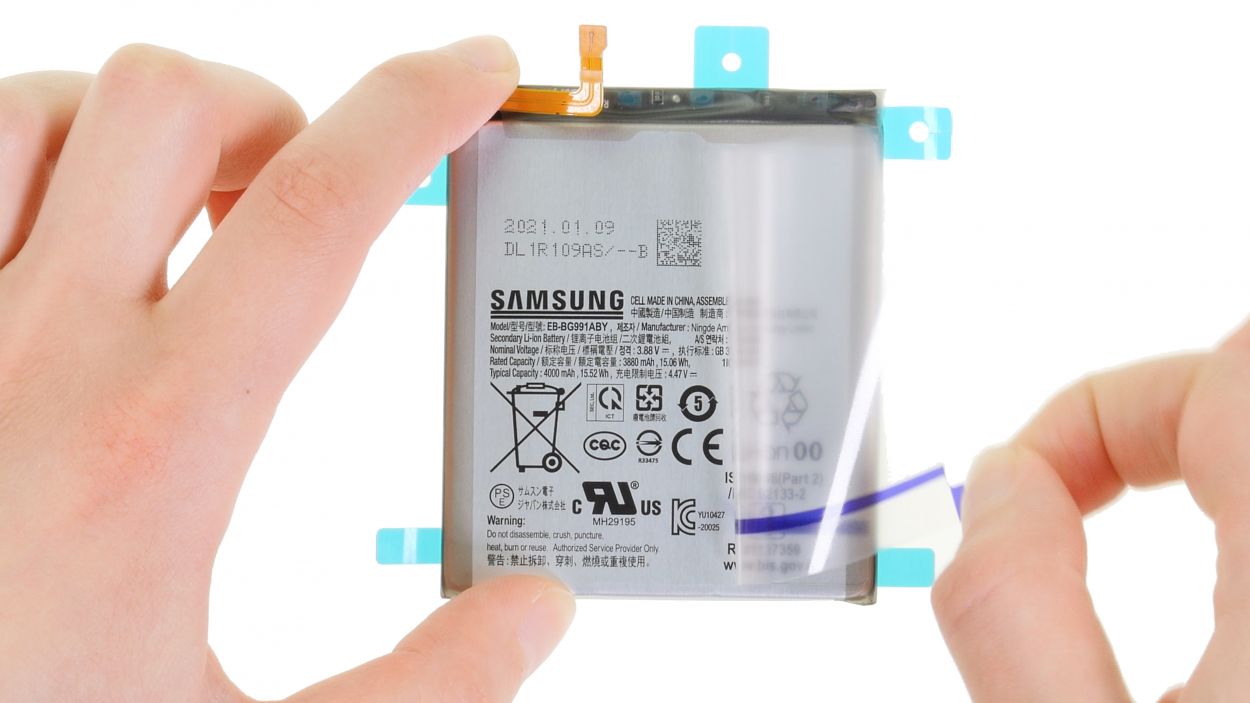
To make sure your new battery fits like a glove, give that connector a little bend before you attach it. Just line it up with the connector slot on the motherboard, and you’re good to go!
– Give that connector of your shiny new battery a little bend before you pop it in—just a gentle curve to make it fit like a glove!
– And don’t forget to peel off those protective foils from both the front and back of the battery. It’s like unwrapping a present!
Tools Used
Step 21
Hey, just a friendly reminder—don’t force those connectors together! A little patience goes a long way, and forcing it could lead to a whole component throwing a tantrum.
The label on the screen cable is your trusty guide for aligning it just right.
– Get those connectors lined up just right and give them a gentle press onto the motherboard and the separate slot. You should hear a satisfying click as they snap into place!
Step 22

The label on the screen cable is your trusty guide for getting everything lined up just right. No stress, just follow the label and you’ll be golden!
– Slide those two connecting cables back into their spots in the device.
– Plug in their connectors to the motherboard and the USB board like a pro!
Step 23
– Slide that speaker back into its cozy little home where it belongs!
Tools Used
Step 24

6 × 4.9 mm Phillips
Alright, champ! Time to be a screw-sorting superhero! Make sure you don’t mix up those tiny screws – a wrong screw in the wrong place could lead to a sad, cracked display. Keep those little guys organized and you’ll be golden!
– Secure the speaker module in place using those six Phillips screws like a pro!
Tools Used
Step 25
– Slide the NFC antenna back into place within the screen unit, giving its back end a light press to help the glue reclaim its home.
Step 26

– Lift the metal cover of the charging coil like you’re unveiling a hidden treasure, and connect that cheeky black connector nestled underneath.
Step 27

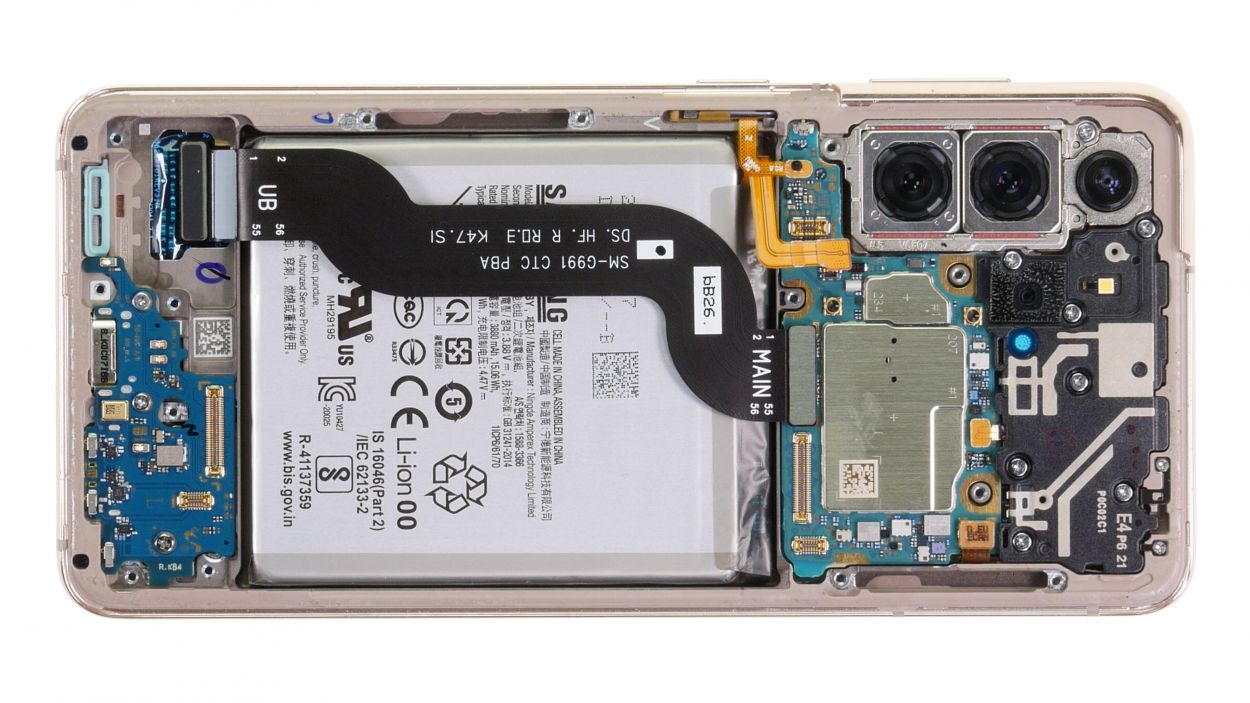
Last but not least, connect that battery connector! Doing it last keeps those pesky short circuits away. Think of it as a superhero move – saving the day one connection at a time!
– Now, it’s time to reconnect that funky orange battery connector back to the motherboard! You’ve got this!
Step 28

5 × 4.9 mm Phillips
– With the battery and charging coil happily reconnected, give that metal cover a snug hug and screw it back on. You’re almost there!
Tools Used
Step 29
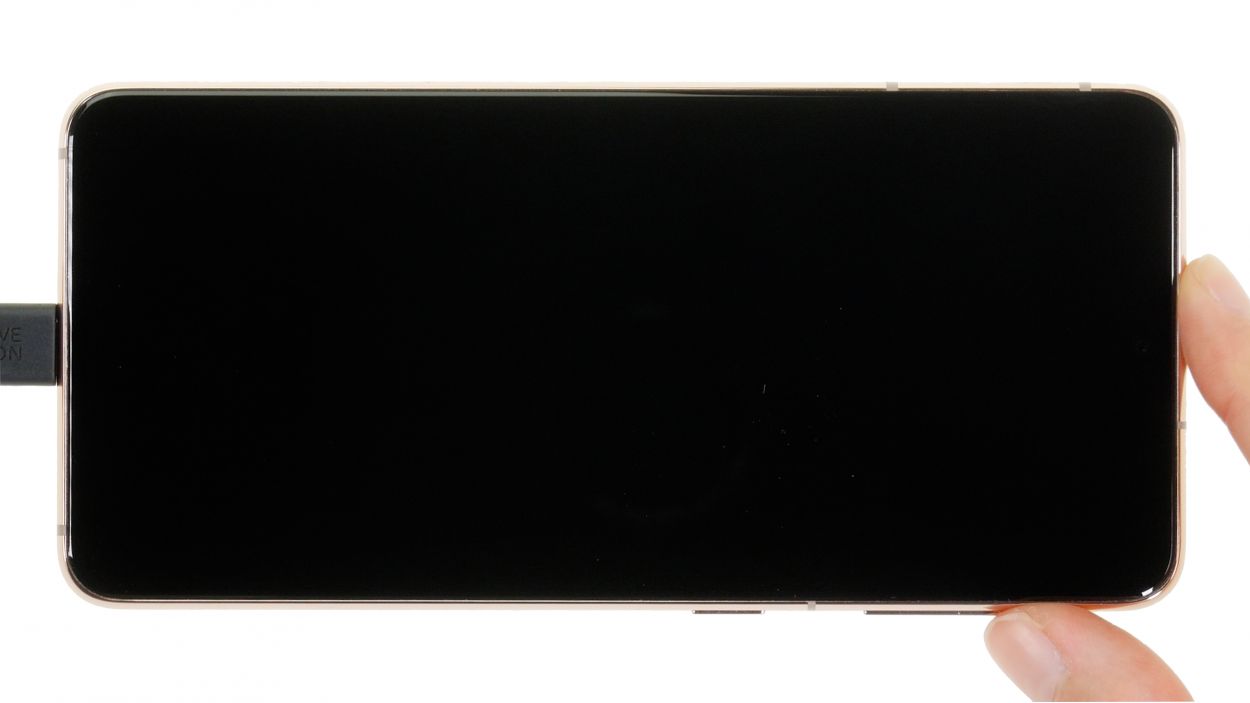
If something’s feeling a bit off during your testing, take a moment to double-check that everything is installed and connected just right. A little oversight can make a big difference!
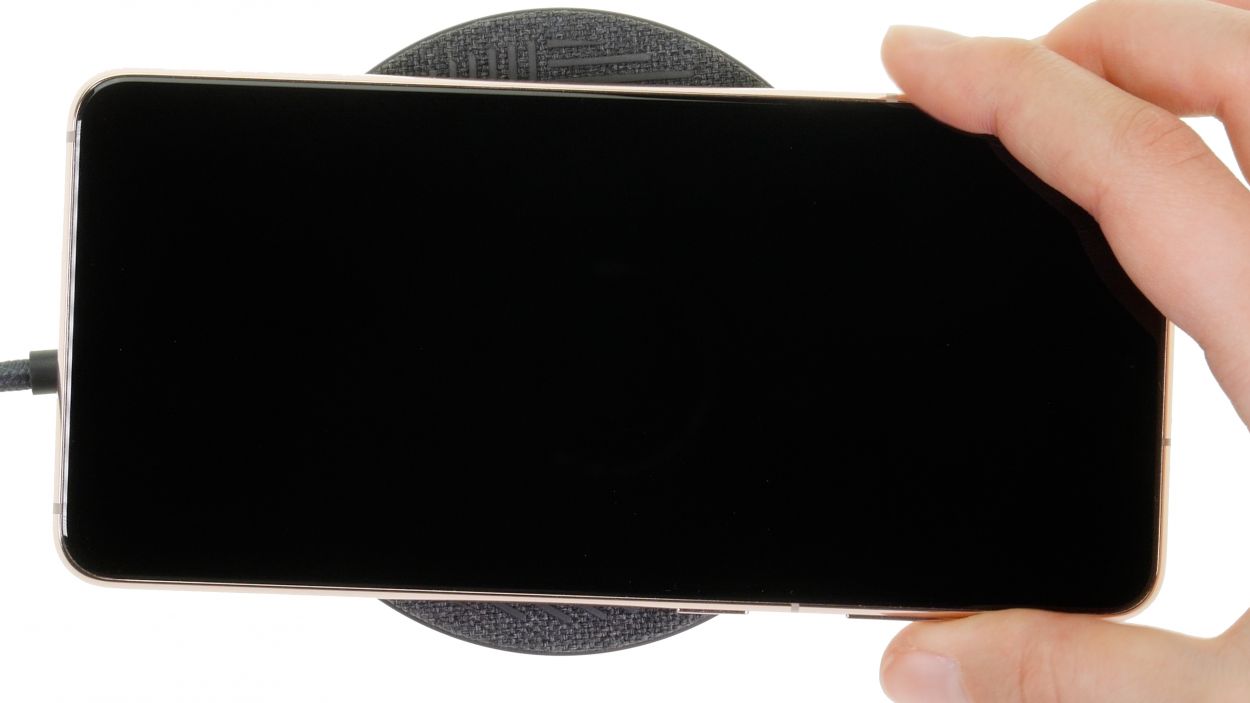
– Plug your Galaxy into the mains to see if that replacement battery is ready for action!
– If you’ve got a wireless charger handy, give it a whirl to check how that wireless charging jives!
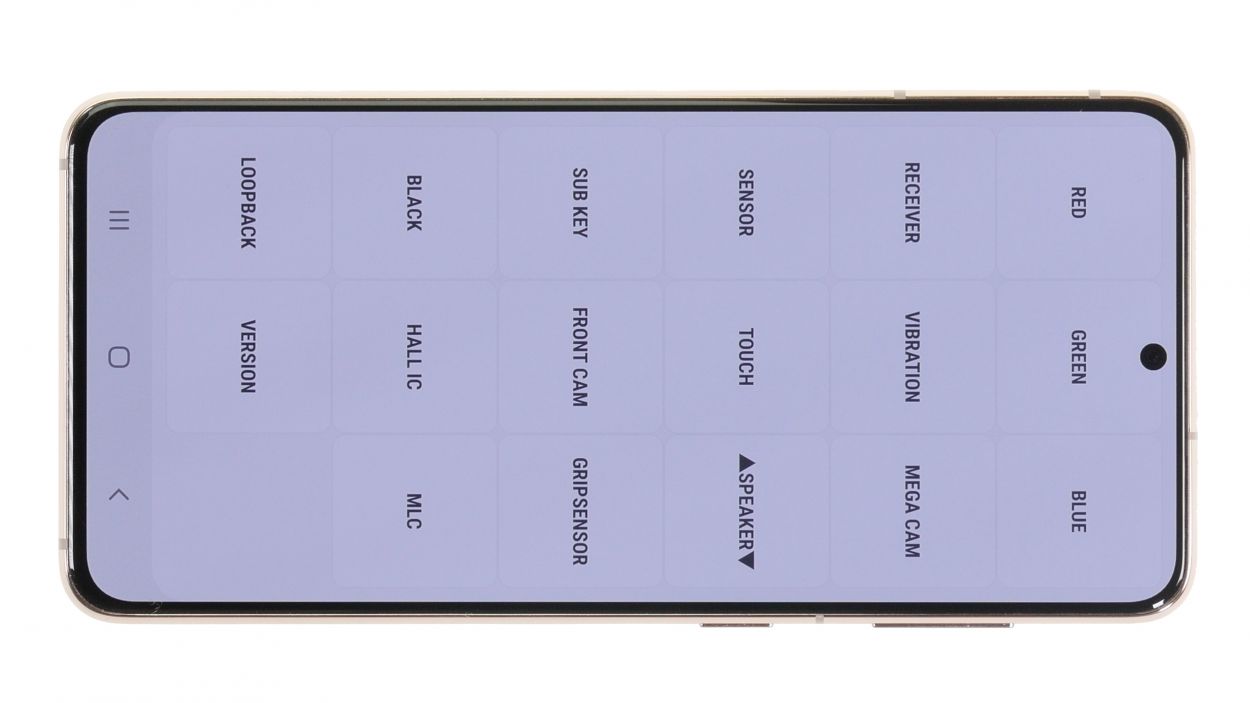
– Dial up the Samsung test menu with *#0*# in your phone app to test even more components. You could also check out our checklist for help!

Step 31


For a solid bond, give that back cover a little hot air treatment along the edges again. If you want to keep it snug, feel free to stack some books on top for a few minutes or use a clamp like we showed you. Your device will appreciate the extra love!
– Wrap up your Galaxy S21 5G repair by gently pressing the back cover onto the display unit. It’s like giving your phone a little hug after all that hard work!