DIY Guide to Replace Battery in Samsung Galaxy S6
Duration: 60 min.
Steps: 12 Steps
In this guide, we’re here to help you tackle the task of swapping out that worn-out battery in your Samsung Galaxy S6. If your phone is crashing during those intense gaming sessions, refusing to power on, or just not holding a charge like it used to, this repair is just what you need! Let’s get your device back in action and running smoothly. And remember, if you need help, you can always schedule a repair.
Step 1
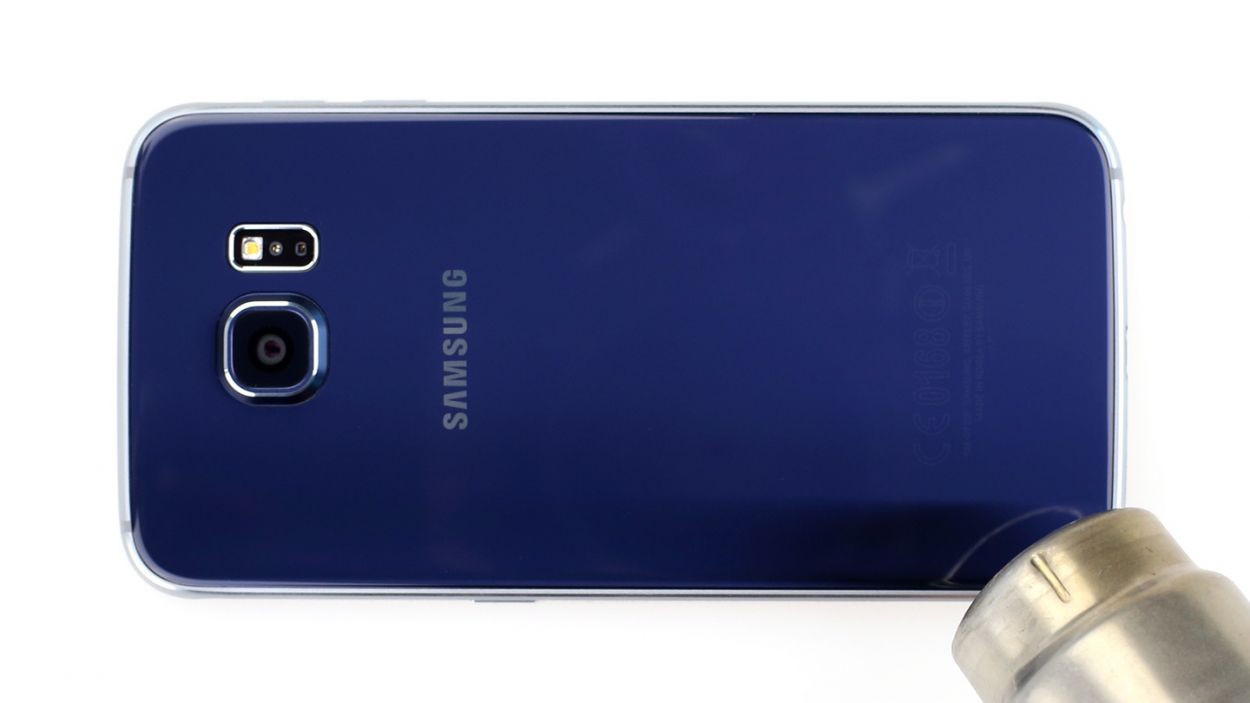
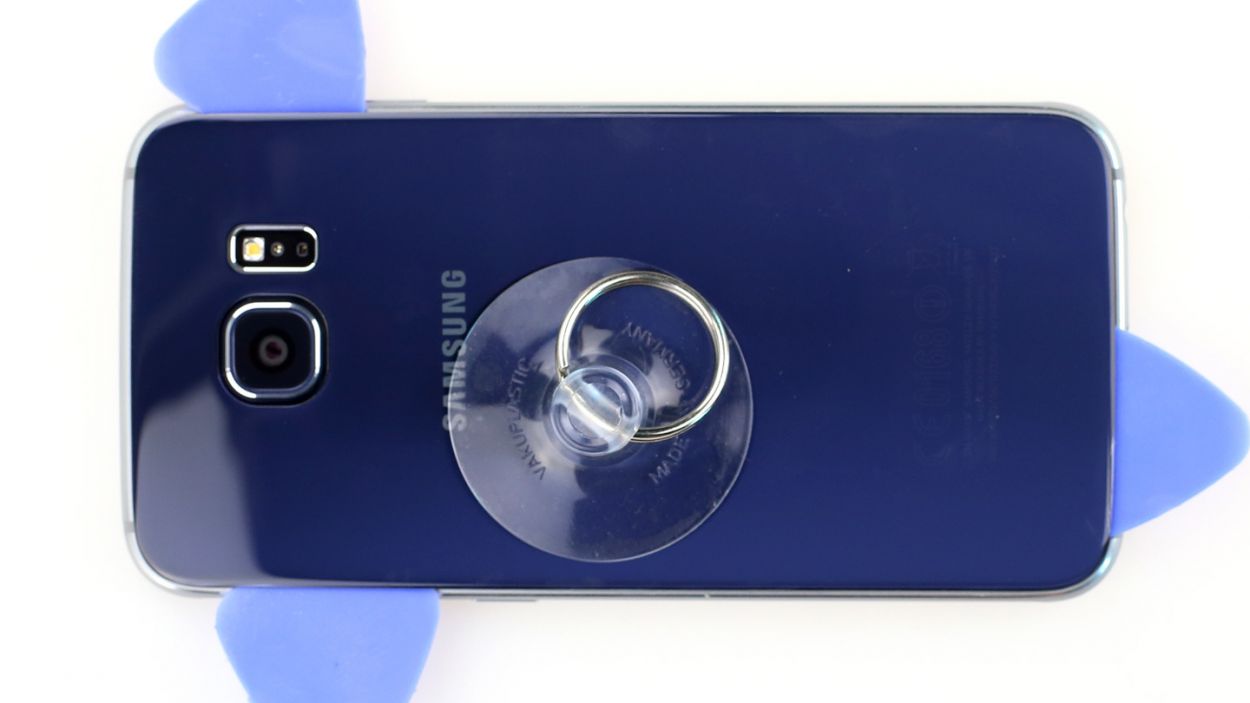
– The back of your Samsung Galaxy S6 is glued on tight, so let’s give it some love with a heat gun to soften that stubborn adhesive. Keep it warm and cozy! Once it’s ready, slide a plastic pick into the tiny gap between the frame and the glass to help separate them.
– Speaking of tiny gaps, the space between the aluminum frame and the glass is quite snug. Grab a flat, sturdy tool to gently ease between them.
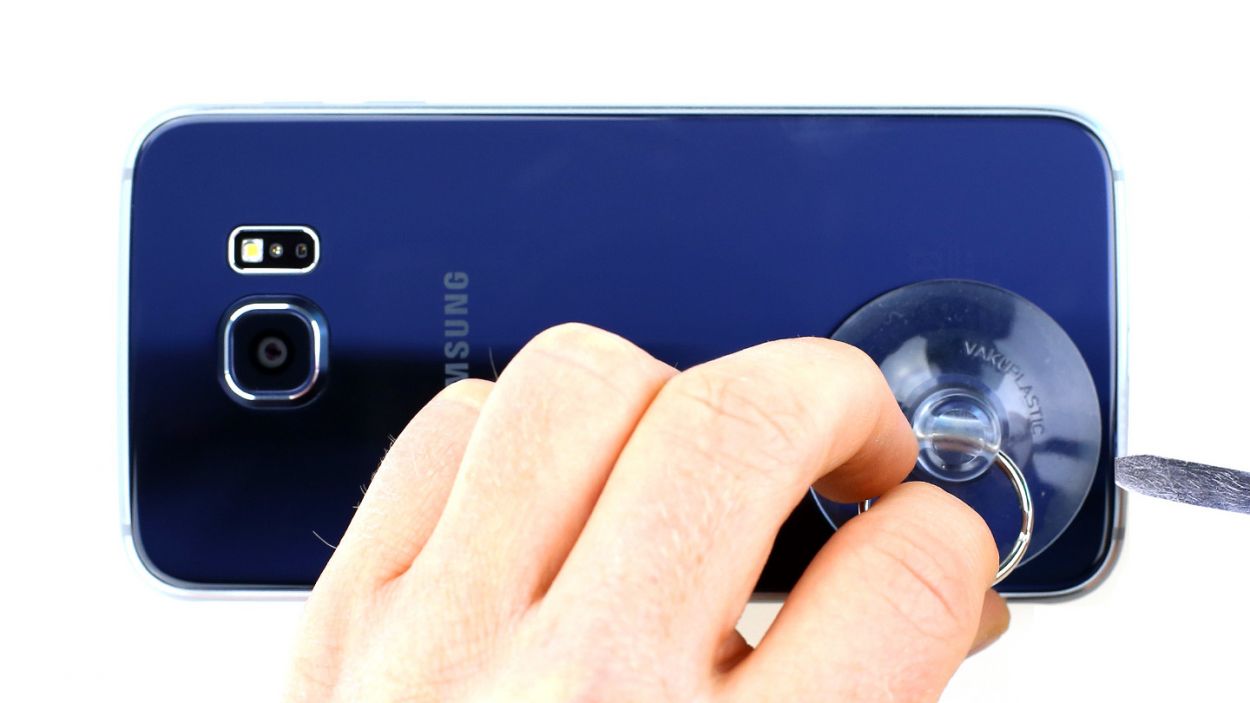
– Now, with the help of a suction cup, carefully lift the back cover. You’ve got this!
– As soon as you see a little opening, slide in that plastic pick to protect the aluminum from any unwanted damage. You’re doing great!
Step 2
The interior of the back cover has got a paint job! So, when you’re peeling away any leftover adhesive, take it nice and easy to keep things scratch and crack free.
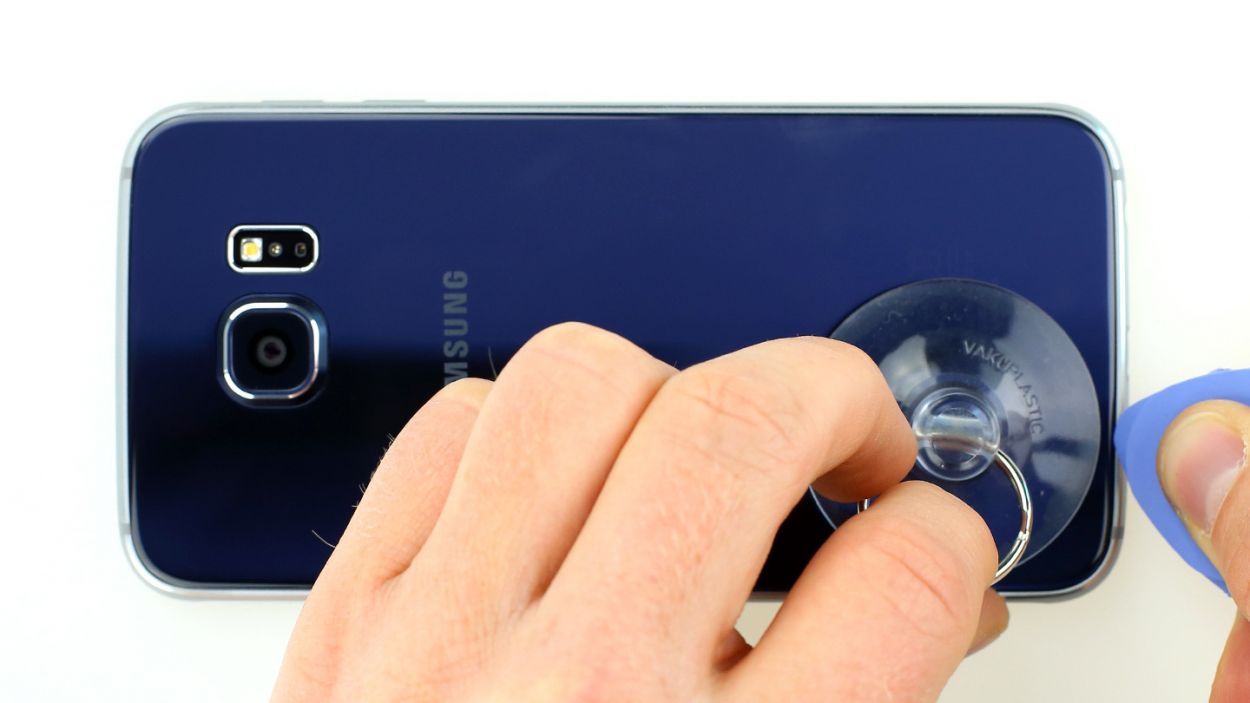
– Gently slide the pick just a few millimeters between the back cover and the frame to keep everything safe inside the device.
– The back cover of the Galaxy S6 is stuck down tight along the whole outer edge. Make sure to run the pick around the entire phone like you’re giving it a little hug! Just a heads up, the inside of the back cover is painted, so take your time and be careful when removing any leftover adhesive to avoid any scratches or cracks.
– Once you’ve freed all that glue, you can carefully lift the back cover off. You’ve got this!
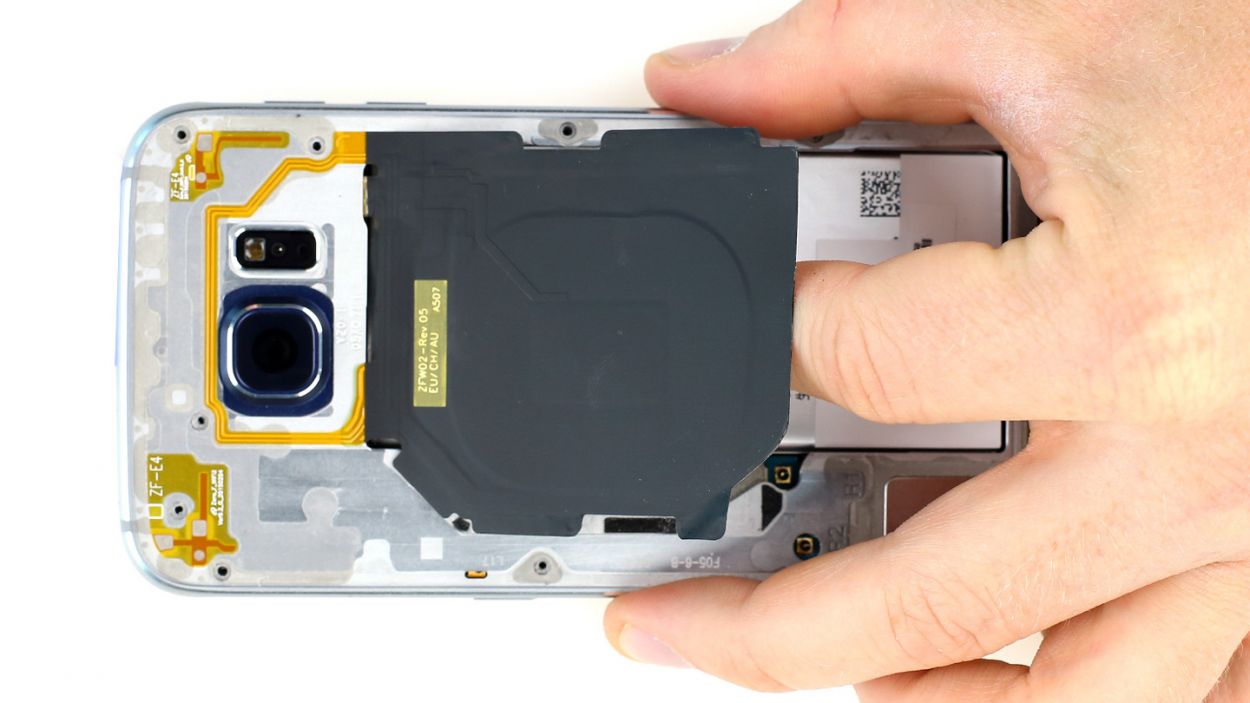
Step 3
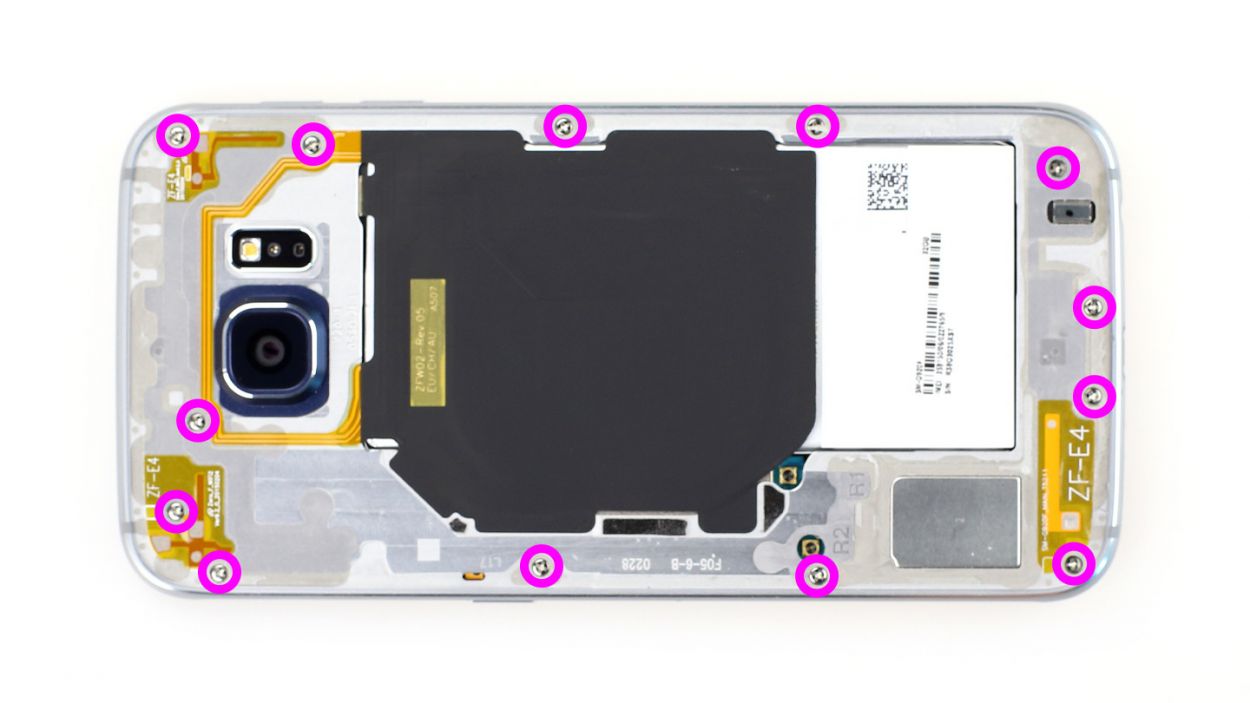
– First things first, let’s get those 13 Phillips screws out of the way that are holding the plastic cover tight. Grab your trusty screwdriver and tackle those 13 x 3.3 mm Phillips screws like a pro!
– Next up, it’s time to pop out the SIM card tray. Easy peasy!
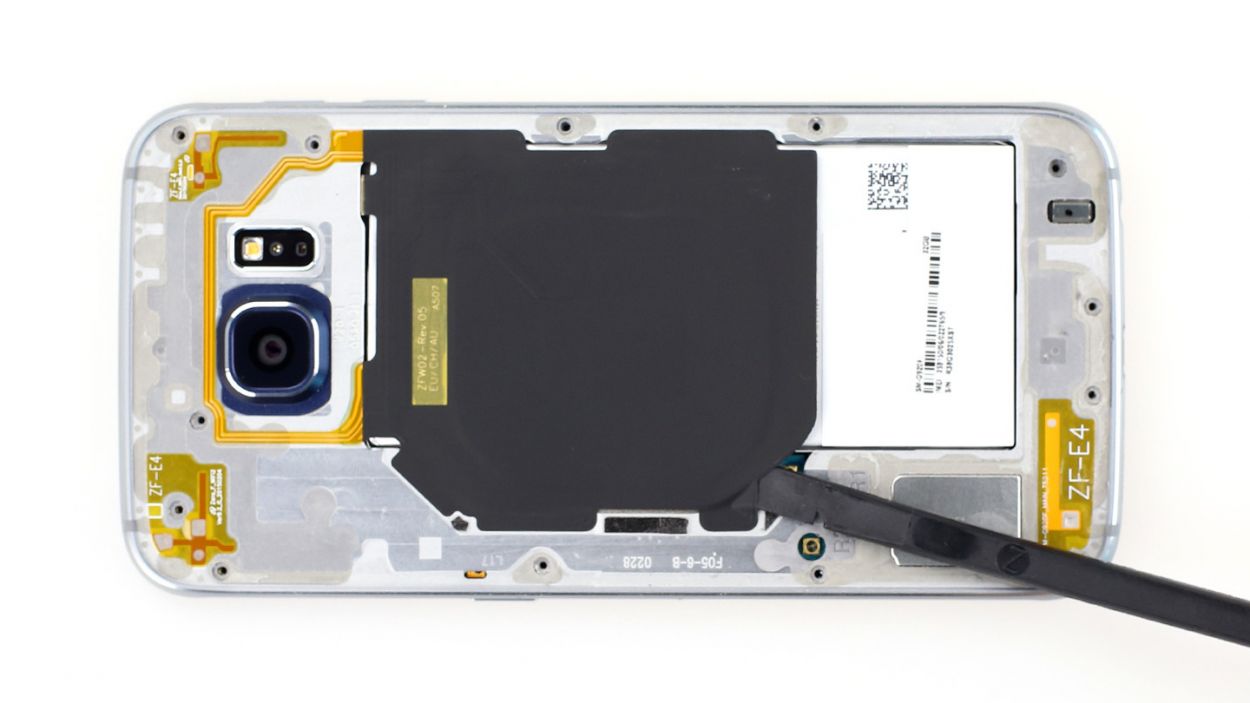
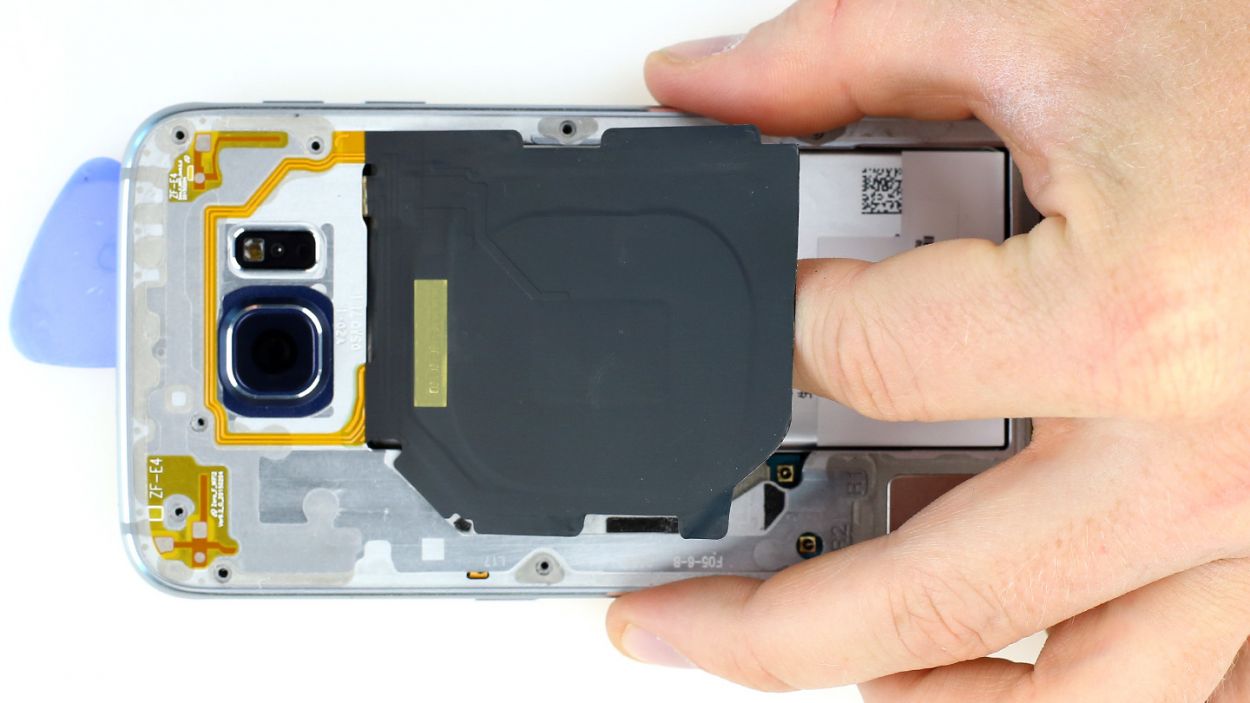
– Now, gently lift the charging pad for wireless charging. It’s just a little stuck with some light glue on the midframe, so give it a gentle nudge.
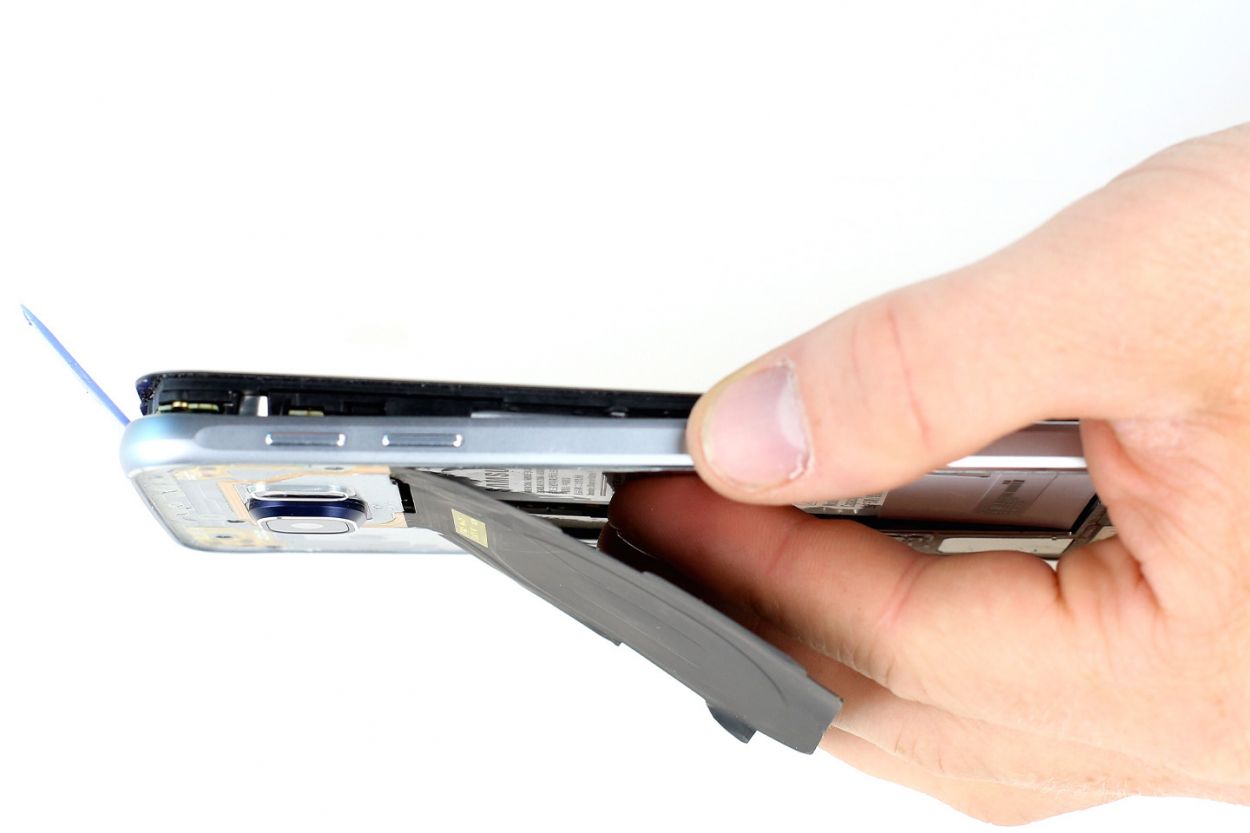
– To take off the midframe, you’ll need to give the battery and the rest of the smartphone a little push down while you use your other hand to lift the frame up. If it’s feeling a bit stubborn, don’t worry! Just slide a pick between the display and the frame and give it a little upward press. You’ve got this!
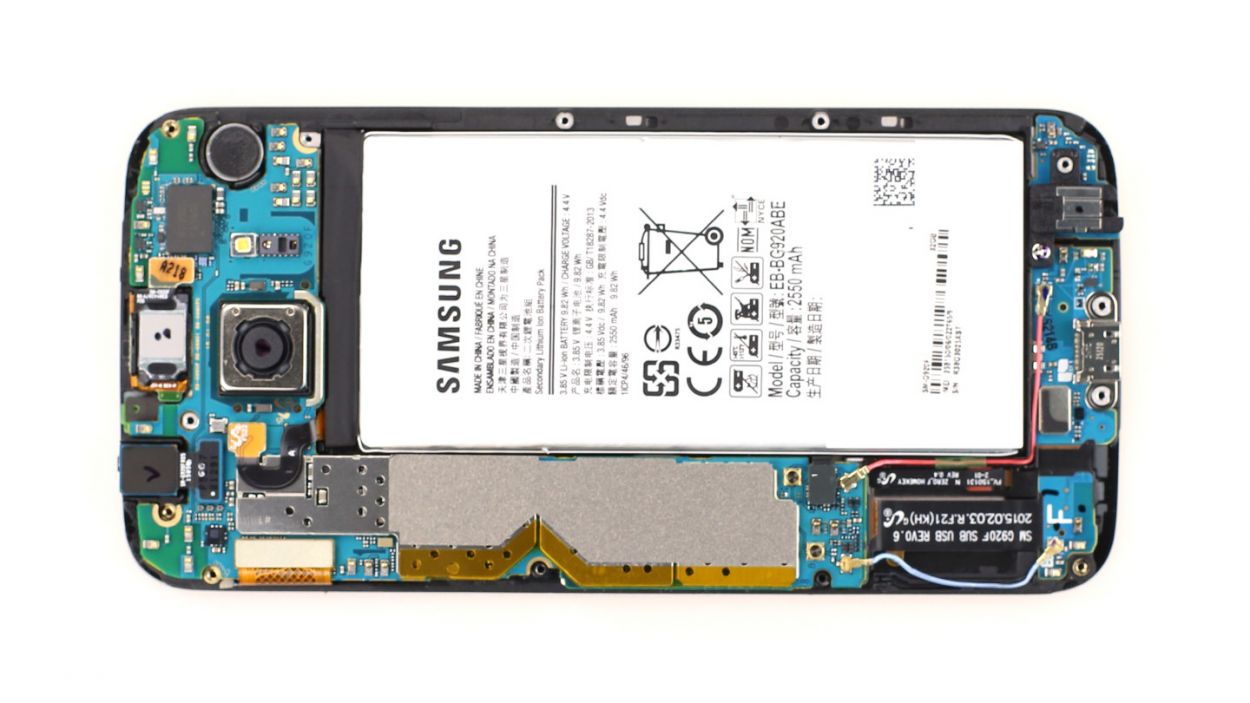
Step 4
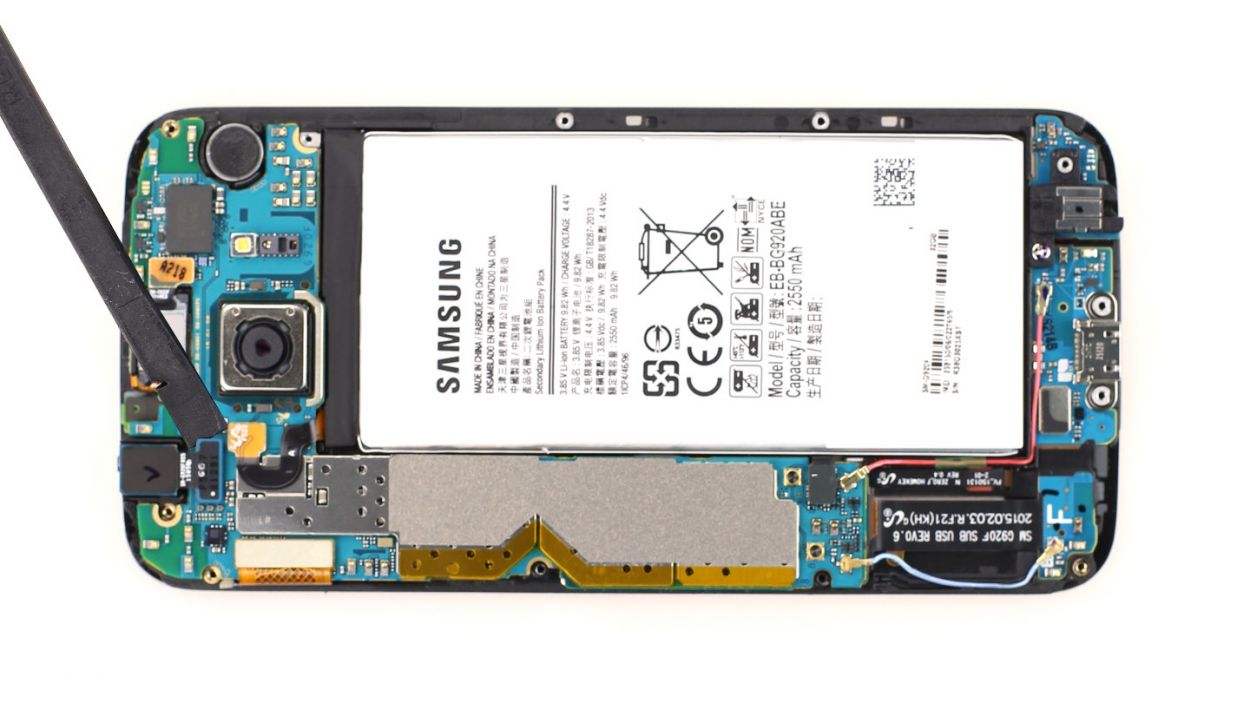
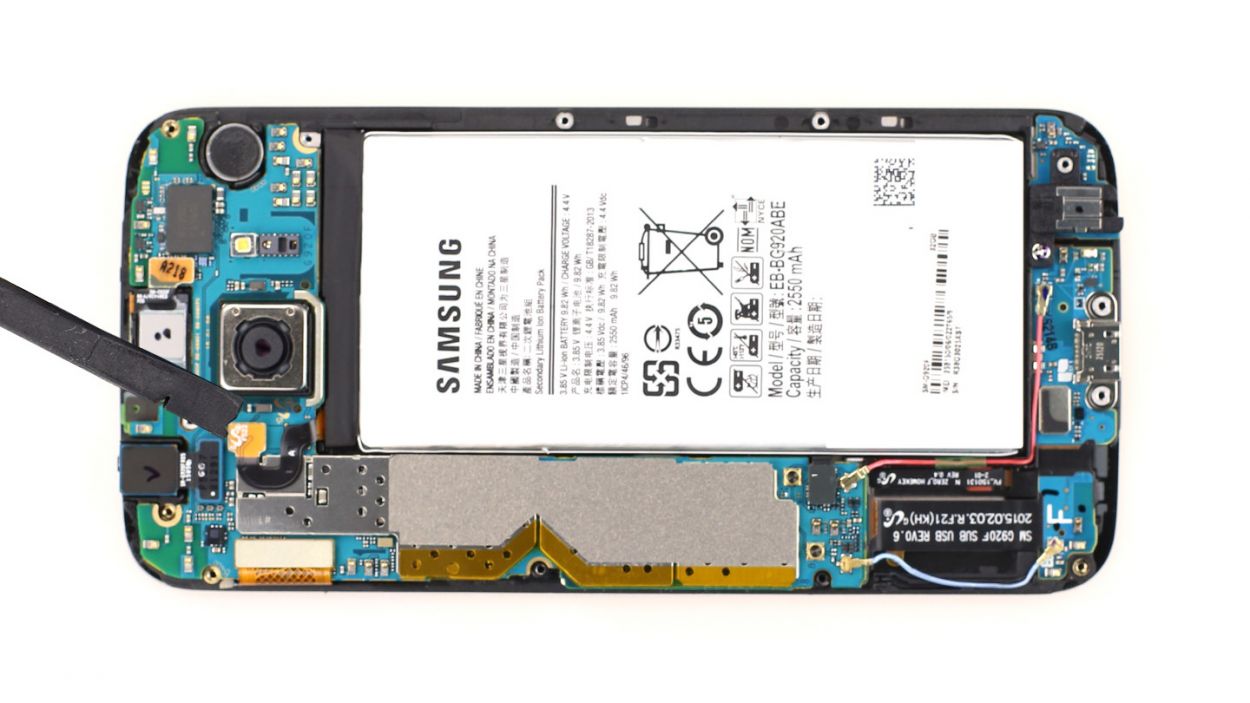
– Gently slide the pointed end of the spudger just beneath the contact and give it a little lift. Remember, we want to keep those resistors attached to the logic board, so be gentle!
– Next up, it’s time to disconnect the front camera connector. Take your time and handle it with care!
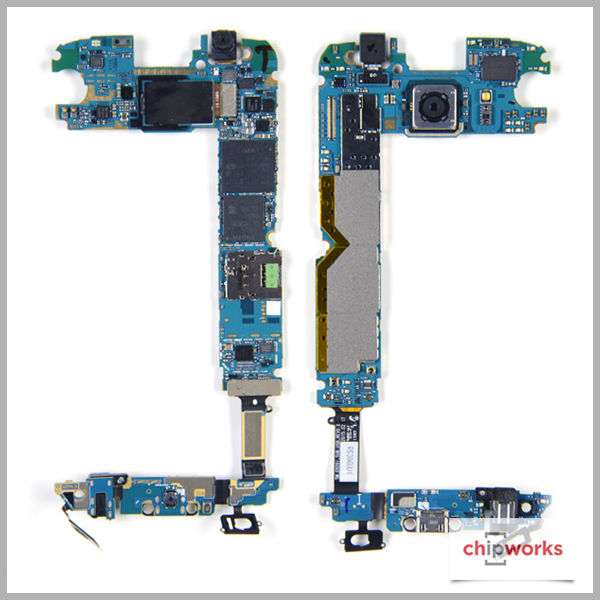
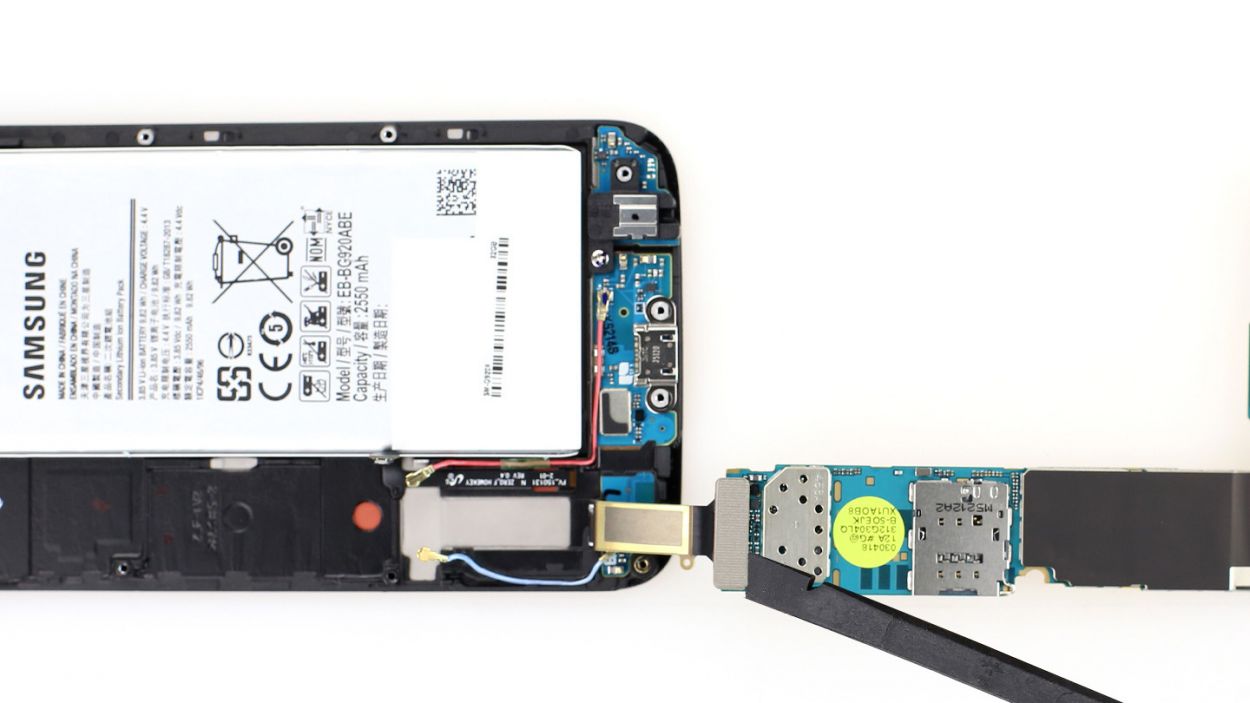
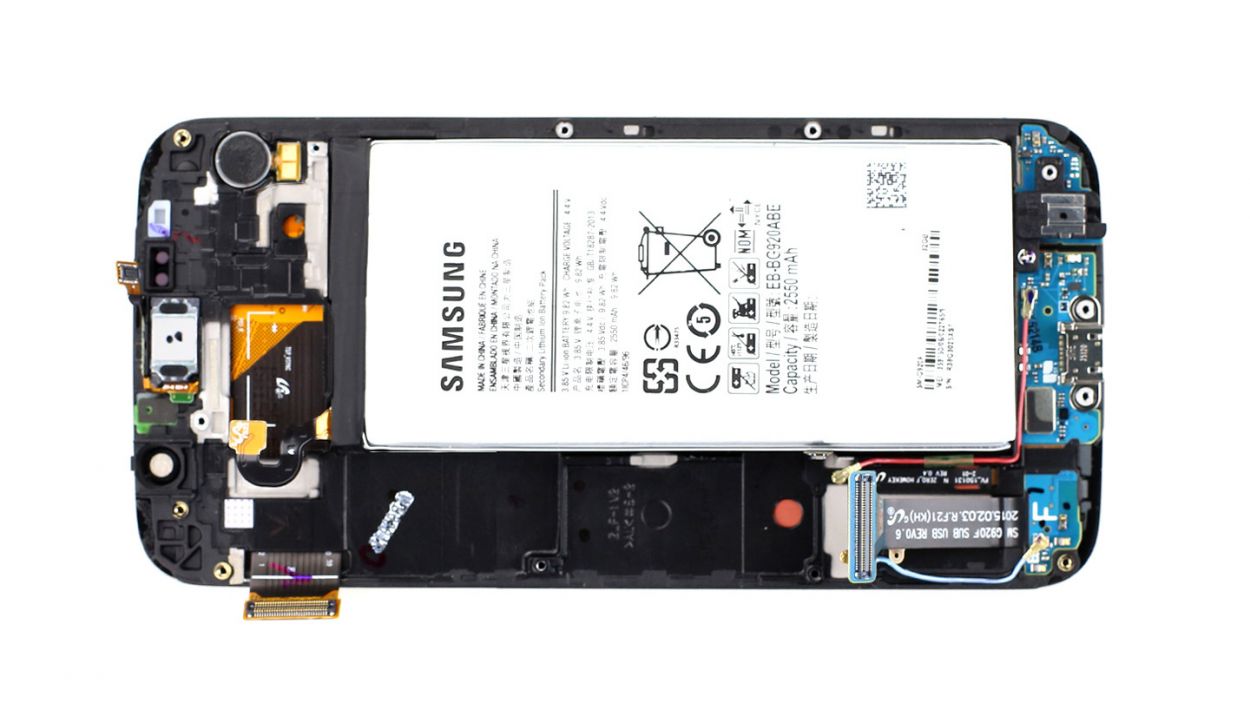
Step 5
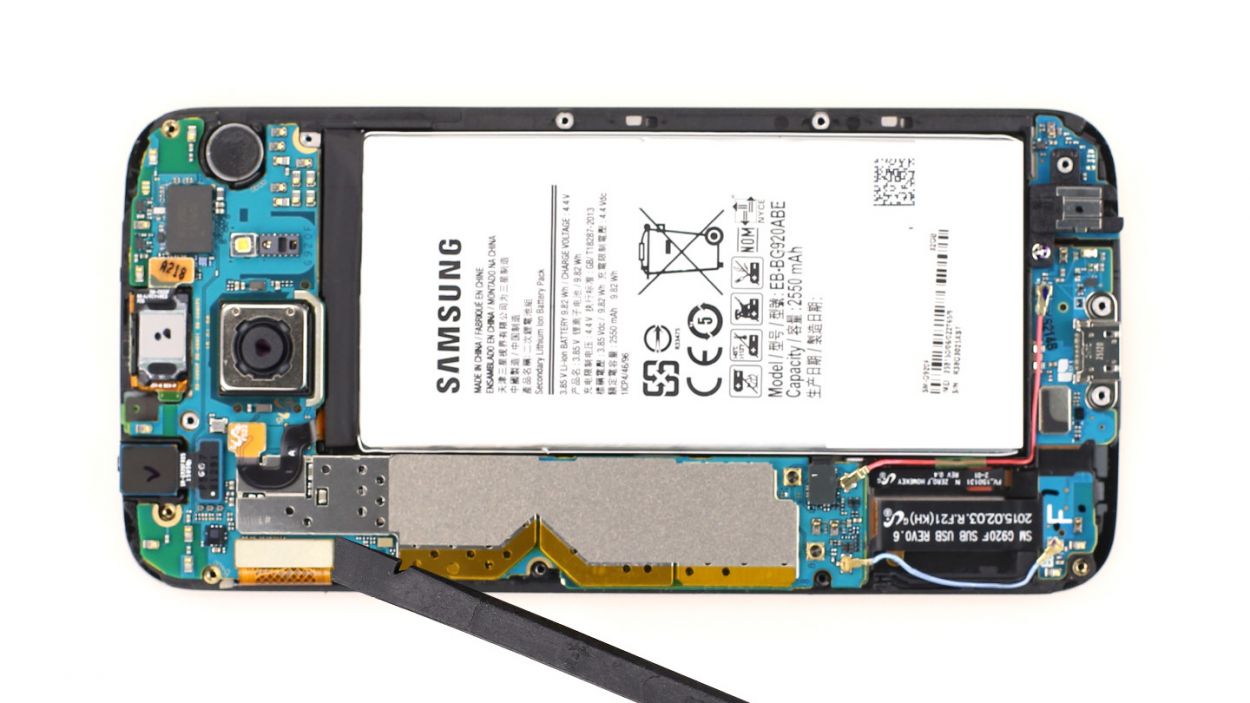

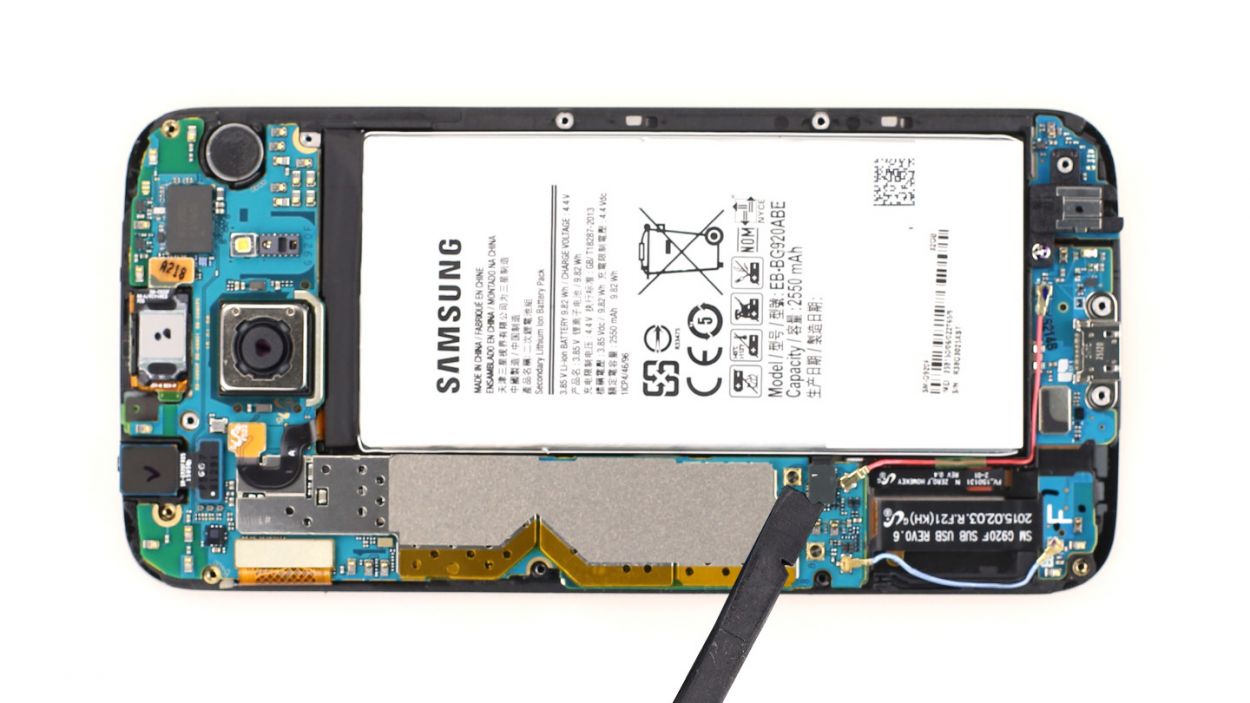


Hey there! Just a friendly reminder that the back of the logic board is still snugly attached to the dock connector. Take your time and make sure to gently detach it before moving on!
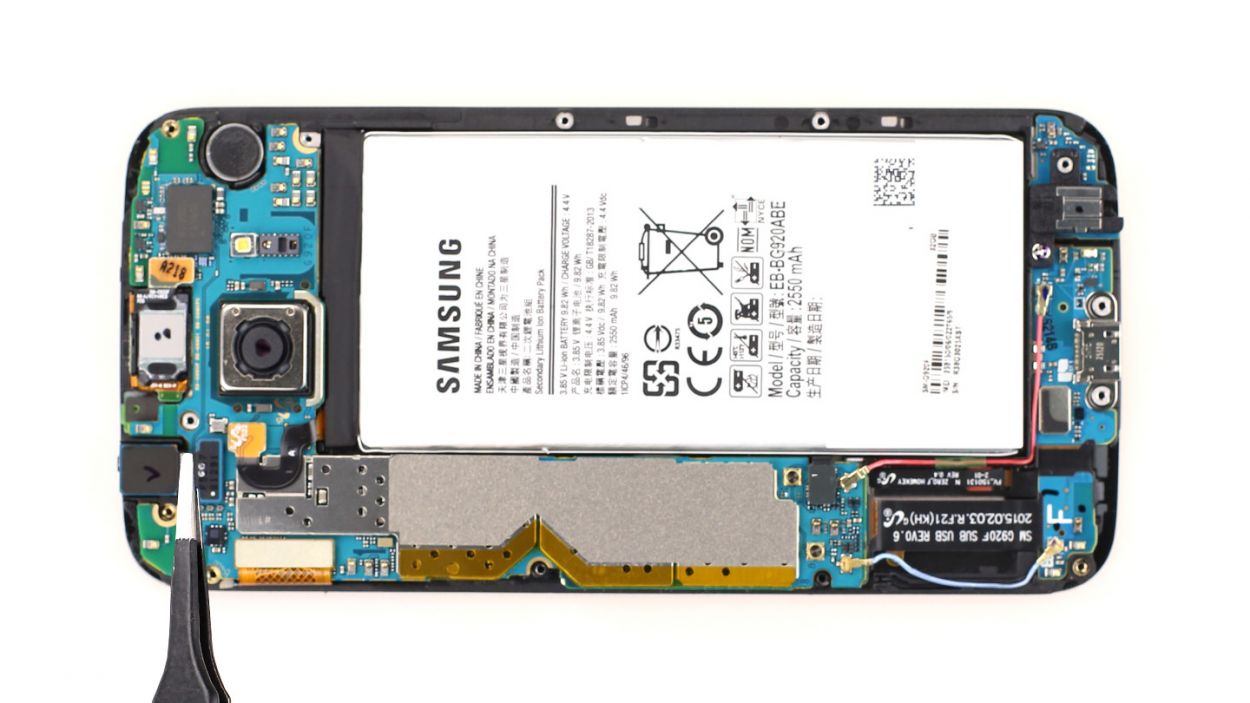
– Let’s disconnect those contacts! Gently slide the flat end of your spudger under each contact and give them a little lift. We’re talking battery, display, earpiece, home button, and those two antenna connectors.
– Time to give that logic board a little wiggle room! Carefully lift it up near the back camera and fold it over to the side. Remember, it’s still attached to the dock connector at this point. Easy peasy!
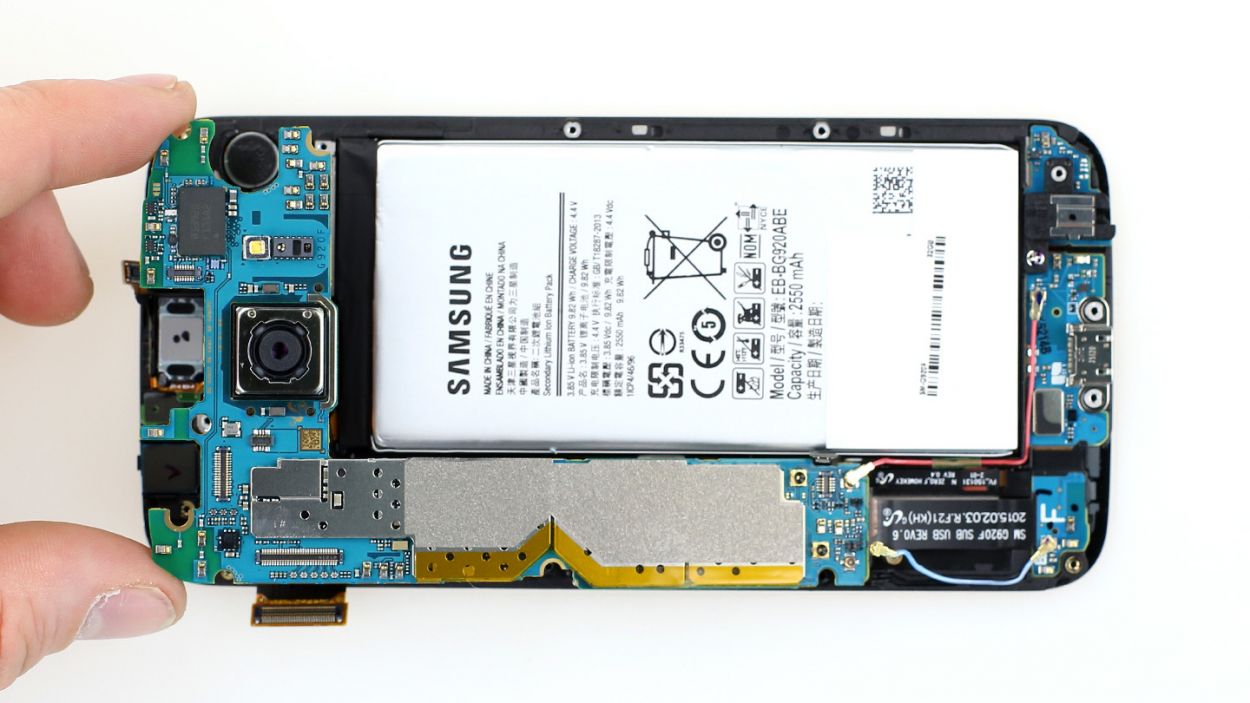
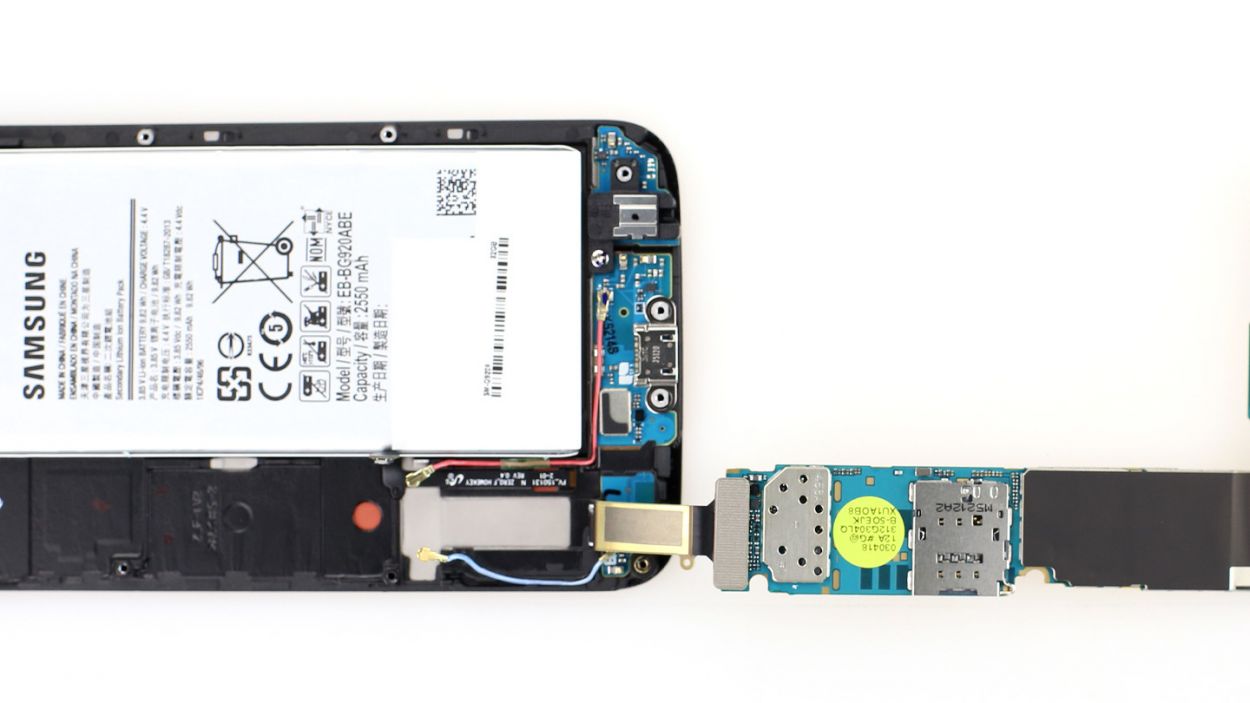
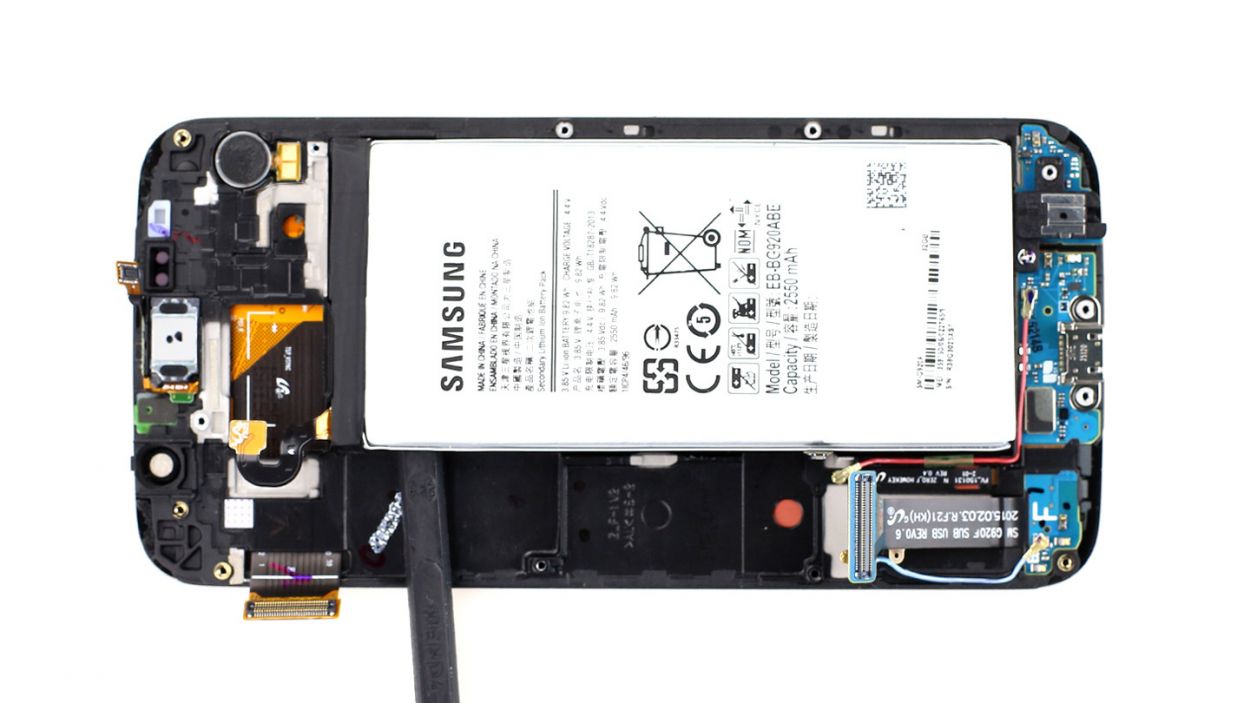
Step 6
– After you’ve gently folded the logic board over, grab your trusty spudger and carefully disconnect the connection. You’ve got this!
Step 7

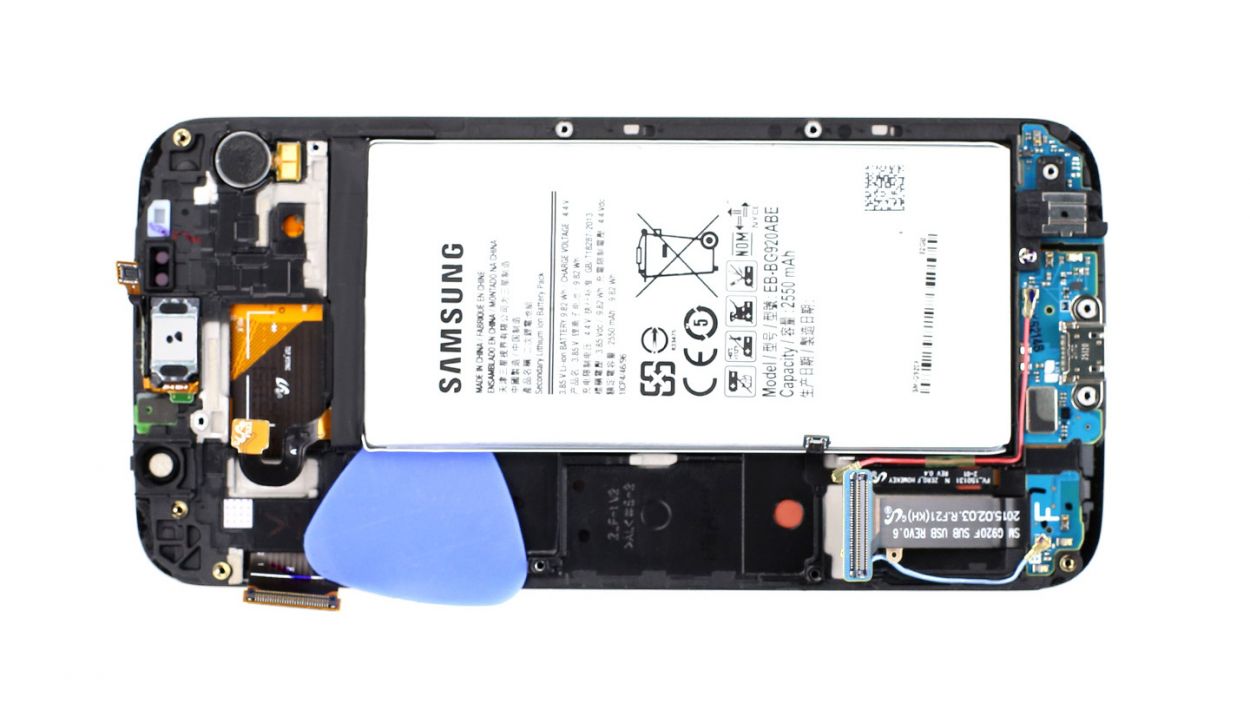

Take your time and be super gentle! Rushing can lead to some battery drama, like leaking fluid. So, let’s keep it cool and steady!
– Give that battery a little warmth to loosen the glue holding it in place. A gentle heat will do the trick!
– Carefully lift the battery just a millimeter at a time using your trusty spudger or a plastic pick. Slow and steady wins the race!
– Keep heating the battery at intervals to ensure the glue remains soft and doesn’t stick. You got this!
Step 8
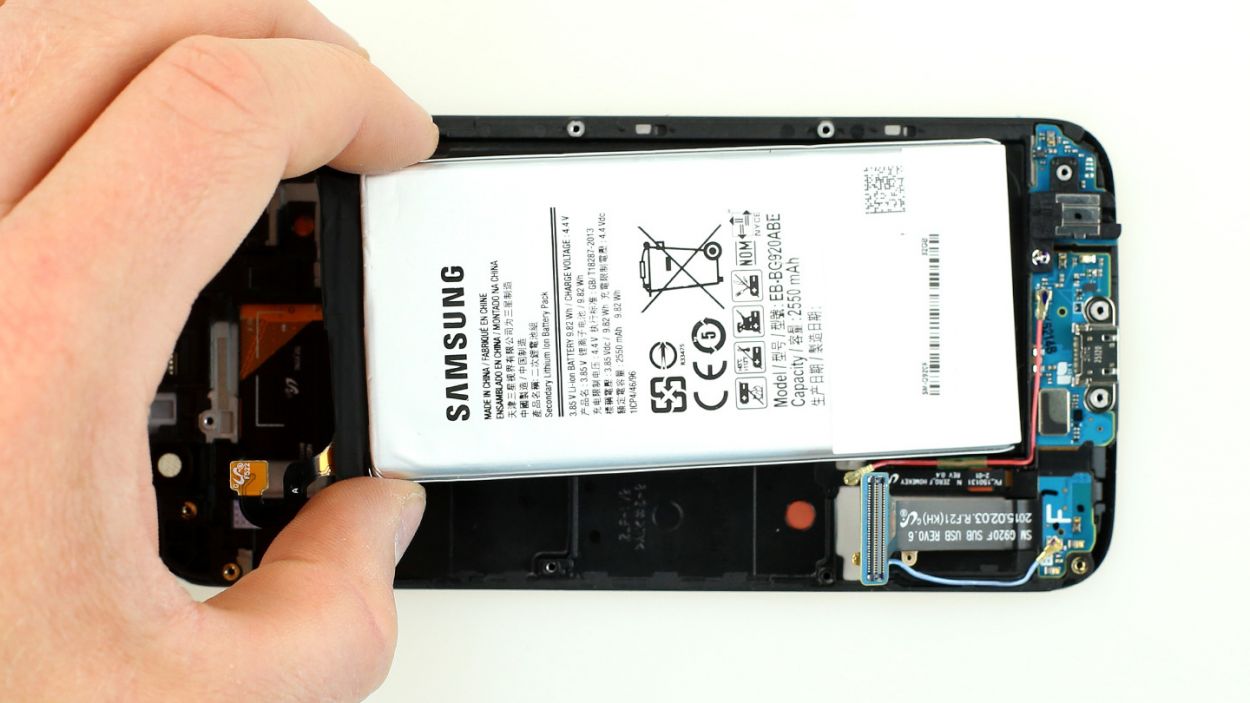
– Alright, let’s get that battery in! Just make sure it’s lined up just right.
– Watch out for the Home button cable – it should be free and not tucked under the battery.
– Now, give it a gentle press onto those adhesive+strips+Samsung+Galaxy+S6&crid=1TJIMMAJSUJUZ&sprefix=repair+tools%2Caps%2C165&linkCode=ll2&tag=salvationrepa-20&linkId=c486487cf454ce8edd6f5beefab4110f&language=en_US&ref_=as_li_ss_tl’>adhesive strips. You’ve got this!
Step 9


– Alright, let’s get that dock connector reattached to the logic board, shall we?
– Now, gently fold it over and tuck it back into the frame.
– Be sure those cables aren’t sneaking under the logic board. Check the picture to confirm your logic board is sitting pretty.
– Time to reconnect all the connectors: Battery, Display, Earpiece, Home button, and Antenna connectors. You’ve got this!
Step 10

– Alright, let’s get that front camera back where it belongs! Place it in its original spot.
– Next up, it’s time to connect the connector to the logic board. You’ve got this!
Step 11

– Time to put the outer frame back where it belongs! Start at the dock connector and give those two frame components a nice, firm press together.
– Once they’re snug, grab your trusty screwdriver and secure them with some screws. You’ll need 13 x 3.3 mm Phillips screws for this part.
Step 12
– Alright, it’s time for the grand finale! Grab that back cover and get ready to seal the deal.
– Chances are, the old glue still has some stickiness left in it, so no worries there.
– Place the back cover back on, give it a little warmth, and then apply a gentle push to secure it onto the smartphone for a bit. You’ve got this!