DIY Guide to Replace Earpiece and Sensors Samsung Galaxy S6
Duration: 60 min.
Steps: 12 Steps
In this repair guide, we’ll walk you through the process of swapping out the faulty earpiece on your Samsung Galaxy S6. If your conversations sound like whispers or you can’t hear the other person at all, it’s time for a change! Plus, if your proximity sensor is acting up, this cable set needs a little TLC too. Let’s get started!
Step 1
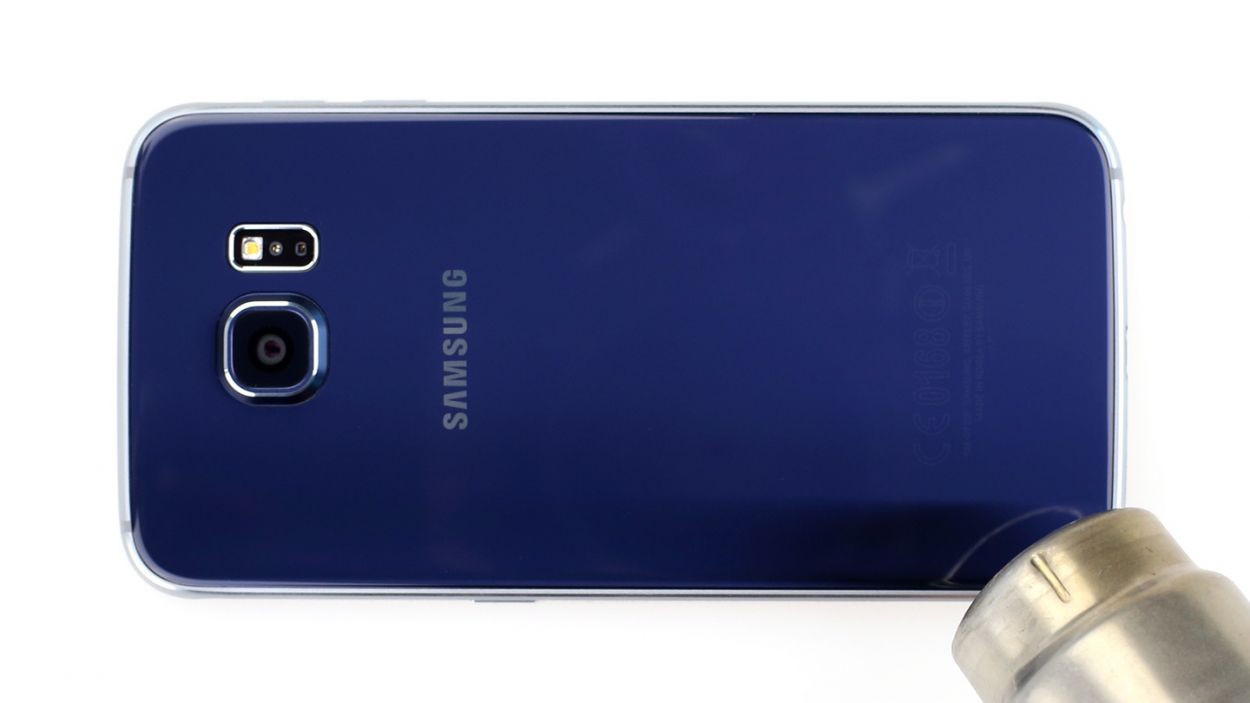
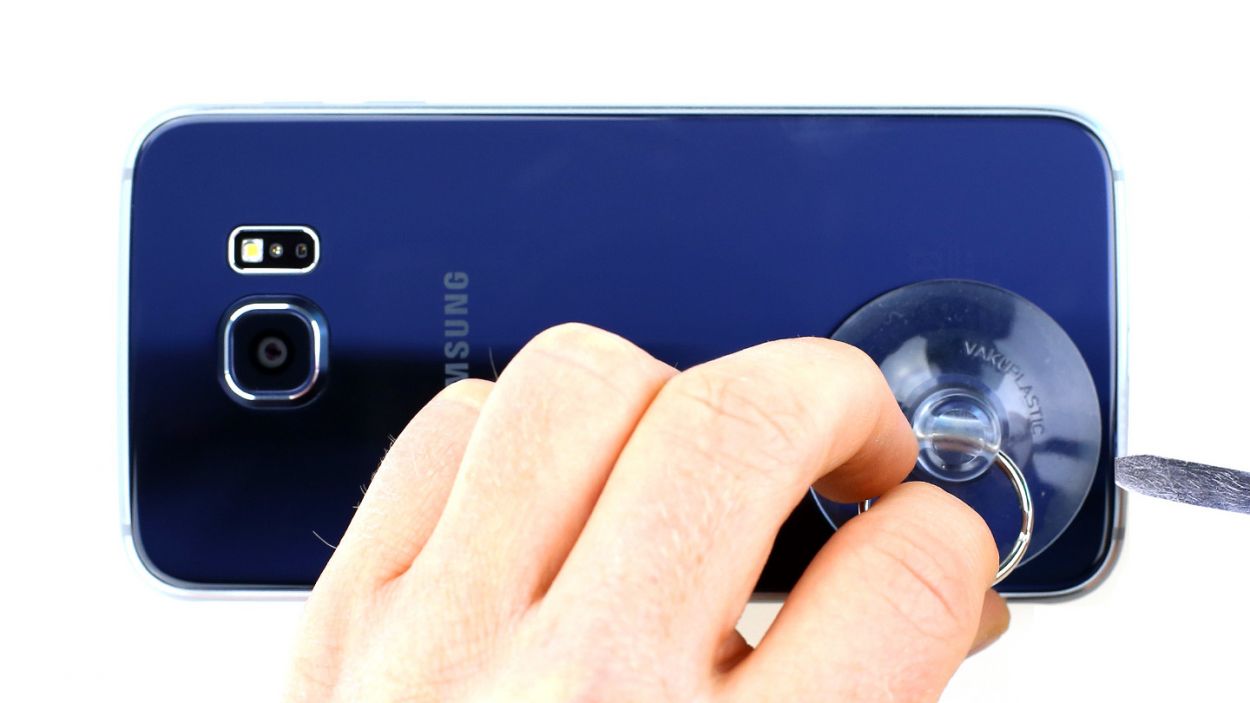
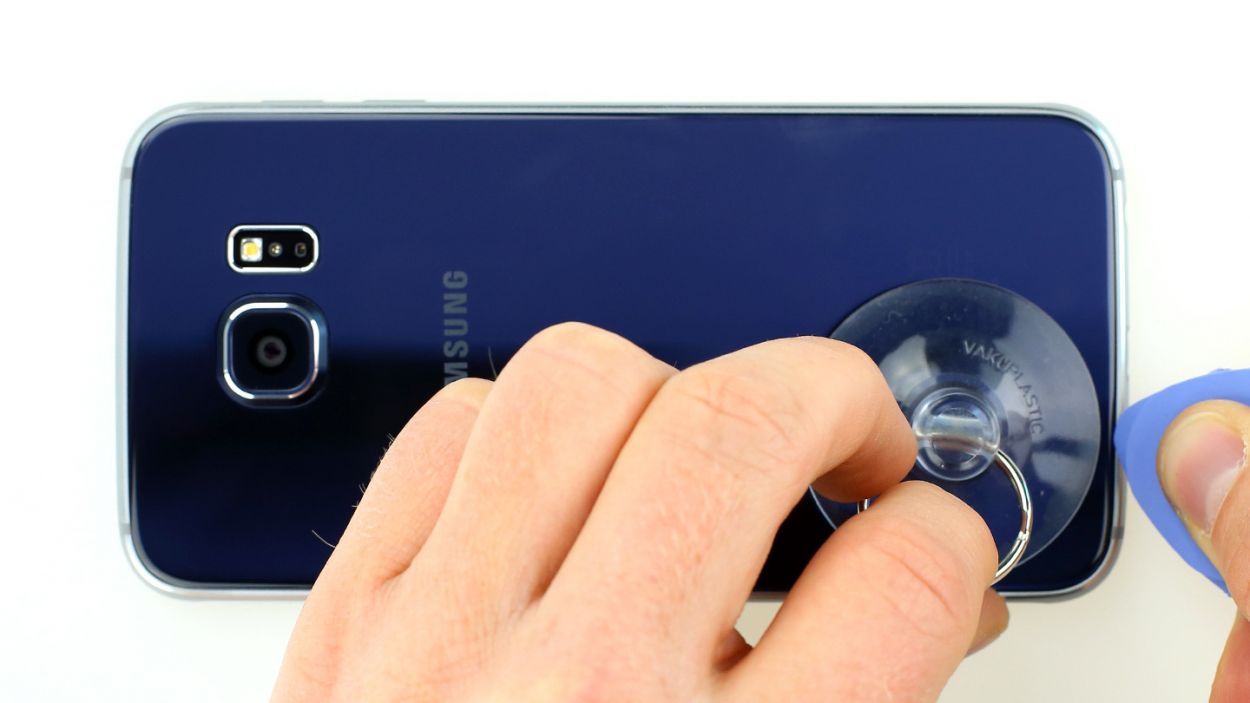
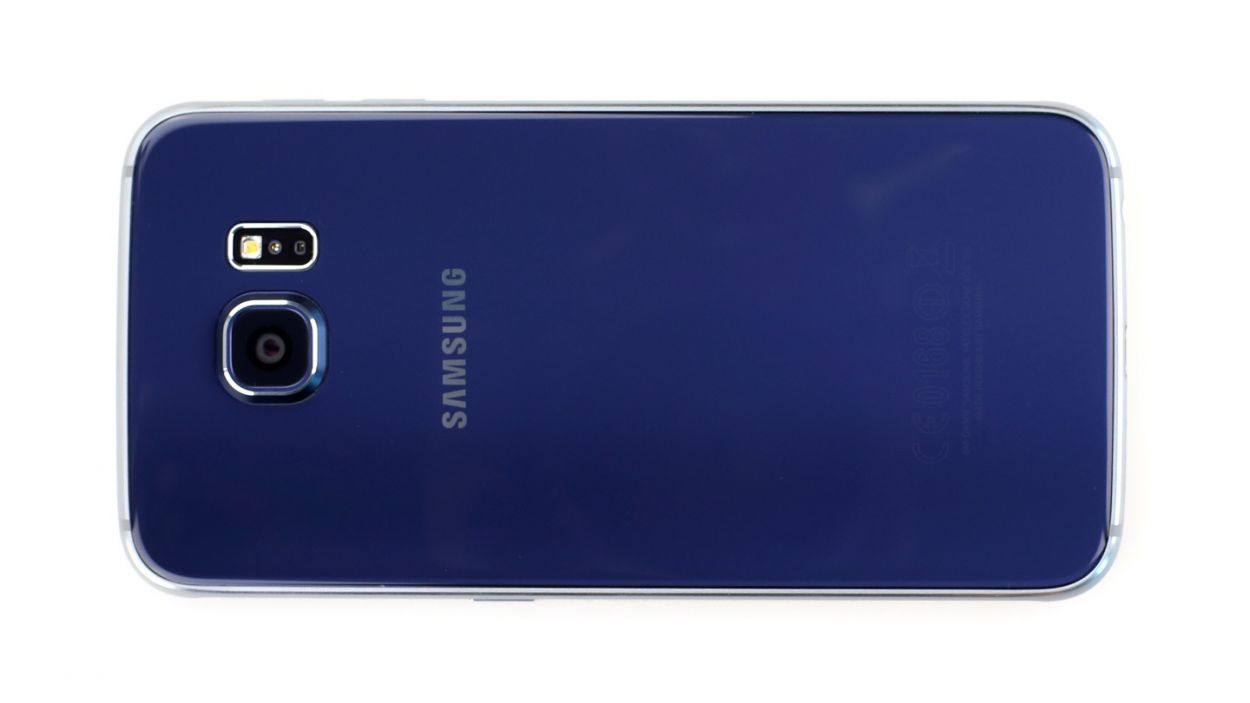
– The back of the Samsung Galaxy S6 is stuck on there pretty well, thanks to some strong glue. To get it off, you’ll want to warm it up with a heat gun to soften that adhesive. Once it’s nice and toasty, grab a plastic pick and gently slide it into the tiny gap between the frame and the glass to break the seal.
– Speaking of that gap, it’s quite narrow! So, make sure to use a flat, sturdy tool to help you get in there without any fuss.
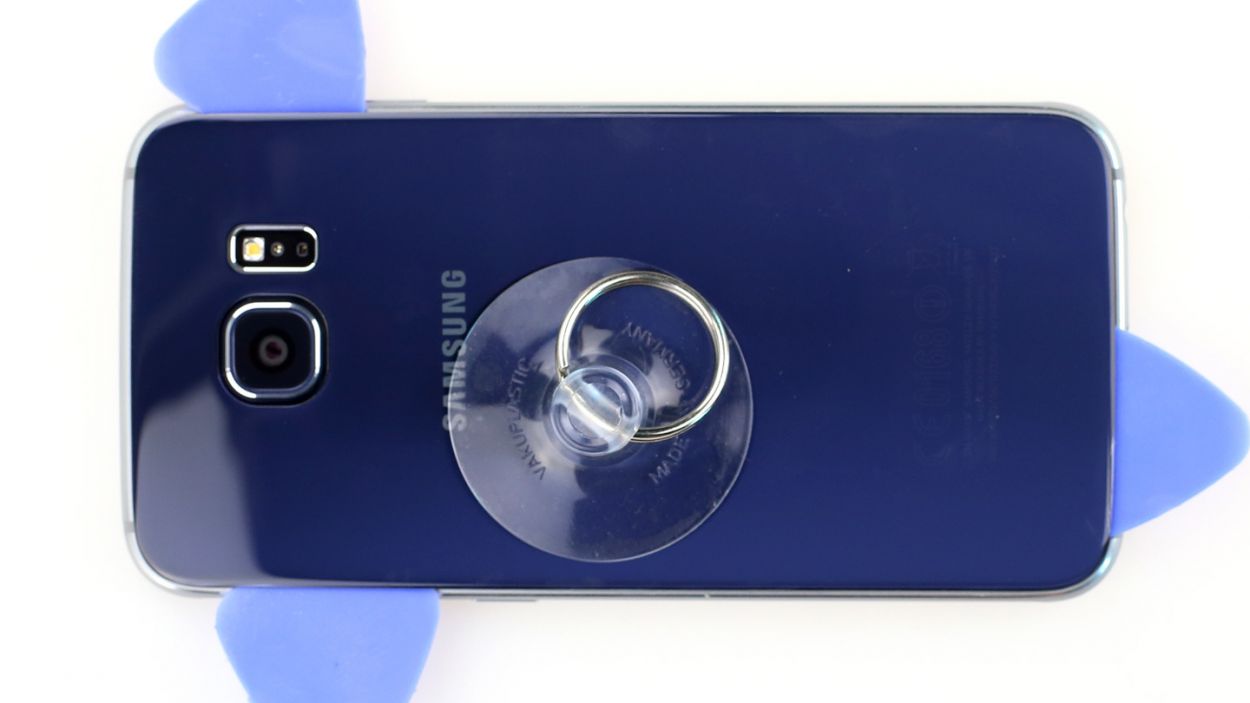
– Now, with a suction cup in hand, carefully lift the back cover. Take your time; we want to keep everything intact!
– As soon as you see a little opening, slide that plastic pick in there to protect the aluminum from any accidental damage.
Step 2
Hey there! The back cover is like a hidden gem on the inside. Make sure to gently peel off any sticky residue to keep your device looking sharp and shiny. Let’s steer clear of any scratches or cracks. If you need a hand, you can always schedule a repair.
– Gently slide the pick just a few millimeters between the back cover and the frame to keep everything inside safe and sound.
– The back cover is glued all around the outer edge of your Galaxy S6. Carefully run the pick all the way around the phone. Remember, the inside is painted, so take your time and remove any leftover adhesive with care to avoid scratches or cracks.
– Once you’ve freed up all that glue, you can gently lift off the back cover like a pro!
Step 3
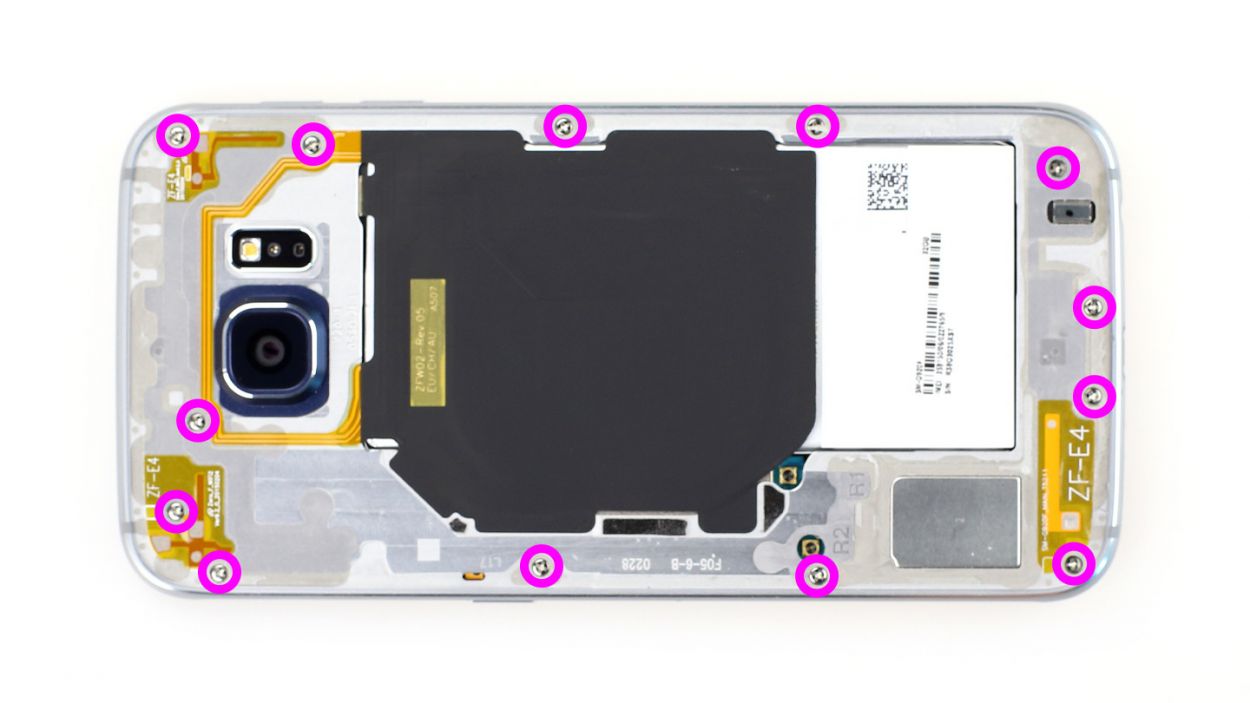
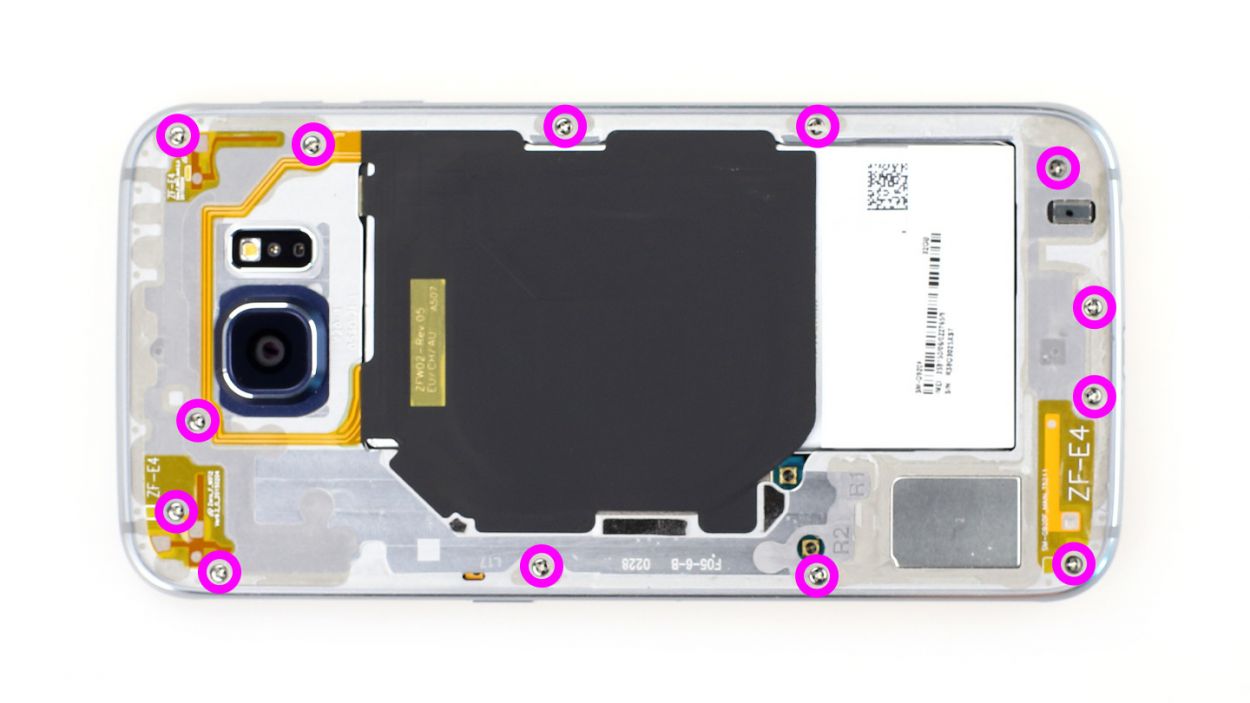
– Pop out those 13 Phillips screws holding the plastic cover in place. (13 x 3.3 mm Phillips screws)
– Eject the SIM card tray.
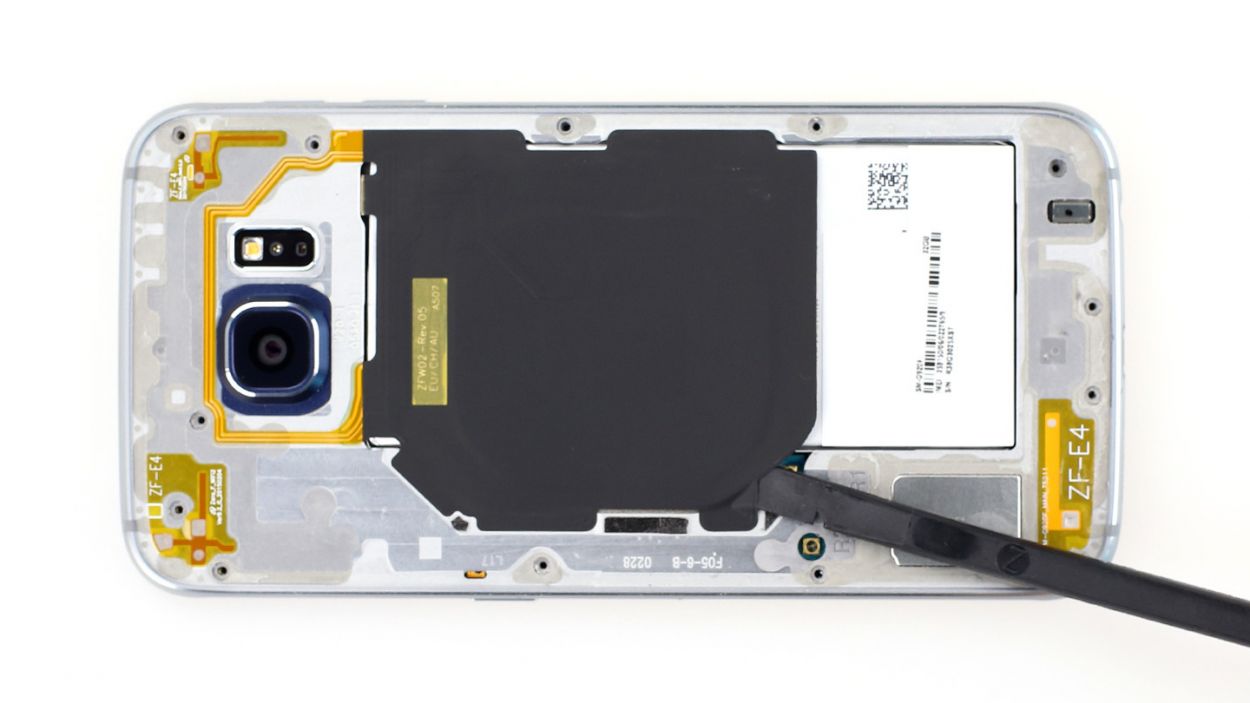
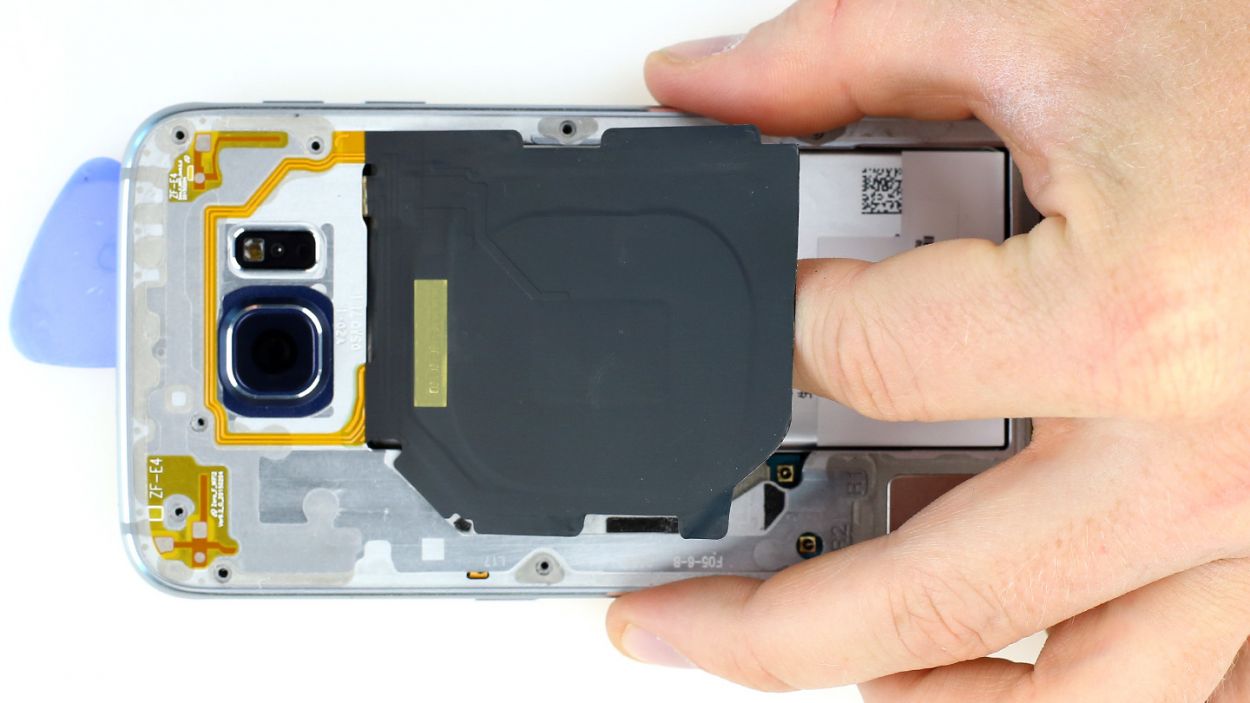
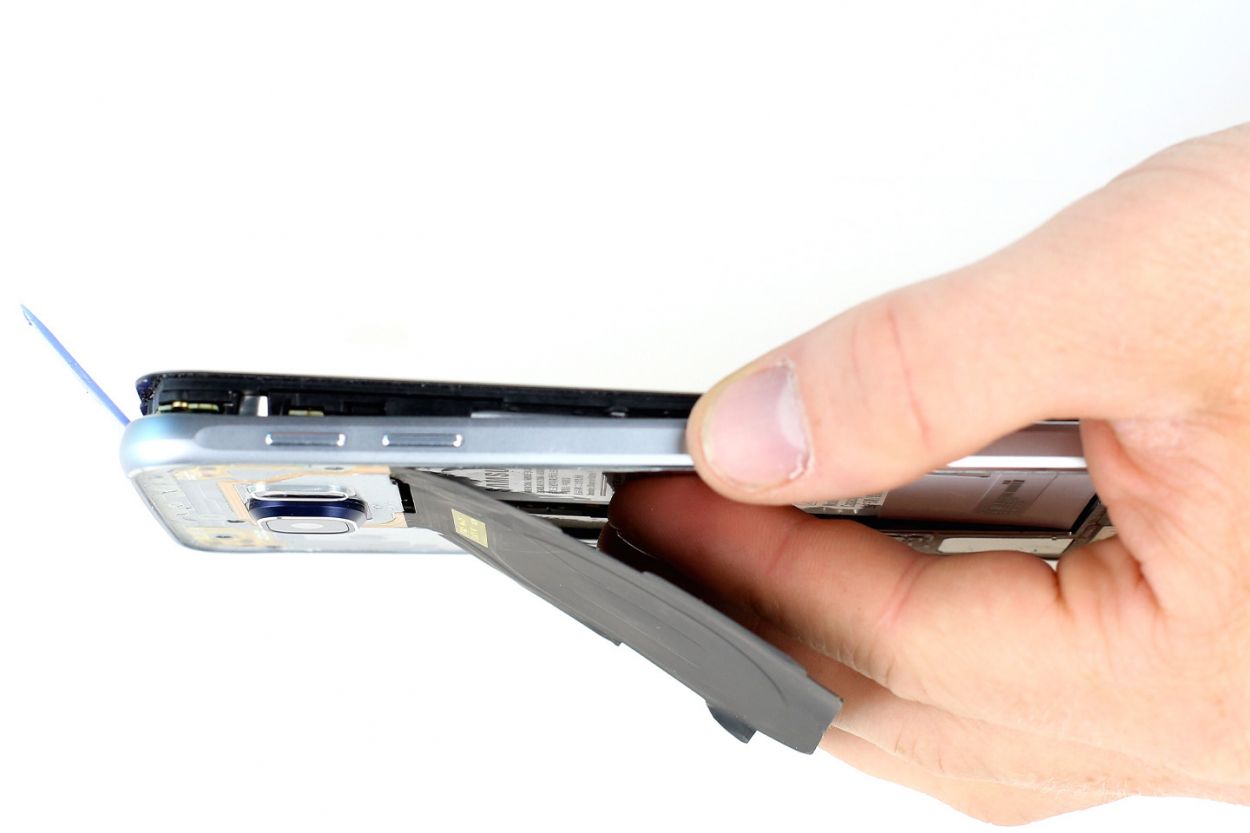
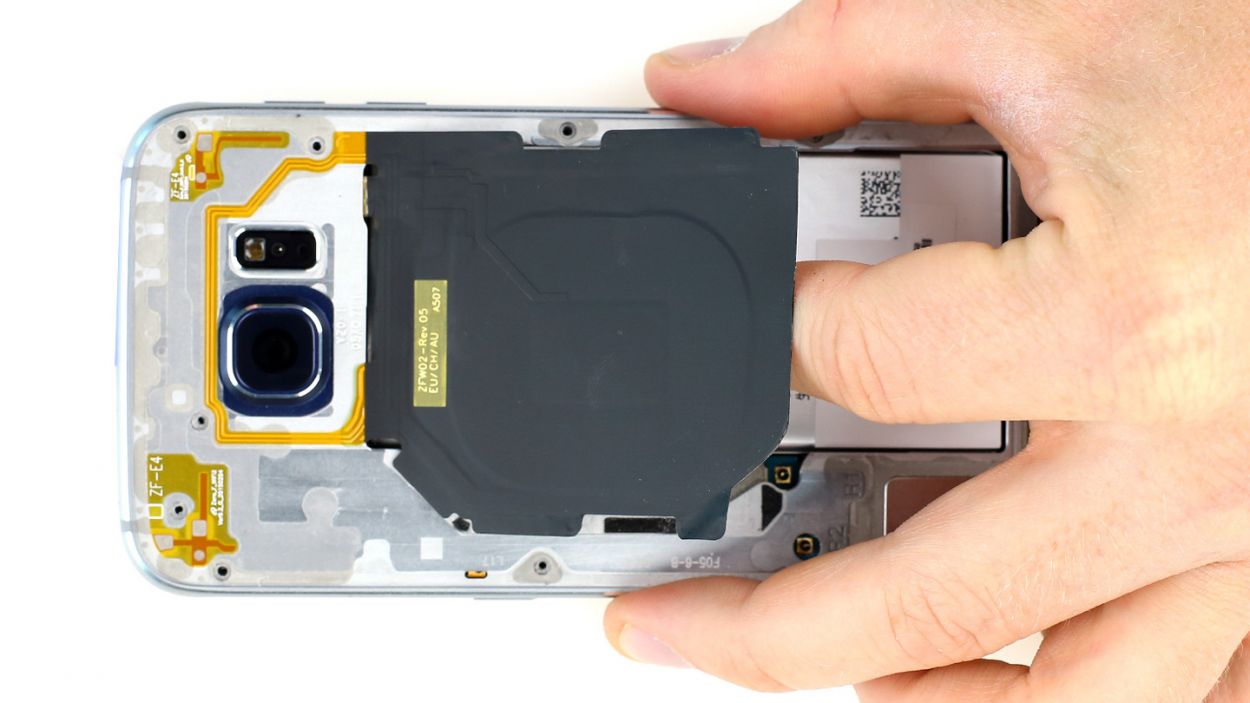
– Gently lift the wireless charging pad. It’s lightly glued to the midframe.
– To remove the midframe, carefully push down the battery and the rest of the smartphone. Use your other hand to push up the frame. If it doesn’t budge, carefully insert a pick between the display and the frame, and press it upward.
Step 4
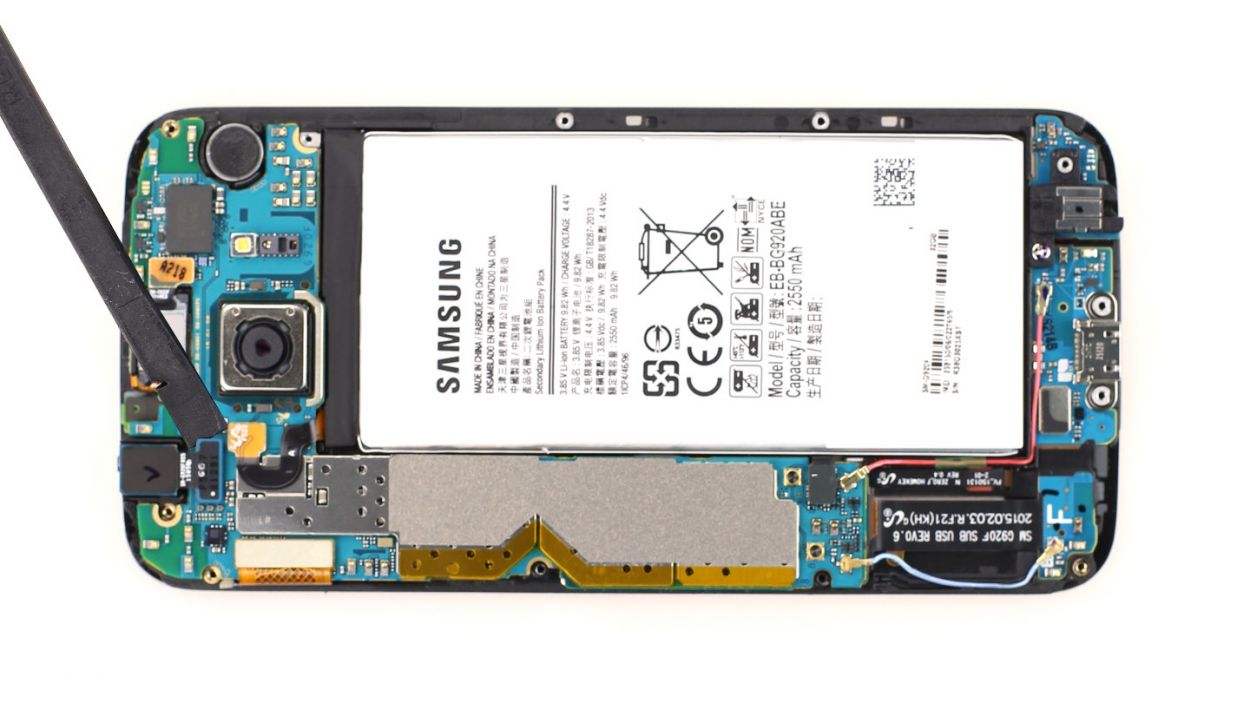
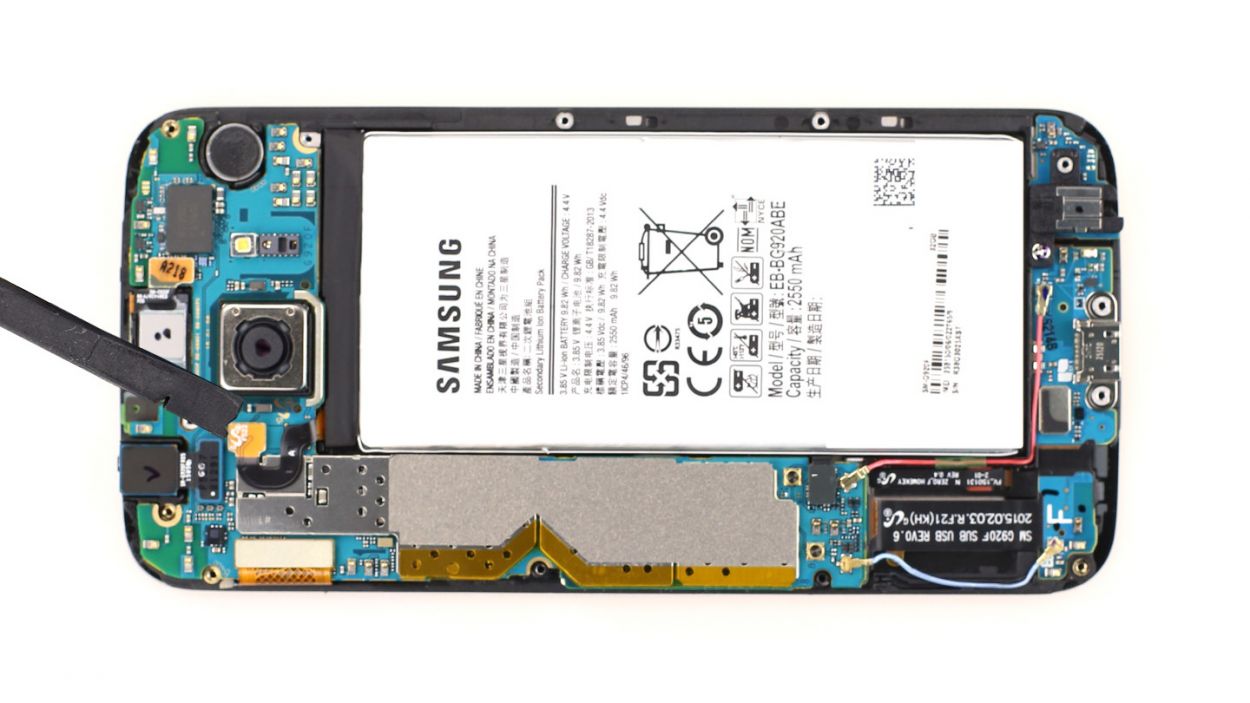
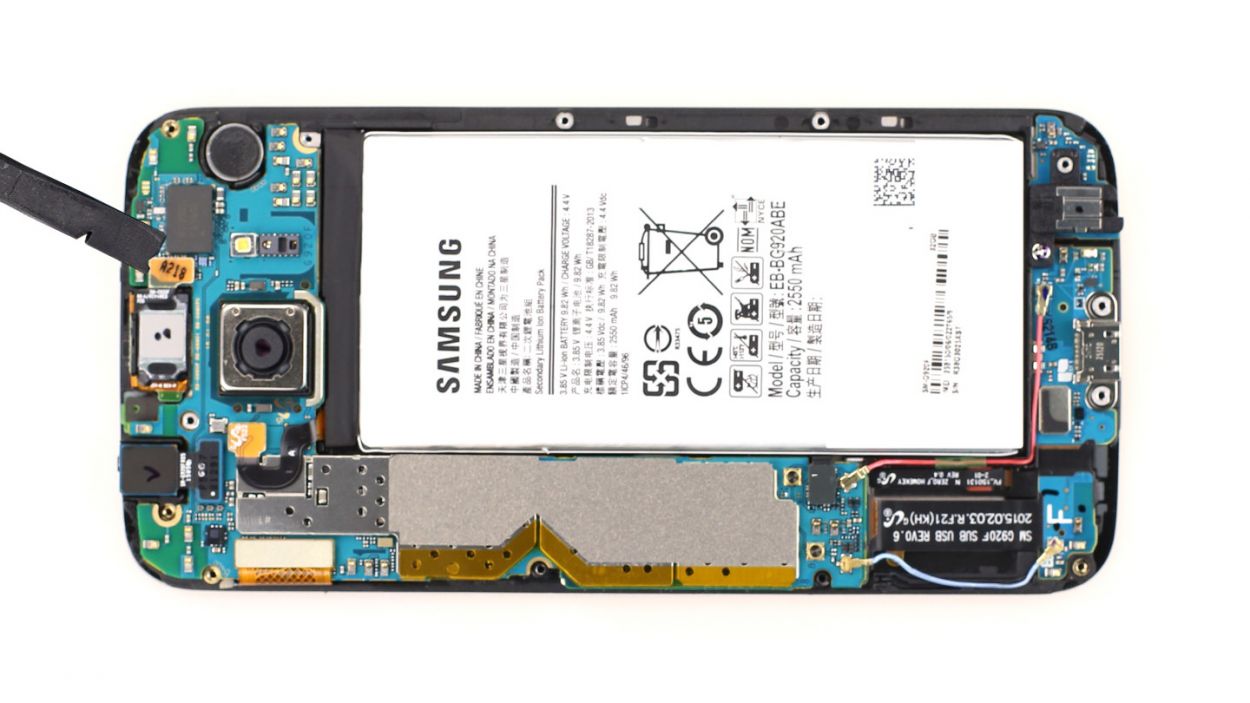
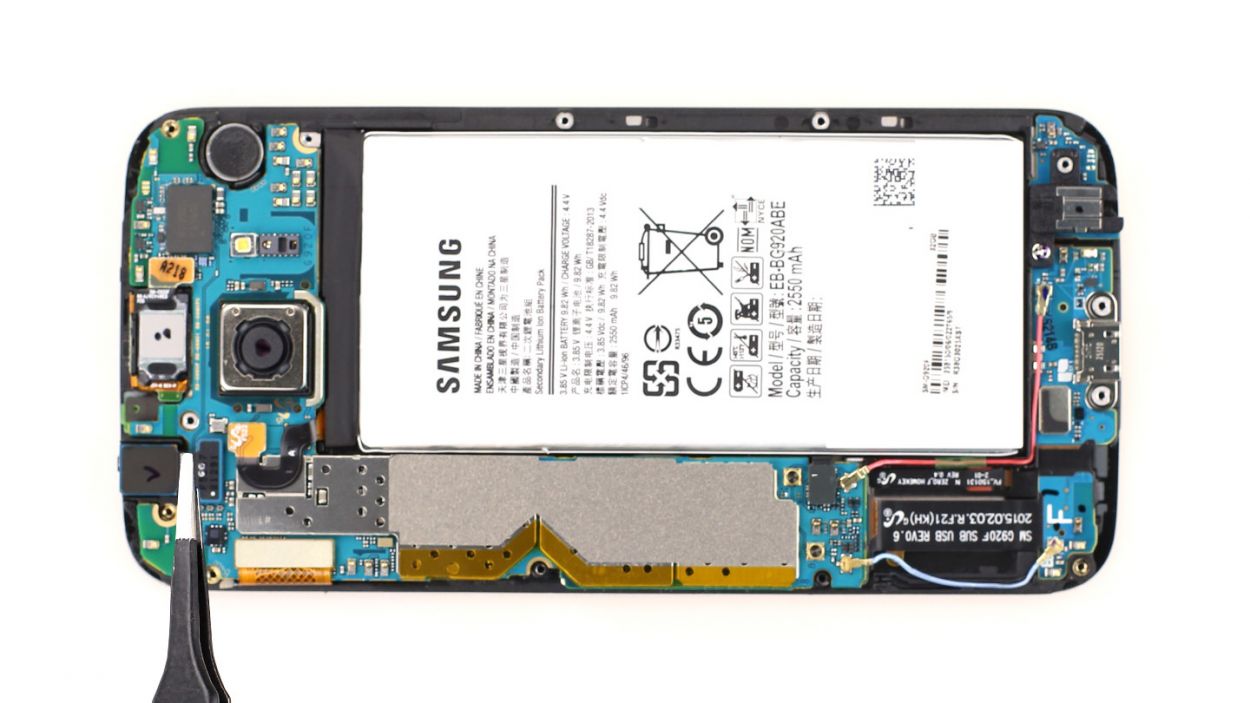
– Gently slide the spudger’s pointed tip just below the contact and give it a little lift. Be careful not to knock off those tiny resistors soldered onto the logic board—they’re pretty important!
– Now it’s time to disconnect the front camera connector. Take it slow and steady; you got this!
Step 5
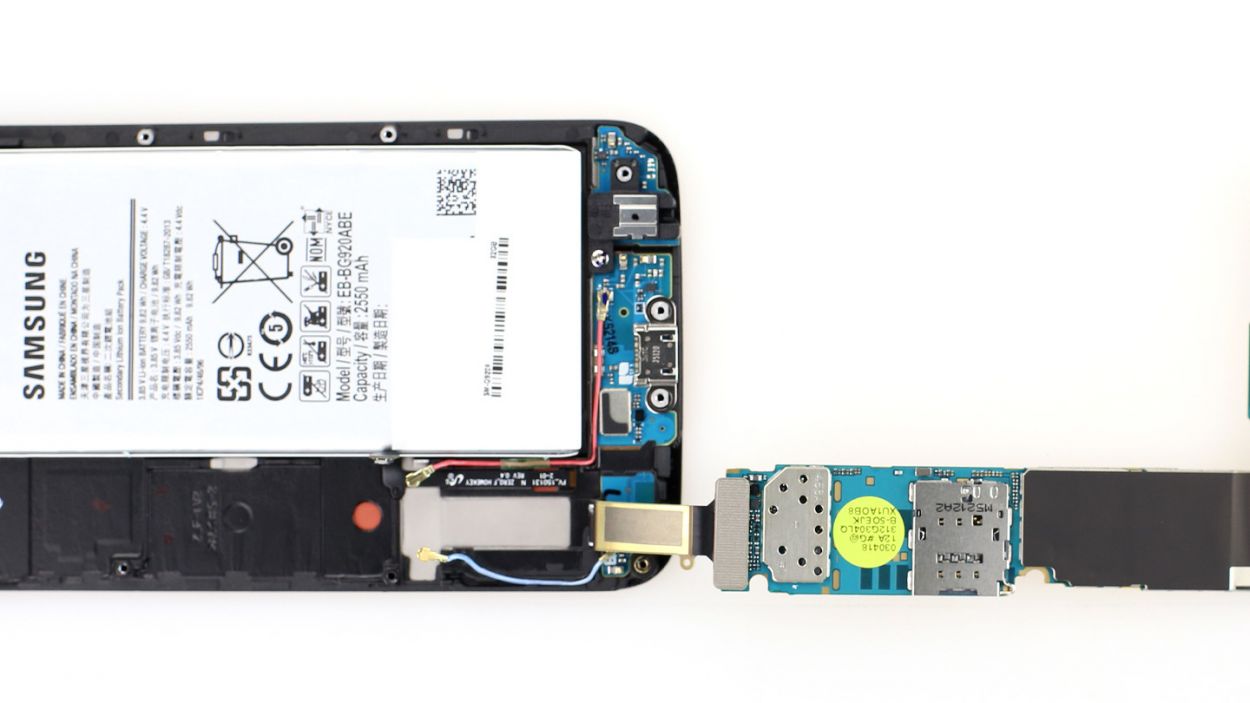
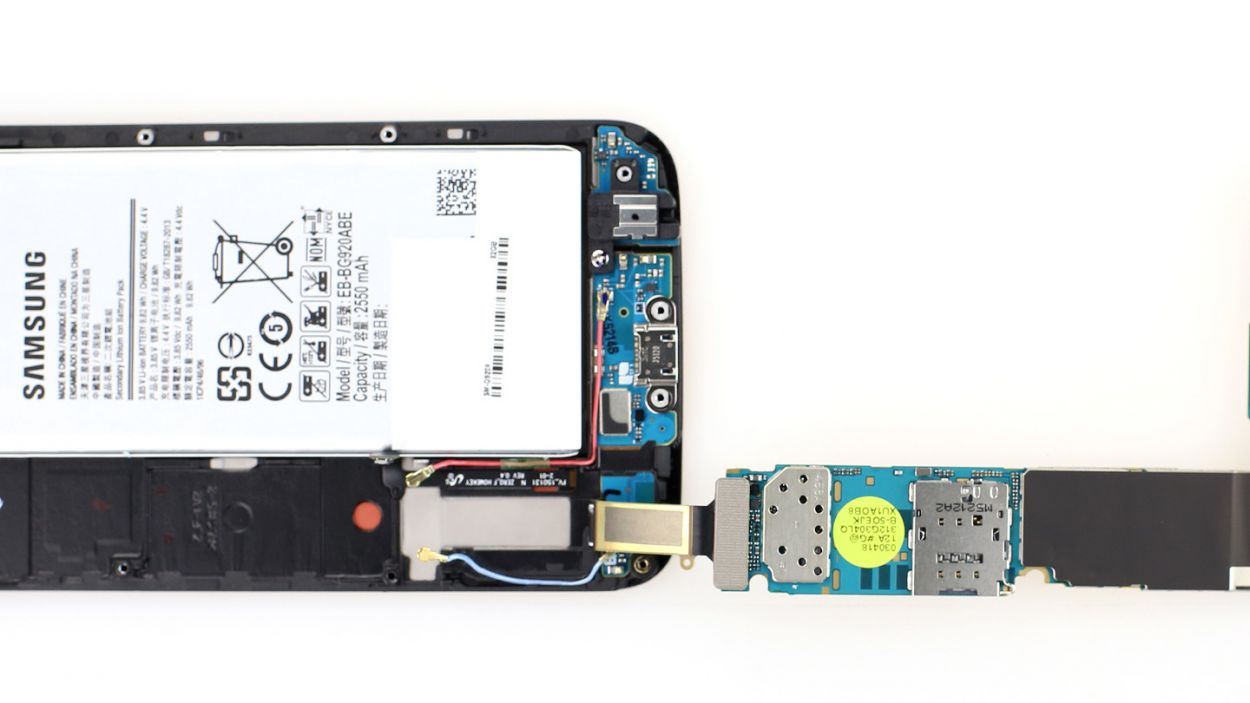
Hey there! Just a heads up, the back of the logic board is still snugly connected to the dock connector. Make sure to take care when handling it!
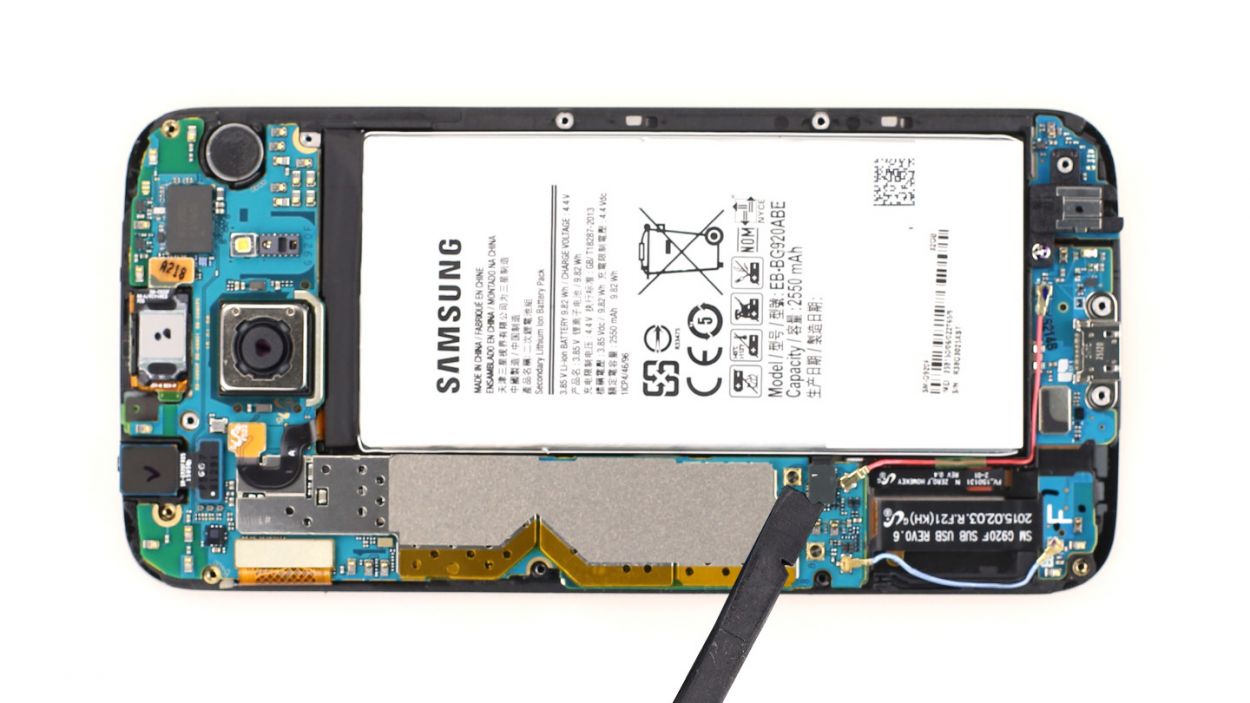
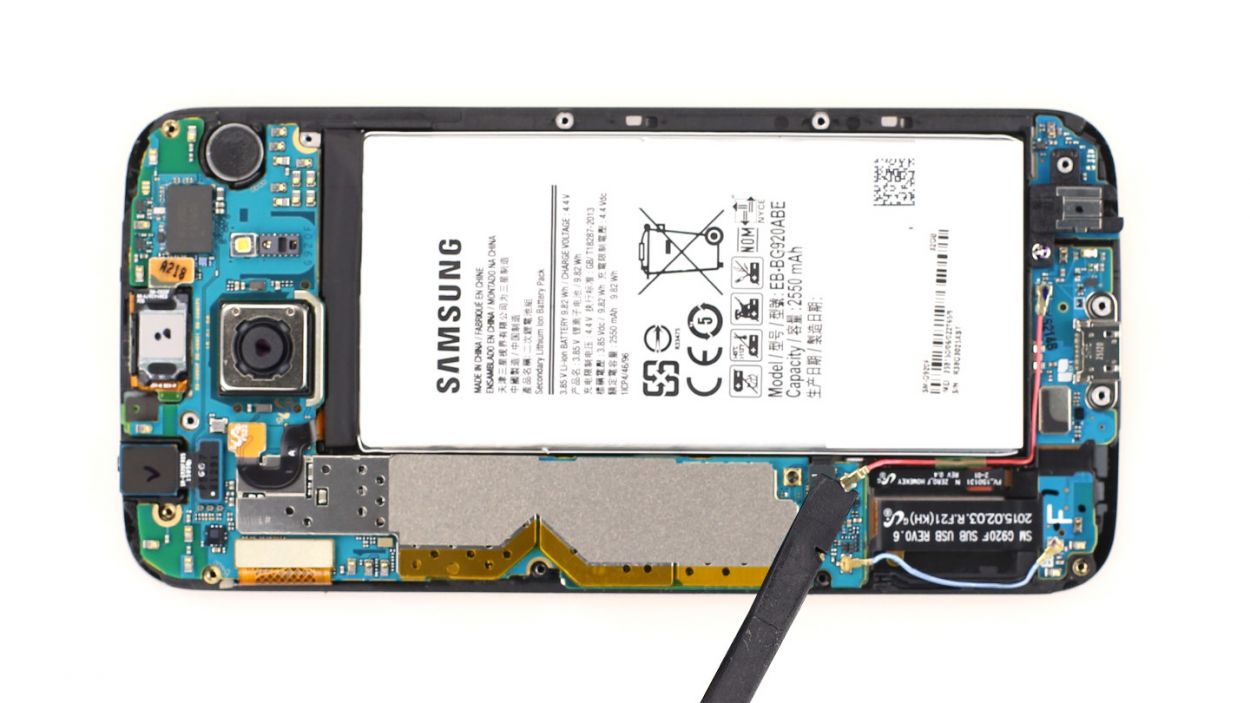
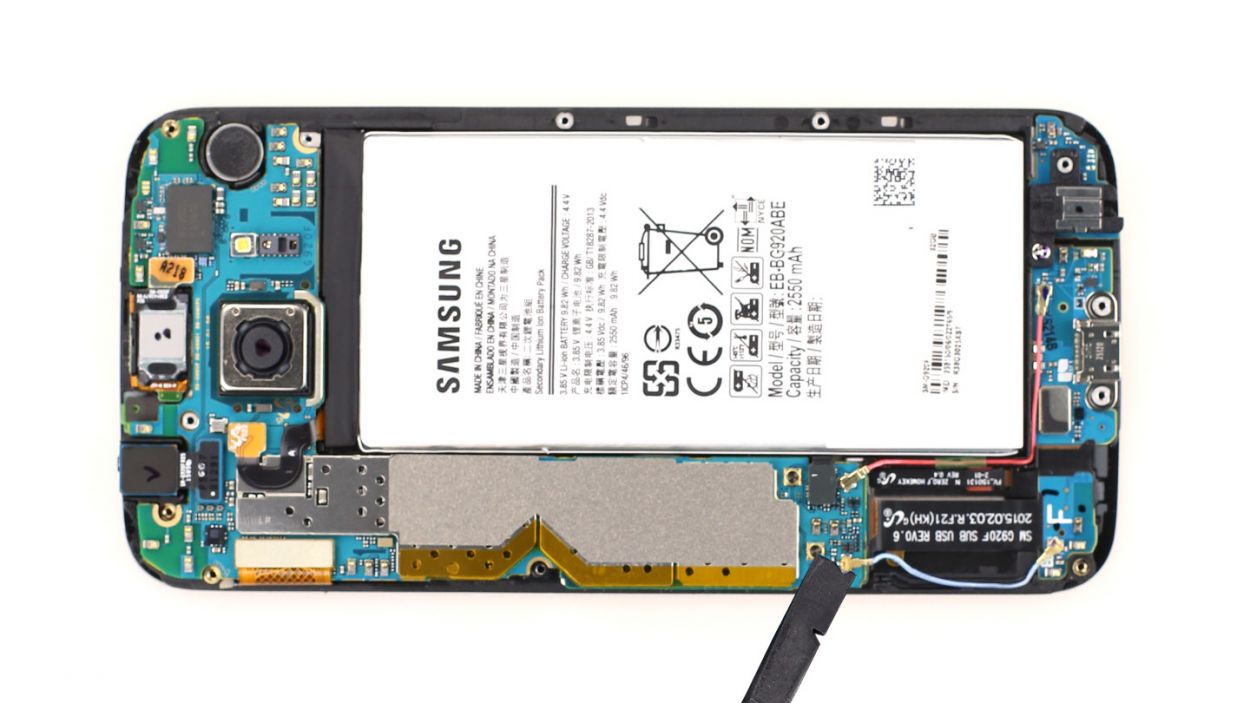
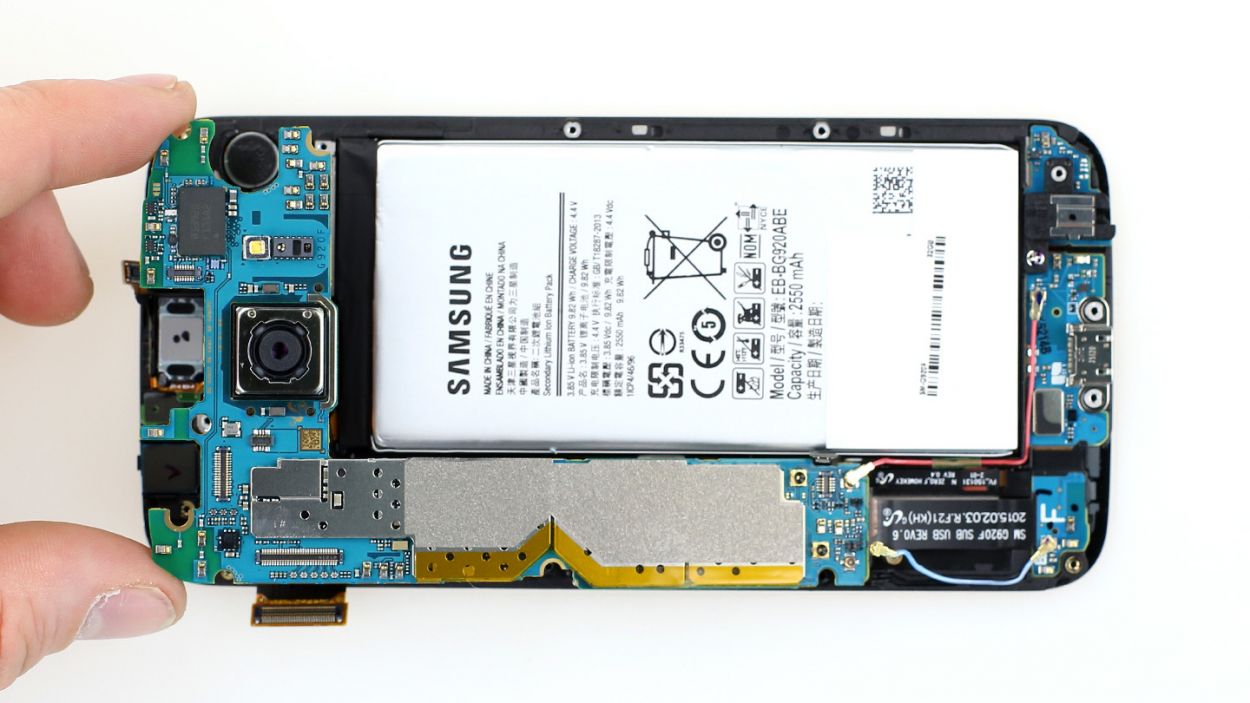
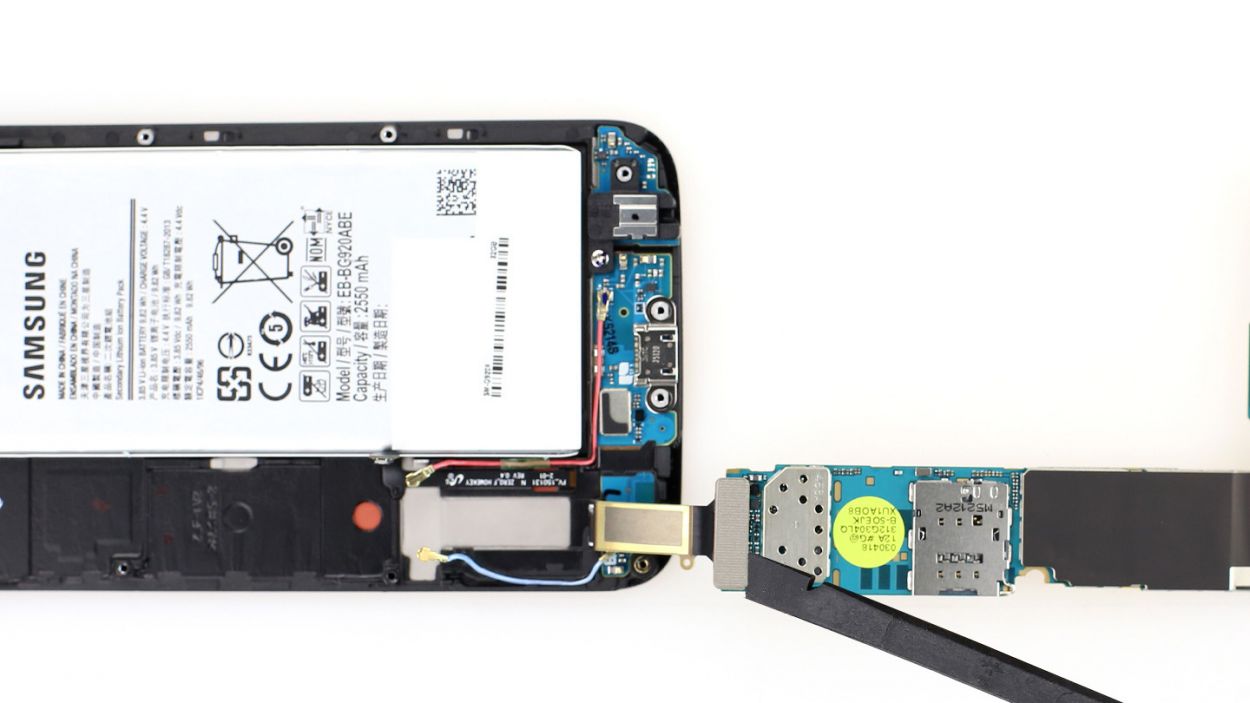
– Time to disconnect some contacts! Grab your trusty spudger and gently slide the flat end just below the contacts. Give them a little lift and watch them pop up like magic. We’re focusing on the Battery, Display, Earpiece, Home button, and those two antenna connectors.
– Now that you’ve got those contacts sorted, it’s time to lift the logic board. Gently raise it at the back camera level and fold it to the side. Just a heads up—the back of the logic board is still attached to the dock connector, so handle it with care!
Step 7
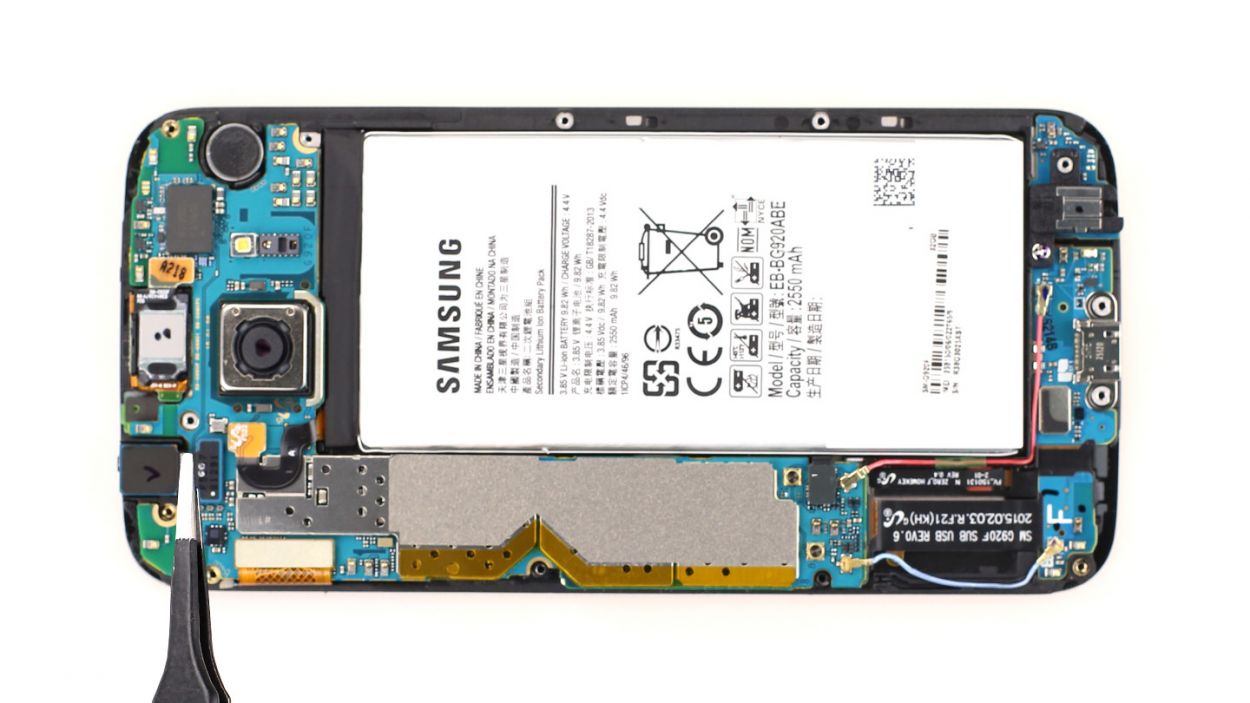
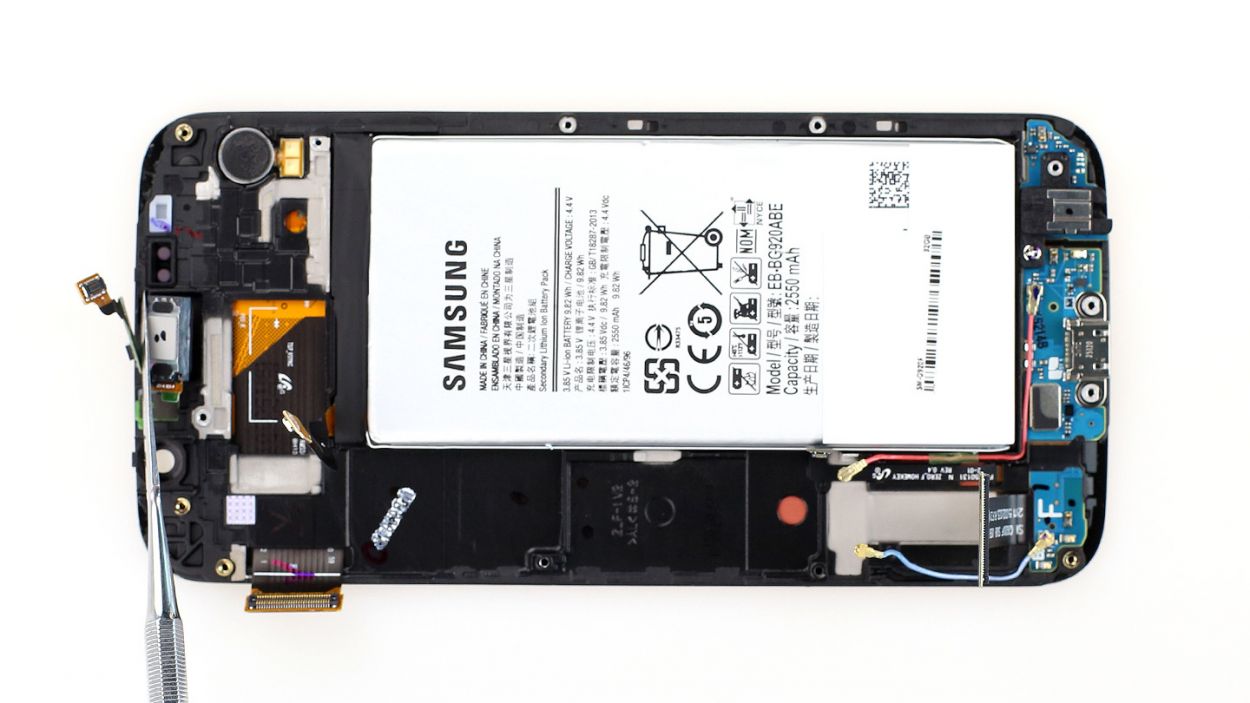
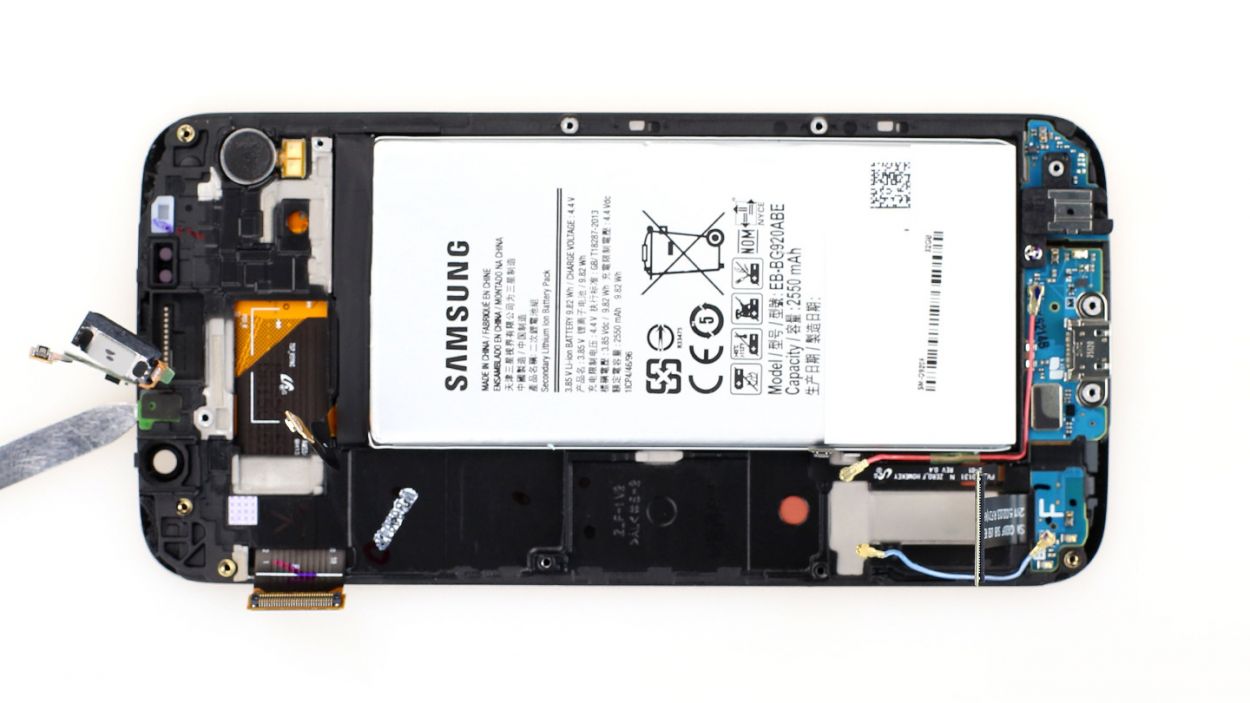
– The earpiece is nestled in a cozy little nook. Grab your metal spatula and gently lift it out to the side.
– The sensor is hanging out just inside the frame. Use that trusty spatula to nudge it out.
Step 8
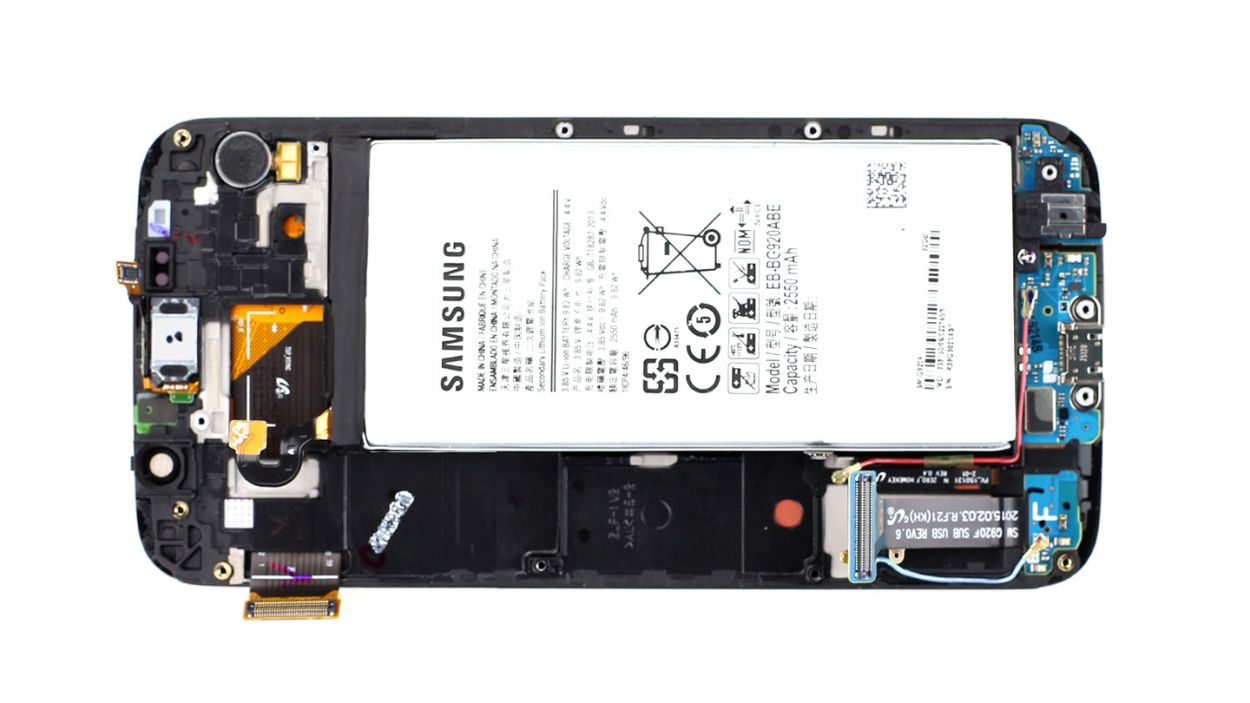
– Time to jazz up and slide that earpiece/sensor cable back into its groove like a pro.
Step 9
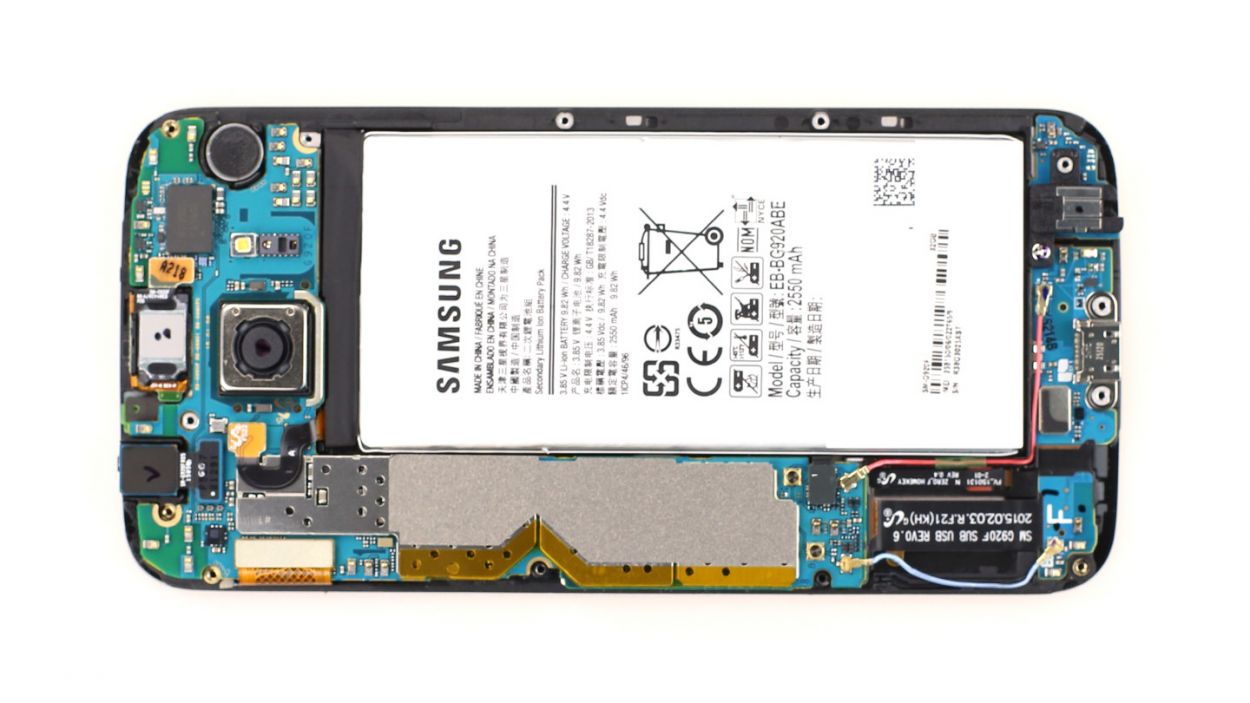
– Alright, let’s get that dock connector reattached to the logic board! Just plug it back in.
– Now, give it a gentle fold and tuck it into the frame.
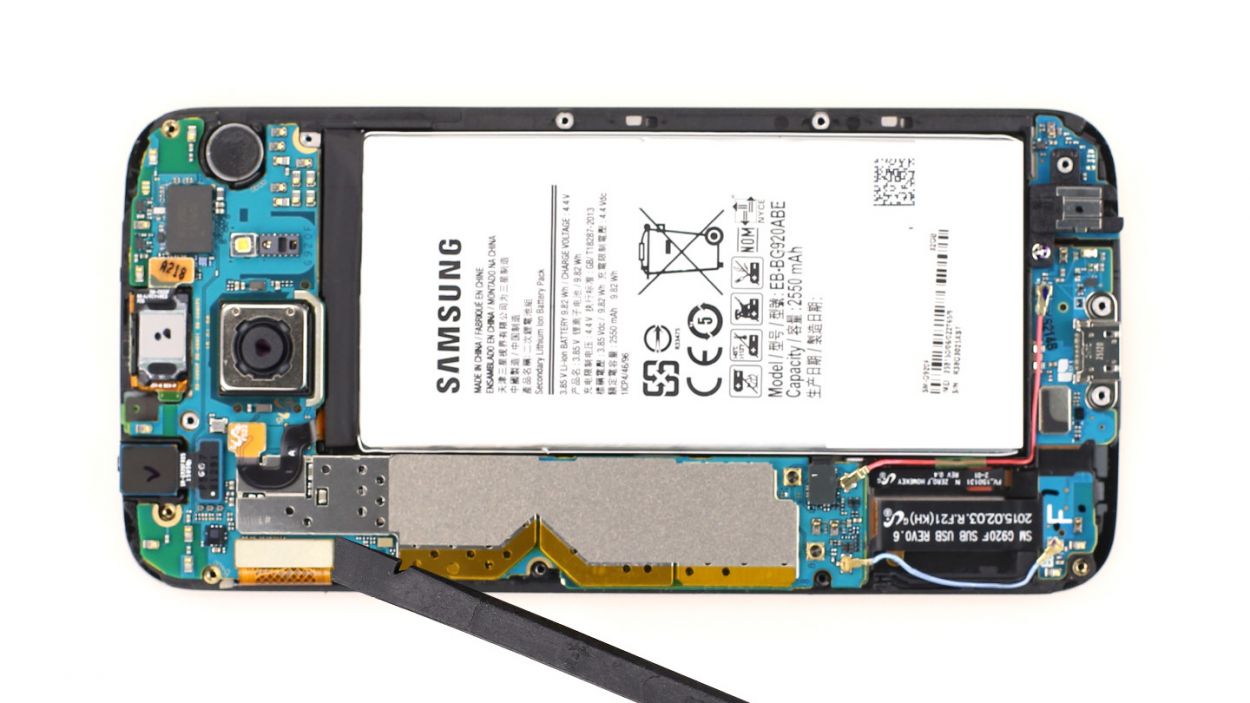
– Be sure those cables are staying clear of the logic board. Check the picture to make sure your logic board is sitting just right.
– Time to reconnect all the connectors: Battery, Display, Earpiece, Home button, and Antenna connectors. You’ve got this!
Step 10
– Now, let’s gently place that front camera back where it belongs.
– Next up, connect the connector to the logic board, and we’re one step closer to masterpiece mode!
Step 11
– First things first, let’s get that outer frame back on the main component! Begin at the dock connector and give a solid press to join those two frame pieces together.
– Once they’re snug, it’s time to secure them with some screws. Grab your 13 x 3.3 mm Phillips screws and tighten them up!
Step 12
– Alright, last step! Pop that back cover back on.
– The old glue should still be sticky enough.
– Place the back cover, give it a little heat, and press it firmly onto your smartphone for a bit.
