DIY Guide to Replace Fairphone 1 Chassis Step-by-Step
Duration: 30 min.
Steps: 10 Steps
In this guide, we’ll walk you through the process of swapping out your Fairphone’s chassis all by yourself! If your chassis is looking a bit worse for wear or has taken a beating, it’s time for a change. Let’s get started!
Step 1
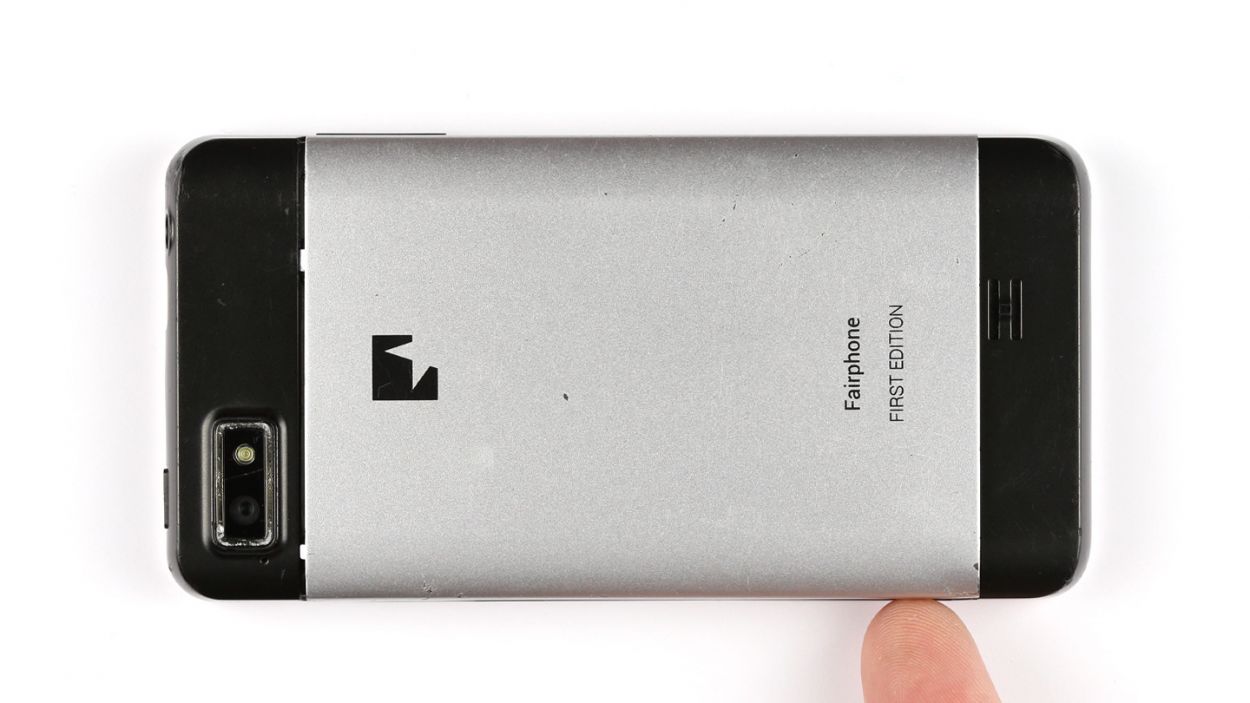

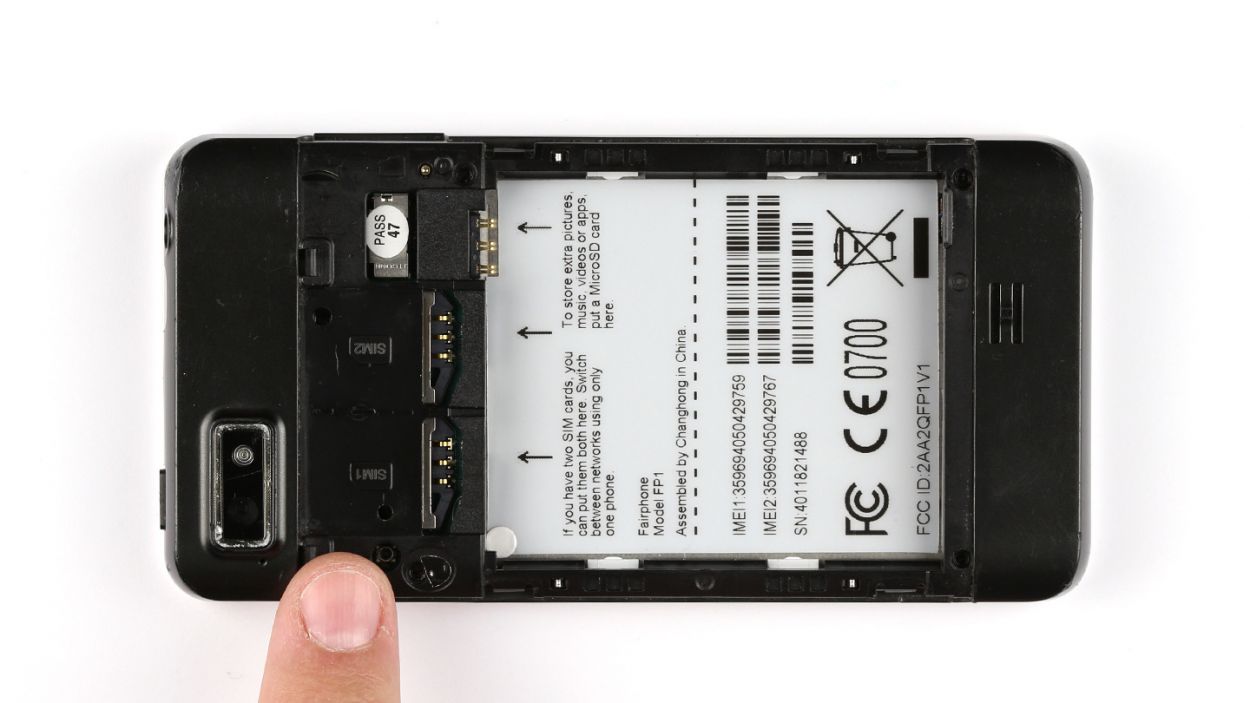
– Hey there, buddy! Ready to make your smartphone look brand-new? Start by giving the back cover a little lift using your groovy fingers. There’s a handy little spot on the side of your Fairphone made just for this, so don’t be shy.
– Now, give that back cover a gentle tug and pull it right off. Easy peasy!

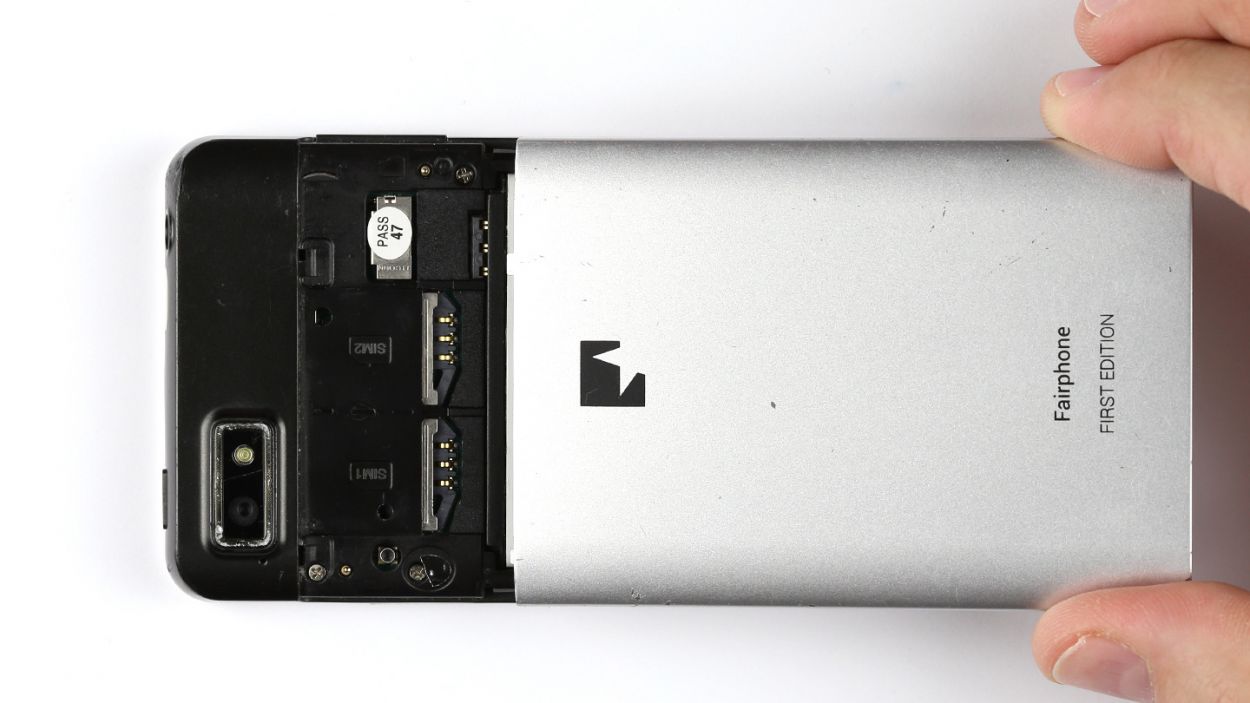
Step 3
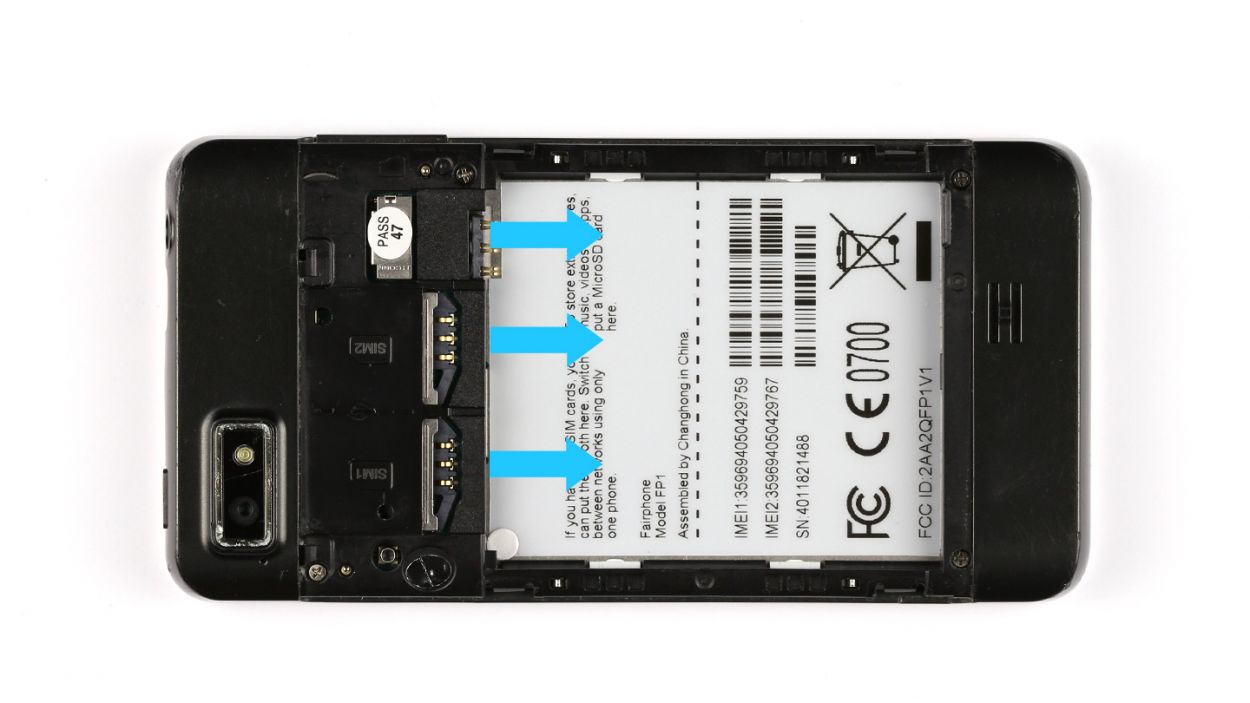
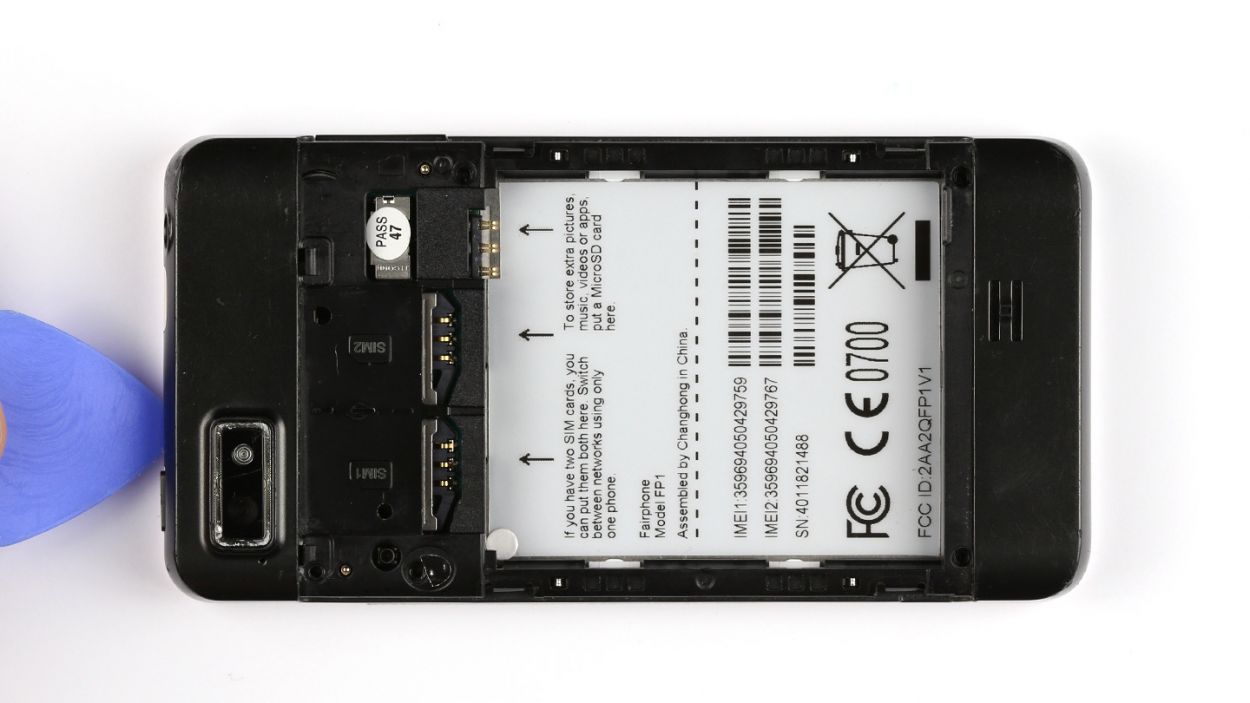
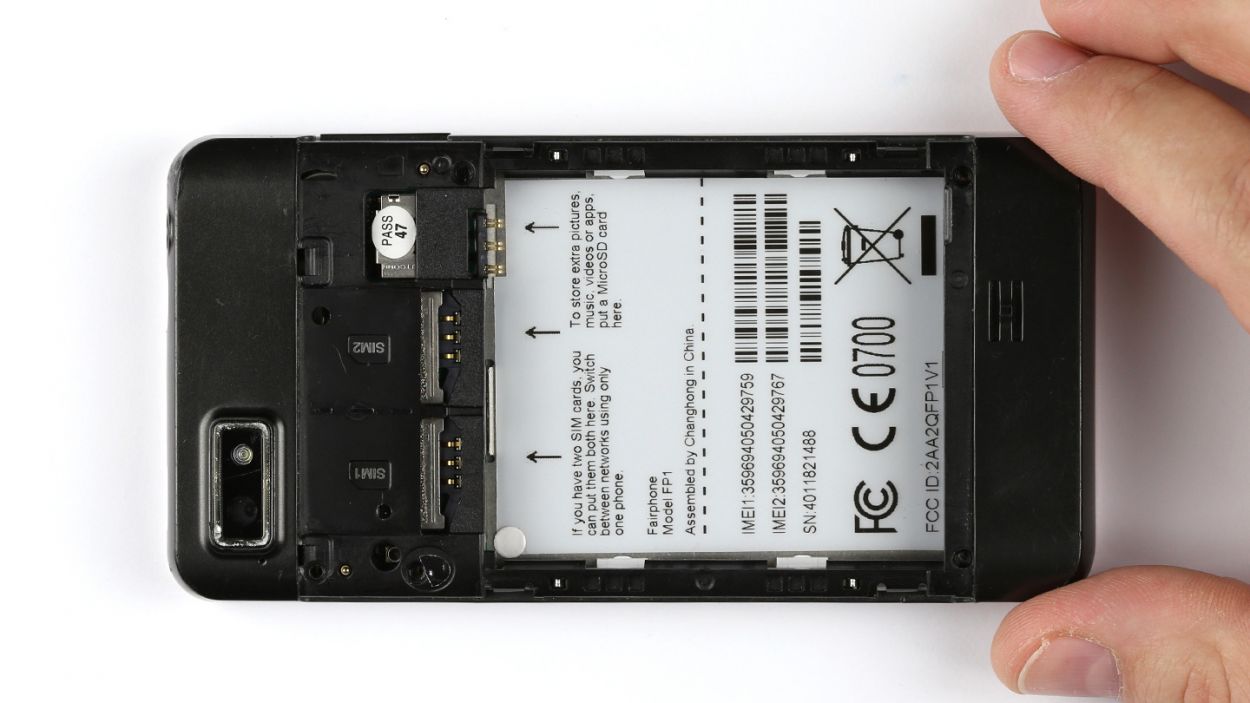
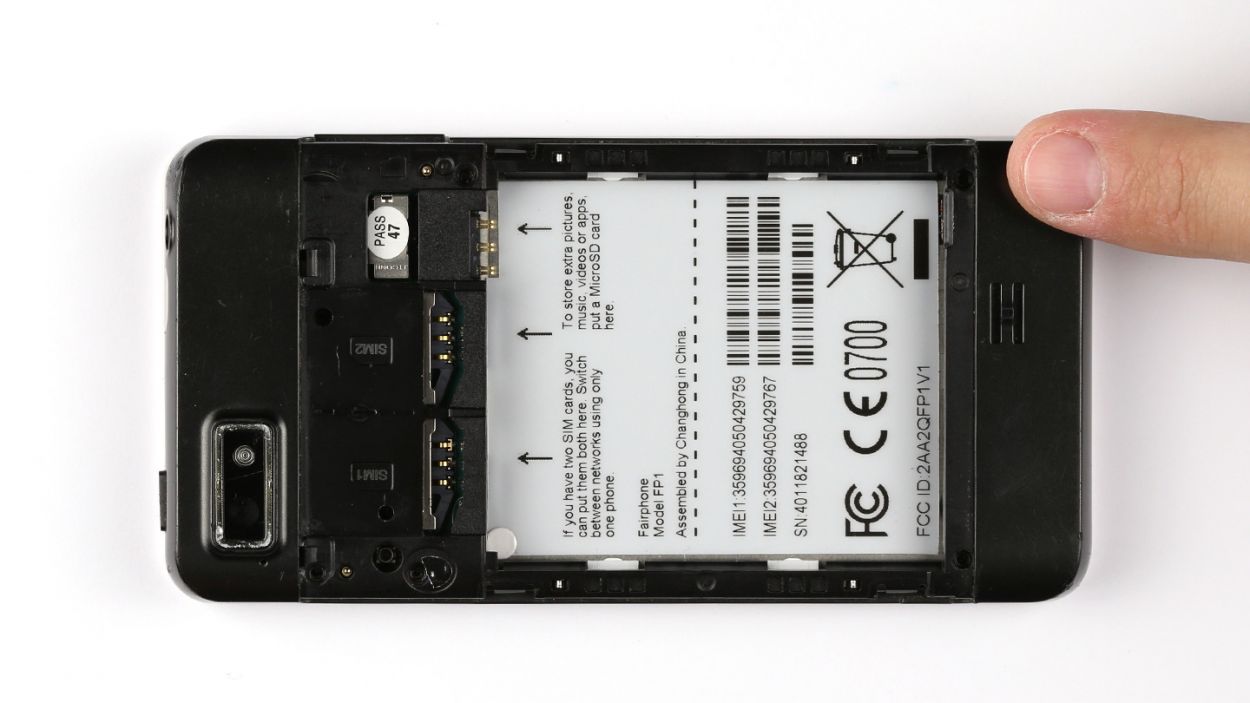
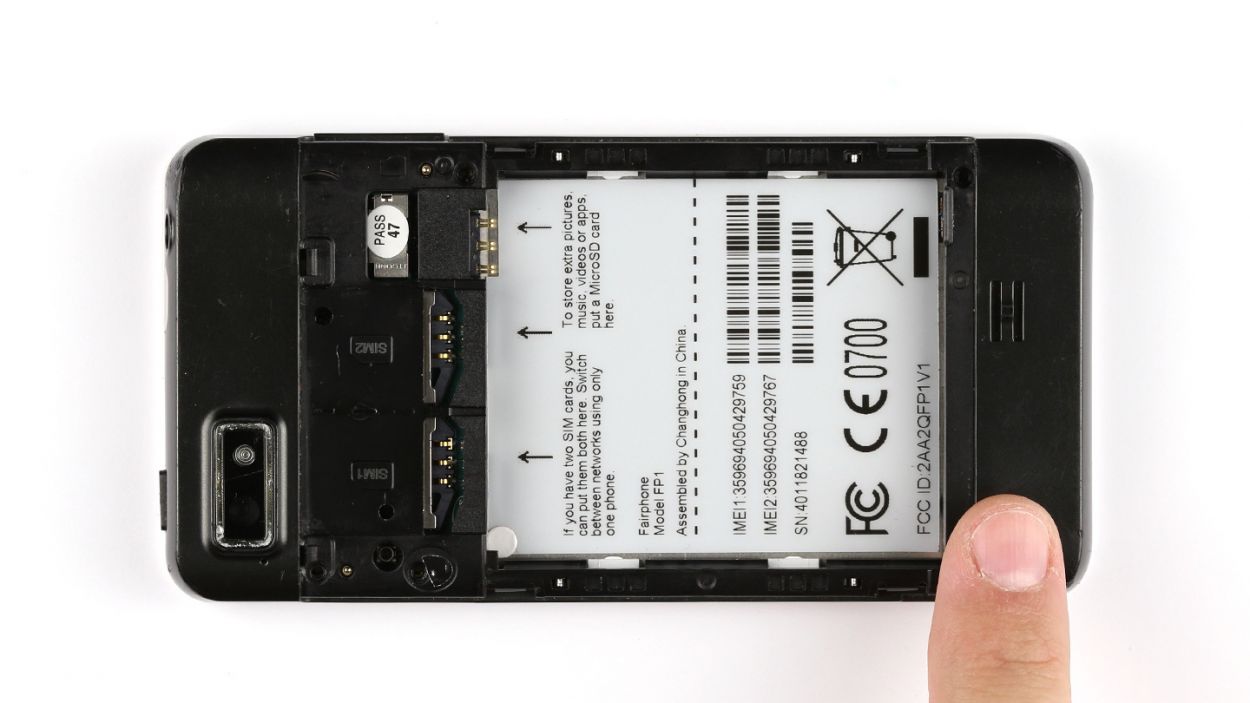
– Alright, let’s get this repair party started! Remove the SIM cards first, you know, the ones that make your phone call, text, and surf the web. Yep, those ones. Take ’em out!
Step 4
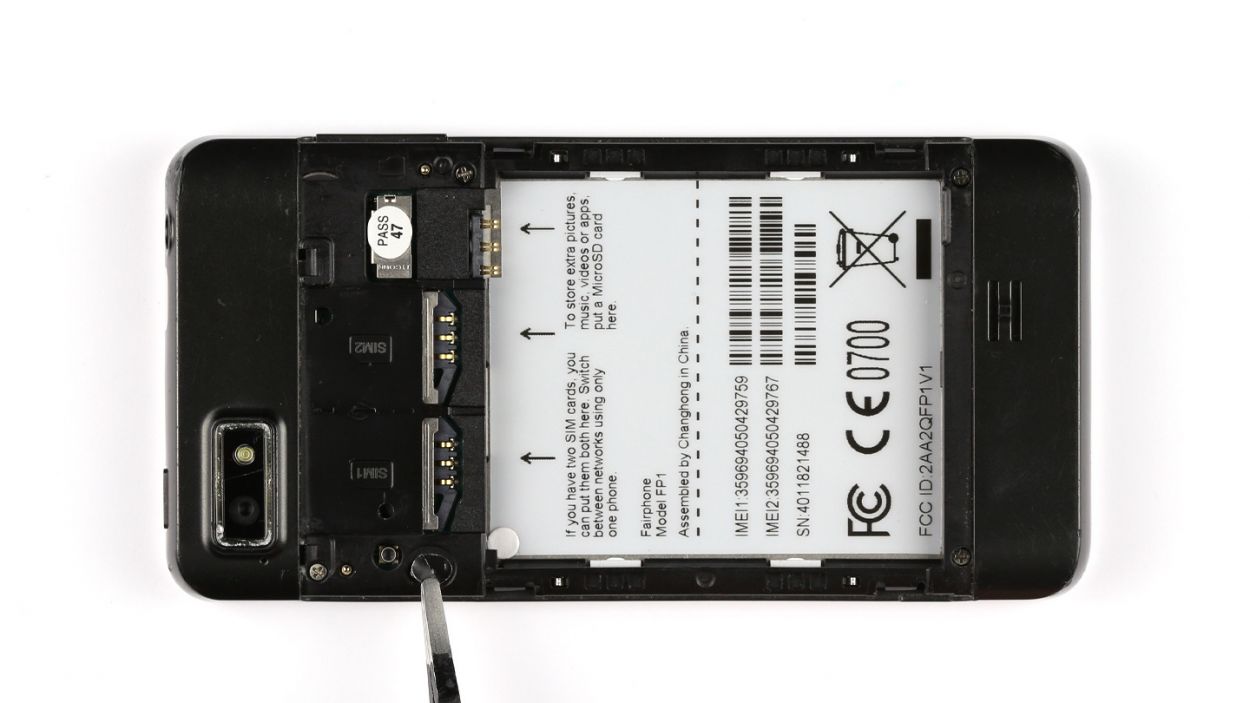

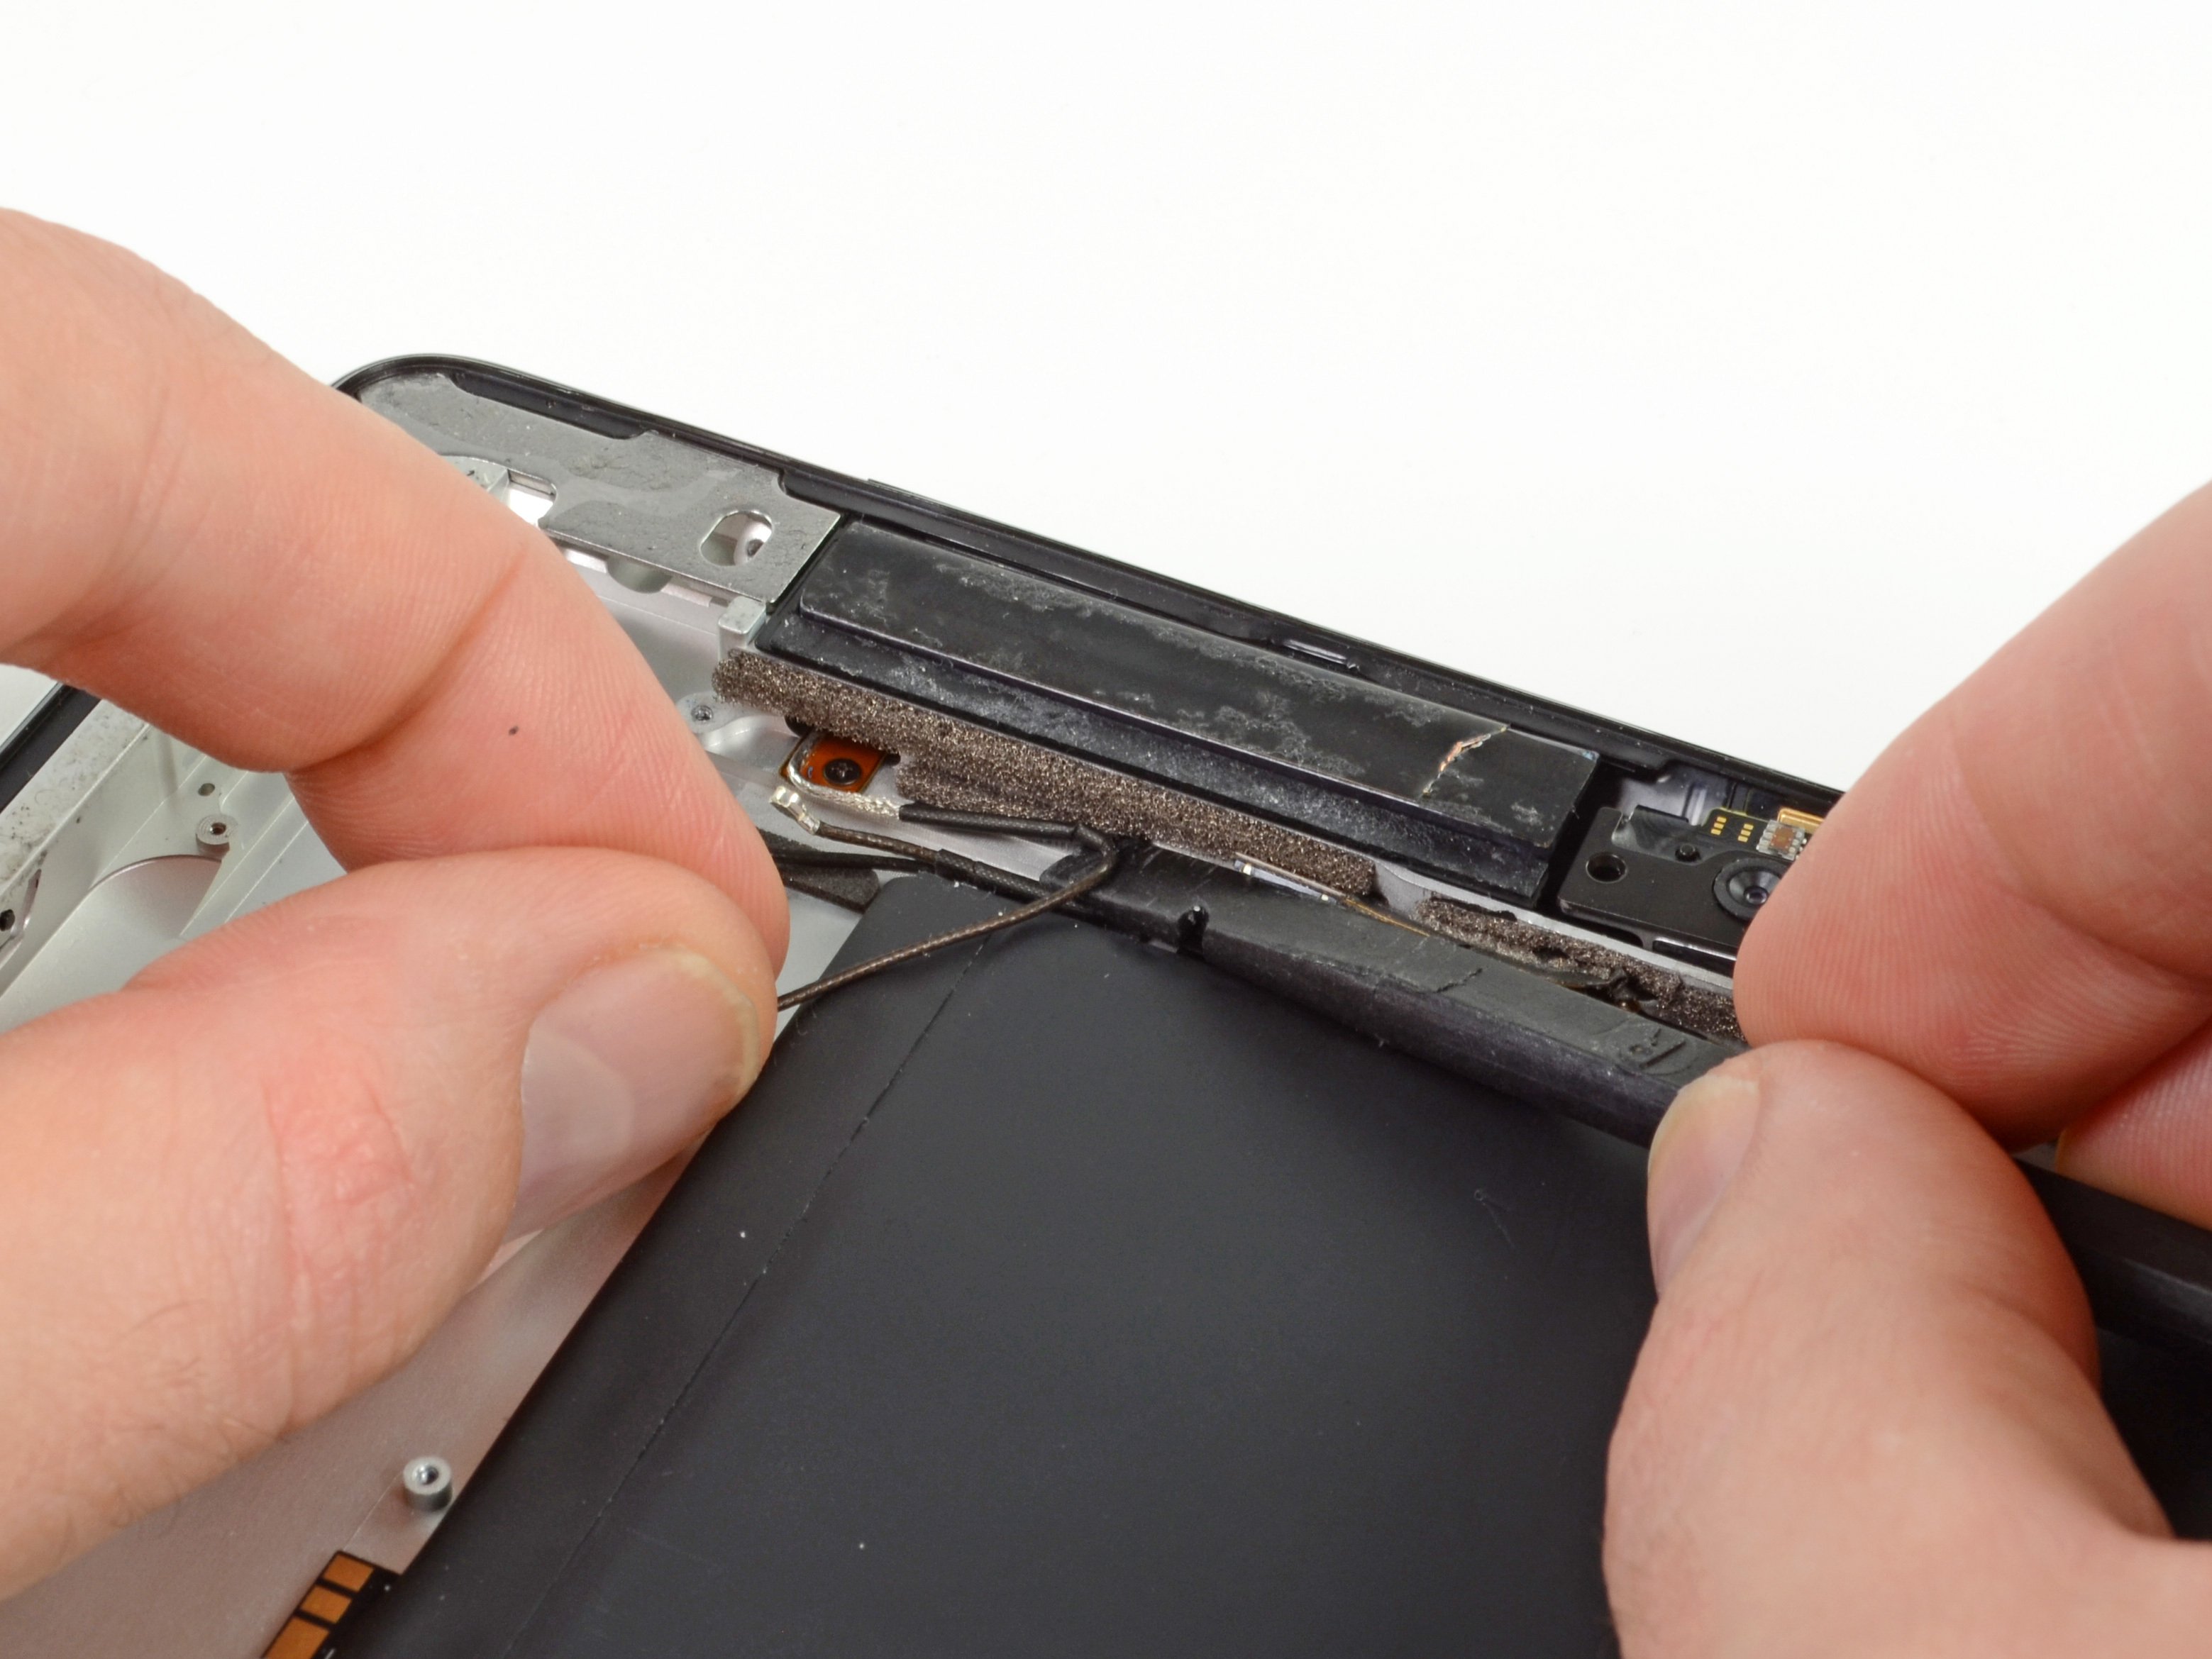
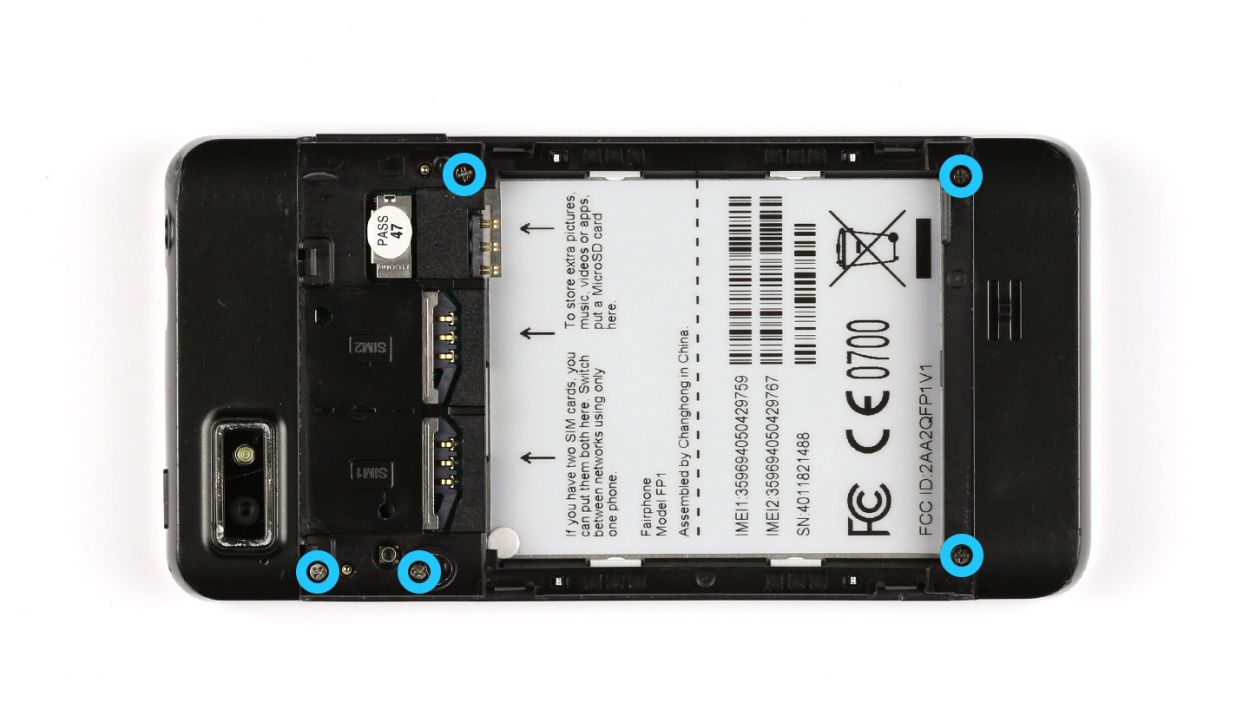
– Heads up, repair rockstar! Let’s get started by taking off the seal that’s hiding the first set of screws. Easy peasy!
– Next up, get ready to confront these 5 tiny Phillips screws (5 x 3.9 mm to be exact). Don’t worry, you got this!


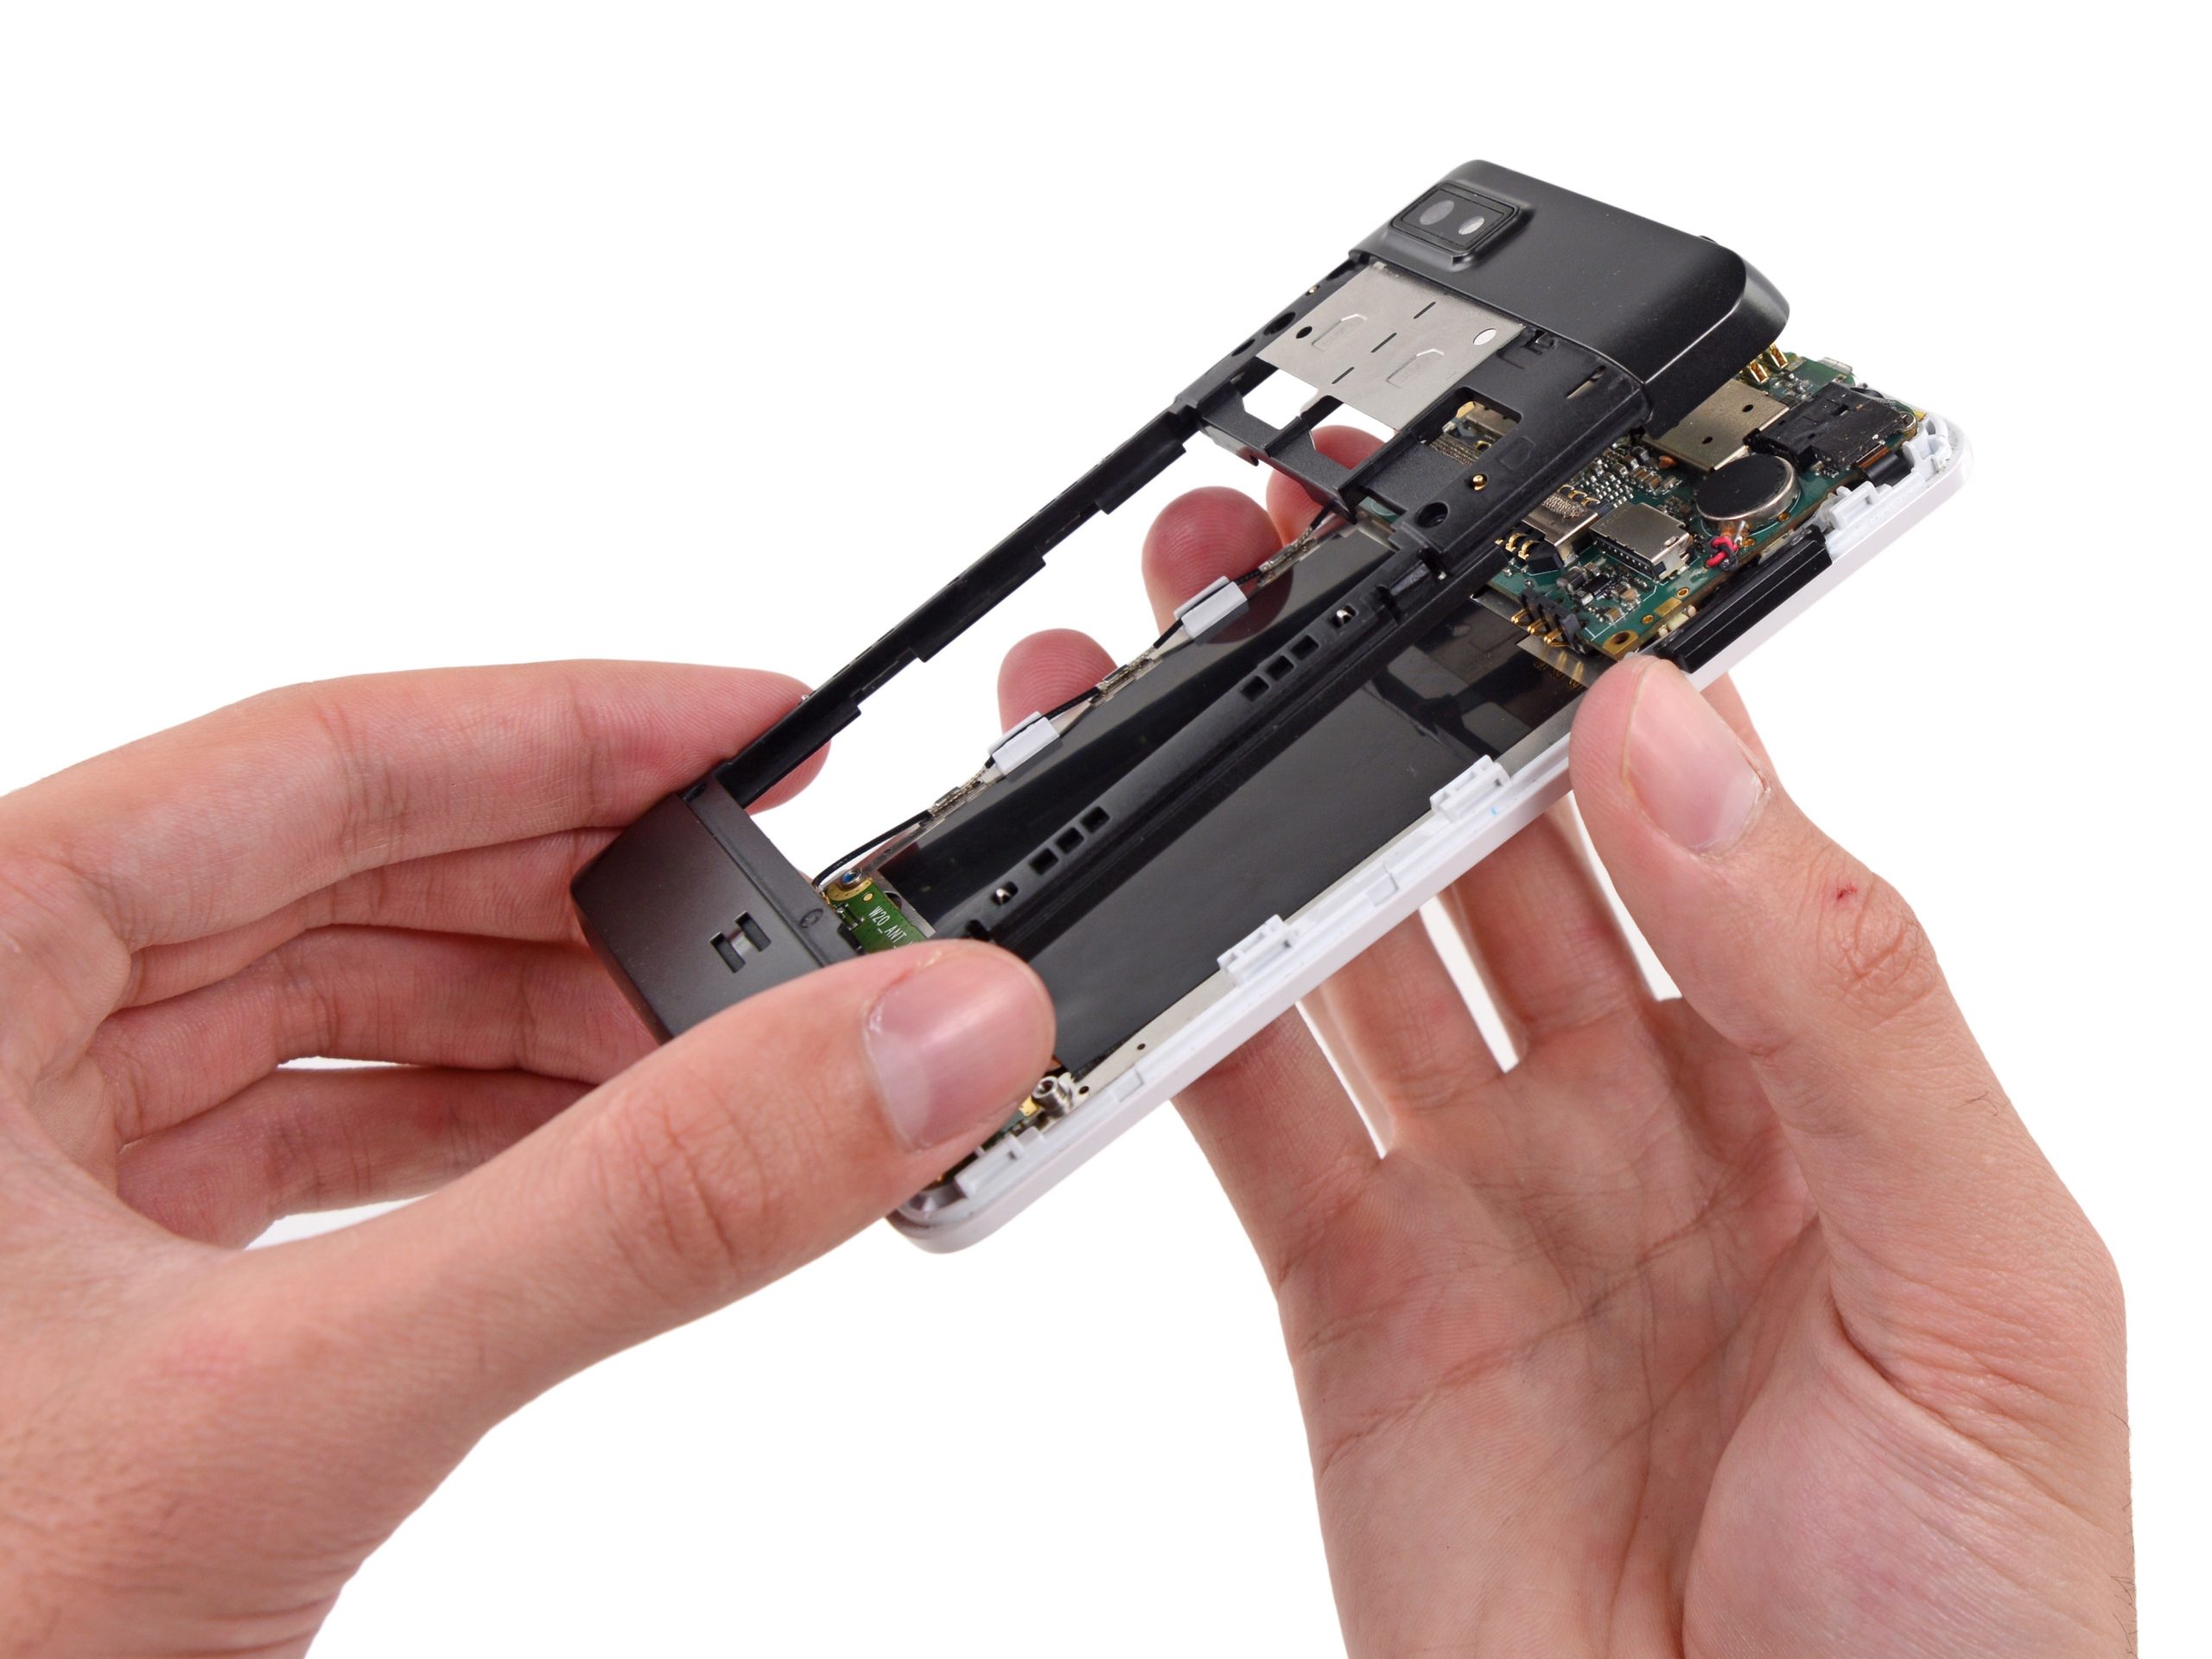
Step 6

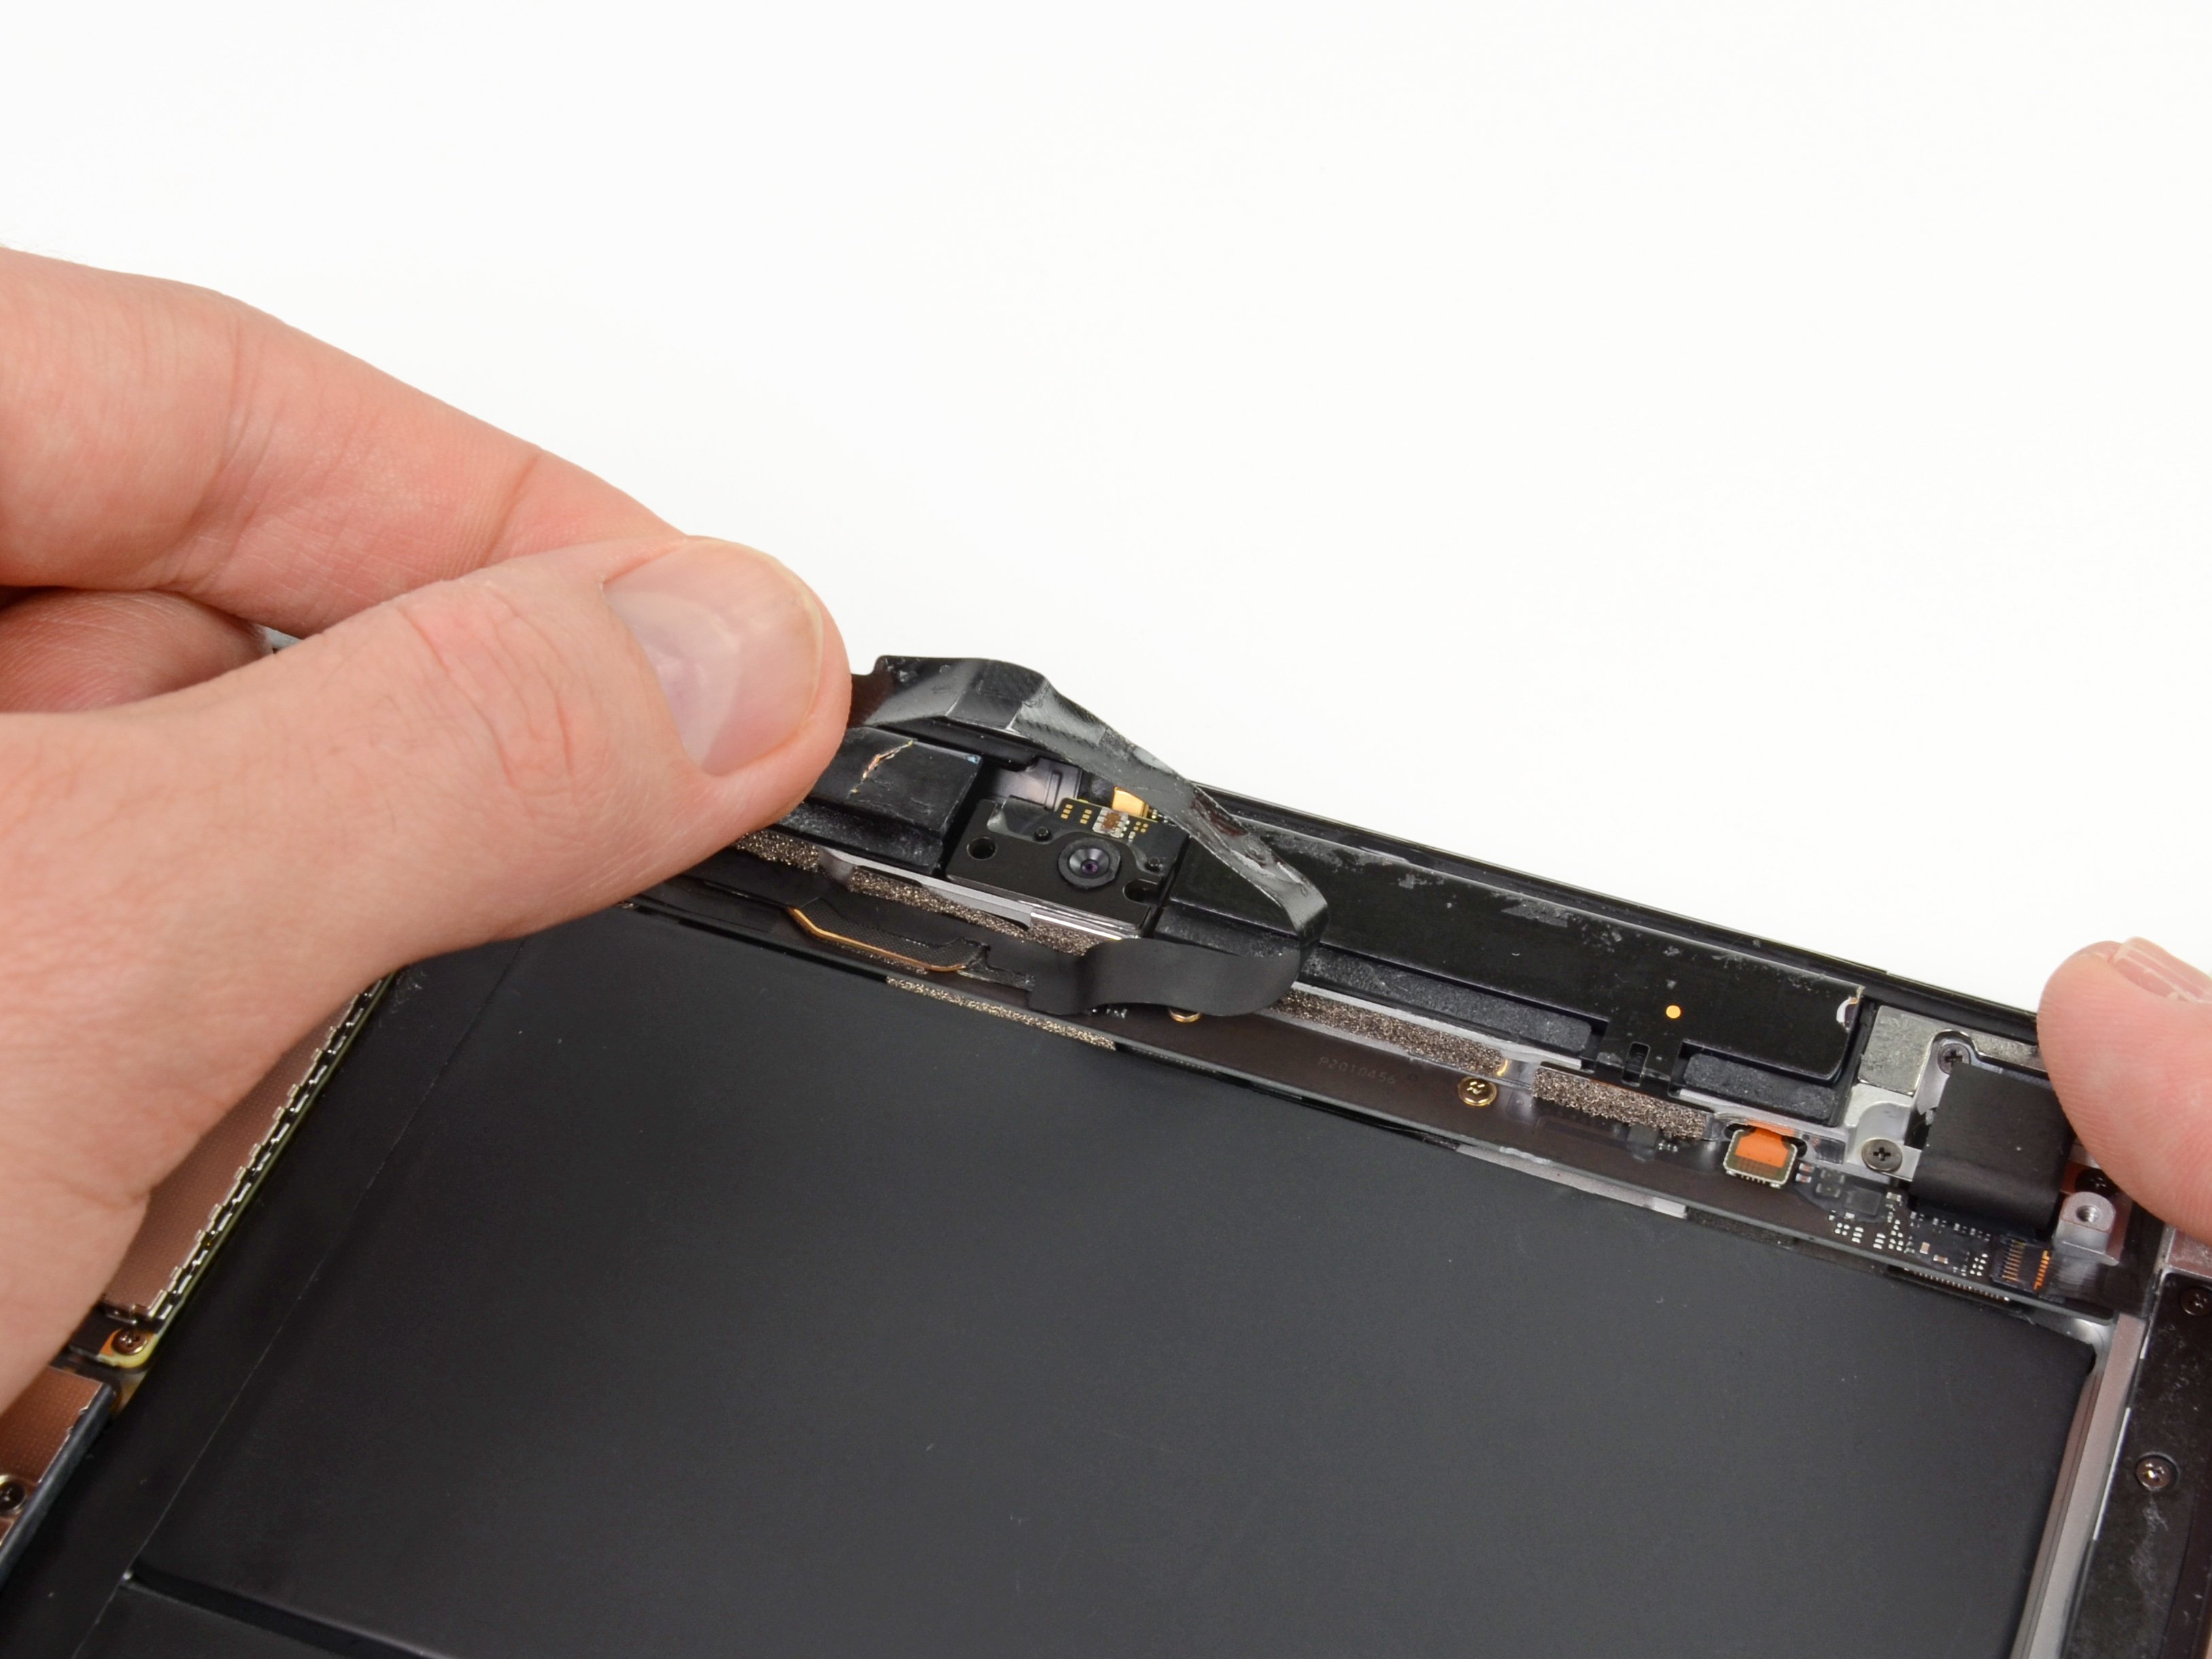
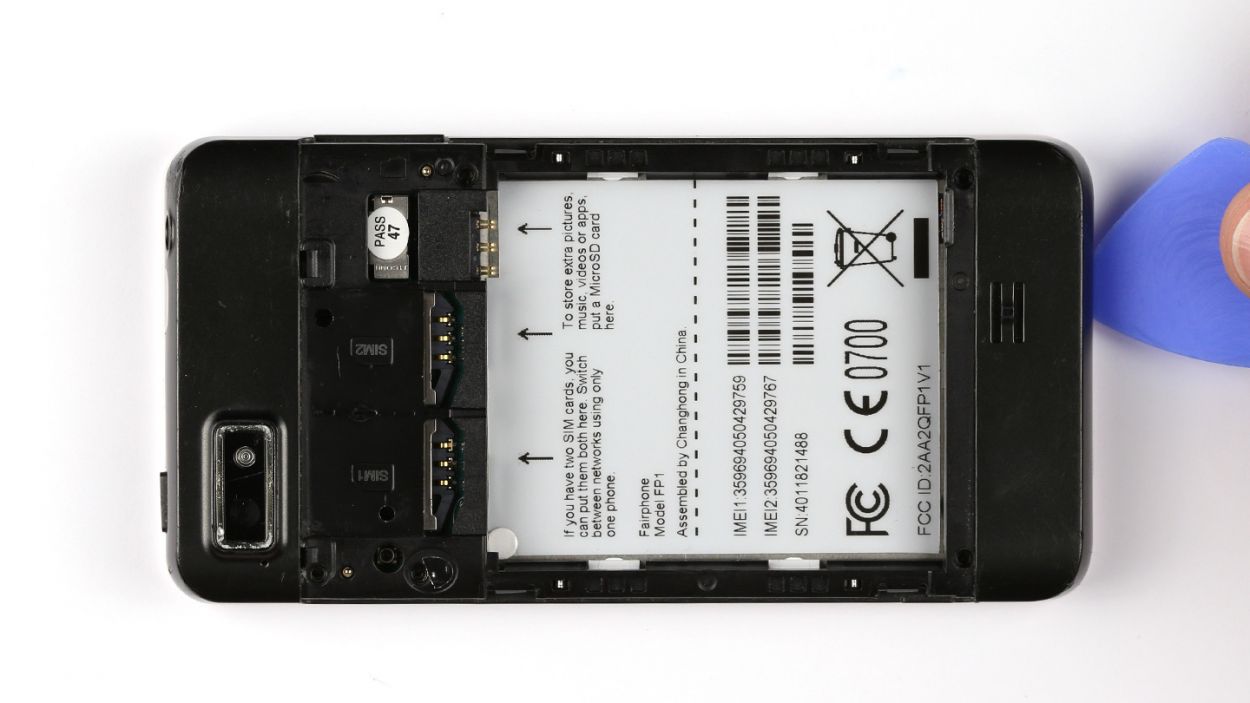
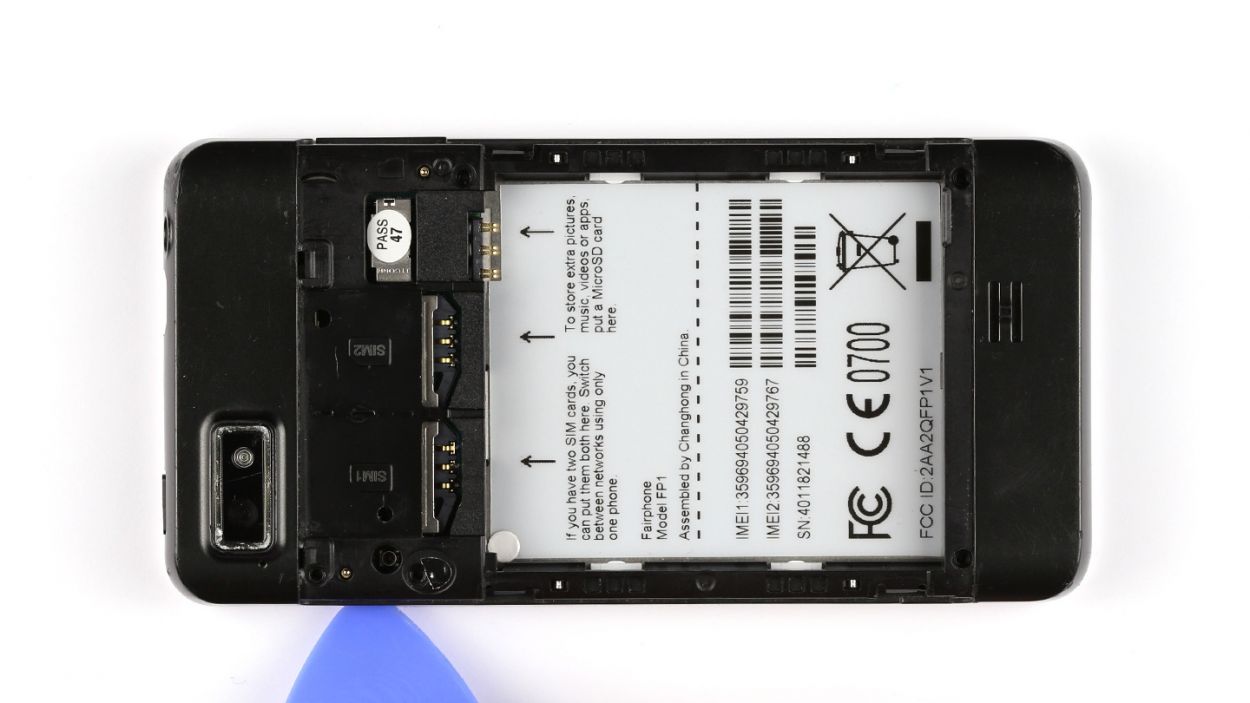
– Alright, buddy! Time to put the chassis back in its place on the display. Line it up and… click!
– Now, listen up! The chassis needs a good grip on that display frame. Press it into place like you mean it, and it’ll snap into position in no time! If you need help, you can always schedule a repair.
Step 7

– Use the five Phillips screws to attach the chassis.5 x 3.9 mm Phillips screws
– Put the seal back on.
Step 8

– Time to pop those SIM cards and microSD card back in their cozy little homes!

Step 10


– Gently reattach the back cover, making sure those two little tabs on it snugly hook into the chassis.
– Press down on the back cover until you hear that satisfying click, letting you know it’s securely in place.