DIY Guide to Replace Fingerprint Sensor on Galaxy A80
Duration: 60 min.
Steps: 15 Steps
Locked out? It seems your smartphone’s fingerprint sensor is taking its security duties a bit too seriously! No worries though, even the stubborn fingerprint scanner on the Samsung Galaxy A80 can be swapped out with our easy-to-follow step-by-step photo guide. The Galaxy A80 features an optical fingerprint sensor tucked away beneath the display, making it almost invisible. Just like the front camera, this scanner doesn’t hog any screen space, contributing to the Galaxy A80’s sleek infinity display design. If you hit a snag or need some assistance during your repair journey, feel free to reach out to our expert technicians or the Salvation Repair community. Just use the chat or comment feature, and you’ll get the support you need in no time!
Step 1

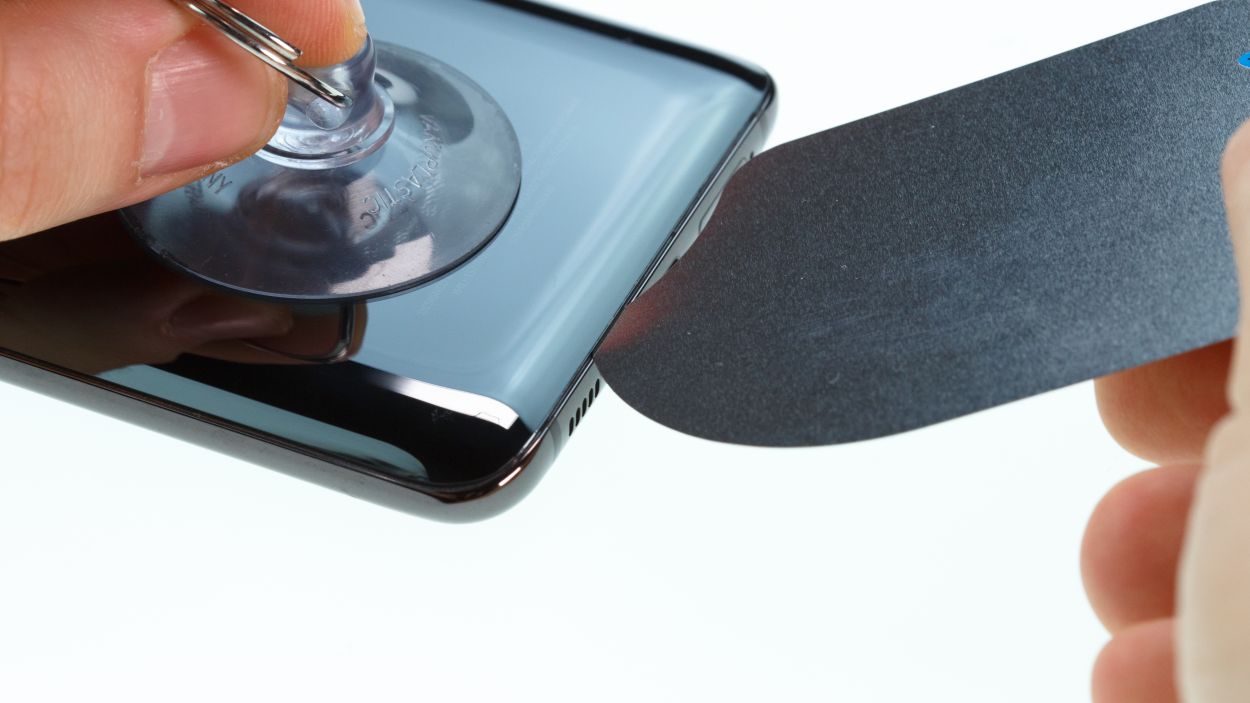
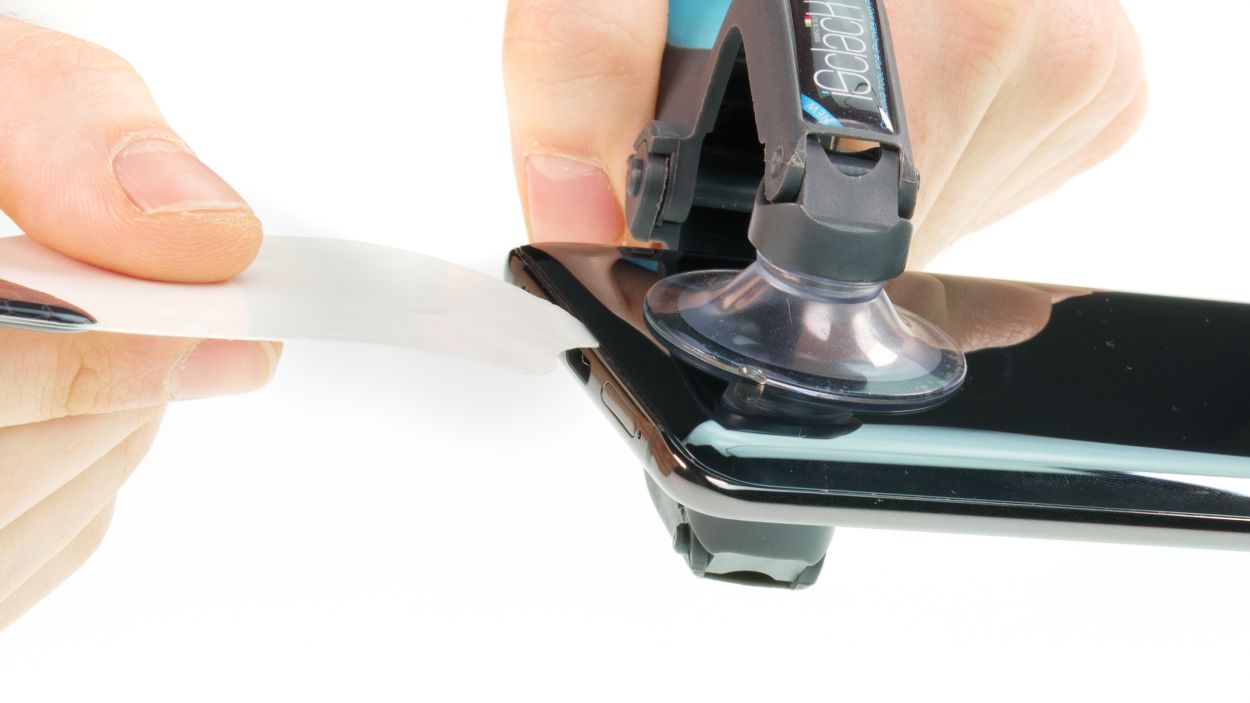


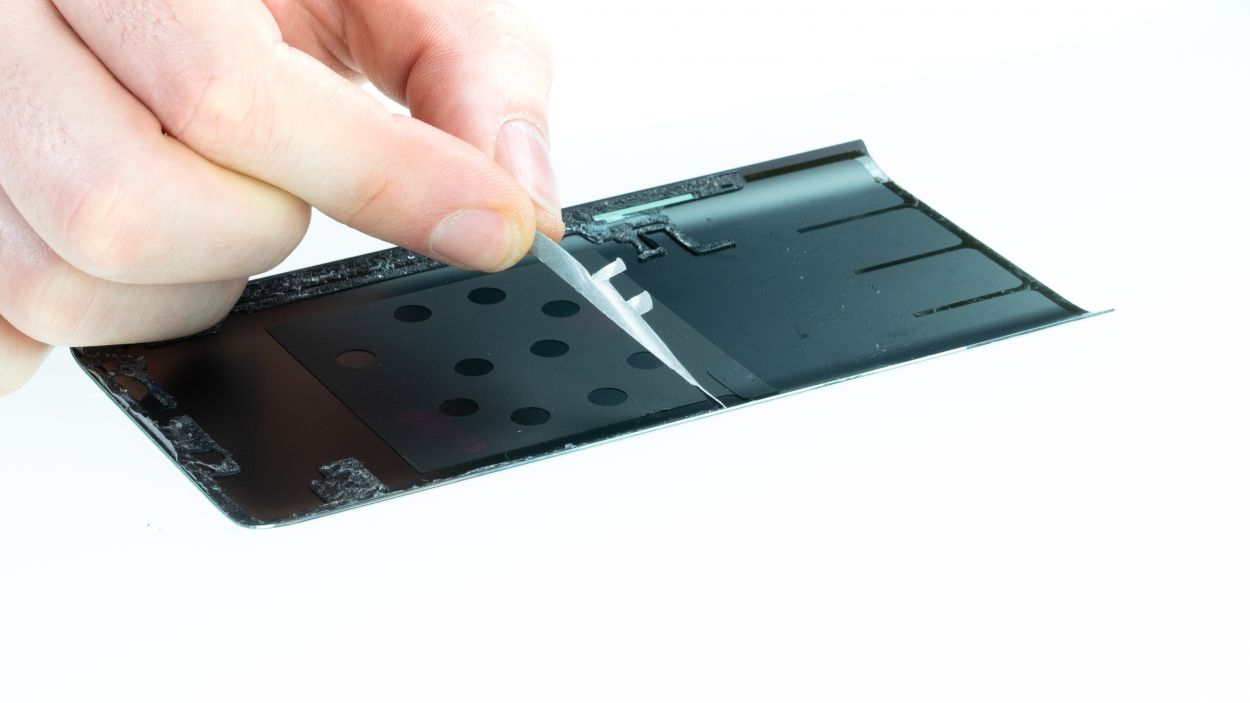
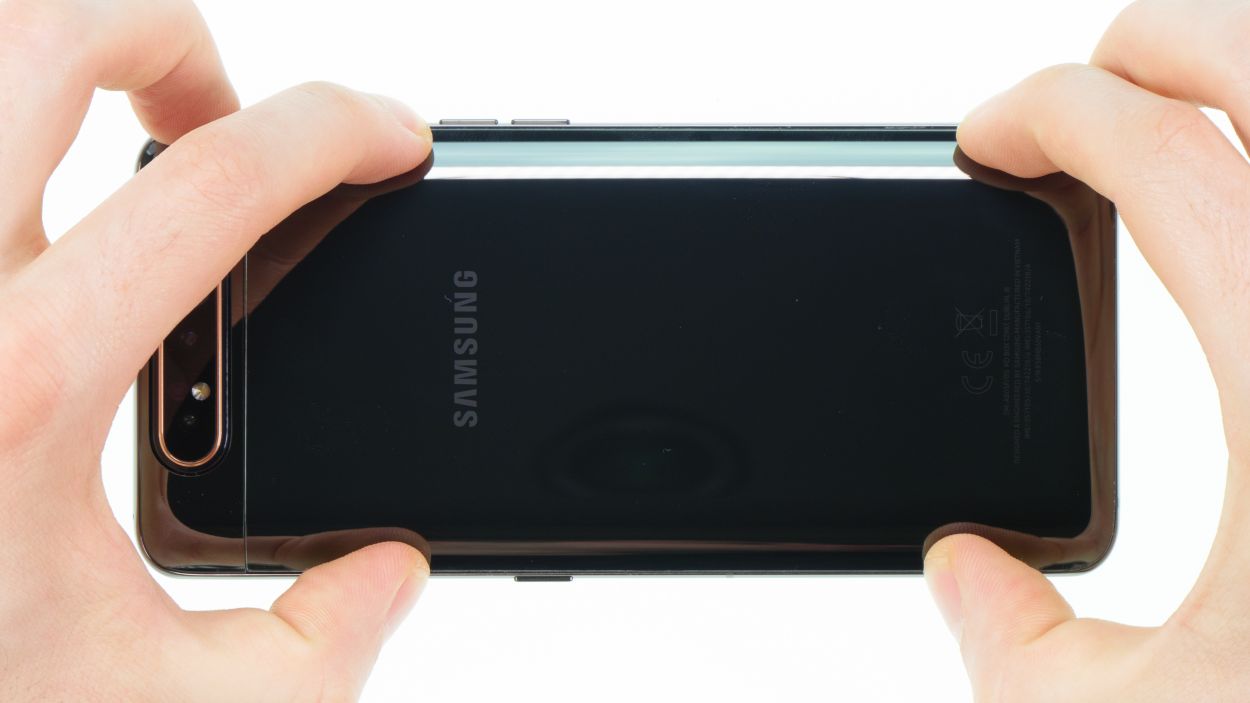
– Once you’ve warmed up that adhesive, grab a suction cup and stick it to the bottom of the back cover. Gently pull on the suction cup while sliding in your trusty opening tool, like the iFlex or iPlastix, into the gap that’s starting to form between the back cover and the frame.
– If you want a little extra help lifting the back cover, an iSclack can be your buddy here! It has suction cups on both sides to evenly pull up the display and back cover.
Hey there, just a friendly heads-up! When you’re working on the left edge of the back cover, be super careful not to push your tool too deep into the device. There’s a flex cable hanging out there, and we definitely don’t want to mess that up! Also, when you’re in the upper part near the camera module, watch out for scratches – that area is glued down pretty tight. You’ve got this!
The iFlex is crafted from a sleek yet sturdy metal, making it a breeze to slide into those tight spots. Just a heads-up though: while it’s super handy, it can also be a bit of a troublemaker for your device’s back glass or frame, so handle with care!
Step 2


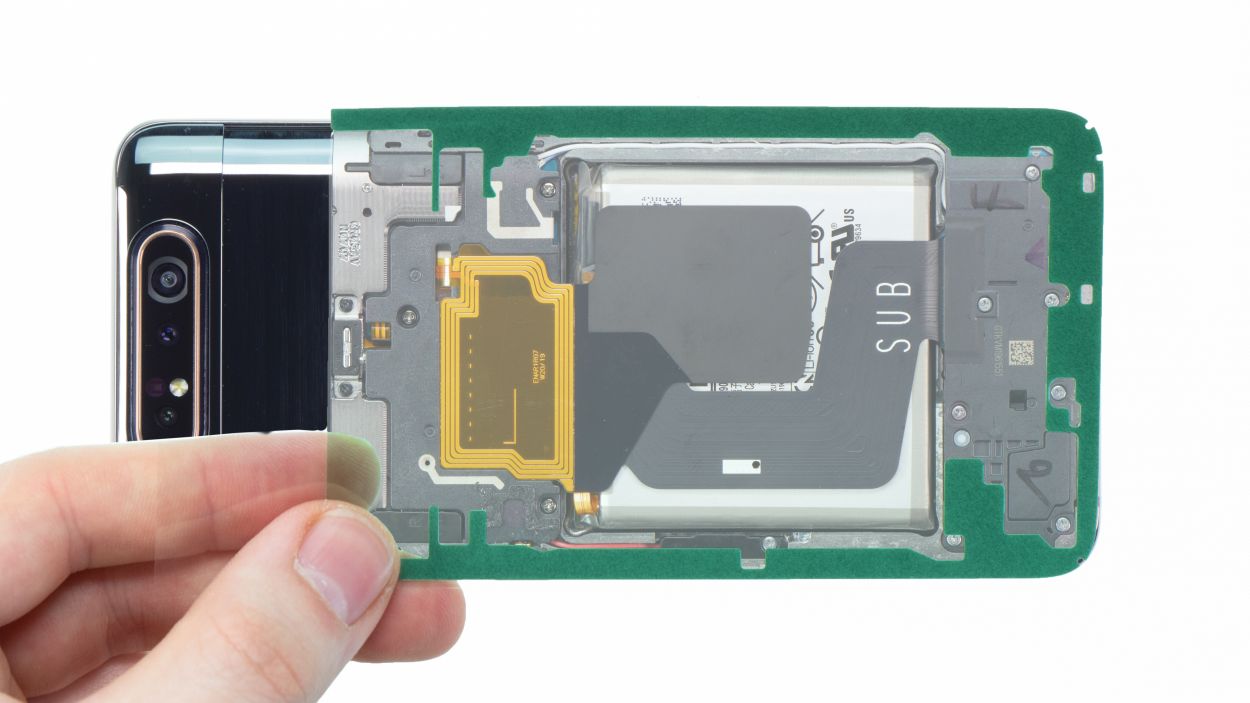
6 × 3,3 mm Phillips
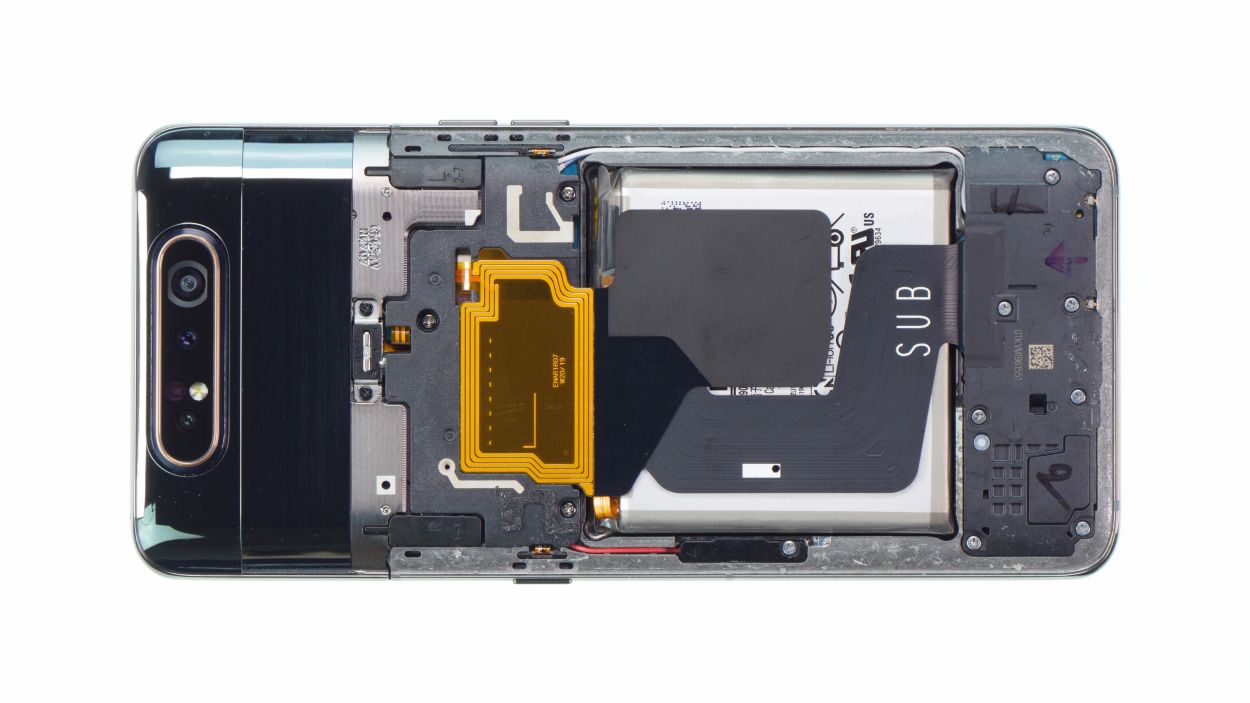
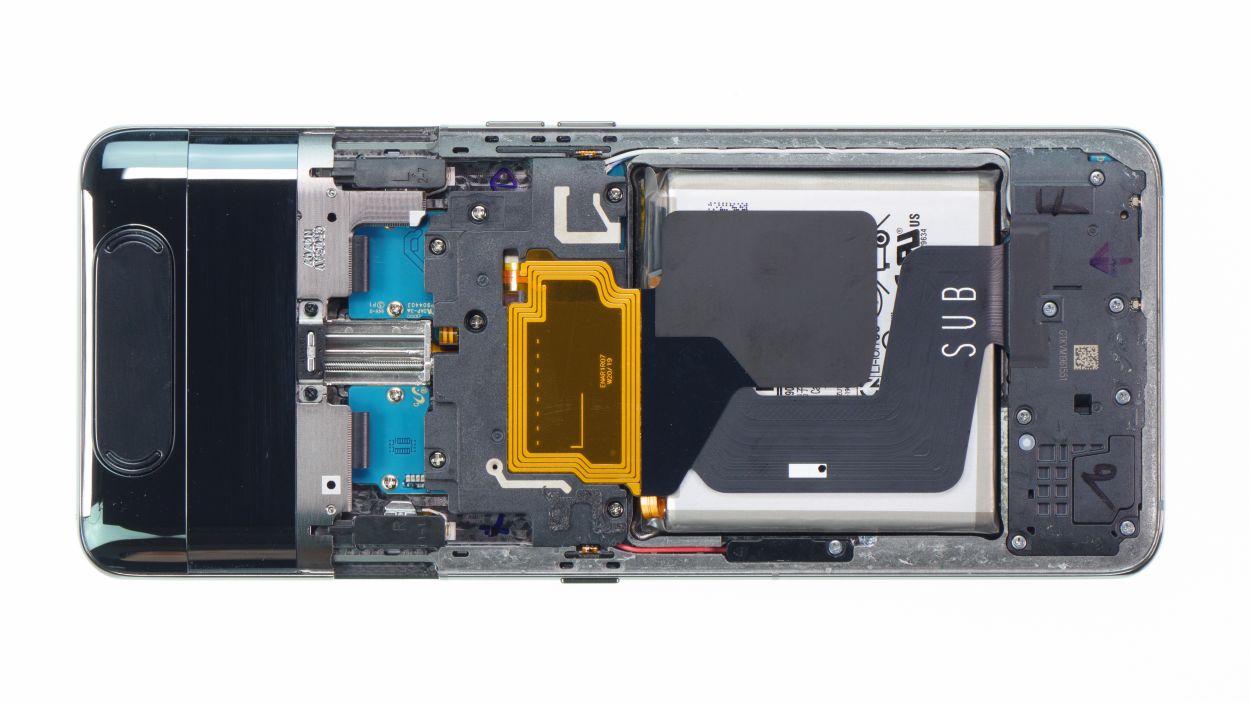
The NFC antenna is hanging out right on the main board cover. So, keep that in mind as you dive into your repair adventure!
– Before you can pop off that main board cover, let’s give the camera a little stretch! Make sure to extend it first.
– Open up your camera app and switch to the front camera mode. You’re almost there!
– Once that camera module is fully extended, it’s time to unscrew those six Phillips screws that are all the same length. You got this!
Step 3


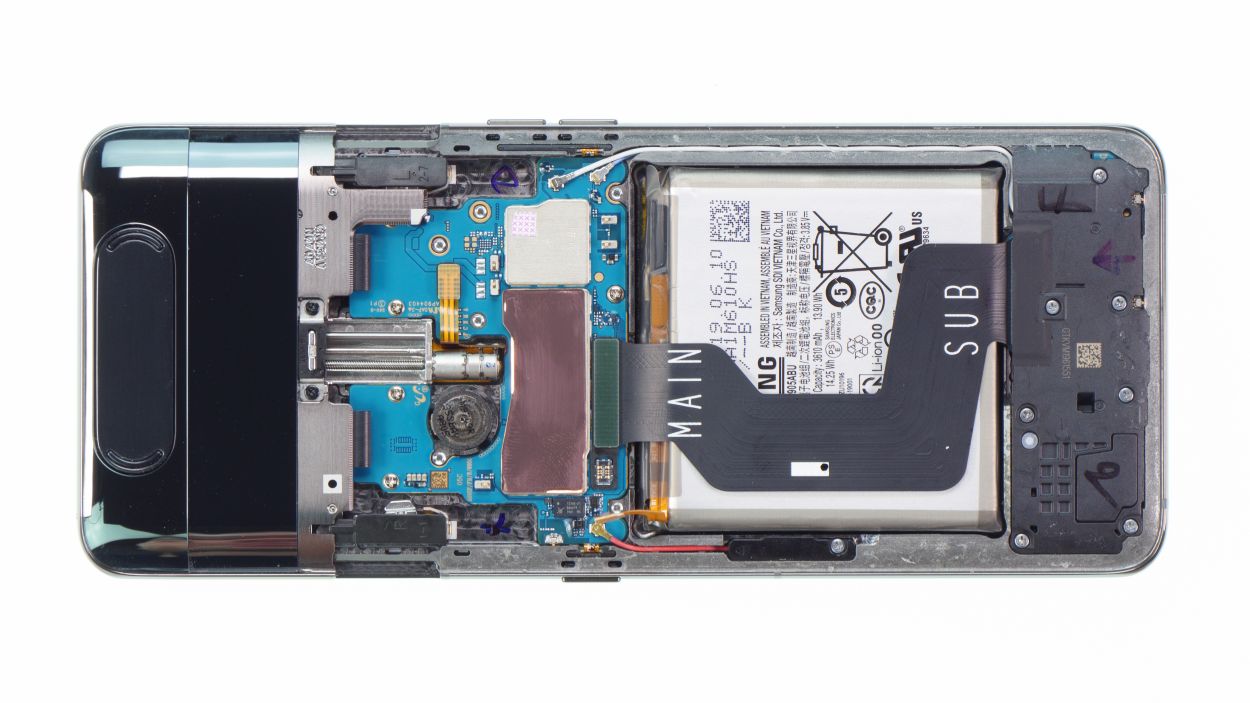
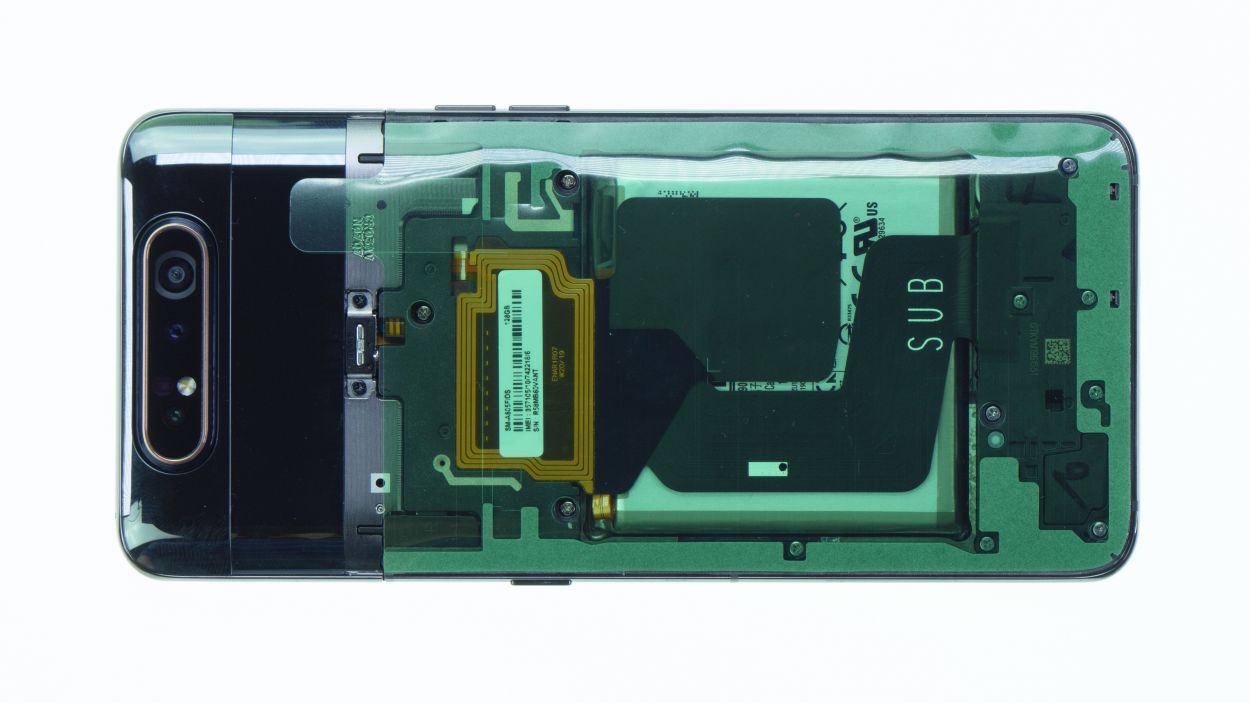
Battery Connector
Keep that camera module extended while you disconnect the battery contact! This little trick ensures the camera stays in place for the rest of your repair journey. You’re doing great!
– Next up, let’s disconnect that battery contact! This little step is super important because it stops any power from flowing through your device, keeping things safe and sound while you work your magic. Plus, it helps avoid any pesky short-circuits during your repair adventure!
Step 4


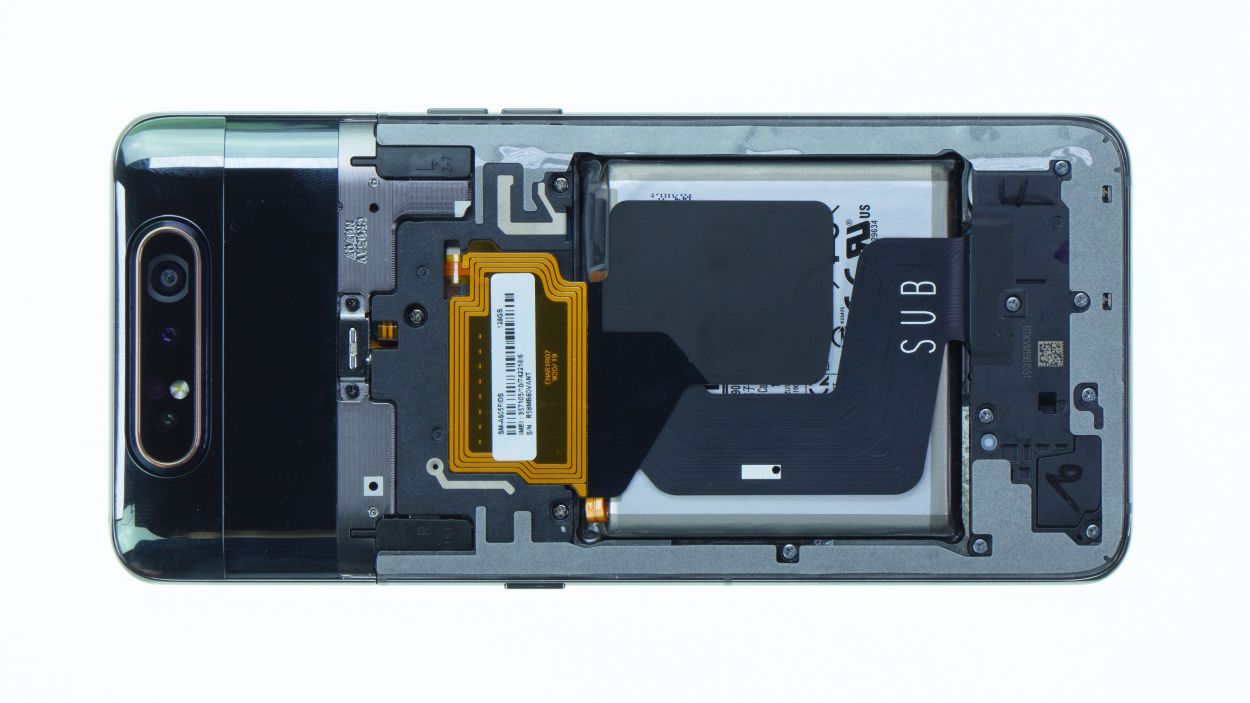
7 × 3,9 mm Phillips
– Start by loosening those seven Phillips screws that keep the speaker snug as a bug in its place. You’ve got this!
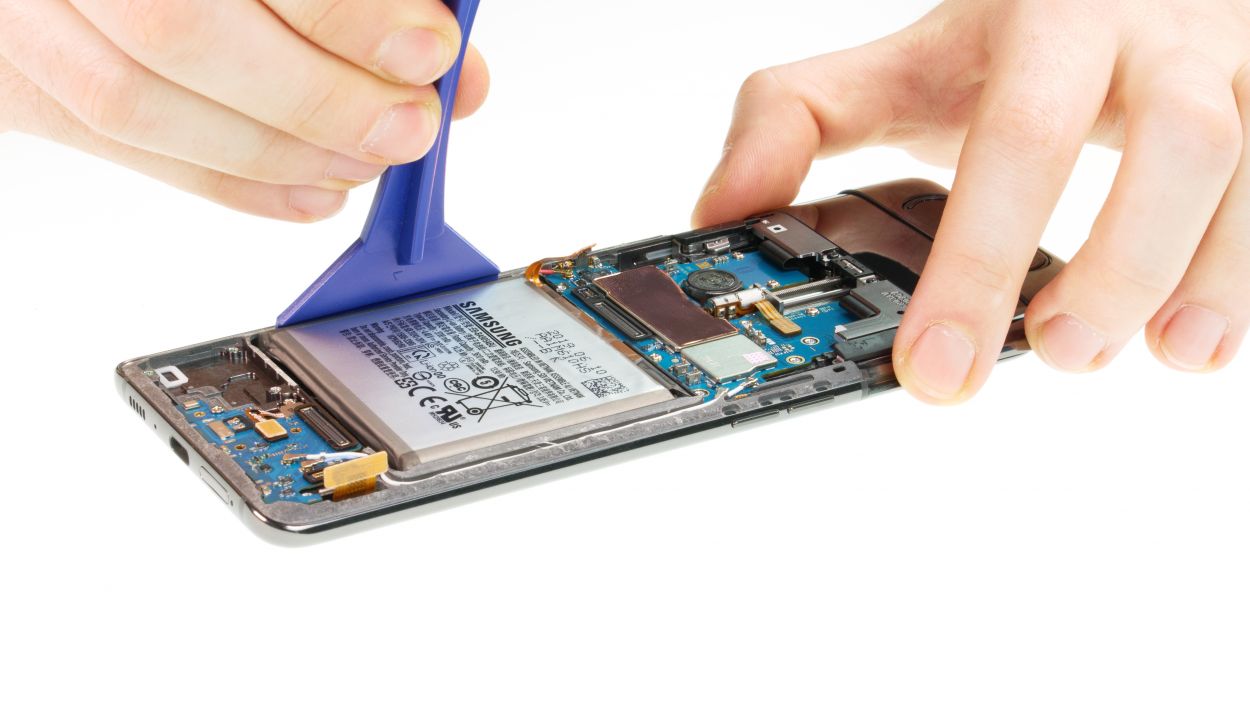
– Now, gently pry that slightly glued component out of the unit. It’s like a little workout for your fingers, so take your time!
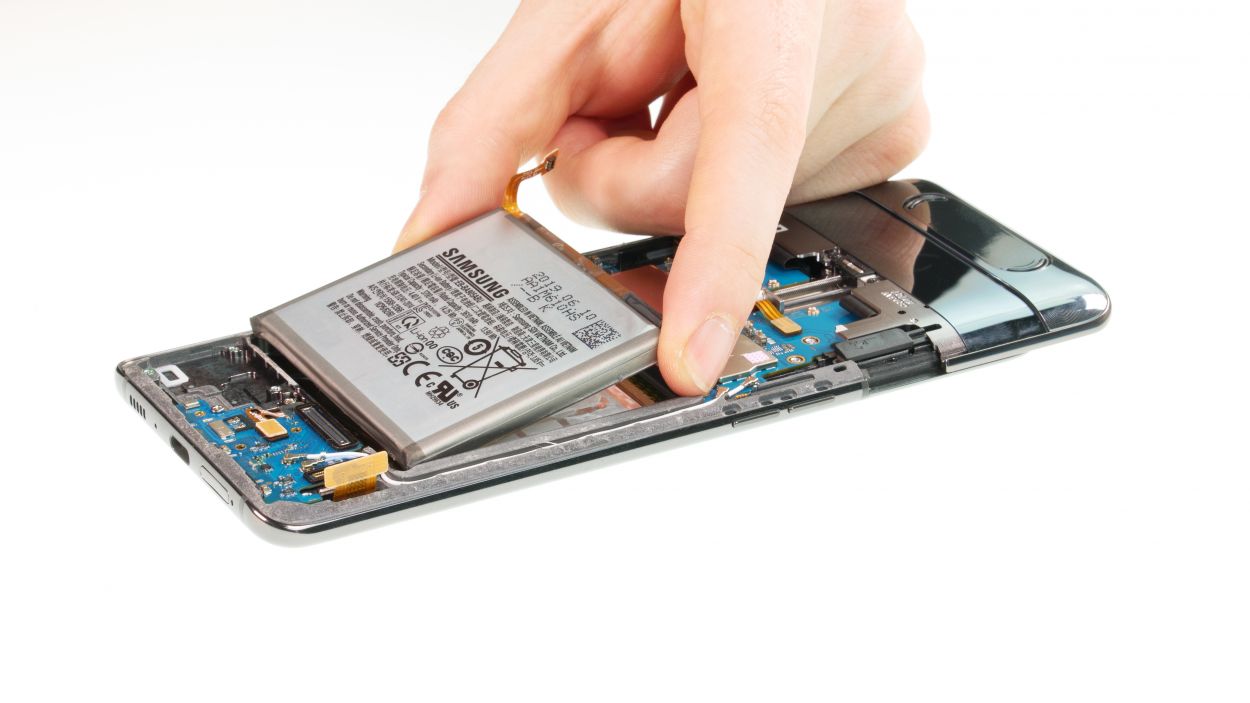
Step 5
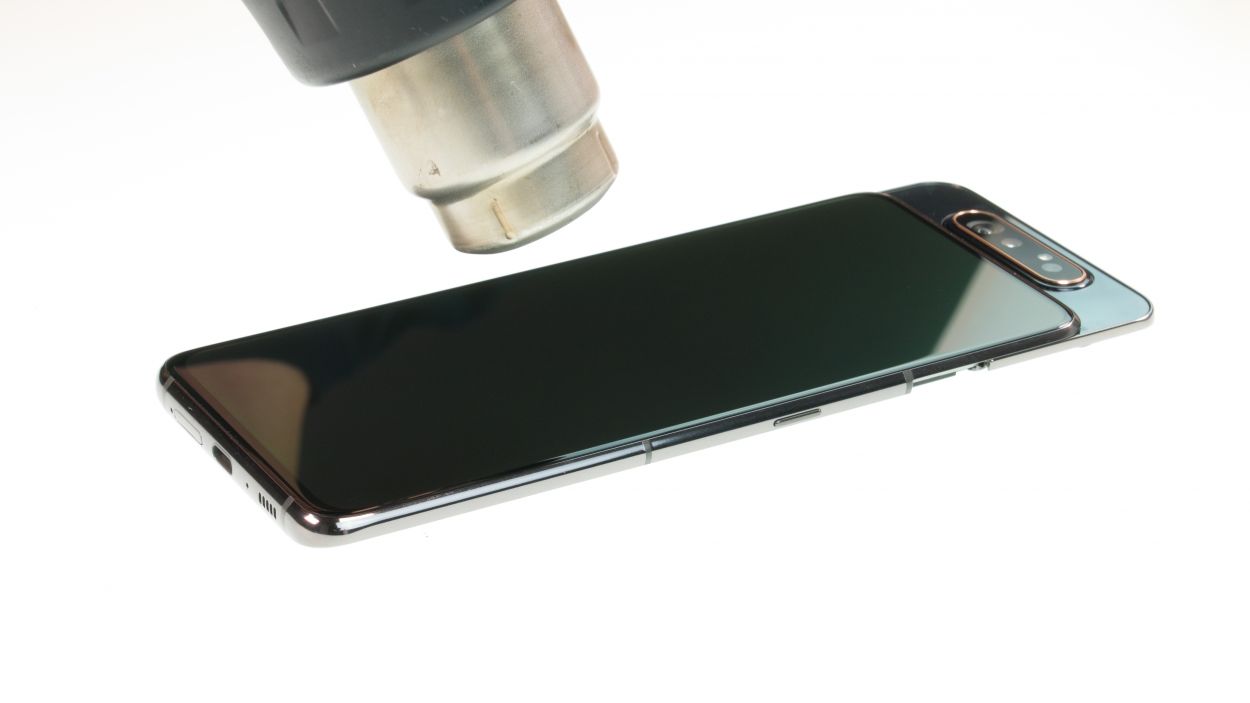
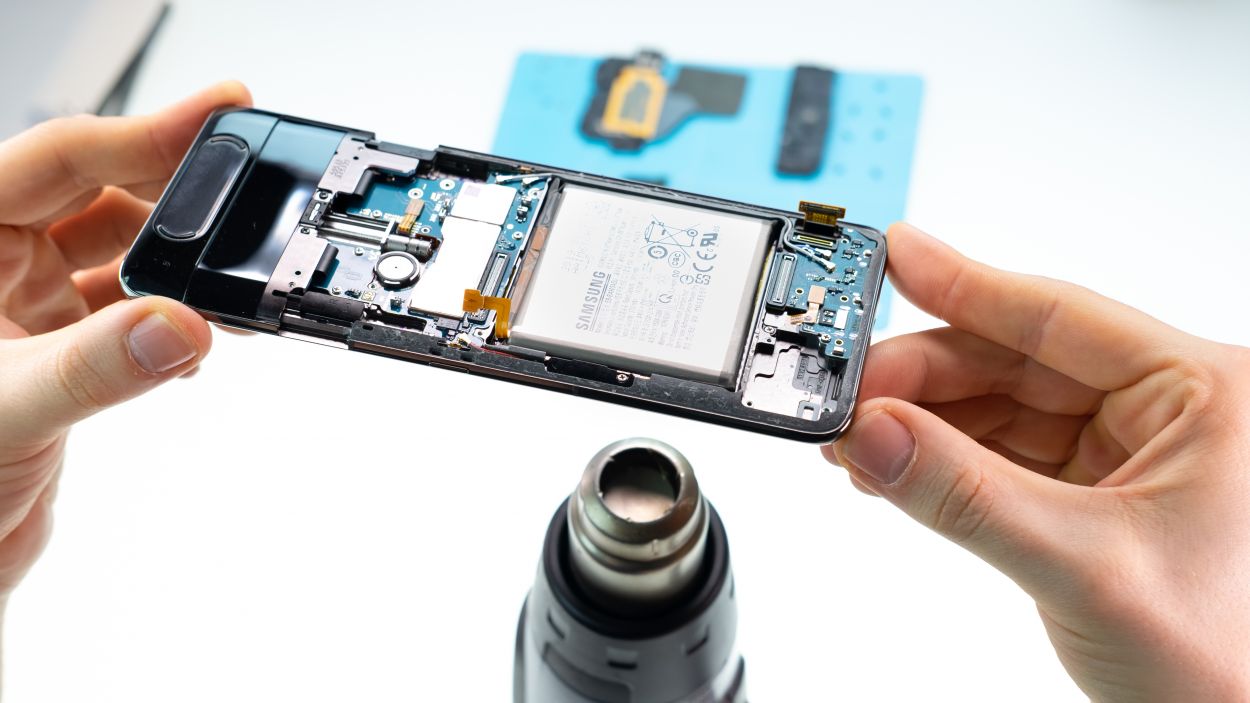
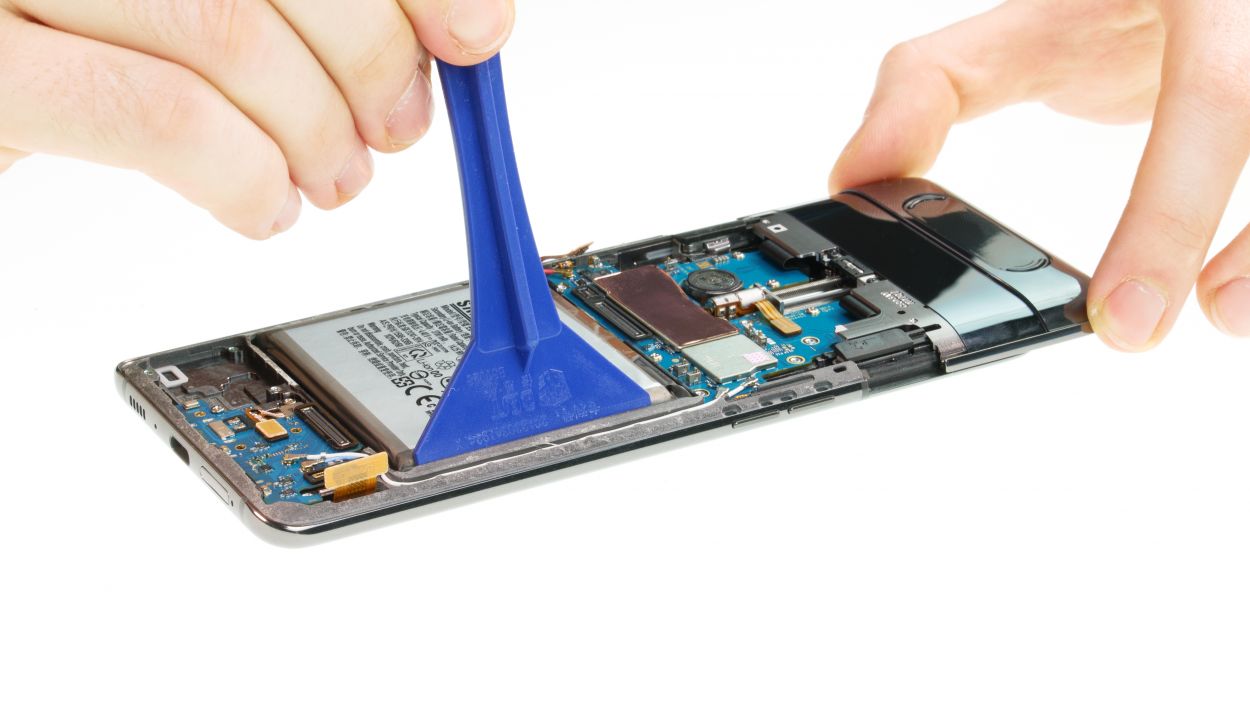
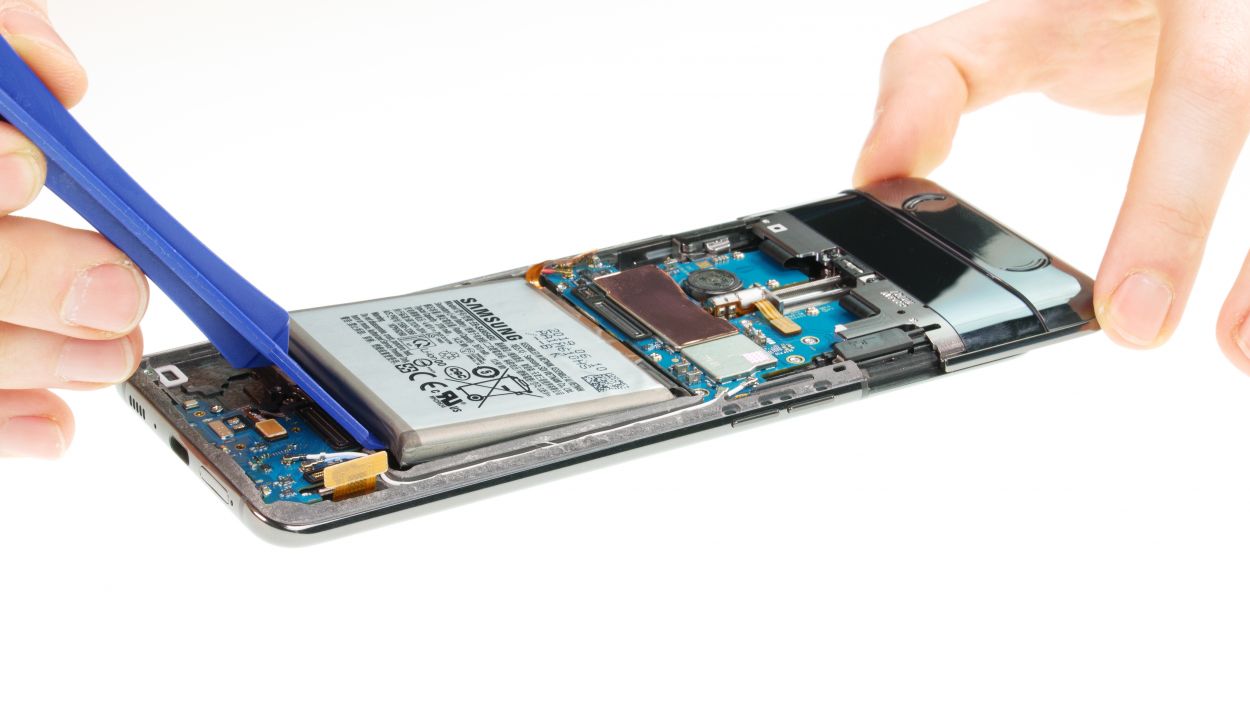
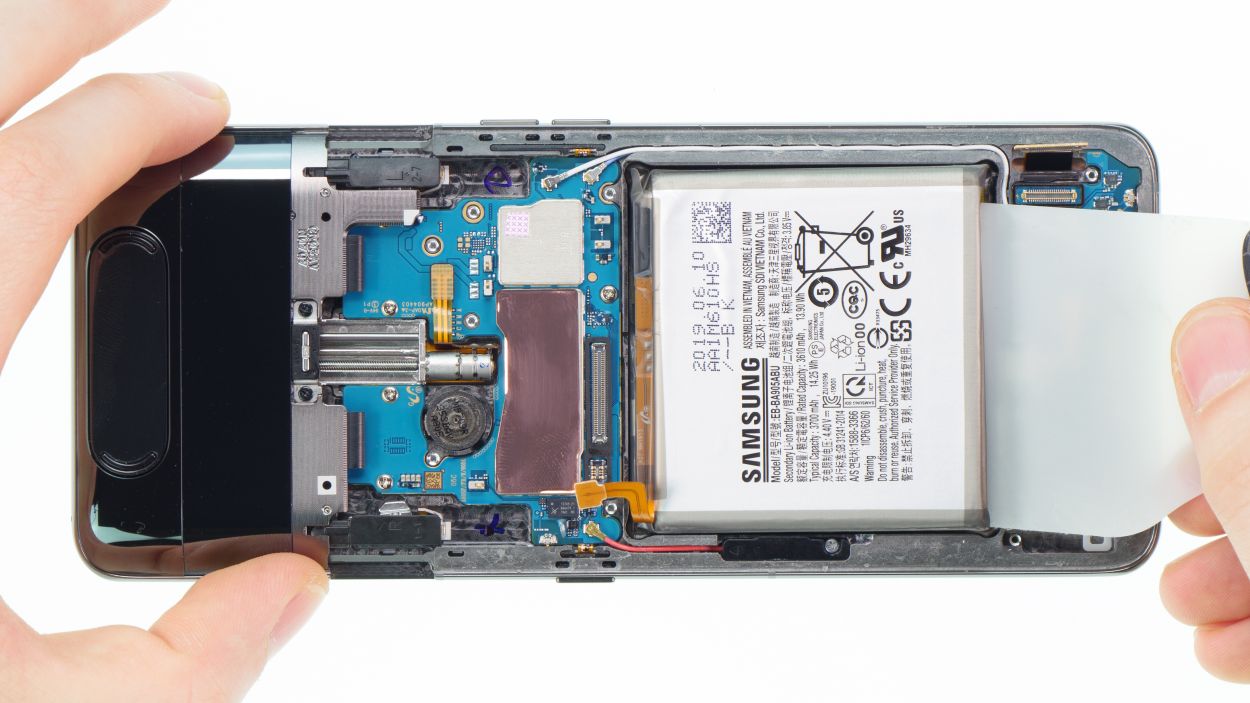
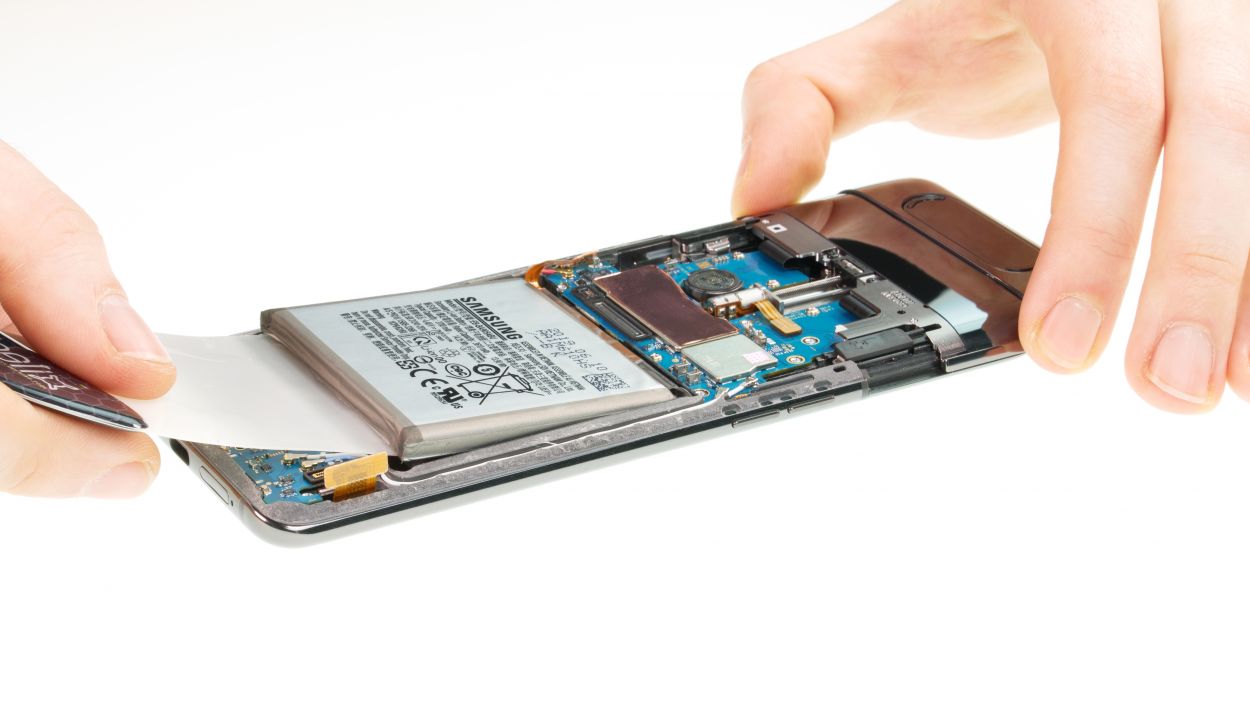

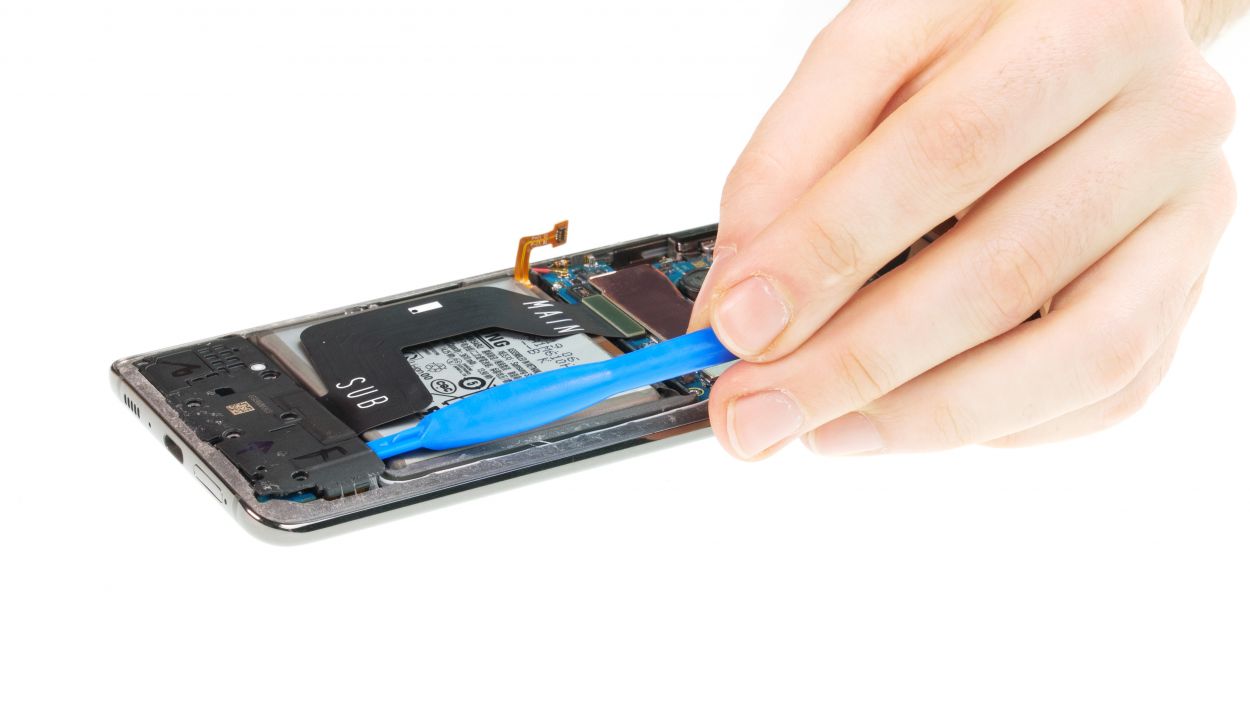
Hey there! Just a quick tip: when you’re warming up that battery, make sure to keep the heat away from the battery itself. Instead, focus on the edges near the display. Safety first, right? Let’s keep it cool and smooth!
It’s a great idea to heat things up a bit more frequently and take your time while working. Just remember, bending the battery or causing any damage to its casing is a no-go! Let’s keep everything safe and sound!
Step 6

1 × 2,9 mm Phillips
Antenna Connector
Fingerprint Connector
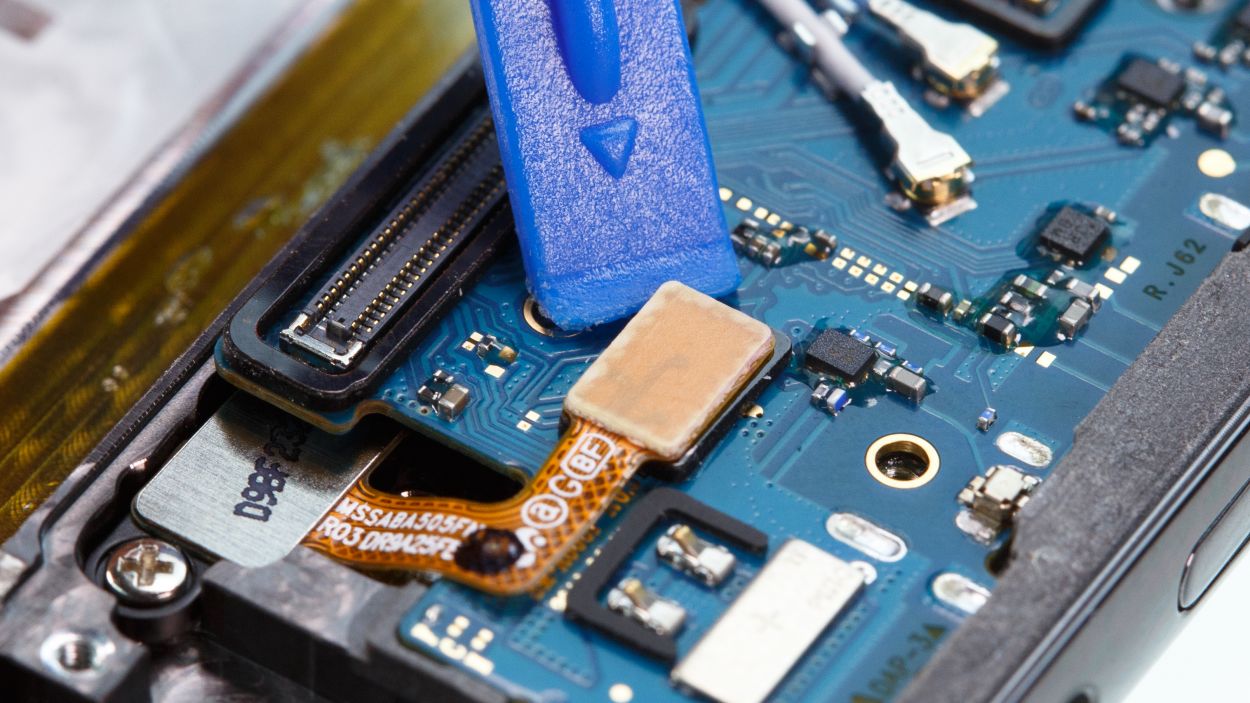
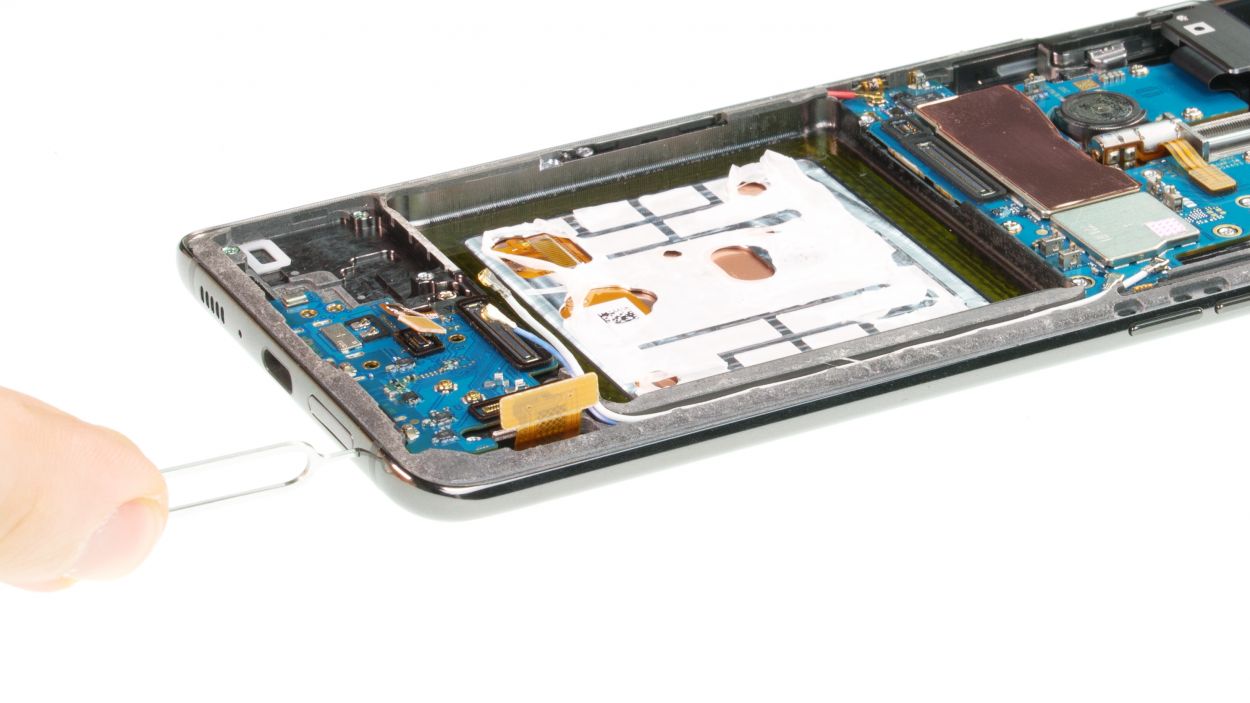
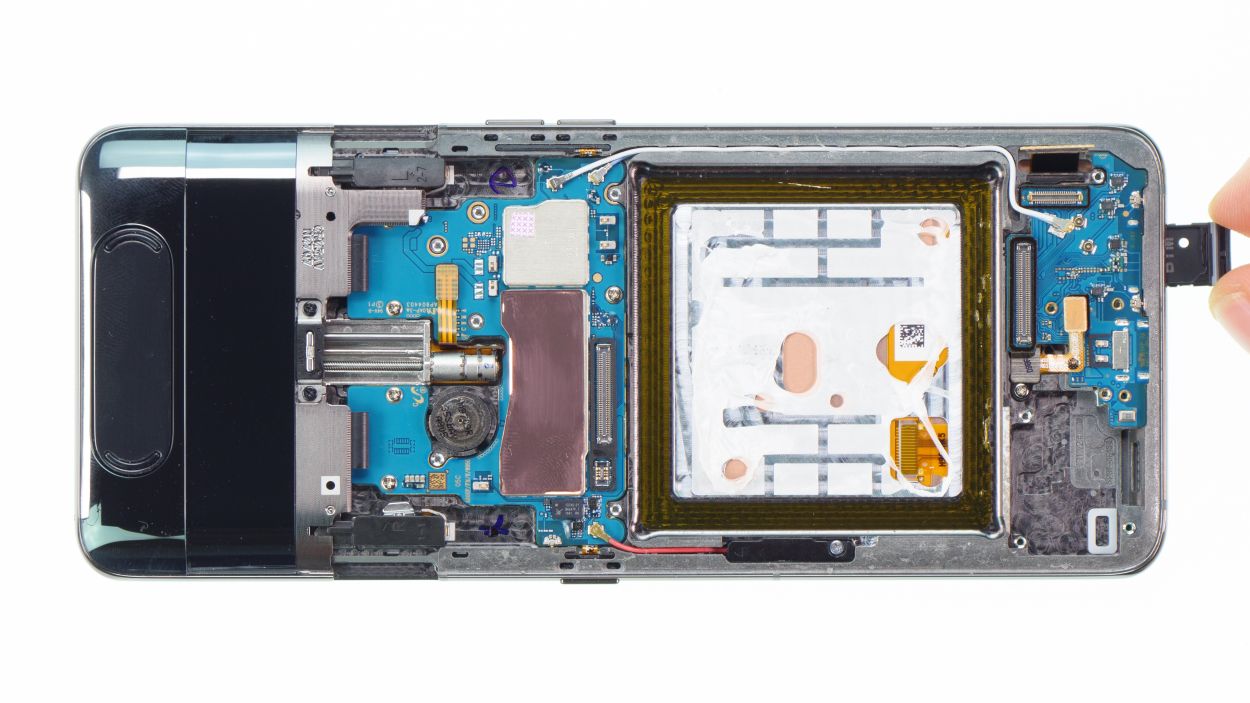
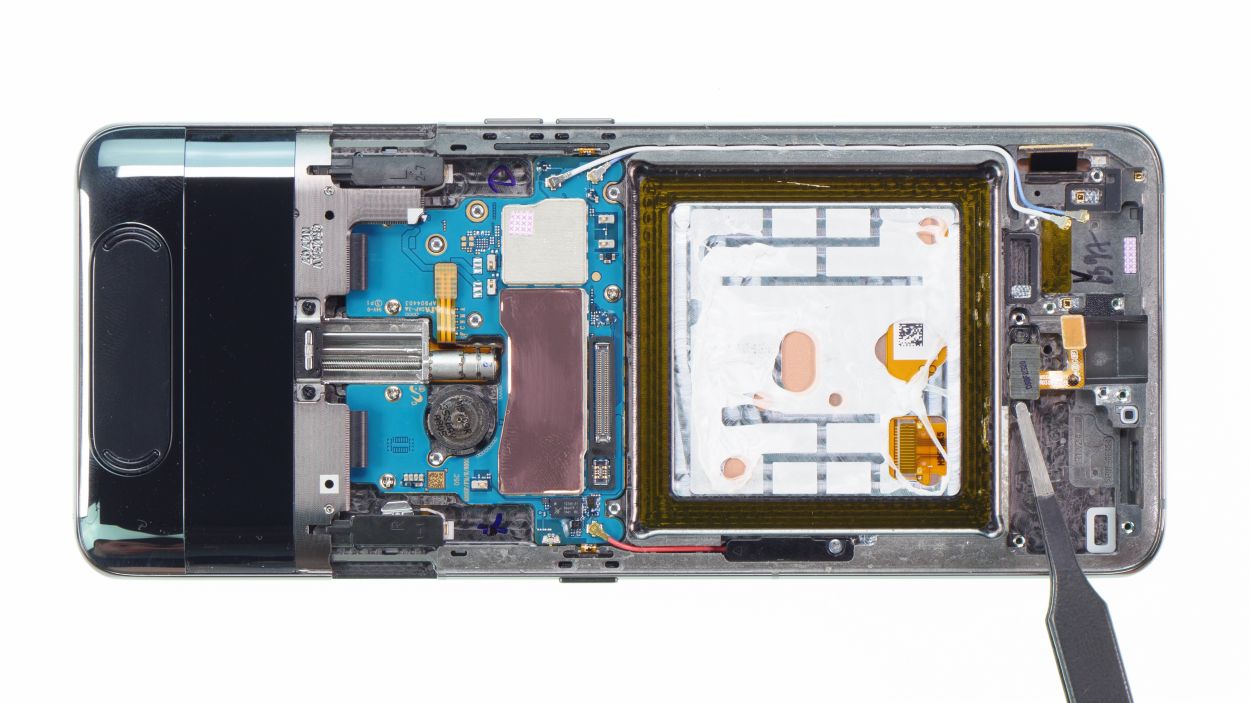
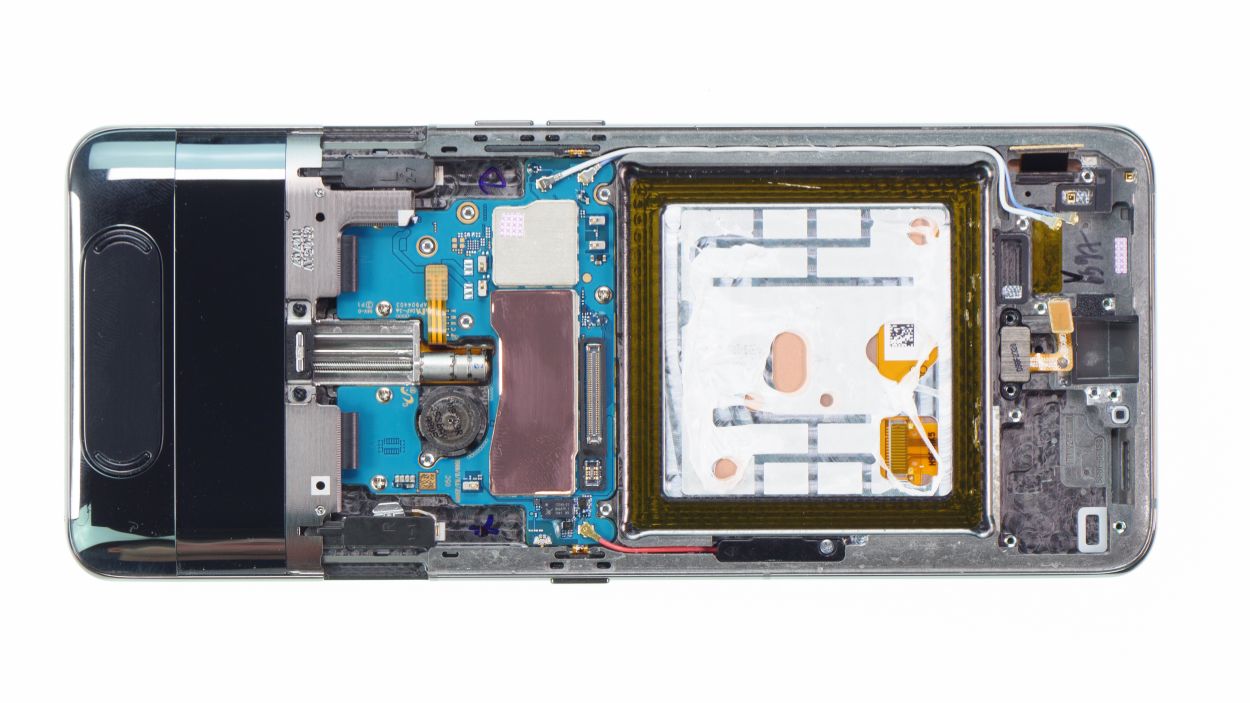
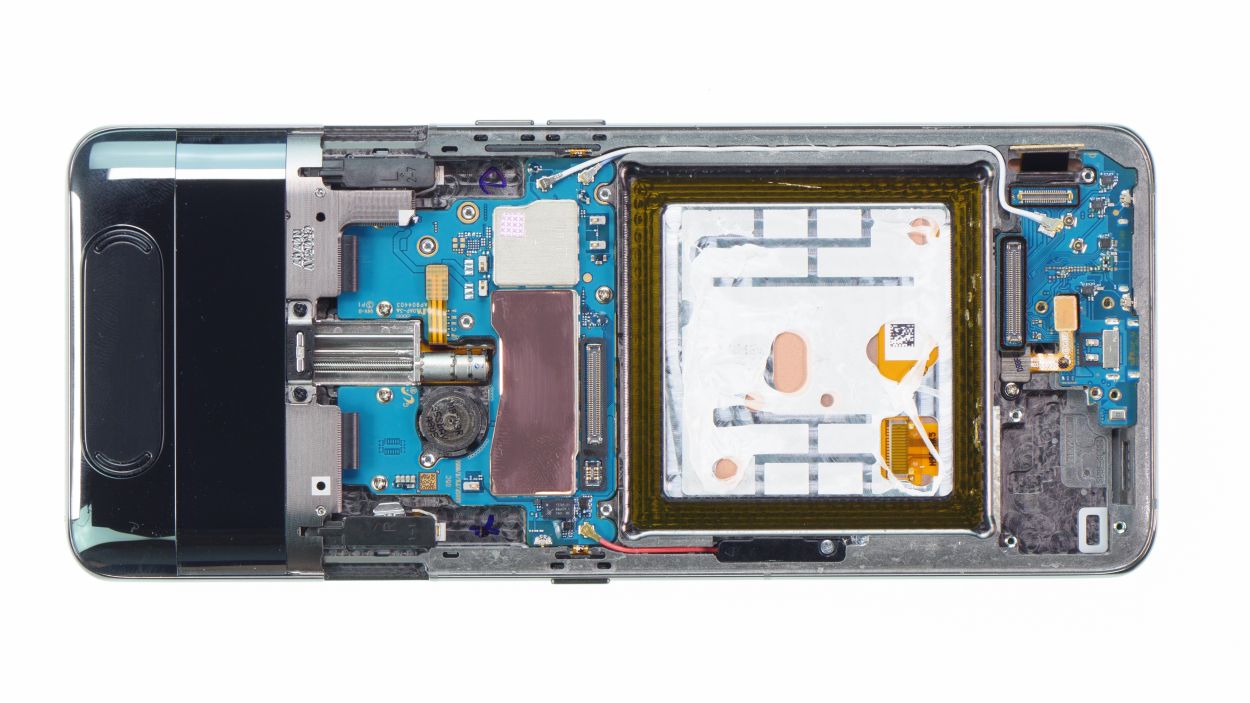
– First, unscrew that one little screw holding the USB board in place. Easy peasy!
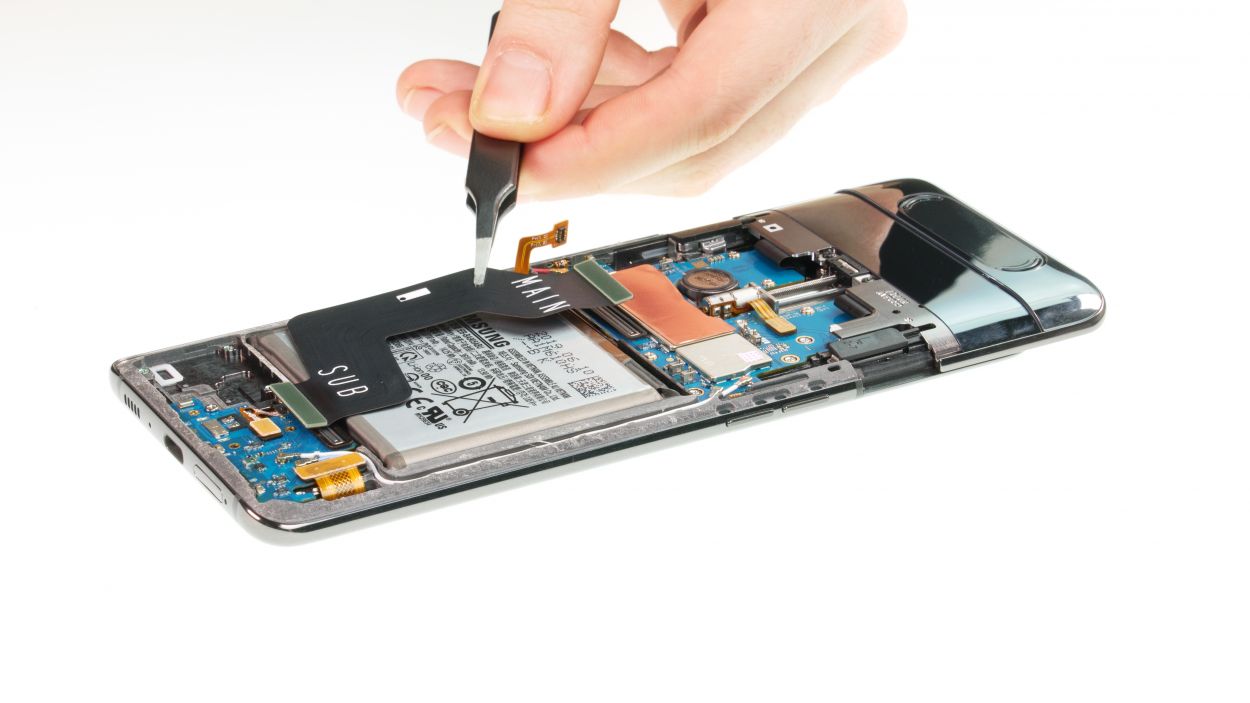
– Next, let’s disconnect the fingerprint sensor connector. Just give it a gentle pull!
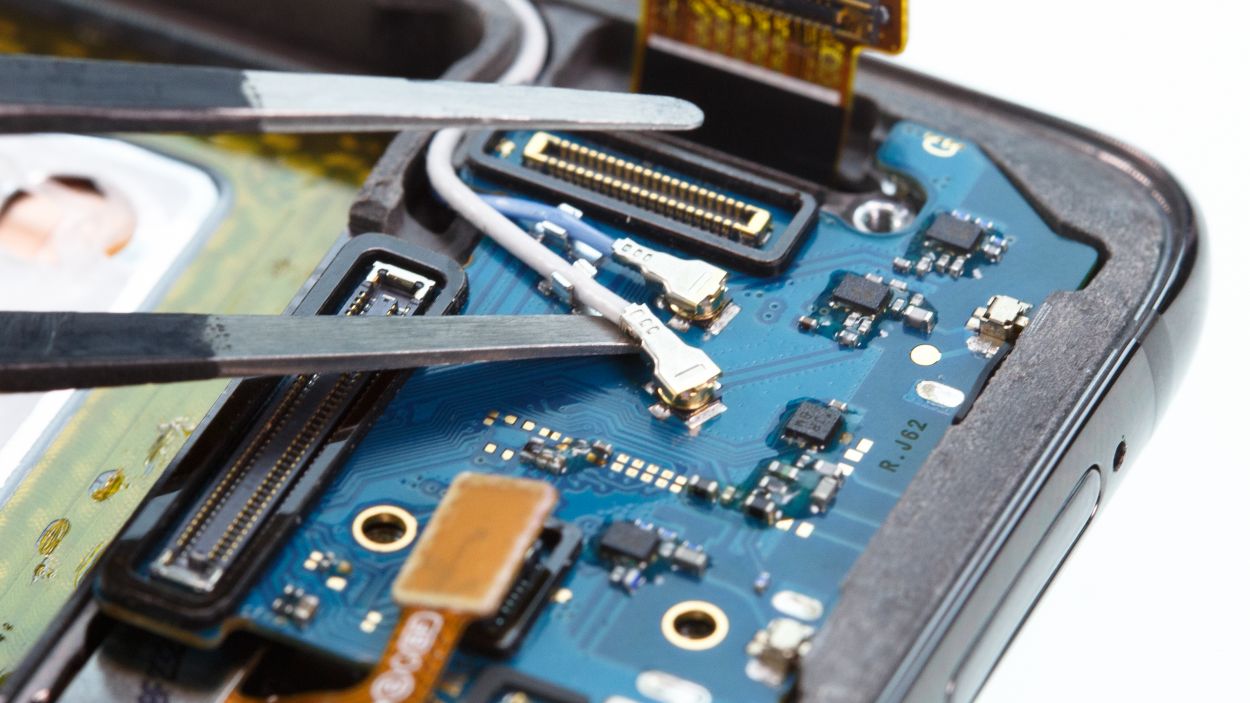
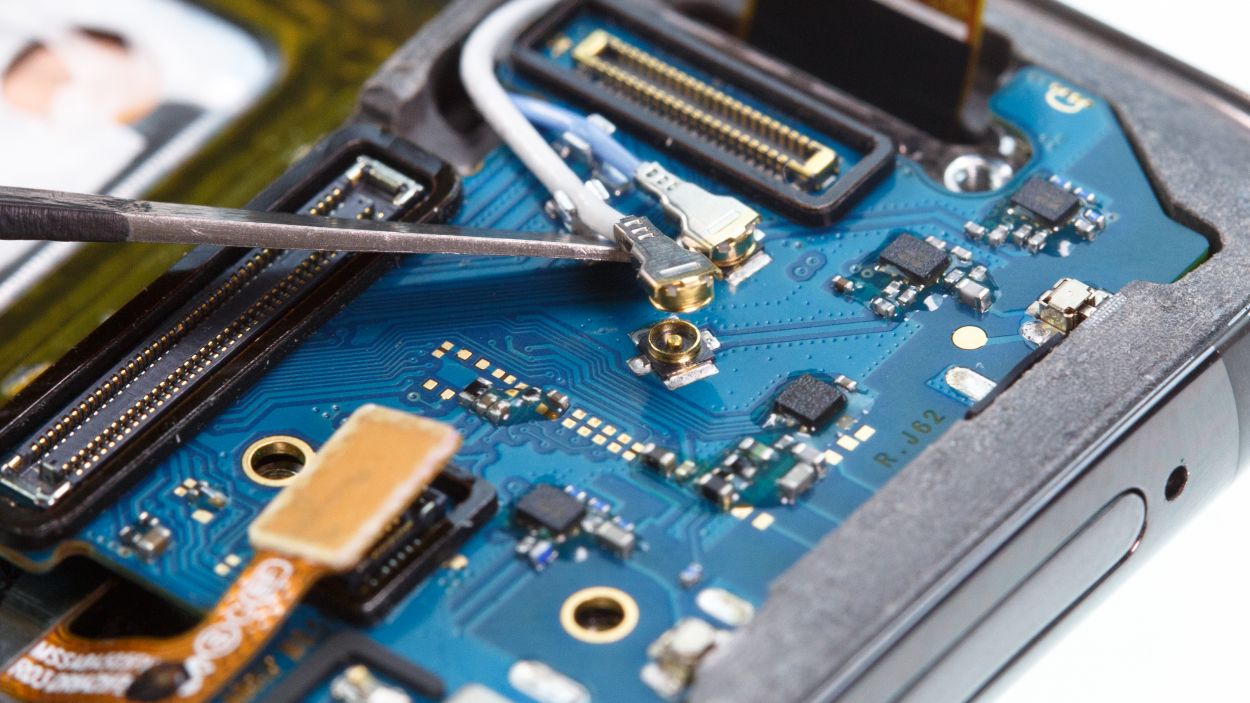
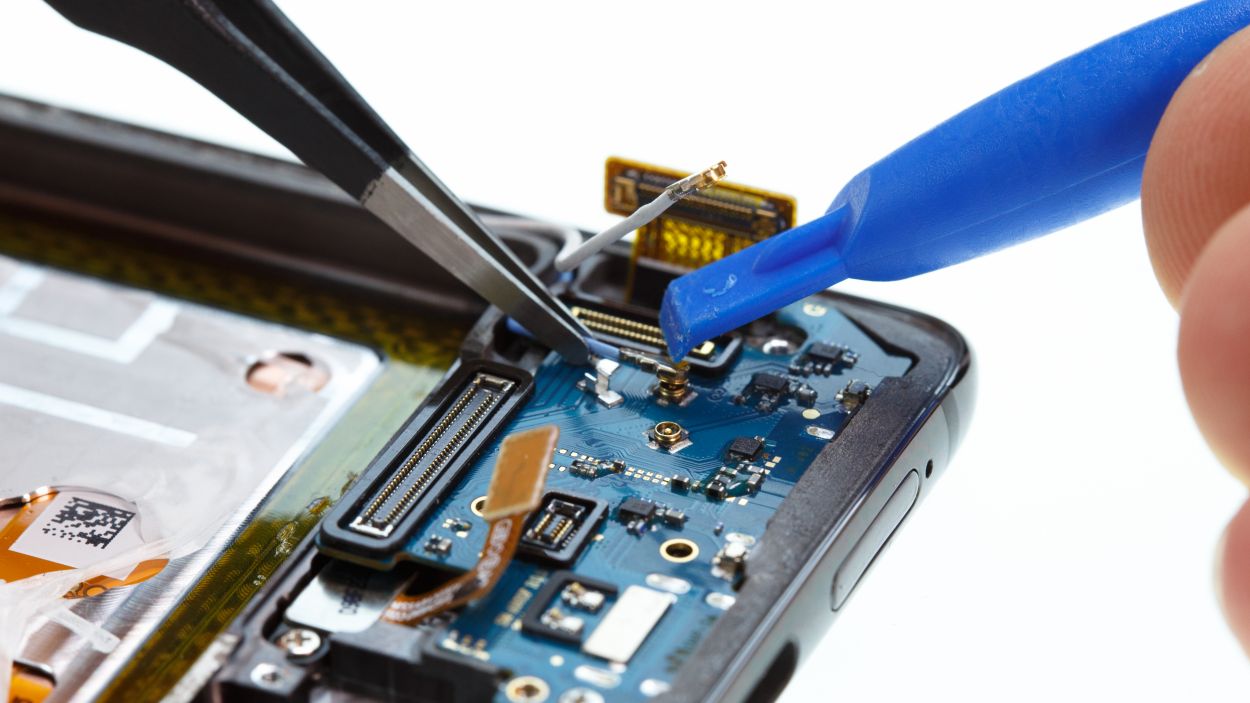
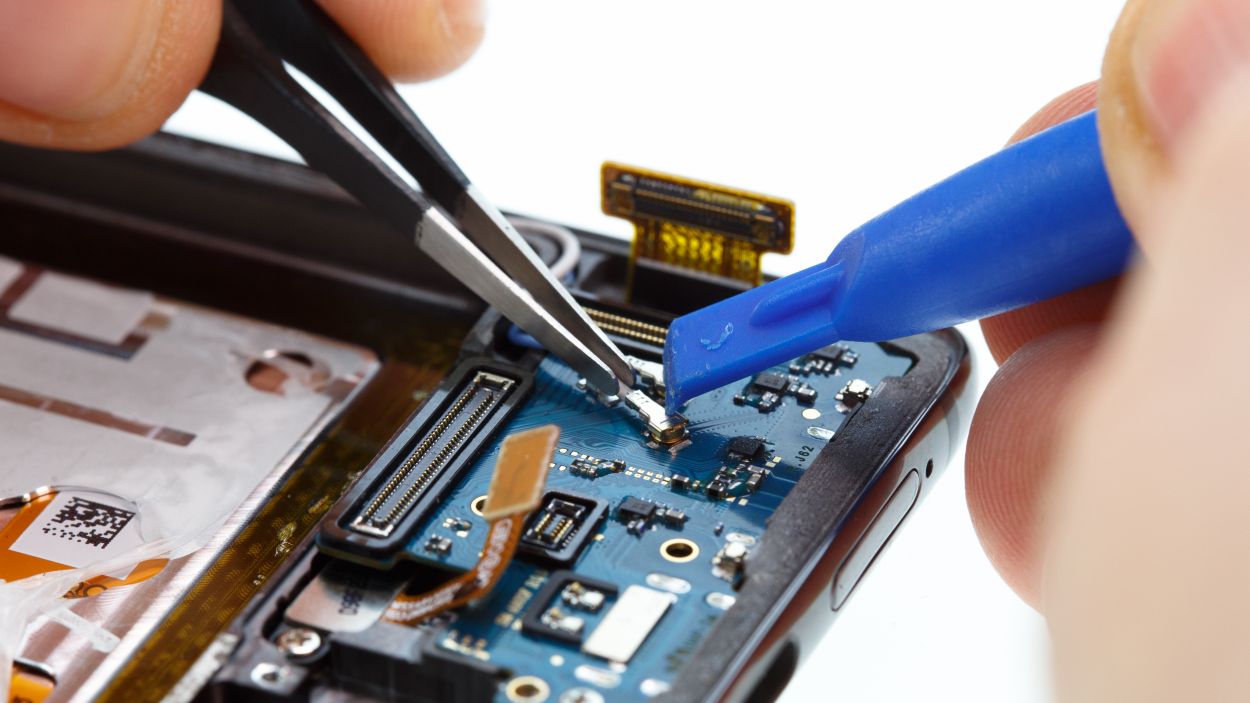
– Now, it’s time to tackle those two antenna cables. Grab a pair of tweezers and slide under the connectors, giving them a little twist to loosen them up. You’ve got this!
– Don’t forget to pop out the SIM card holder from the device. It’s like a little treasure hunt!
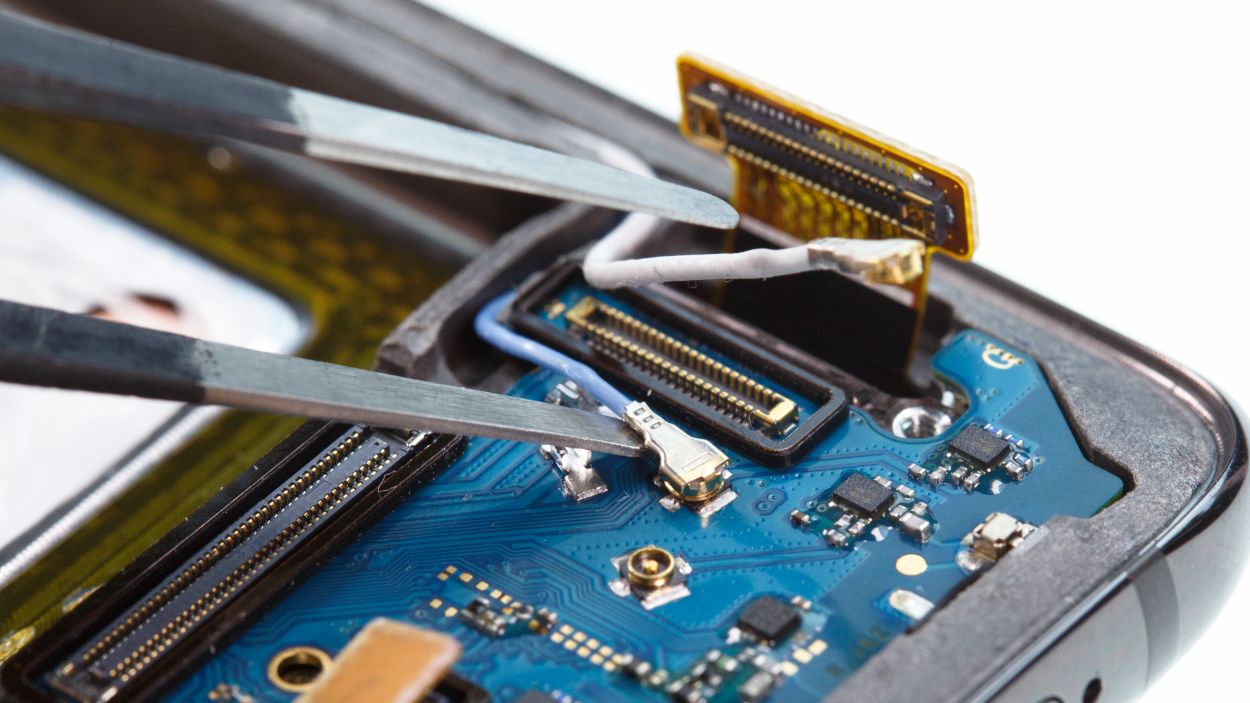
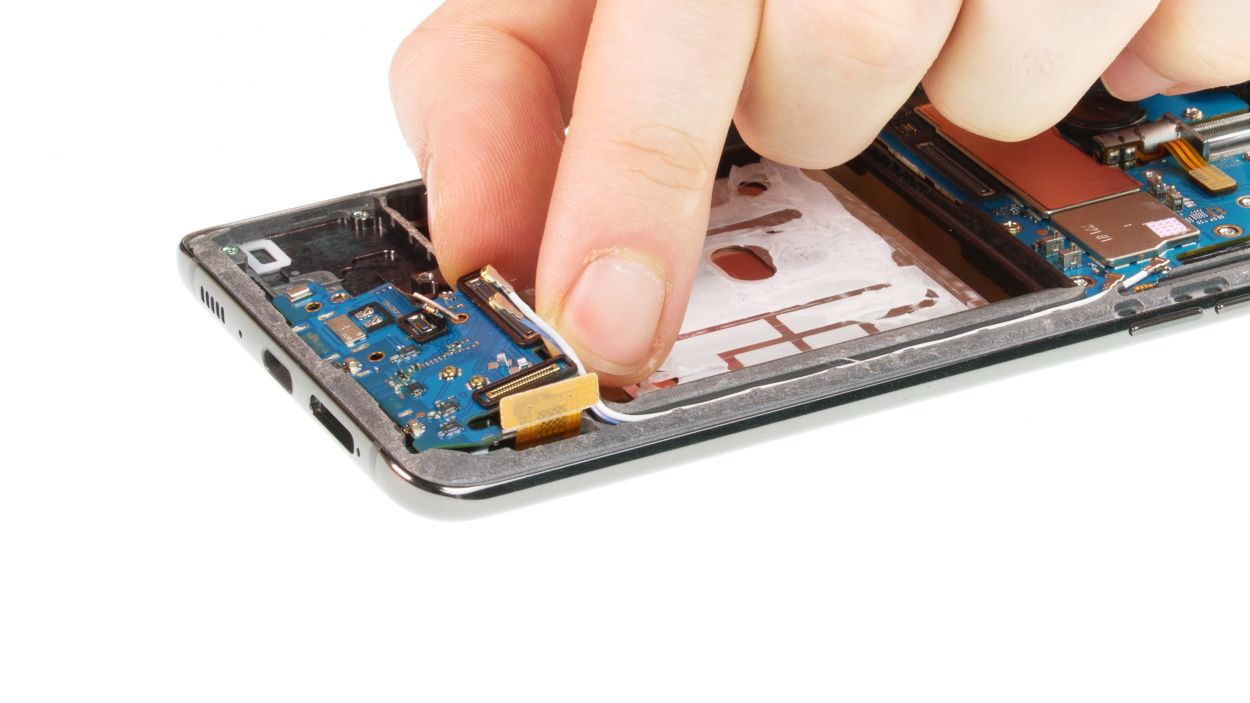
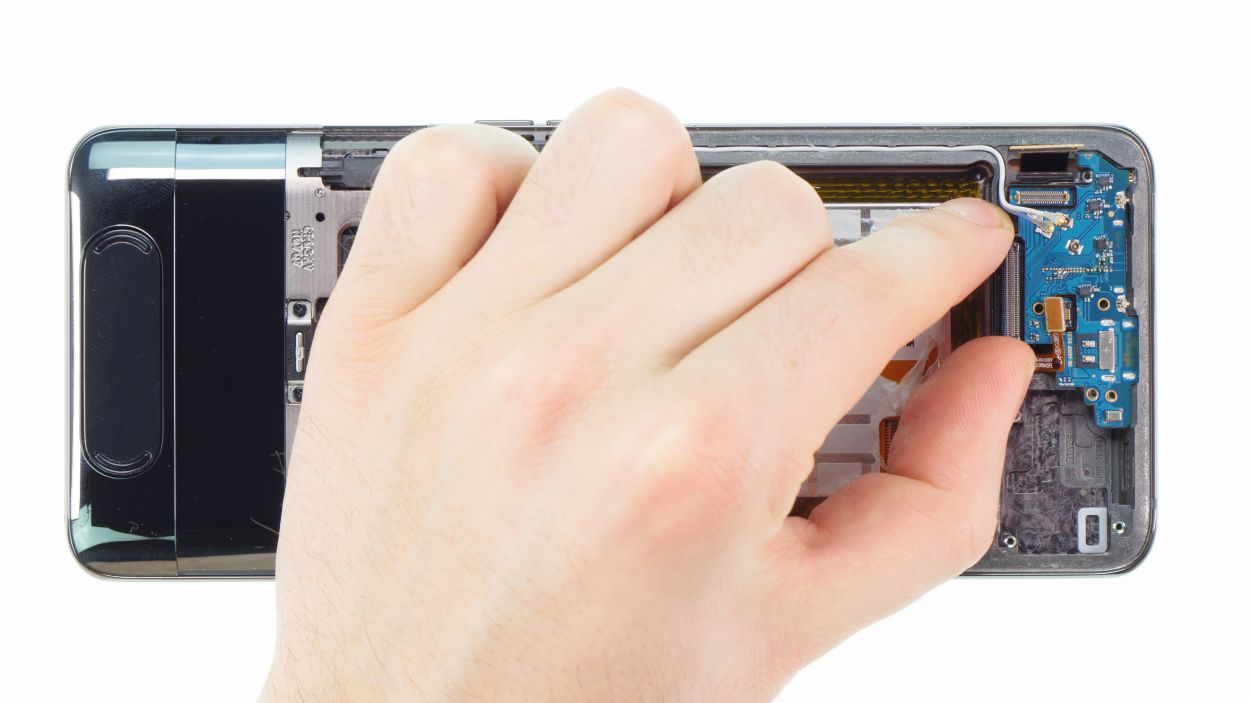
– Now that you’ve cleared the way, you can carefully lift out the lower circuit board. Just bend those cables a bit to the side so they don’t get caught. Smooth sailing ahead!
Step 7
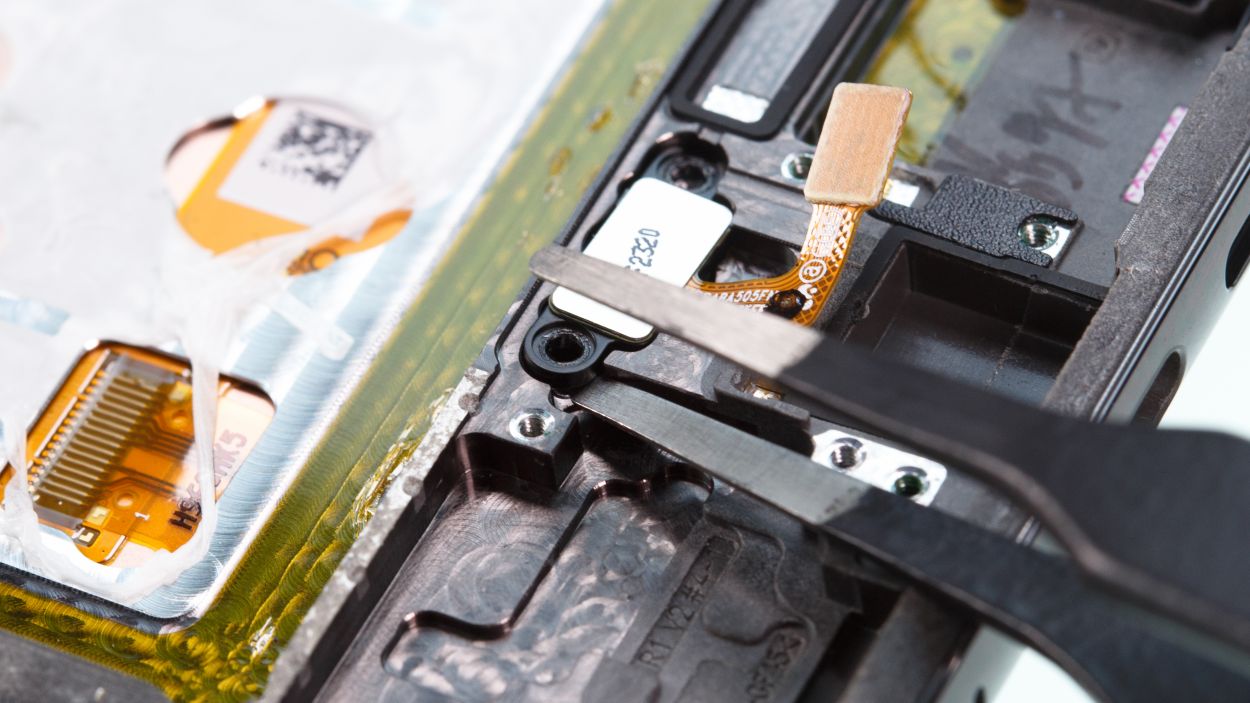


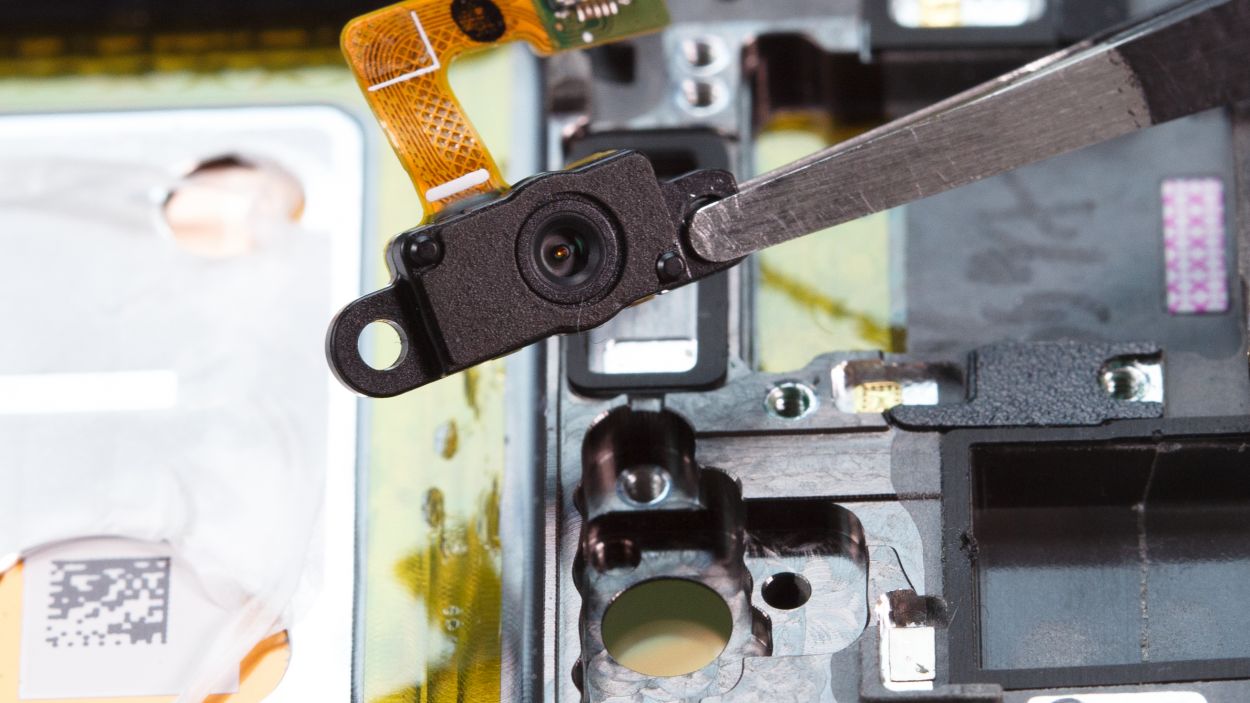
2 × 2,9 mm Phillips
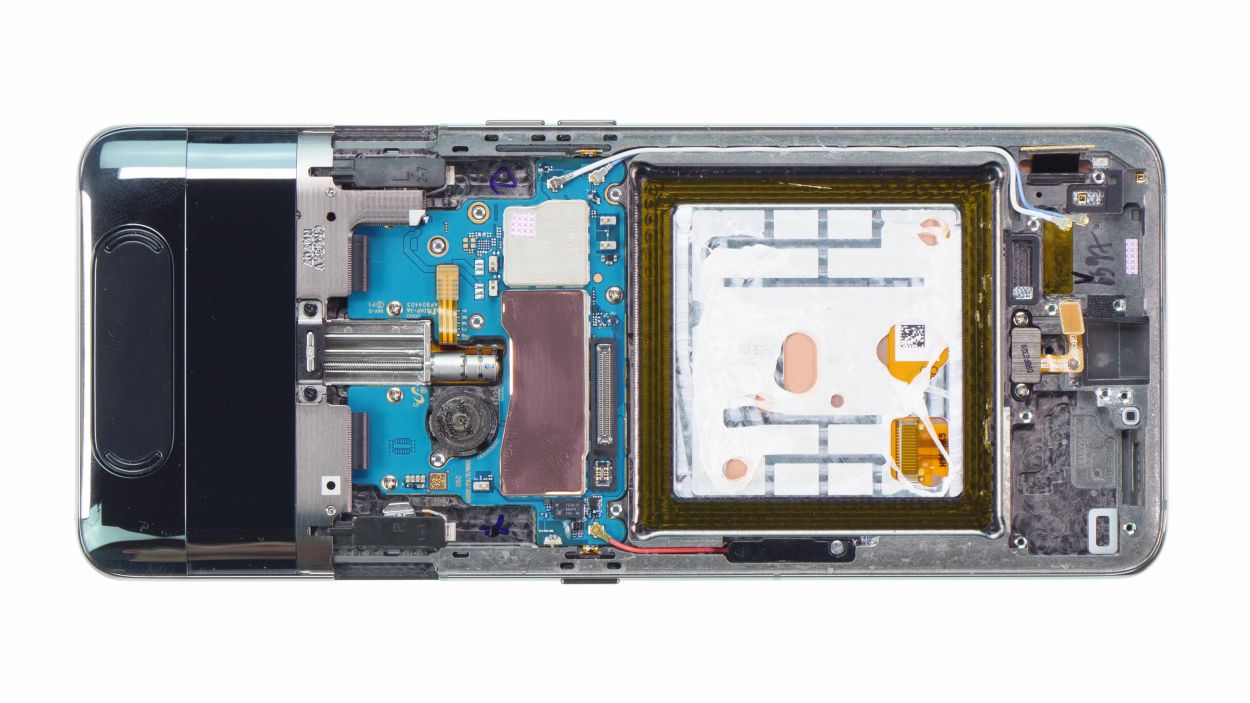
– Unscrew those two little screws holding the fingerprint sensor in place. You’ve got this!
– Now, grab your tweezers and gently pry on the left plastic guide to lift that sensor out of the device. Easy peasy!
Step 8
2 × 2,9 mm Phillips
– Now, it’s time to pop that fingerprint sensor back in its cozy spot and secure it with a couple of screws. You’re doing great!
Step 9


1 × 2,9 mm Phillips
Antenna Connector
– First, gently position the lower board back where it belongs in the device. Just a heads-up, keep an eye on those cables underneath so they don’t get pinched!
– Next, slide the SIM card holder back into its cozy spot. If it’s feeling stubborn, don’t force it! Just make sure the board is seated correctly first.
– Now, it’s time to reconnect the fingerprint sensor connector. You’ve got this!
– Align the antenna cable connectors over their sockets and give them a little press with your spudger until you hear that satisfying snap.
– Guide the white cable into the clamp on the board like a pro.
– Finally, secure everything with that single screw. Almost there!
Step 10
– Alright, time to pop that battery back into your device! If your display is feeling a bit bare without any adhesive surfaces, you can always rely on some thin double-sided tape to help stick that battery back in place.
– When you’re sliding the battery back in, just make sure there’s a little wiggle room all around. You got this!
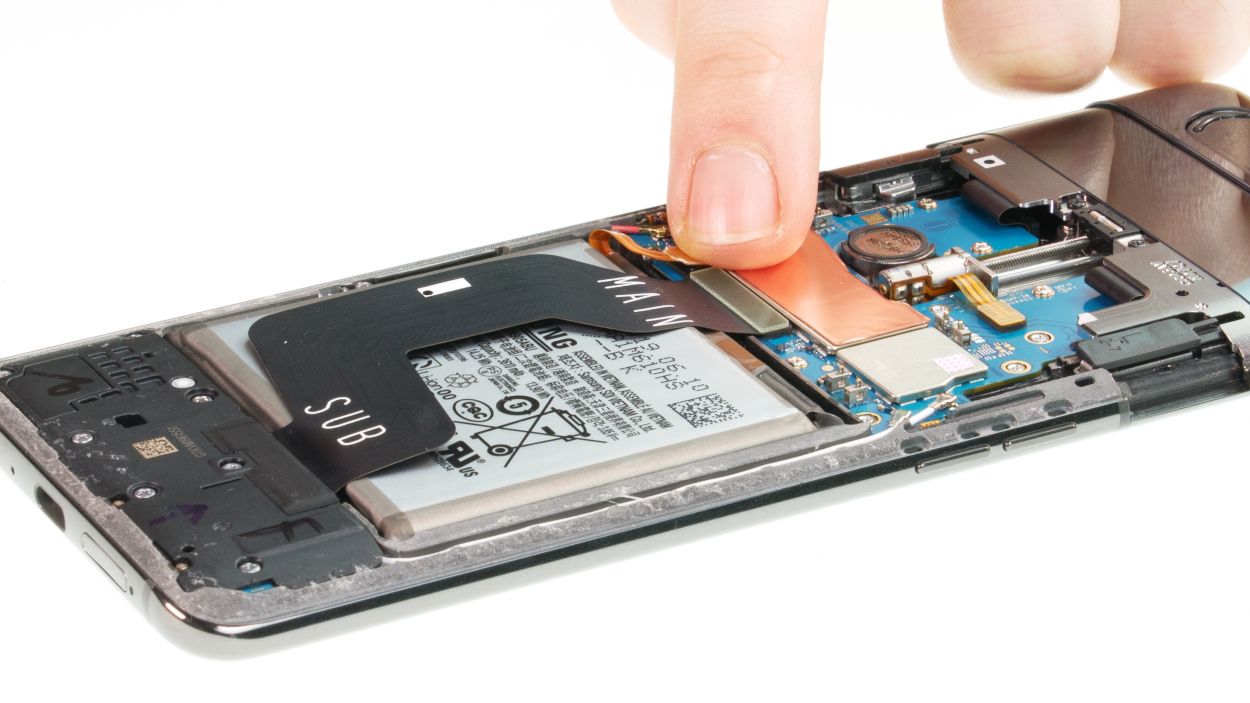
Step 11


7 × 3,9 mm Phillips
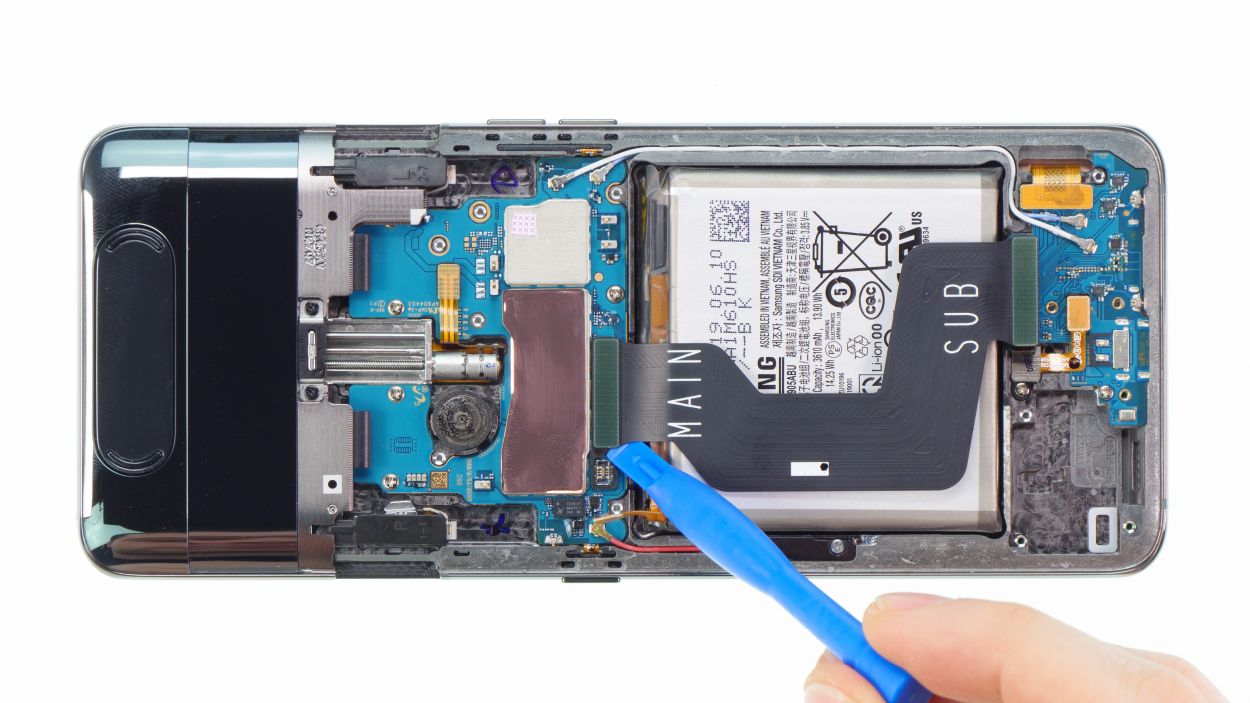
– Slide that wide flex cable back into its cozy home inside the device, connecting it to both the main board and the USB board. You’re doing great!
– Now, let’s get the speaker back in its rightful place! Gently press it down and secure it with a few screws. You’re almost there!

Step 13
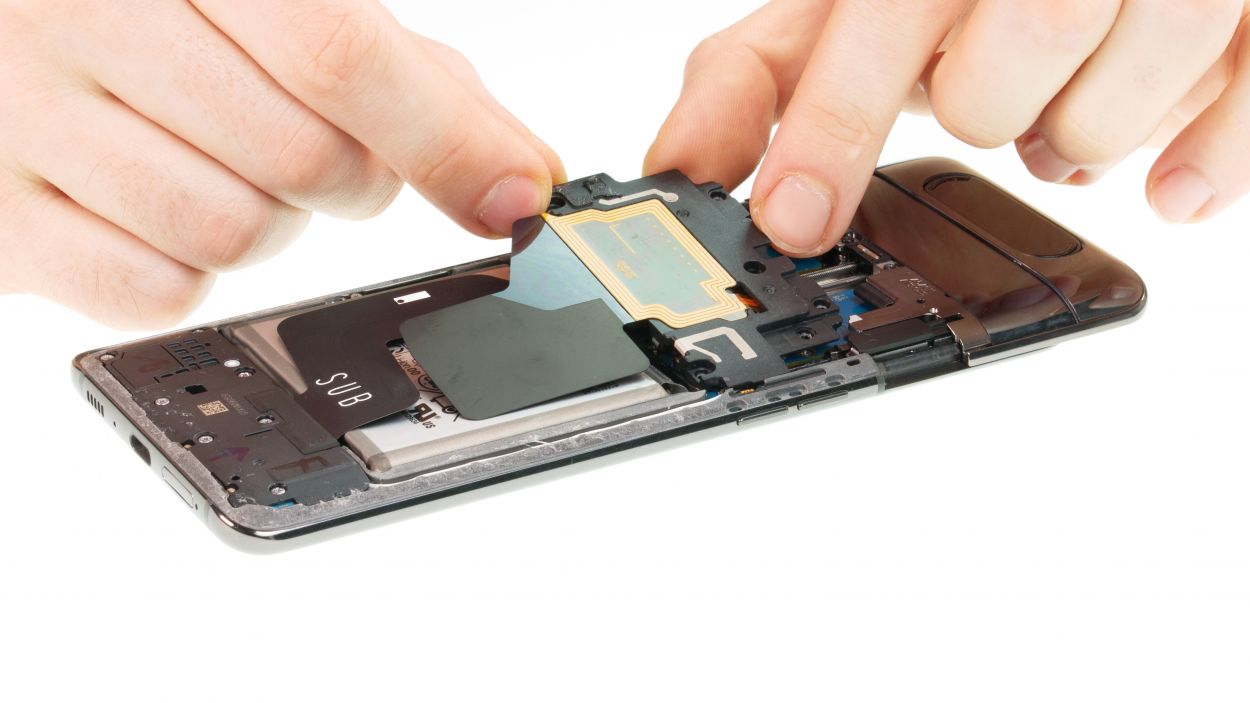


6 × 3,3 mm Phillips
– Start by placing the main board cover on the right side and give it a gentle press to fit it snugly into place.
– Double-check that the tiny plastic tabs on both sides click back into position. You got this!
– Now, go ahead and secure that cover in place.
Step 14


– Before you seal up your Samsung Galaxy A80 and give that back cover a fresh glue job, let’s make sure everything is in tip-top shape!
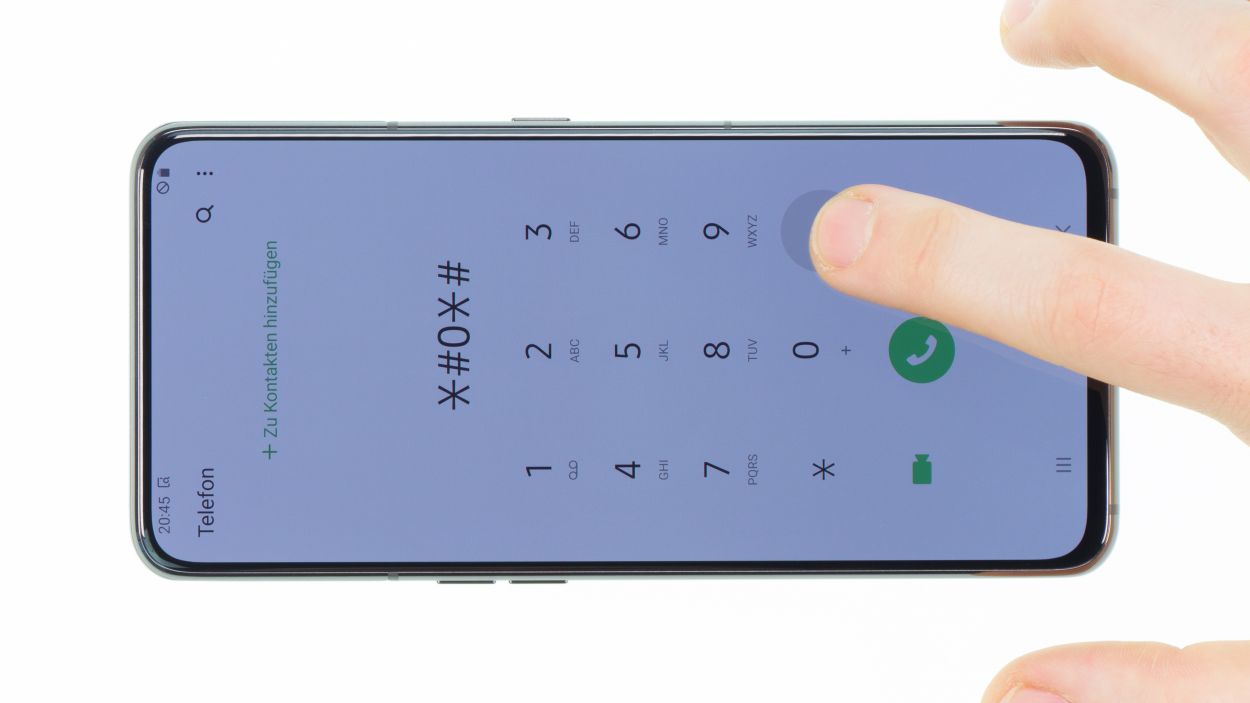
– Power up your phone and dive into the phone app.
– Type in *#0*# in the number field to access the Samsung test menu.
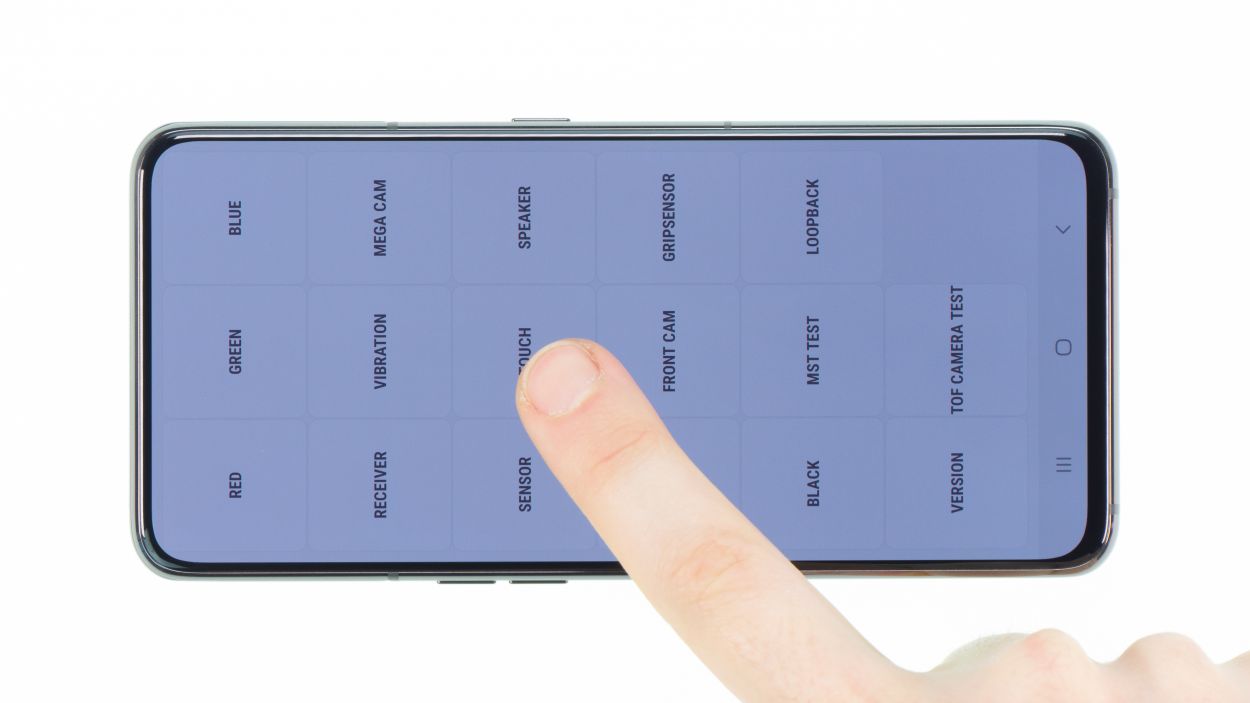
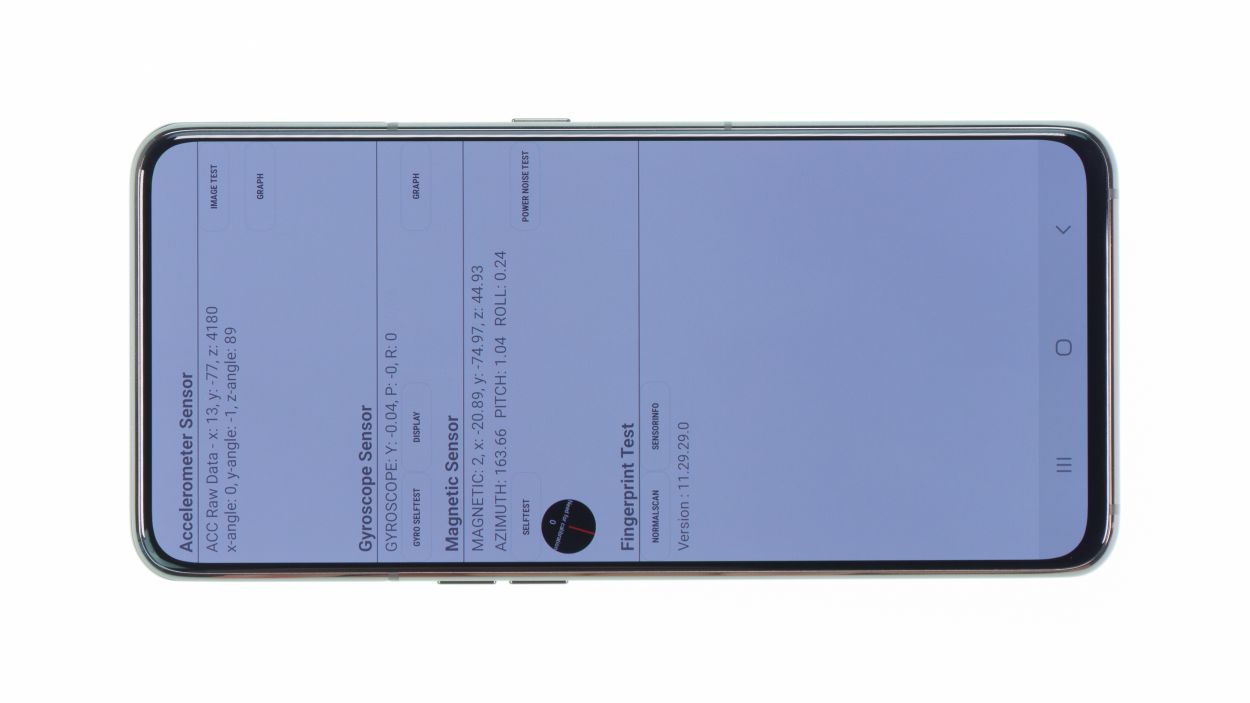
– Here’s where the fun begins! Test out your display for any touch or display hiccups.
– Don’t forget to check out all the other cool features like the speaker and vibration motor!
– If everything’s working smoothly, you’re ready to close up shop!
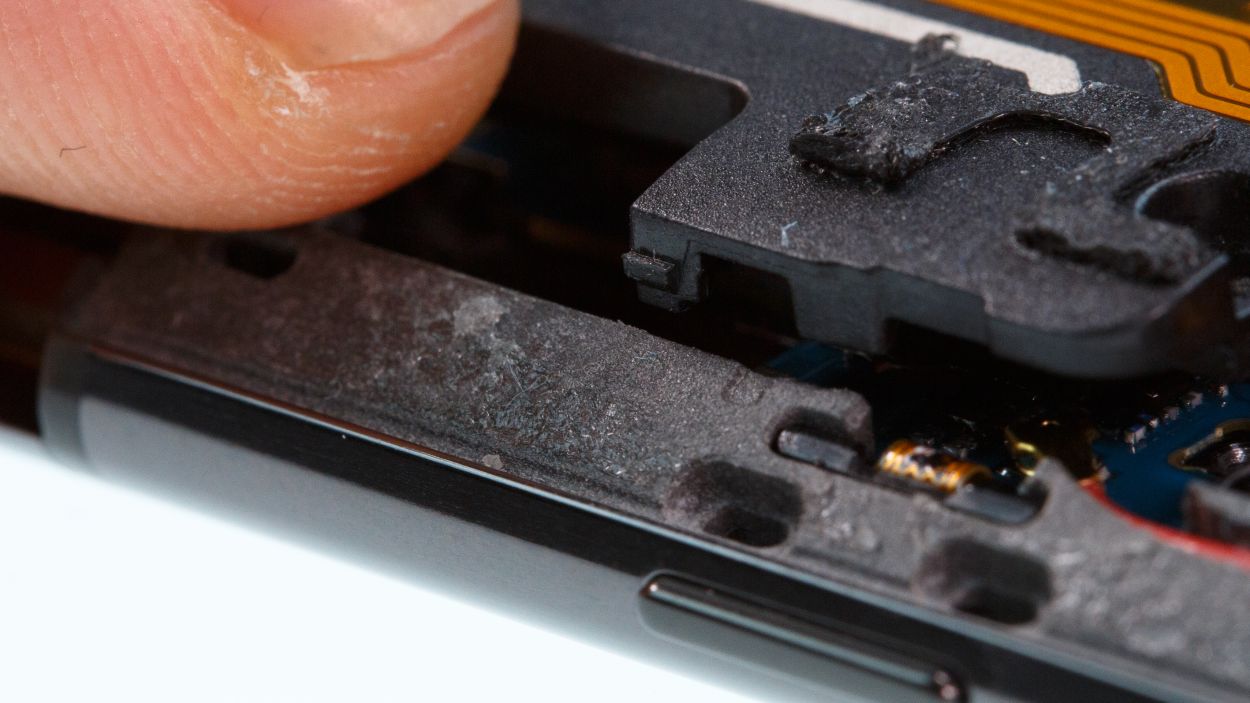
Step 15
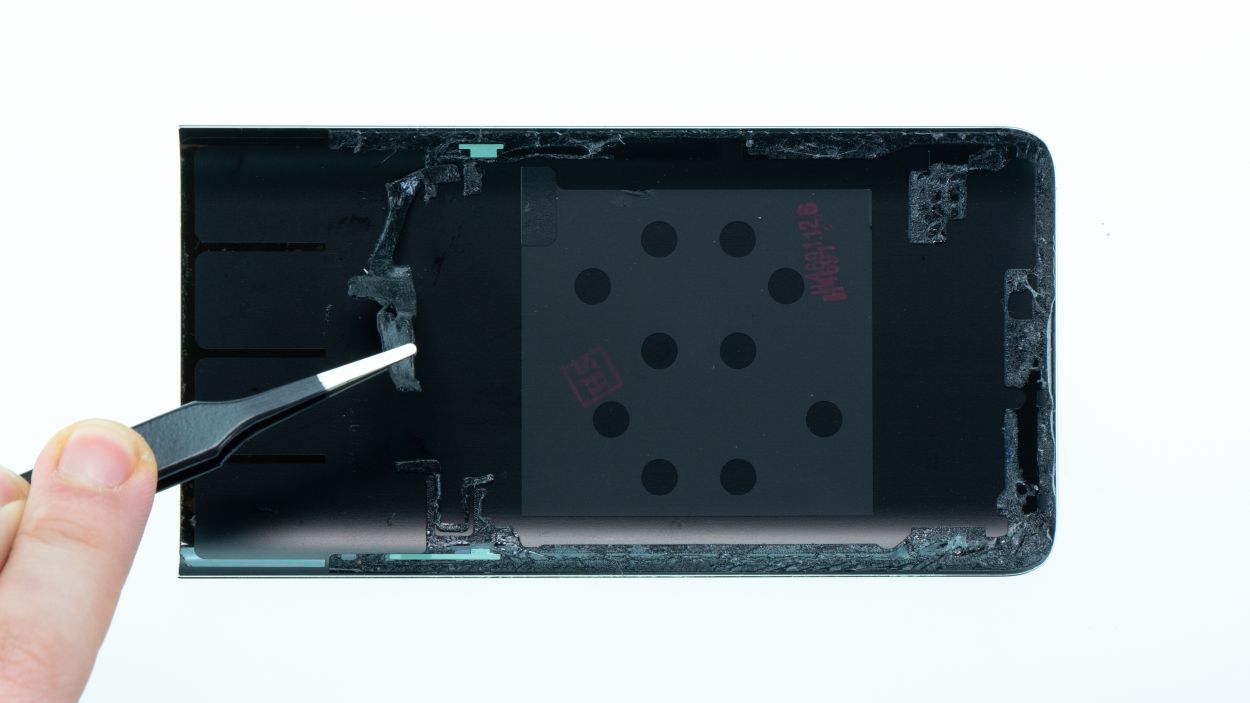


– Time to say goodbye to any leftover adhesive on the inside of the back cover and the device frame! Grab a plastic tool, like a spudger, and scrape away those remnants. If you’re feeling fancy, a little rubbing alcohol (isopropanol) on a lint-free cloth can help too. We want a clean slate for a perfect close!
– Next, grab that shiny new adhesive frame and check its alignment. Use the various recesses and screw holes as your guide to get it just right.
– Peel off the first transparent protective film and stick the adhesive onto the frame, making sure it fits perfectly without any overhang.
– Now, it’s time to remove the green protective foil. If any glue starts to lift off the frame, just press it back into place with your trusty spudger.
– Place the back cover on and give it a gentle press down.
– For an extra strong bond, warm up the edge of the device with your heat gun and set a few books on top to help the adhesive stick. You’re almost there!