DIY Guide to Replace Front Camera on Huawei P8 Lite
Duration: 60 min.
Steps: 17 Steps
In this guide, we’re here to help you tackle the replacement of your Huawei P8 Lite’s front camera that’s been giving you trouble. Whether it’s not functioning, the aperture is stuck, or your selfies are coming out fuzzy, we’ve got you covered. Let’s get your camera back in action!
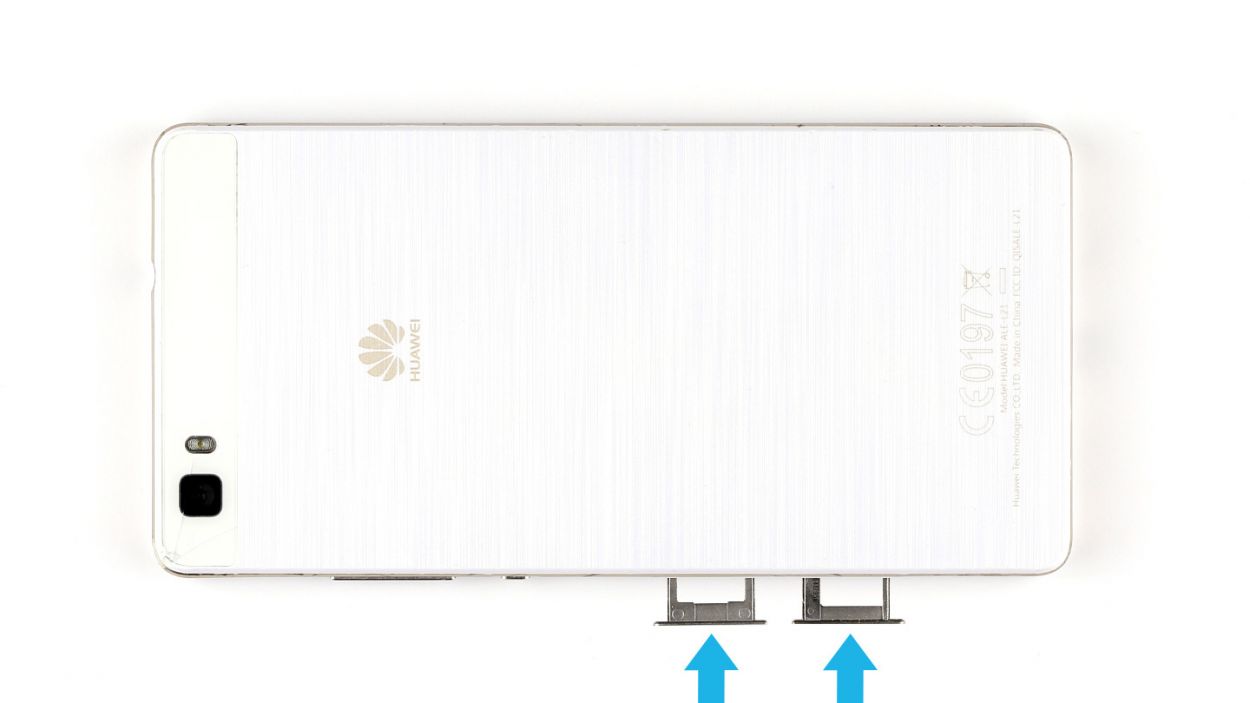
Step 2
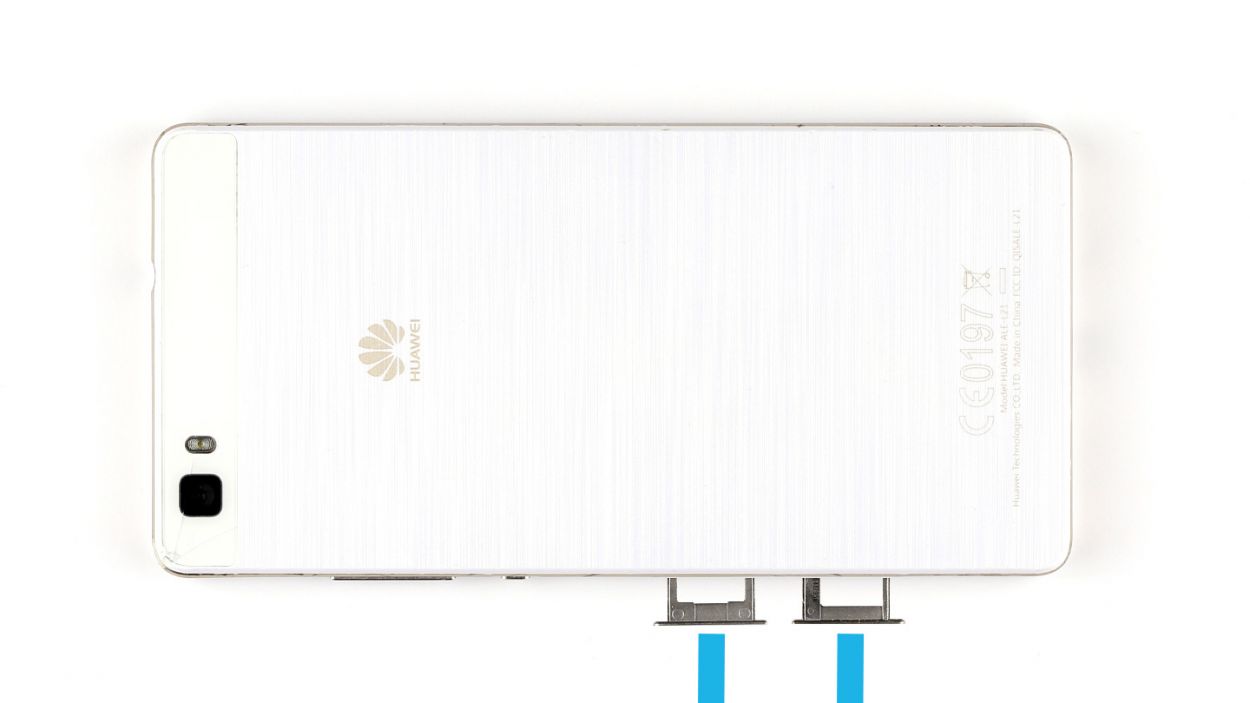
– Pop out those two trays for your SIM and microSD cards by gently jabbing a SIM Tool or a paperclip into the tiny hole until the tray slides out. Once you’ve got them out, go ahead and take out both trays along with the cards. You’re doing great!
Step 3
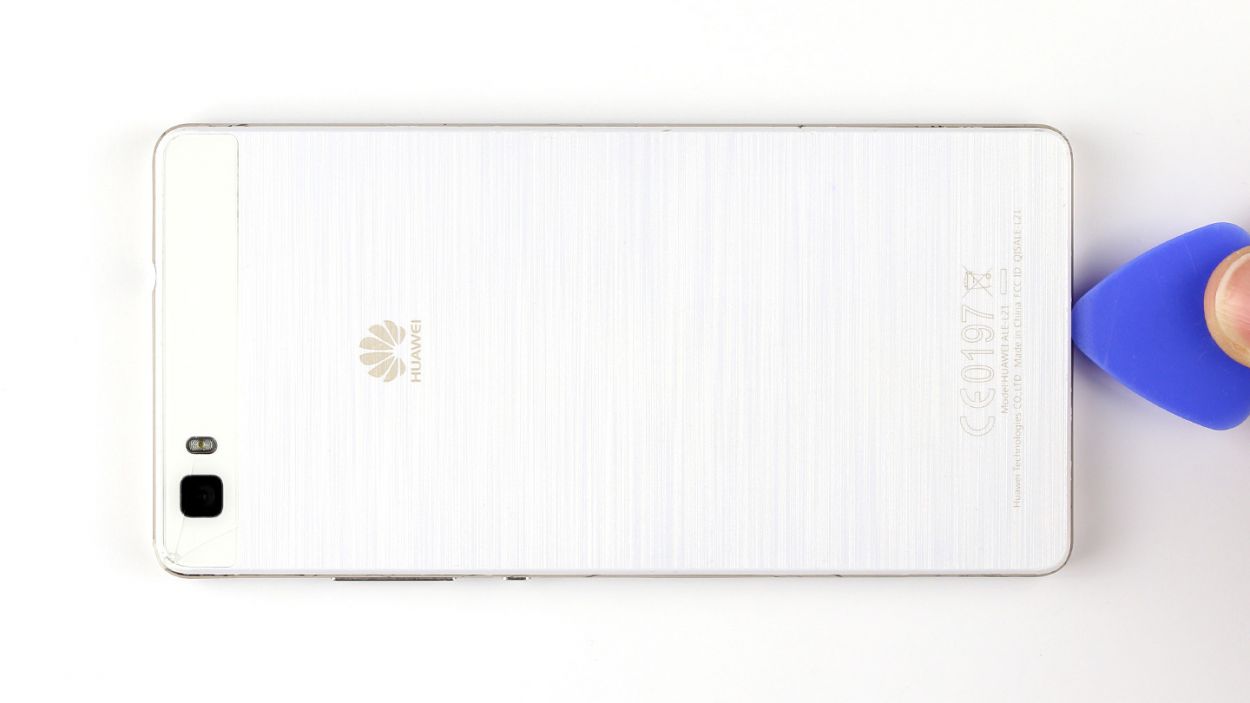
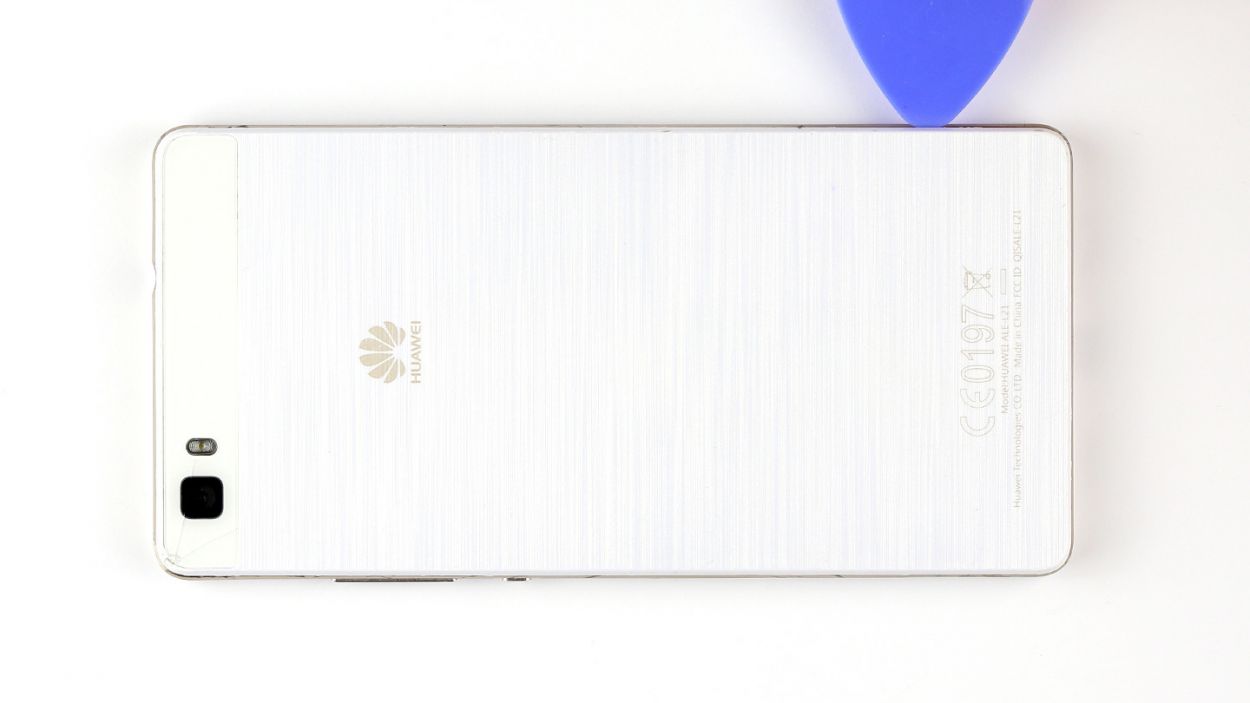

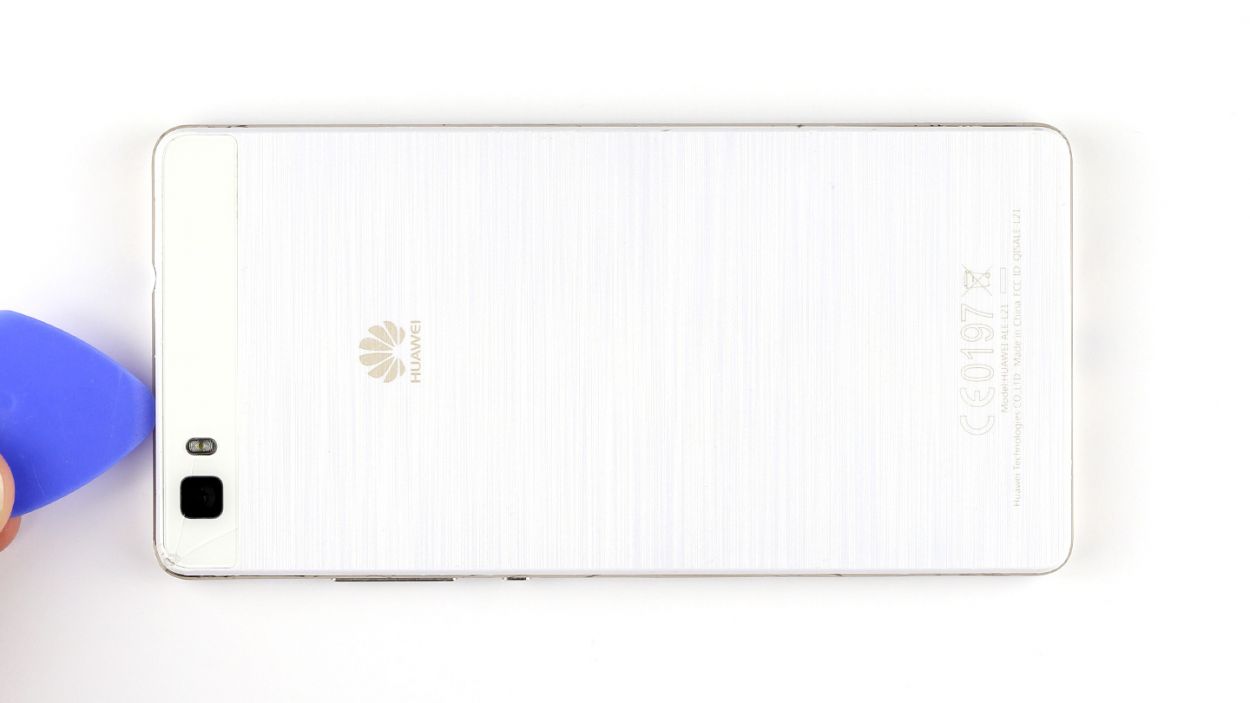
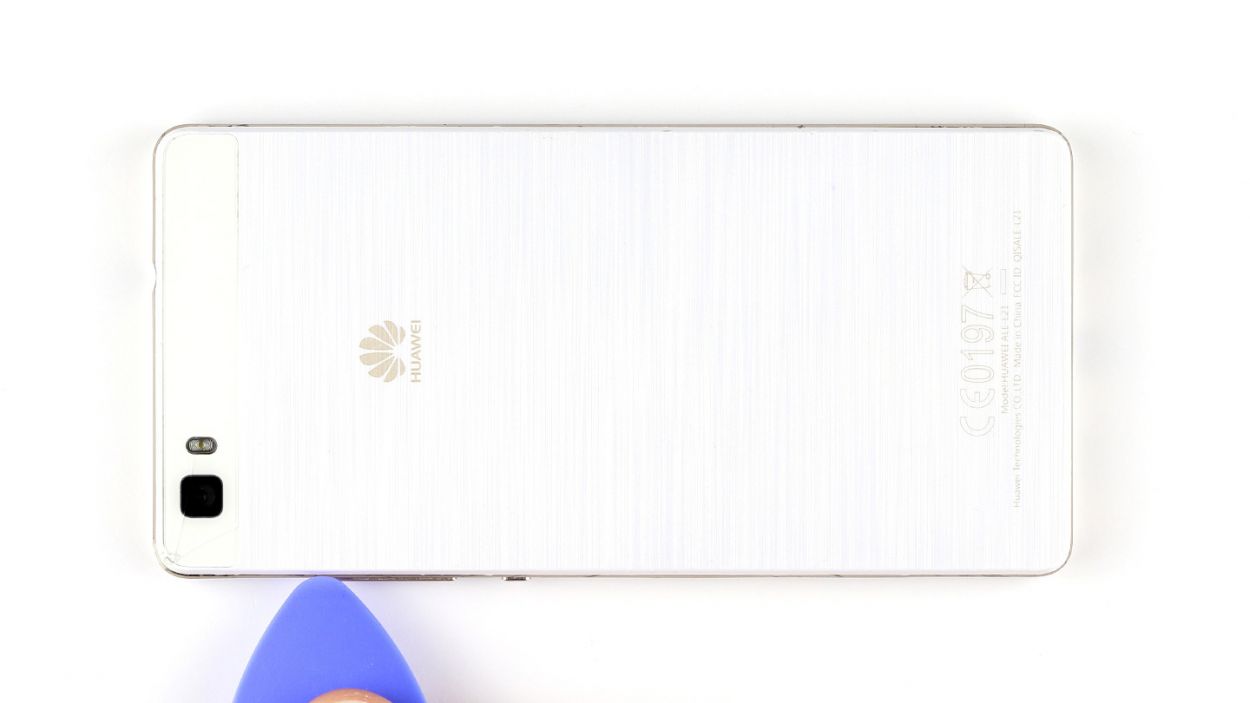
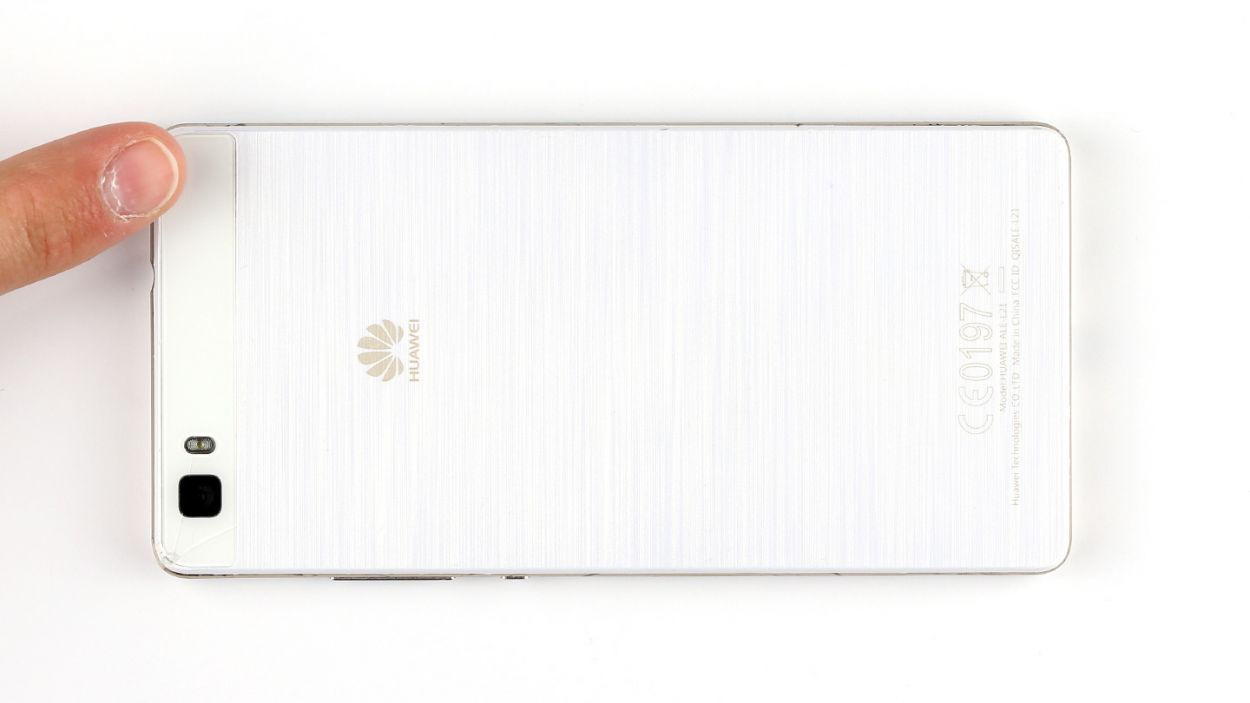
– Gently detach the back cover from the enclosure frame. It’s held on by a few sneaky hooks, so grab a pick and slide it between the back cover and the frame to release those little rascals. Keep going until you’ve freed the entire device!
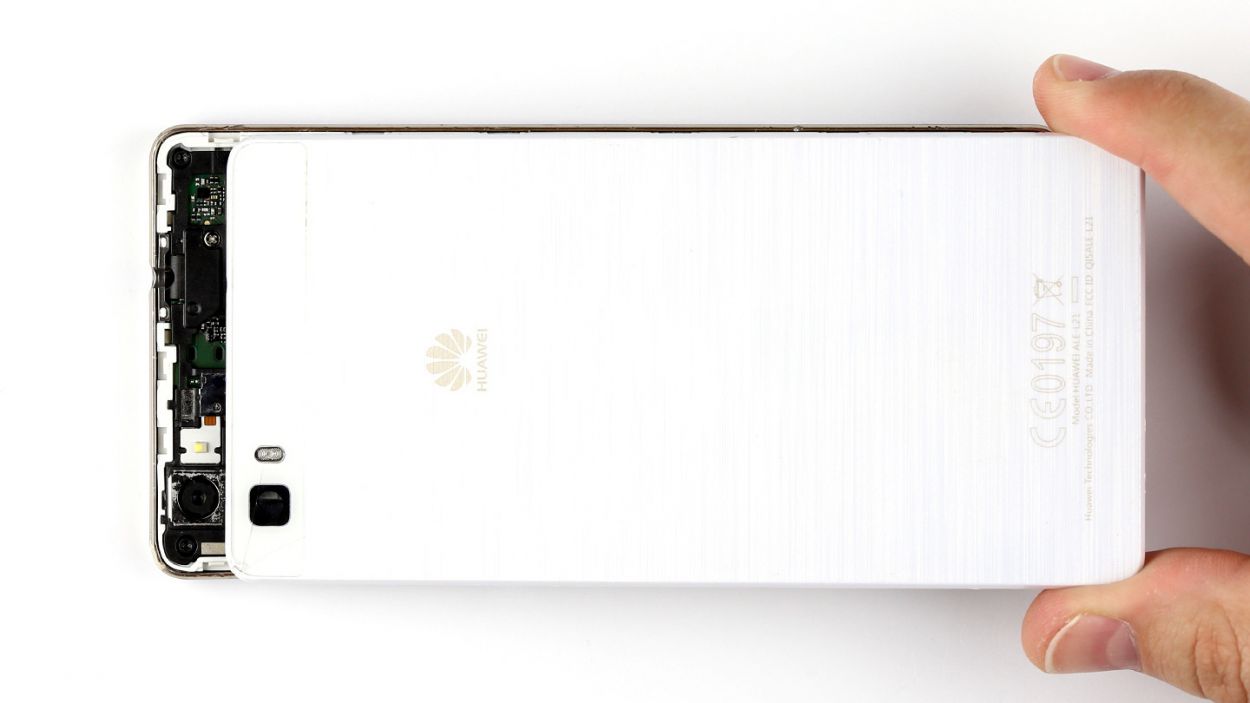
– Now, lift off that back cover like a pro!
Step 4

– First things first, let’s tackle those seven screws keeping the speaker snug as a bug! You’ll need 3 of those 2.7 mm PH00 Phillips screws and 4 of the 3.7 mm T5 Torx screws. Unscrew them with care!
– Once those screws are out, gently lift the speaker out of your device. You’re doing great!
Step 5
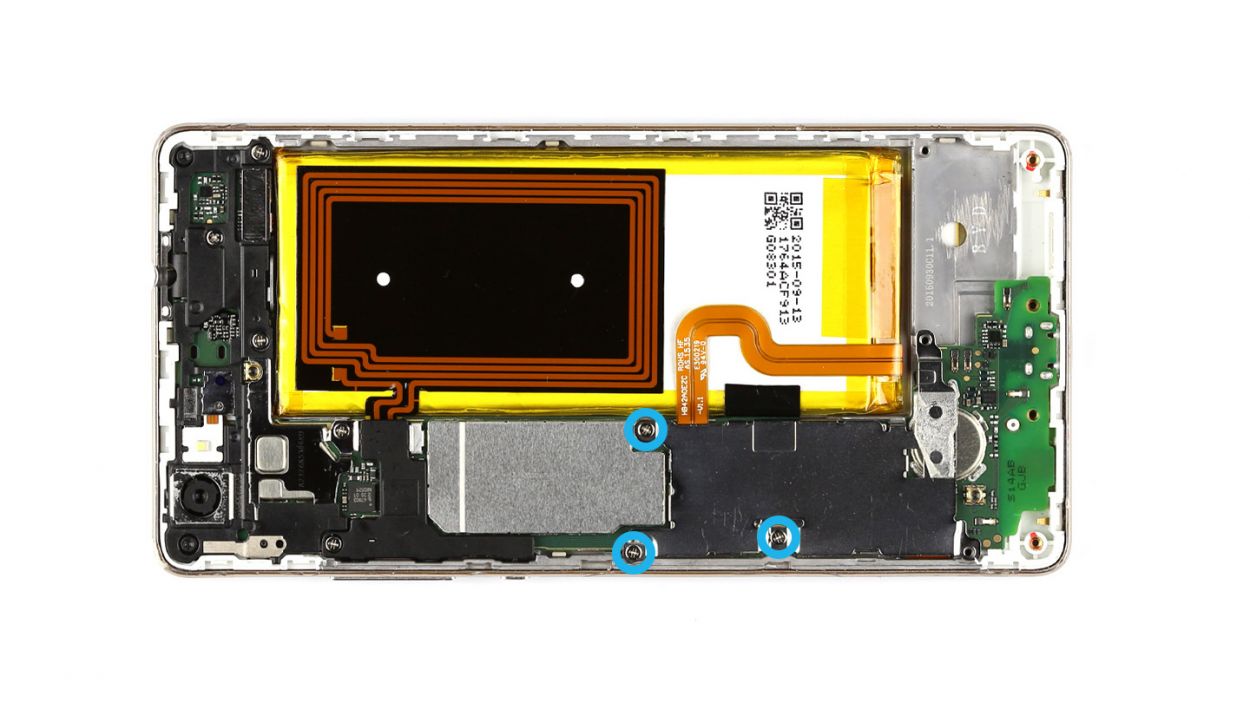


– First things first, let’s get those three screws out of the way. Grab your trusty 3 x 2.7 mm PH00 Phillips screwdriver and let’s do this!
– Next up, gently remove the shiny silver cover from your device. It’s like peeling a banana, just be careful not to squish it!
– Now, it’s time to disconnect the battery contact from the PCB. Slide your tool underneath the contact and lift it carefully. Remember, we want to keep all the tiny parts intact, so handle with care!
– Last but not least, disconnect the display contact in the same gentle manner. You’ve got this!
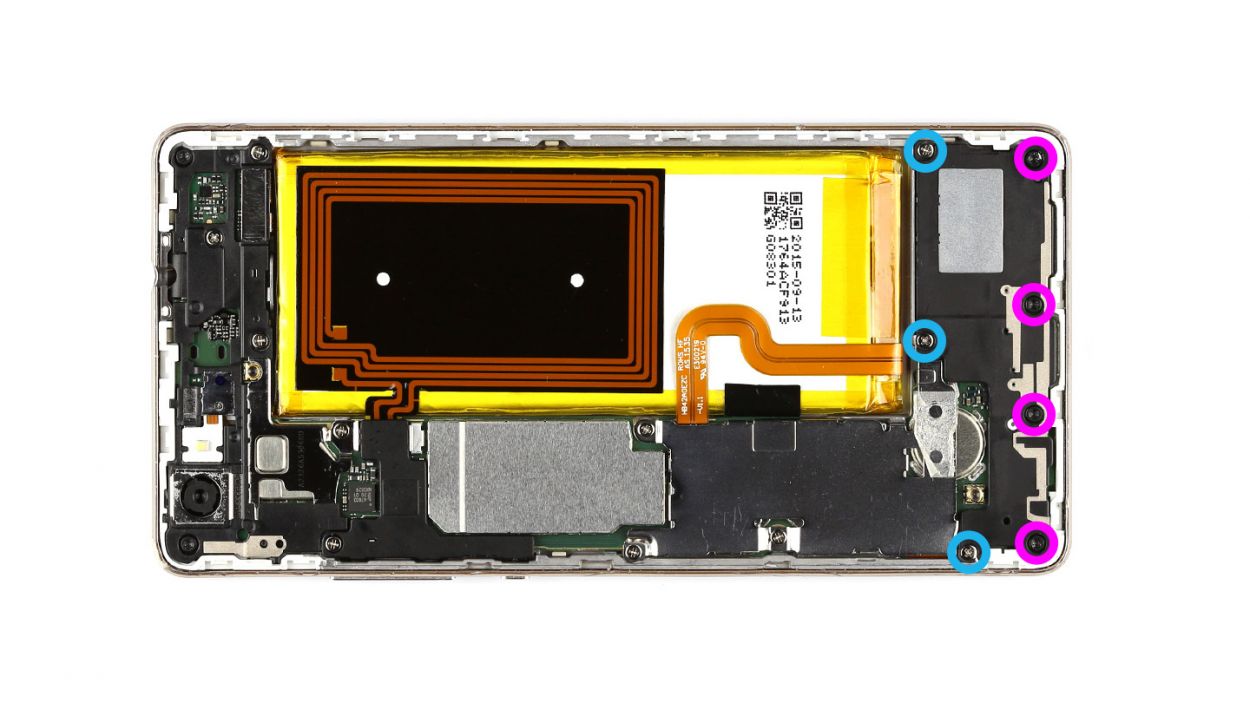
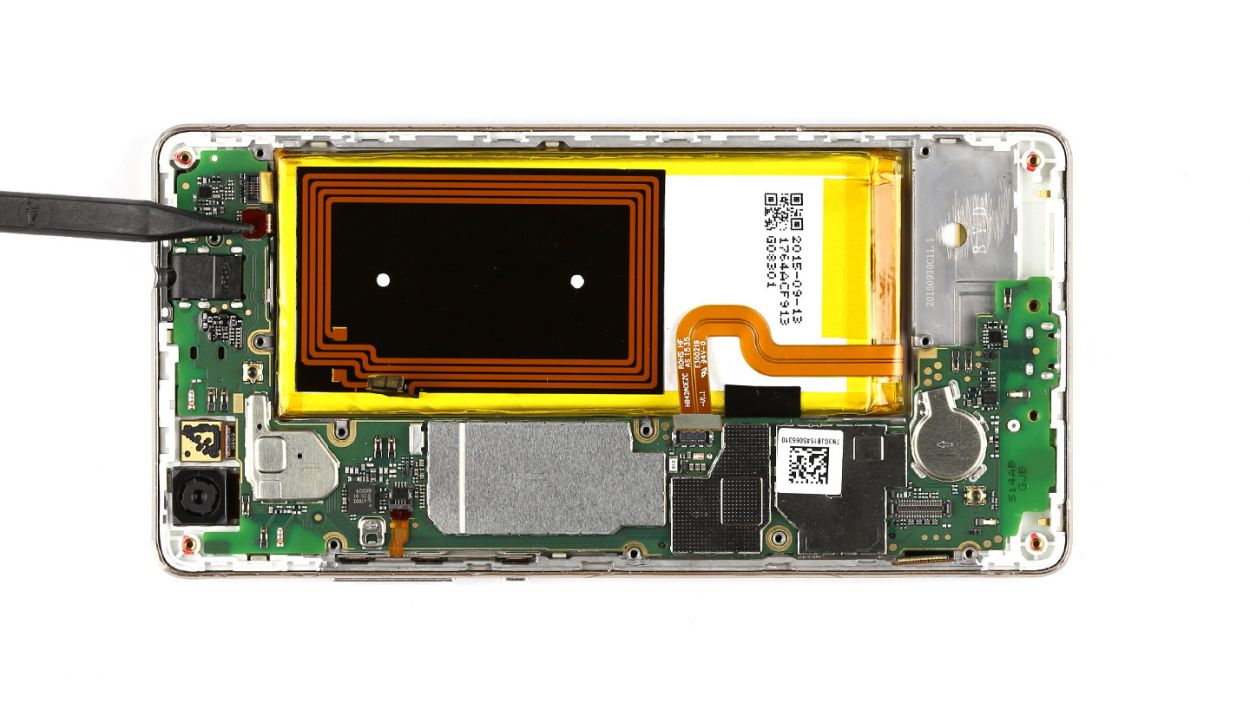
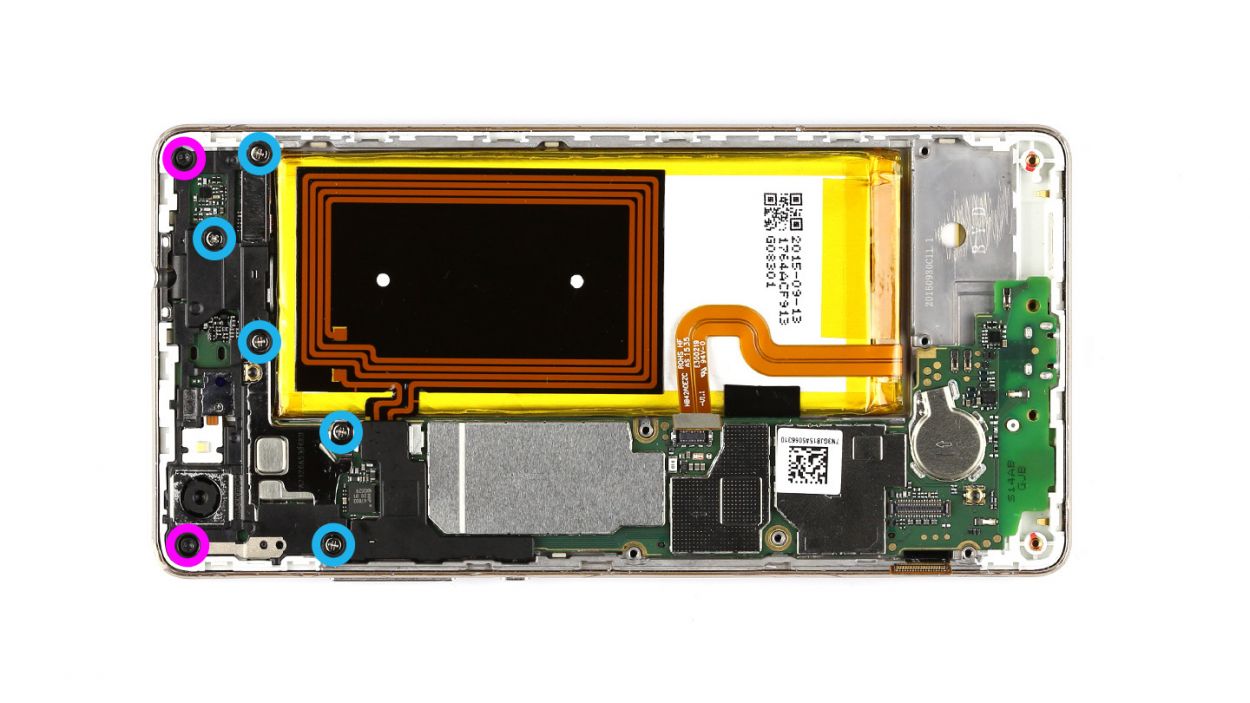
Step 6


– Let’s get started by removing those seven screws holding the cover in place! You’ll need 5 x 2.7 mm PH00 Phillips screws and 2 x 3.7 mm T5 Torx screws.
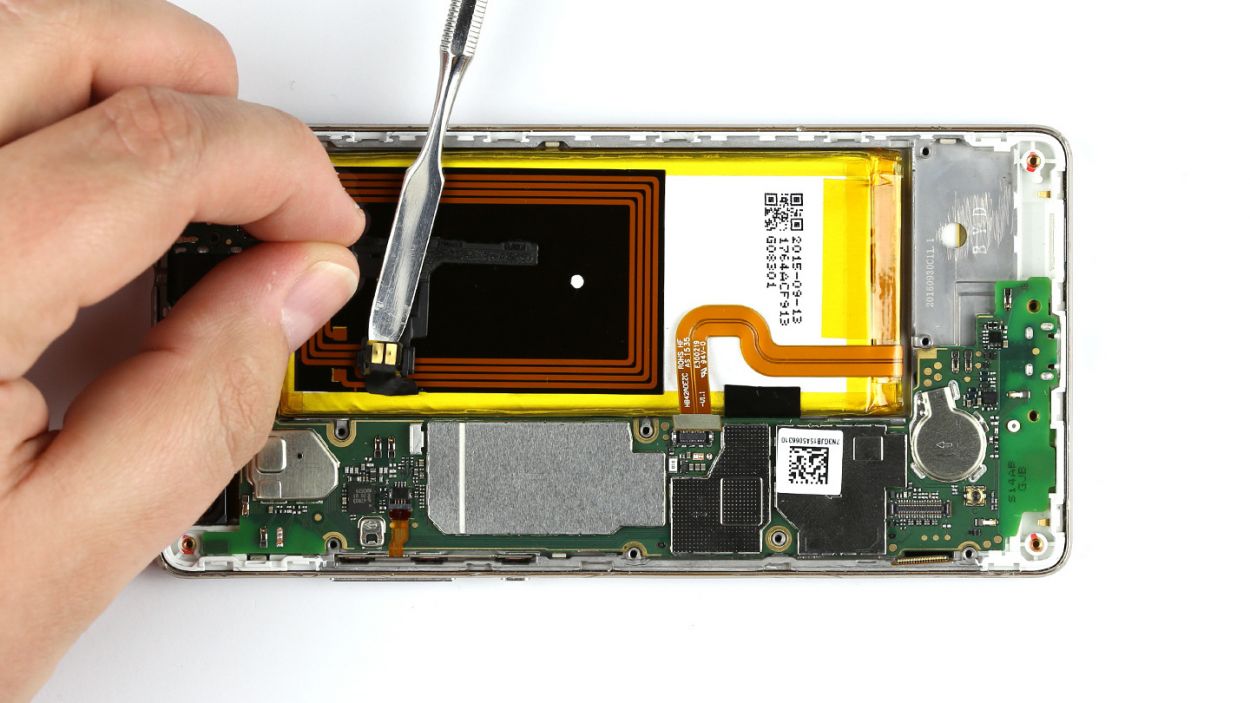
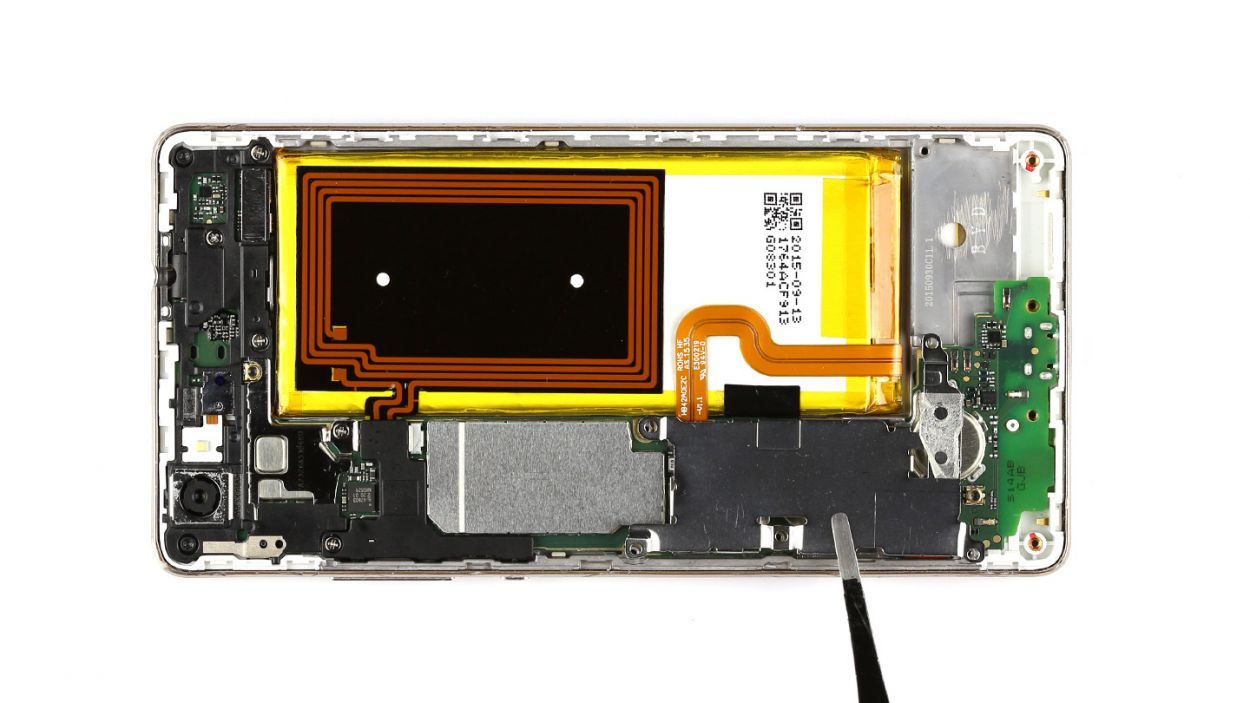
– The cover has two parts, so let’s gently lift off the larger upper cover using a trusty pair of tweezers.
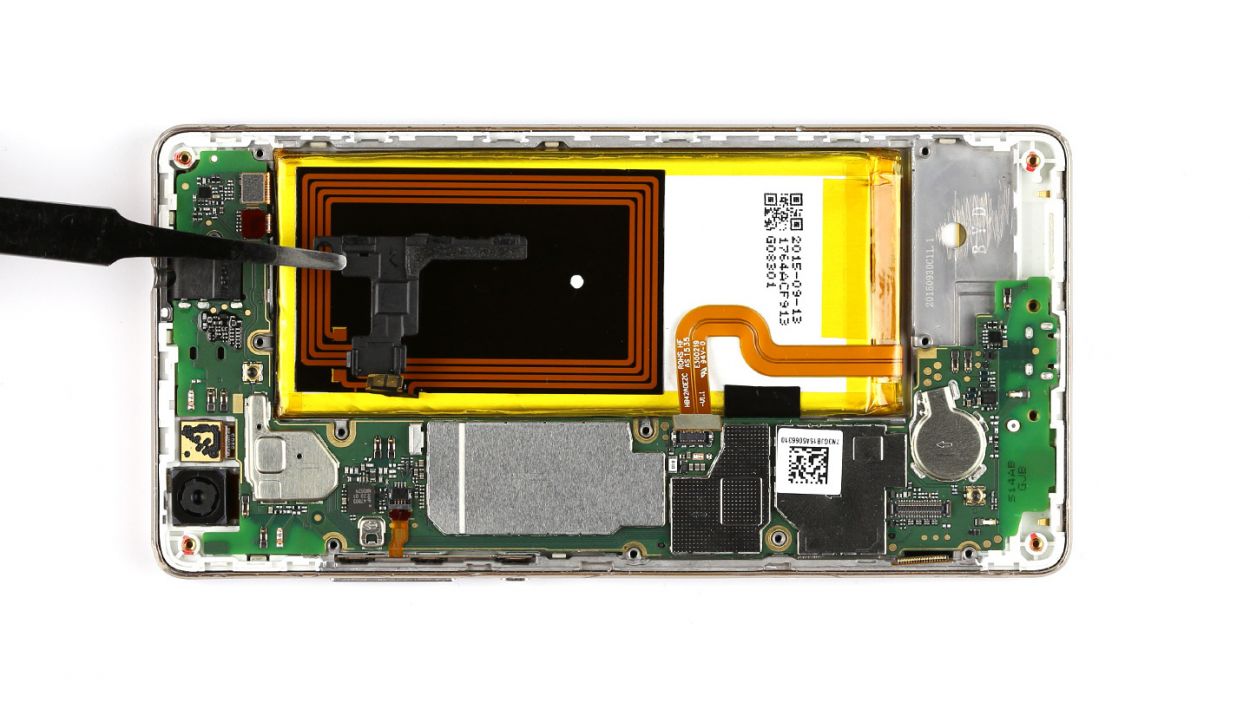
– Now, the NFC antenna’s contact is glued to the bottom of the smaller cover. Flip that cover over so we can disconnect the contact.
– Carefully disconnect the contact by sliding a steel laboratory spatula between the contact and the cover. Easy does it!
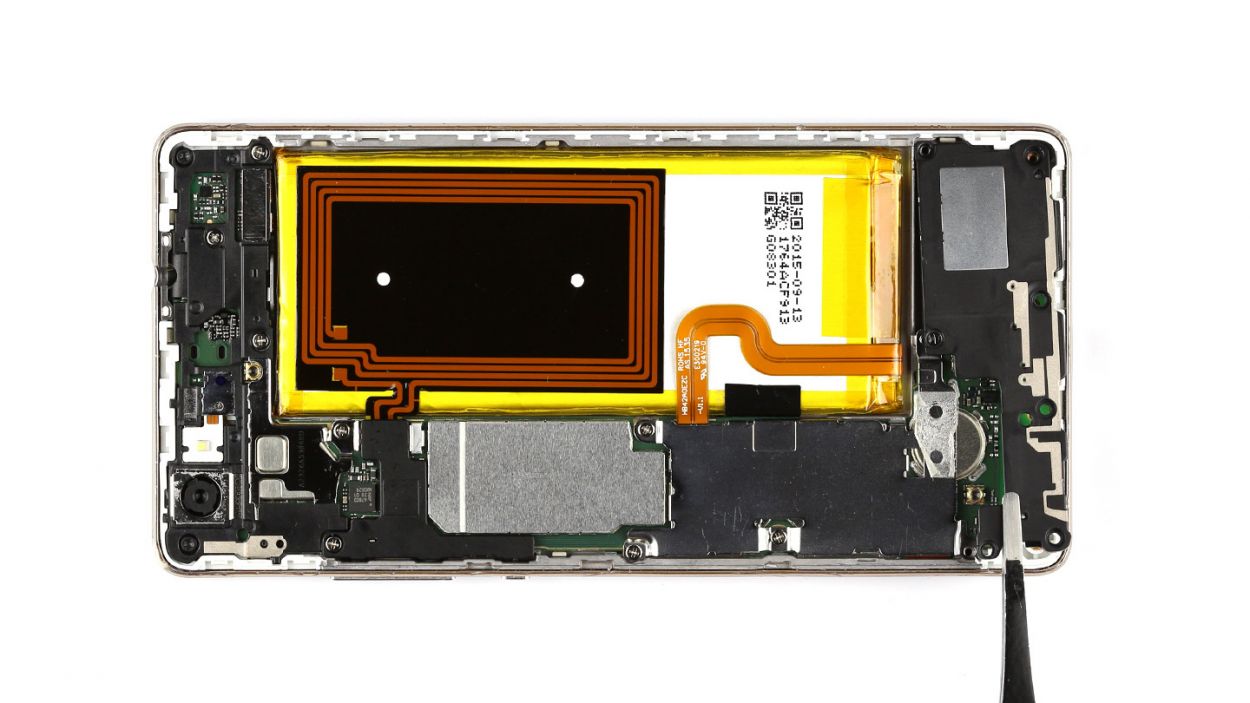
– And don’t forget to remove the little cover too!
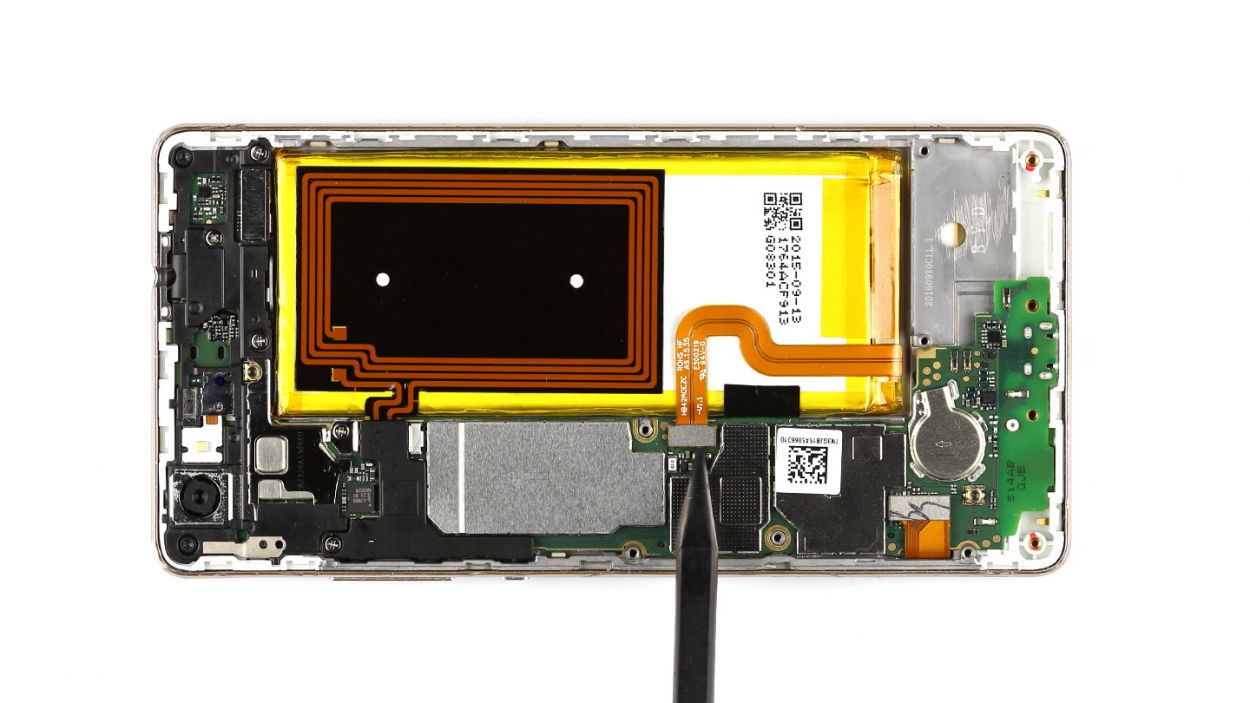
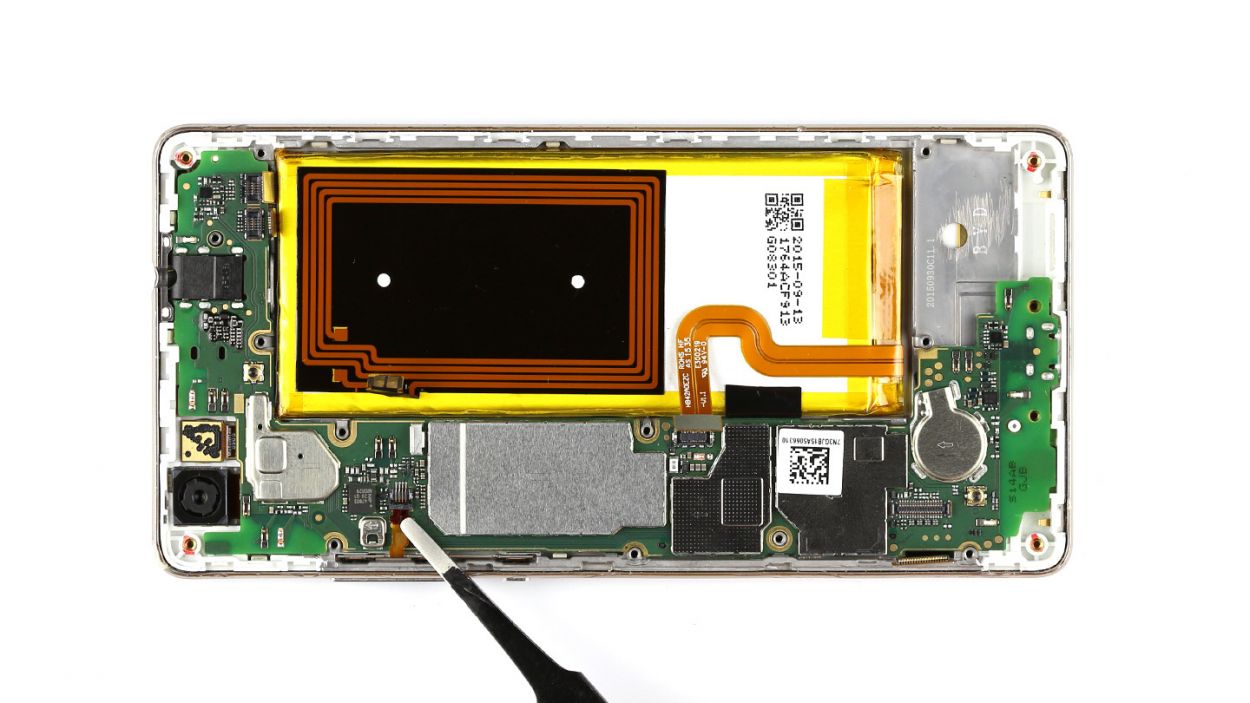
Step 7
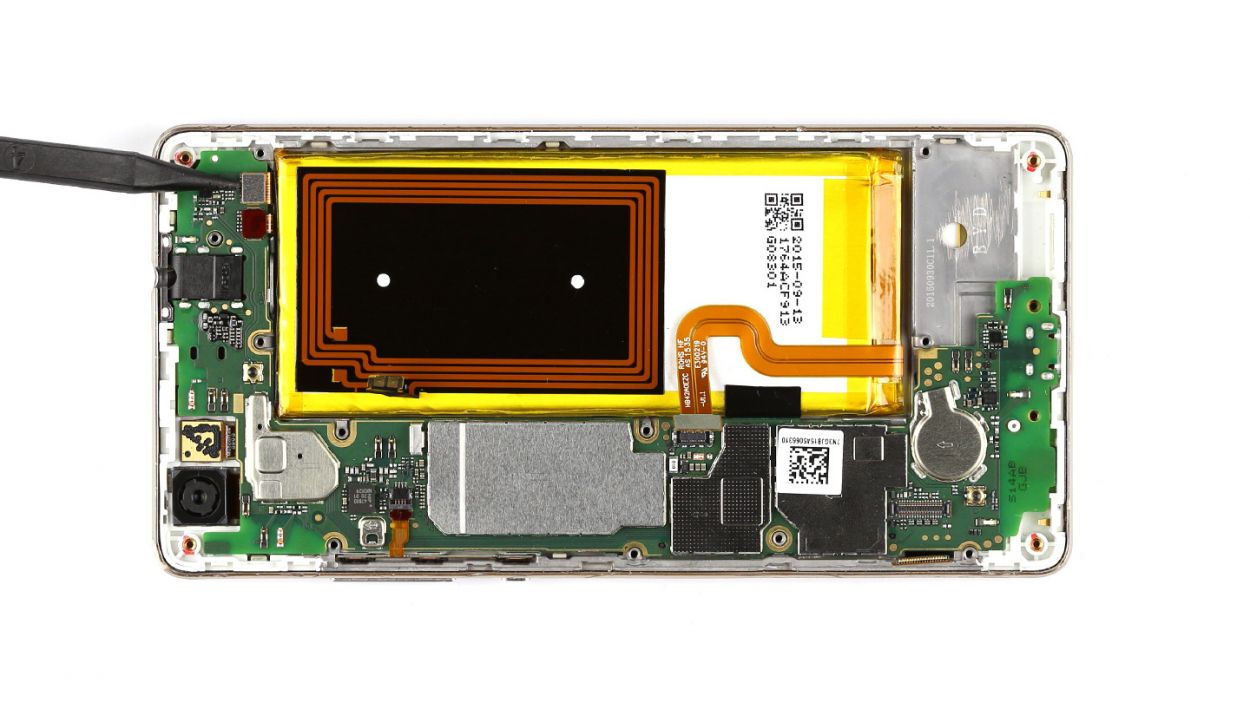

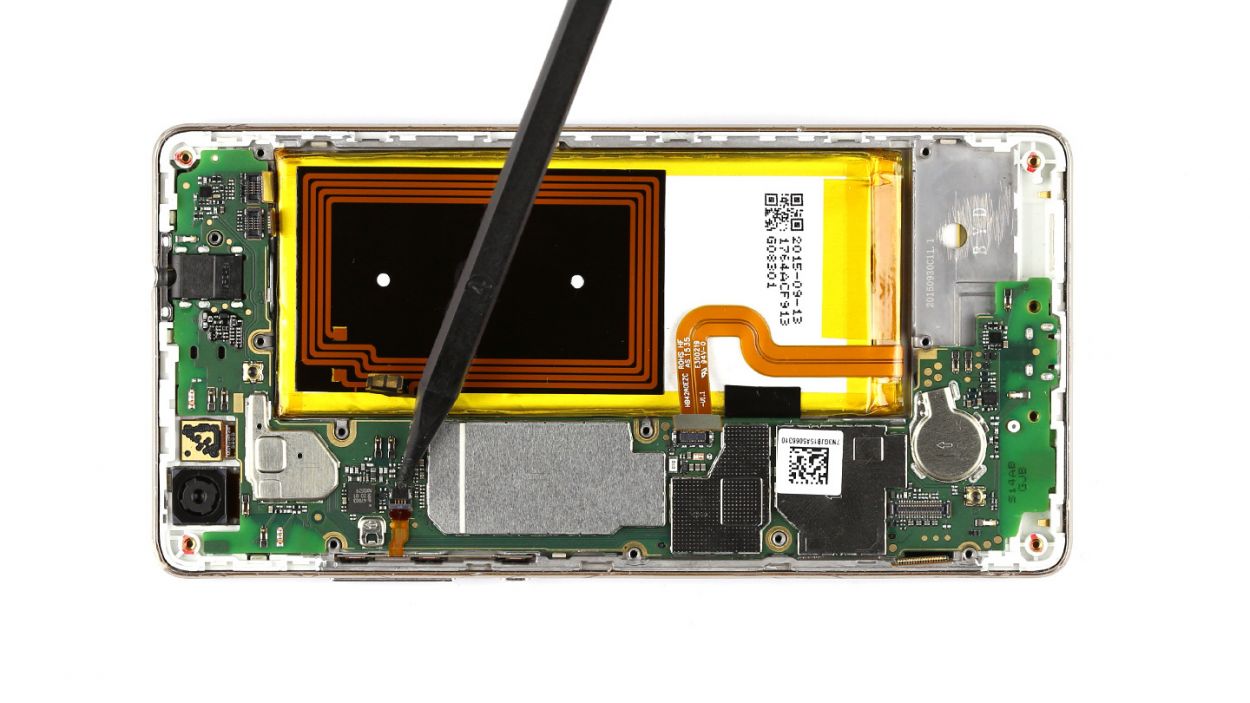


– First up, gently disconnect the touchscreen contact from the motherboard. Just slide your tool underneath and give it a little lift!
– Next, it’s time to disconnect the sensor cable in the same smooth manner.
– The control buttons are held in place by a tiny bracket. Pop that bracket off to free the contact, then carefully pull out the cable. Remember, be gentle—no need to yank or bend it too much!
– Now, go ahead and remove the control buttons from the device.
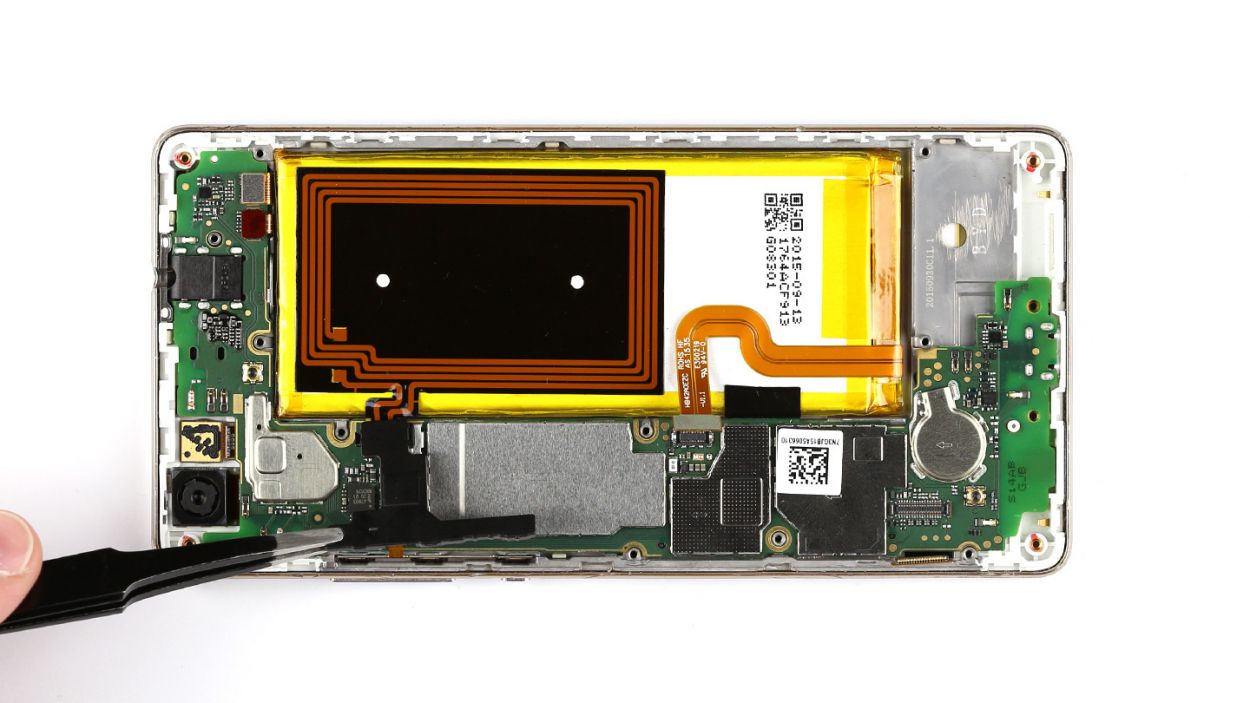
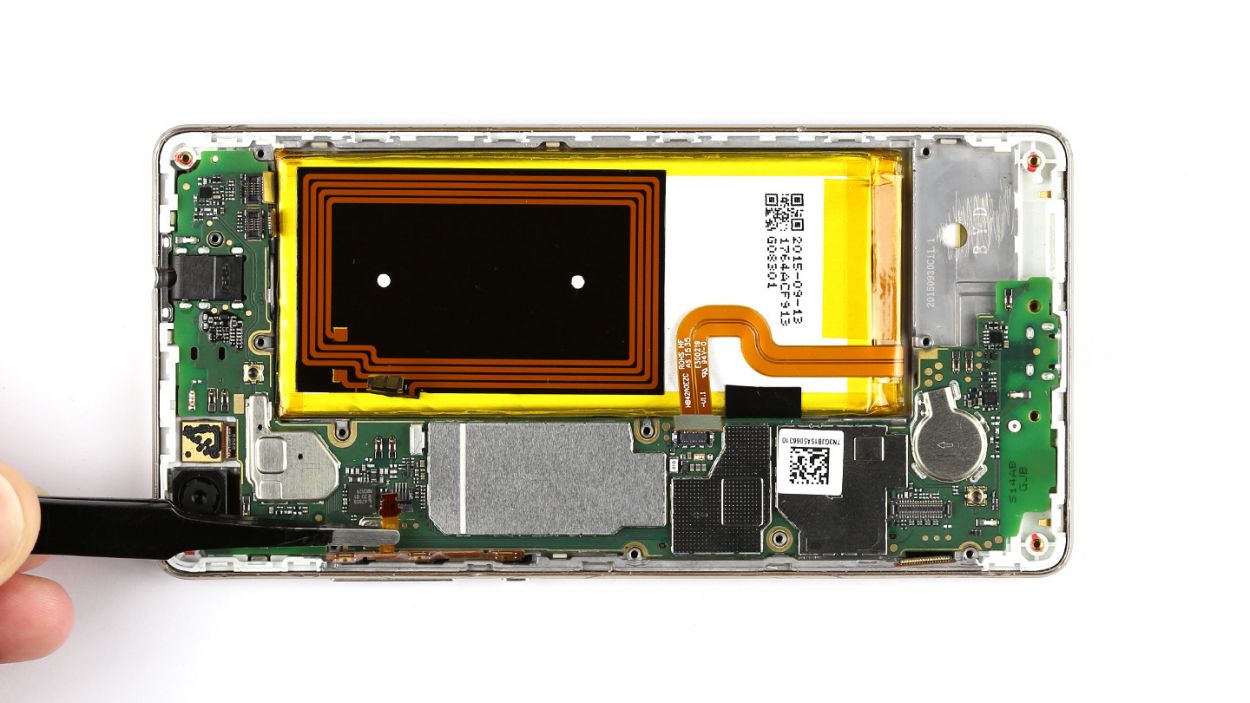
Step 8
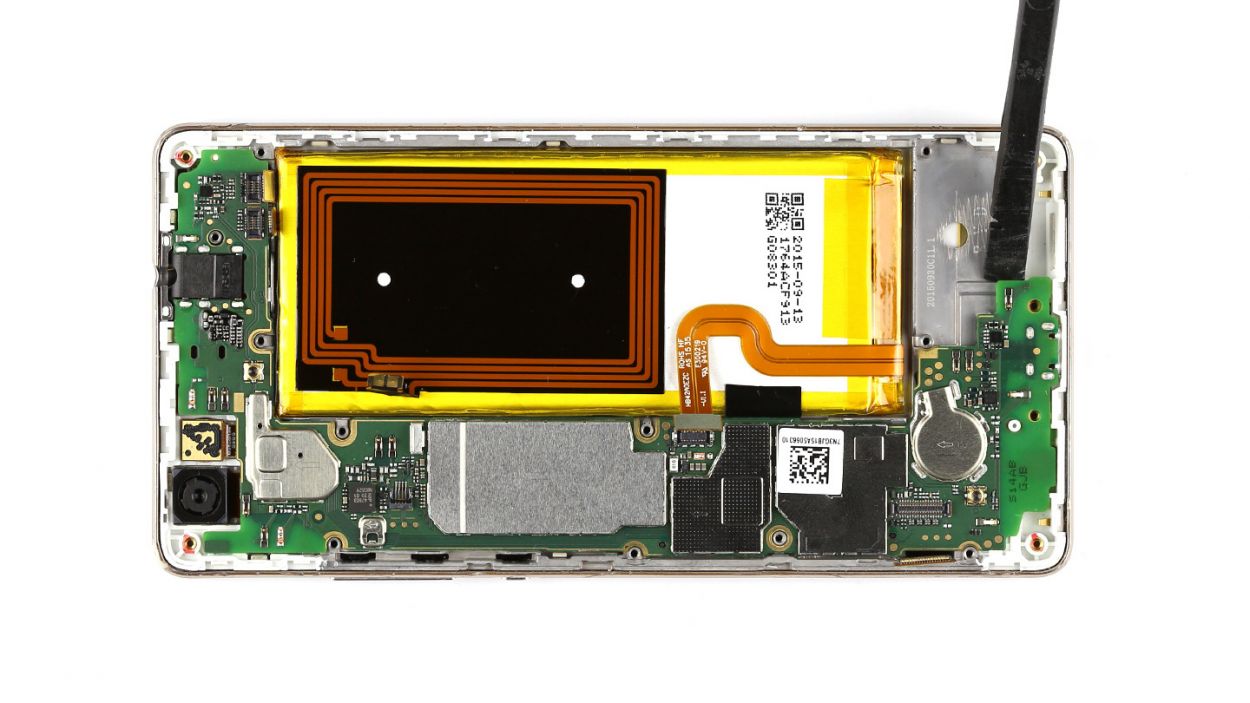
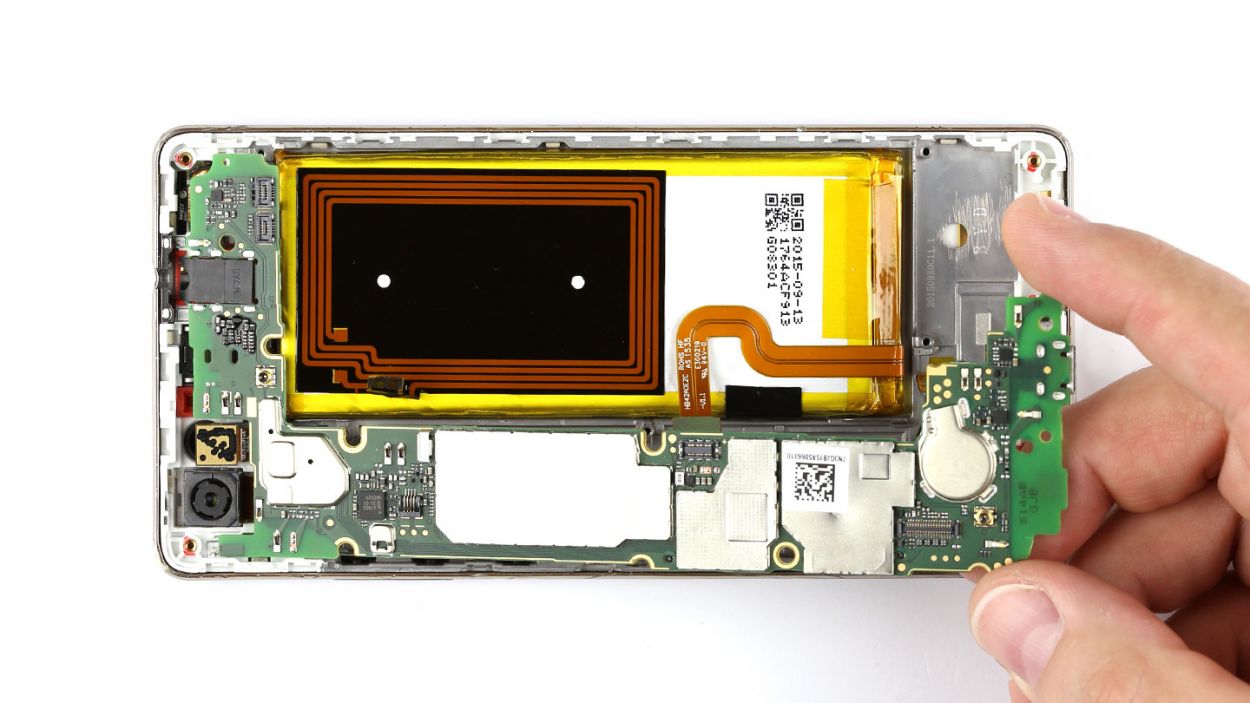
– Gently lift the PCB out of your device. A spudger or similar tool can help you slide under the board and pop it up with ease.
– With a gentle grip, hold the PCB between your thumb and finger, and carefully pull it out.
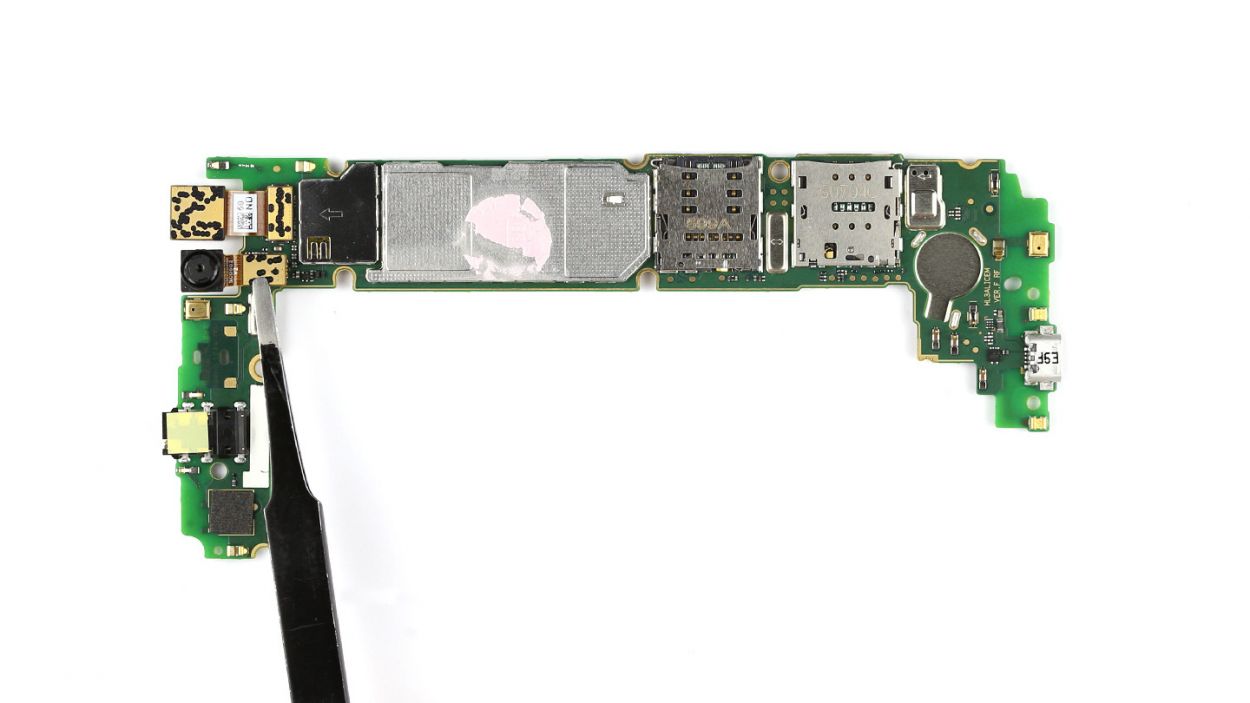
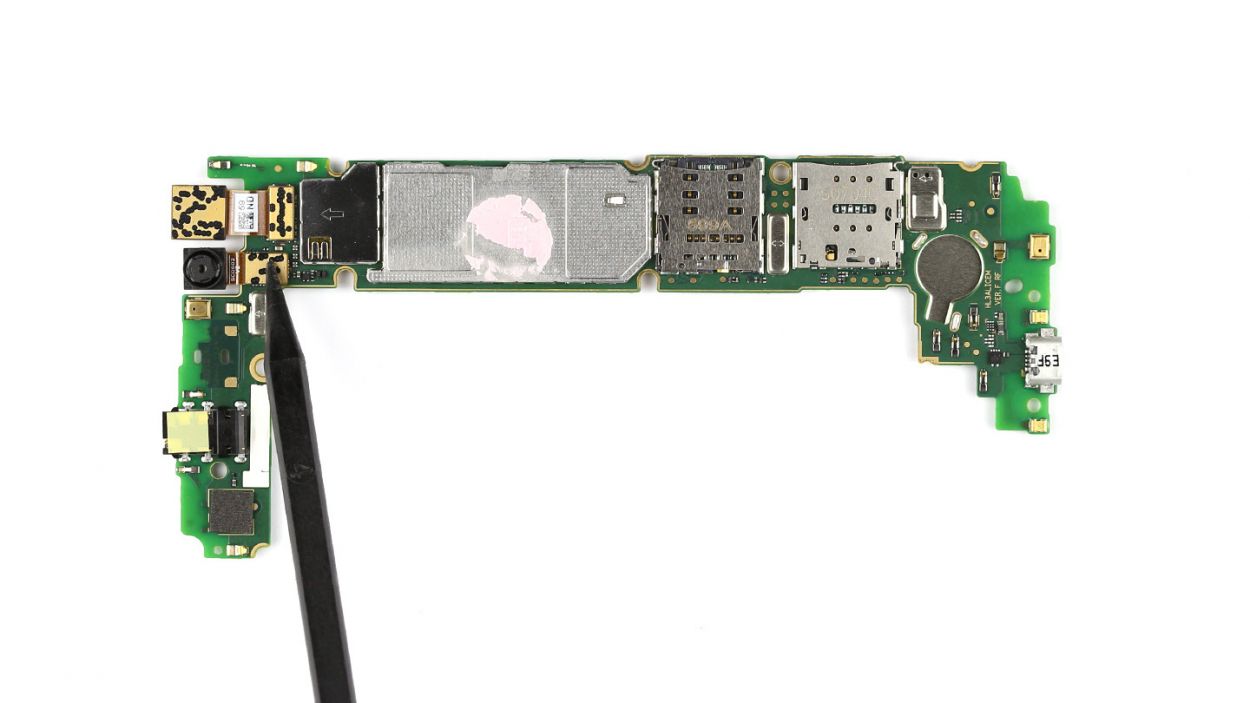
Step 9
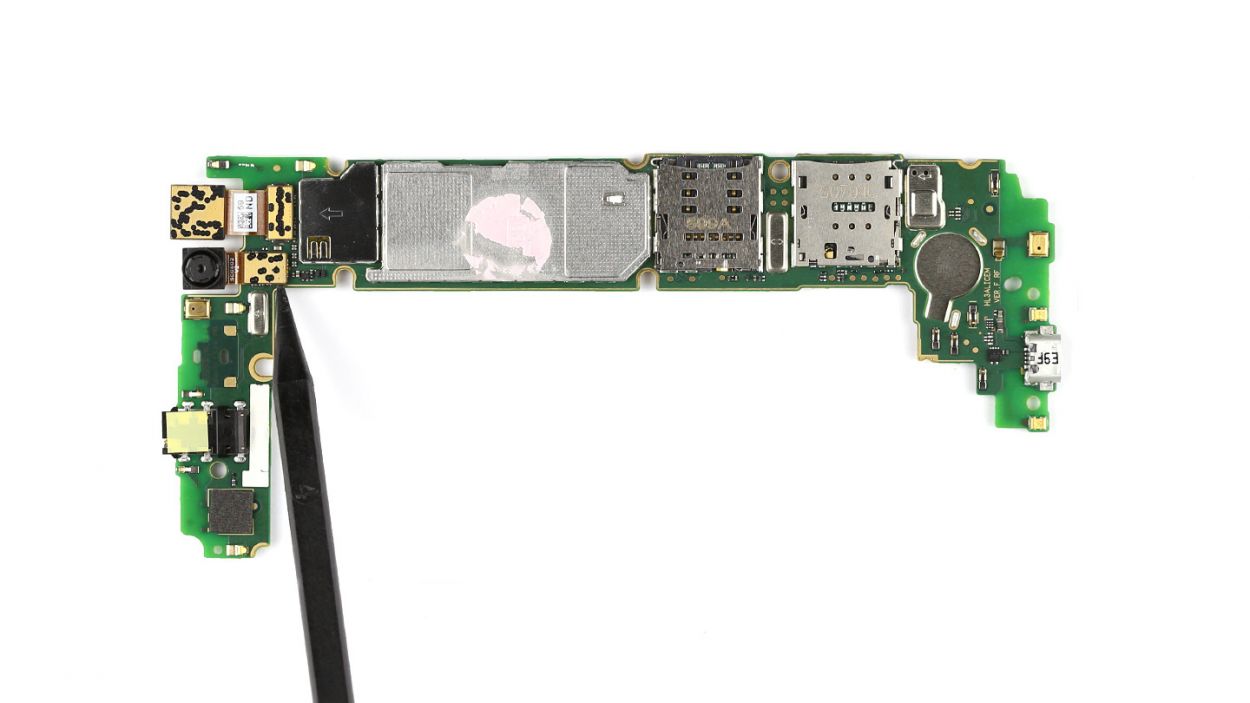

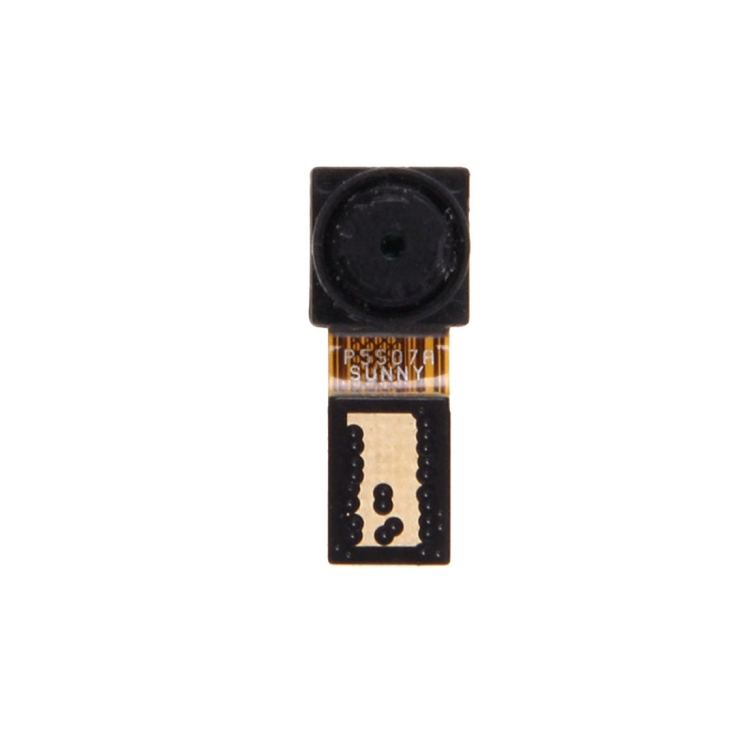
– Gently unplug the front camera’s connector from the bottom of the board.
– Carefully take out the front camera.
Step 10
– Carefully place the new front camera in its designated spot and connect it to the socket located at the bottom of the motherboard. Listen for that satisfying click as the contacts secure themselves in place!
Step 11

– Slide the PCB into its cozy home inside the enclosure. Make sure it’s snug and perfectly positioned. Start by gently inserting the upper end of the PCB first, allowing the headphone jack to pop through the opening in the frame like it’s making a grand entrance.
Step 12


– Pop those control buttons back in and connect them to the motherboard like a pro!
– Gently slide that cable back into its cozy socket and secure it with the bracket.
– Carefully press the connector into the socket to link up the sensors with the board.
– Repeat the same process for the touchscreen connector, and you’re on your way!
Step 13


– Flip that smaller cover upside down and gently place it on the battery to reconnect the NFC antenna’s contact.
– Nestle the antenna contact back into its cozy spot on the cover. Give it a good press to ensure they bond nicely.
– Align the cover back on the motherboard just right.
– Now, let’s bring the larger cover back into the mix. Make sure those little and big covers are hugging each other tightly.
– Grab those seven screws and secure the covers to the enclosure. You’ll need 5 x 2.7 mm PH00 Phillips screws and 2 x 3.7 mm T5 Torx screws.
Step 14


– Gently connect the PCB to the display by pressing the display contact into the socket on the PCB until you hear that satisfying click. It’s like a high-five for your components!
– Now, let’s get that battery contact connected in the same smooth manner. Click it in like you mean it!
– Next up, place the shiny silver cover on the PCB. It’s time to give your device some style!
– Secure the cover to the board using the three screws. Remember, we’re looking for 3 x 2.7 mm PH00 Phillips screws here. Tighten them up and you’re golden!
Step 15

– Time to get that speaker back in its cozy spot at the bottom of your device!
– Grab those seven screws and secure the speaker in place. You’ll need 3 of the 2.7 mm PH00 Phillips screws and 4 of the 3.7 mm T5 Torx screws to make it all snug.
Step 16


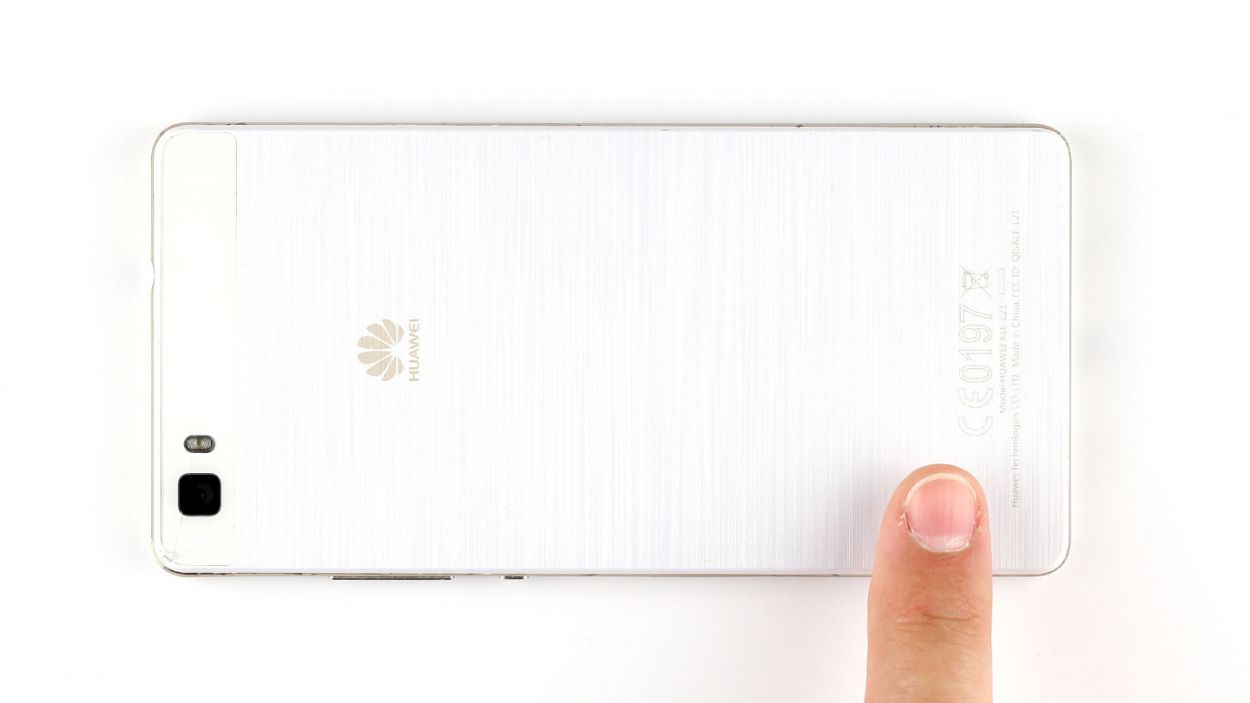

– Put the back cover back on.
– Use your finger to press it onto the entire frame so all the clips on the back cover click into place on the enclosure.
Step 17
– Don’t stress, it’s easy peasy! Now’s the time to put those SIM and microSD cards back where they belong. Carefully insert the trays into your device, making sure they’re snug and secure.
– Next up: push those trays in until they’re flush with the enclosure. Voila! Your device is starting to feel like new again.