DIY Guide to Replace Front Camera on Samsung Galaxy S6
Duration: 30 min.
Steps: 7 Steps
In this handy guide, we’re here to help you swap out that pesky front camera on your Samsung Galaxy S6 that just isn’t cutting it anymore. If your front camera is playing hard to get, the aperture is stuck shut, or your selfies are coming out looking like a Picasso, it’s time for a change! Let’s get started on bringing your camera back to life. And remember, if you need help, you can always schedule a repair.
Step 1
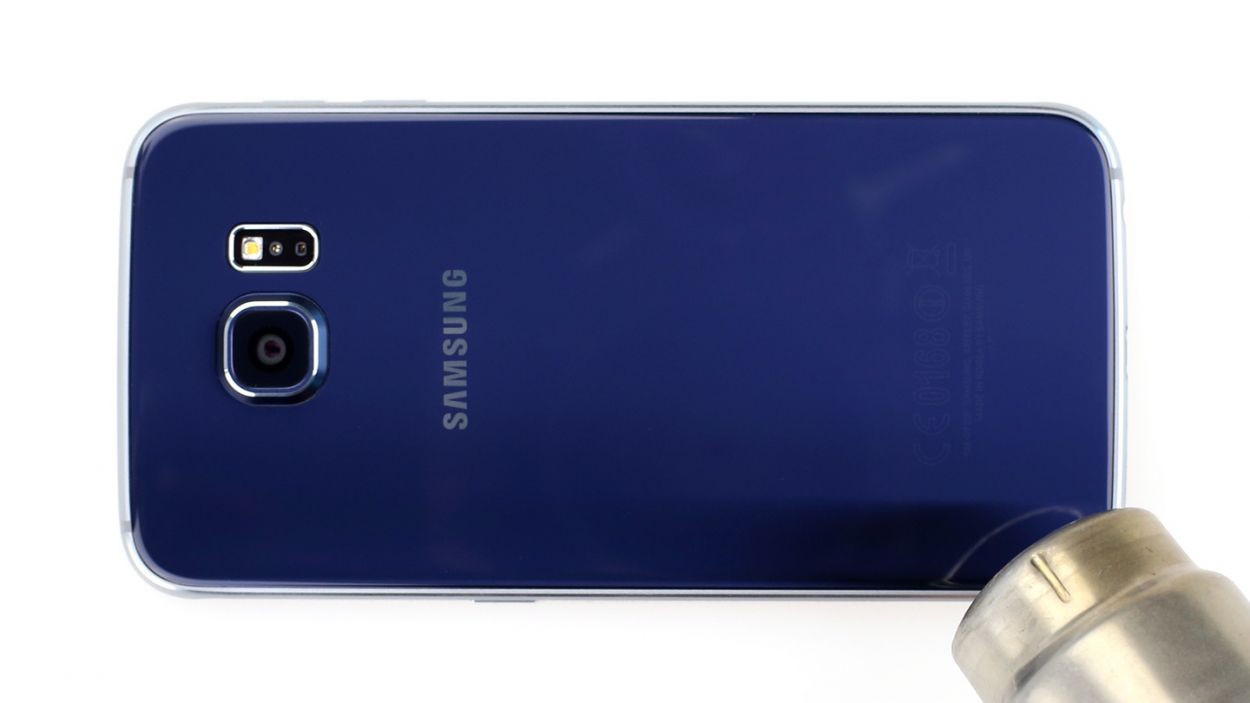
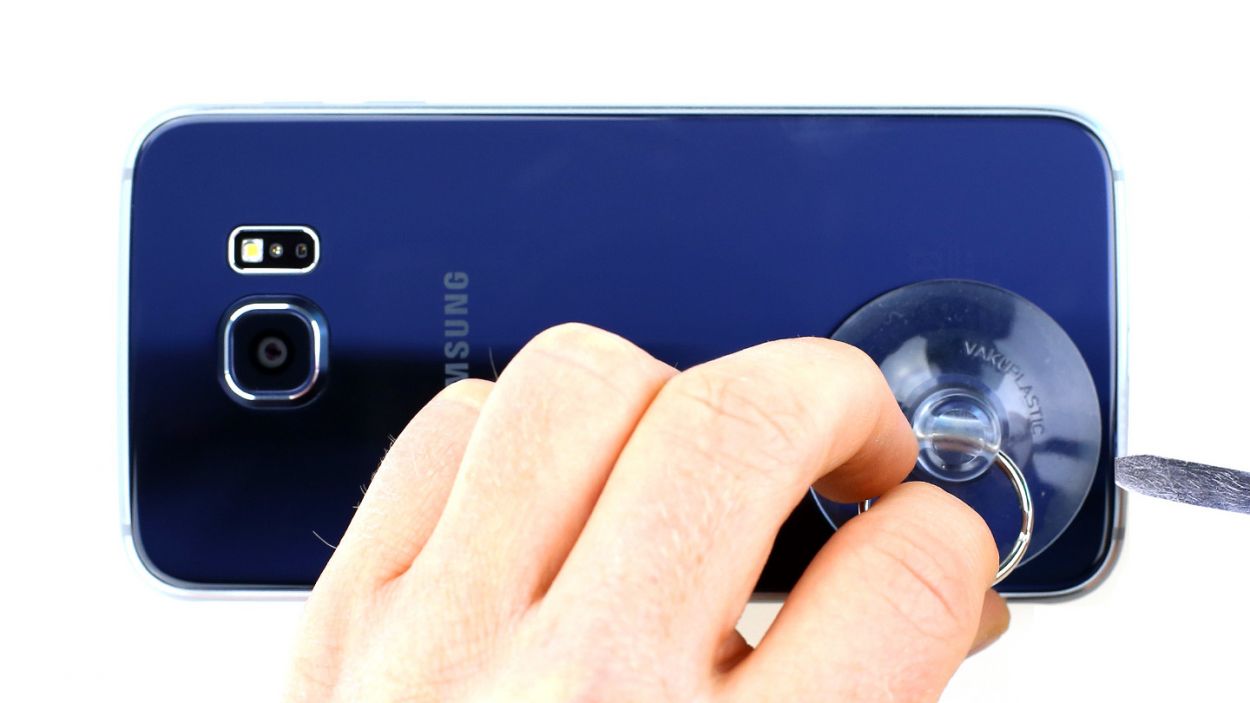
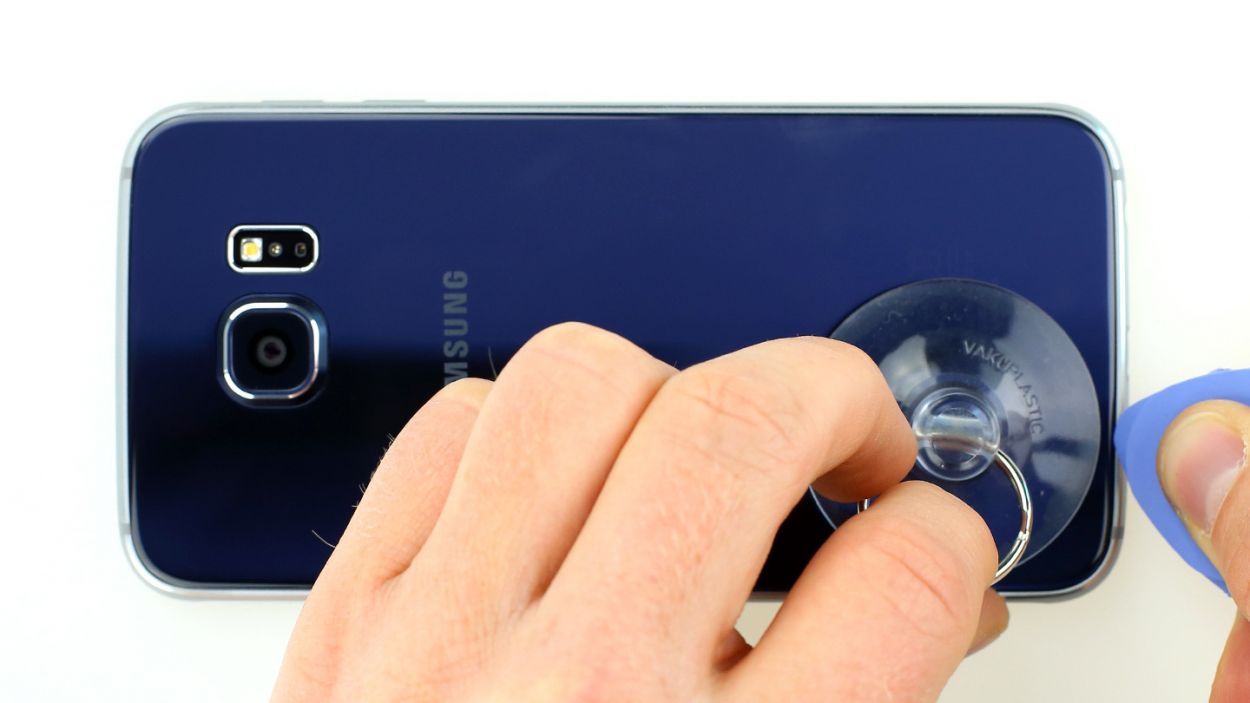
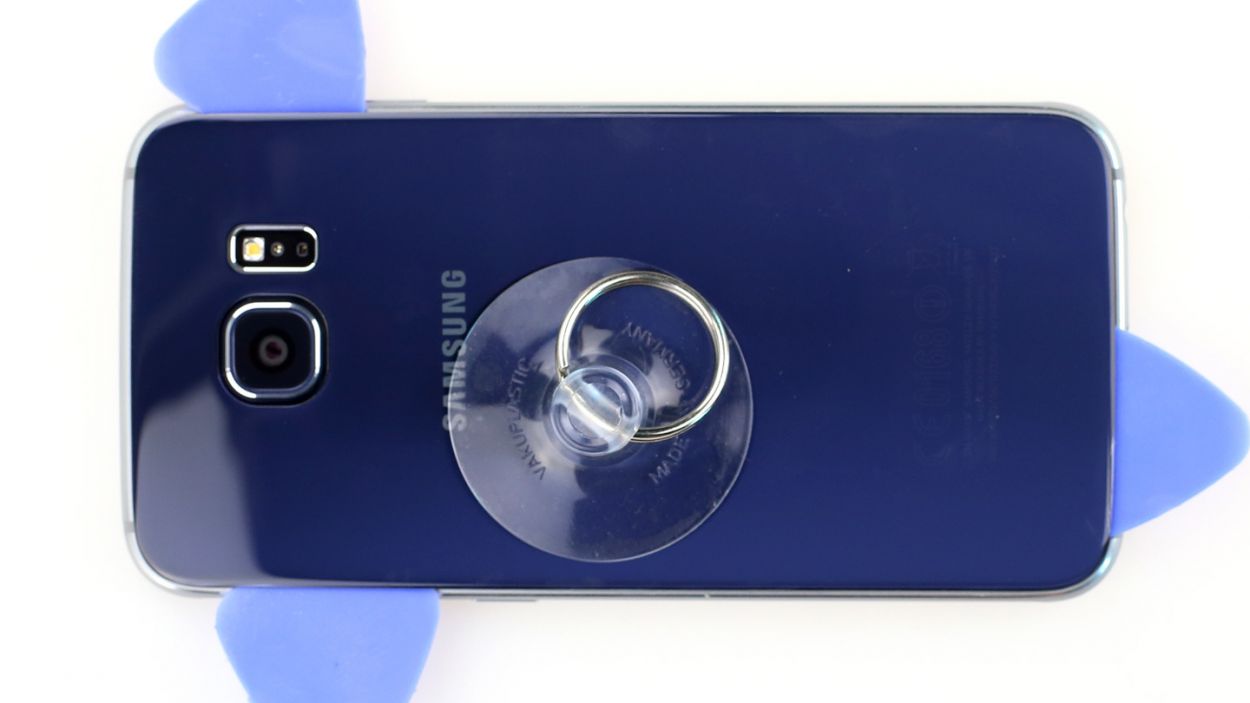
– The back cover of your Samsung Galaxy S6 is stuck on there pretty well, thanks to some serious glue action. To get it off, you’ll want to warm things up with a heat gun until that glue is nice and soft. Then, slide a plastic pick into the little gap between the frame and the glass to pry it loose.
– That gap? It’s a bit snug! So, grab a flat and sturdy object to help slide in there without any fuss.
– Now, as you work on lifting that back cover, be sure to use a suction cup to keep everything steady and safe.
– Once you have a tiny opening, pop in that plastic pick to keep the aluminum frame protected while you continue your epic removal journey.
Step 2
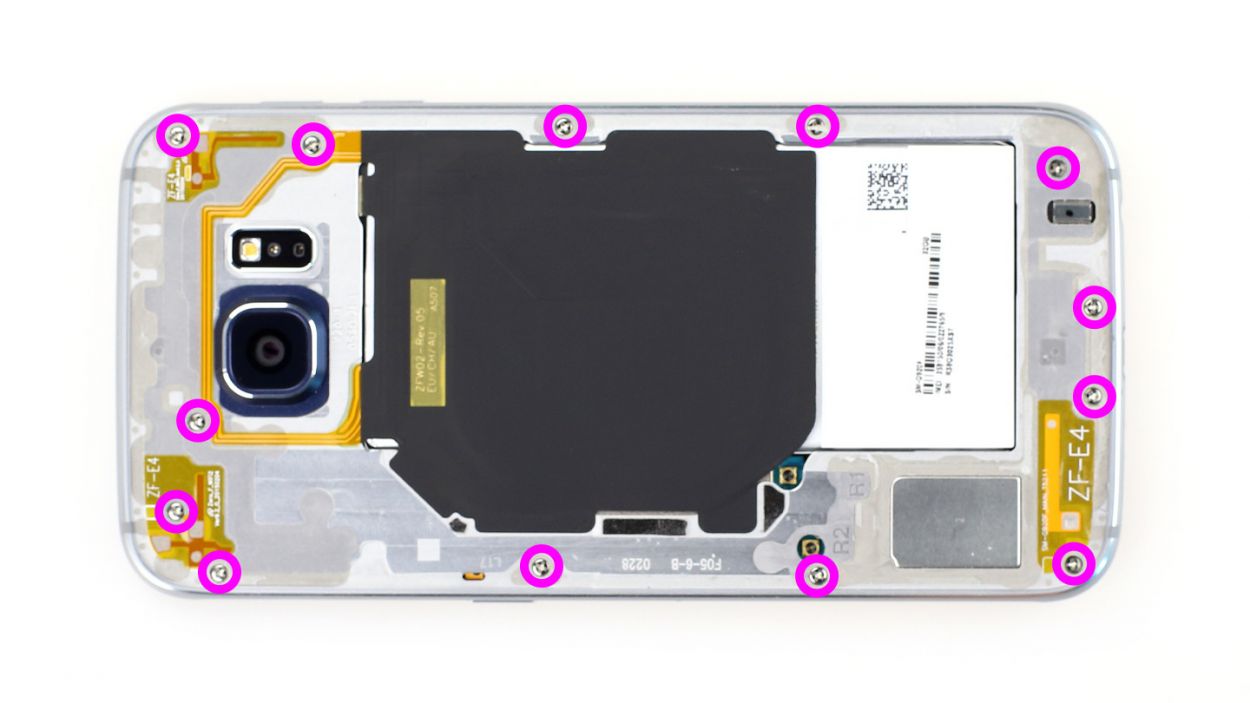
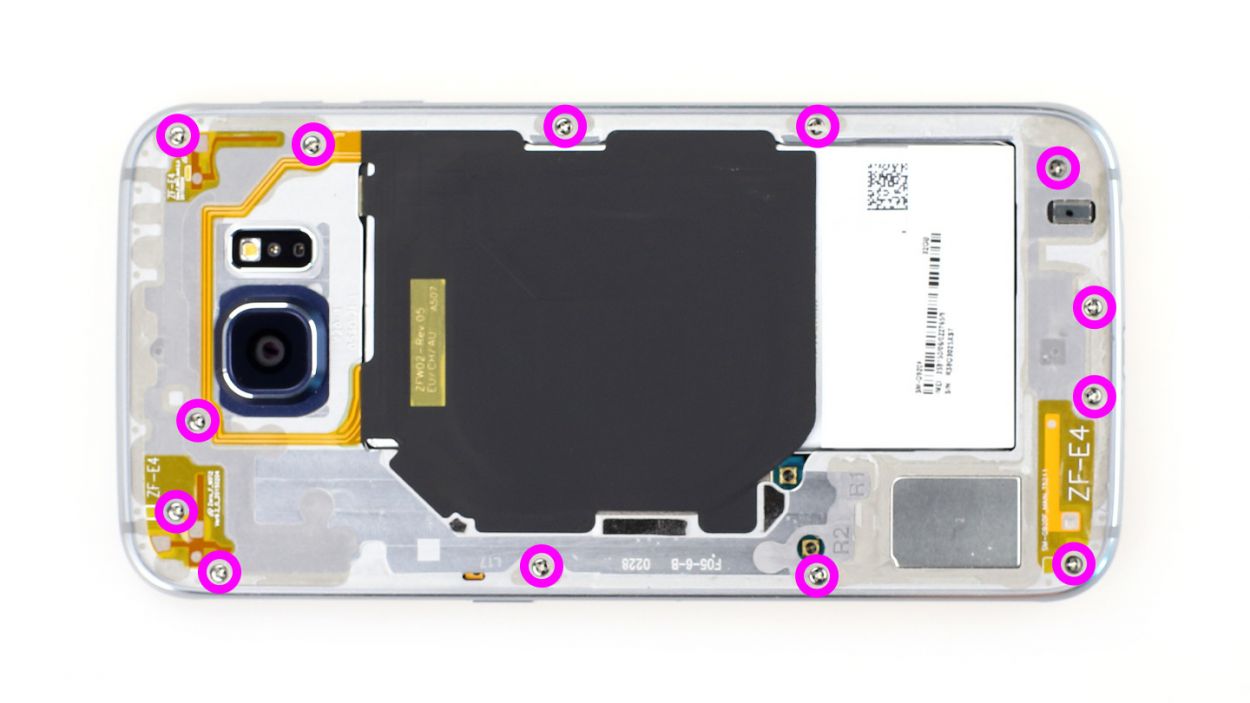
– First things first! Let’s get those 13 Phillips screws out of the way holding the plastic cover snugly in place. Grab your trusty 3.3 mm Phillips screwdriver and let’s go!
– Next up, gently pop out the SIM card tray. It’s like a little treasure waiting to be discovered!
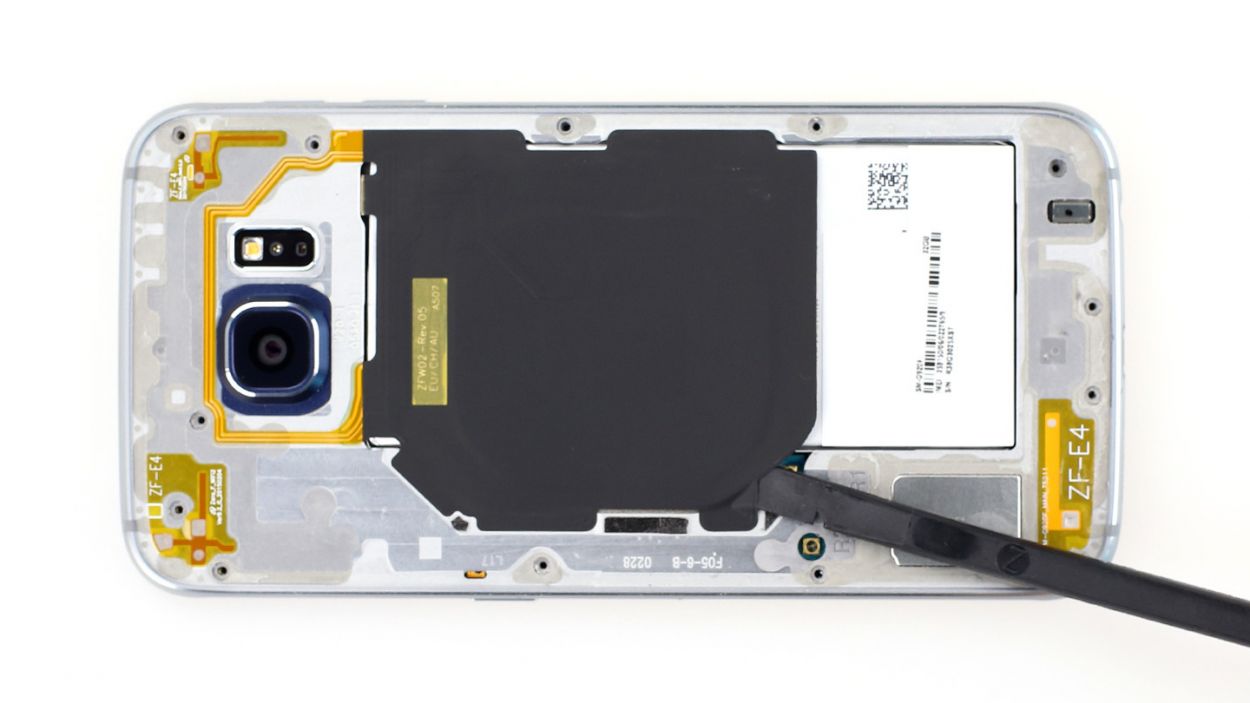
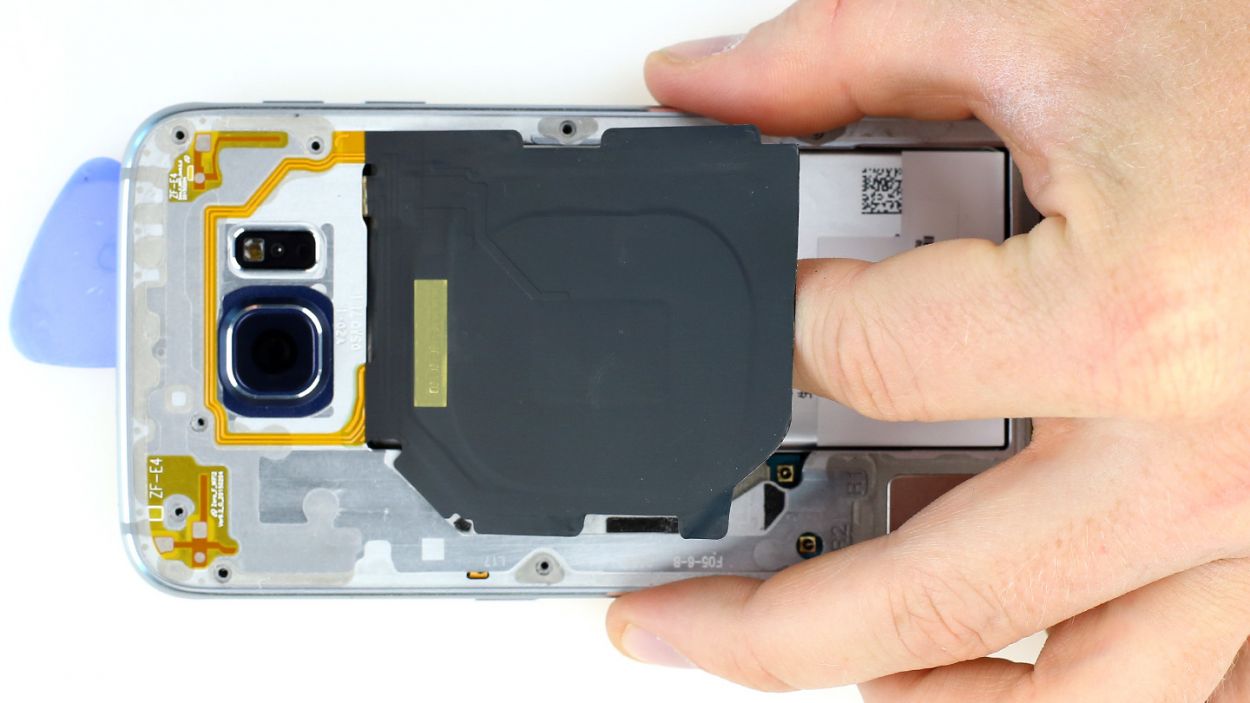
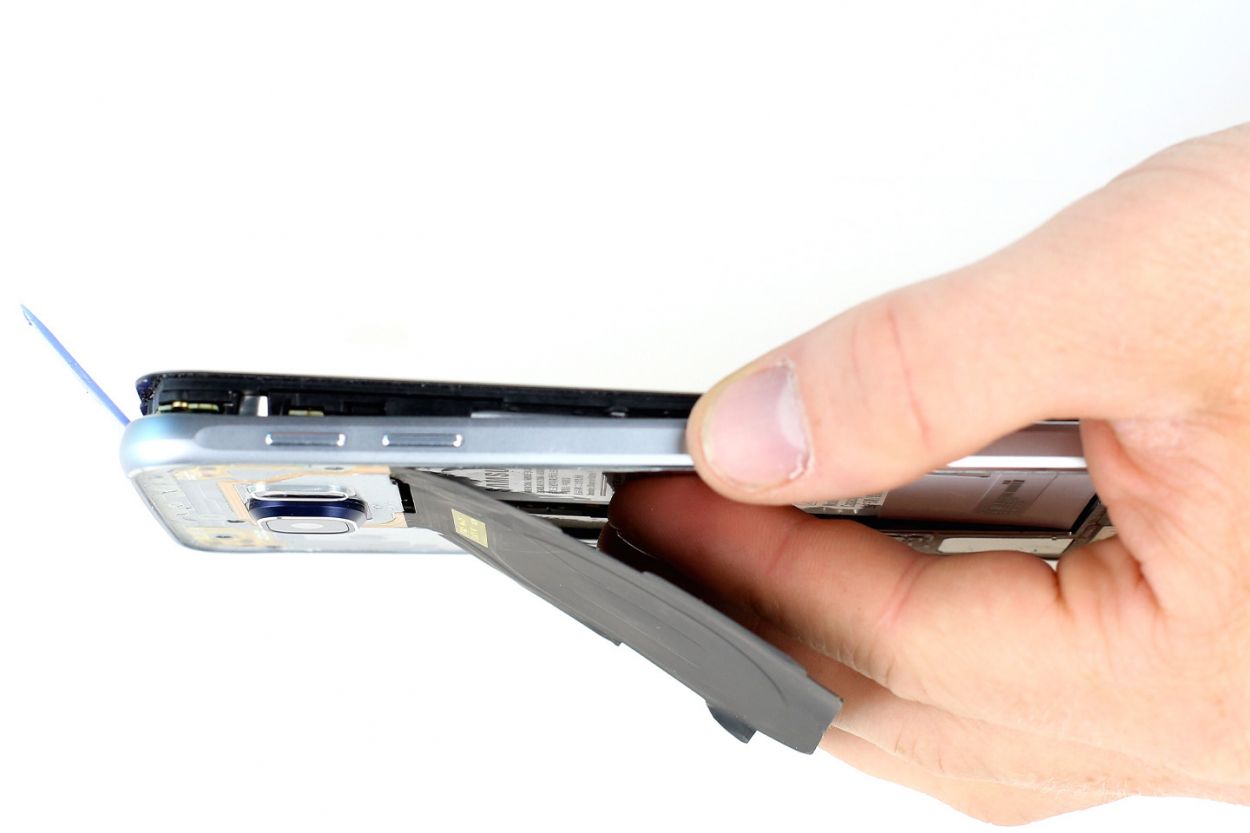
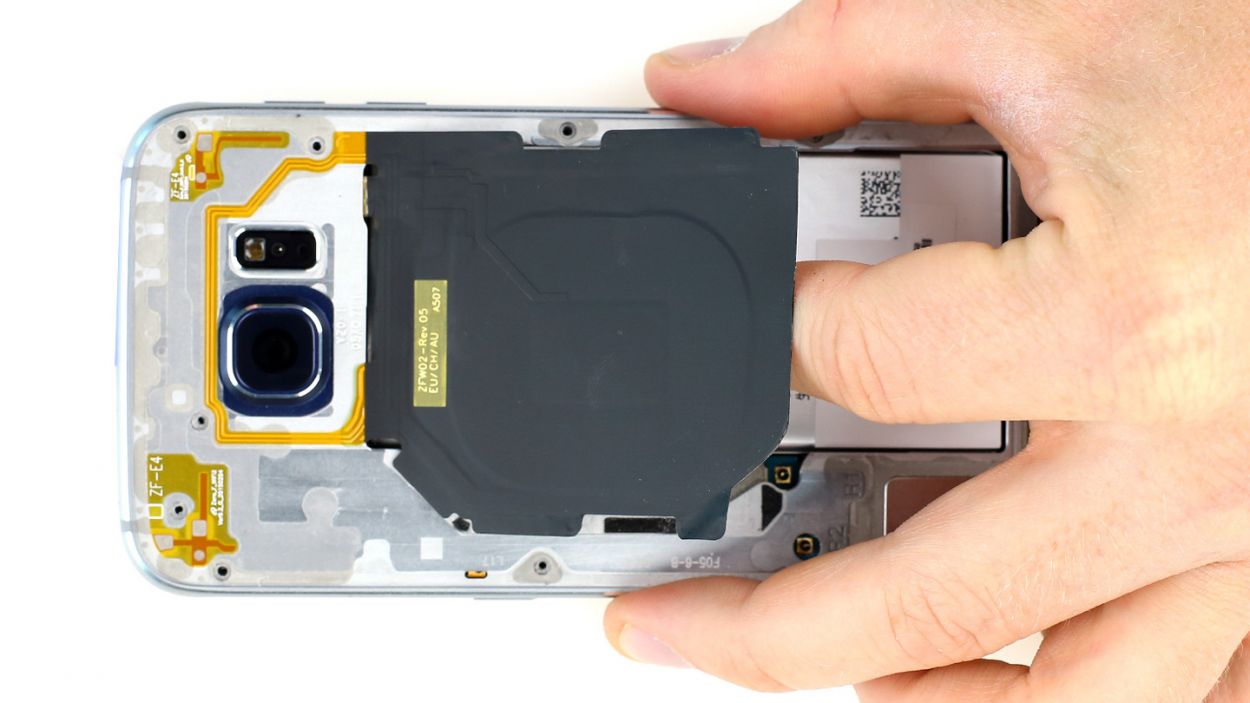
– Now, let’s lift the charging pad for wireless charging. It’s just a bit glued to the midframe, so a little nudge should do the trick!
– To remove the midframe, you’ll need to give the battery a gentle push down while simultaneously encouraging the rest of the smartphone to move up. If it’s feeling a bit stubborn, don’t hesitate to slide a pick between the display and the frame and give it a little upward press. You got this!
Step 3
The inside of the back cover has a coat of paint. Be super gentle when removing any sticky bits to keep it looking sharp and crack-free!
– Remember, gently slide the pick just a smidge between the back cover and the frame to keep everything inside safe and sound.
– Hey there! The back cover is stuck all around the outer edge of the Galaxy S6. Take the pick for a little spin around the whole phone. The back cover has a nice paint job on the inside. Carefully clear off any sticky bits to steer clear of scratches or cracks.
– Once you’ve said goodbye to all the glue, go ahead and delicately lift that back cover up.
Step 4
– Let’s get that outer frame back on the main component! Start at the dock connector and give those two frame pieces a nice, firm press to fit them together snugly.
– Once they’re cozy, it’s time to secure them with some screws. Grab those 13 x 3.3 mm Phillips screws and screw them in tight!
Step 5
– Alright, it’s time for the grand finale! Grab that back cover and get ready to put it back on.
– Don’t worry, the old glue is still hanging in there like a trusty sidekick.
– Just place the back cover on, give it a little warmth, and then apply some gentle pressure to secure it to your smartphone for a bit. You’ve got this!
Step 6
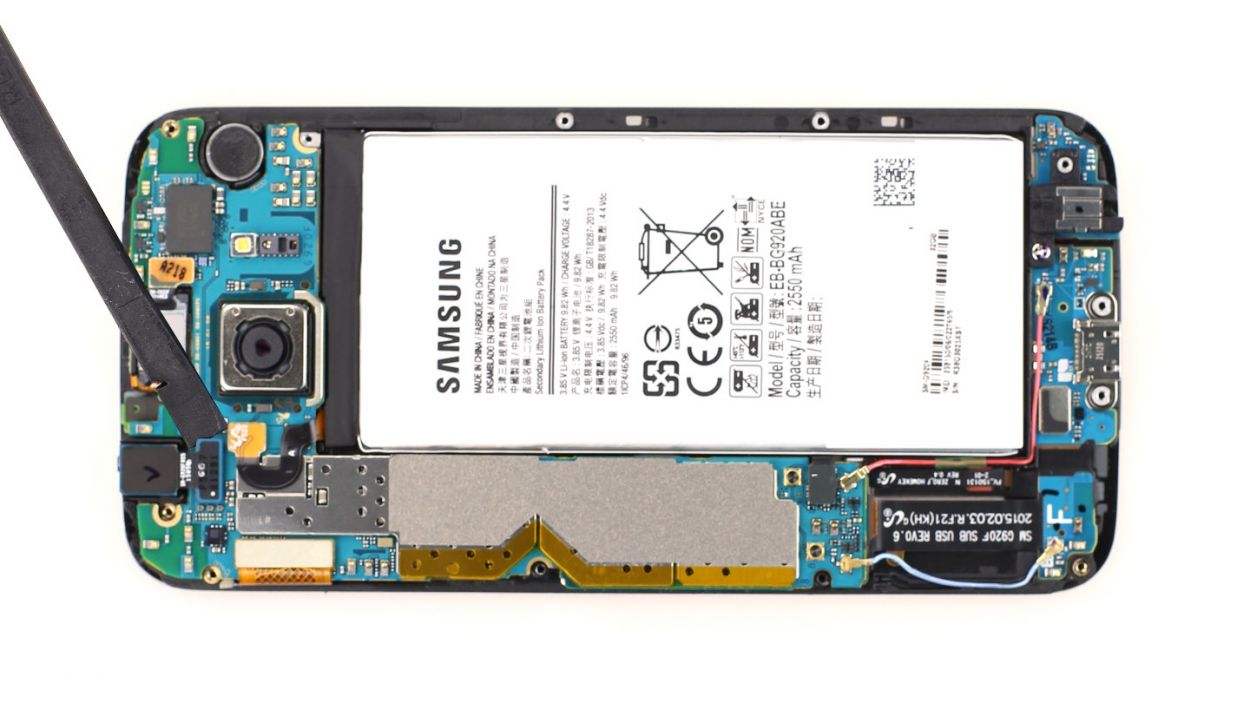
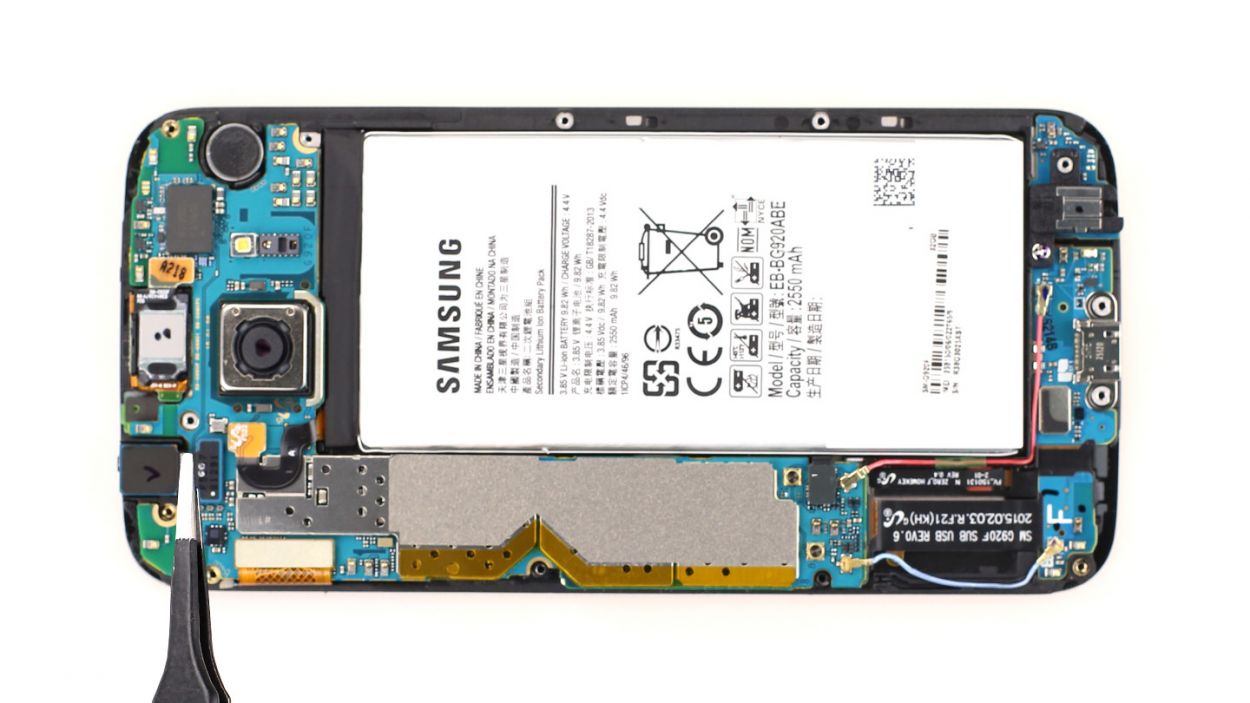
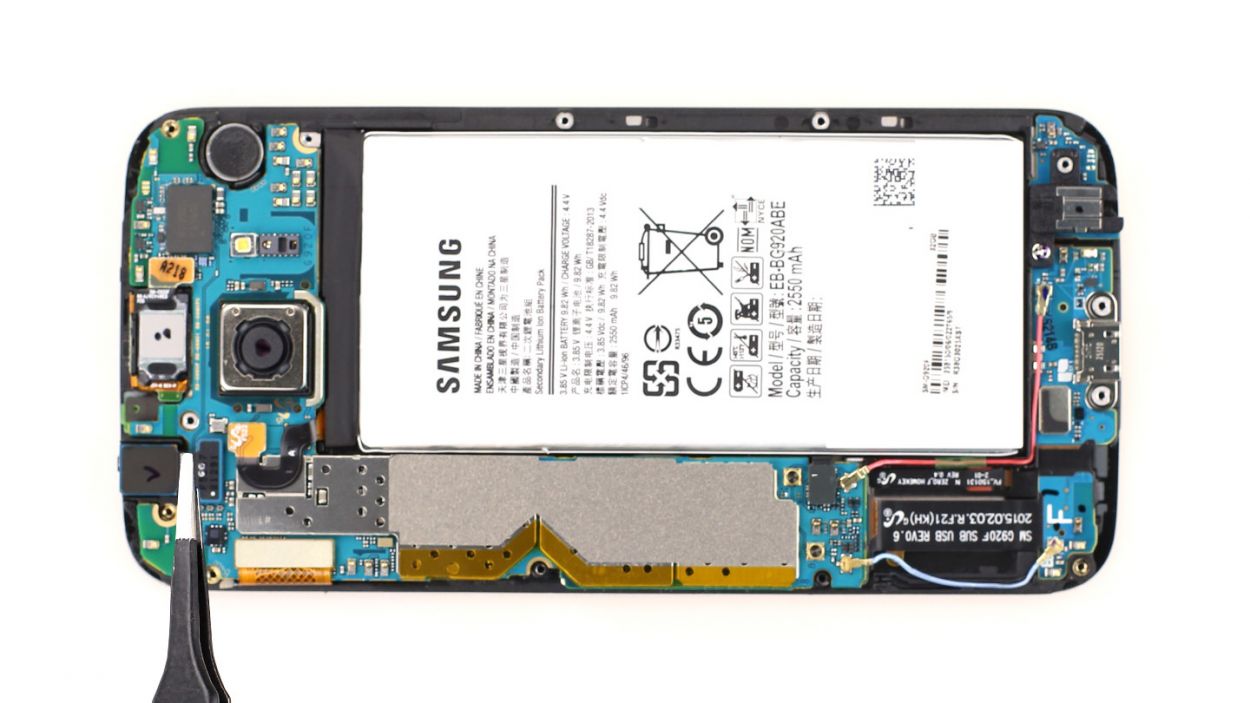
– Gently slide the pointed tip of the spudger just below the contact and give it a little lift. Remember, we want to keep those resistors attached to the logic board, so be careful!
– Now it’s time to disconnect the front camera connector. Take your time and handle it with care!
Step 7
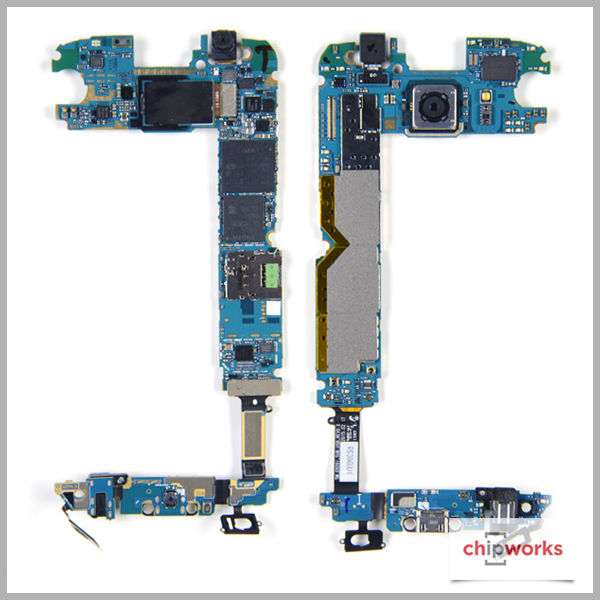
– Next, gently place the front camera back into its cozy spot.
– After that, make sure to connect the connector to the logic board for a snug fit.
