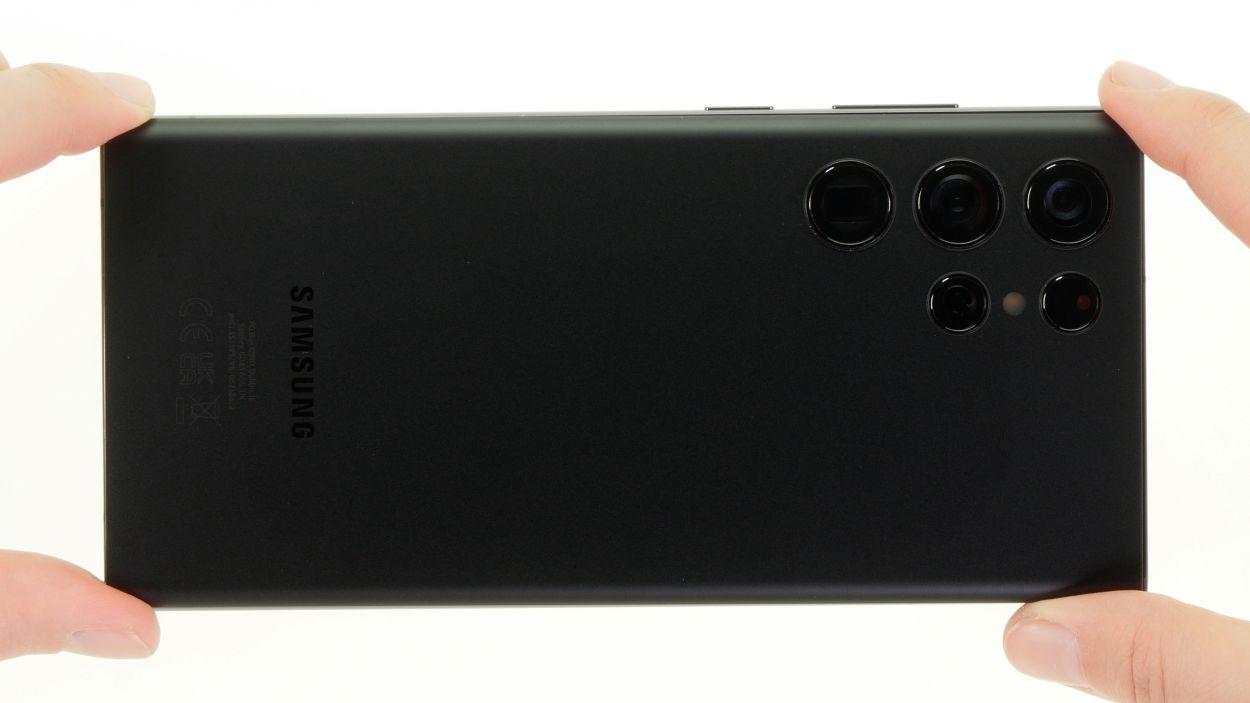
DIY Guide to Replace Galaxy S22 Ultra Earpiece
Duration: 45 min.
Steps: 21 Steps
Opening up your Galaxy means waving goodbye to its IP68 certification. But don’t worry, you’ve got this!
Time to swap out that earpiece and get your calls back on track! In this easy-to-follow photo guide, we’ll walk you through every step of the process like a pro.
Step 1
Before diving into the repair, give our checklist a whirl to test out the key features of your Galaxy S22 Ultra 5G. This little pre-check will help you see if your repair efforts hit the mark later on!
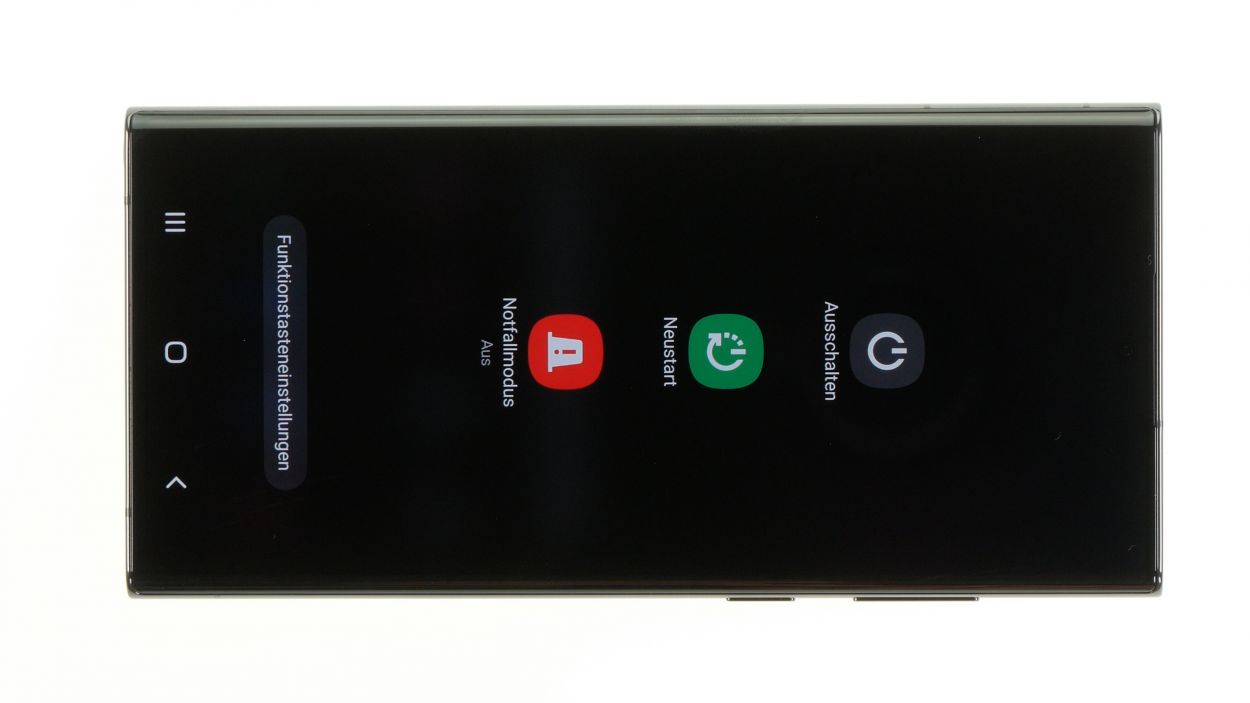
– Give those side and volume down buttons a good press and hold for a few seconds—like a mini workout for your fingers!
– When the menu pops up, just tap on ‘Power off’ and let your device take a little nap.
Step 2
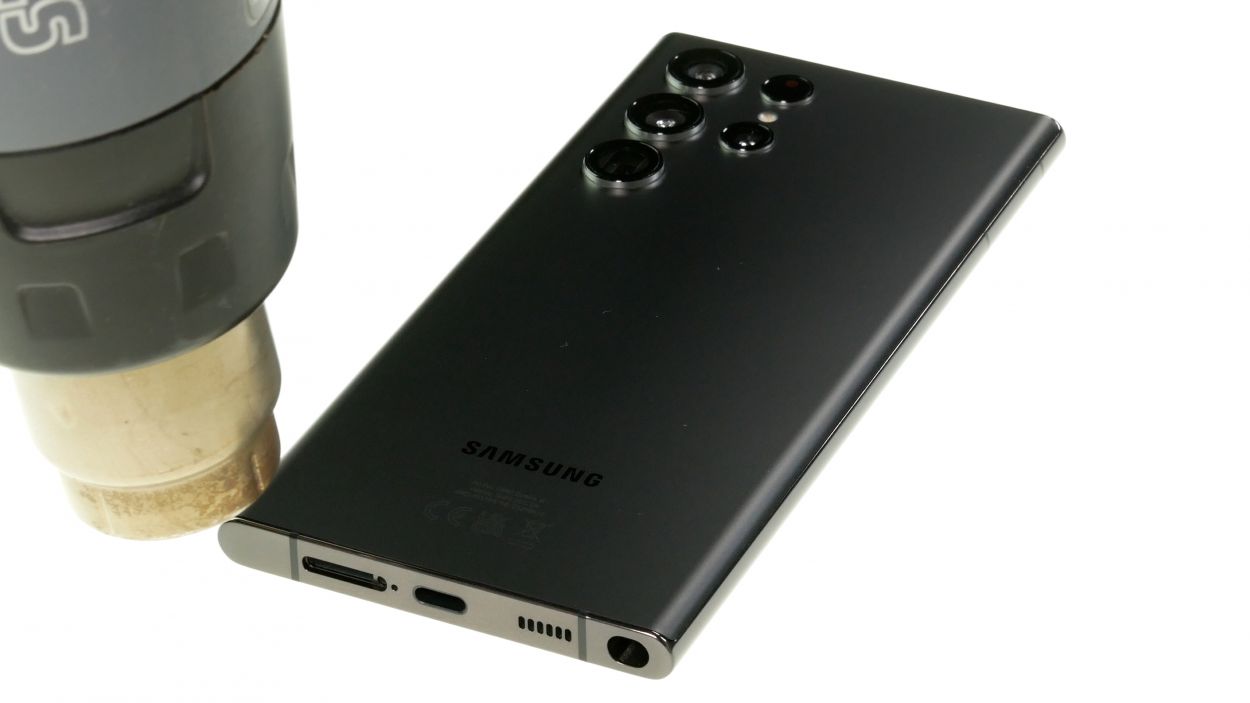
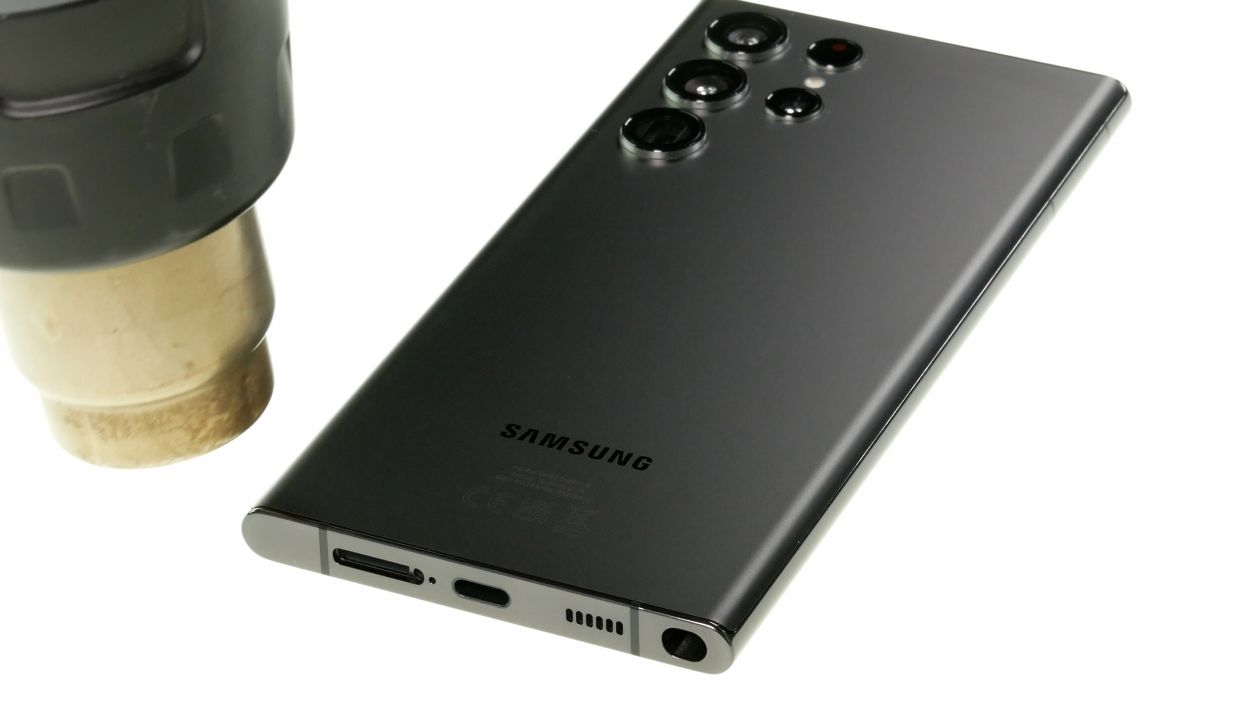
The back cover is really stuck on there! Give it some love with a heat gun or a trusty hair dryer to warm things up and make it easier to lift off.
– Warm up the edge of the back cover by gently gliding your heat gun or trusty hair dryer along it.
Tools Used
- heat gun to heat parts that are glued on so they’re easier to remove.
In most cases, you can also use a hairdryer.” rel=”noopener nofollow”>Heat gun
Step 3
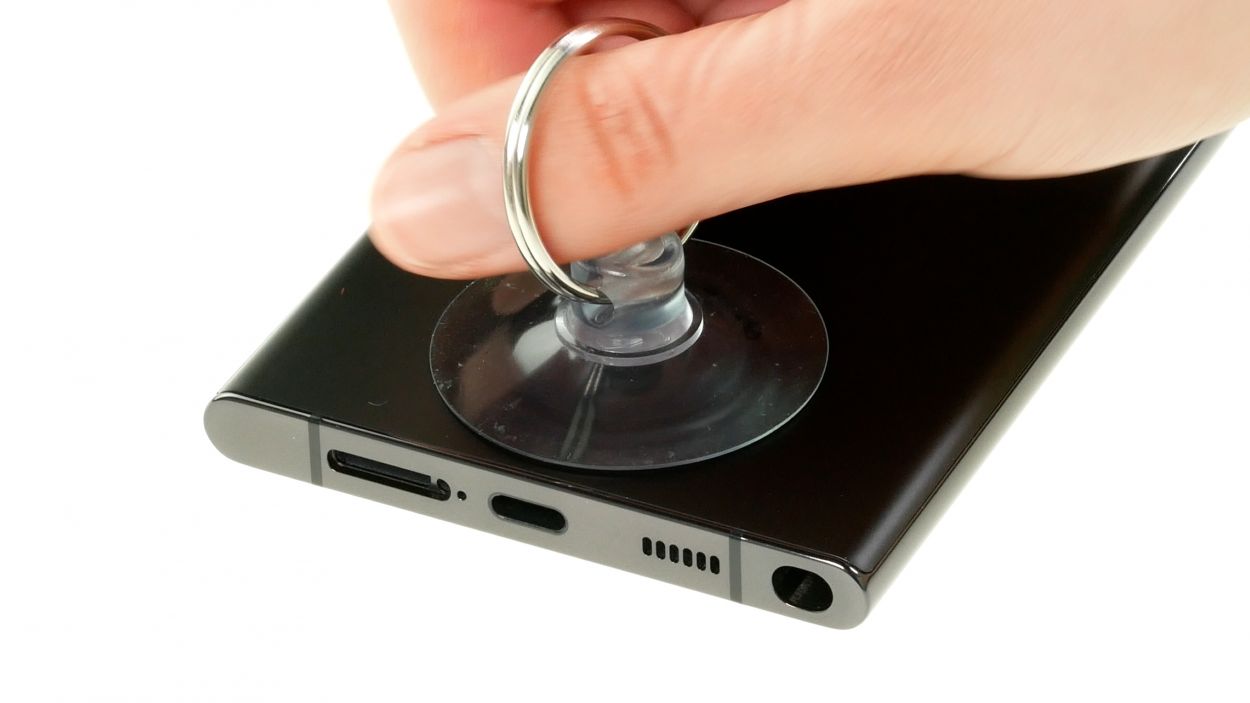
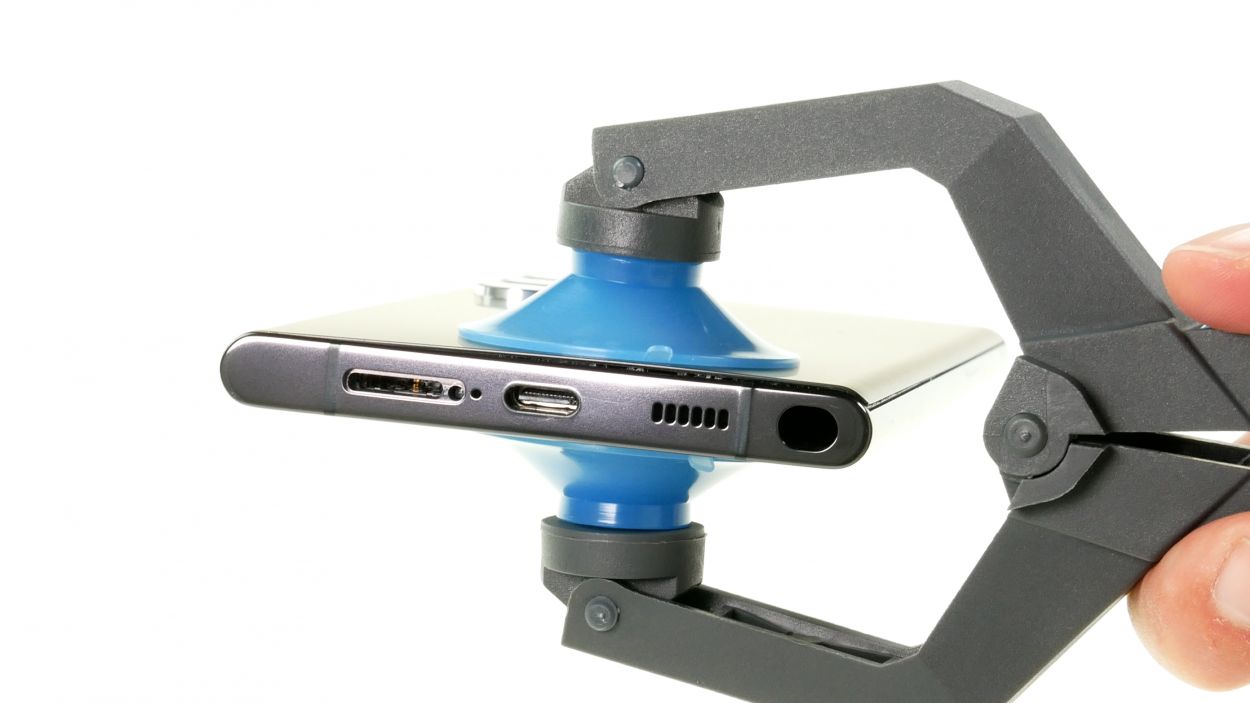
If you’re looking for an easier way to lift that back cover, the iSclack is a fantastic option! It takes less effort to get the job done, so you can keep your repair game strong.
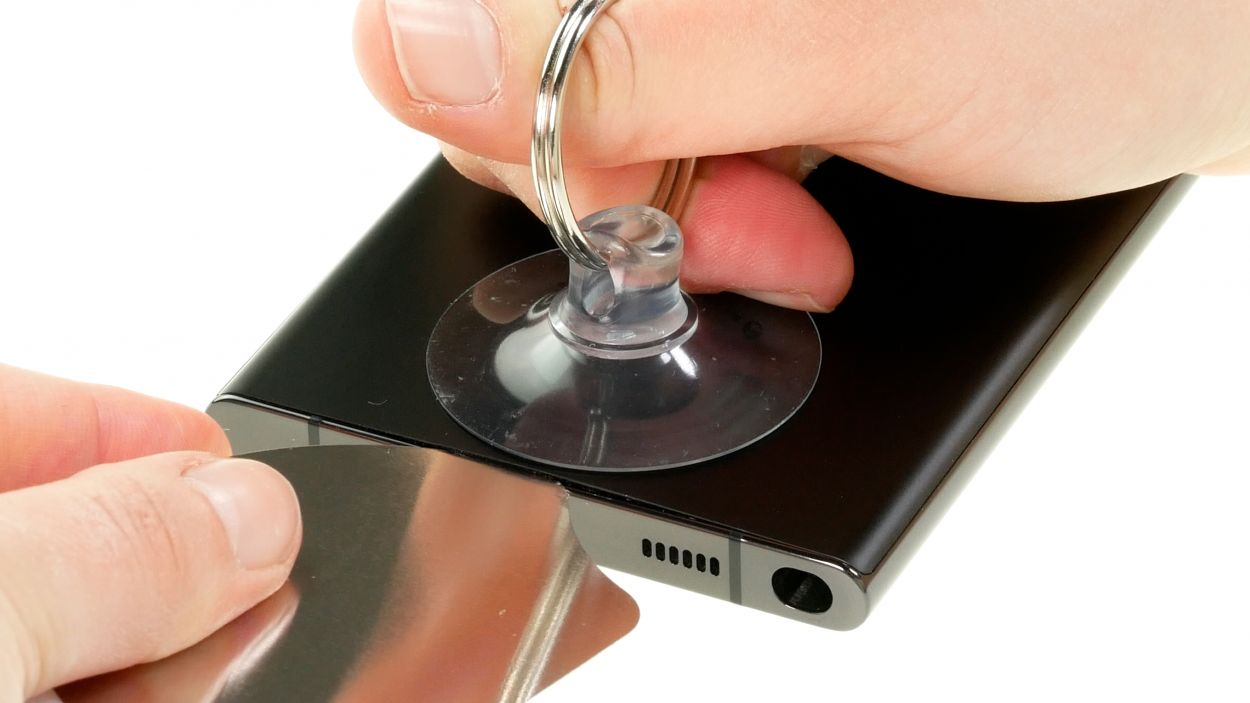
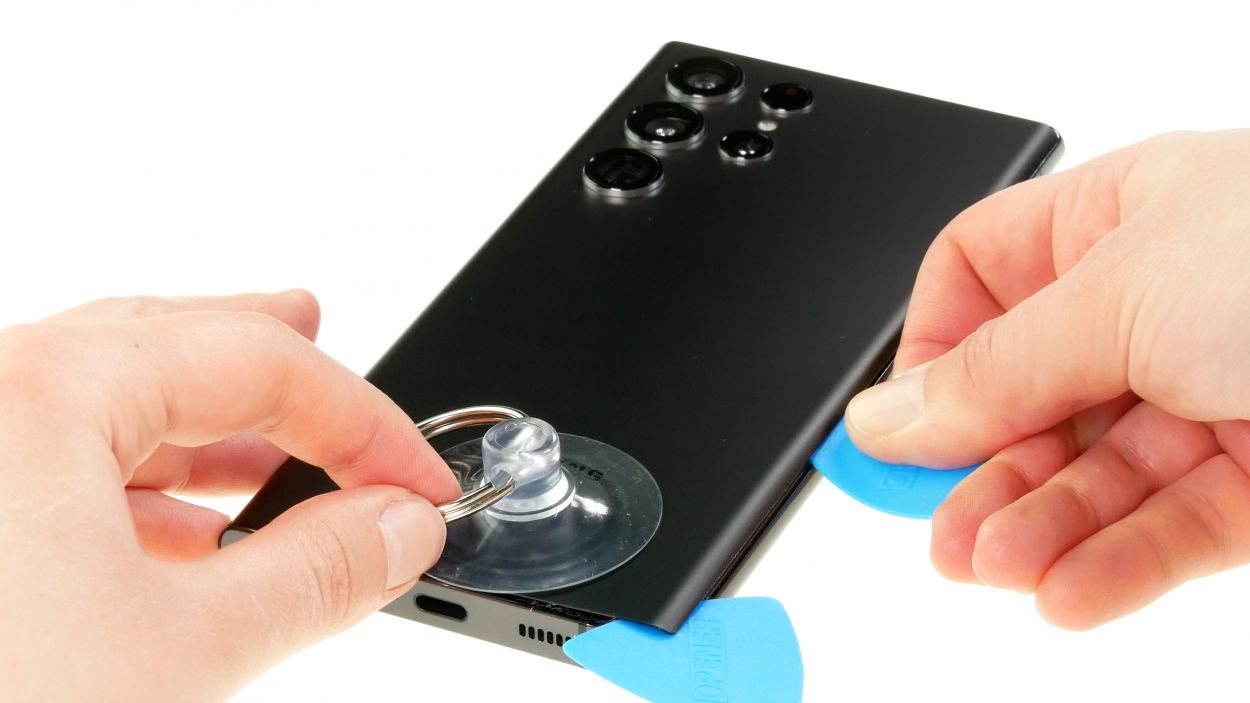
– Grab a suction cup and stick it to the lower edge of the back cover. Give it a gentle pull upwards to open up a little gap.
– While you’re at it, slide a flat tool into that gap between the back cover and the screen unit.
Step 4
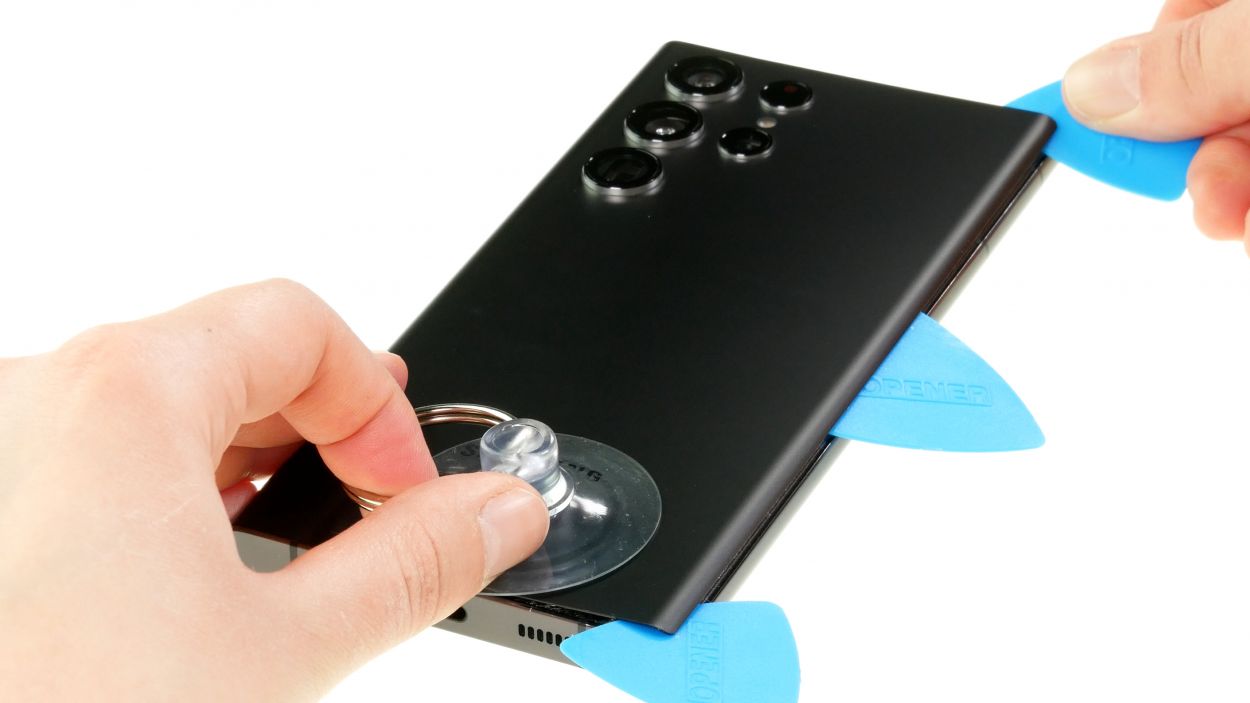
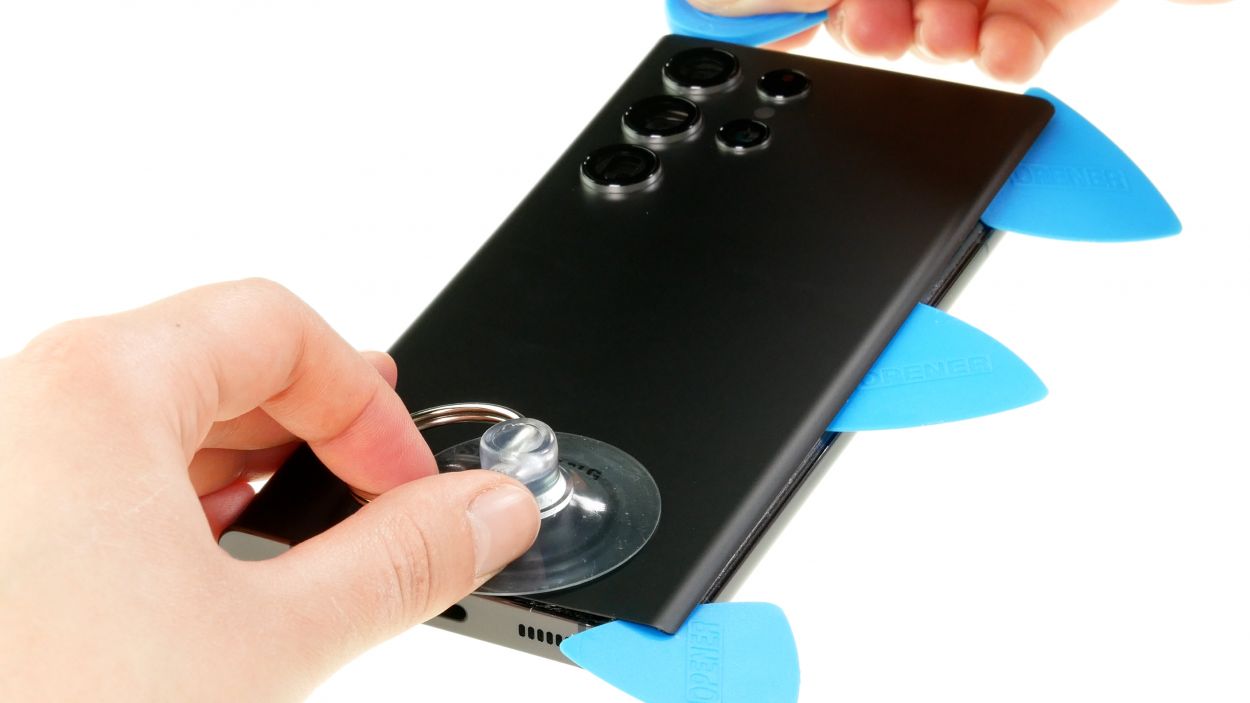
– Take your trusty tool and make a complete lap around the edge of the back cover, loosening it bit by bit. Think of it as a gentle jog for your device!
– Once it’s all free, set that back cover aside like a pro. You’re doing great!
Hey there, savvy fixer! Just a friendly reminder: don’t go too deep with your tool when you’re working near the camera module. A hard plastic pick is your best buddy for this task!
To keep that back cover from getting too cozy with the glue again, slide some flat plastic picks underneath at regular intervals. It’s like giving your phone a little breathing room!
Tools Used
- heat gun to heat parts that are glued on so they’re easier to remove.
In most cases, you can also use a hairdryer.” rel=”noopener nofollow”>Heat gun - Pick Set
- Flat Picks
Step 5
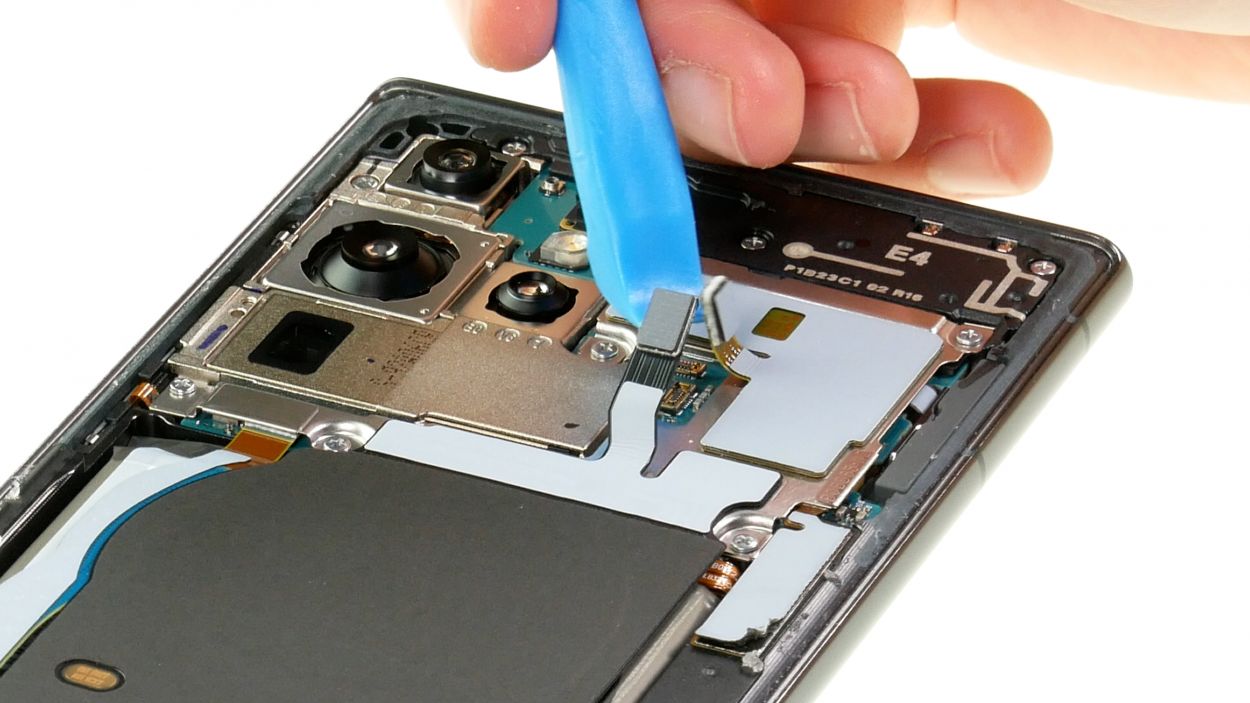
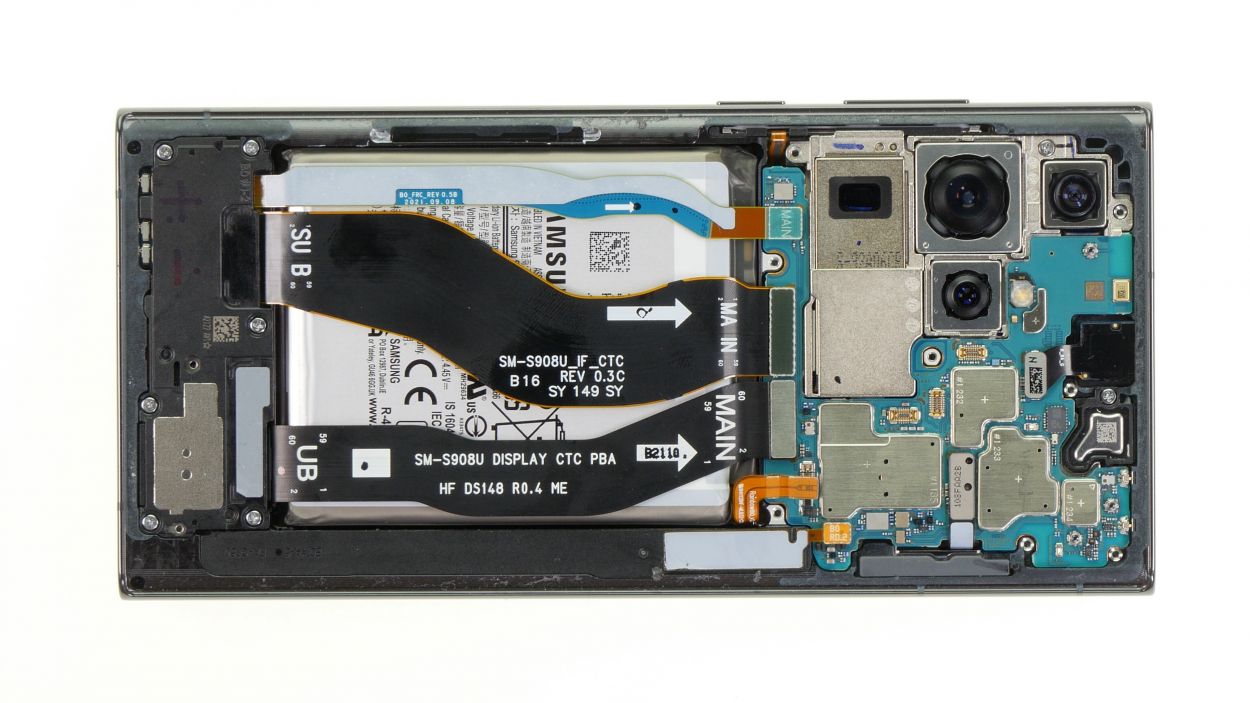
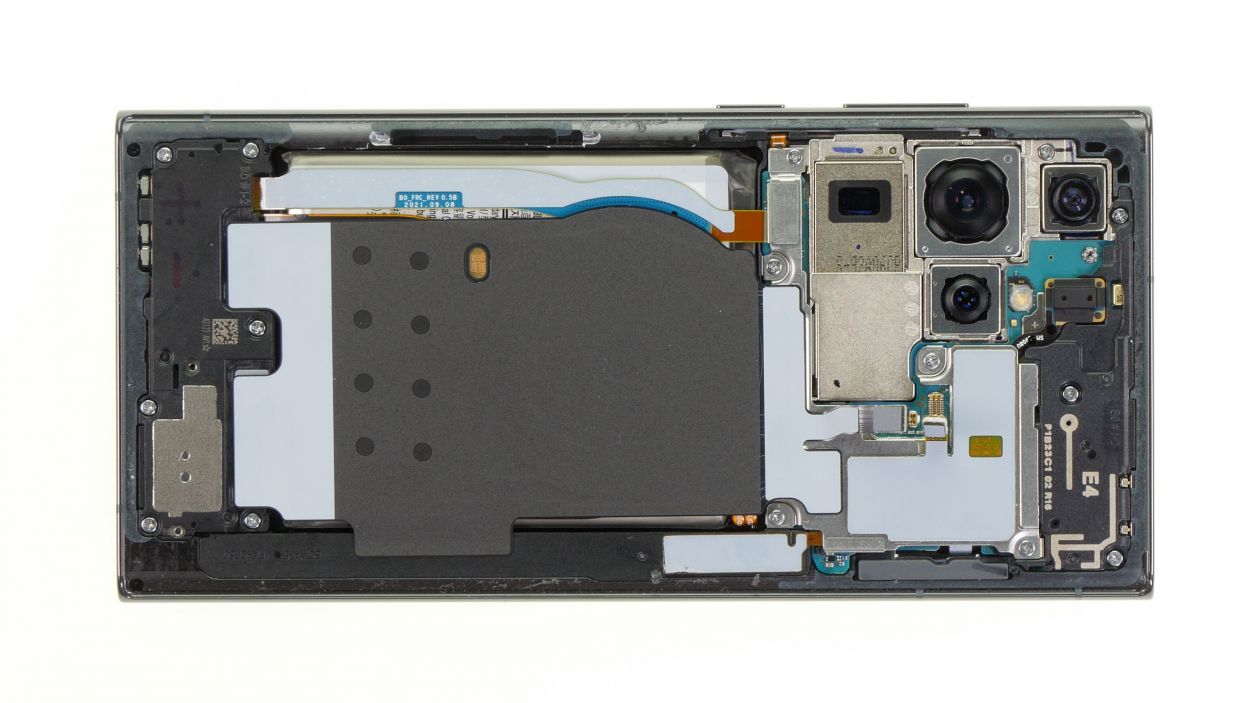
The bottom part of the charging coil is stuck down with glue, while the top section features a metal cover secured with screws to the motherboard. And guess what? The NFC antenna is cleverly integrated into that very cover!
– Gently pry apart the connectors for the charging coil and NFC antenna from the board using a spudger. Take your time—you’re doing awesome!
Tools Used
Step 6
5 × 3.3 mm Phillips
To keep your screws and parts from playing hide and seek, we suggest snagging a screw storage solution like our magnetic pad. It’s the perfect way to keep everything safe and sound while you work your magic!
– Start by loosening those five Phillips screws holding the metal cover snugly on the board—let’s give it a little wiggle!
– Once that’s done, flip that cover up like a pro and gently peel the lower, glued part of the charging coil away from the speaker. You’ve got this!
Step 7
Hey there, repair superstar! Just a quick heads-up: make sure to disconnect the battery ASAP to keep any pesky short circuits at bay during your repair journey!
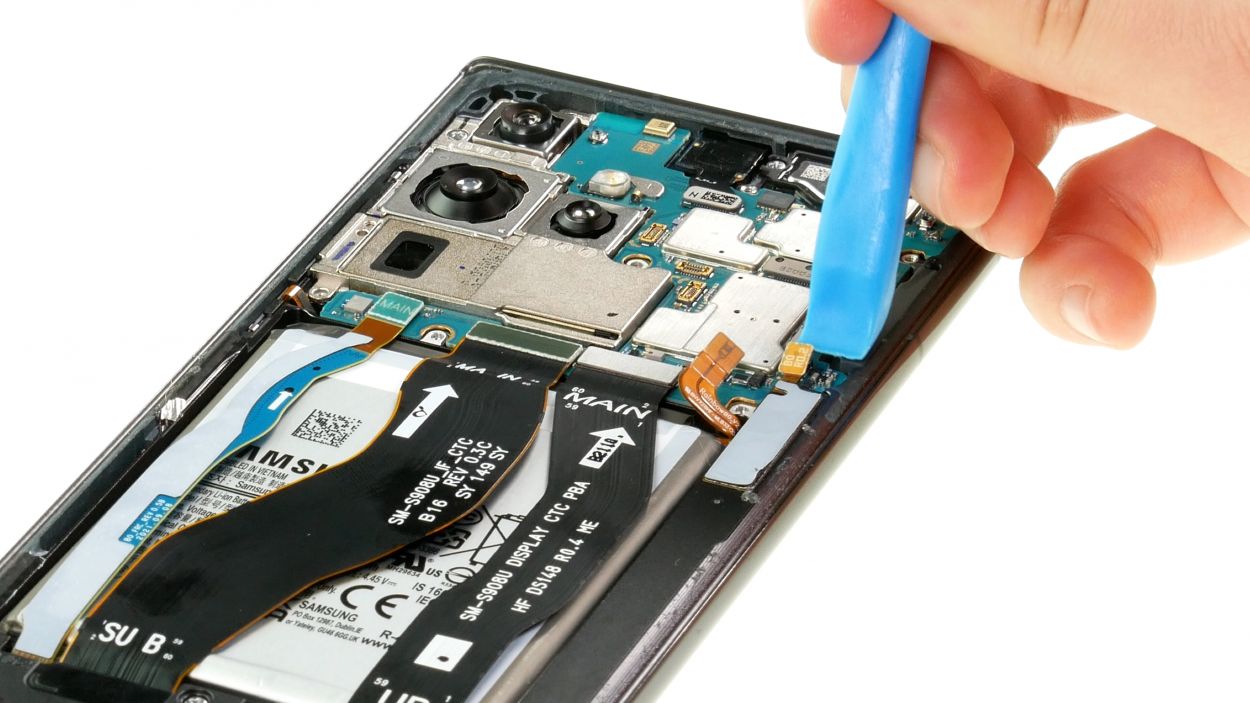
– Gently unclip that vibrant orange battery connector from the motherboard using a spudger. You’re doing great—keep it steady!
Tools Used
Step 8
3 × 3.3 mm Phillips
Before you can get to that motherboard, you’ve got to pop off the board cover sitting pretty on top of it. Let’s get that cover off and keep the good times rolling!
– First, gently detach the cover connector from the motherboard—like giving it a little hug goodbye!
– Now, loosen those three Phillips screws holding it down; think of it as a friendly game of tug-of-war!
– Lift the cover up and off your device, like you’re unveiling a masterpiece.
Step 9
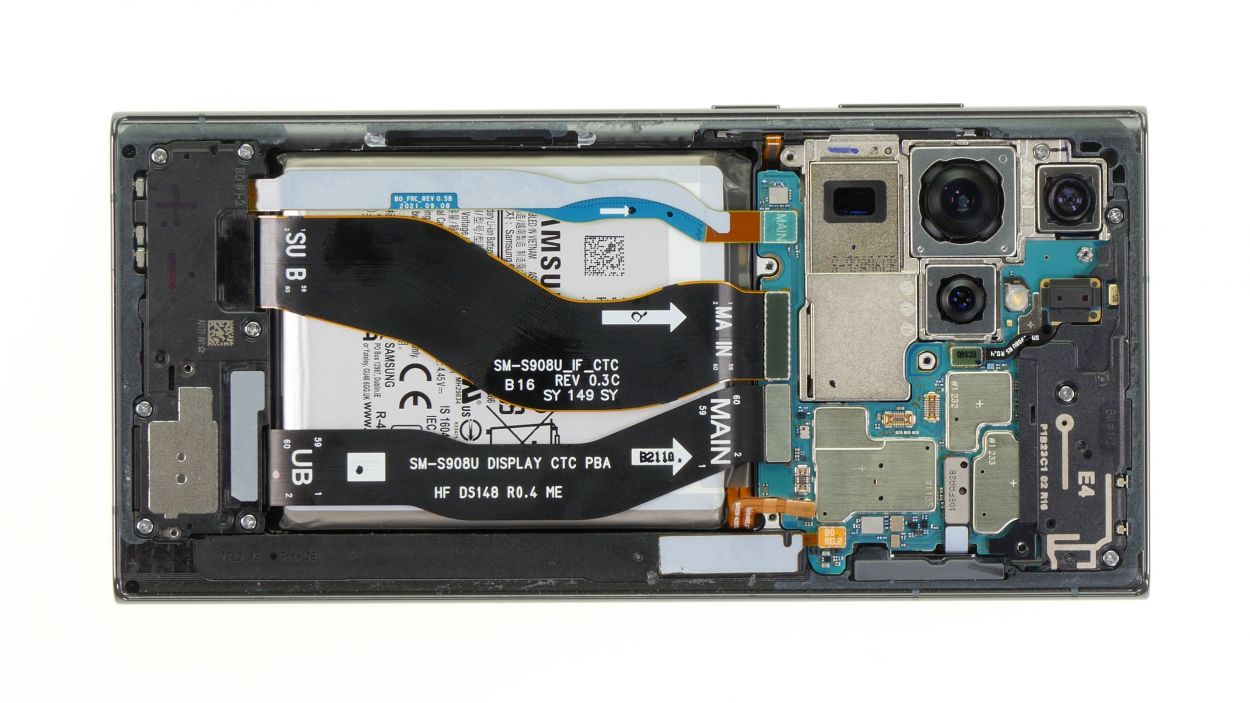
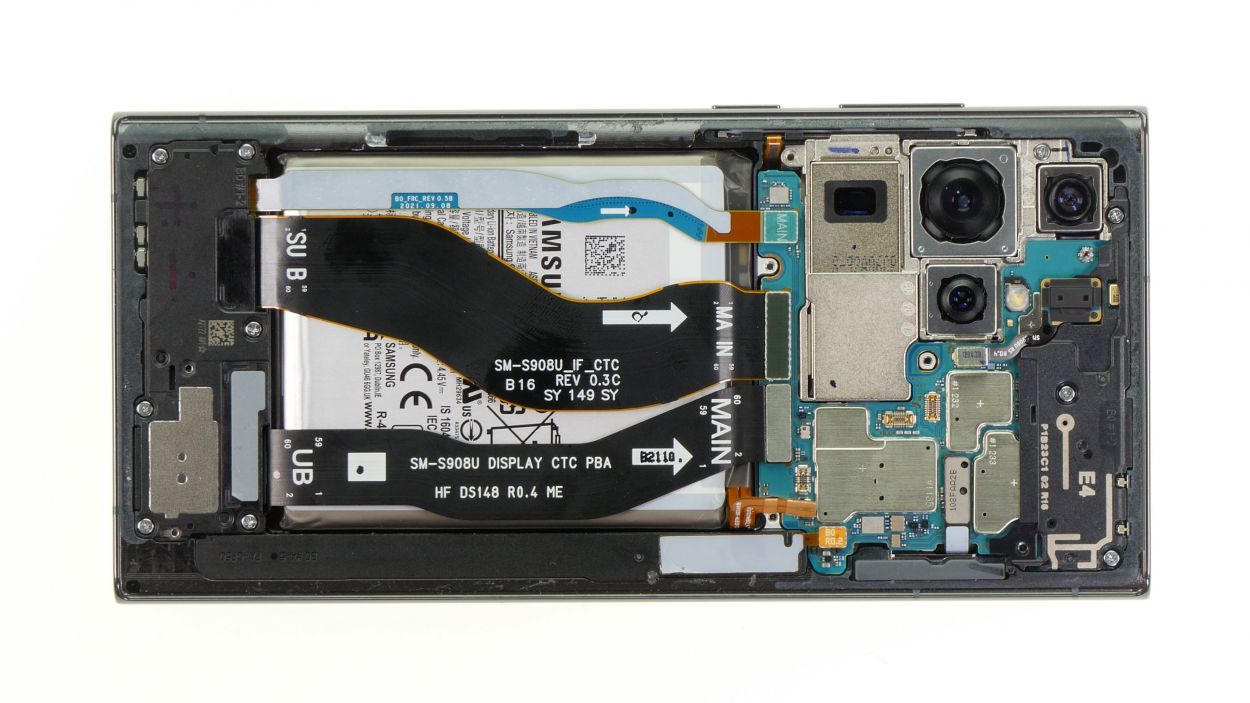
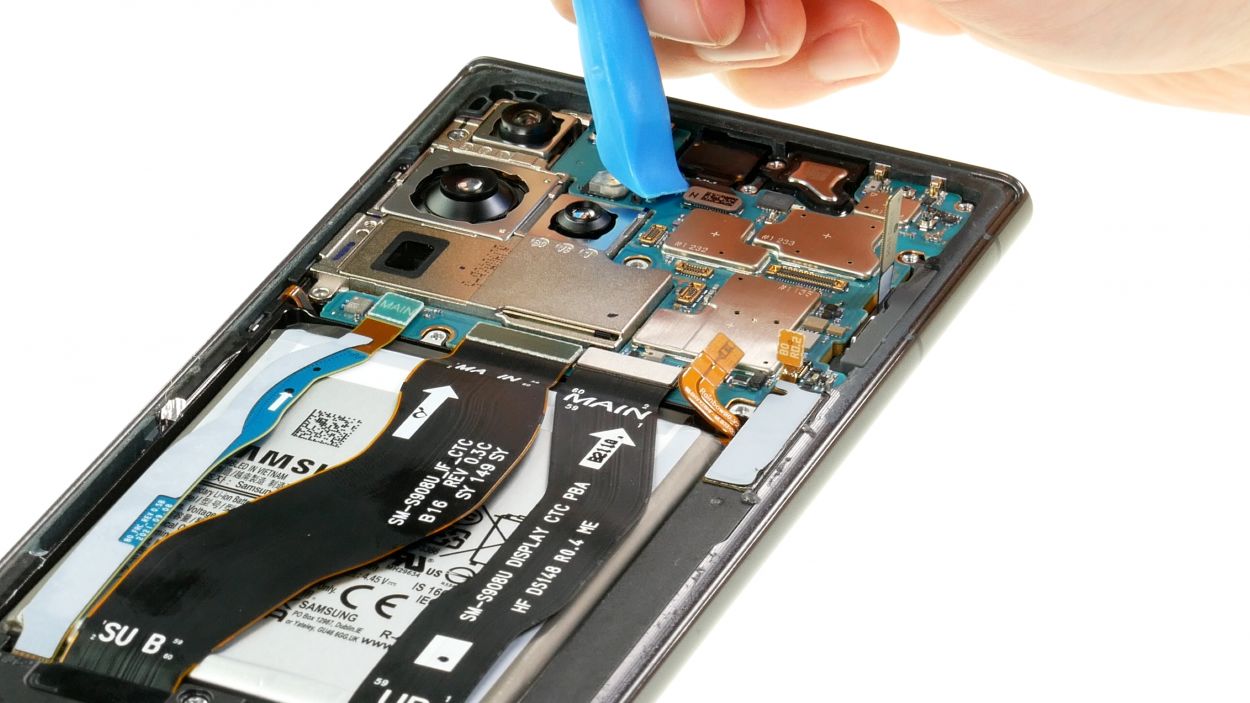
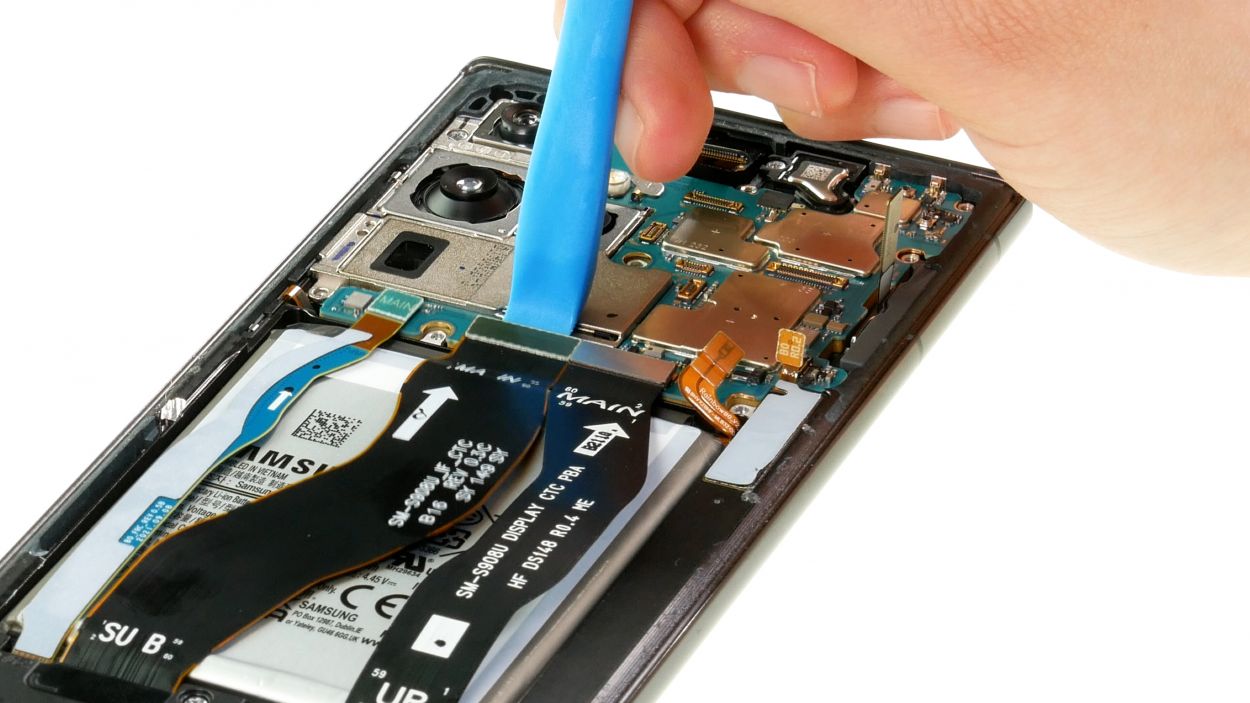
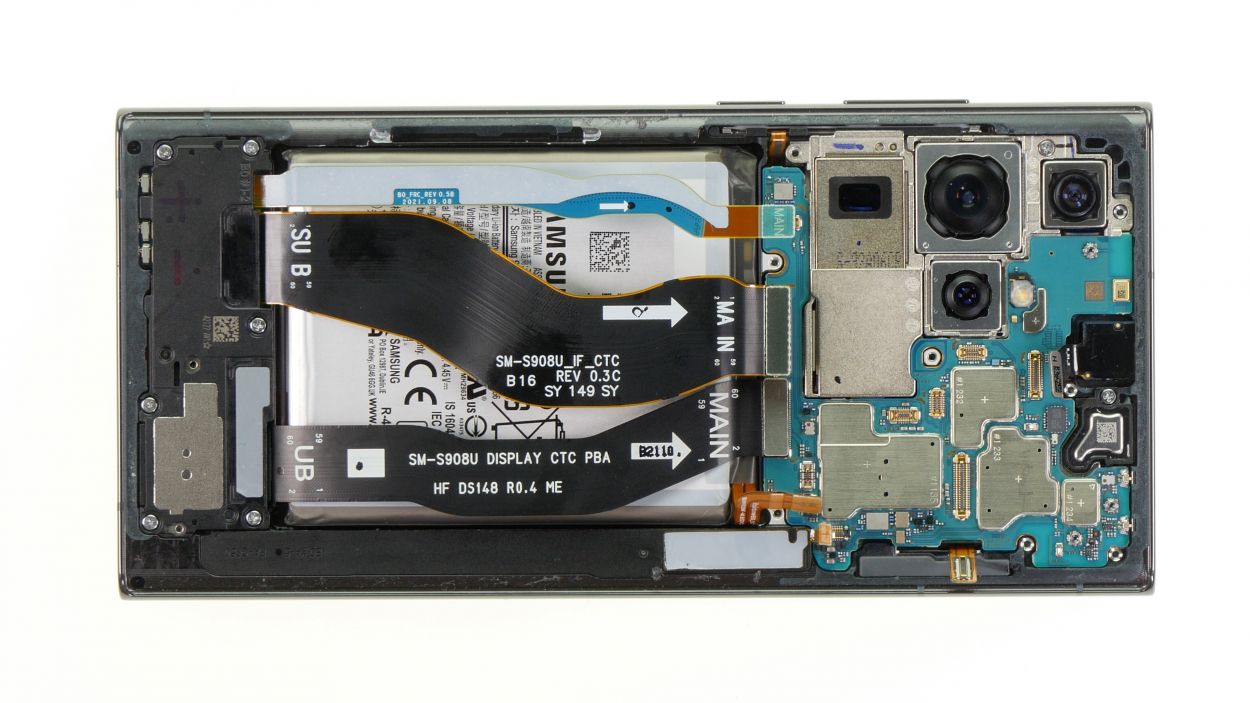
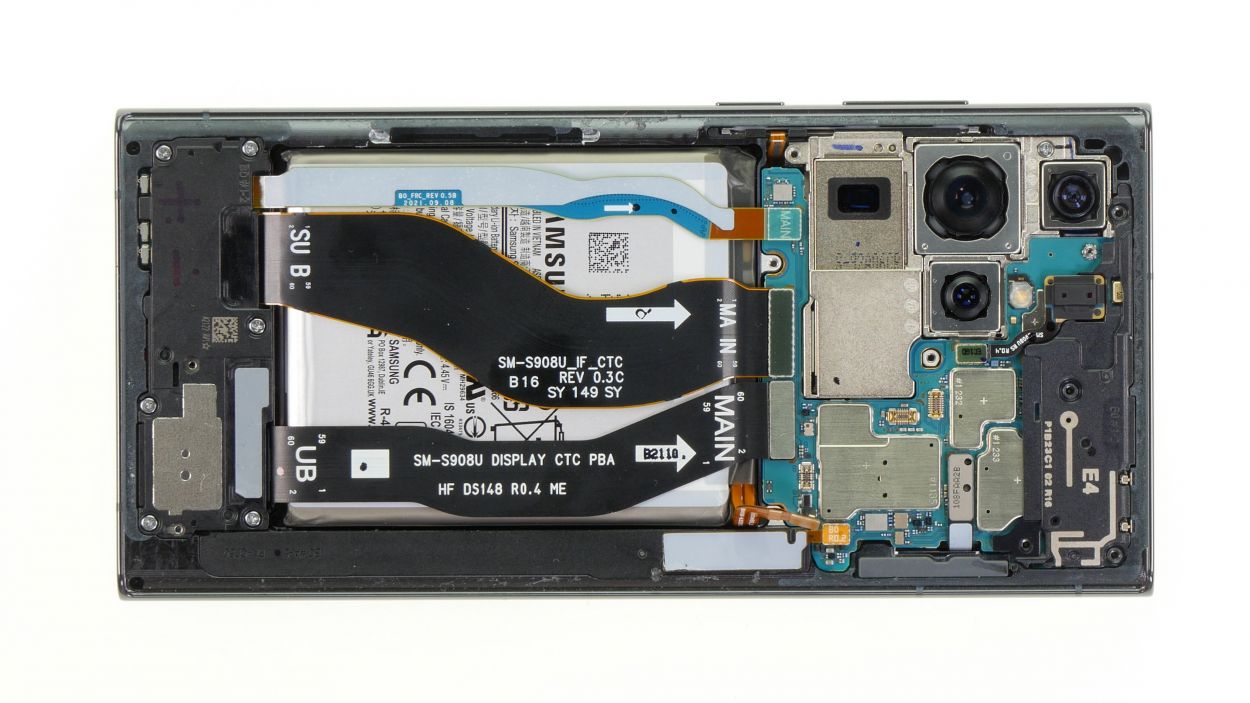
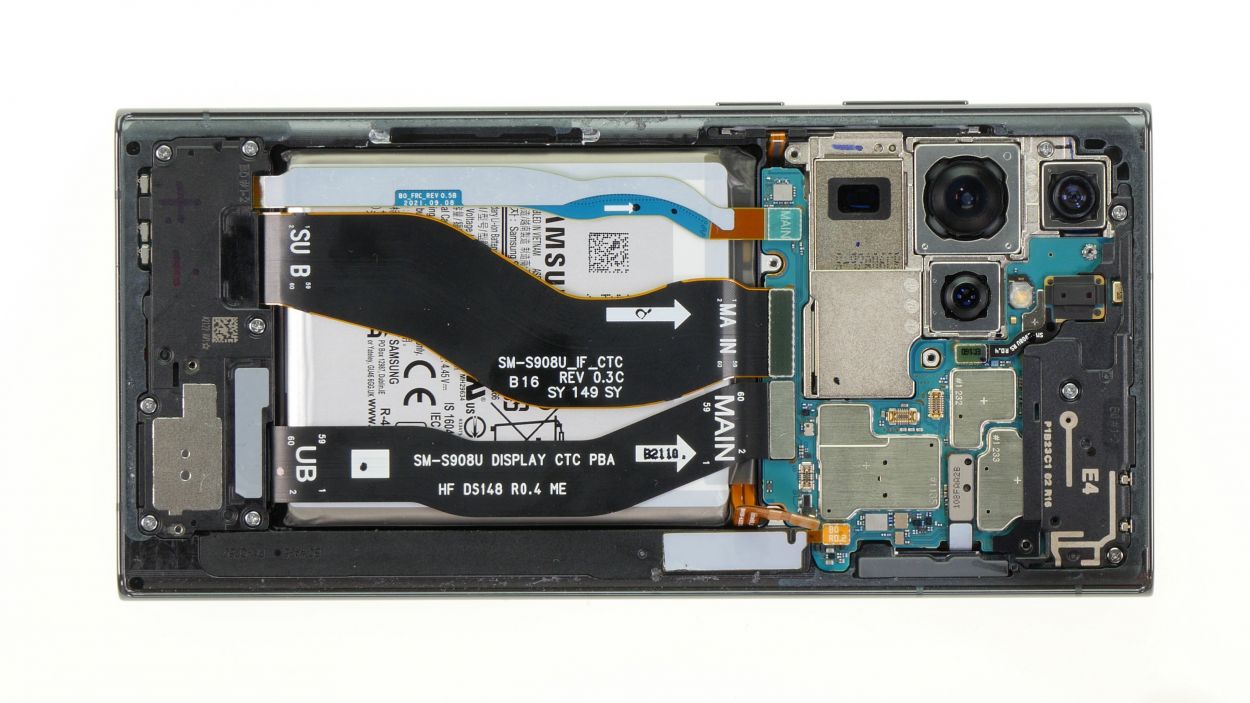
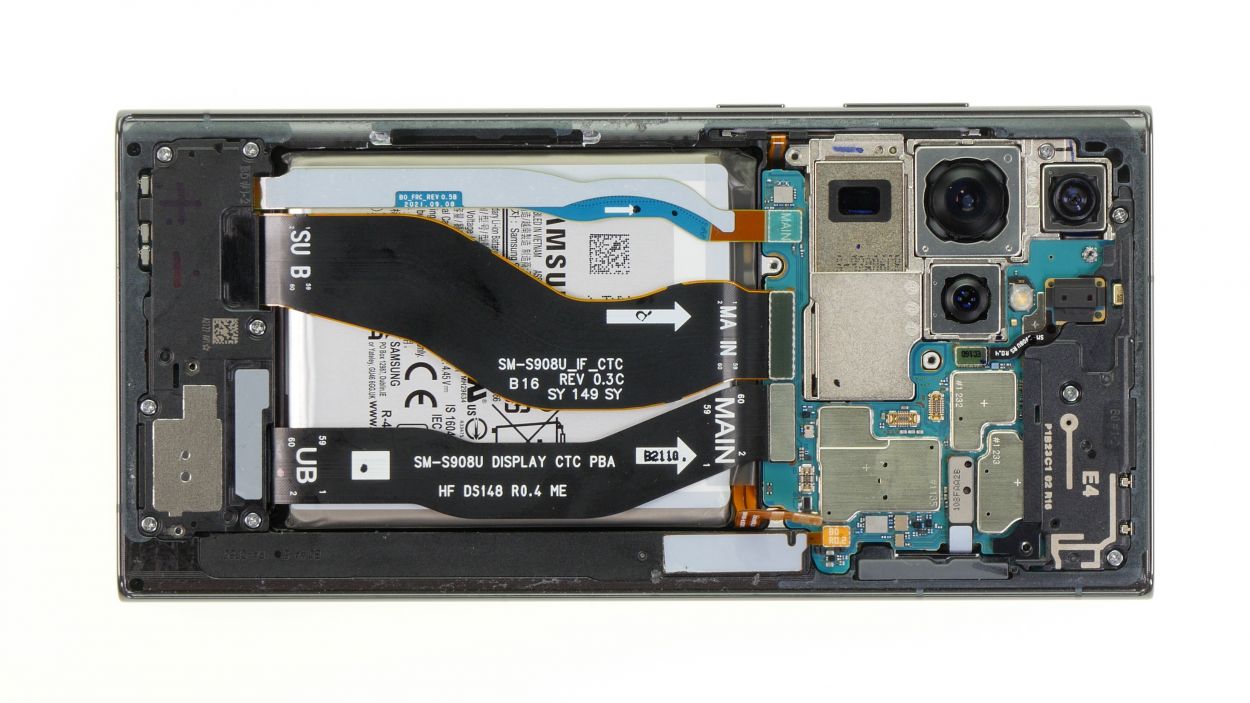
– Unplug the remaining connectors from the motherboard. These little guys are for the S Pen, the front camera, the screen cable, and the two connecting cables.
Tools Used
Step 10
1 × 3.3 mm Phillips
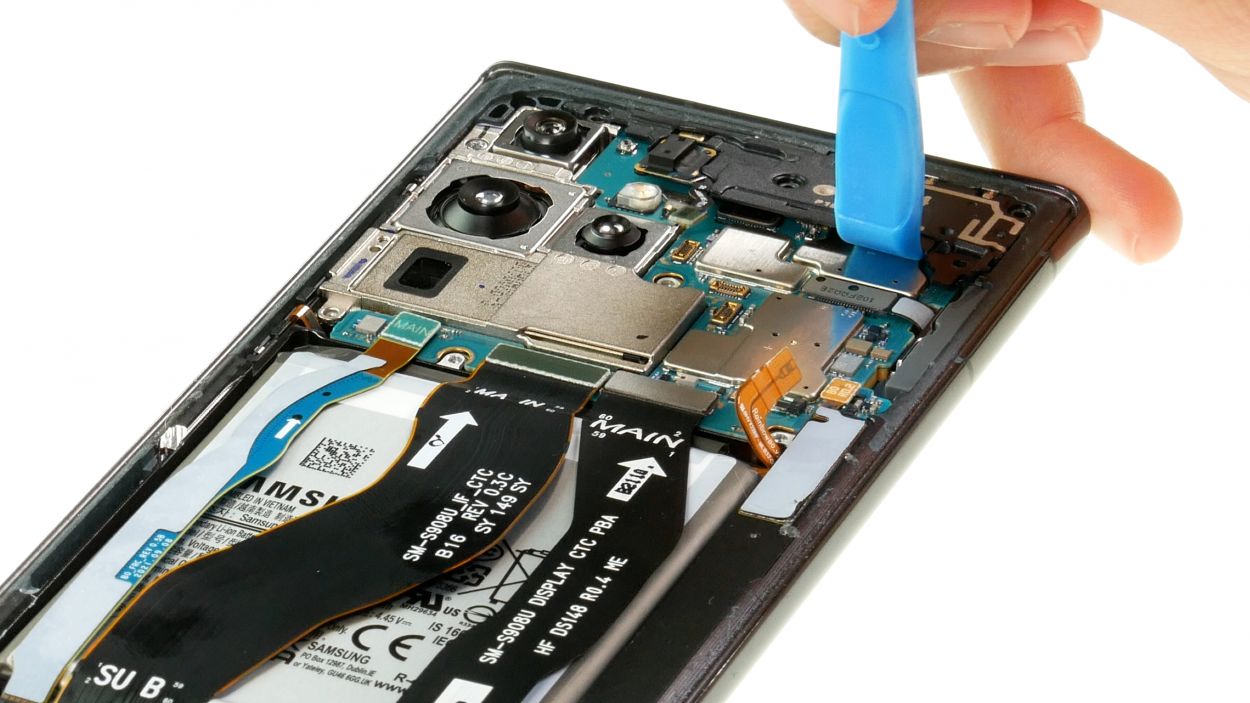
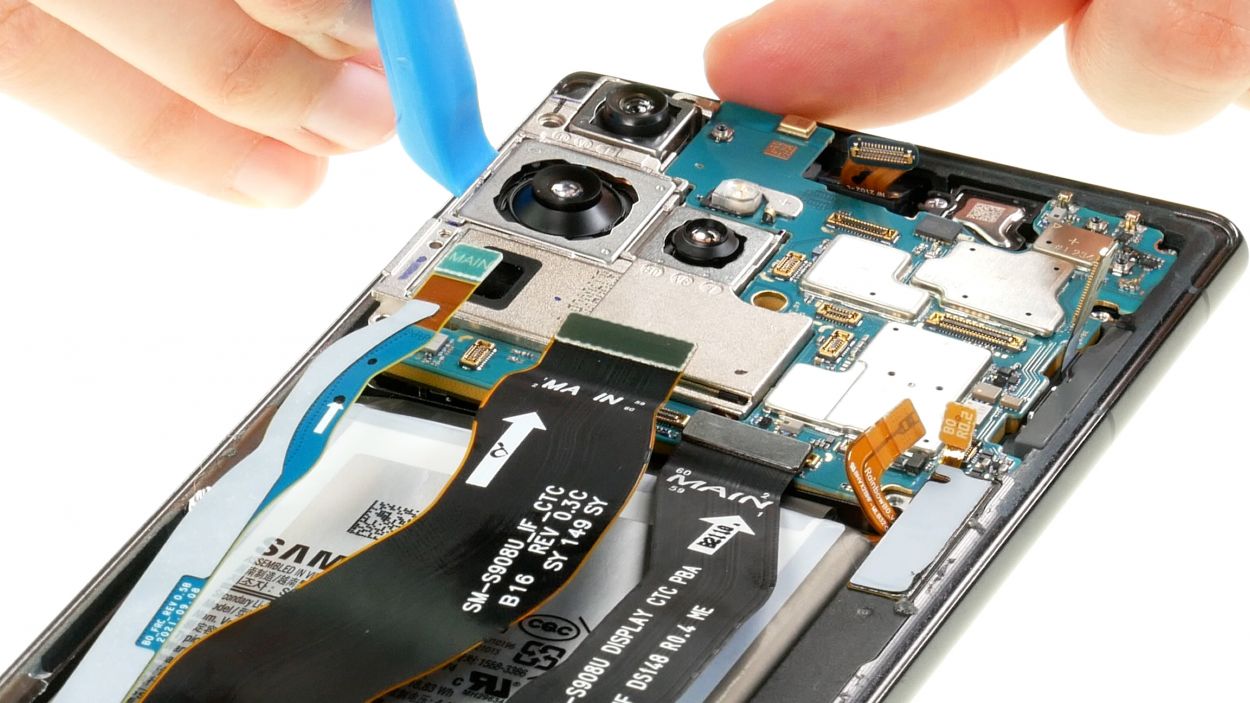
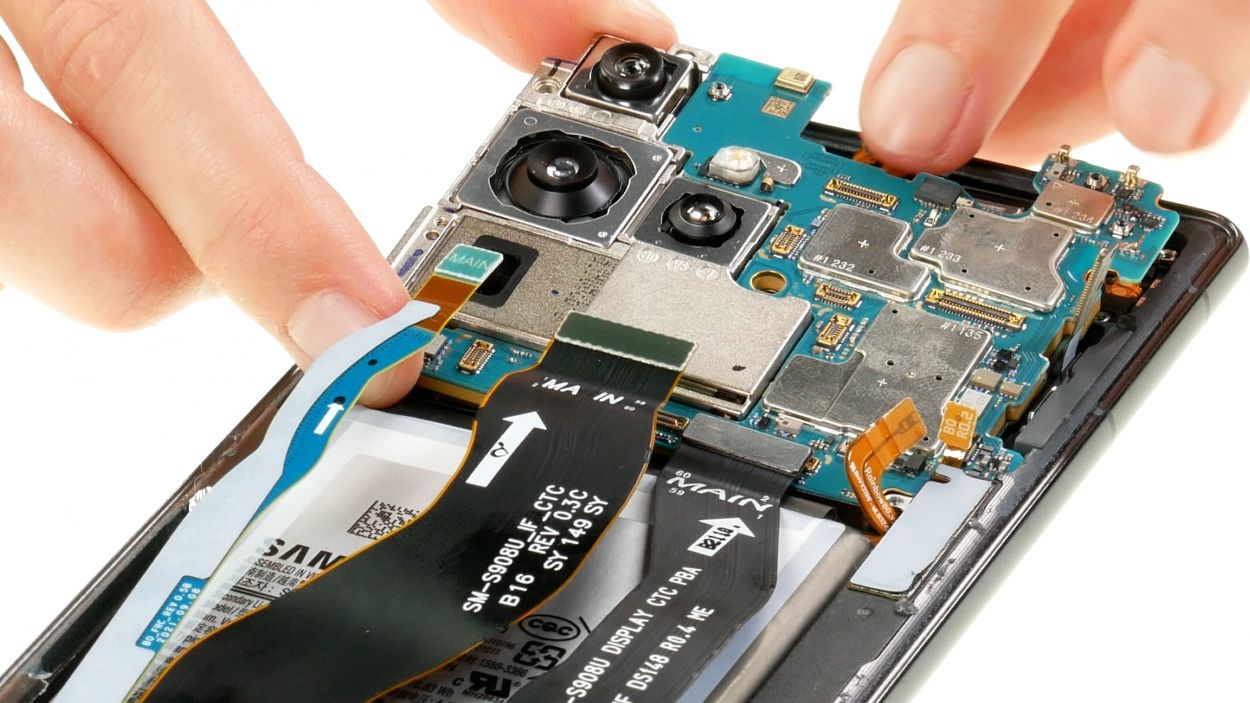
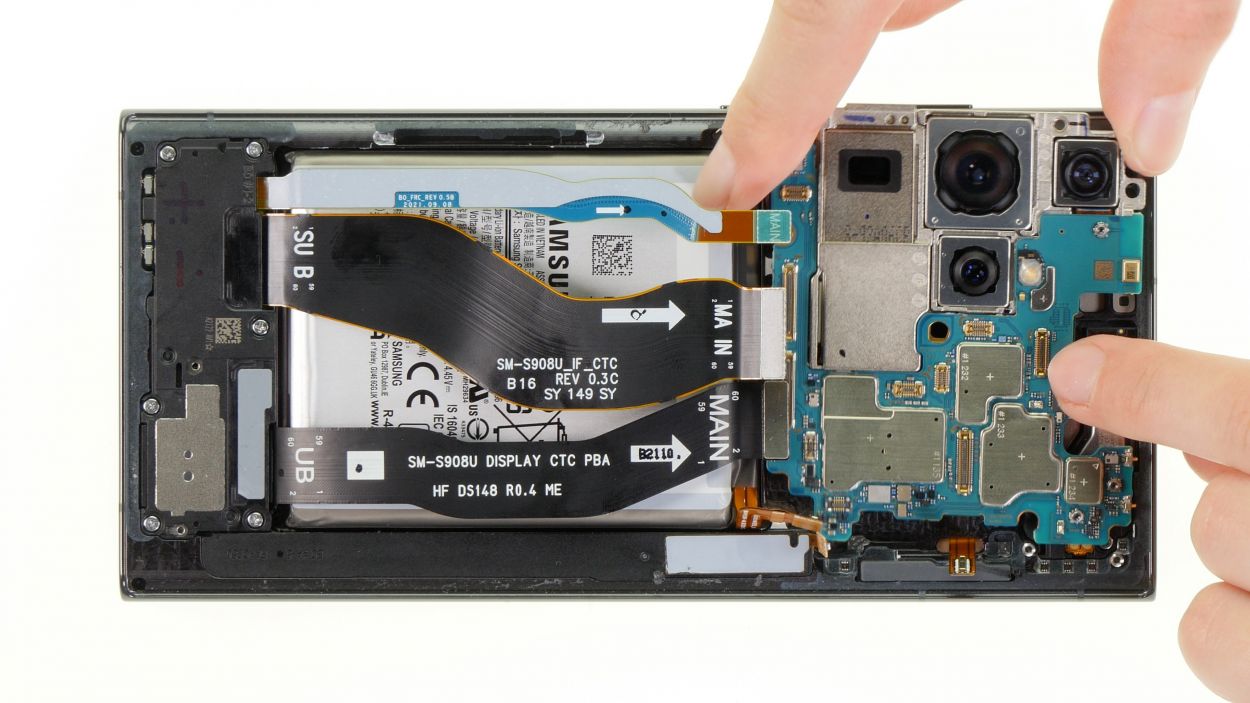
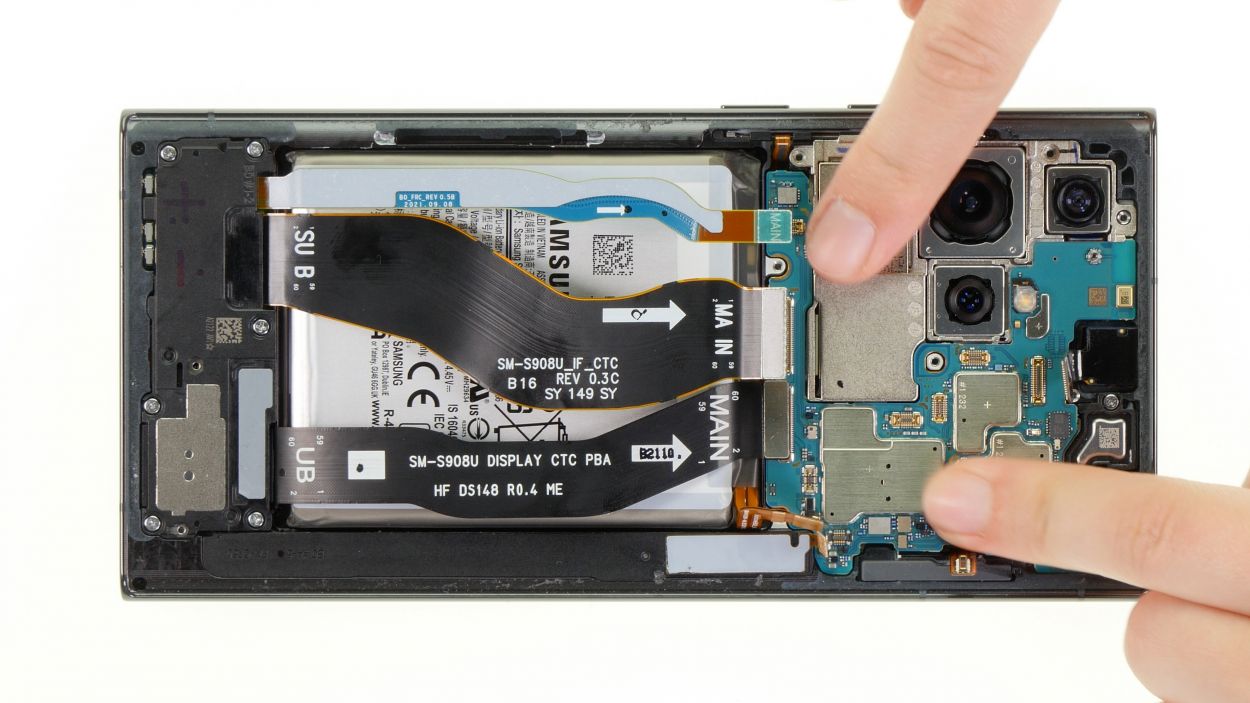
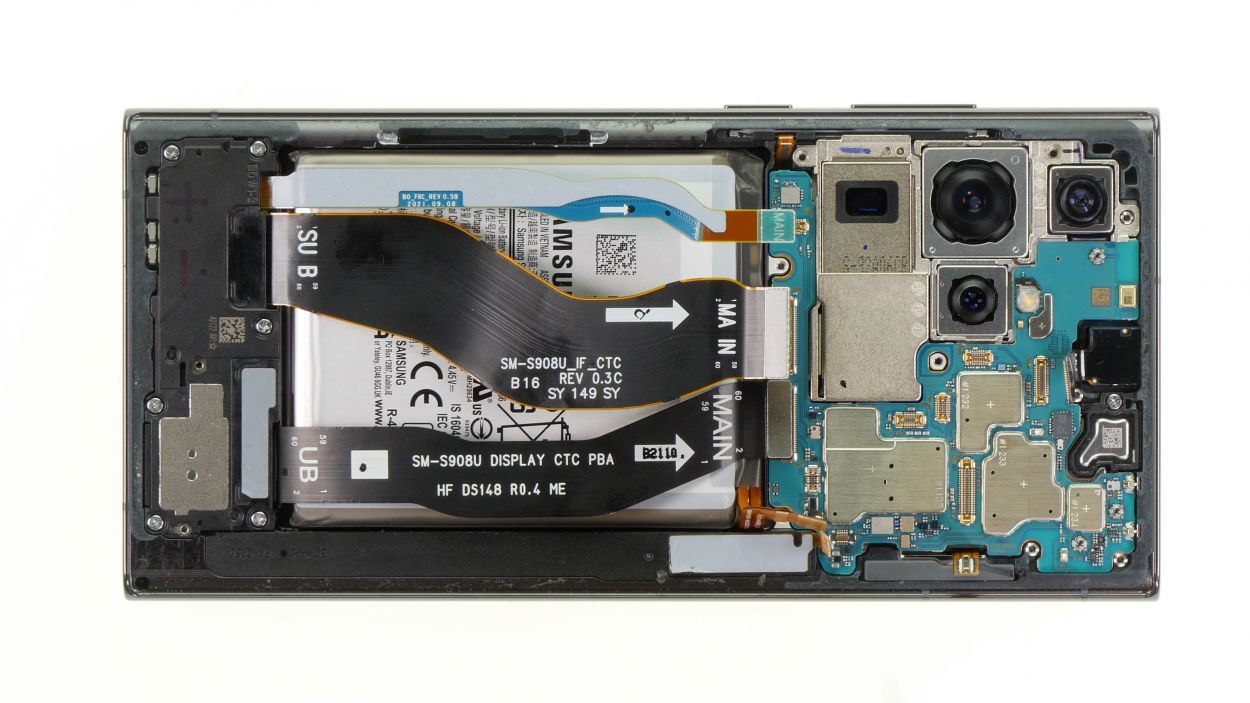
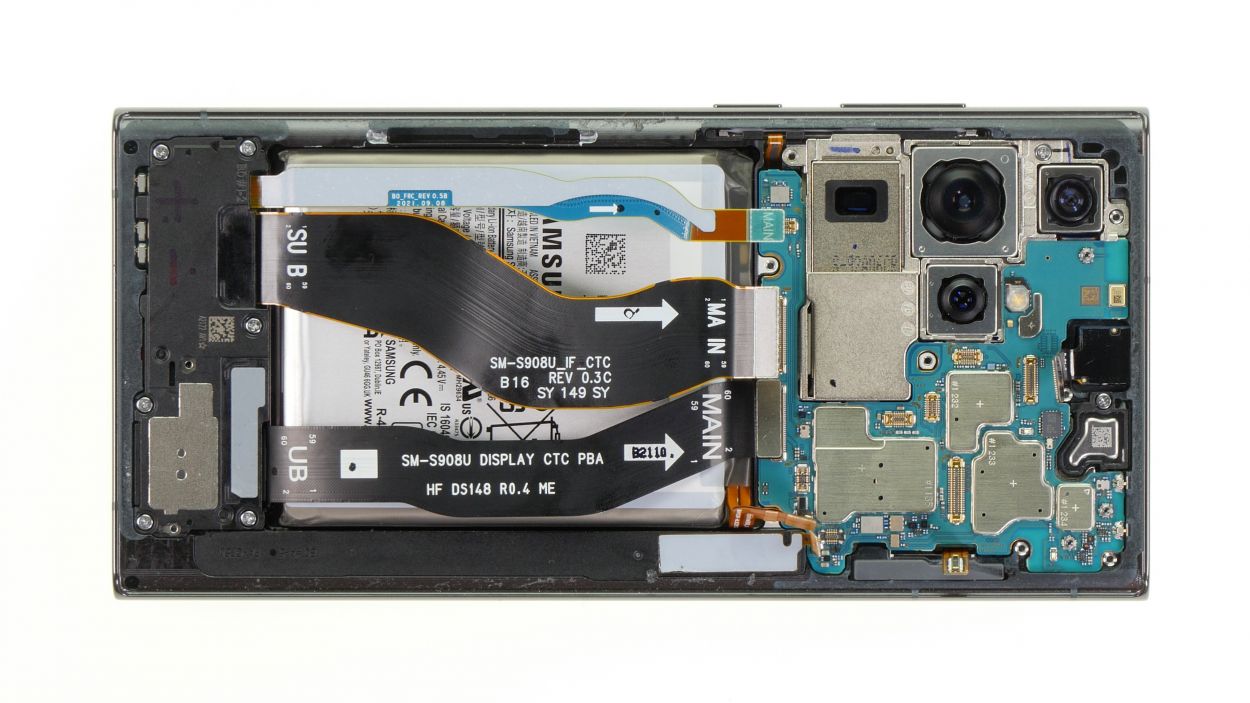
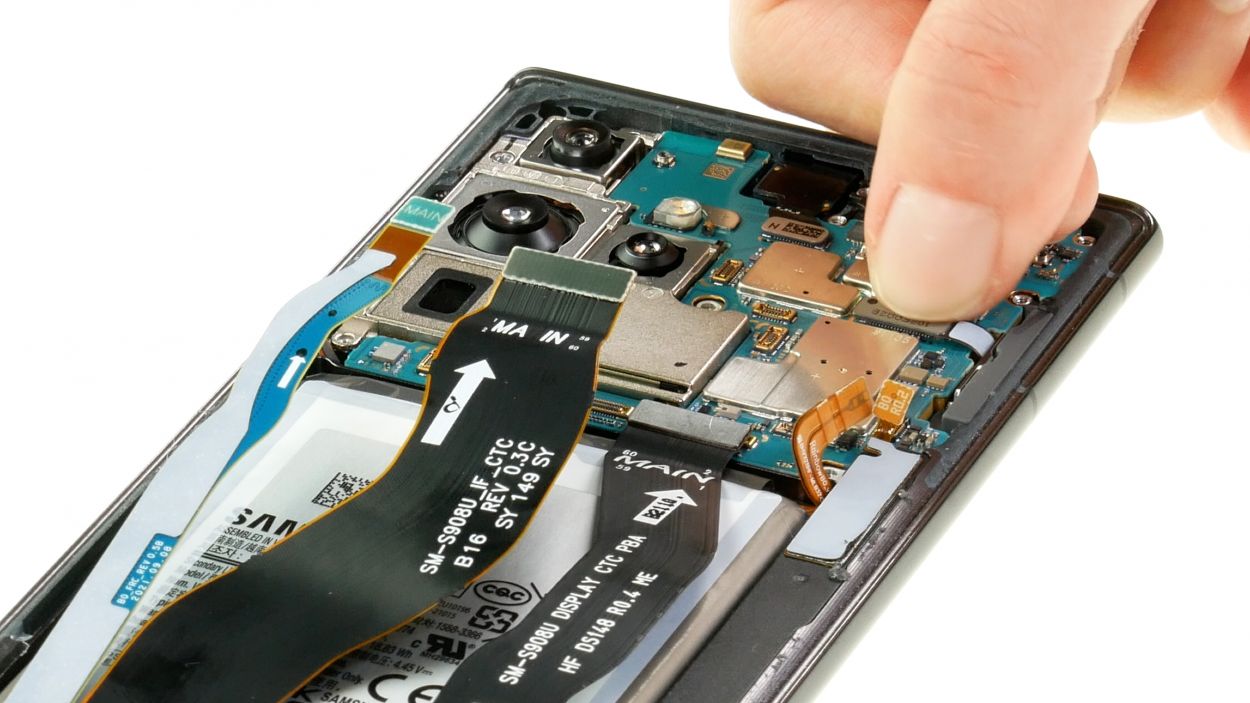
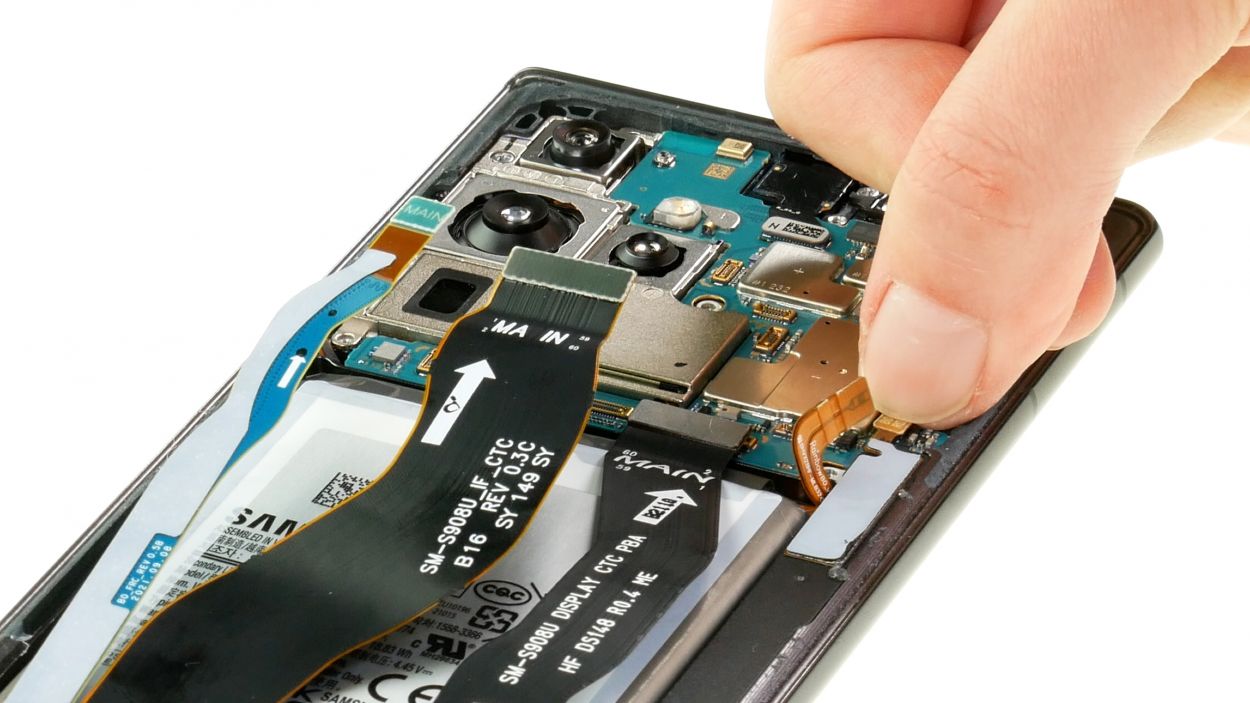
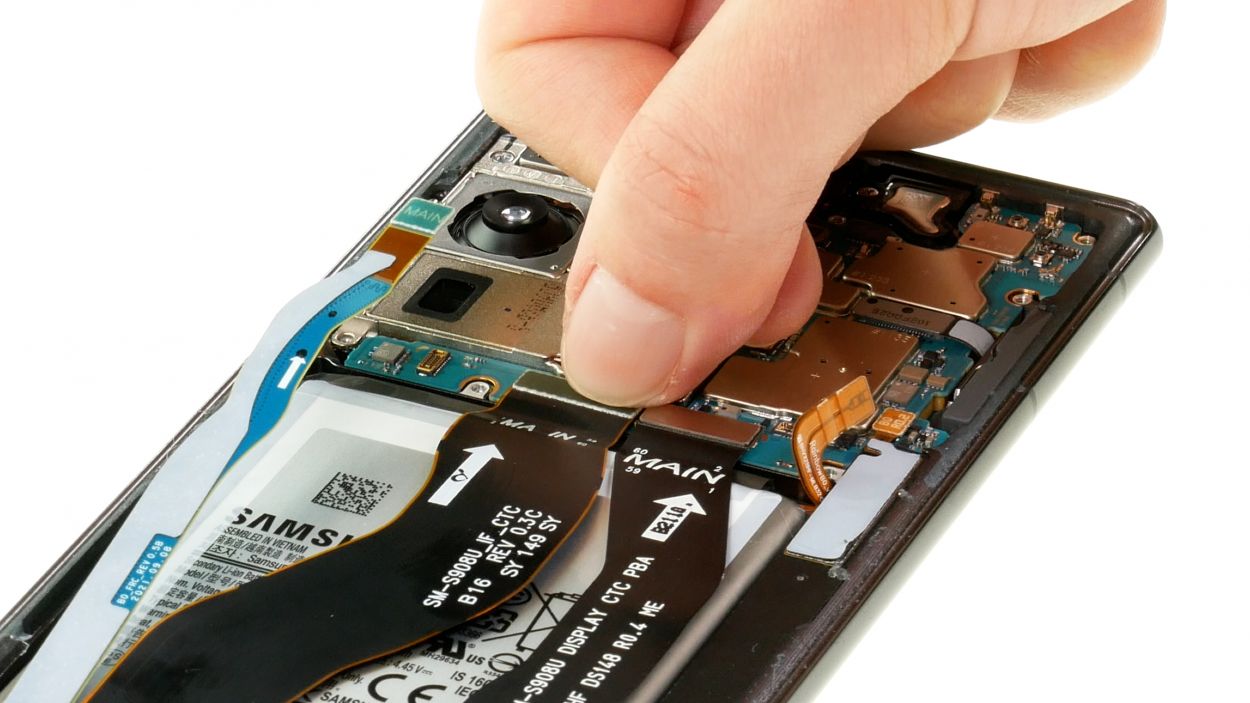
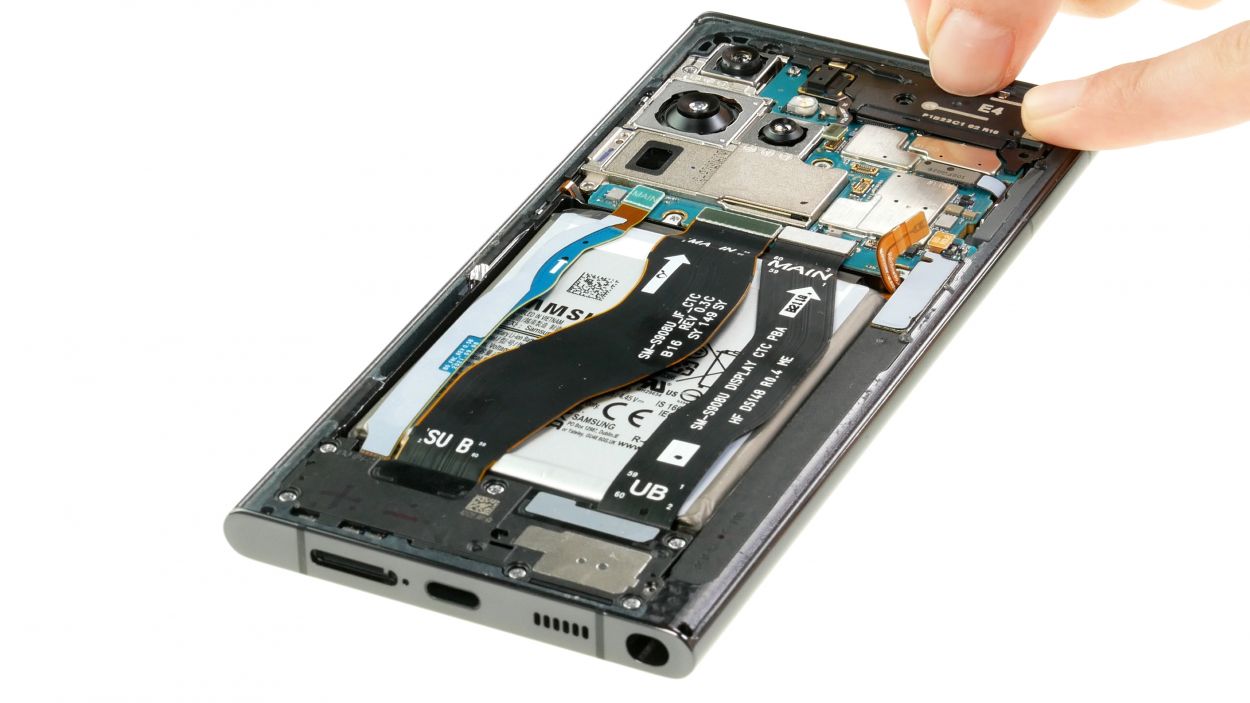
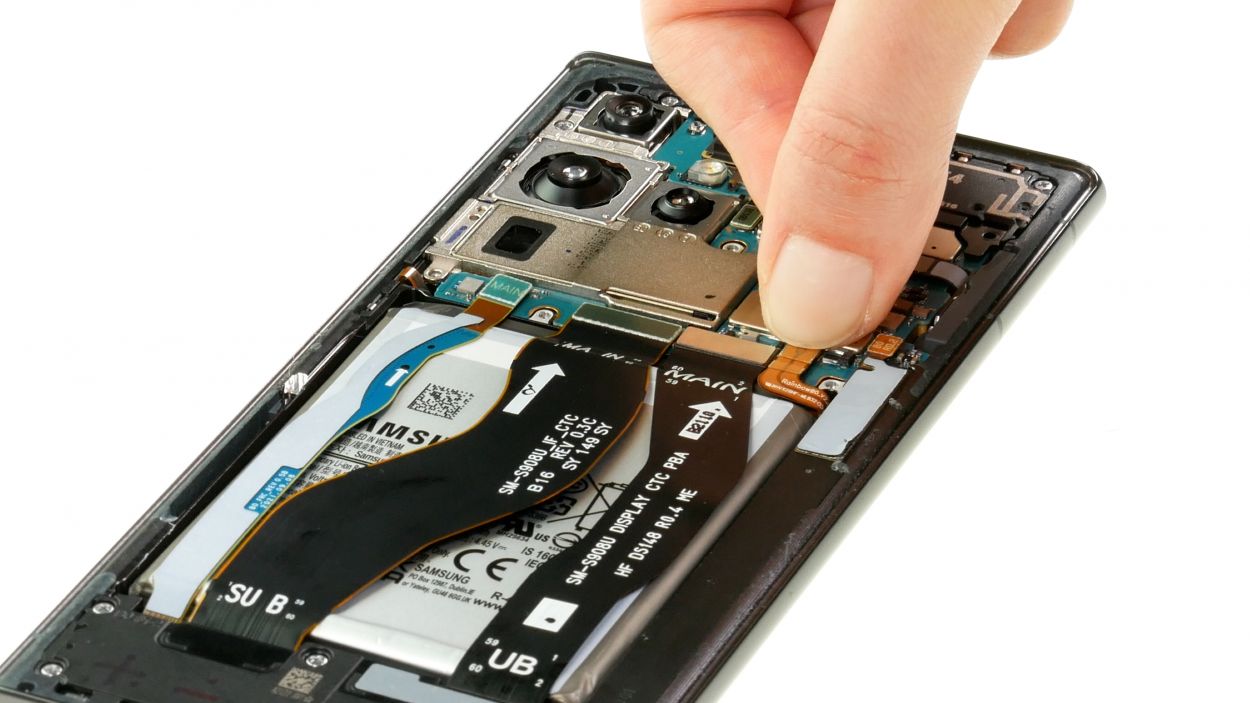
Watch out when you’re lifting that motherboard! You don’t want to accidentally mess up the main camera or those delicate flex cables still hanging on. Take it slow and steady!
– Unscrew that lone Phillips screw holding the board in place—let’s get it loosened up!
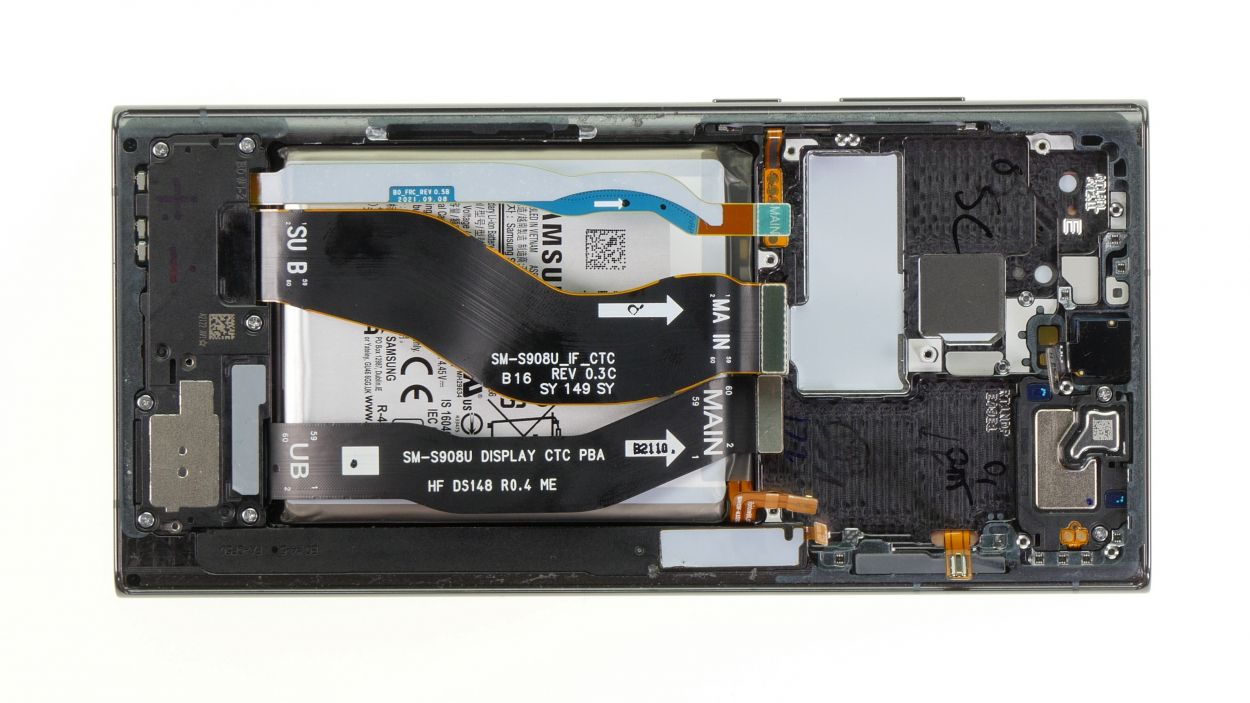
– Now, with a spudger in hand, gently pry the board out of the device. You’ve got this!
Step 11
2 × 3.0 mm Phillips
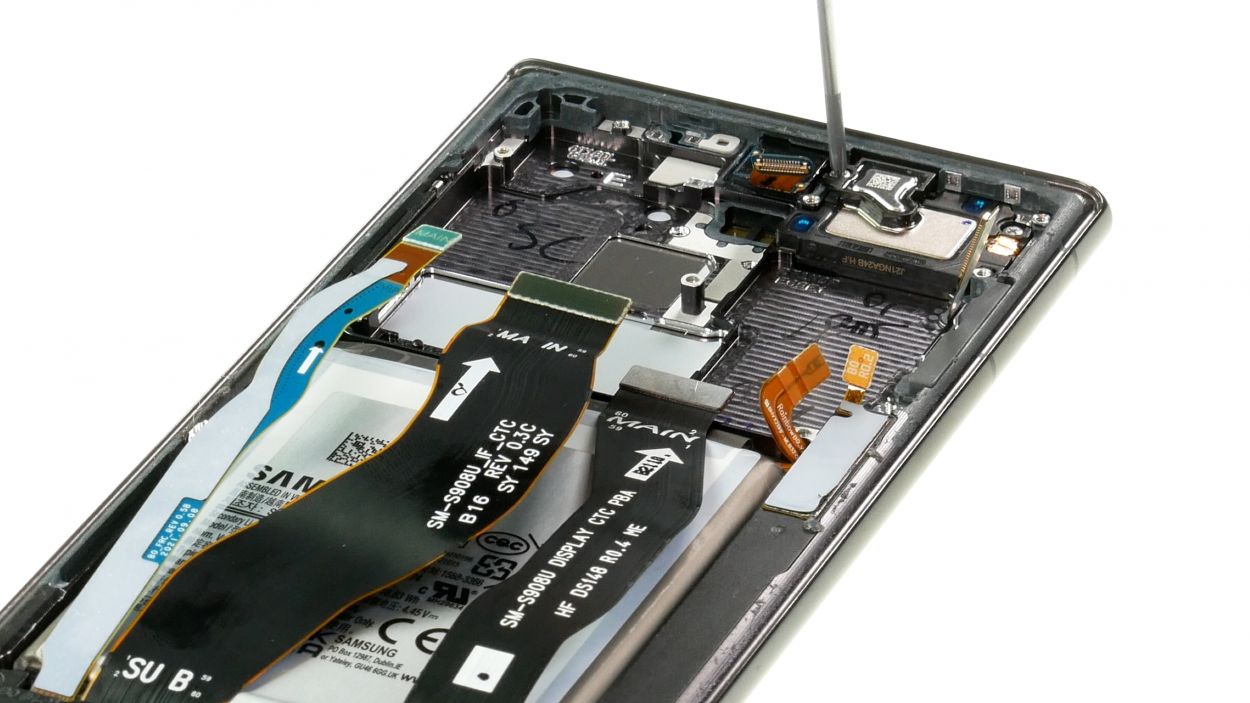
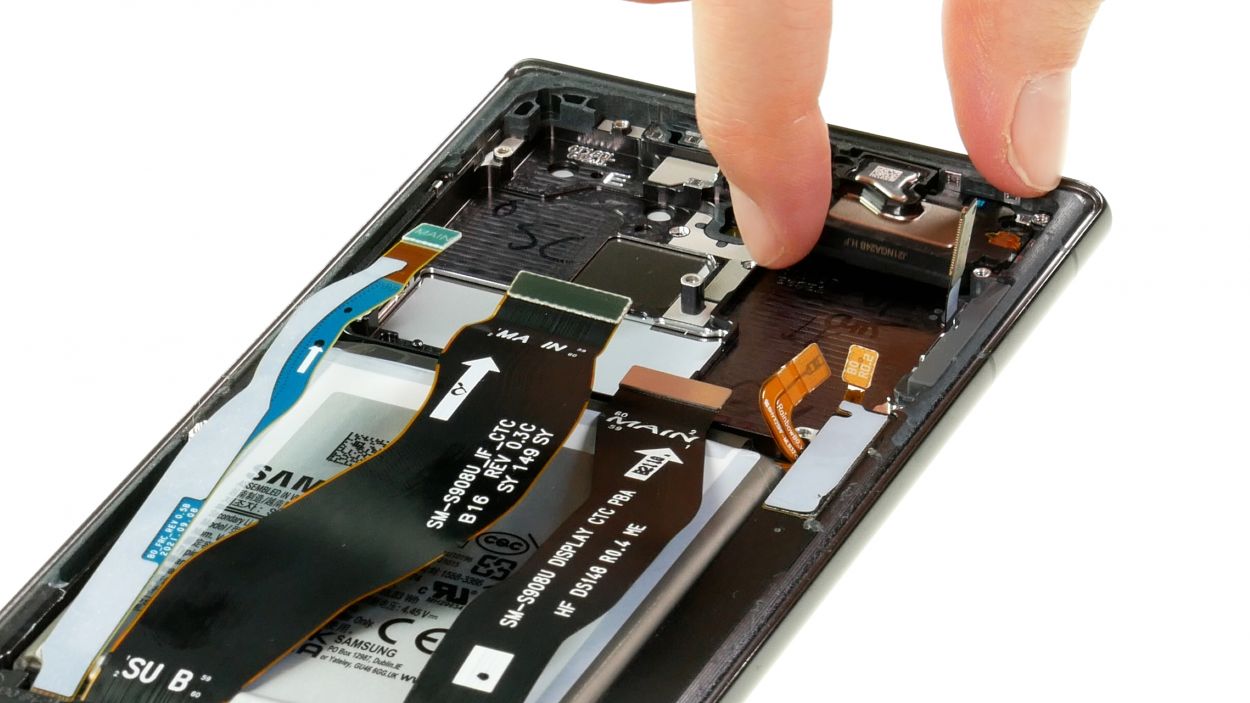
– Unscrew the two Phillips screws that hold the earpiece in the screen unit—easy peasy!
– Once those screws are out, gently lift the earpiece out of your device and set it aside like a pro.
Step 12
2 × 3.0 mm Phillips
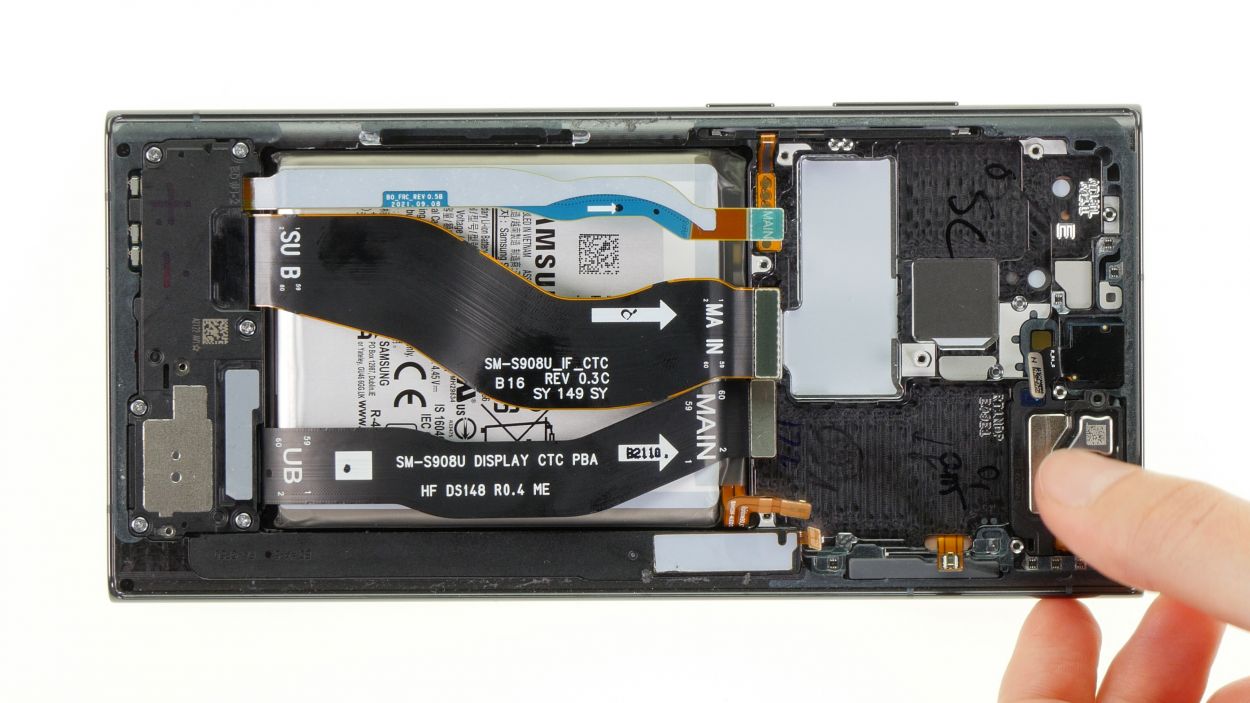
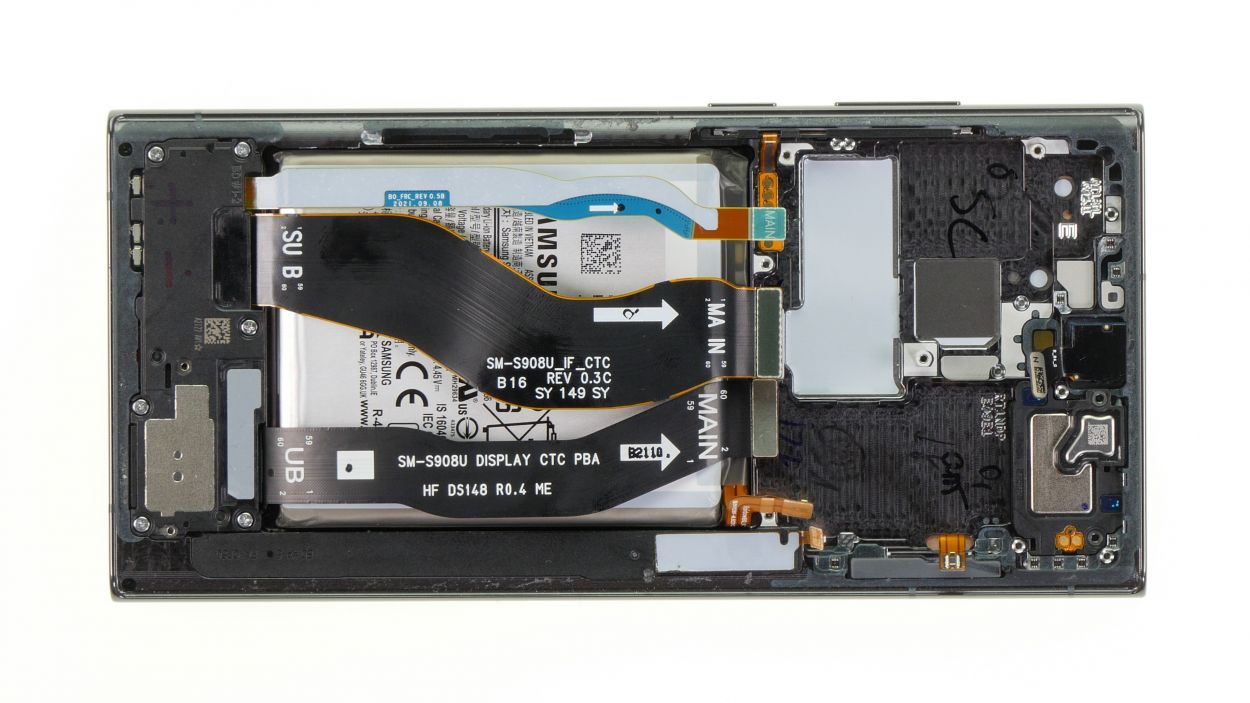
– Pop that shiny new earpiece into the screen unit and secure it with those two Phillips screws—you’re almost there!
Tools Used
Step 13
1 × 3.3 mm Phillips
Remember to be gentle when placing that motherboard back in! Keep an eye on those connectors and flex cables—if they need a little extra room, just hold them aside for a smooth insertion.
– Slide that board back into your device, making sure it’s sitting nice and flat all around.
– Secure it with the lone Phillips screw to keep everything snug.
Tools Used
Step 14
Hey there, tech wizard! Just a little tip: be super gentle when you’re connecting those little plugs. No need to go all Hulk on them! A damaged connector could throw a wrench in the whole operation.
– Reconnect the front camera and S Pen by gently pressing their connectors onto the board. You should hear and feel a satisfying click as they lock into place.
Step 15
3 × 3.3 mm Phillips
Make sure those plastic lugs on the board cover snap into the case frame with a satisfying click! If they’re not making that sound, your motherboard might not be sitting flat. Let’s get it right!
– Pop that board cover back onto the motherboard like a champ!
– Secure it in place with those three Phillips screws—you’re nailing this!
– Gently press the connector back onto the board, making sure it’s snug as a bug!
Tools Used
Step 16
Hey there, repair champ! Just a friendly reminder: connect that battery at the very end of your repair journey to dodge any sneaky short circuits. You’re doing awesome!
– Reconnect that battery by gently pressing its connector onto the motherboard—it’s like giving your device a little hug!
Step 17
5 × 3.3 mm Phillips
– Carefully line up the charging coil over the motherboard, making sure it matches up with those screw holes in the metal cover.
– Give that glued end a firm press to make sure it sticks.
– Secure everything in place by tightening the five Phillips screws. You’re doing great!
Tools Used
Step 18
– Reconnect the NFC antenna and charging coil by carefully pressing their connectors onto the motherboard. Take your time—you’re doing fantastic!
Step 19
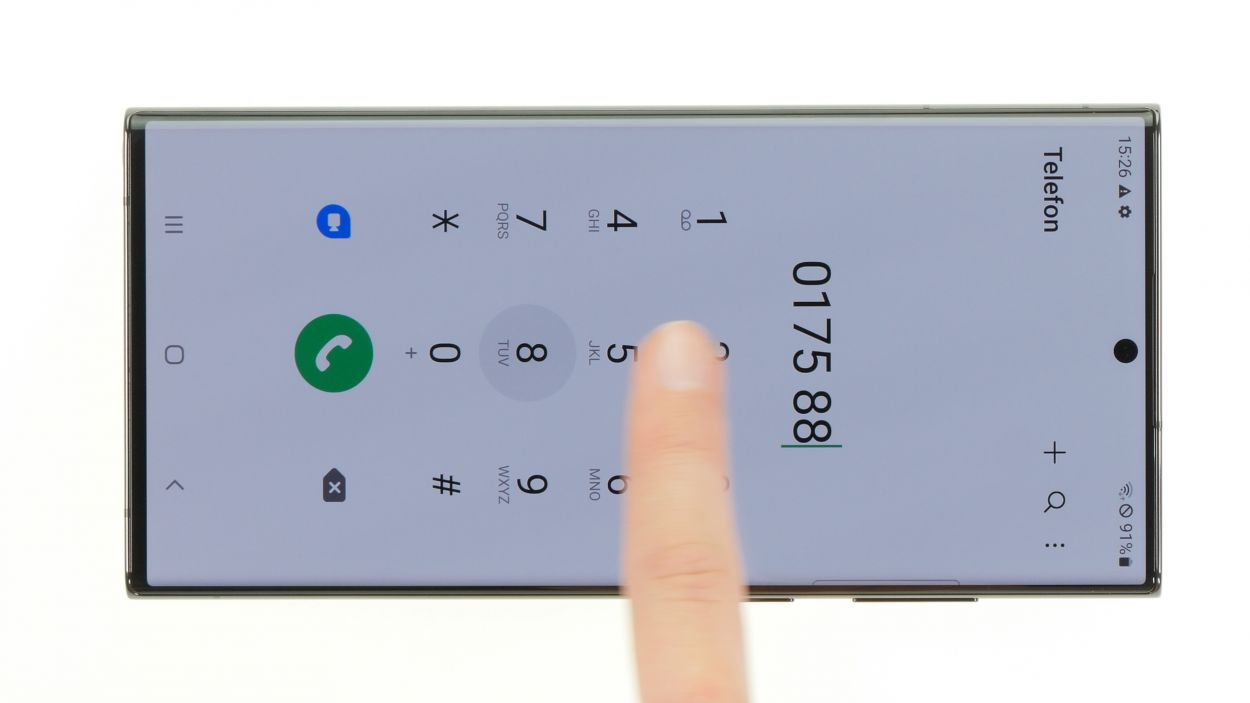
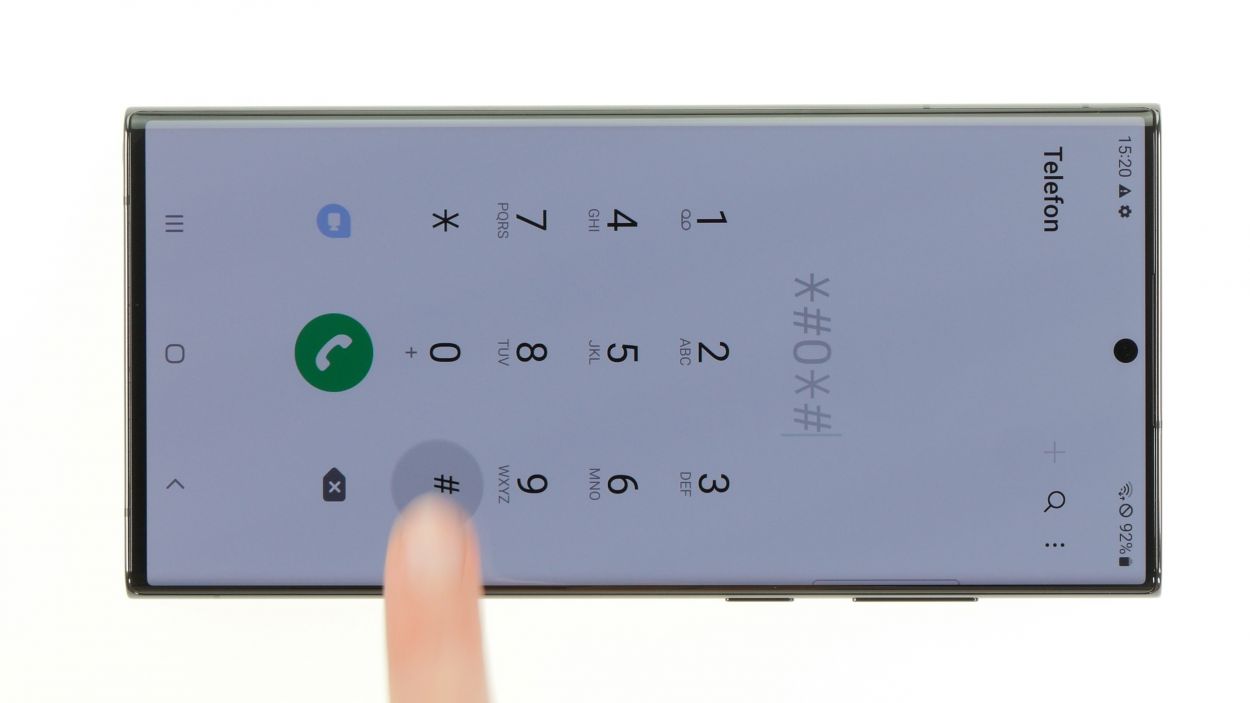
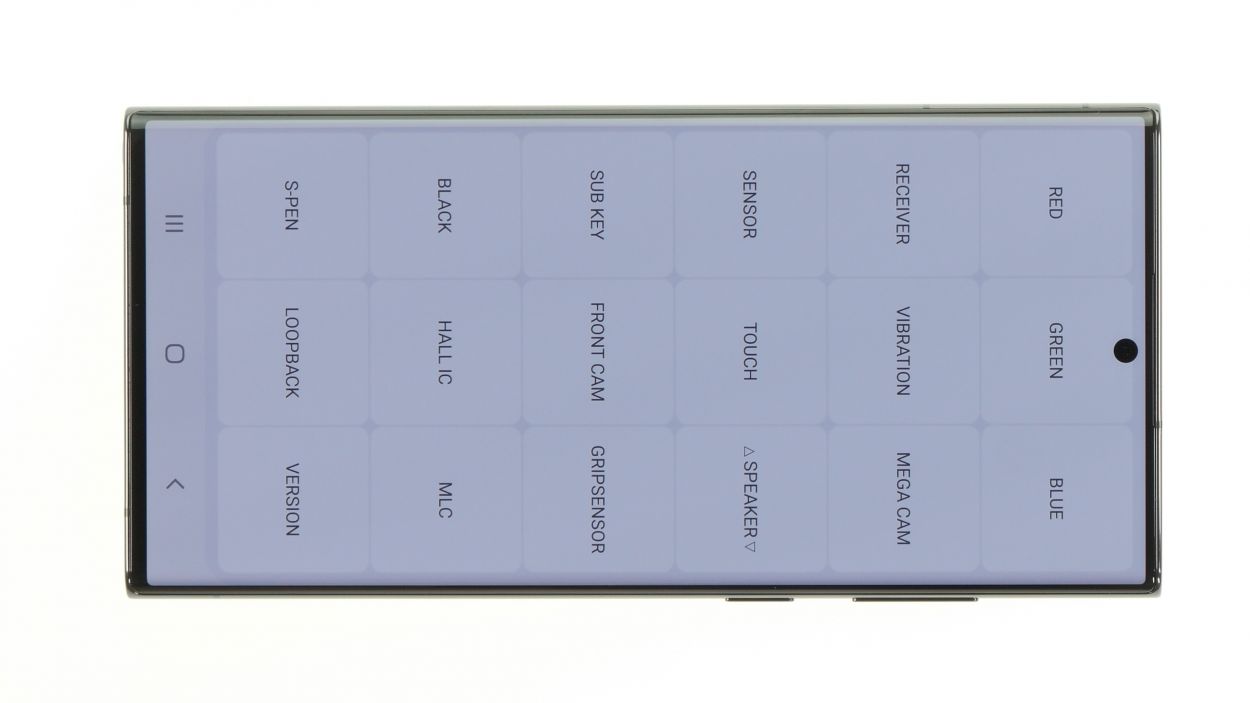
Now’s the perfect time to give that new earpiece a whirl along with all the other basic functions! Don’t forget to check off everything on our handy checklist and dive into the internal Samsung test menu by dialing *#0*#. You’re on the right track!
– Fire up your Galaxy once more and let the magic happen!
– Give someone a ring to test out that brand-new earpiece and make sure it’s working like a charm!
Step 20
– Get that new adhesive frame lined up with the back cover—those cutouts in the film are your guiding stars!
– Peel away the carrier film from the bottom of the adhesive frame and give it a good press onto the edge of the back cover.
– Now, with a gentle touch, remove the last protective film from the top of the adhesive frame. You’re almost there!
Tools Used
Step 21
To make sure that glue sticks like it should, give the edge of the back cover another round of hot air. And hey, if you want to keep it in place, feel free to pile on some books for a few minutes. Your device will thank you!
– Wrap up your Galaxy S22 Ultra’s repair by gently pressing that back cover snugly against the screen unit. You’ve got this!
Tools Used
- heat gun to heat parts that are glued on so they’re easier to remove.
In most cases, you can also use a hairdryer.” rel=”noopener nofollow”>Heat gun

