DIY Guide to Replace Galaxy S7 Edge Back Cover
Duration: 15 min.
Steps: 3 Steps
Let’s give your Galaxy S7 Edge’s back cover a stylish upgrade! This guide shows you how to replace a cracked or broken back, or just switch things up for a fresh look. Ready to get your phone looking spiffy again? Let’s do it!
Step 1

– First things first, let’s power down your device! Just press and hold that power button until you see the ‘Power off’ option pop up.
– Now, give it a tap with your finger to confirm you want to shut down your Galaxy S7 Edge. Sit tight and wait for the screen to go dark—you’re almost there!
Step 2

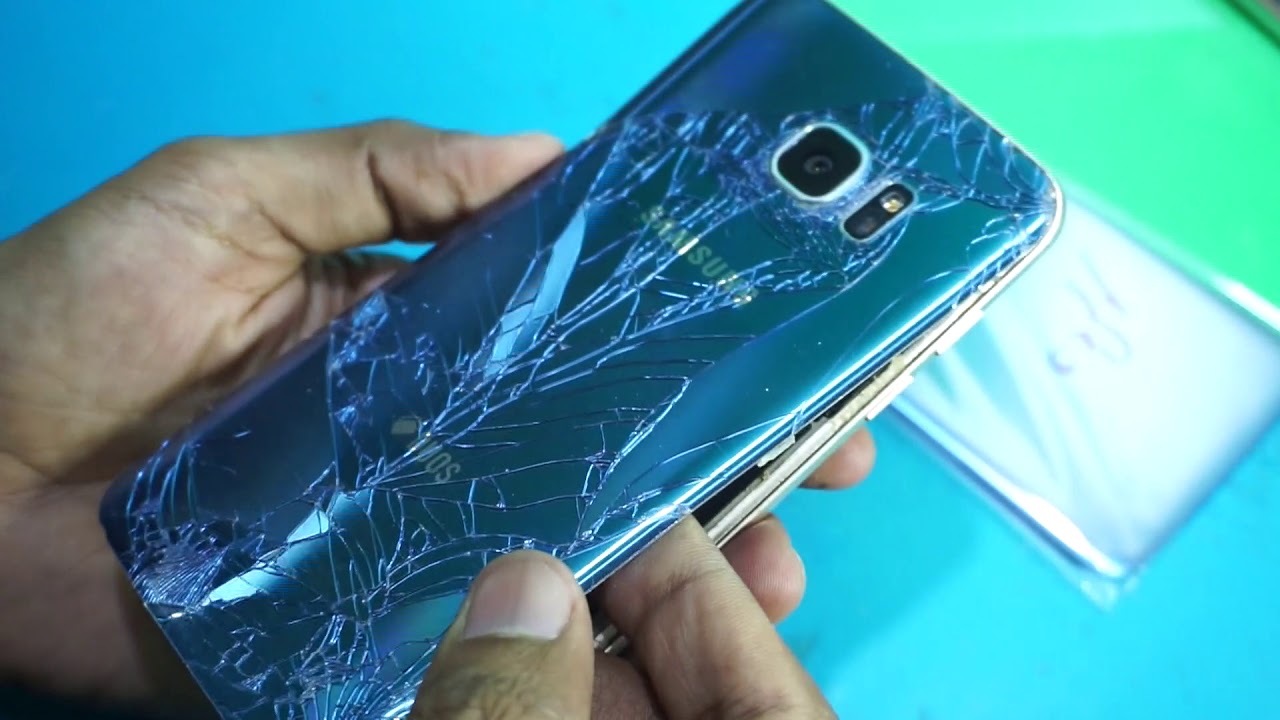
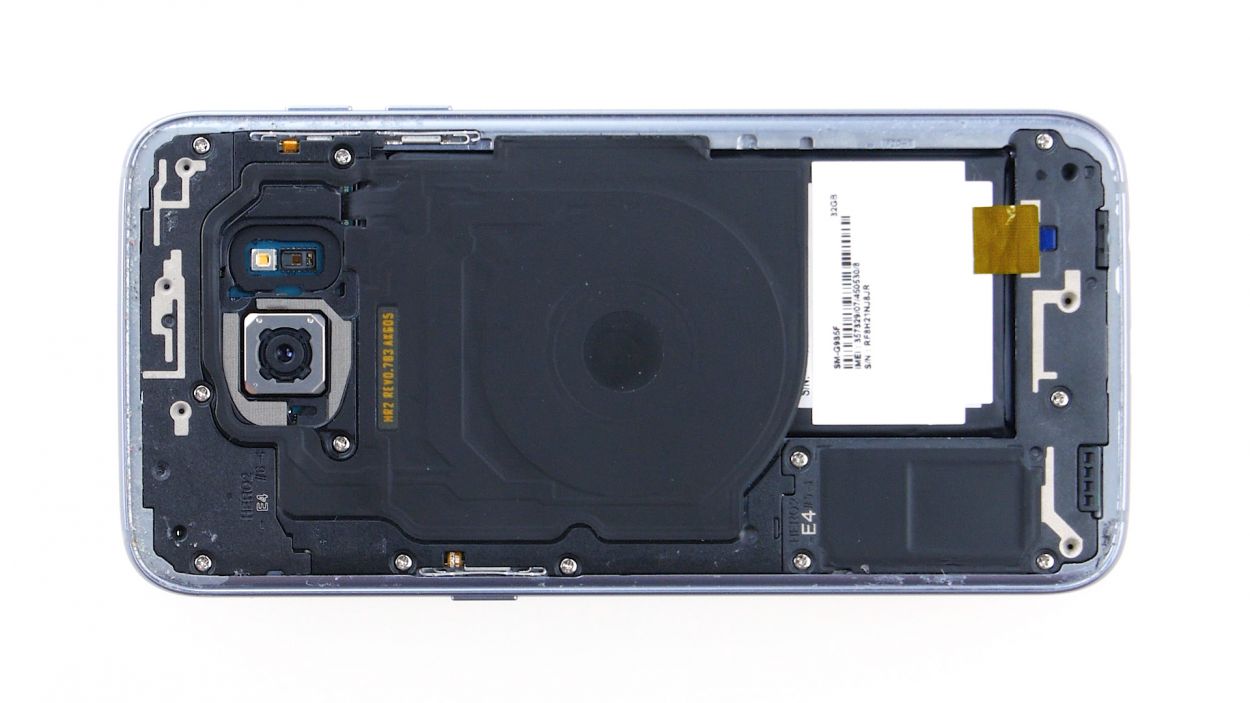
The back cover has a stylish coat on the inside! Gently remove any sticky leftovers, and be careful not to add any new scratches or cracks while you’re at it.
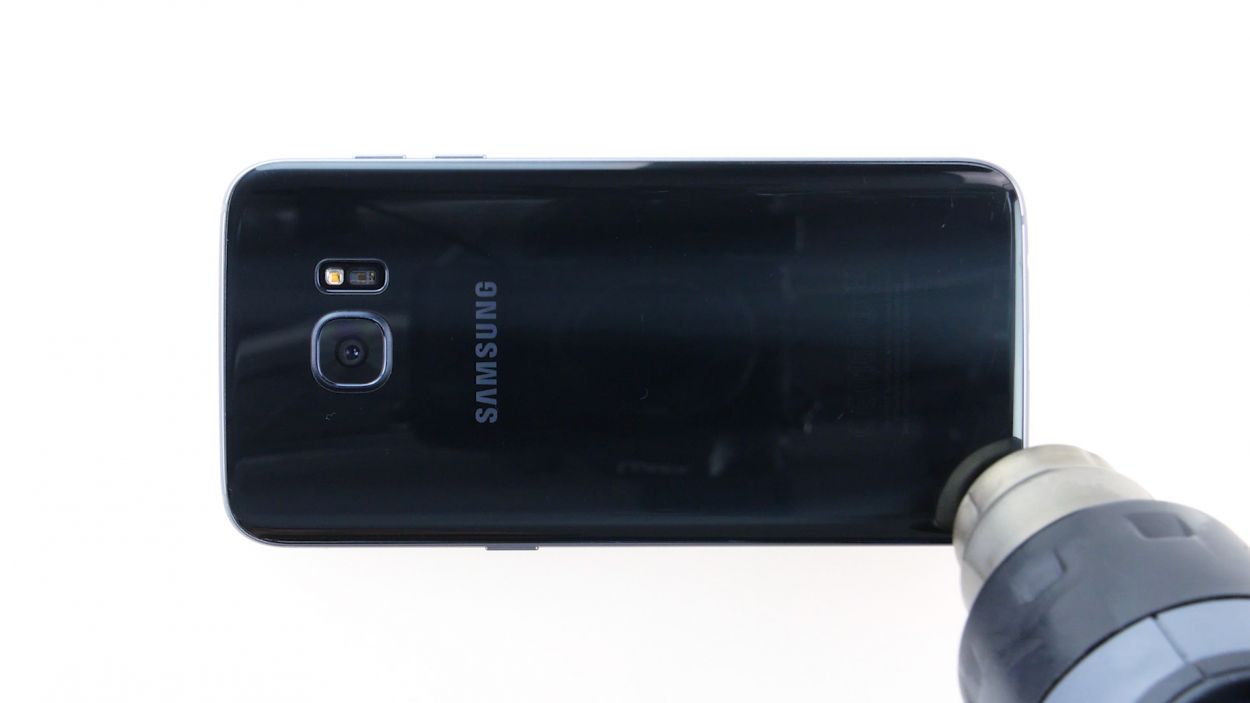
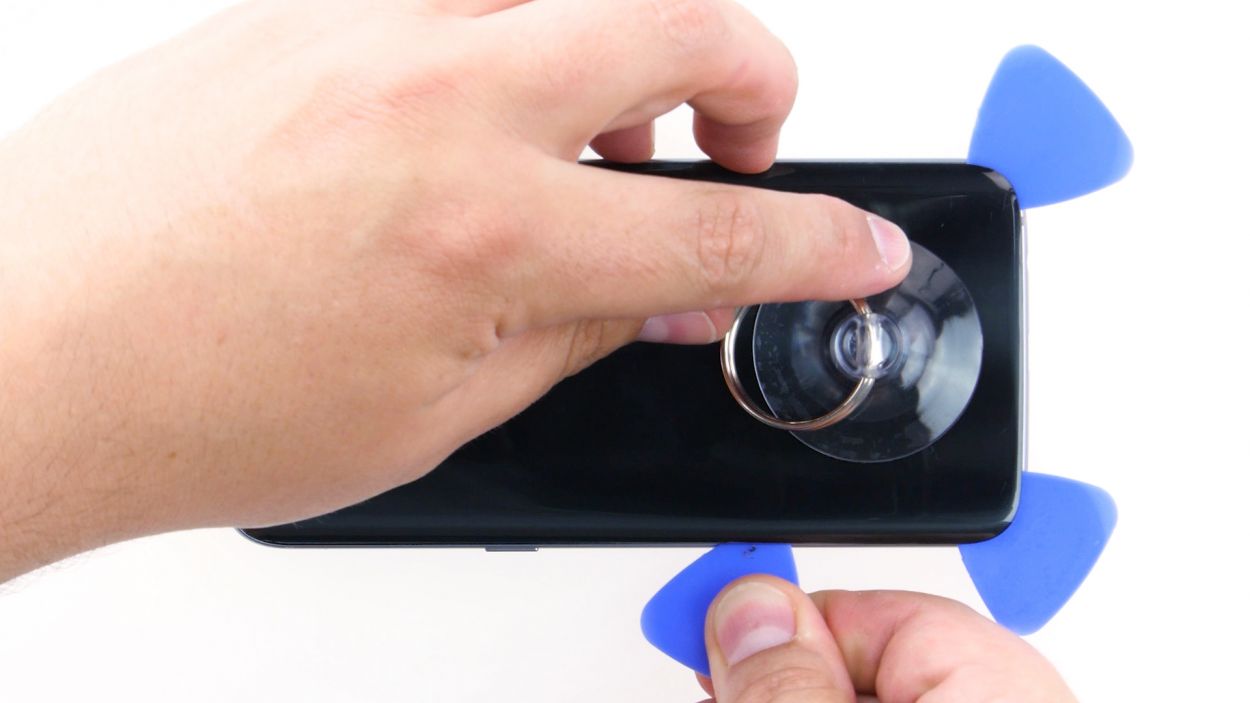
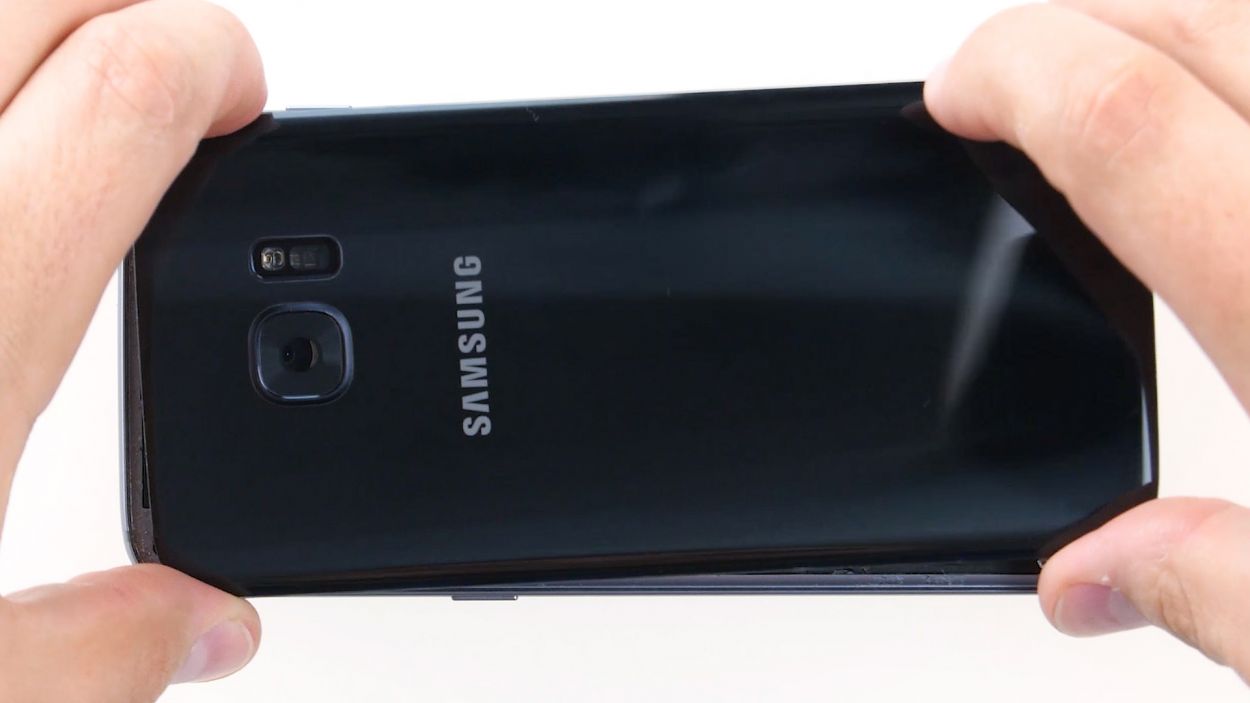
– The back cover is stuck to the chassis with some serious glue action. Grab a suction cup and give it a gentle pull. A pick can help you push against the frame too. A little hot air before you start will make the glue much more cooperative!
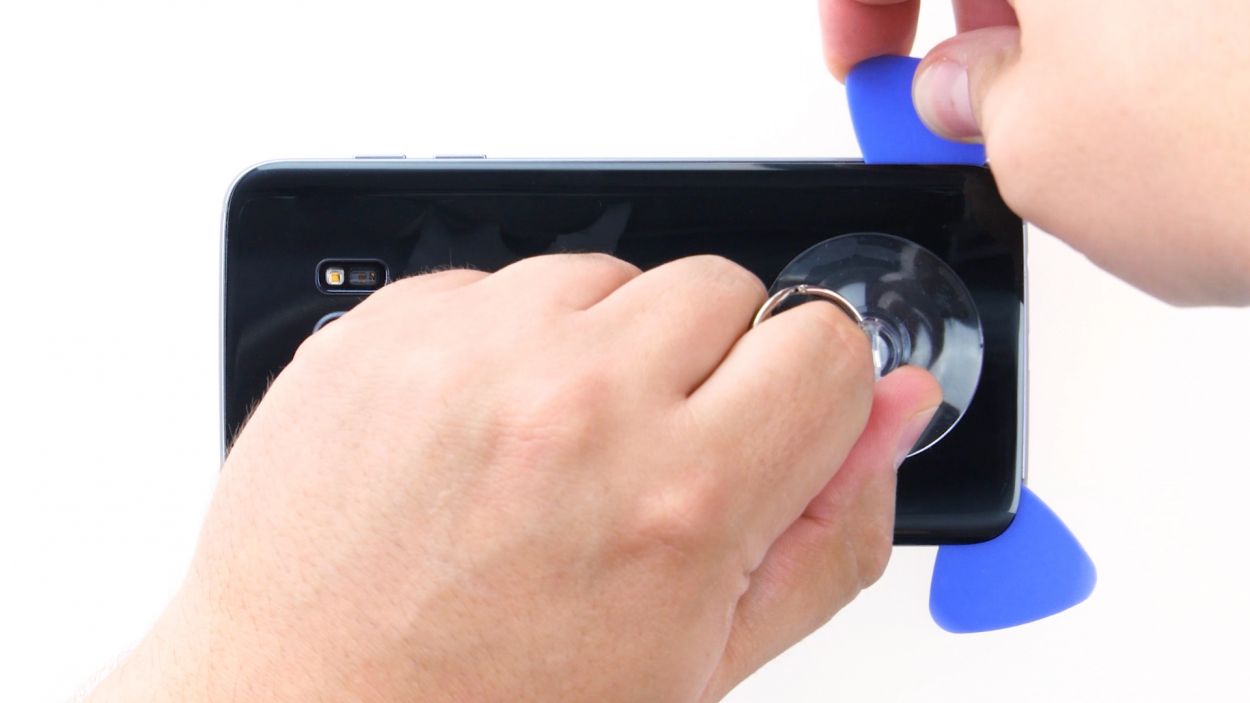
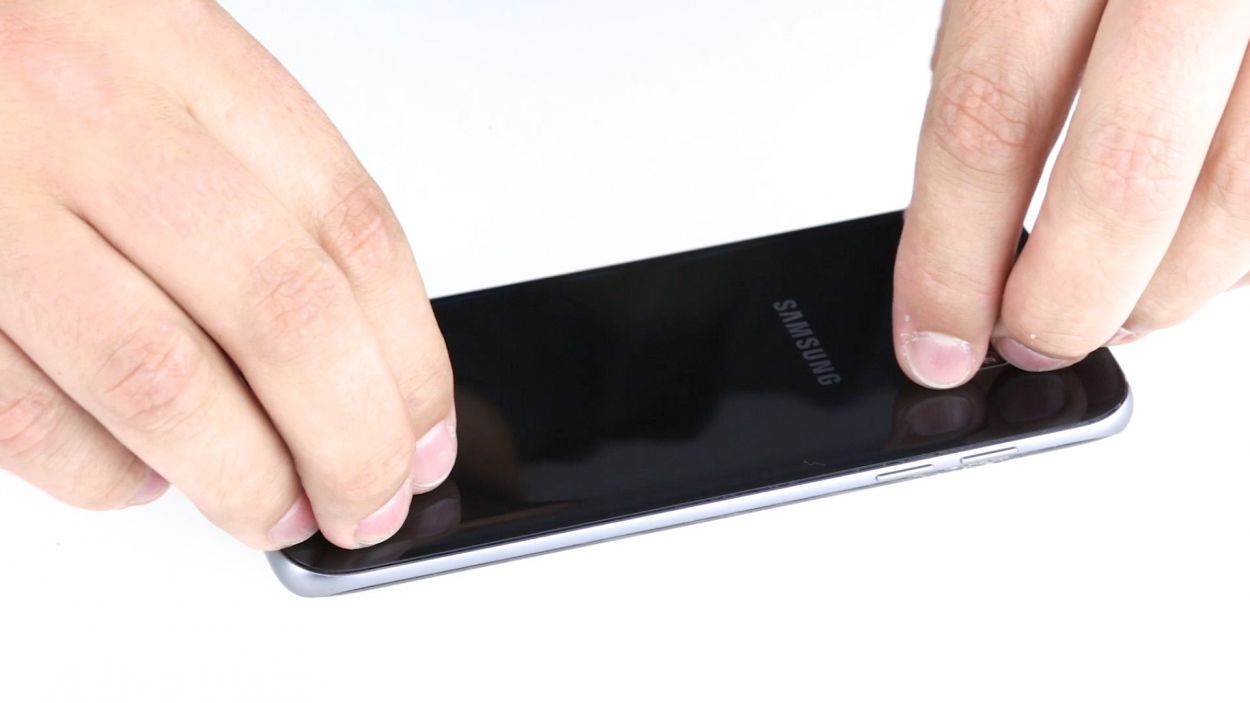
– Once you see a gap forming between the back cover and the chassis, slide that pick in there! Just a heads up, the inside of the back cover is painted, so be super careful when removing any leftover adhesive to keep it looking sharp.
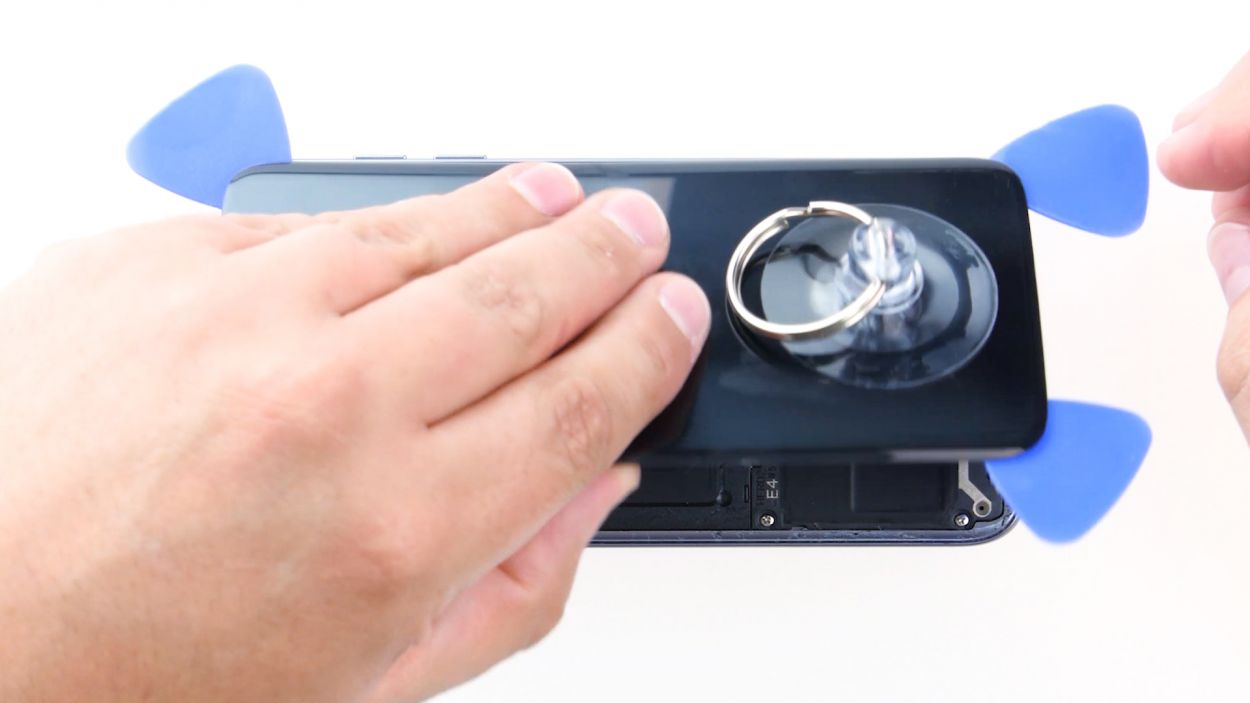
– Keep using those picks to work your way around and free up all the corners, one at a time. You’ve got this!
– As soon as all the glue gives up the fight, go ahead and remove the back cover. You’re almost there!
Tools Used
- heat gun to heat parts that are glued on so they’re easier to remove.
In most cases, you can also use a hairdryer.” rel=”noopener”>Heat gun - Flat Picks
- VAKUPLASTIC Suction Cup
Step 3
– Carefully place the back cover back where it belongs.
– Give the back cover a good press all around to help the glue do its job.
– If you want to give it a little extra love, warm up your device with some hot air and then weigh it down with a couple of books to help the glue stick even better.