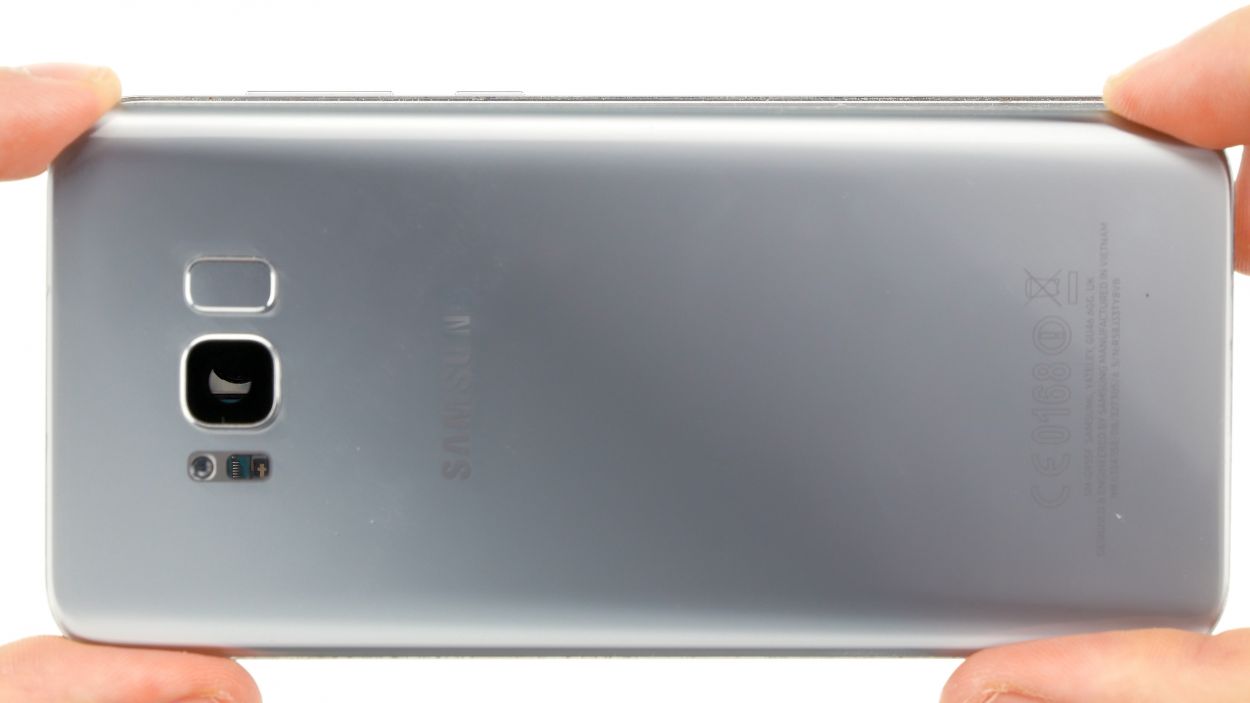
DIY Guide to Replace Galaxy S8 Plus Speaker
Duration: 30 min.
Steps: 10 Steps
Ready to tackle your Galaxy S8 Plus’ speaker issue? This guide will walk you through replacing that faulty speaker like a pro! If your music’s turned into a whisper or your ringtone’s gone silent when calls come in, it’s time to get hands-on. And remember, if you ever feel stuck, just schedule a repair for some expert help!
Step 1
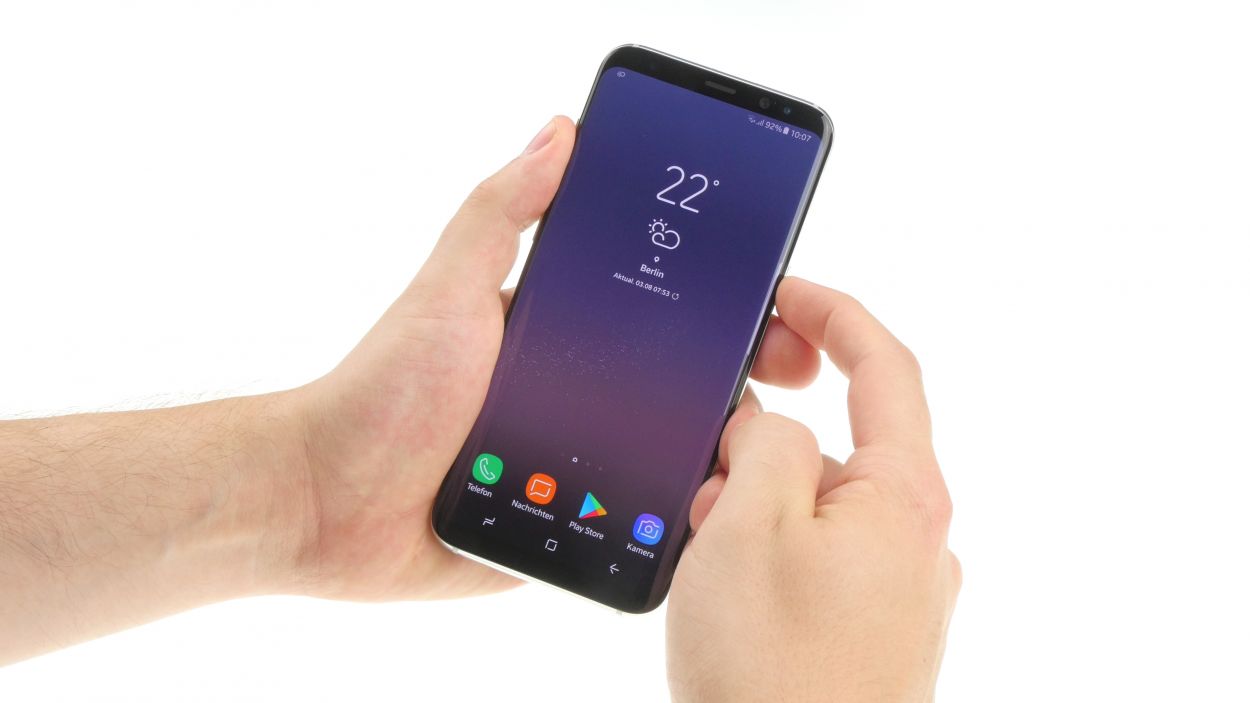

– Power down your device! Hold that power button until “Power off” shows up.
– Tap to confirm shutdown and wait for the screen to go dark. Easy peasy!
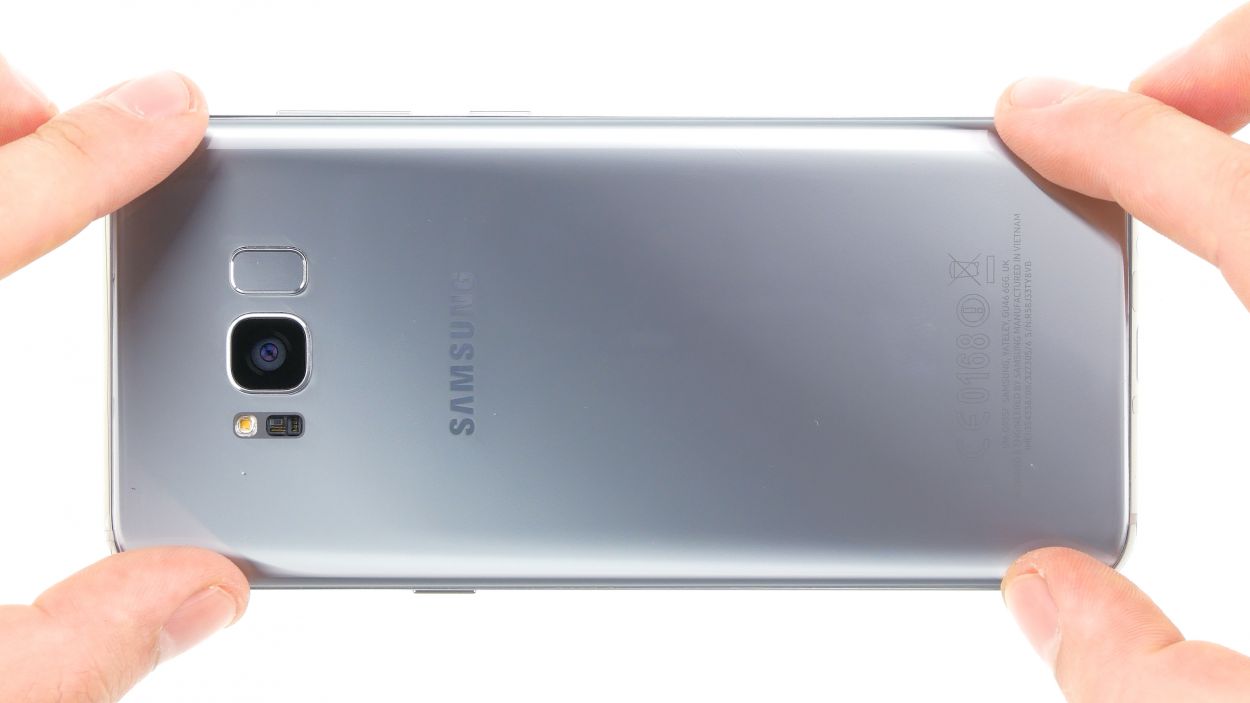
Step 2

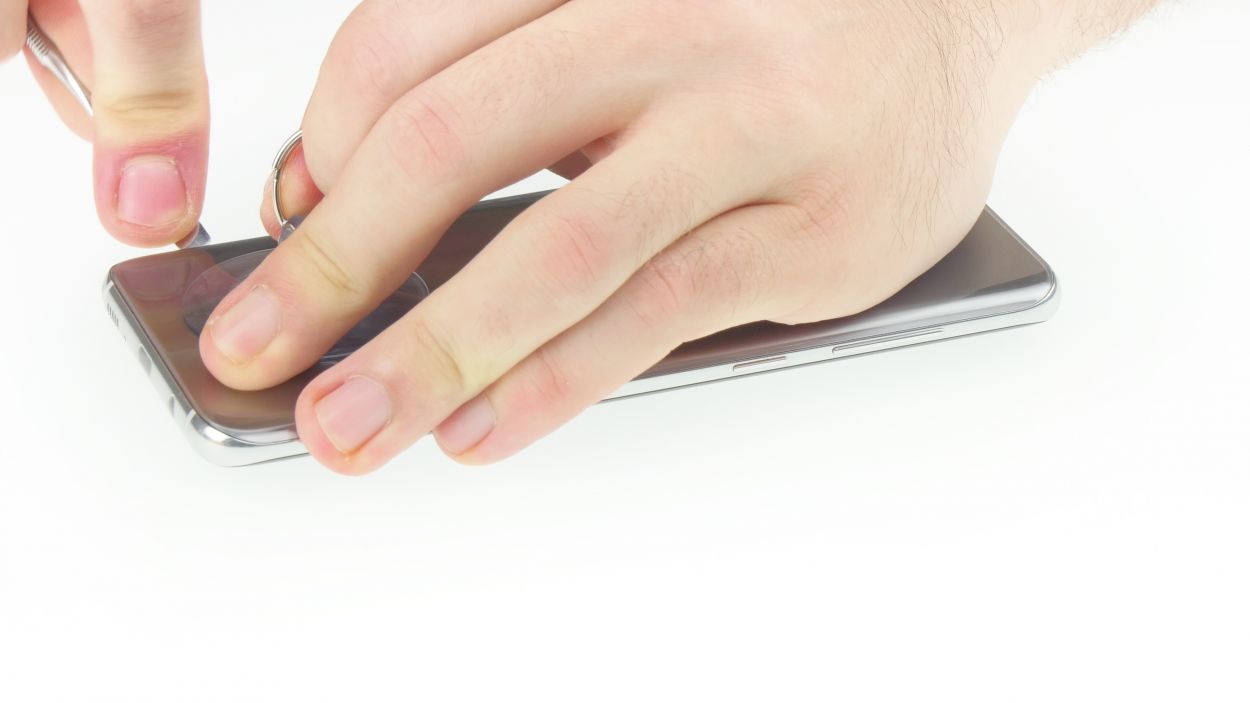
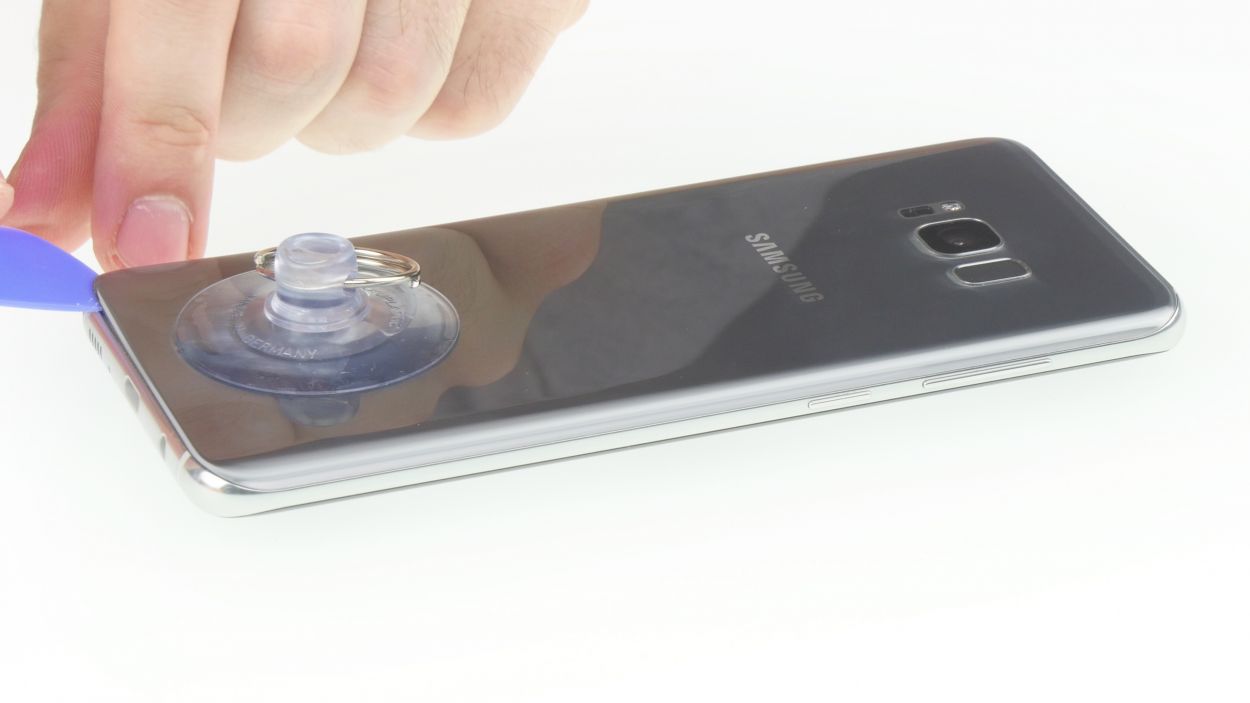
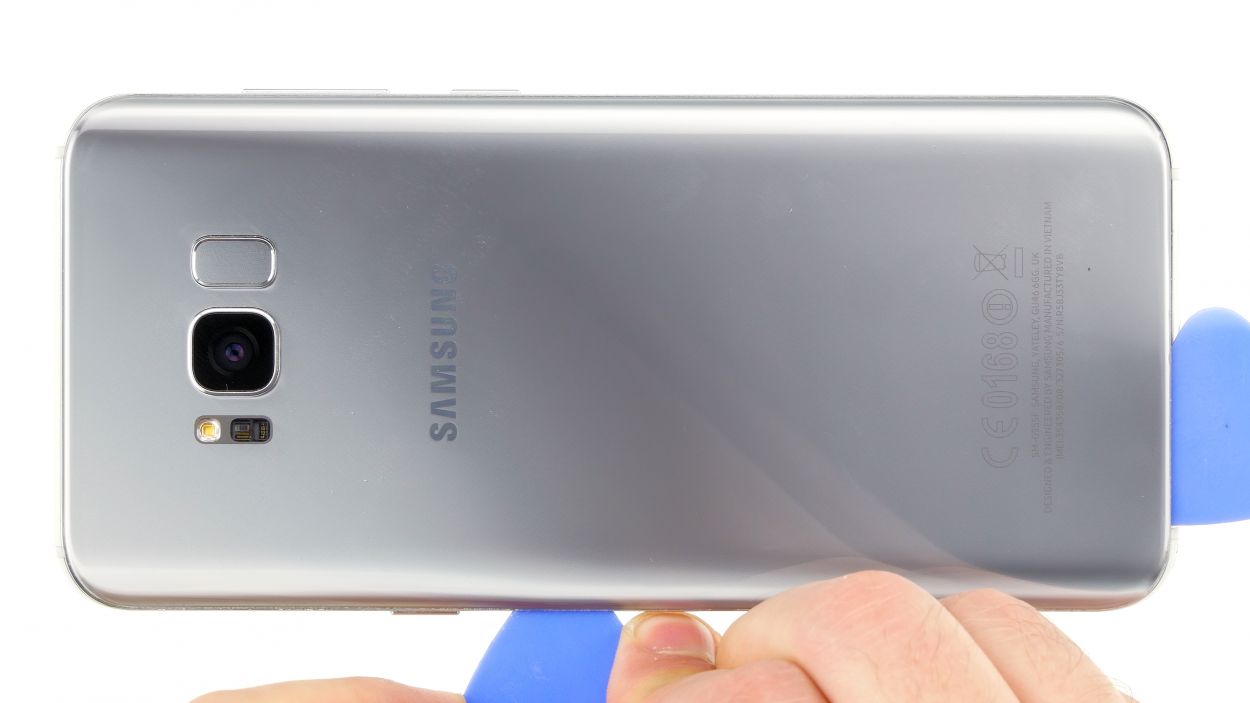

This step might take a little while, so hang tight! You might need to warm up that rear glass or the glue a few extra times before it finally decides to let go.
If you’re having trouble finding a spot to slide in your tool, grab a suction cup and give that glass a gentle lift. You’ve got this!
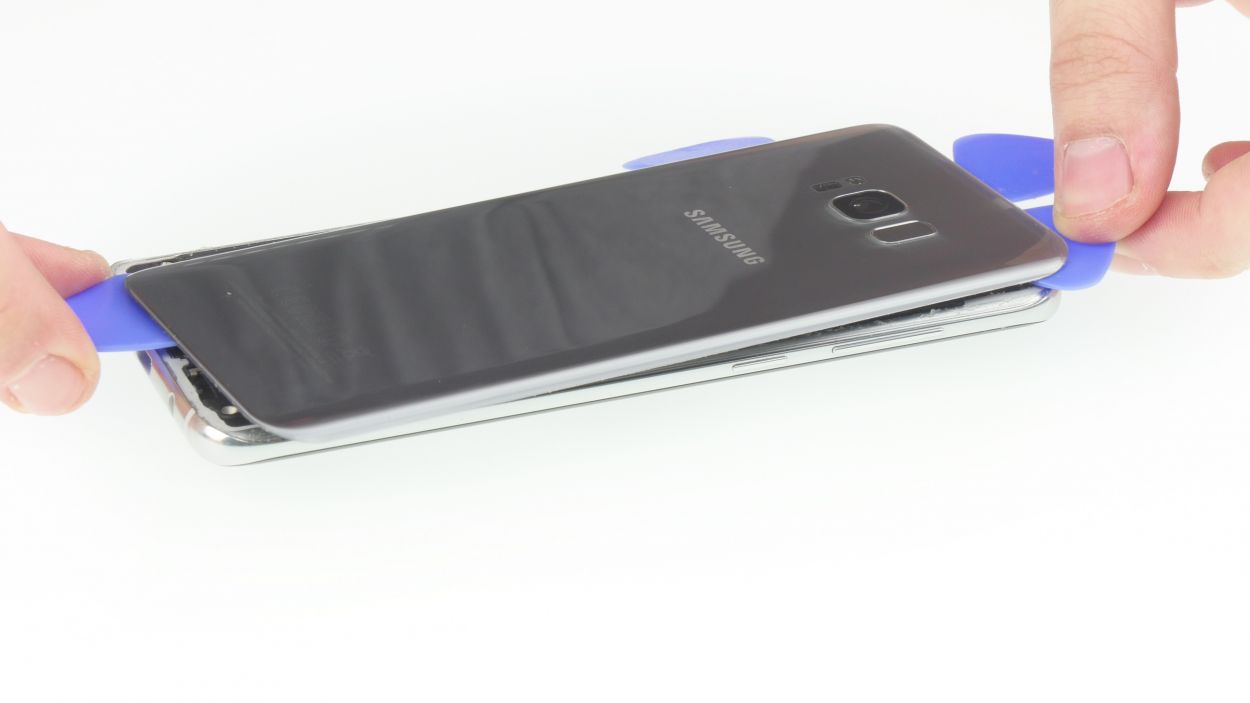
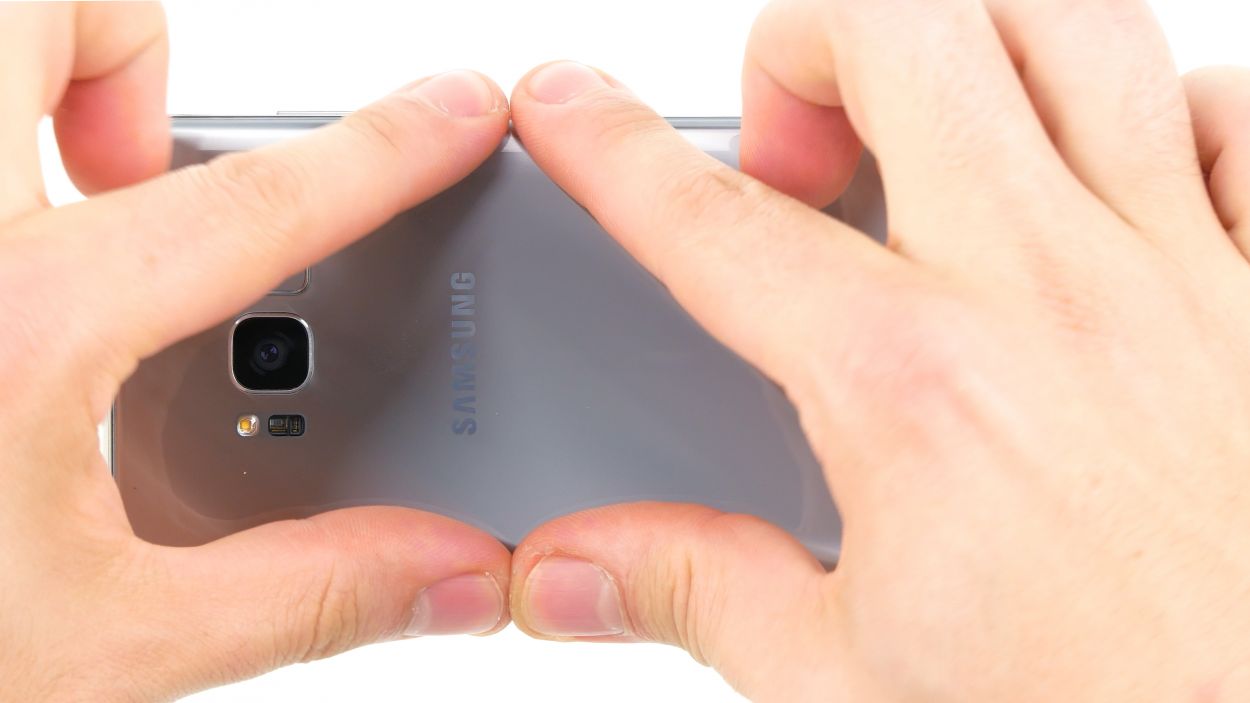
– The back cover is really stuck on there! Give your device a warm hug with some hot air to loosen up that stubborn glue.
– Once it’s feeling a bit more relaxed, gently try to lift the rear glass using a flat, blunt tool. Look for a spot that’s already a little loose to start your adventure. Then, take it step by step as you work your way around the device.
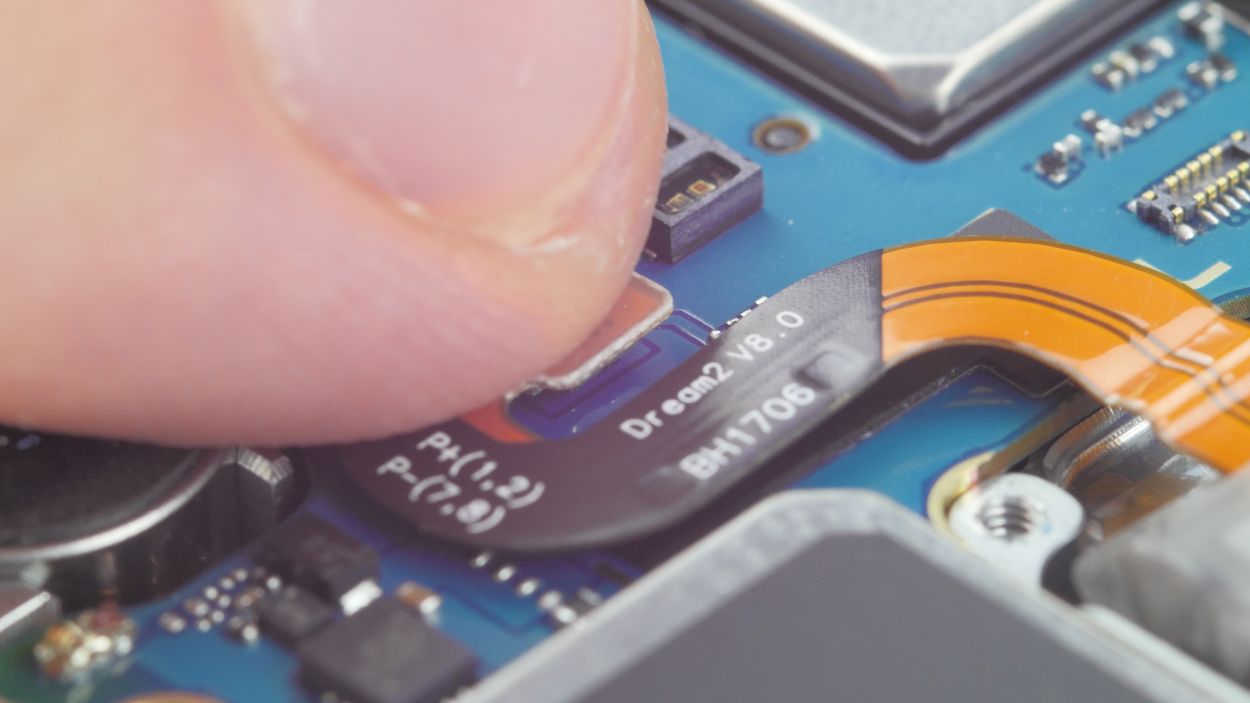
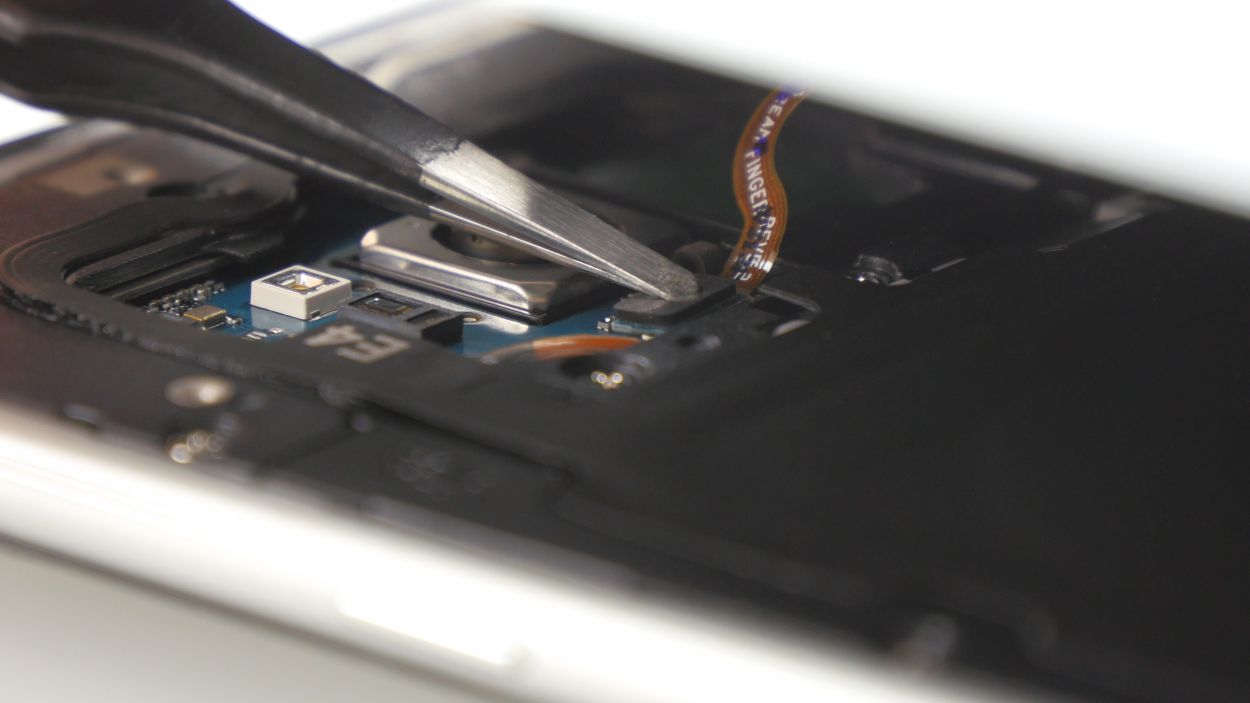
Step 3
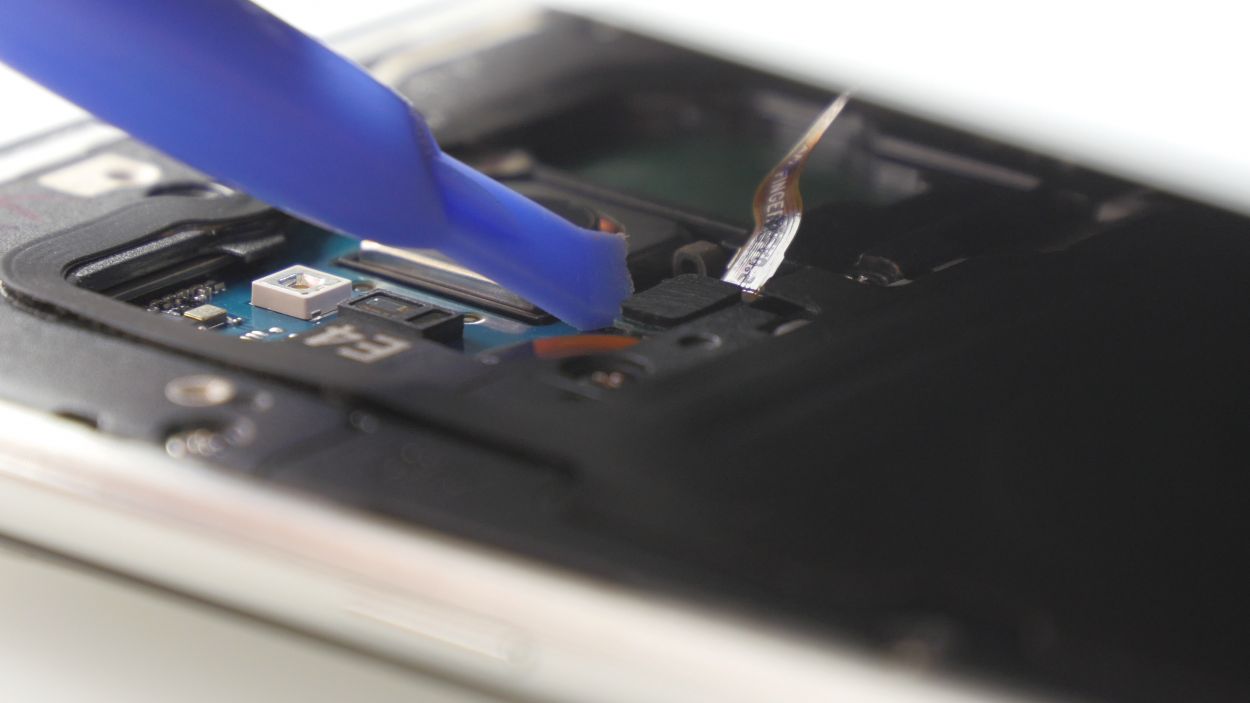
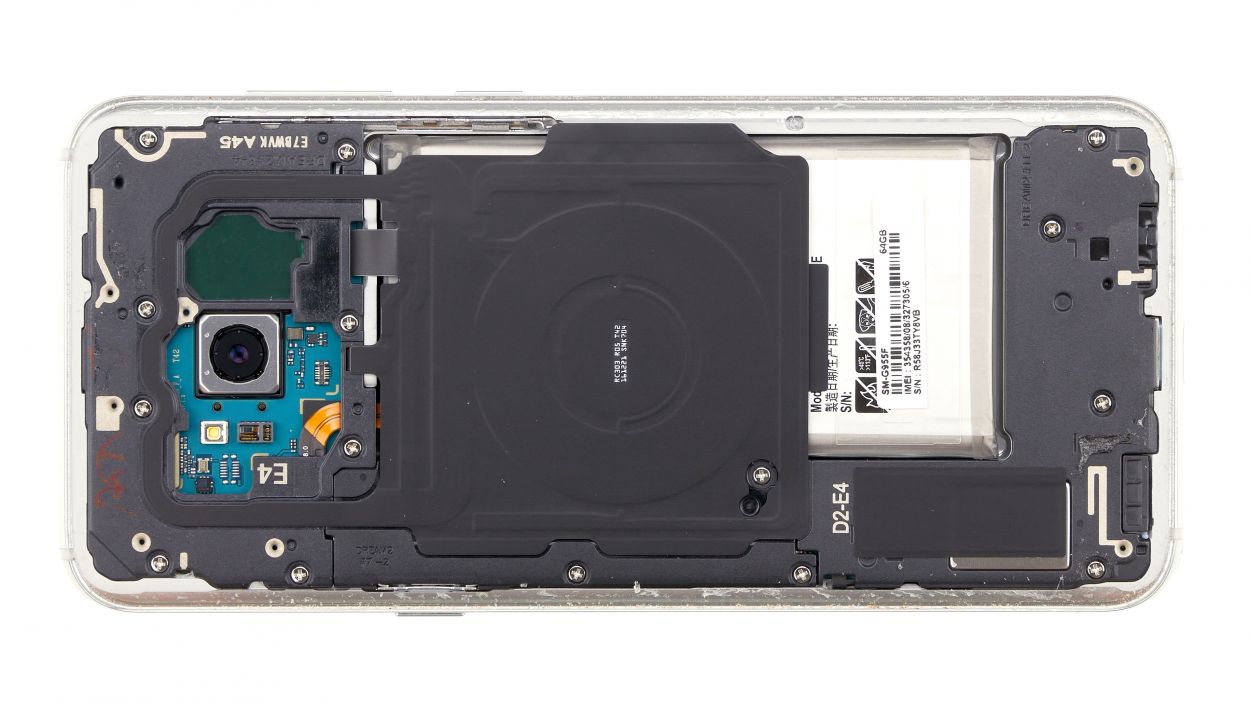
– Once you’ve popped off the back cover, gently lift it up and use your trusty spudger to disconnect the fingerprint sensor.
– Now, go ahead and fully remove the back cover and place it somewhere safe for later.
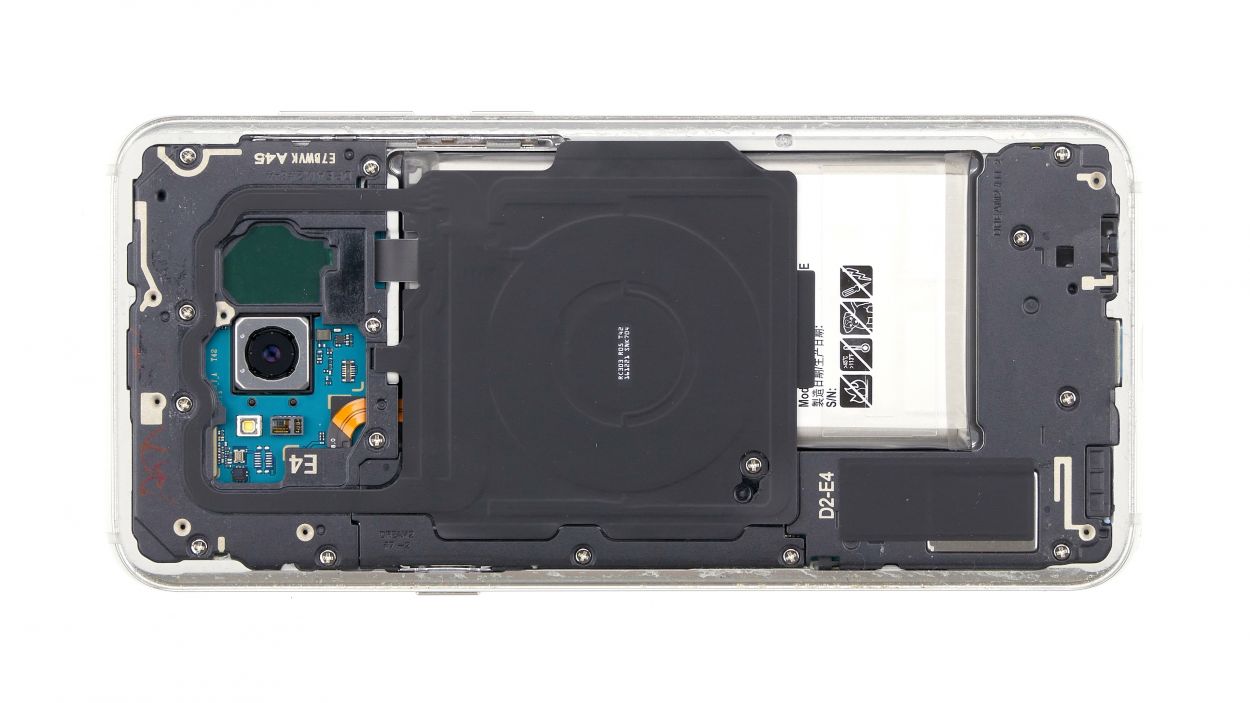
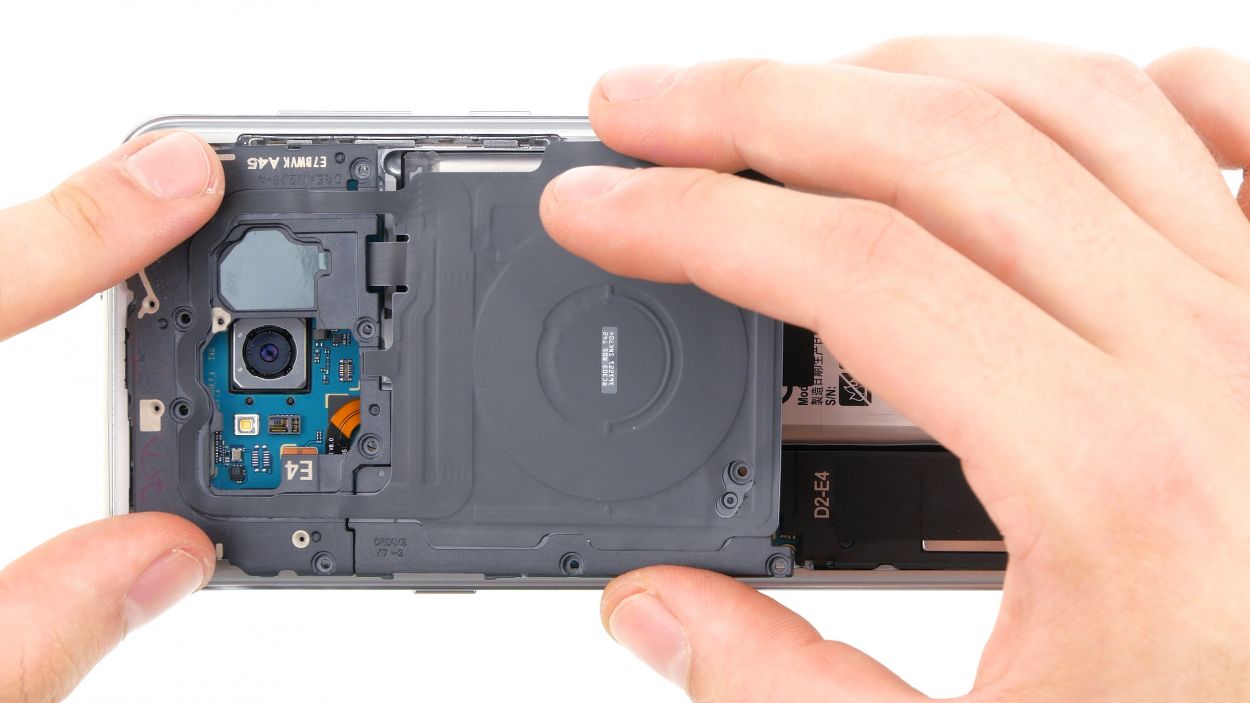
Step 4

11 × 3,8 mm Phillips Schraube
– First things first, let’s tackle those screws holding the upper cover snugly to the display. Time to unscrew!
– Next up, the cover is playing hard to get, but don’t worry! Just slide a flat tool under the latches and pop them loose.
– And now, it’s time to say goodbye to the antenna. Gently remove it and keep moving forward!
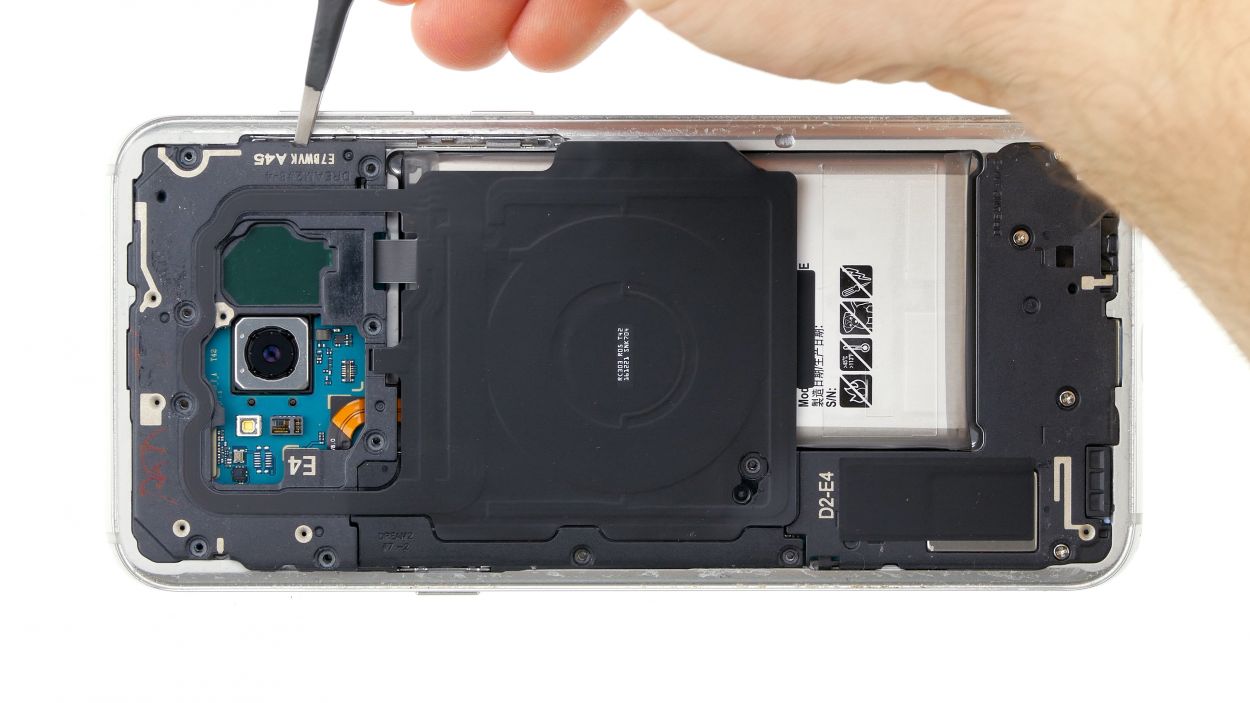
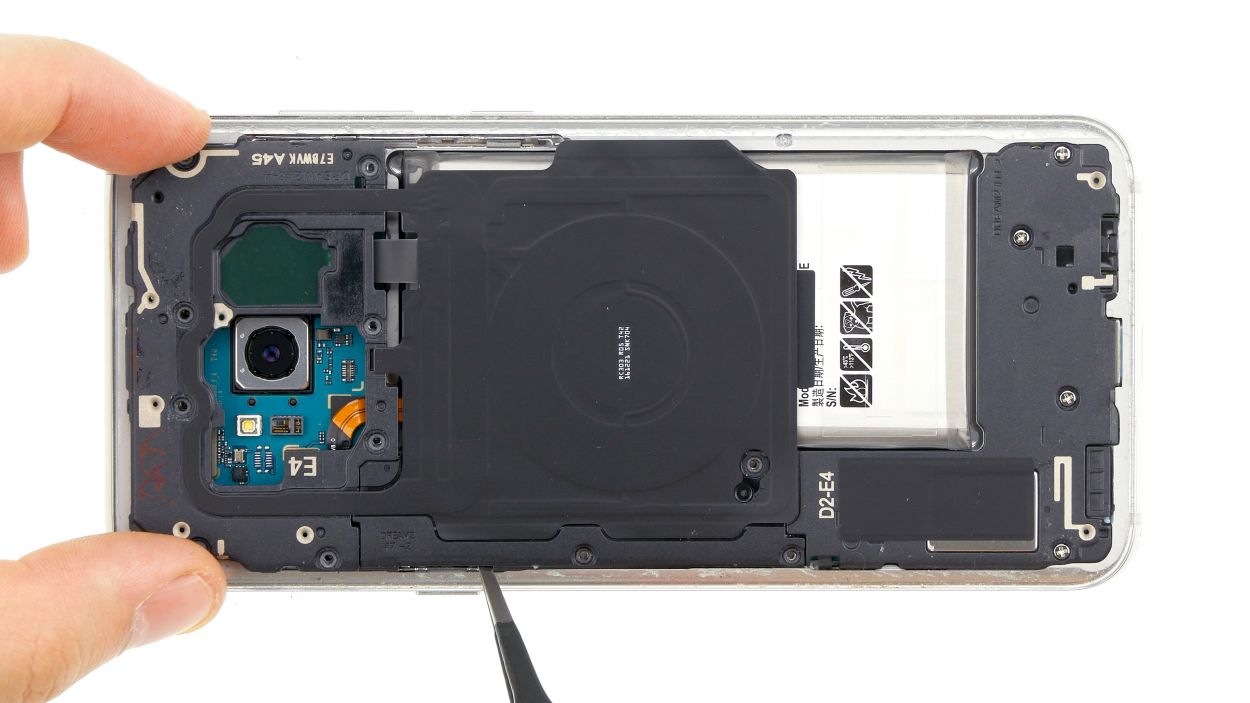
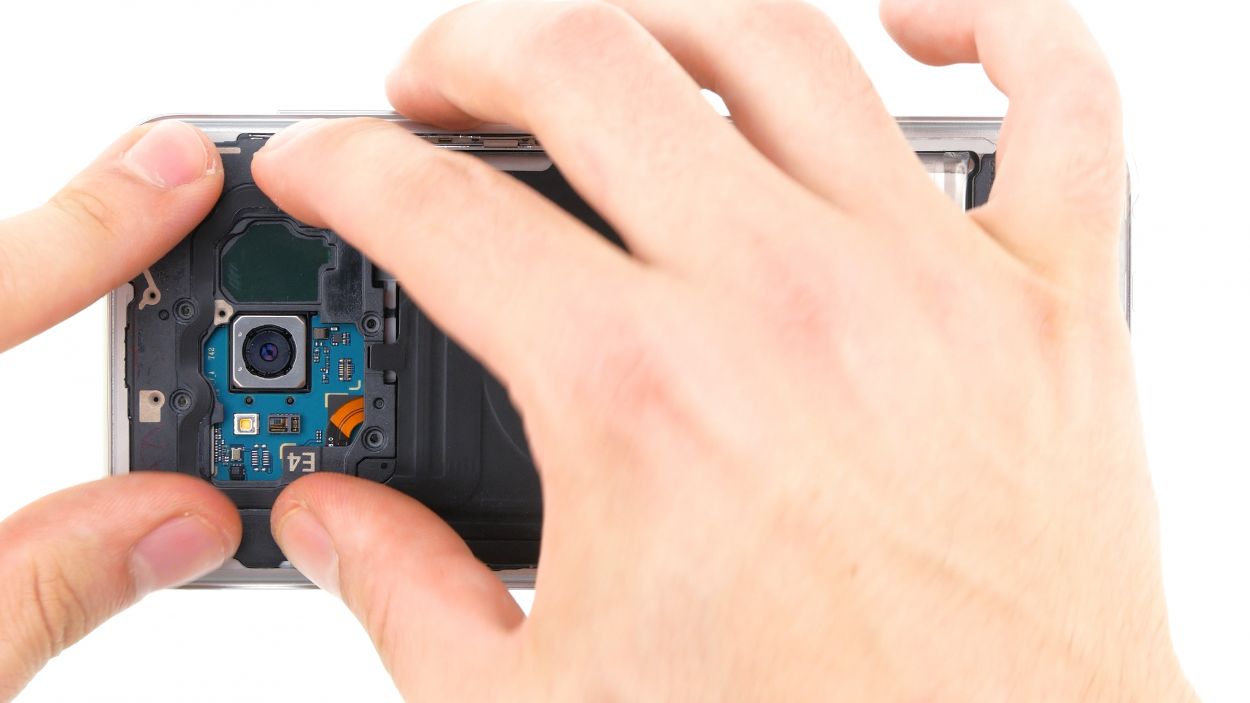
Step 5
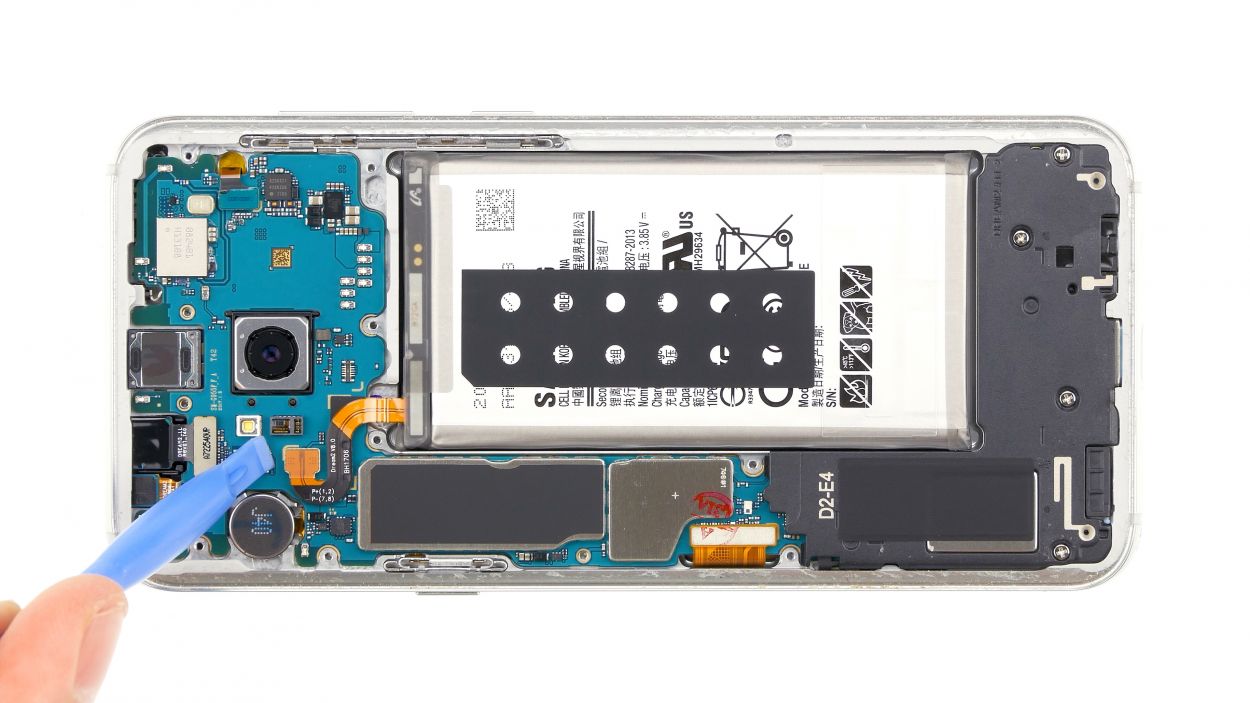

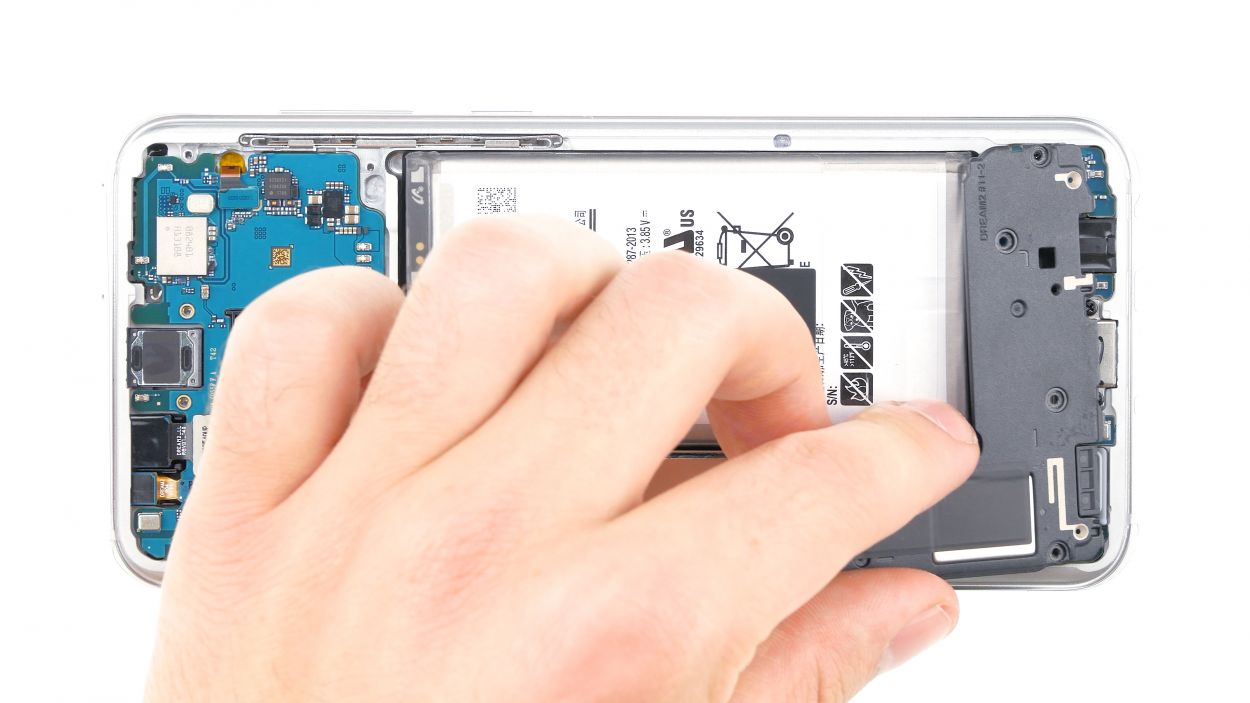
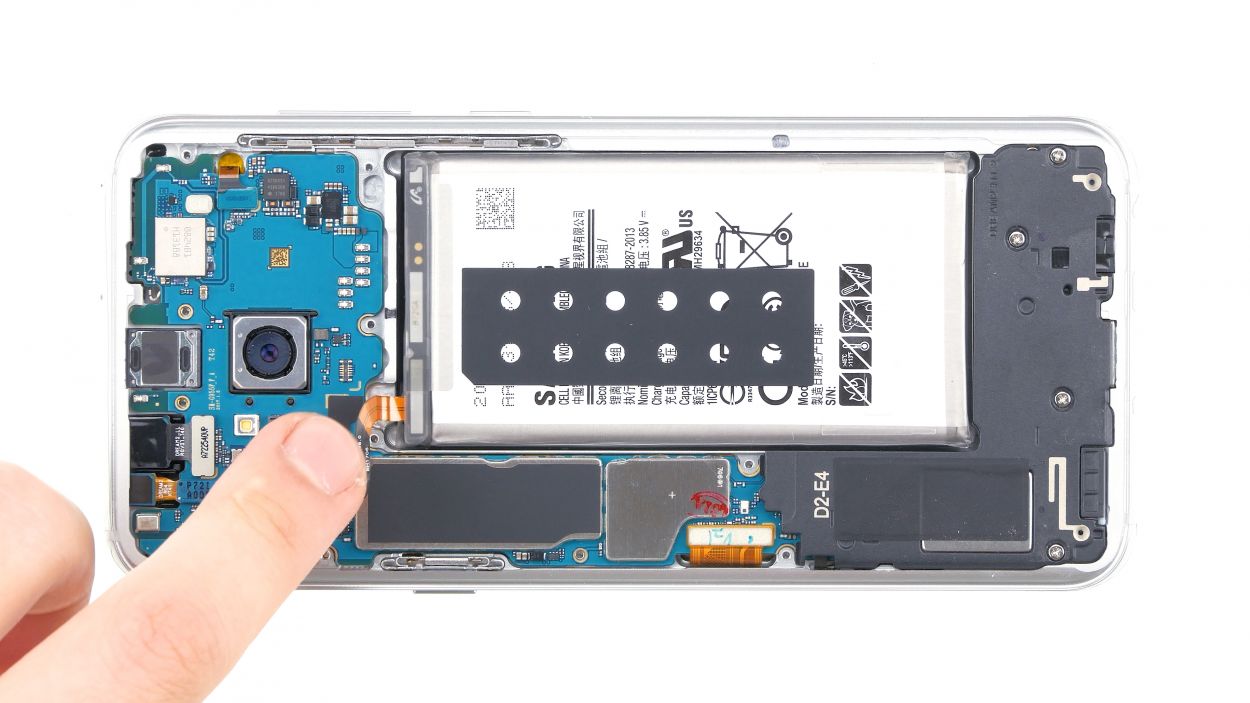
– Grab your trusty spudger and gently detach the battery connector from the motherboard. You’ve got this!

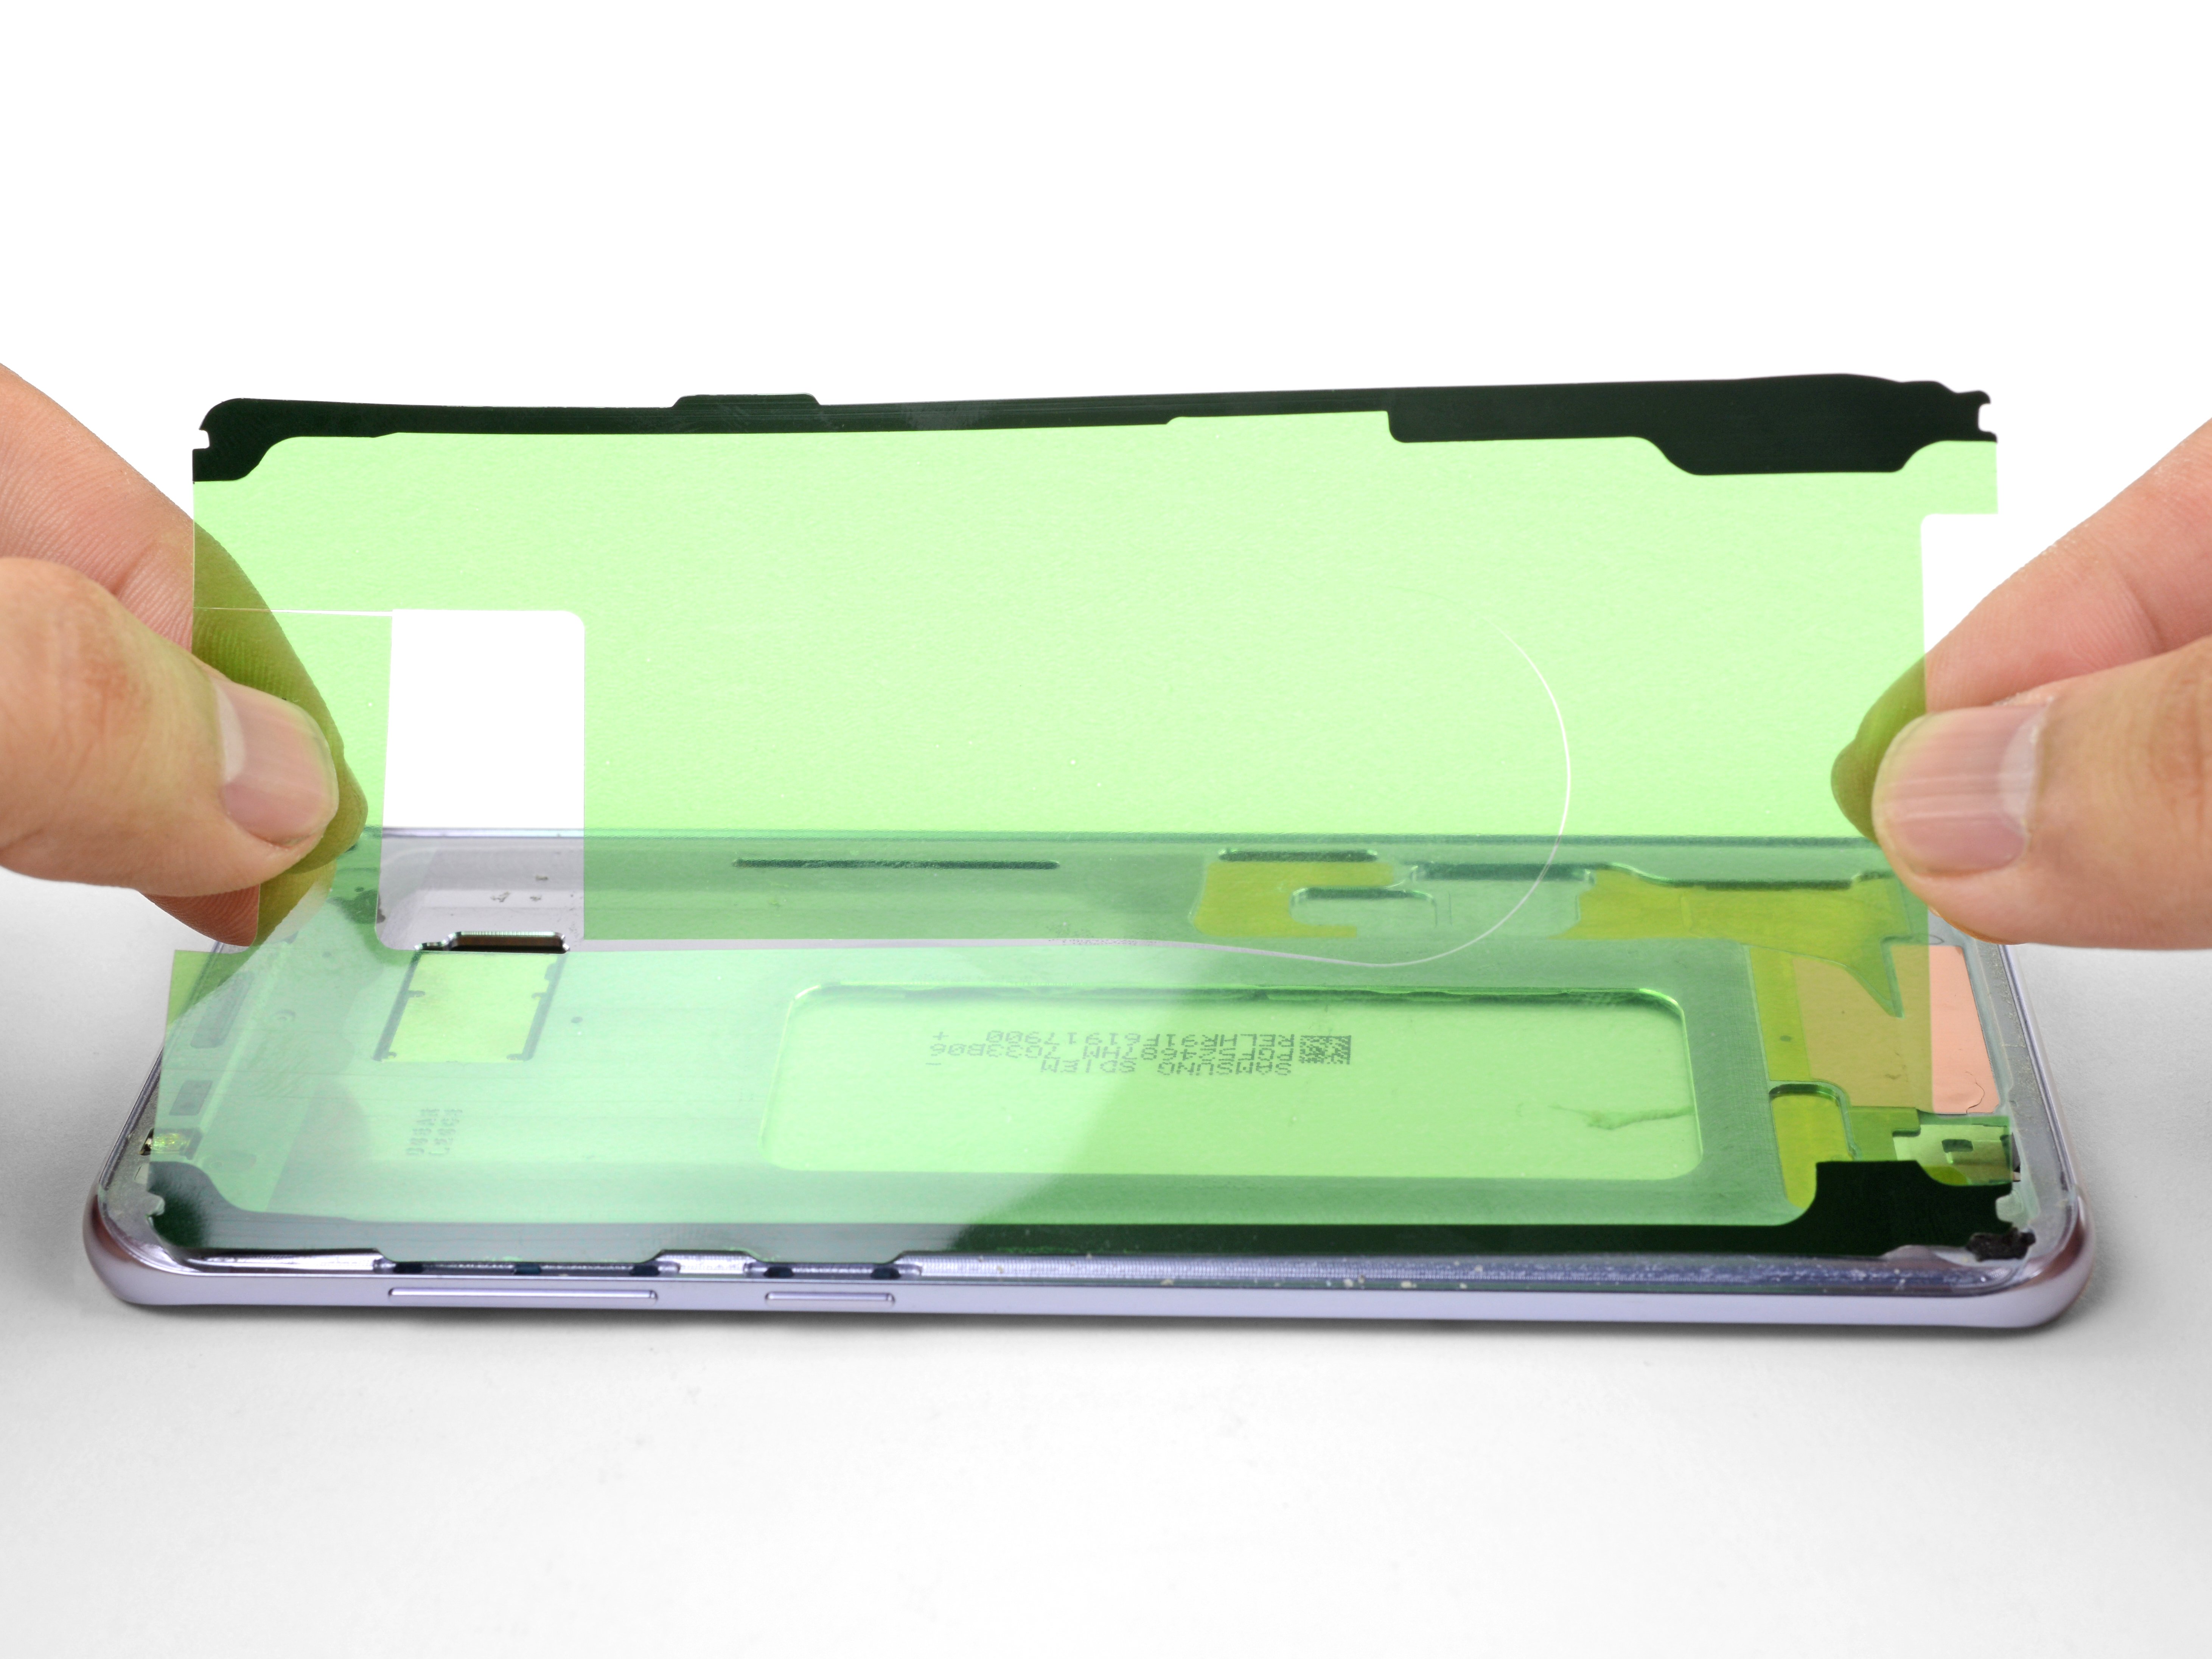
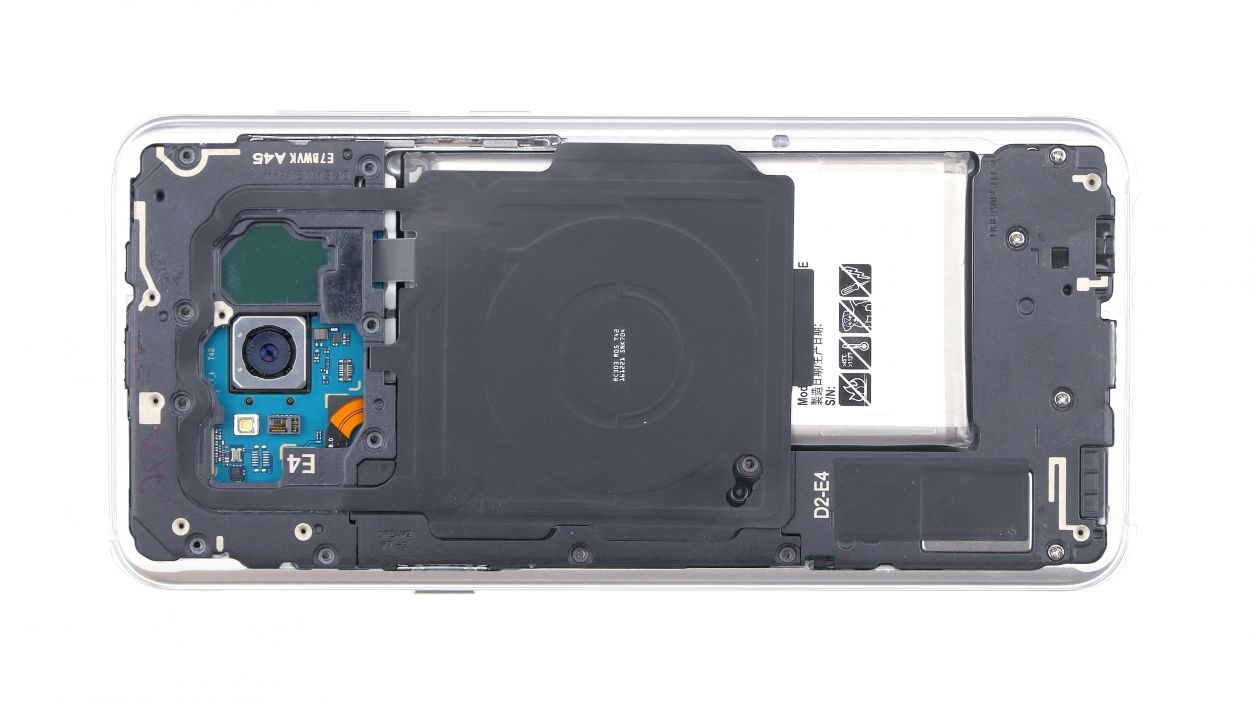
Step 7
4 × 3,8 mm Phillips Schraube
– Time to snuggle that speaker into its home at the bottom of the enclosure!
– Give it a gentle nudge with your fingers until you hear a satisfying click – it’s like a tiny high-five!
– And finally, pop those screws back in. You’re a rockstar!
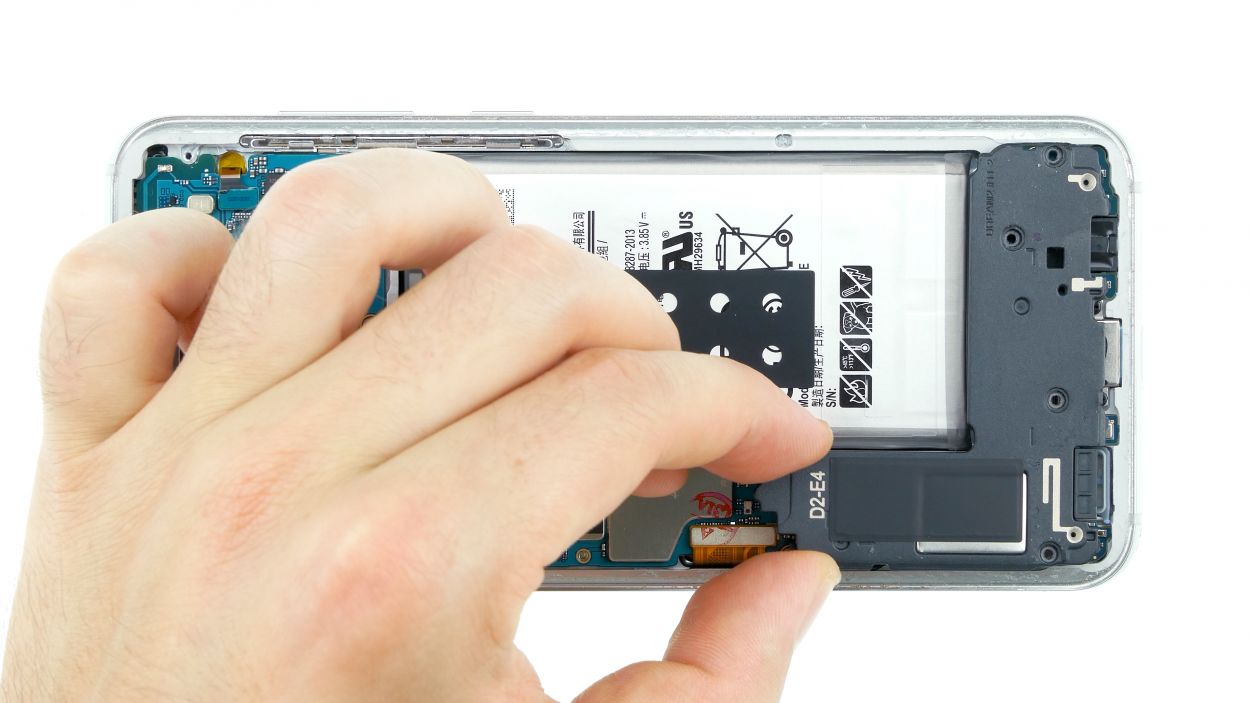
Step 8
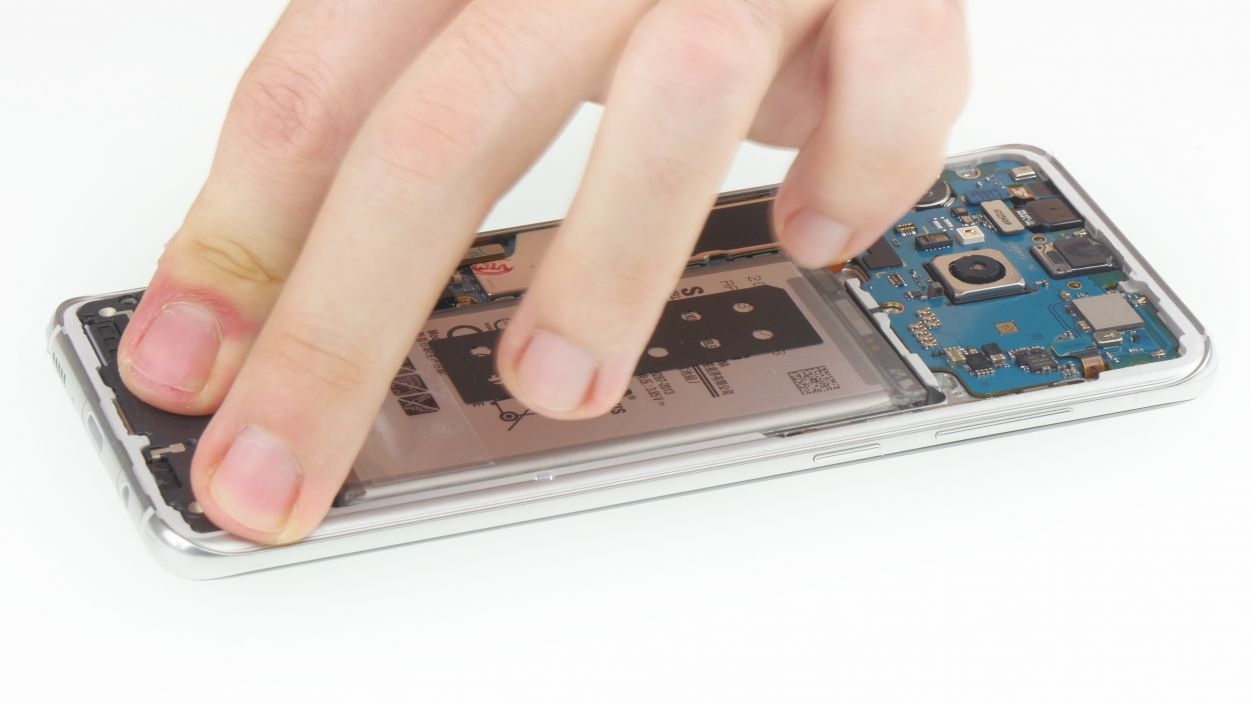
– Snap that battery onto the motherboard! Push it in until you hear a satisfying *click*. Easy peasy!
Step 9
11 × 3,8 mm Phillips Schraube
– First, gently place the cover with the antenna back into the enclosure, making sure to hook it onto the top like a pro.
– Next, give that cover a little love tap with your fingers until you hear it click into place all around.
– Finally, grab your trusty Phillips screwdriver and fasten those screws snugly.
Step 10

Feeling crafty? Try warming up your device with some hot air, then give it a little love by clamping it down or placing a couple of books on top. This way, the glue gets a better grip and you’re one step closer to a solid fix!
– Gently place the back cover back where it belongs.
– Reconnect that fingerprint sensor like a pro.
– Give the back cover a little love tap all around so the glue can do its magic.