
DIY Guide to Replace Google Nexus 5 Audio Jack
Duration: 30 min.
Steps: 6 Steps
In this repair guide, we show you how to replace your LG Google Nexus 5’s defective headphone output on your own. You need this repair if the headphone output has a loose connection, or remote control of the headset isn’t working.
Step 1
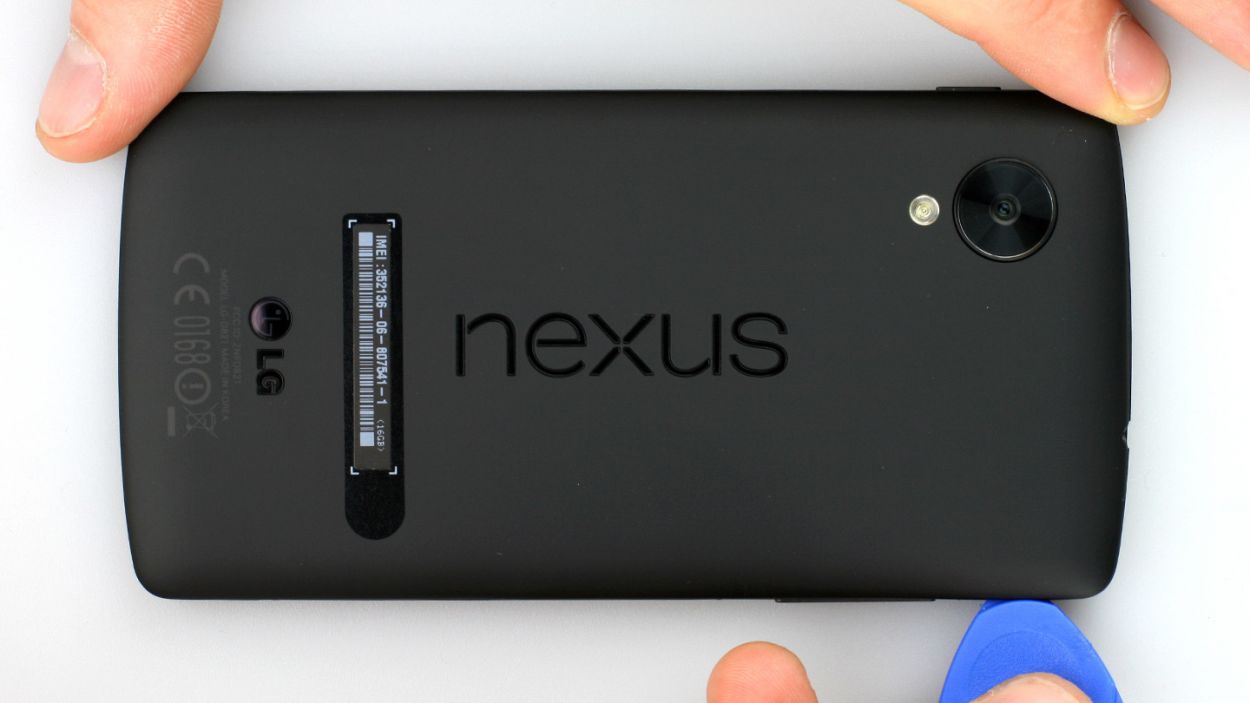
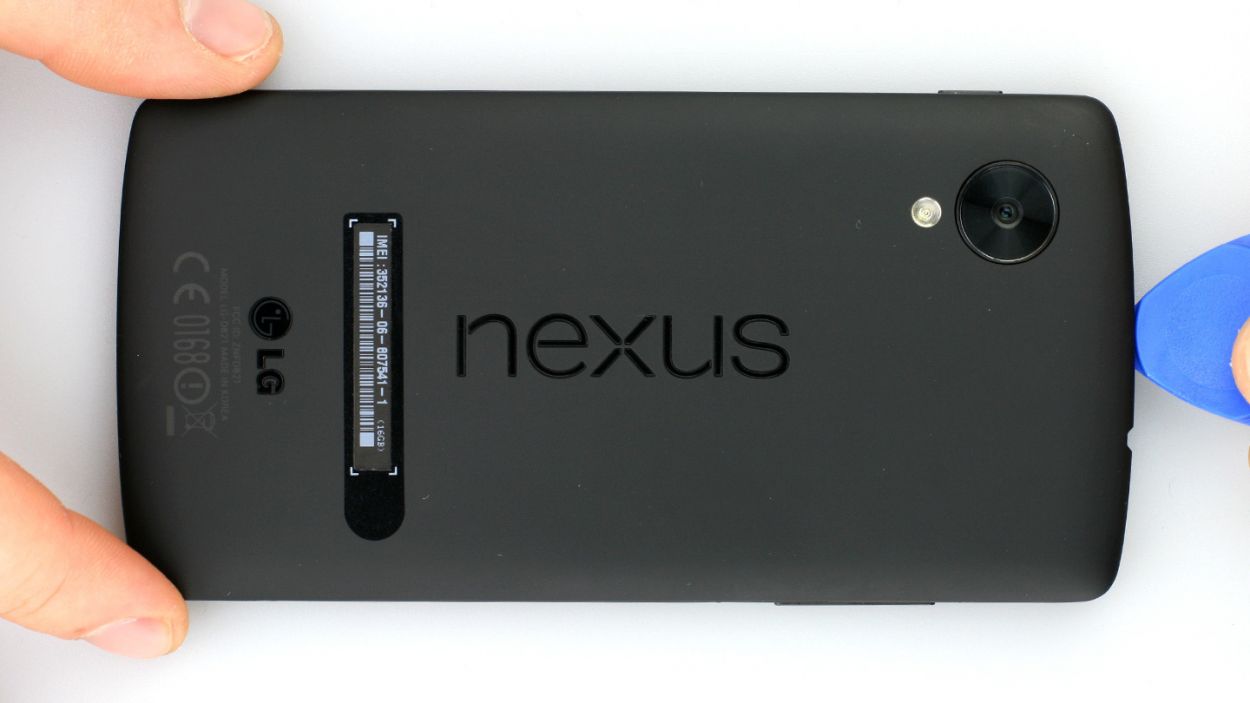
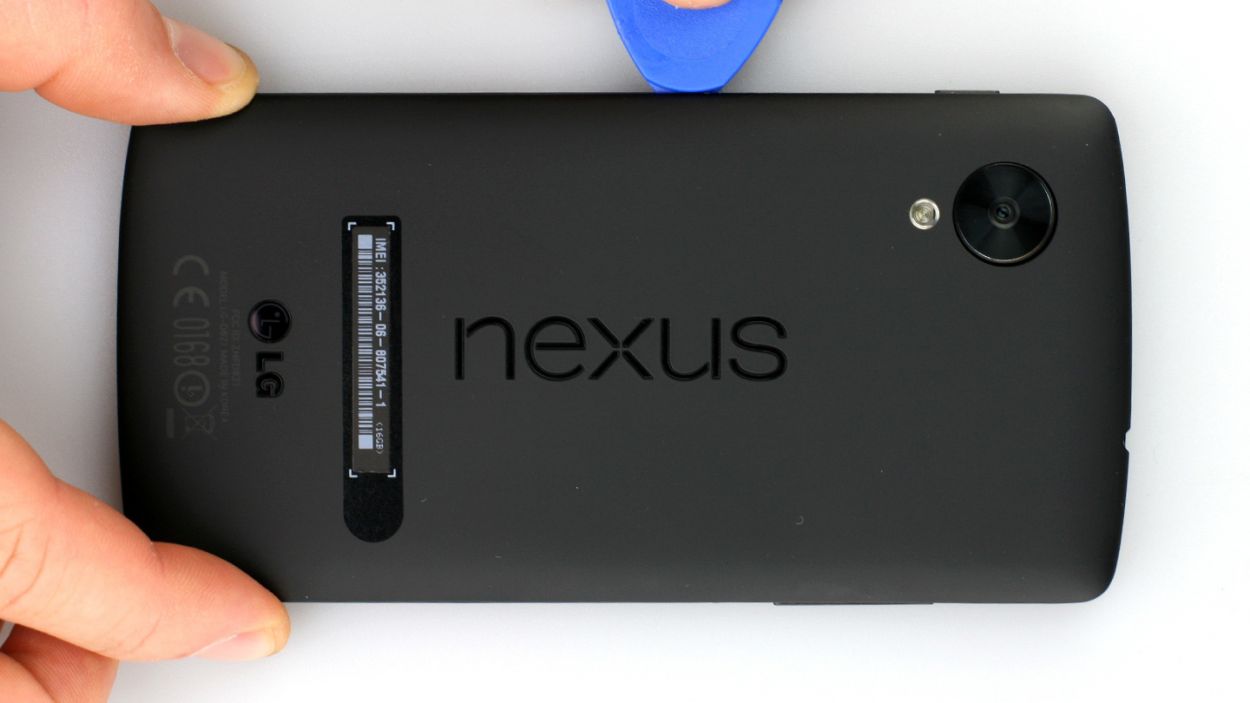
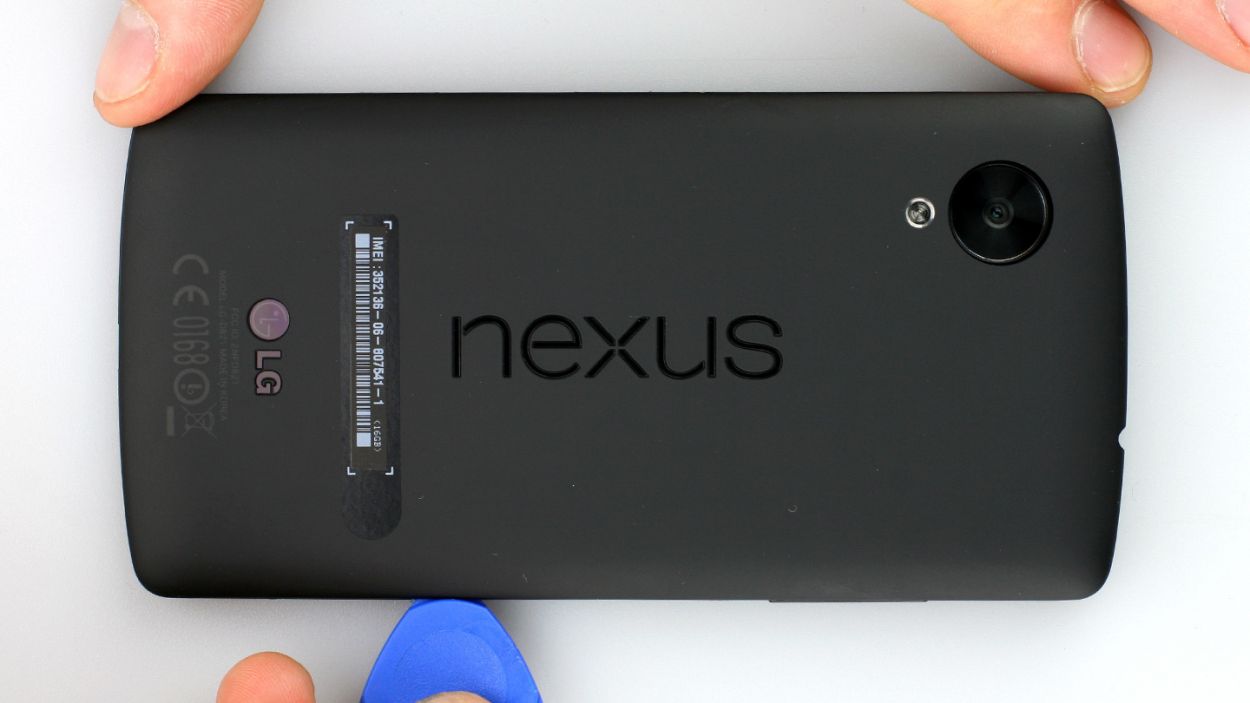
– Slide that hard plastic pick into the little gap next to the volume button. You’ve got 18 retaining clips to disconnect around the back cover, so let’s get to it! Glide the pick all the way around your smartphone. Start at the volume button, cruise past the headphone jack, and make your way to the SIM card tray. That’s where the back cover will start to loosen up. Just a heads up, you might need to apply a bit more pressure in some spots.
– Once you’ve done that, go ahead and lift off the back cover!
Step 2

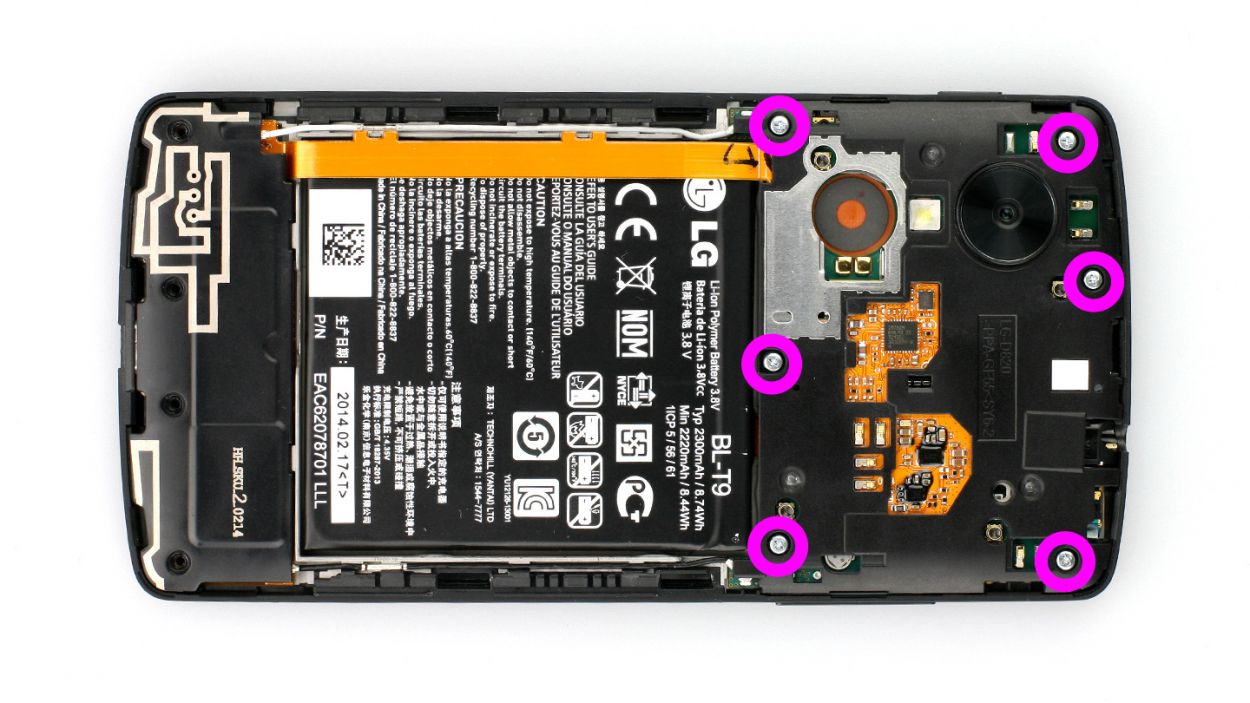
– First things first, let’s tackle those 6 Phillips screws holding the plastic cover snugly in place (check out figure 1 for a visual!). These are 6 x 4.0 mm Phillips screws, so grab your trusty screwdriver and get to work!
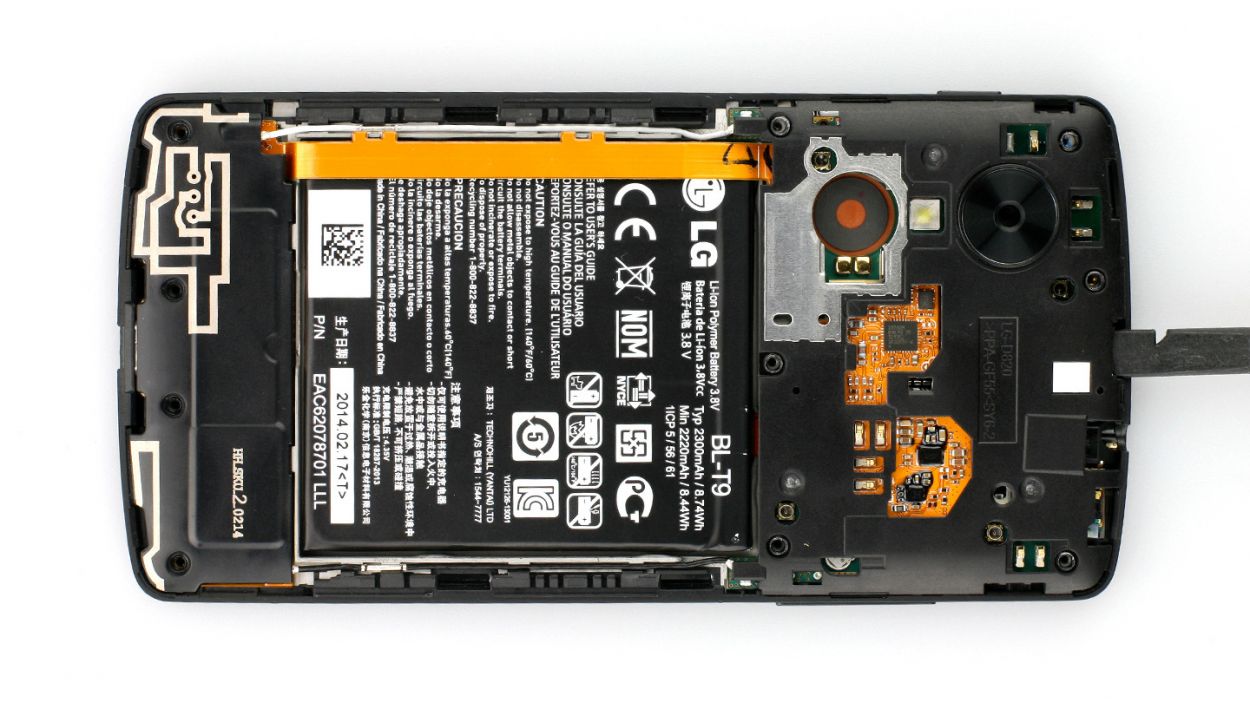
– Once those screws are out of the way, it’s time to gently lift the cover off the logic board. Slide your spudger into the gap next to the headphone output (figure 2 will guide you). If you need a little extra leverage, feel free to explore other spots!
Step 3
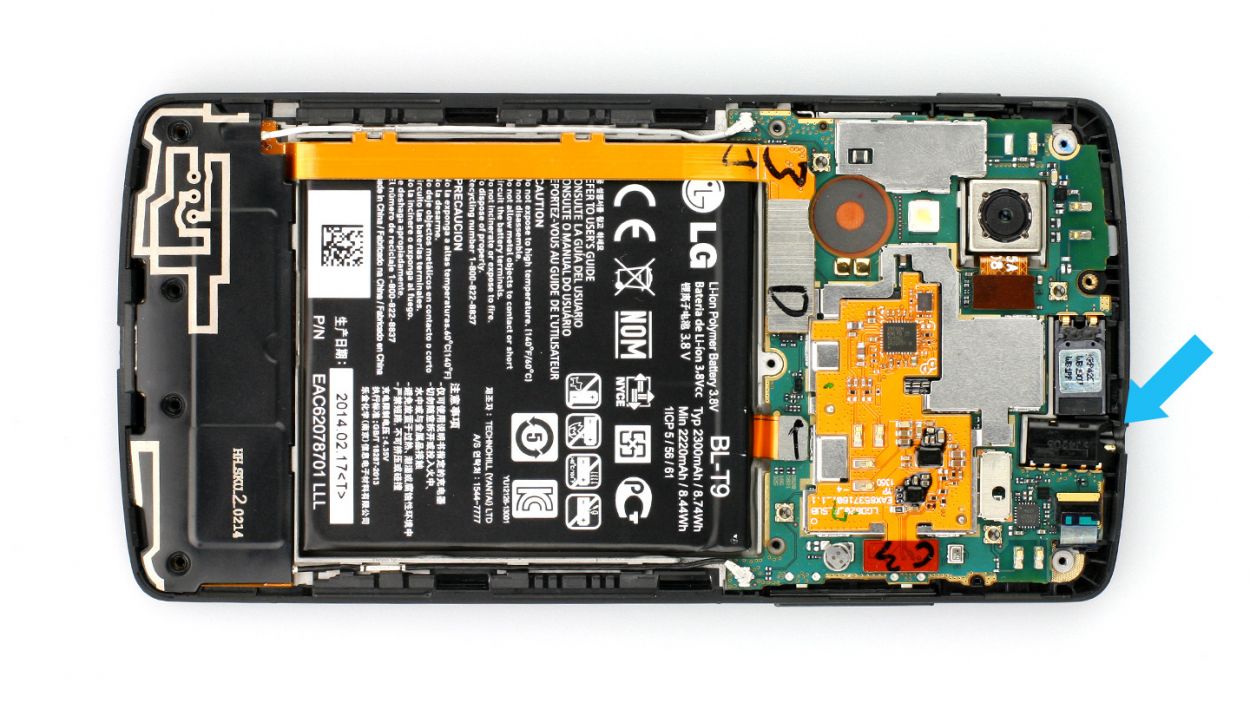
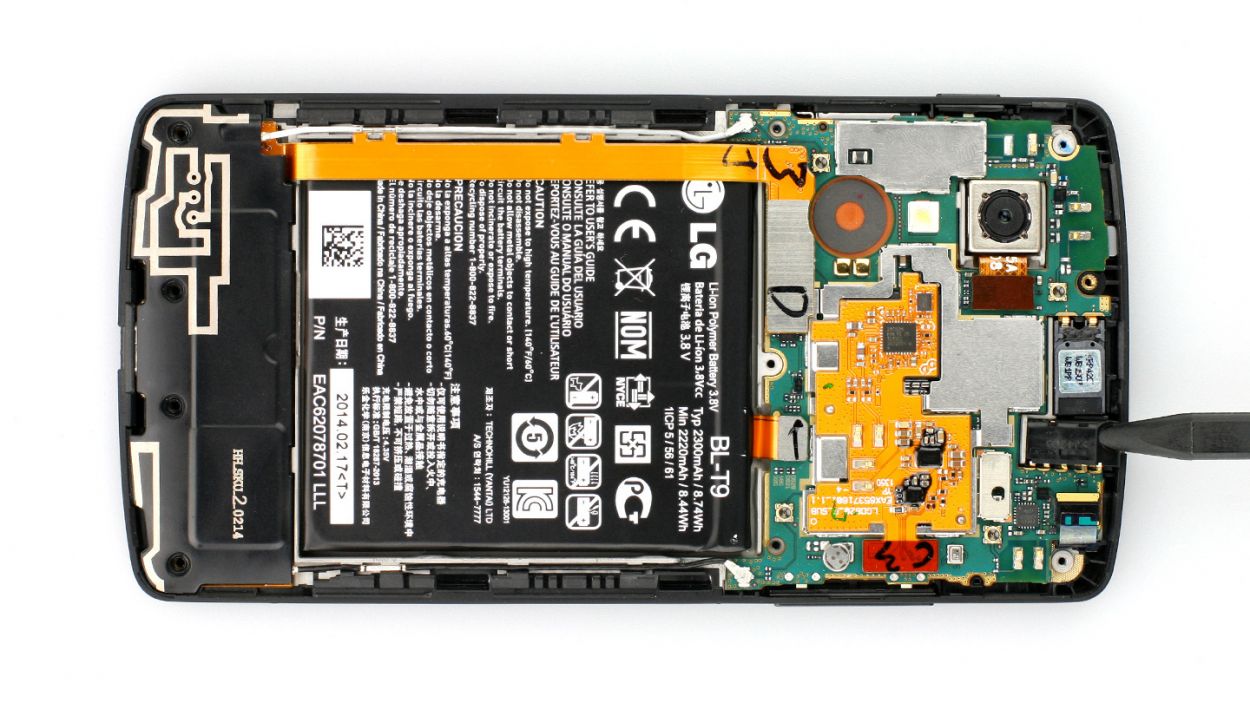
– Now put the new headphone output in the appropriate position. Carefully press on the part between the earpiece and the logic board. This step is a bit tricky.
Step 5
– Carefully place the black plastic cover onto the logic board and give it a gentle press to secure it.
– Now, grab those 6 Phillips screws and fasten them back in place to keep everything snug and secure. Remember, we’re using 6 x 4.0 mm Phillips screws here!
Step 6
– It’s very easy to put the back cover back on. Put it on in the correct position and press it on all the way around until it’s completely clicked into place.