DIY Guide to Replace Google Nexus 5 Back Cover
Duration: 15 min.
Steps: 5 Steps
In this guide, we’ll walk you through the process of swapping out the back cover of your LG Google Nexus 5. Whether it’s cracked or just a bit scratched up, this repair will have your device looking fresh again. If you need help, you can always schedule a repair.
Step 1
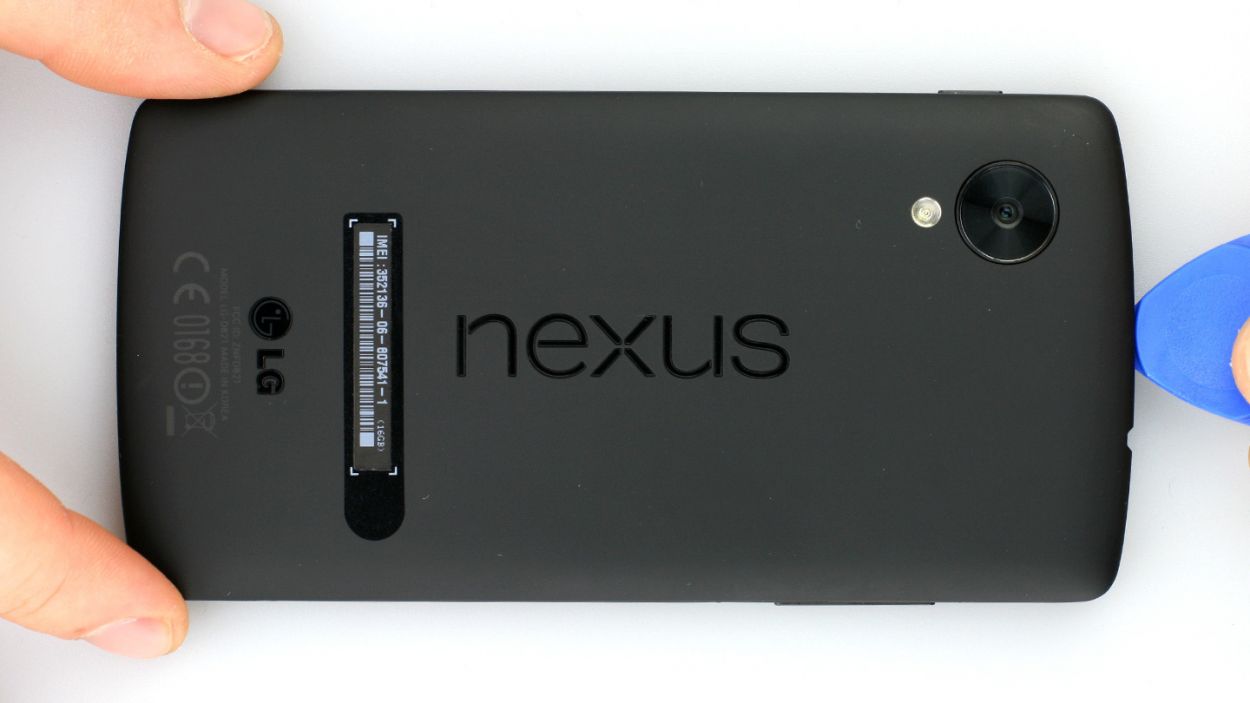
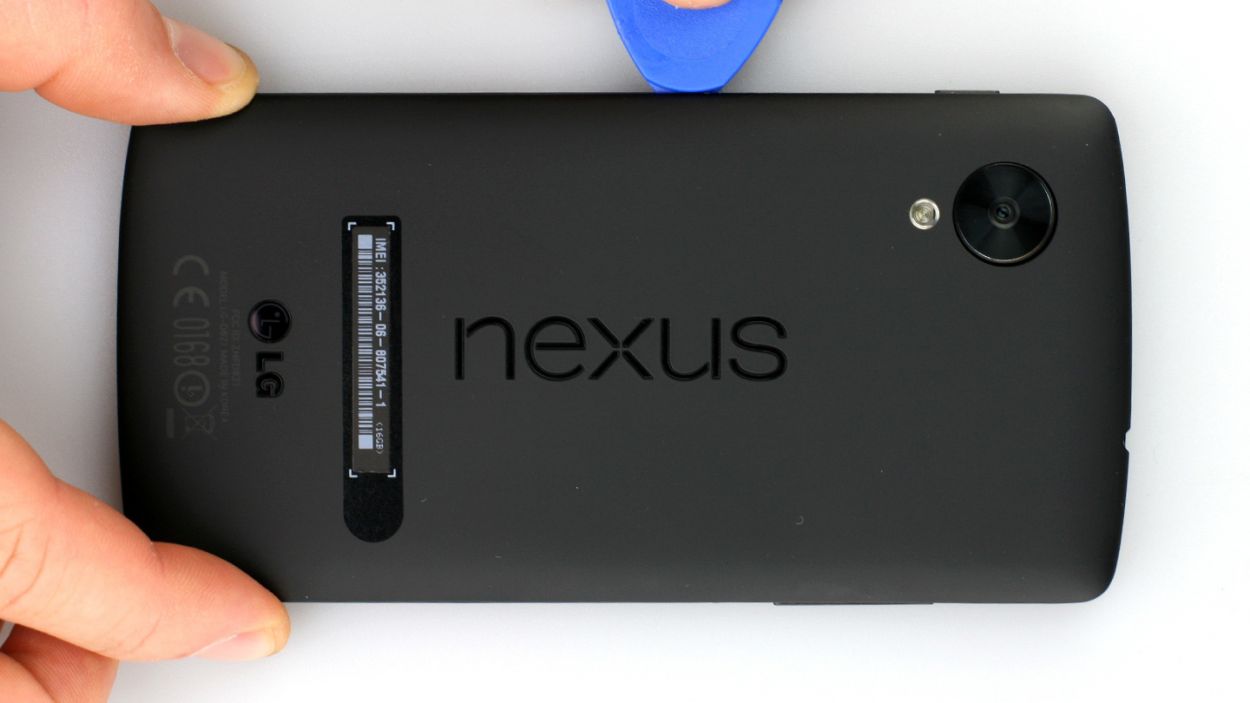
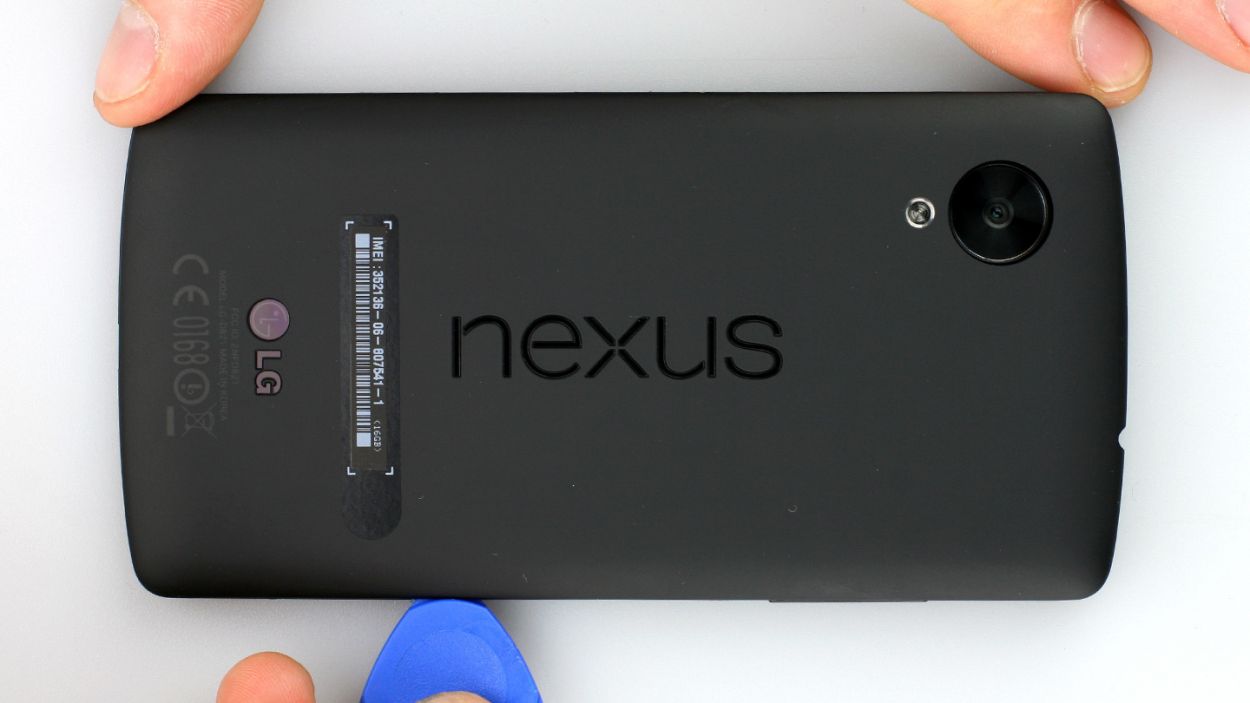
– Slide that hard plastic pick into the little gap next to the volume button. You’ve got 18 retaining clips to disconnect around the back cover, so let’s get to it! Glide the pick all the way around your smartphone. Start at the volume button, cruise past the headphone jack, and make your way to the SIM card tray. That’s where it gets a bit easier to pop off the back cover. Just remember, you might need to apply a little extra oomph in some spots.
– Once you’ve done that, go ahead and lift off the back cover!
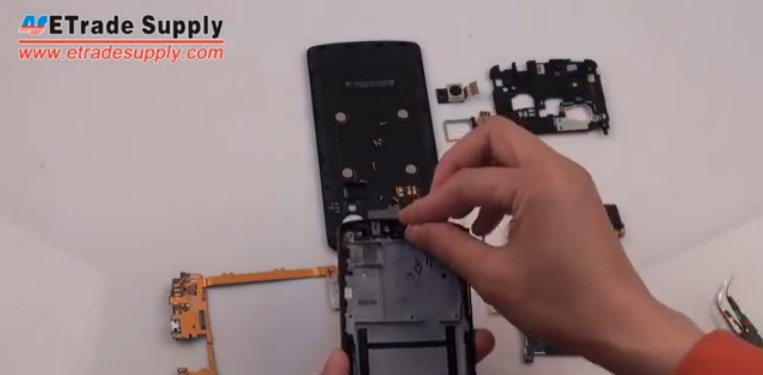
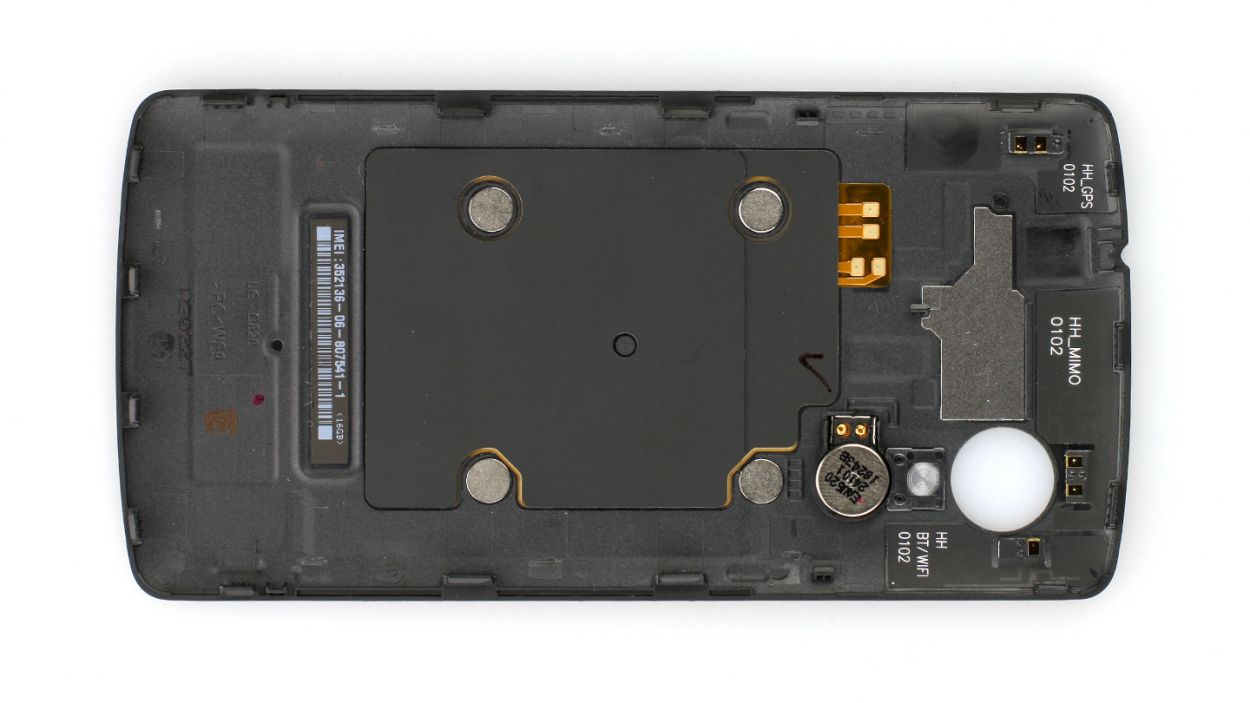
Step 2
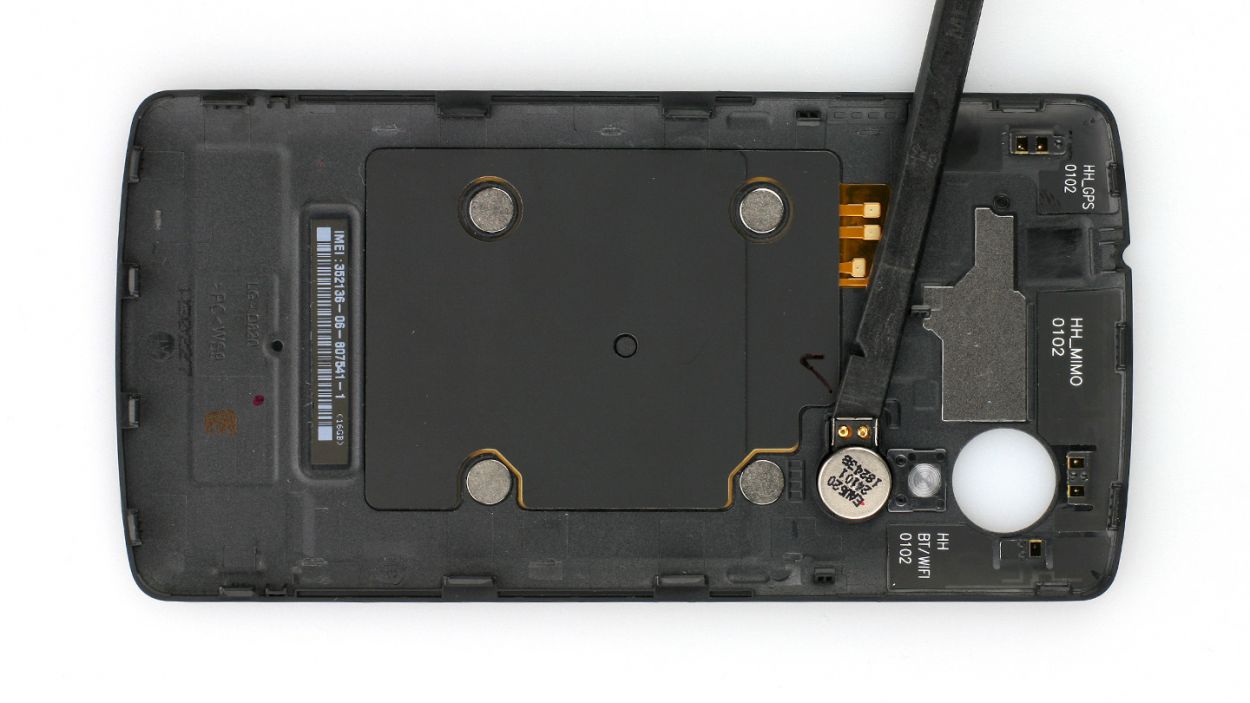
– Gently slide the flat end of the spudger under the vibration motor, which is snugly glued to the back cover’s interior.
– Carefully lift it out with a steady hand.
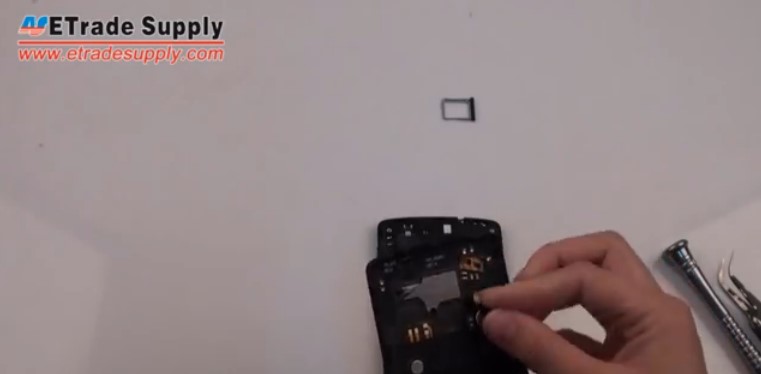
Step 3
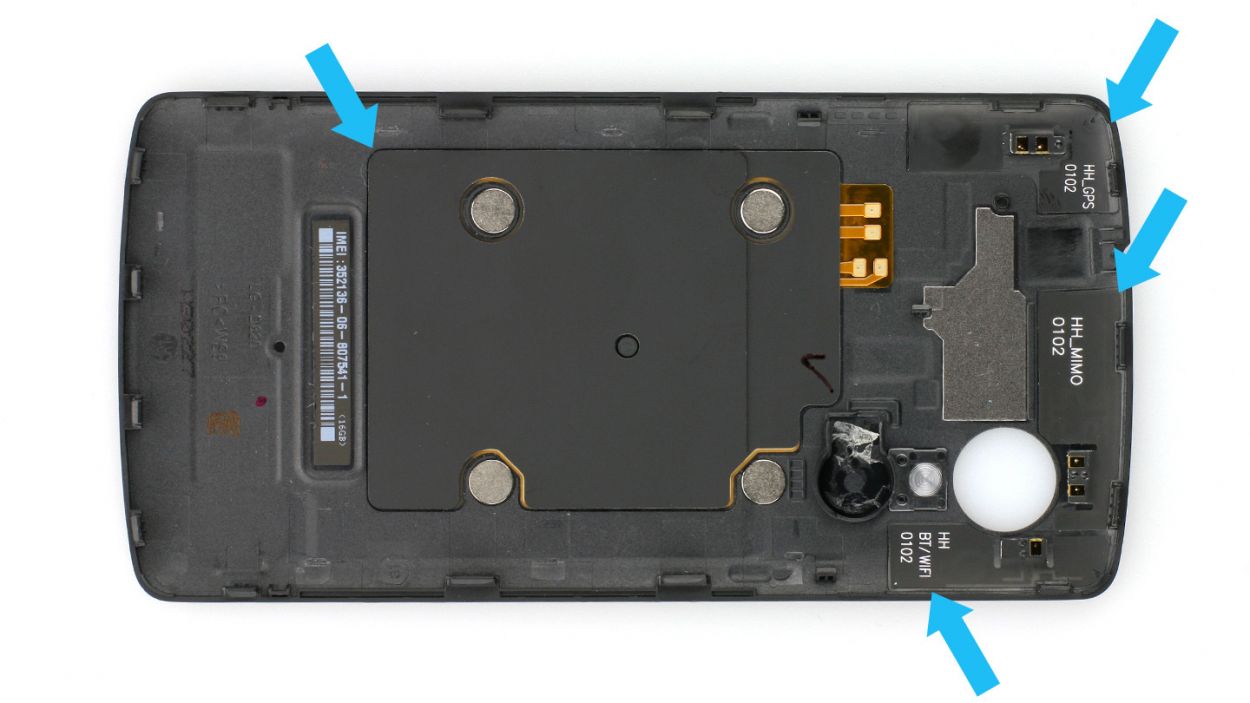
– Next up, it’s time to gently move the antenna cable and the induction pad. Use your trusty laboratory spatula to carefully detach them, and take your time—you’re doing great!
Step 4
– Alright, let’s get that vibration motor in there! Carefully place the new one in the perfect spot and make sure it’s nice and secure. We want that baby humming like a well-oiled machine! If you need any help, you can always schedule a repair with the friendly folks at Salvation Repair.
Step 5
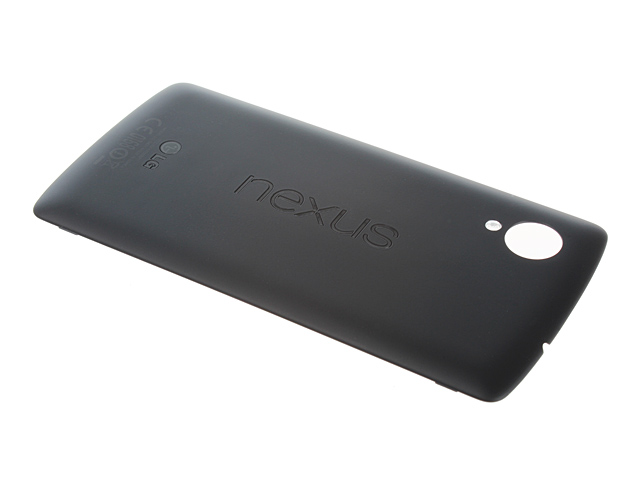
– Putting the back cover on is a breeze! Just align it properly and give it a gentle press all around until you hear that satisfying click. You’re all set!