DIY Guide to Replace Google Pixel 2 Screen
Duration: 45 minutes
Steps: 9 Steps
Get ready to tackle the Google Pixel 2 repair like a pro with this easy-to-follow guide! We’ll walk you through replacing the touch screen and the display, and you might need to snag a few small parts from the old display unit, depending on how the new one is set up. Before diving in, give your spare part a good look to make sure it’s all good to go. The best part? Swapping out the Pixel 2 display is a breeze since you can pop it off without disassembling the entire device first. Just remember to take your time and plan ahead when removing the display. Don’t forget to back up your data, work on a clean surface, and take it easy. If you have any questions, feel free to reach out via live chat on our website or drop a comment. And if you need help, you can always schedule a repair!
Step 1
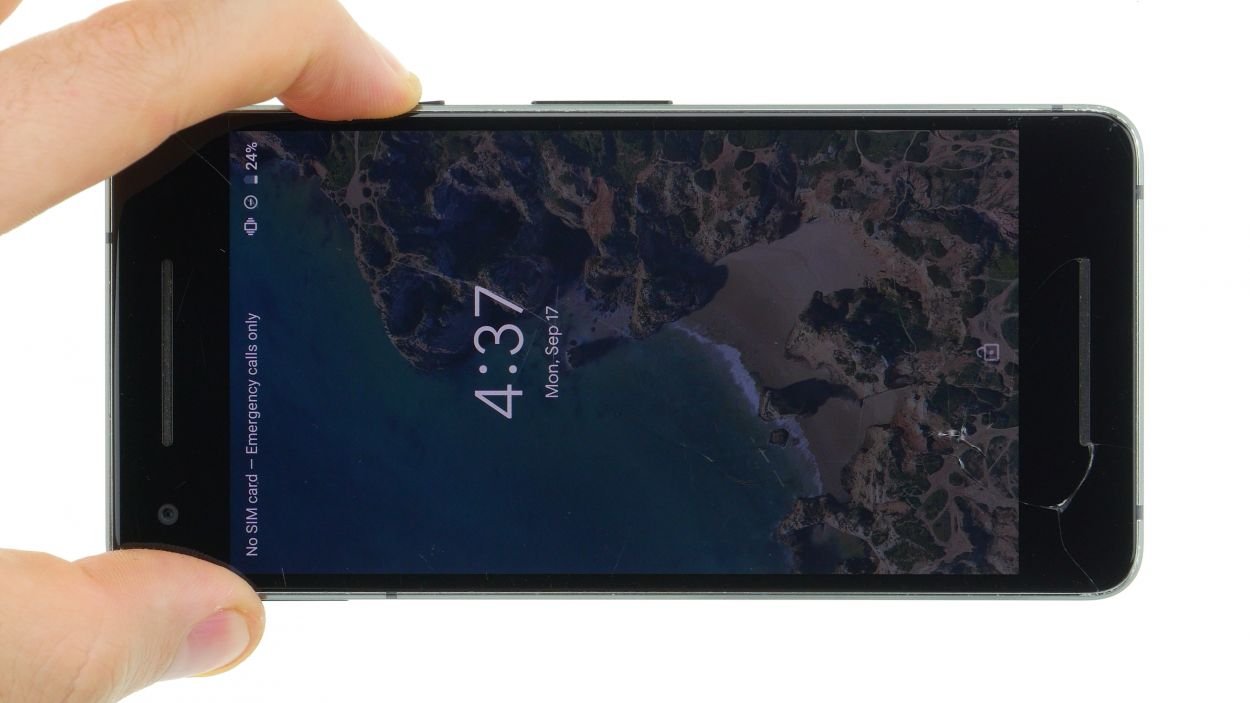
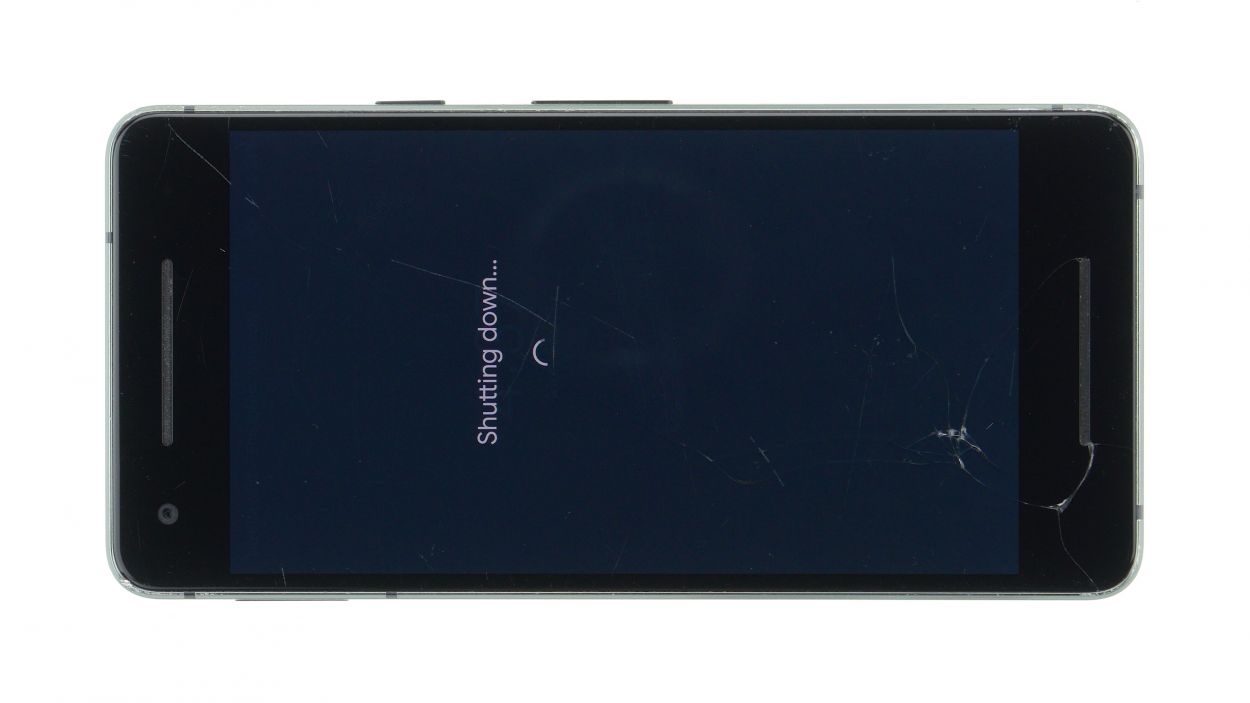
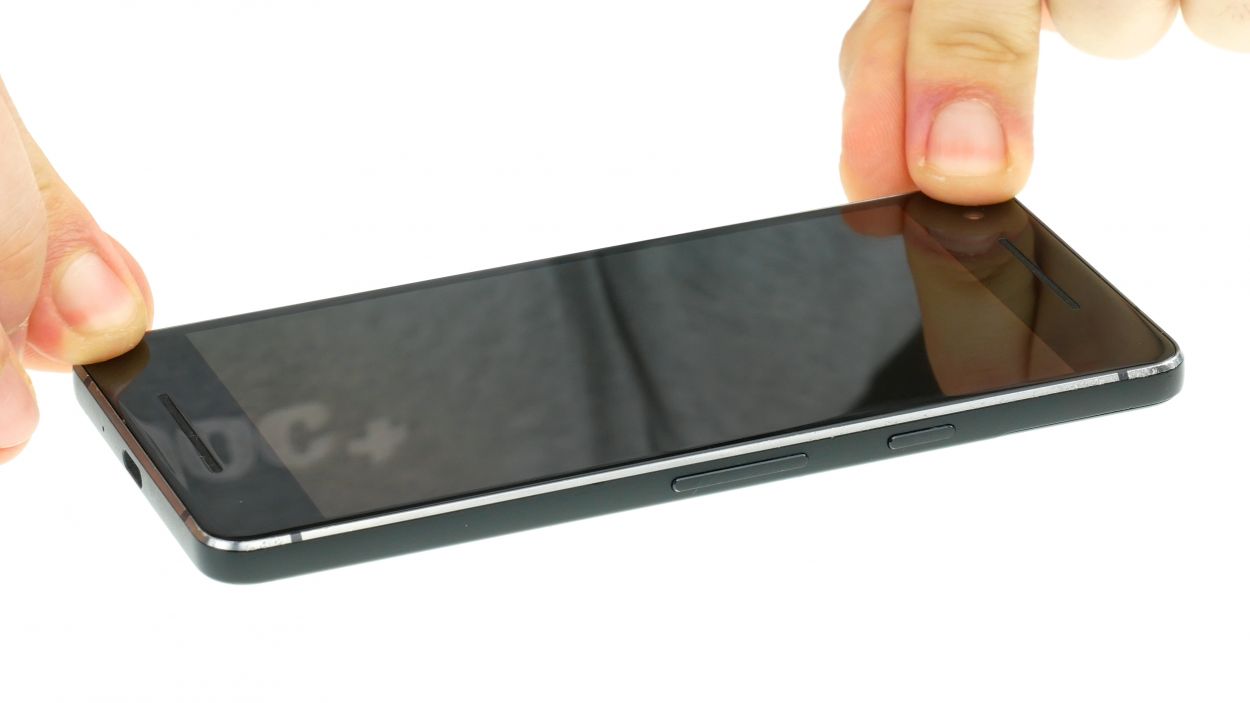
If your touch screen is feeling a bit under the weather, just press and hold the standby button for a few seconds until your phone takes a little nap and shuts down. Remember, if you need help, you can always schedule a repair!
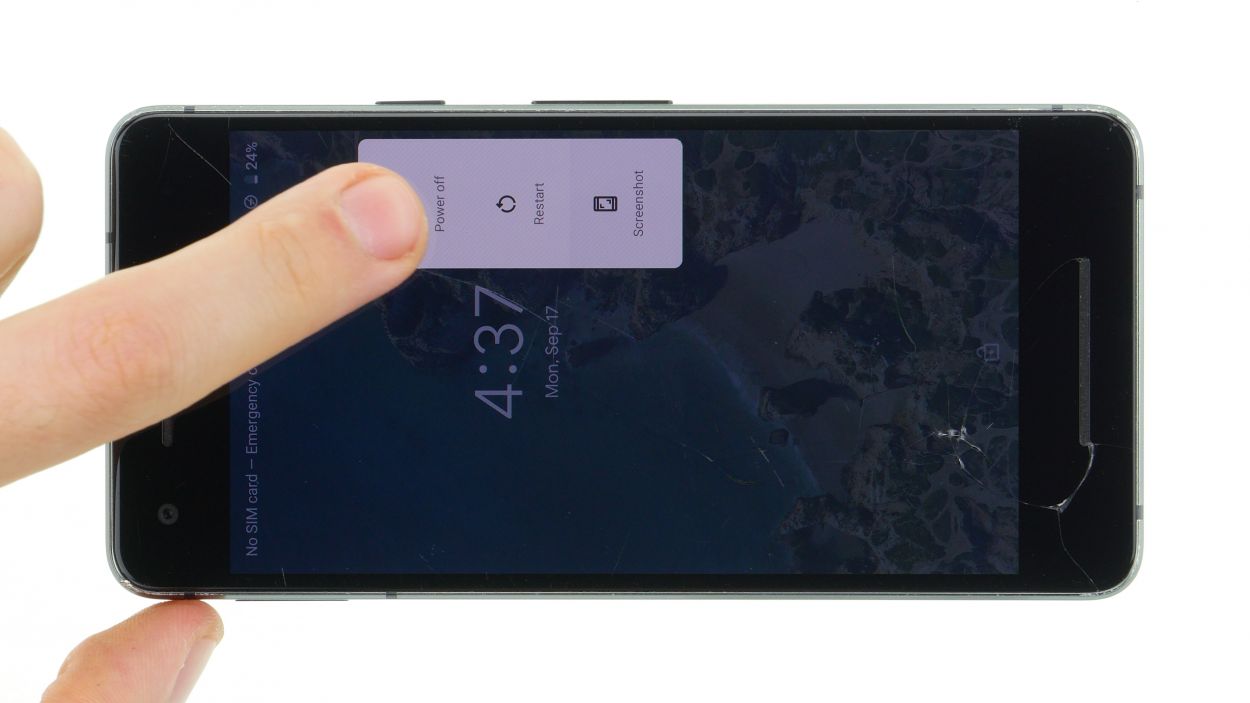
– Give that standby button a good press and hold until you see “Power off” pop up on your screen.
– Tap it once more to confirm and hang tight while your device takes a little nap.
Step 2
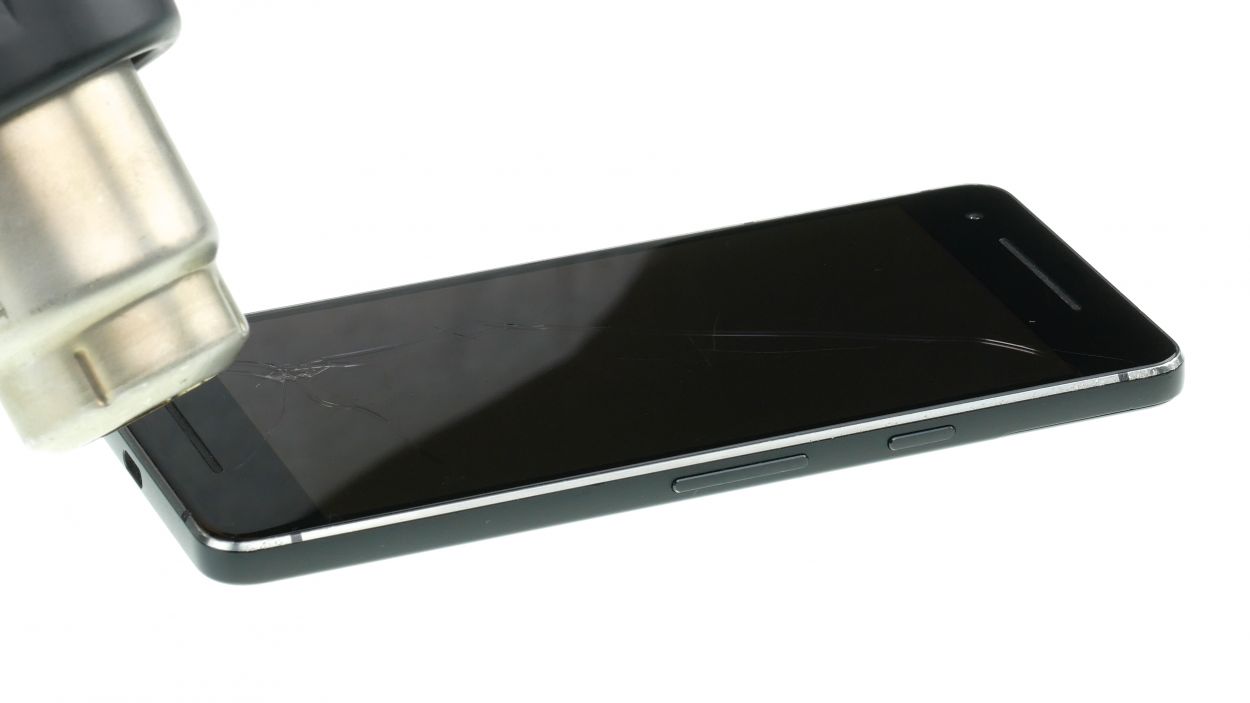
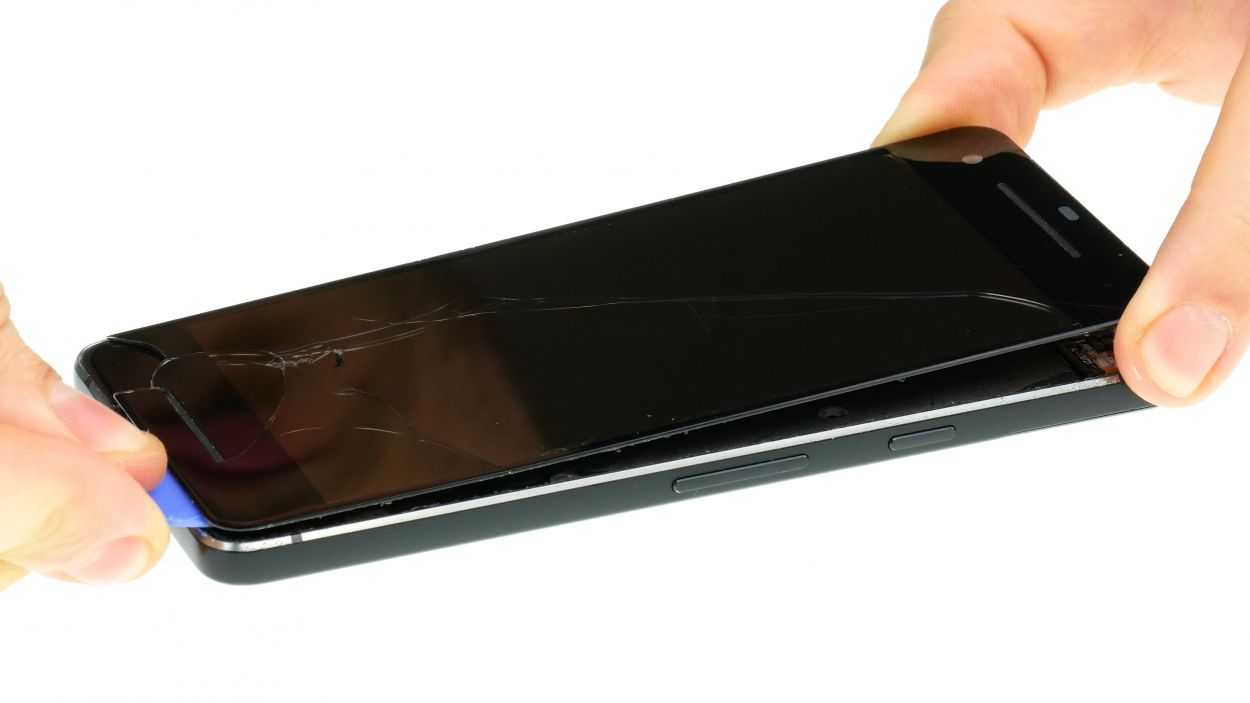

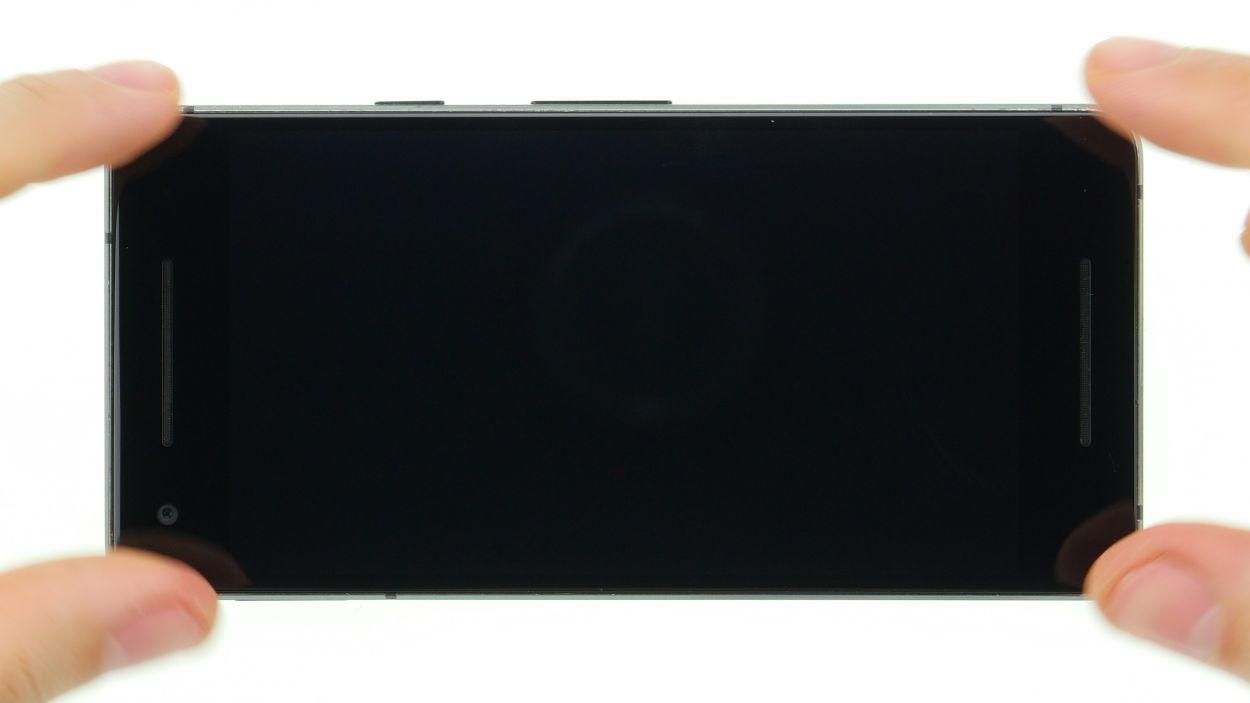
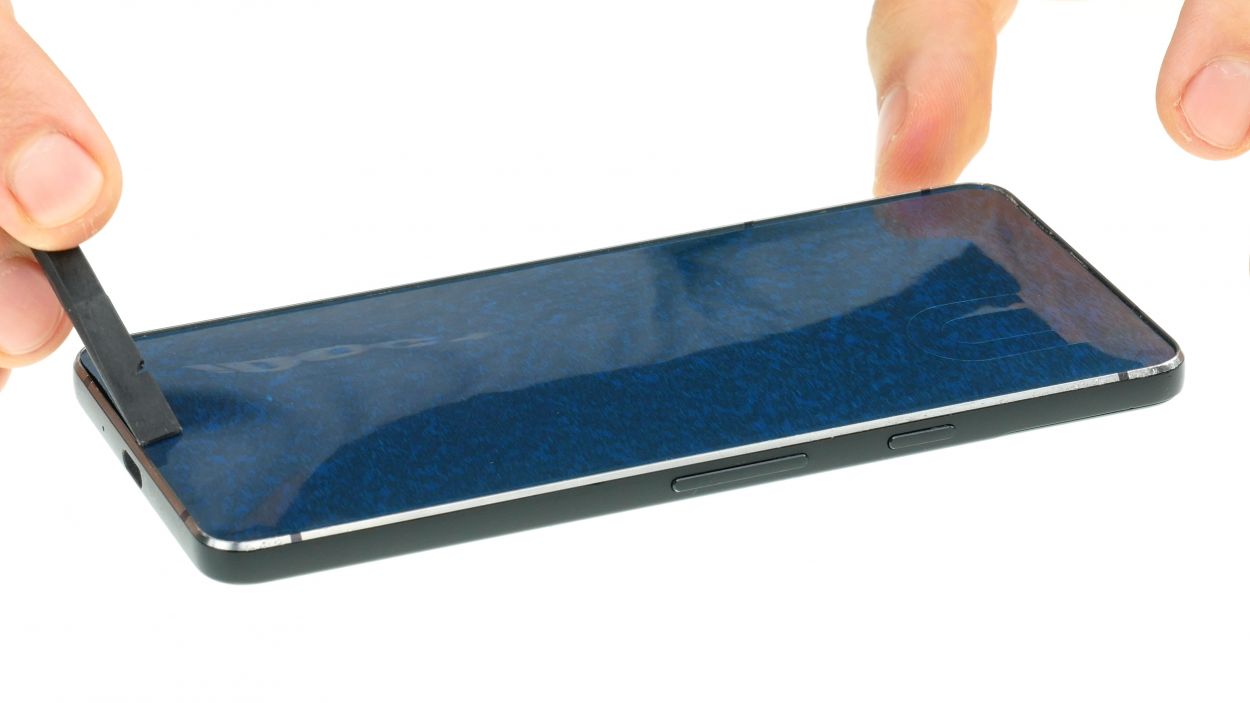
– Start by warming up the glue around the edges with a hot air tool until it reaches about 60°C. Give it another go and heat the display just enough so that it’s almost too hot to touch.
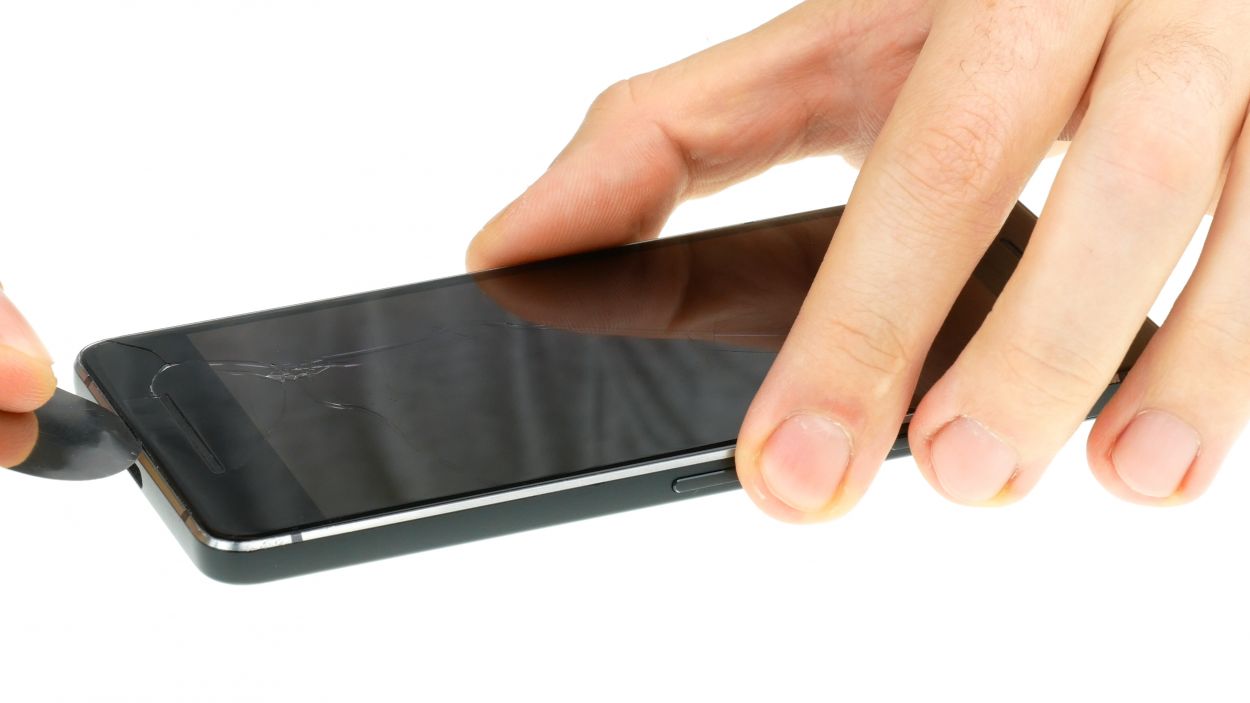
– Next, grab a super thin, flat tool and gently slide it between the display and the frame. Work your way along the edge to pop out a corner of the display. Tools like the iPlastix or the iFlex are perfect for this job!
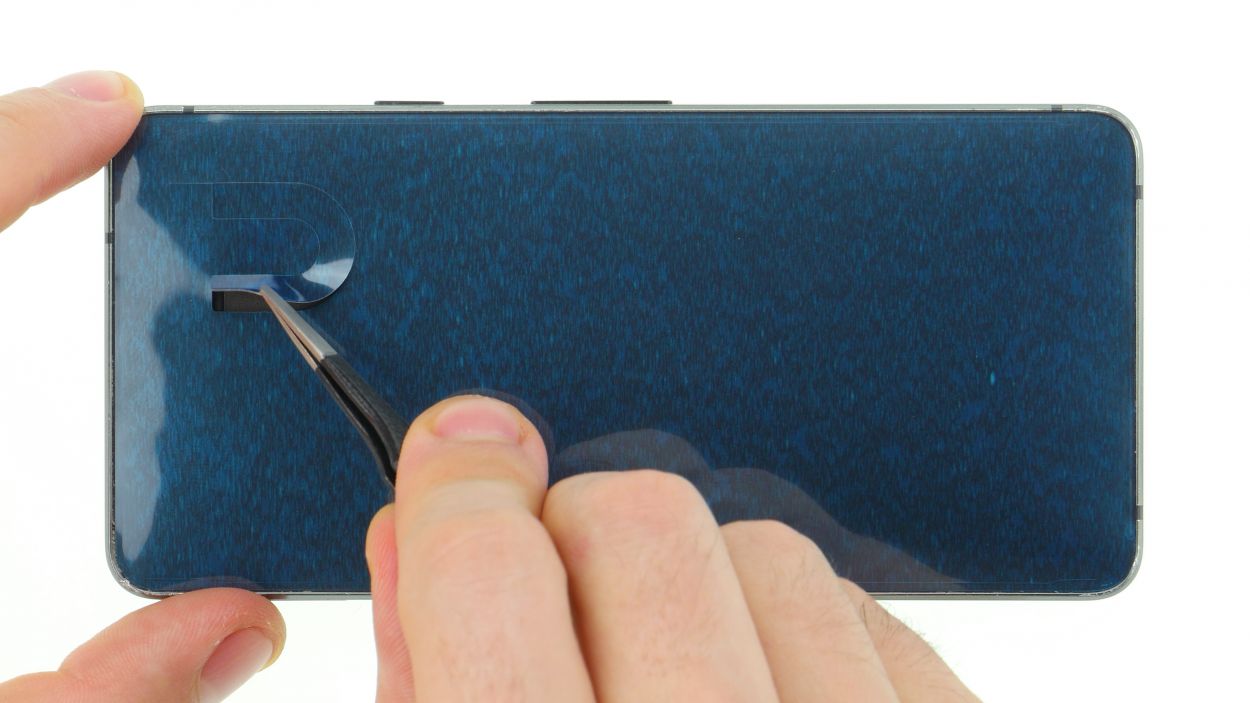
– Now, keep that thin tool handy and slide it around the edge again to free up another corner of the display.
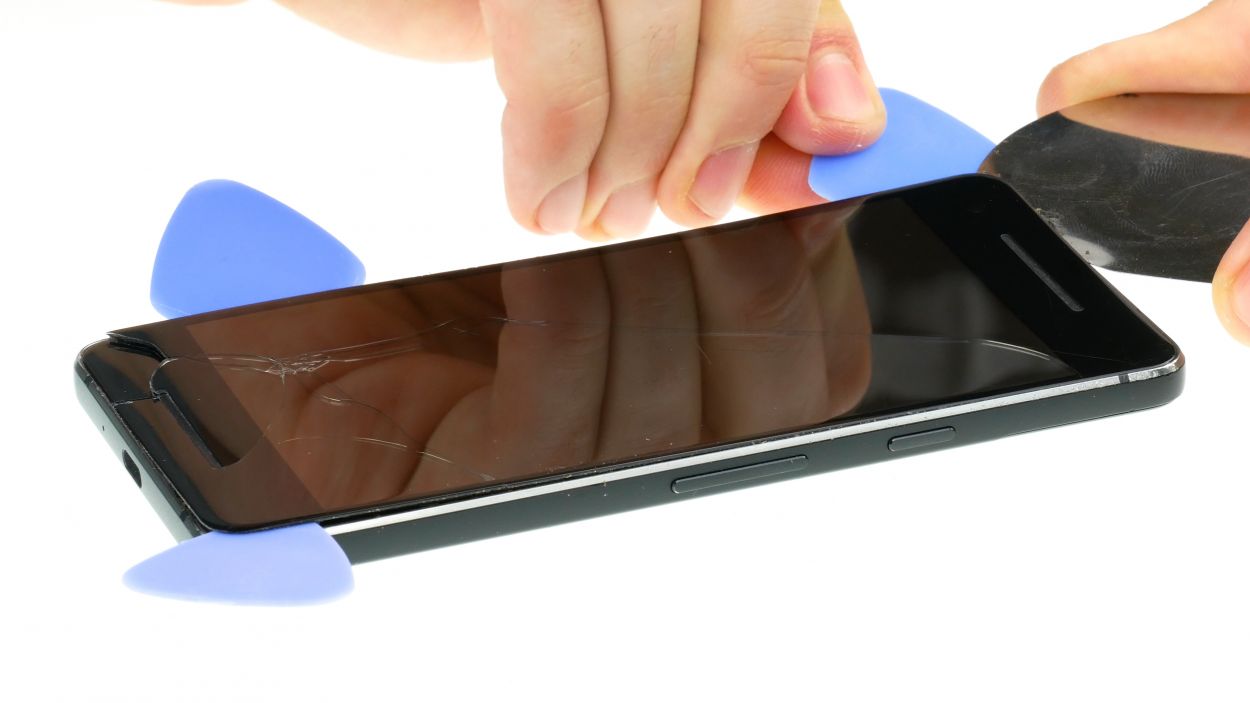
– To keep the glue from sticking back together, use a few picks and insert them into the part that’s already come loose. Just a friendly reminder: don’t push the tool in more than 5 mm to avoid any damage.
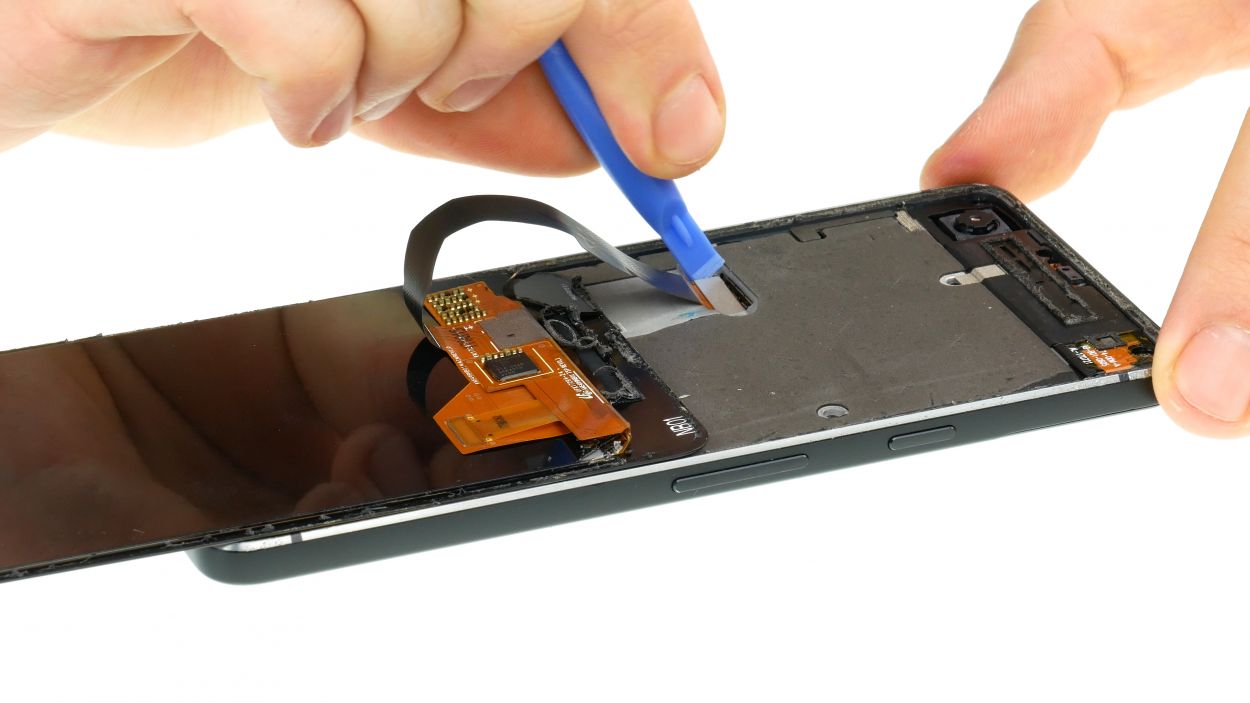
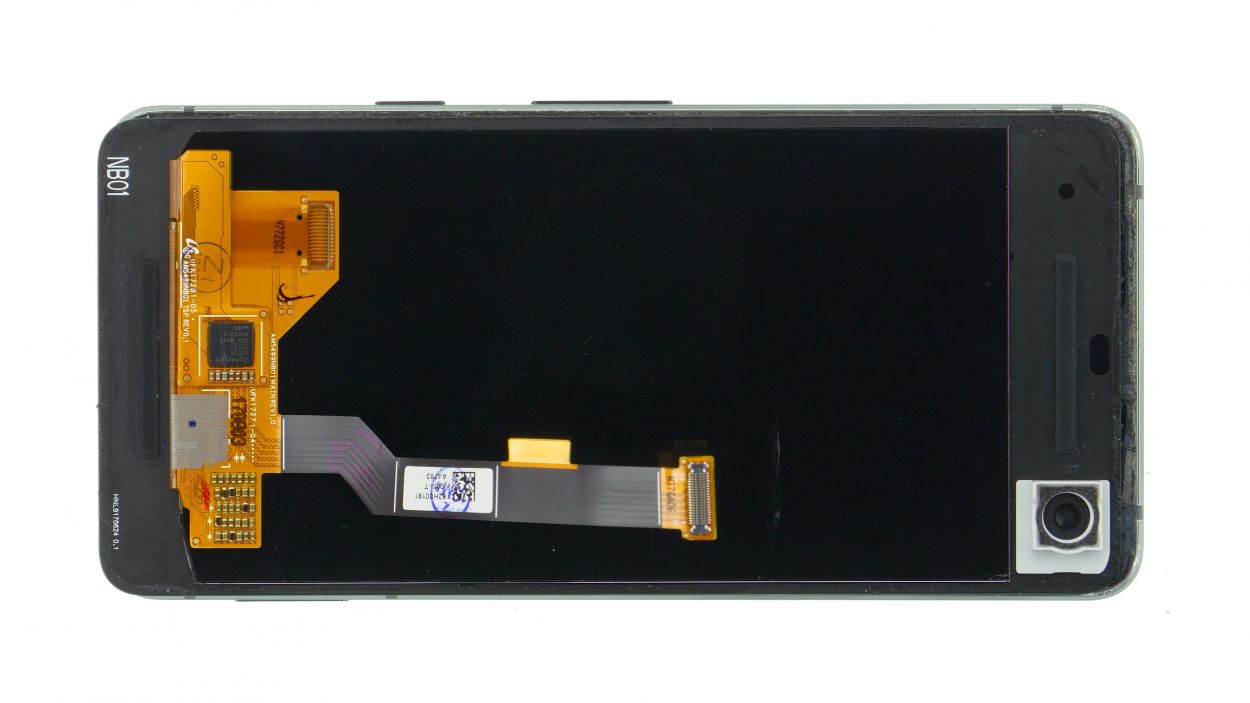
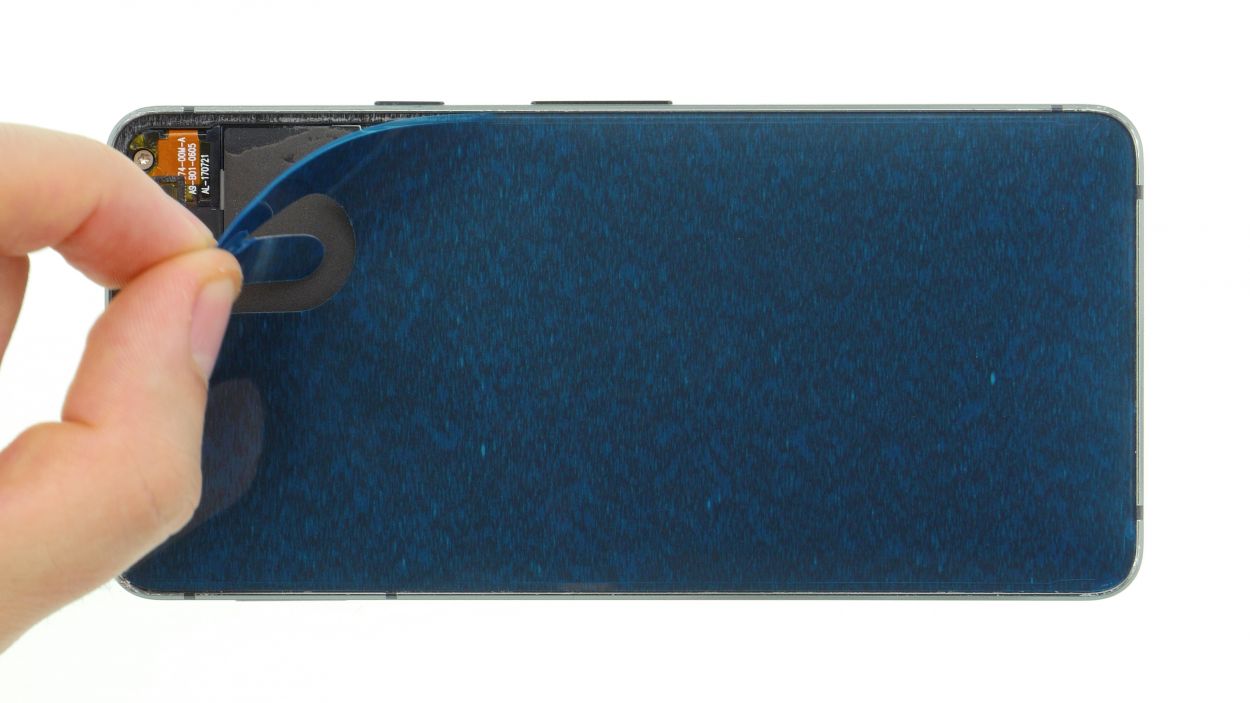
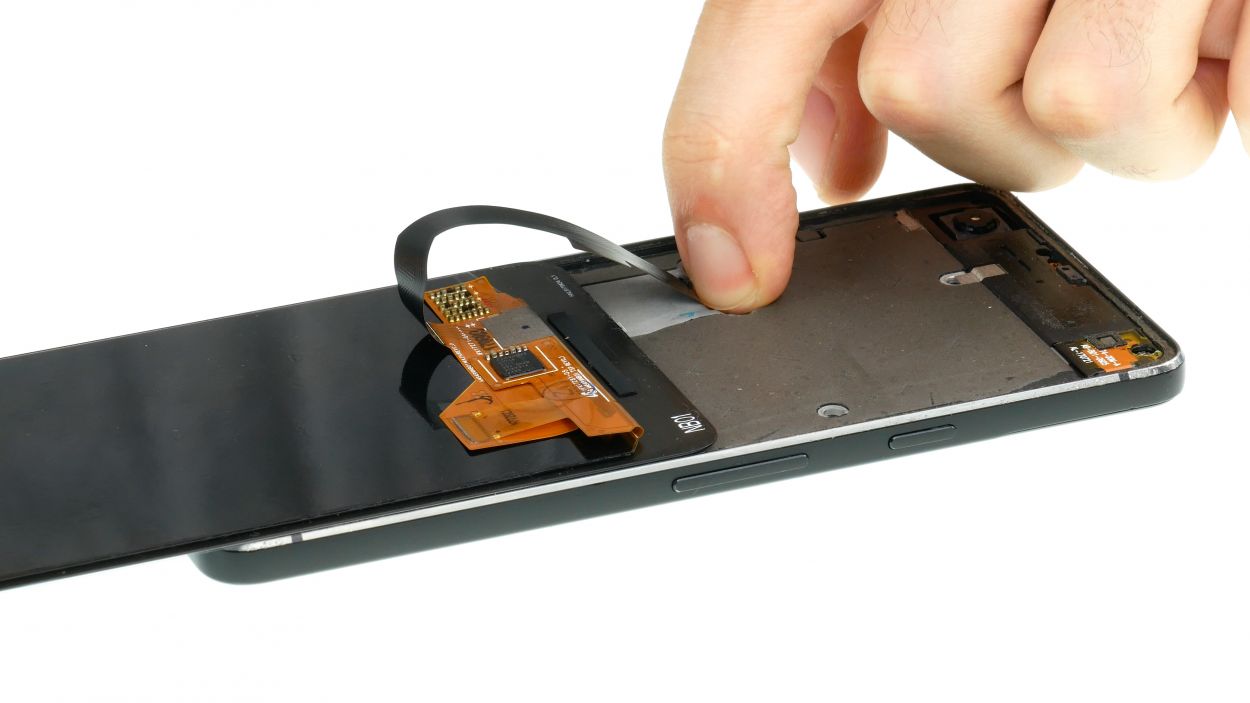
– Once the glue is loosened all the way around, you can carefully lift off the display. Open it gently (just like in the picture) since the flex cable is still attached.
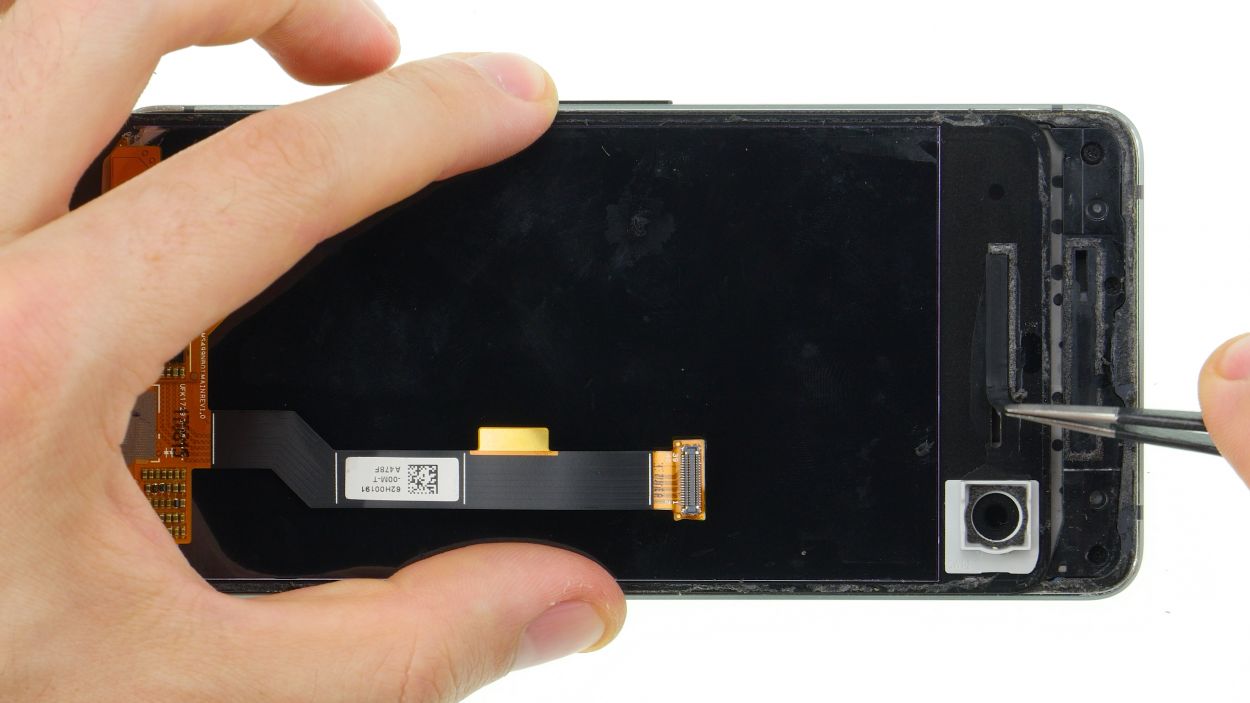
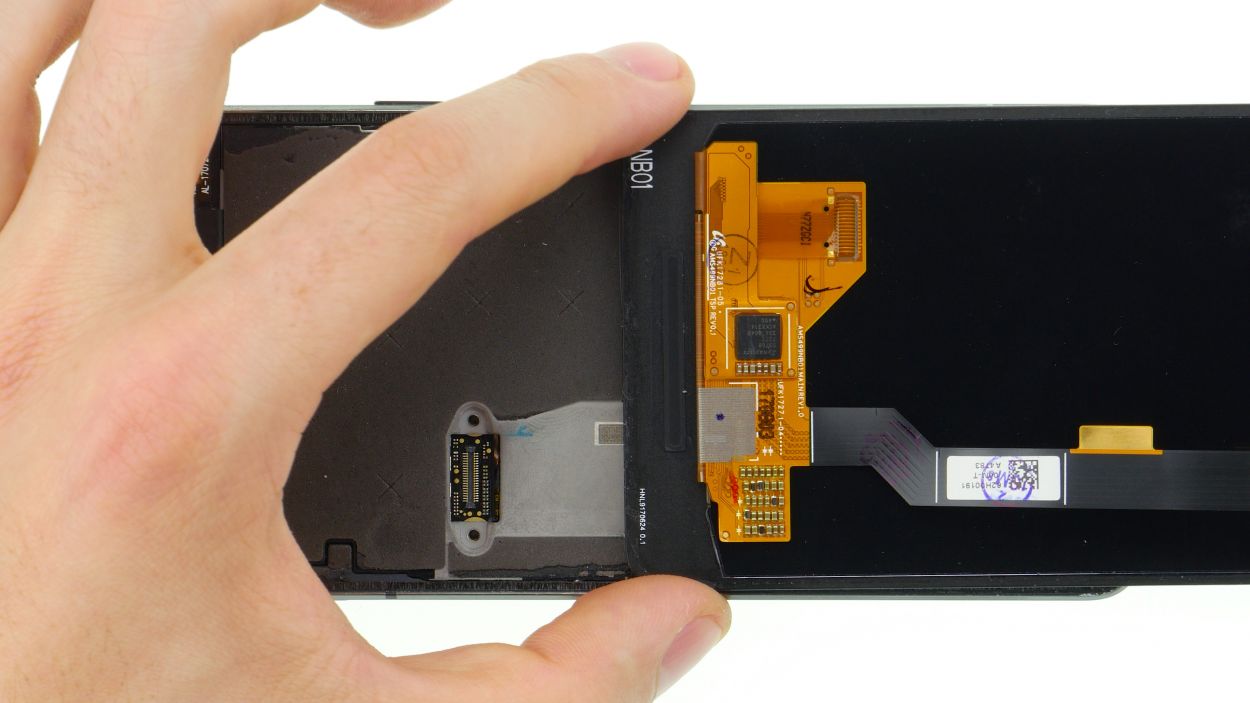
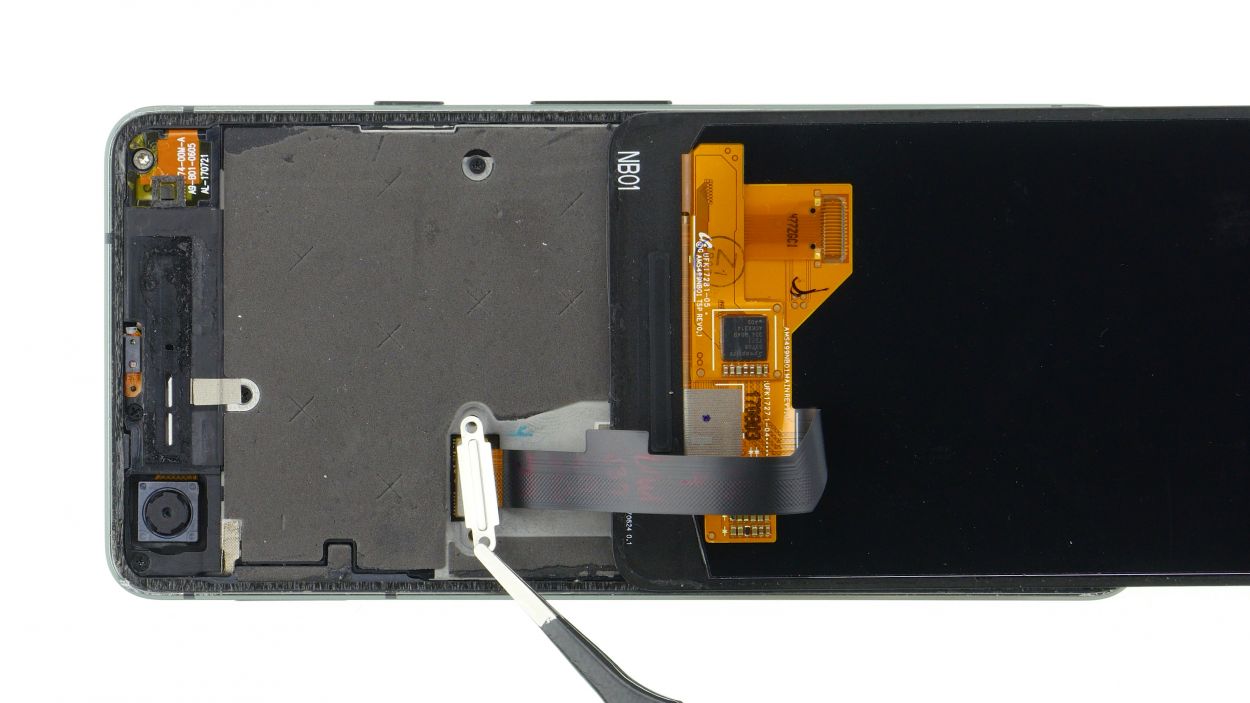
Step 3
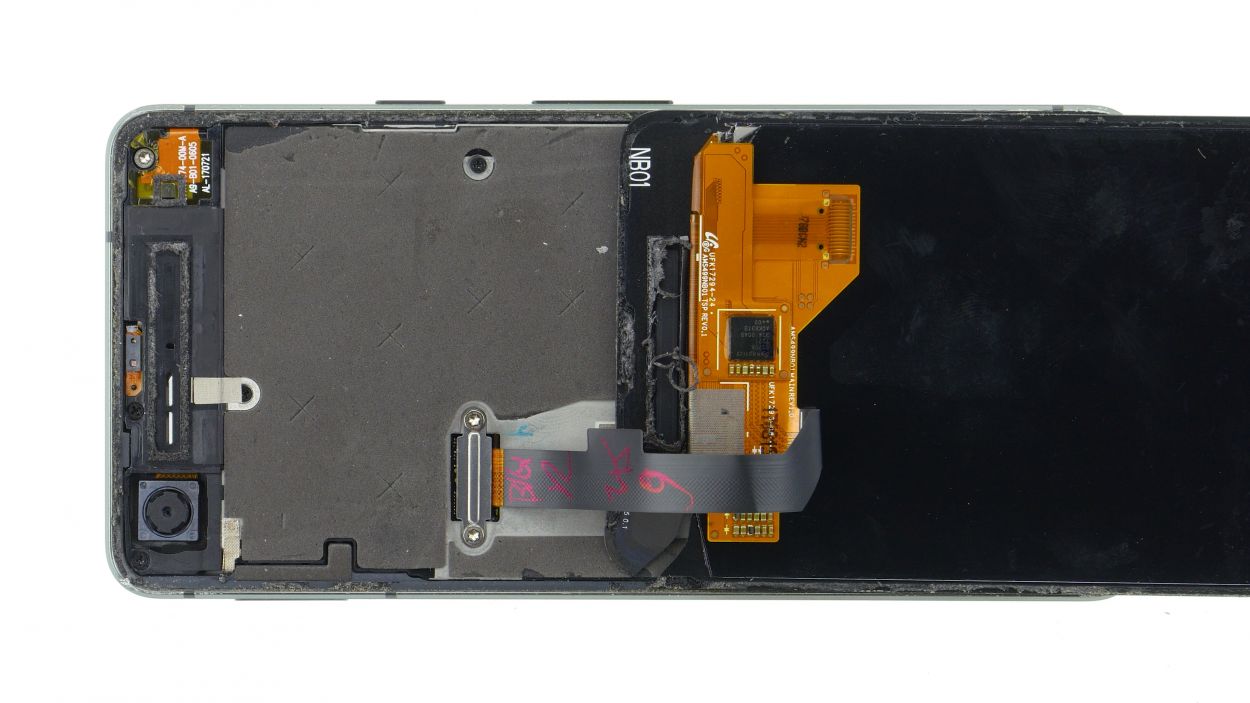
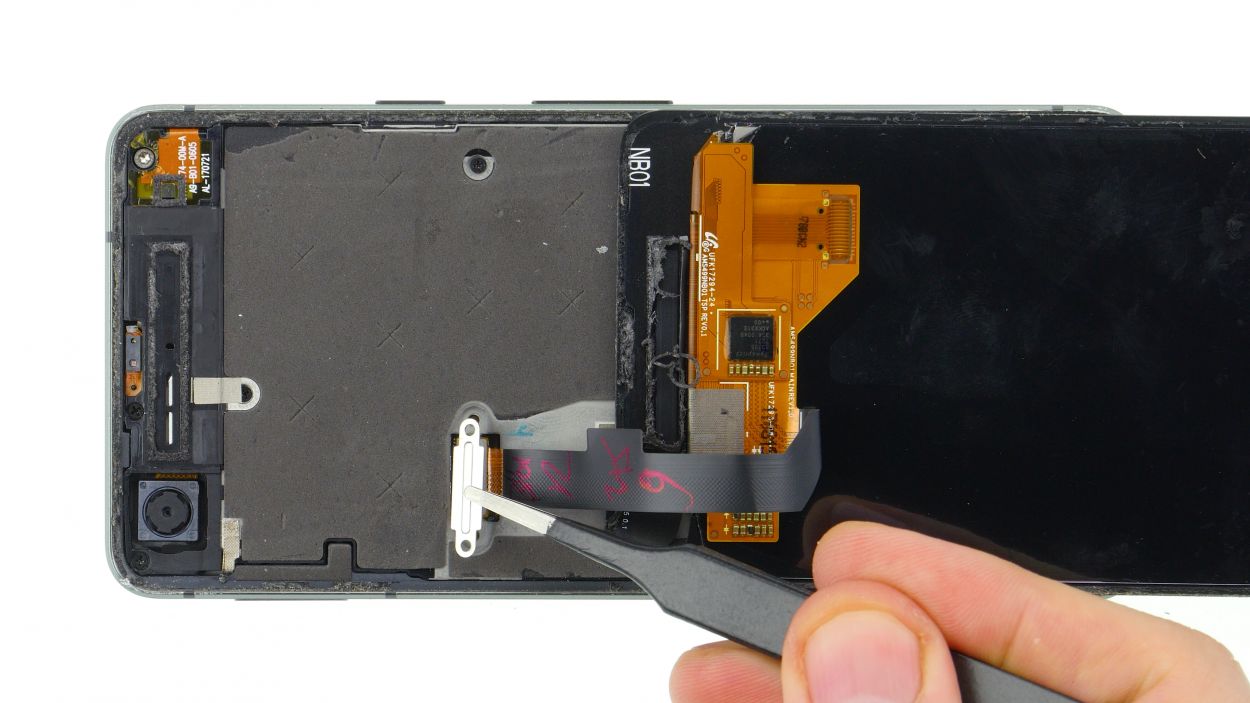
2 × Torx T5
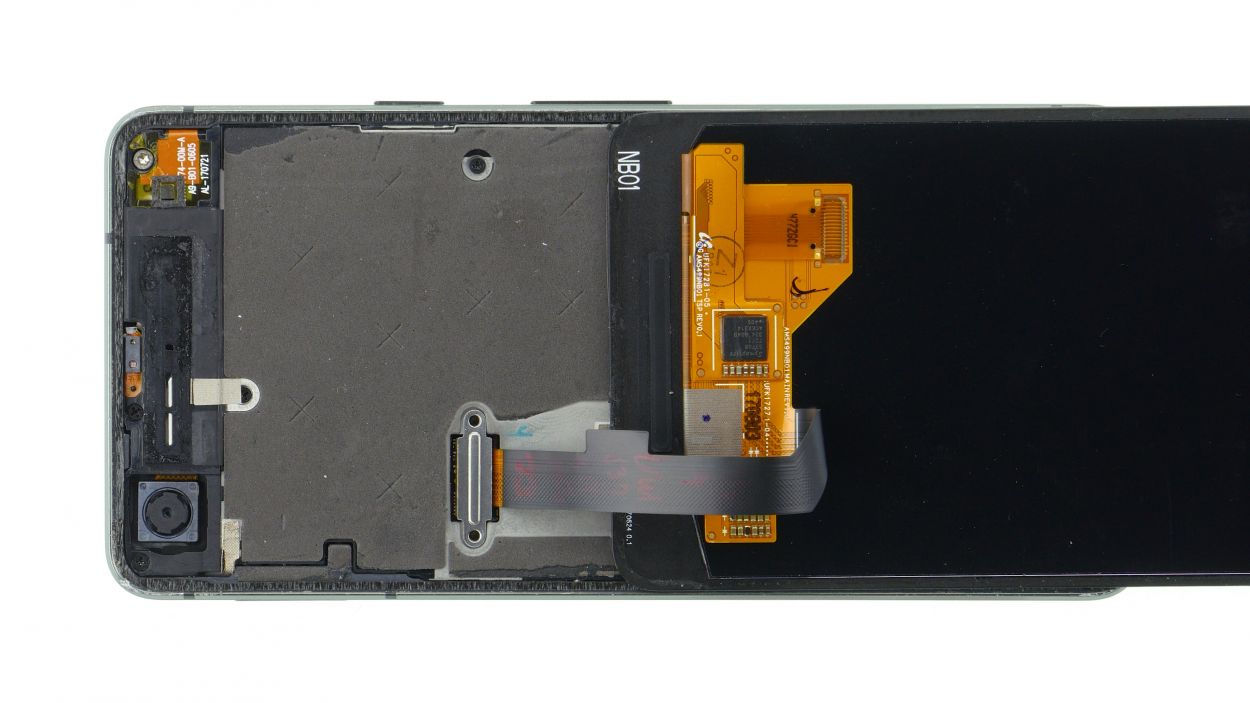
Take it easy and be extra gentle! We don’t want any oopsies with the connector socket or the board’s components. You’ve got this!
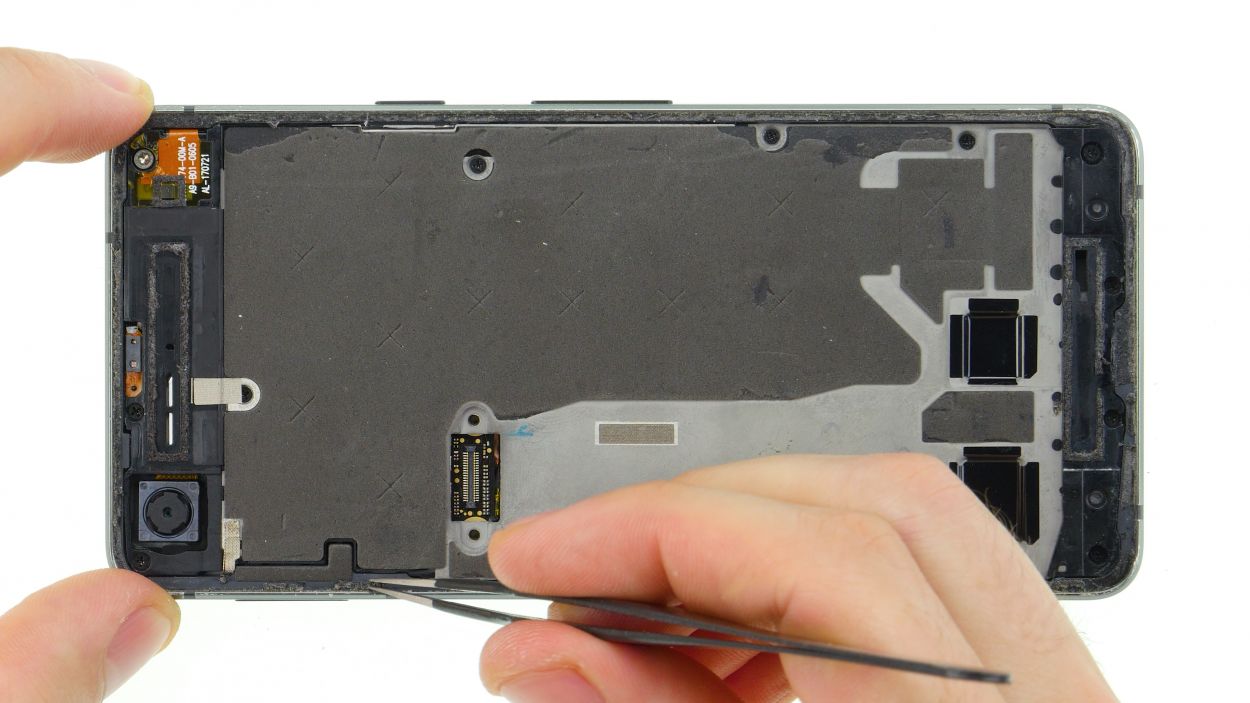
Step 4
– Those little speaker mesh grilles and the front camera’s white bezel? Grab ’em gently from the old screen and pop ’em onto your shiny new replacement! Easy peasy!
Step 5
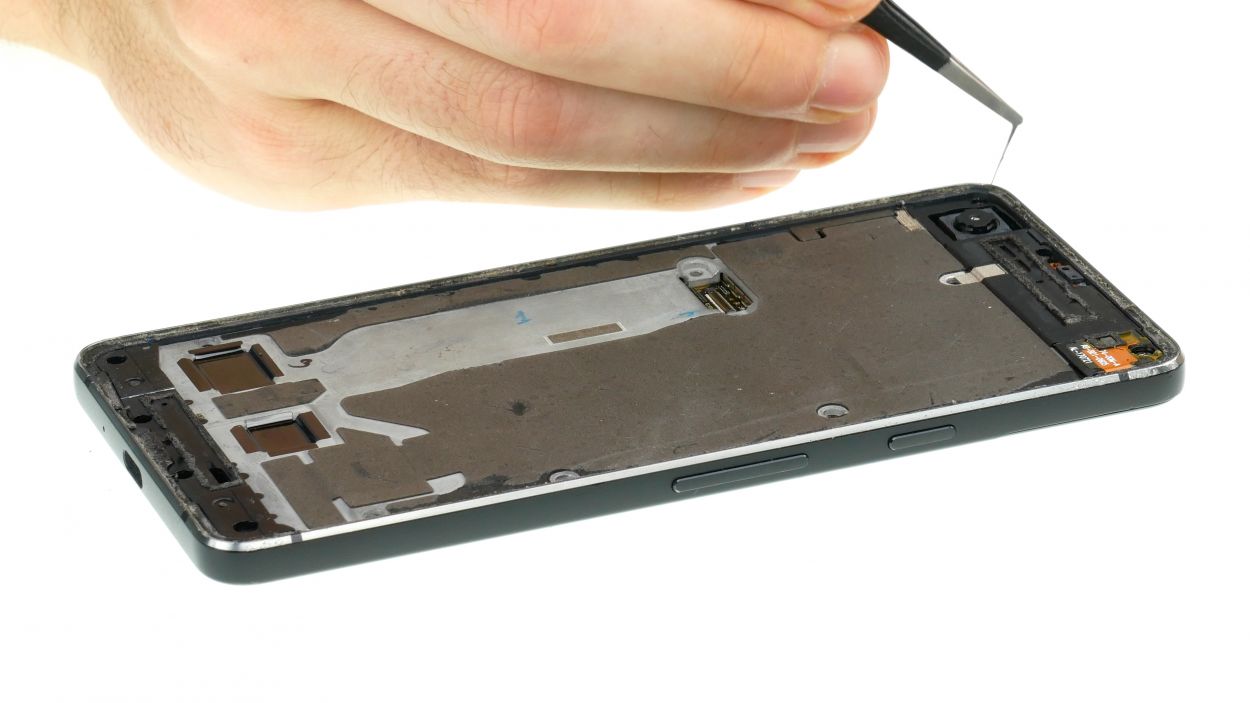

Grab a cloth and some isopropanol to banish those stubborn glue remnants. You’ll be amazed at how easily it works!
Step 6

Make sure that you do not remove the black frame sticker. If it comes loose, carefully reapply it with a tool.
– Kick things off by placing the adhesive frame with its protective film right on the display—this gives you a sneak peek at how it fits.
– Gently peel back the white backing from the edge and snugly fit the adhesive frame into your device.
– Check that it’s flush with the surface, then give it a firm push all around to make sure it sticks.
– Use a handy tool, like tweezers, to press the adhesive sticker firmly against the frame—get in there nice and secure!
– Now, loosen the flap and peel away the middle part of the sticker like a pro.
Step 7
2 × Torx T5
– Snap that display connector back in – you’ll hear a satisfying click when it’s snug!
– Time to put the cover back on! Use those Torx T5 screws and get it all tightened up. Easy peasy!