DIY Guide to Replace Huawei P30 Pro Back Cover
Duration: 30 min.
Steps: 3 Steps
Replacing the scratched or splintered back cover of your HUAWEI P30 Pro is a breeze with just three simple steps! Forget about those pricey repair shops and service centers; you can handle this repair on your own, saving both time and money. Our store has original spare parts that fit like a glove. Each step comes with a clear description of how to tackle it and the tools you’ll need. Plus, we’ve included short video clips to make everything even clearer. Before diving in, make sure your workspace is clean and well-lit. We’d love to hear your thoughts or feedback after your repair adventure!
Step 1

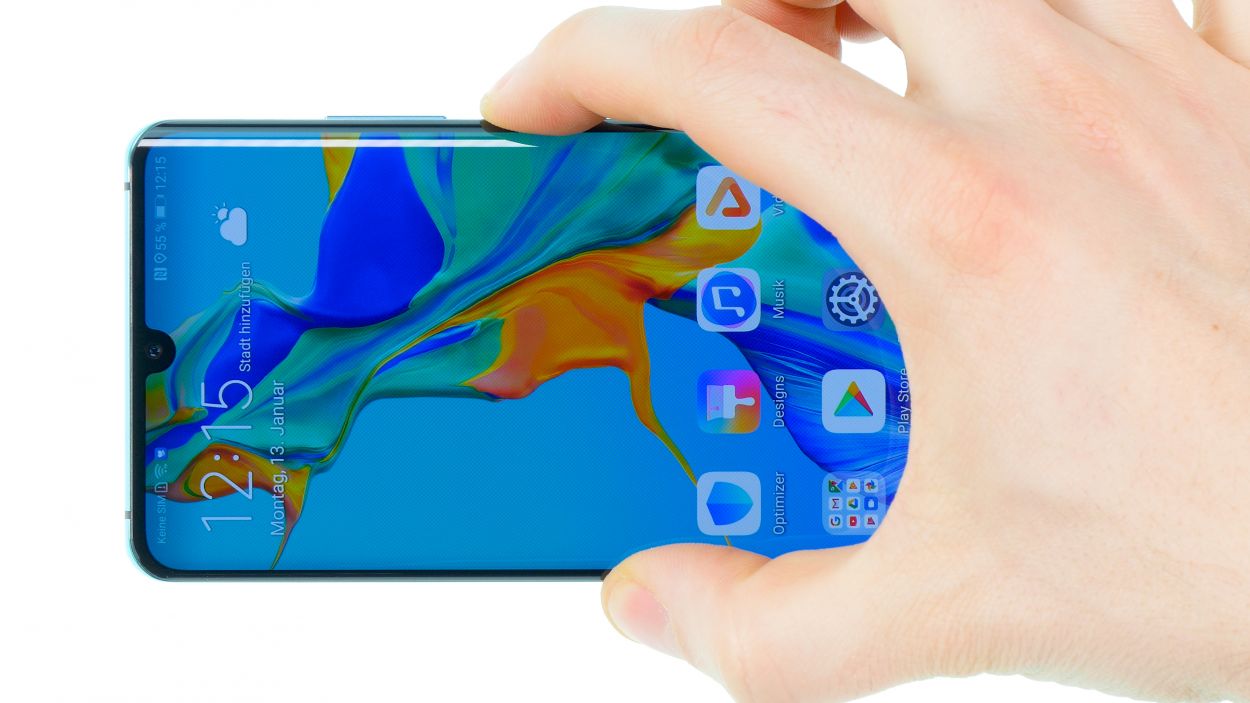
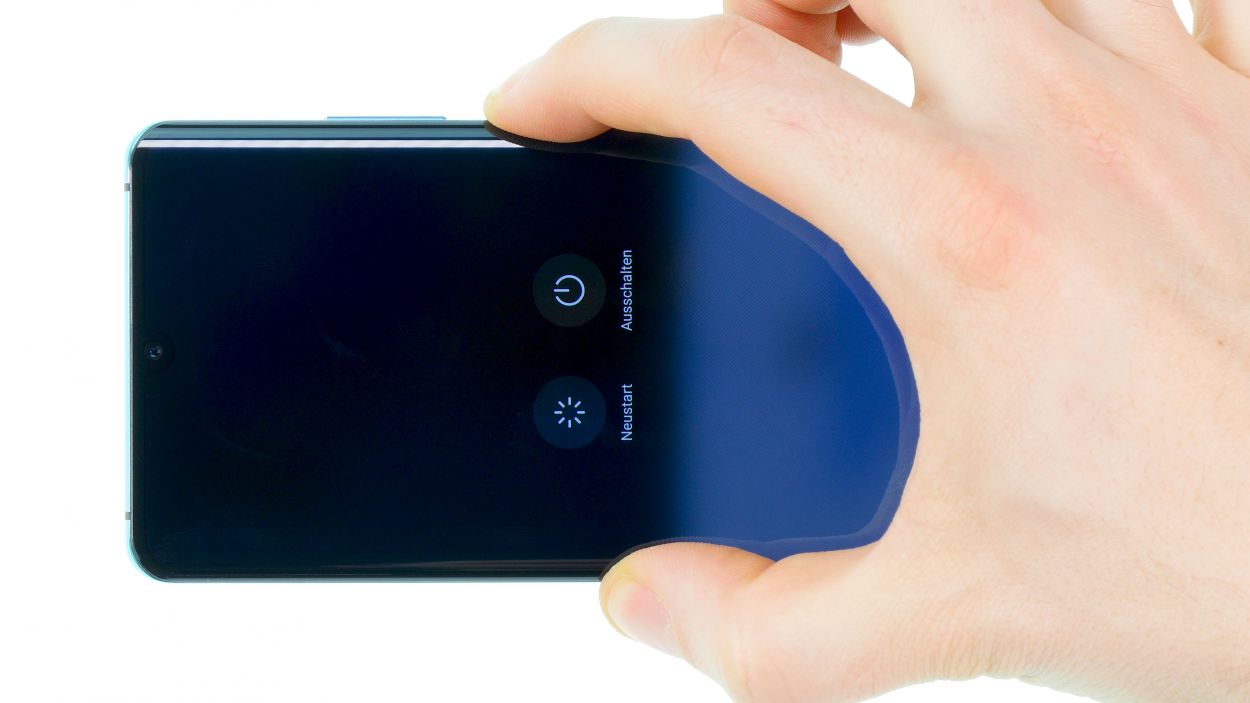

– First things first, let’s keep things safe! Make sure to power down your device before diving into the repair to avoid any pesky short circuits.
– If the screen has gone kaput and isn’t responding, don’t sweat it! Just follow a few simple steps to disconnect the battery, and your device will switch off in no time.
Step 2

Heads up! After you wrap up your repair, your phone might not be as waterproof as it once was. Just a little reminder to keep it away from the splash zone!
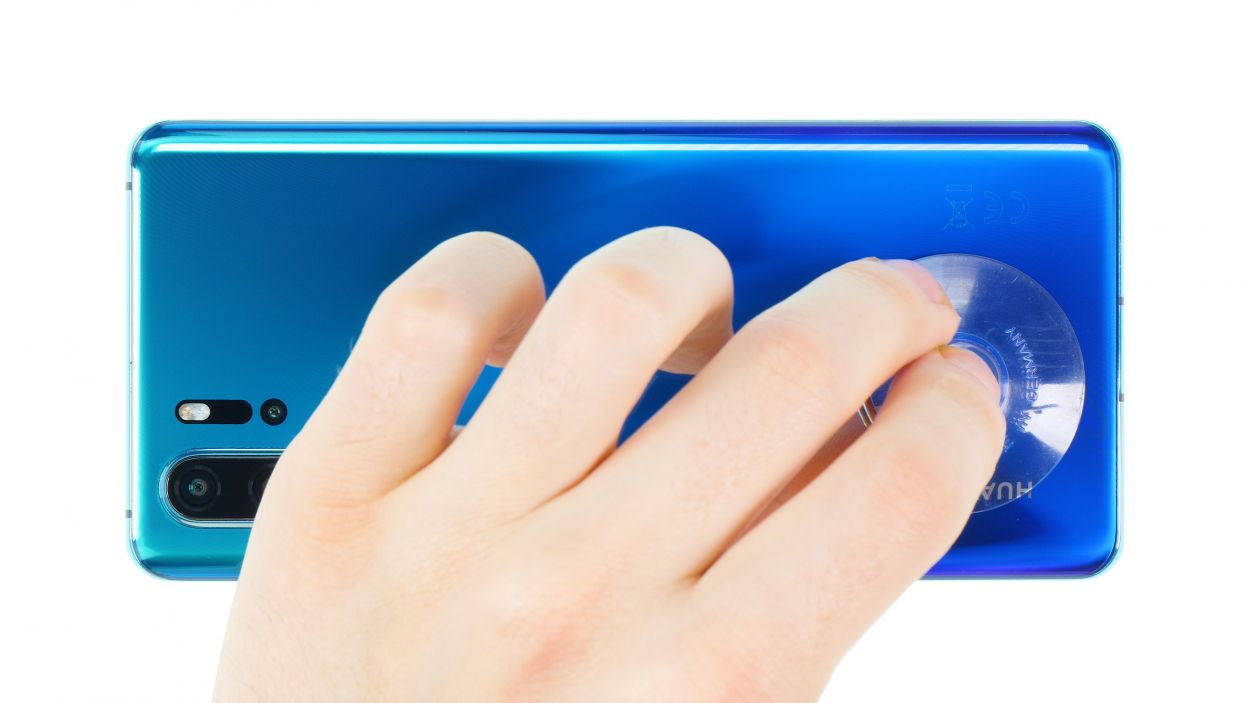
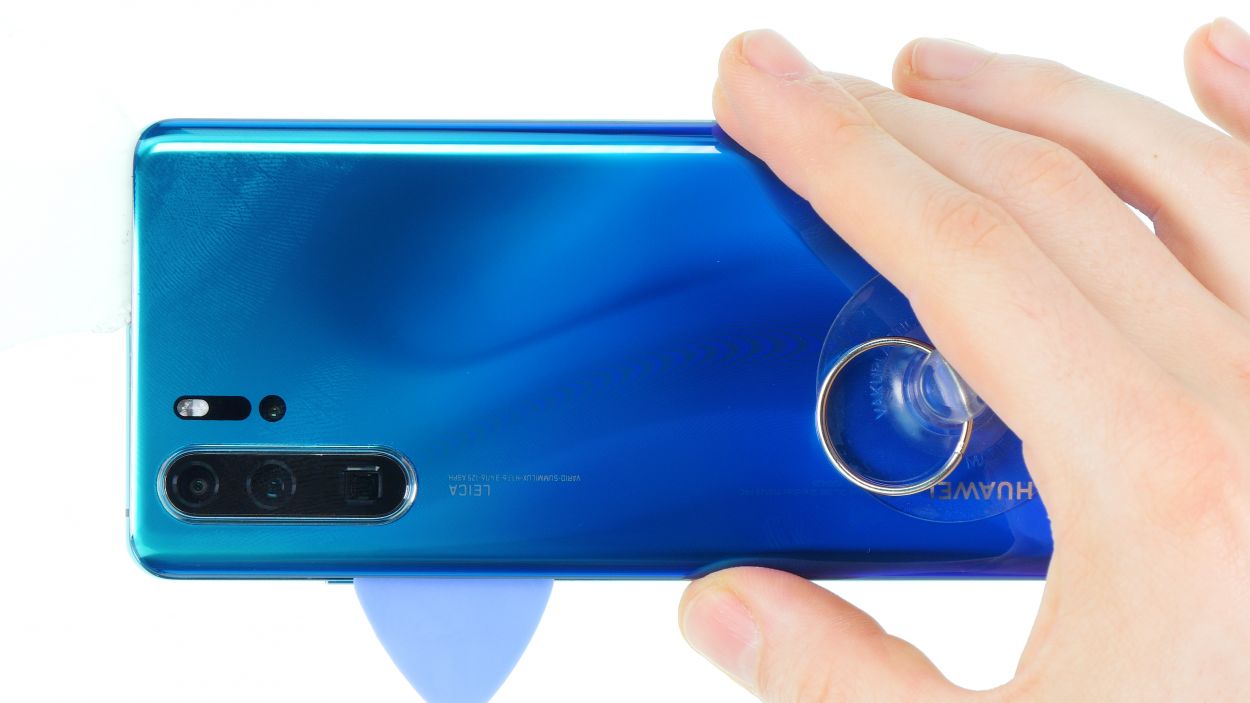
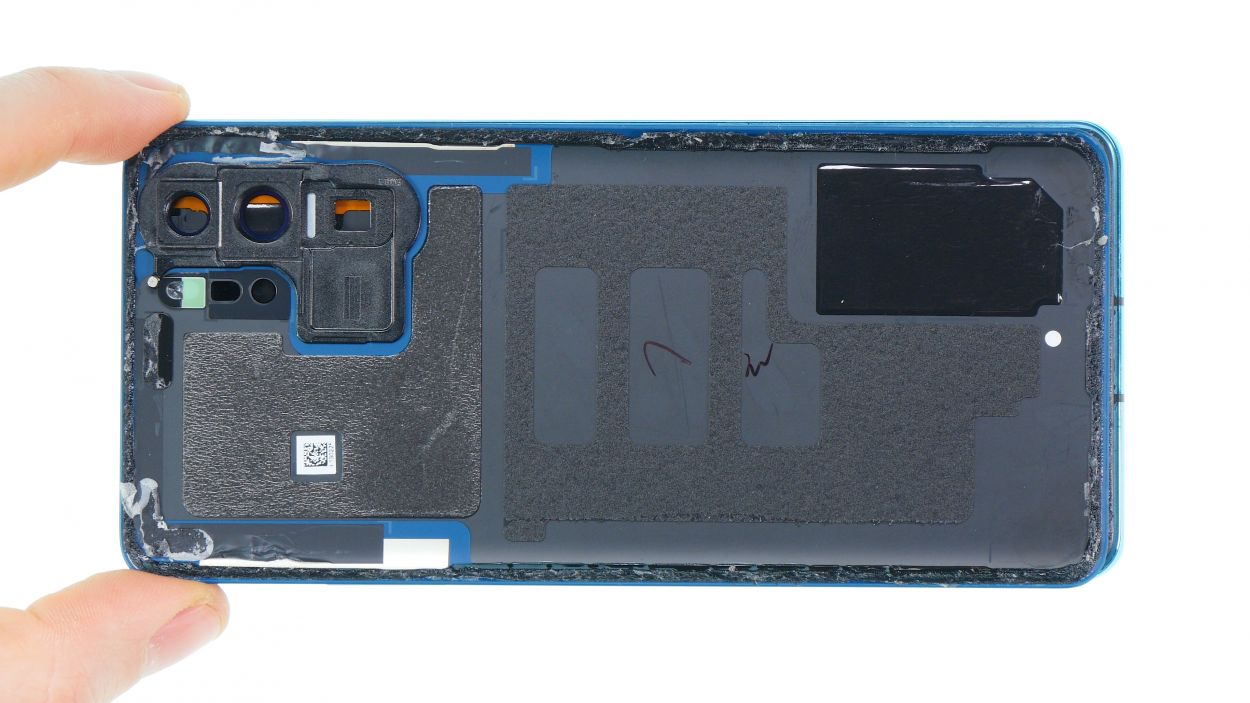
Keep an eye out around the cameras; we want to keep them safe and sound!
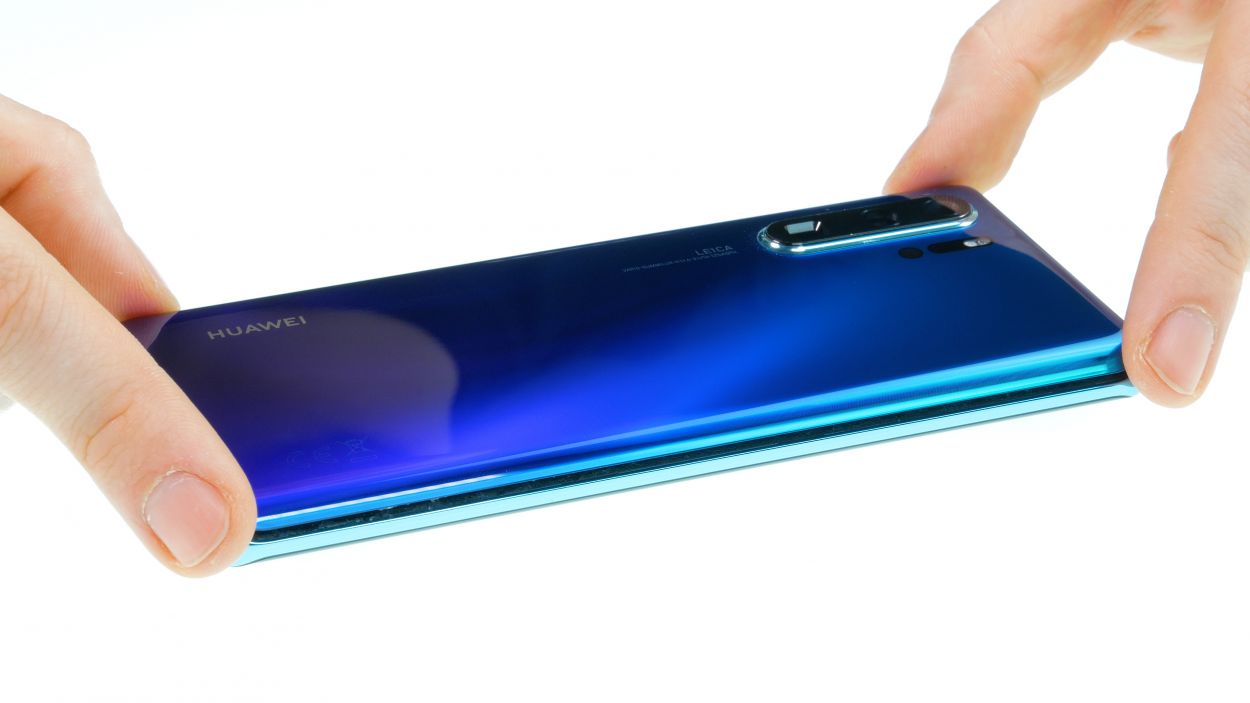
– Warm up the entire edge of the back cover, especially the area where you’re going to start loosening it. Just be careful not to overdo it—heat it enough so that it’s comfy to touch!
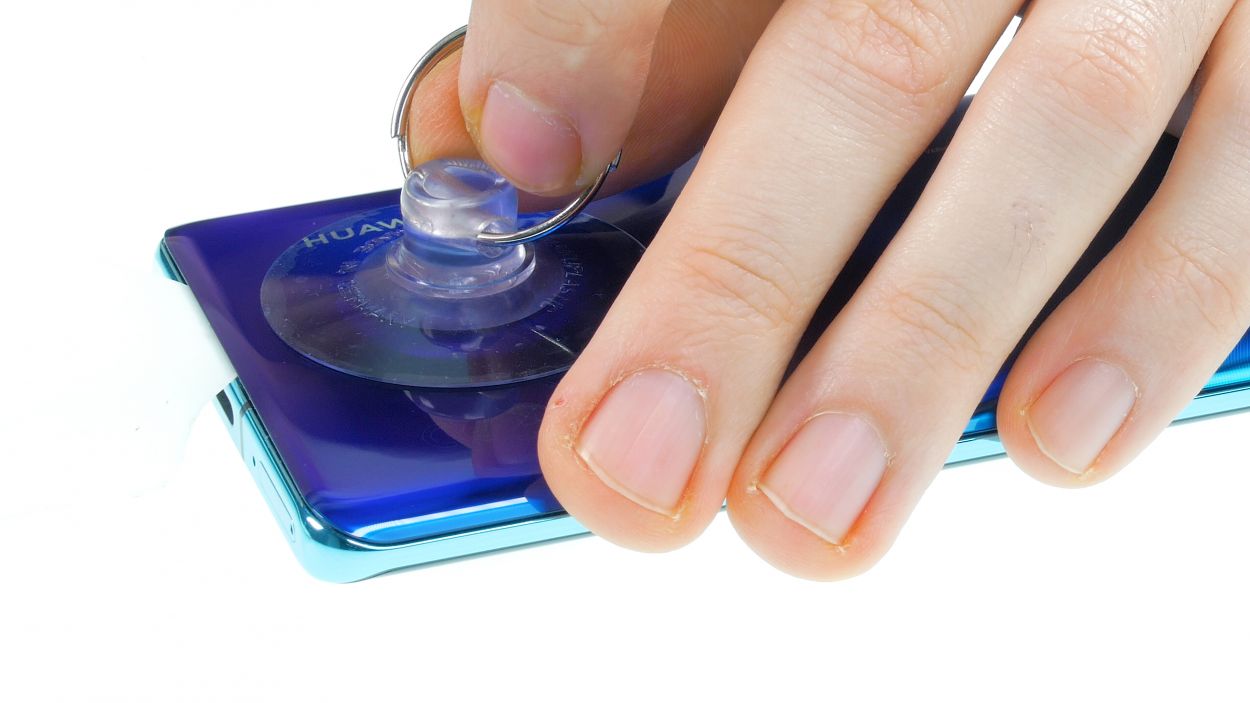
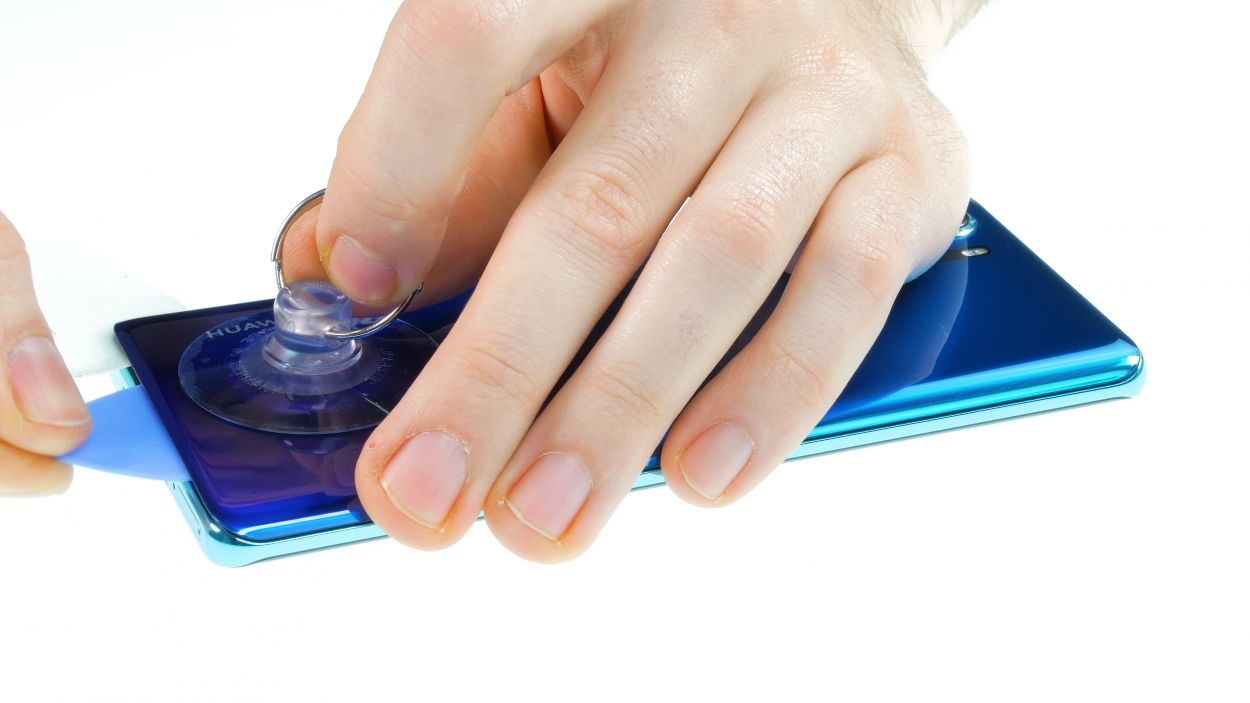
– Stick the suction cup on the bottom of your device and give it a gentle pull to create a tiny gap between the back cover and the frame.
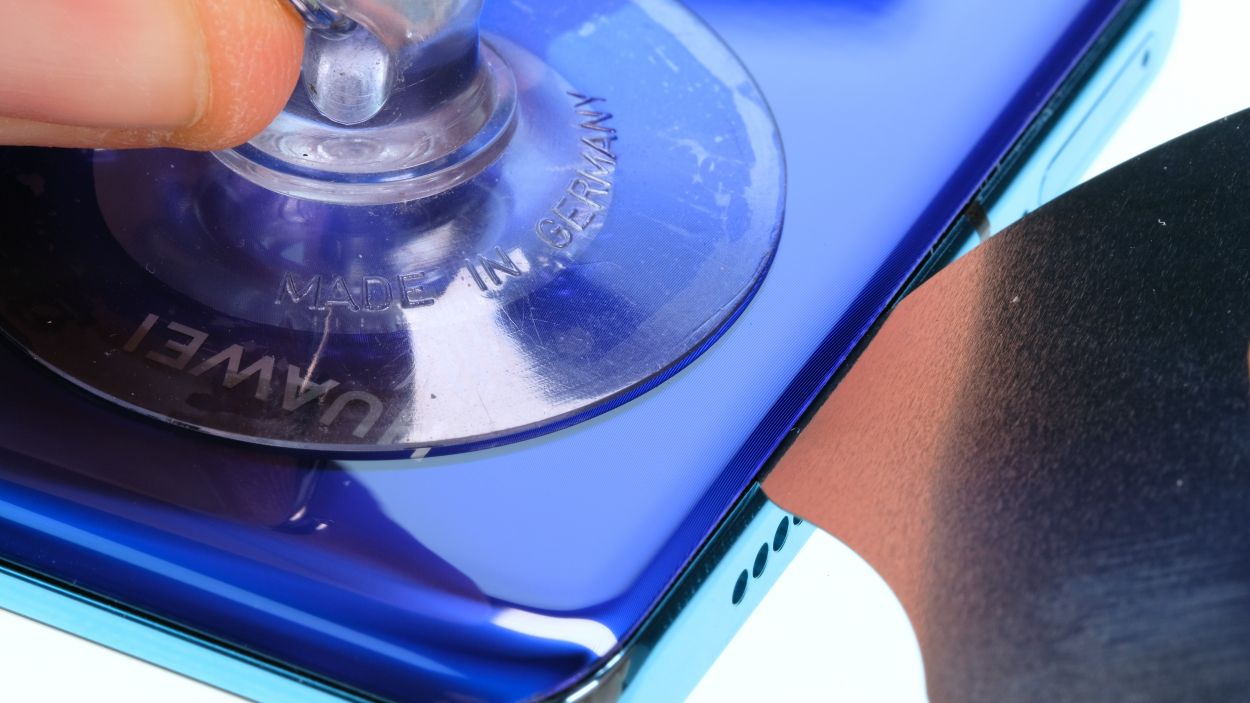
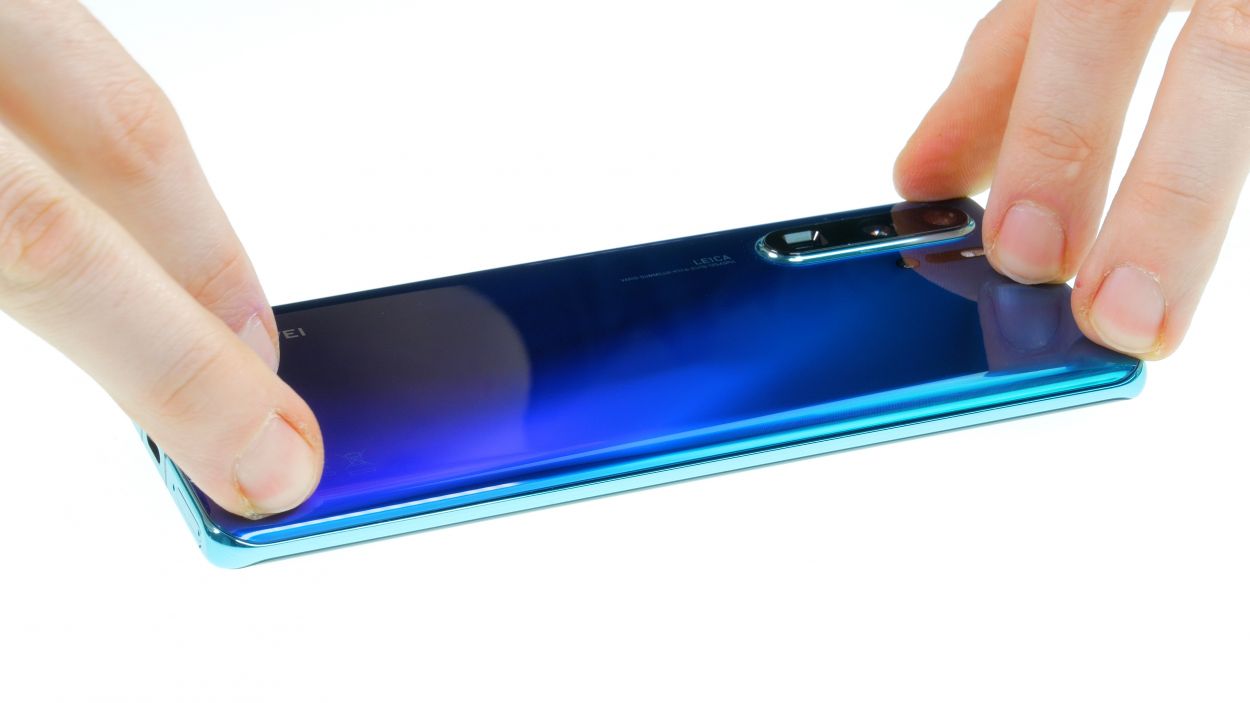
– Now, it’s time to slide your tool into that gap. Using the iFlex makes this a bit easier since it’s made of metal and has a sturdy feel. We suggest switching to a plastic tool when you can for safety’s sake.
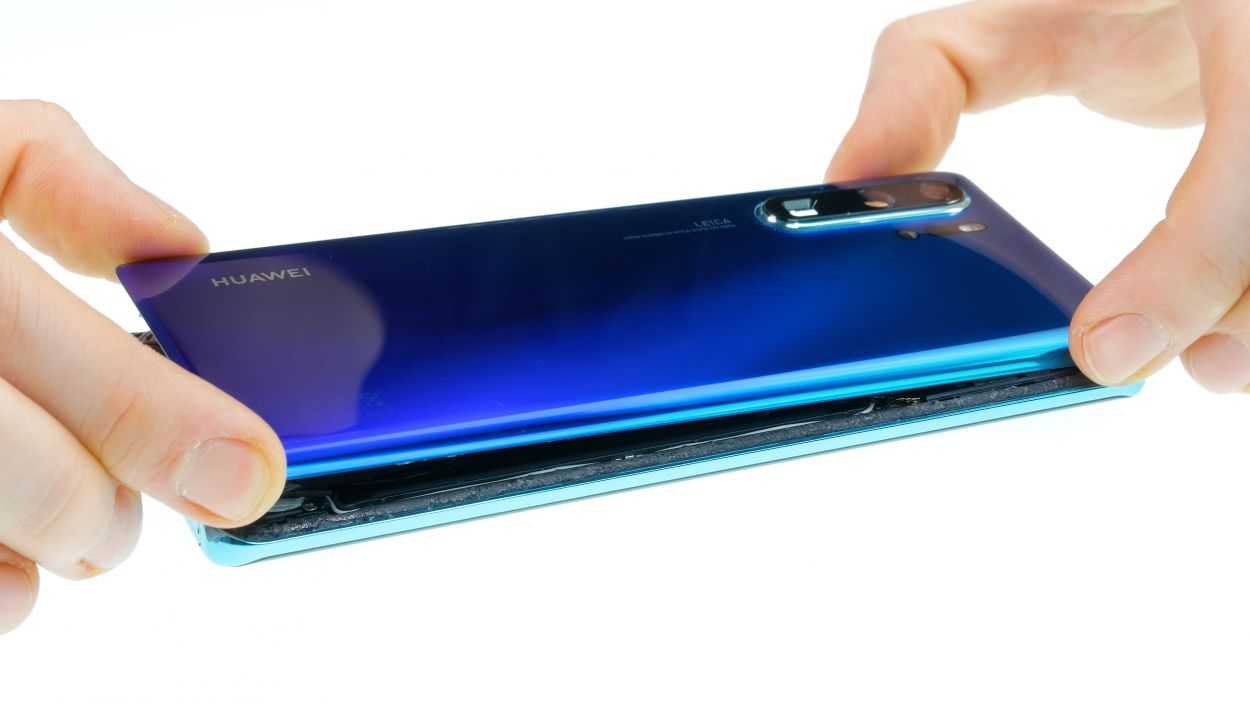
– Take it easy with this step! The back cover is made of glass and can be a bit fragile, so handle it with care.
– Be cautious not to push the tool too deep into the device, and watch out for scratching the back cover with the tool’s edges.
Step 3
Just a heads up, after the repair, your smartphone won’t be completely invincible to liquid damage anymore. But don’t worry, you’re still in good hands! If you need help, you can always schedule a repair.
– Before you pop that back cover onto the frame, take a moment to check out the glue situation. It should be spread out evenly around the edge, ensuring the back cover sits snugly with the frame. If there’s any extra glue hanging around, feel free to tidy it up!
– Want to freshen things up? You can ditch the old glue and opt for a new adhesive frame if that suits your fancy.
– Now, let’s get that back cover positioned just right! Center it over the device and place it down gently. Hold off on pressing it firmly until you’re sure it’s perfectly aligned.
– Give the back cover a little heat therapy with some hot air to help the adhesive bond even better. A little warmth goes a long way!
– As the glue cools, go ahead and give that back glass a gentle press with your fingers or place something light on it to keep it snug.


