DIY Guide to Replace iPad 3 4G Adhesive Strips
Duration: 45 minutes
Steps: 14 Steps
Hey there, repair champion! Just a quick heads-up: handling gadgets can get a bit tricky. Make sure you’re following the steps closely, and if you run into any bumps in the road, don’t hesitate to reach out for support. If you need help, you can always schedule a repair. You’ve got this!
Ready to give your iPad 3 4G a fresh adhesive makeover? Let’s get that repair job sealed up tight! Before you dive into the sticky stuff, make sure both the front panel and rear case are squeaky clean. Grab a spudger and gently scrape away any stubborn remnants of the old adhesive. Then, use a paper towel with some rubbing alcohol or Goof Off to clean those surfaces like a pro. Remember, peel off each adhesive strip as you go—no need to lay them all out at once. If you need help, you can always schedule a repair.
Step 1


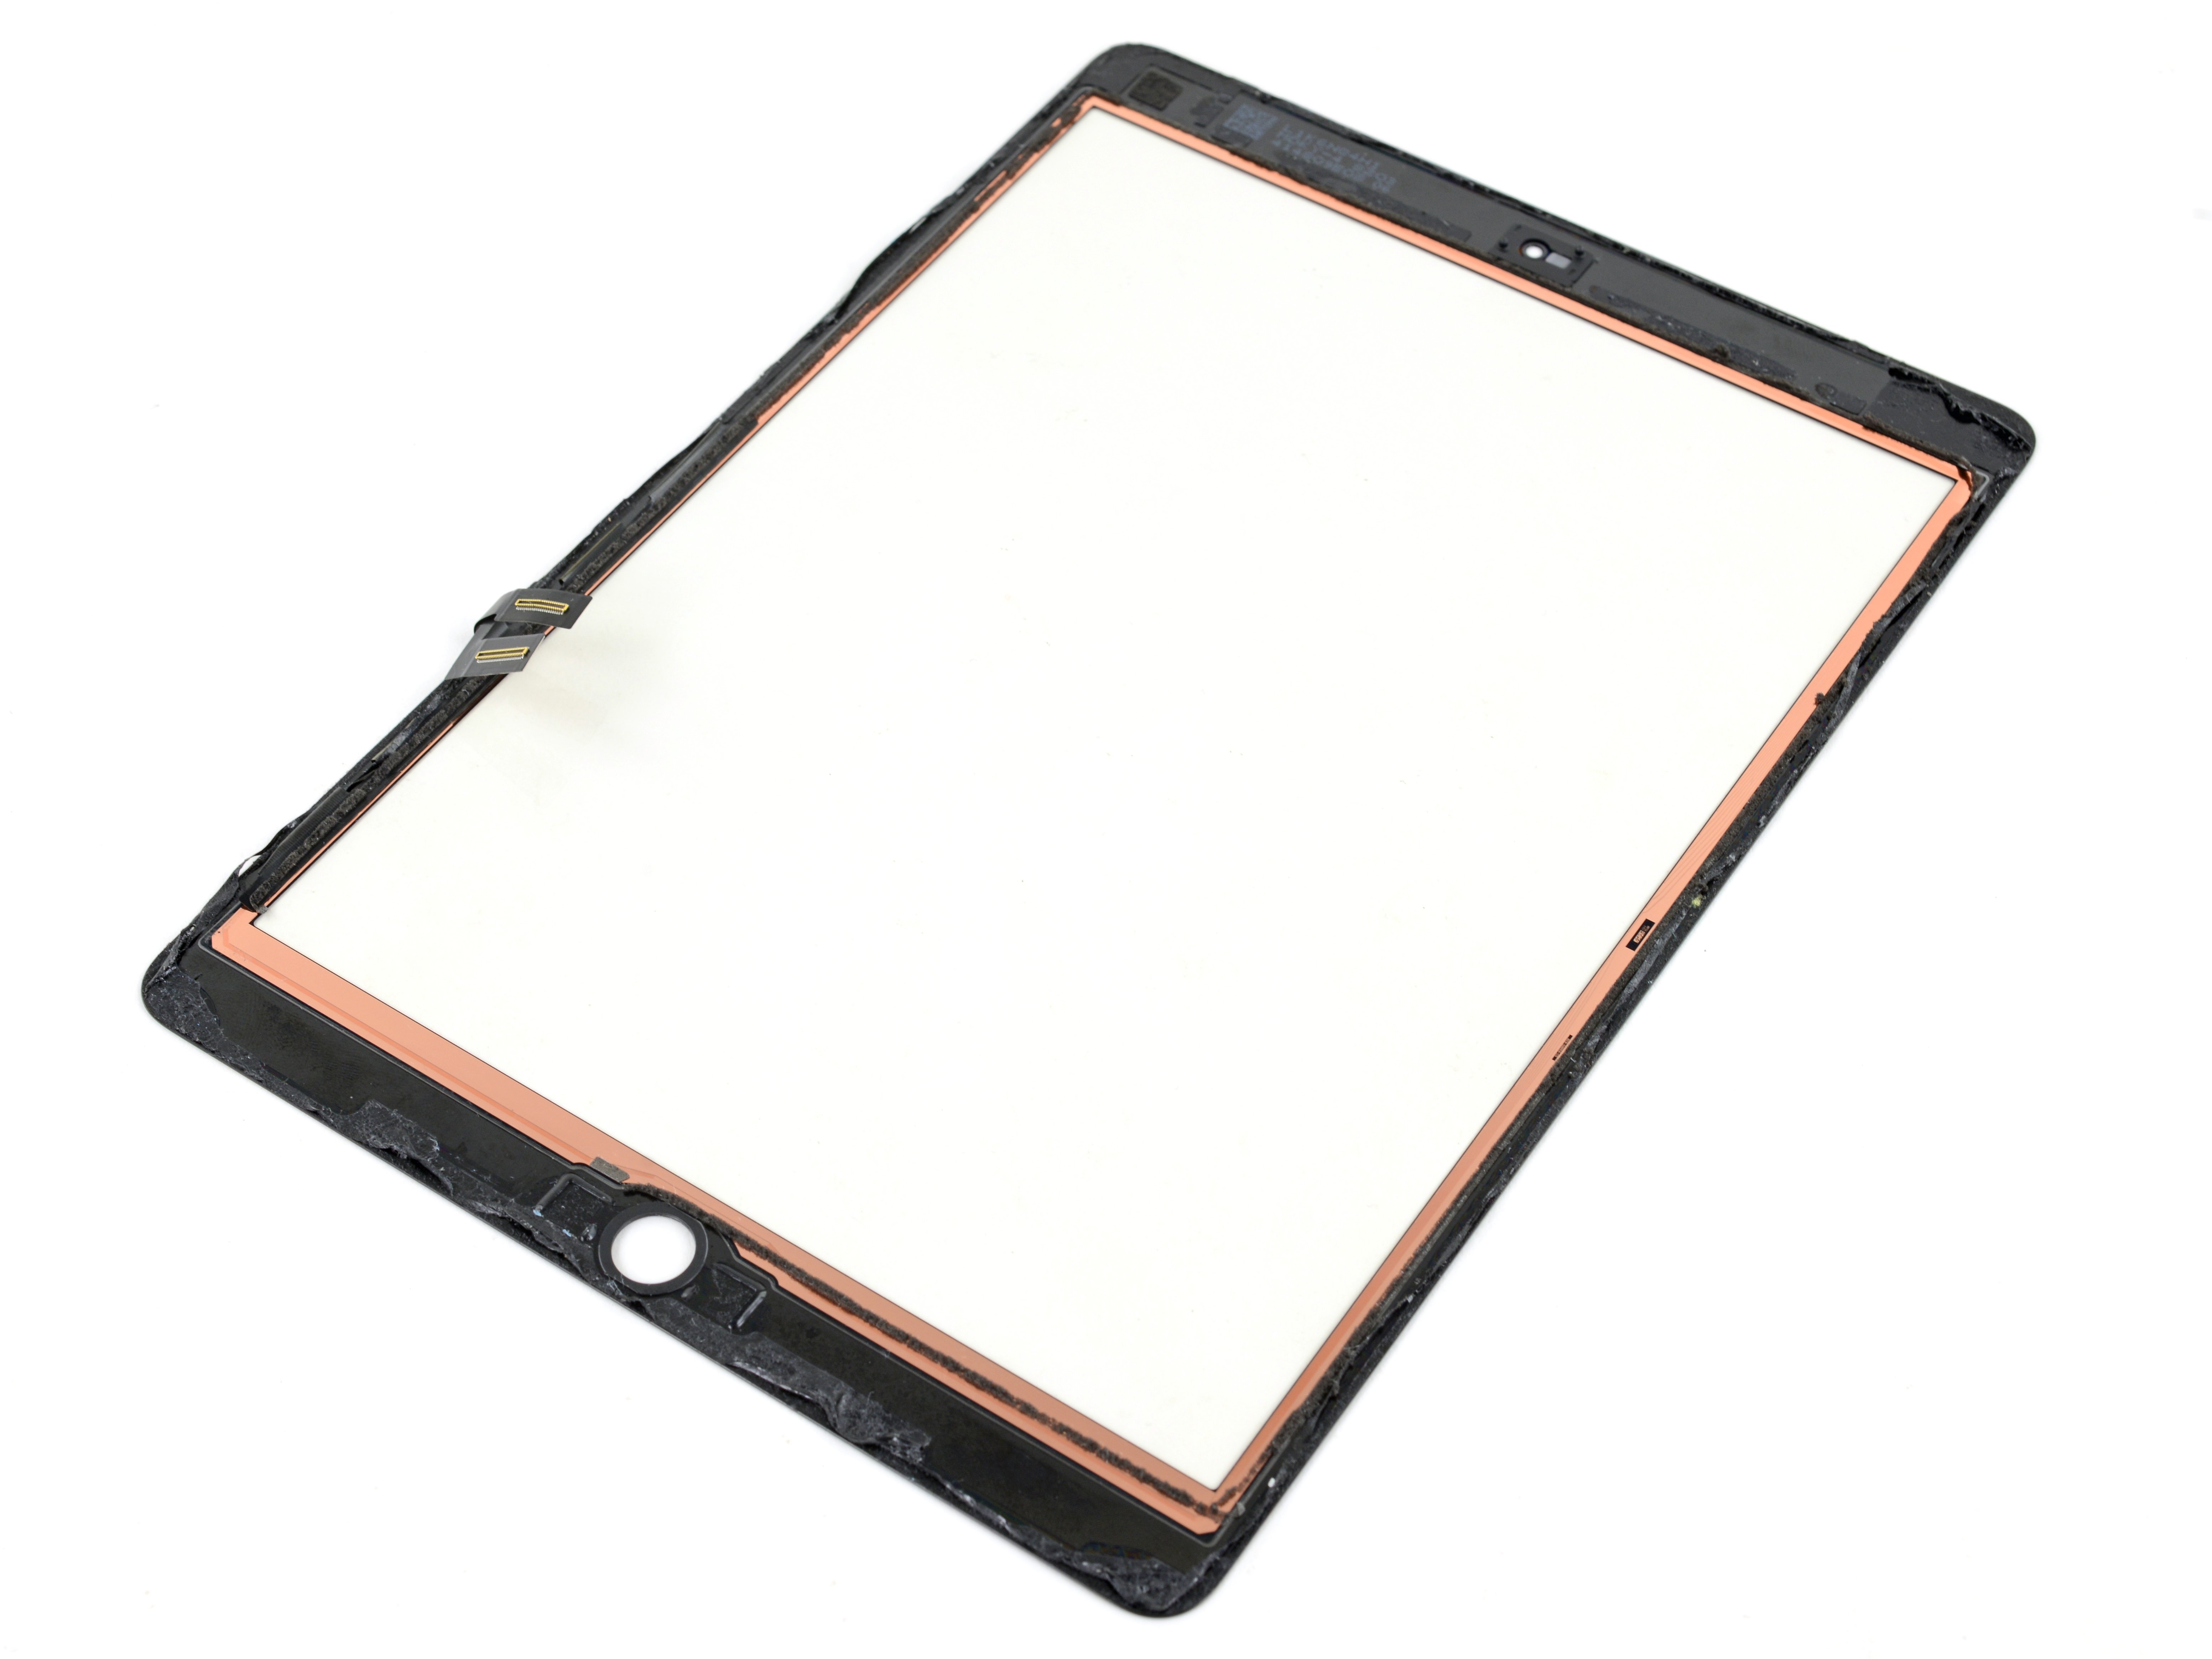
Check out the third picture to get the home button orientation just right! Remember, the back of the home button should be facing up, and the flat part of the inner circle needs to be pointing to the top of the iPad. You’ve got this!
– Grab the home button with your trusty tweezers—just a gentle hold will do!
– Now, carefully lower the home button into the cozy round opening at the bottom of the front panel. It’s like tucking it into bed!
Tools Used

Step 2


The two tiny, notched trapezoidal strips are your trusty sidekicks for securing the home button bracket to the front panel. Let’s get that home button locked in place!
– Gently peel away the first trapezoidal adhesive strip like a pro!
Step 3


Just make sure to align the edge of the strip with the mounting bracket like a pro! You’ve got this!
– Grab your trusty tweezers and gently position the first trapezoidal adhesive strip, making sure it’s facing the right way, on the corresponding side of the home button mounting bracket.
– Now, let’s do it again for the second trapezoidal adhesive strip. You’re doing great!
Tools Used