DIY Guide to Replace iPhone 16 Plus Microphone
Duration: 45 minutes
Steps: 34 Steps
Follow this guide to swap out the microphone in your iPhone 16 Plus. If your iPhone is struggling to catch your voice or experiencing random issues, it might be time for a microphone replacement. This guide covers the primary microphone of three, which can be swapped as a single unit. Another mic is part of the charging port assembly, and a third is integrated with the power button assembly. You’ll need replacement back glass adhesive to wrap up this repair. If you need help, you can always schedule a repair.
Step 1
Let your phone’s battery dip below 25%—remember, a fully charged lithium-ion battery can be a bit of a drama queen when it comes to safety.
– Disconnect any cables from your phone.
– Press and hold the power and volume buttons, then slide to turn off your phone.
Step 2
Ensure there’s a nice, smooth spot near the bottom edge that’s large enough for a suction cup to grab onto.
– In case your screen or back glass looks like it’s been through a battle, grab some packing tape and lay down overlapping strips across the glass. This will keep you safe while you tackle the disassembly – and make the whole process a breeze!
Tools Used
Step 3
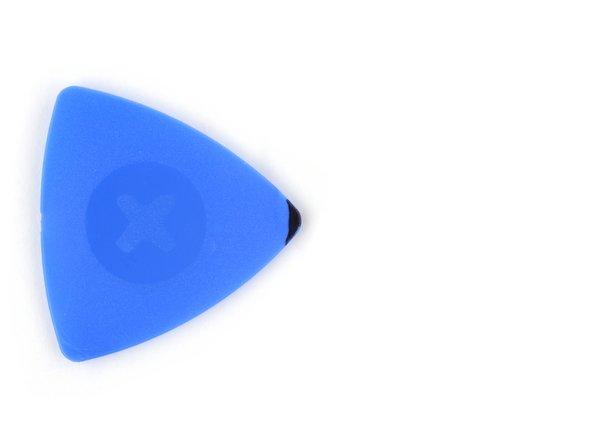
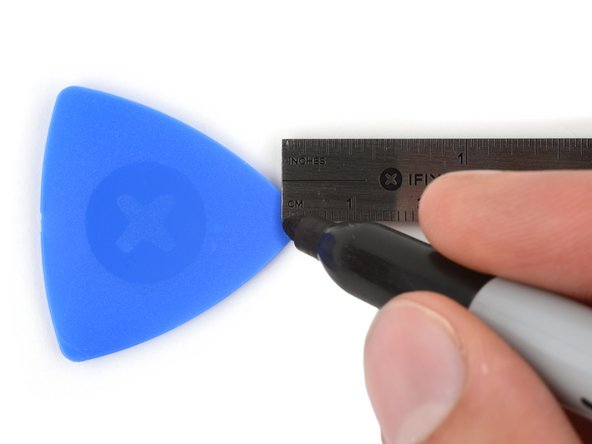
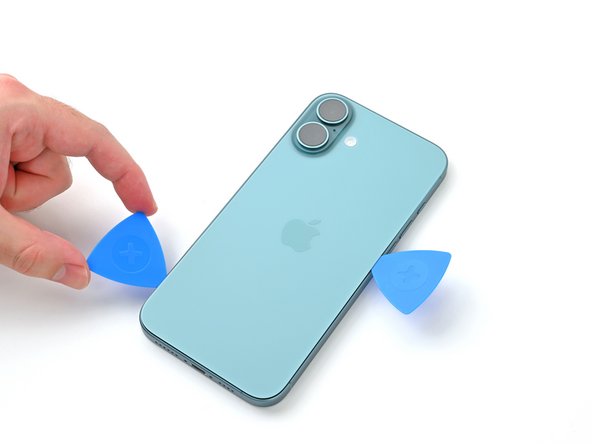
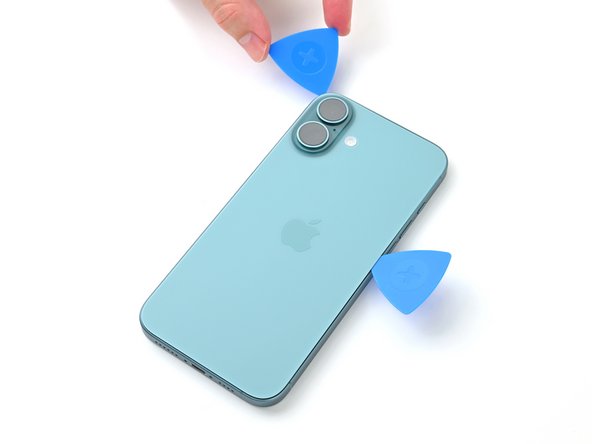
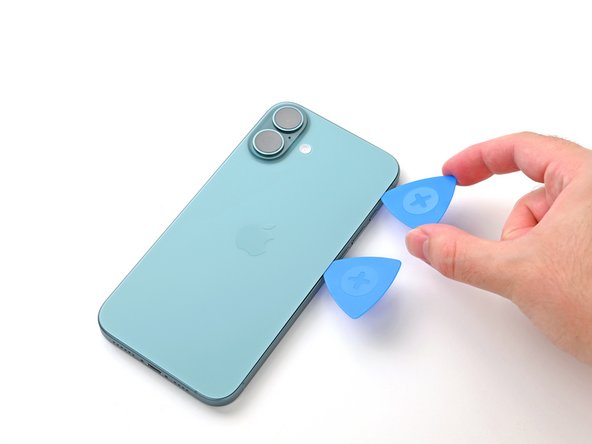
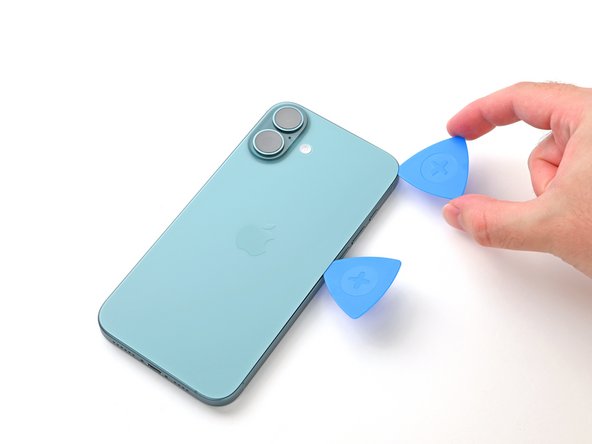
Be careful not to push your opening pick in too deep, or it might cause some trouble for your device. A little tip: mark your pick to keep things safe and sound!
Feel free to give the other corners of the pick their own special measurements too!
Alternatively, you can stick a coin to a pick, about 3 mm from the tip, using tape. It’s a handy trick!
– Grab your opening pick and measure out a cool 3 mm from the tip. Give it a little mark with a permanent marker – it’s like giving your tool a stylish accessory!
Step 4
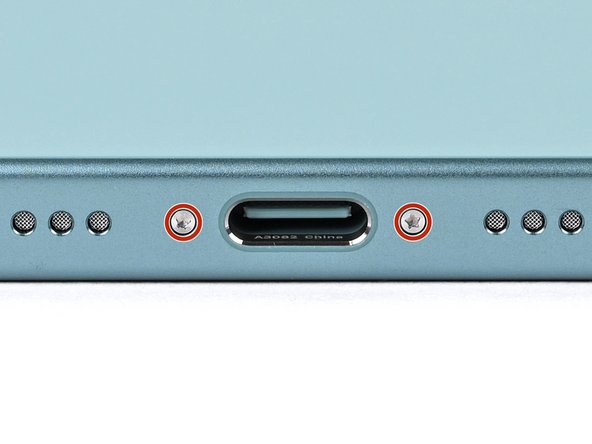
– Grab your trusty P2 pentalobe driver and let’s get to work! Carefully unscrew those two 7.7 mm-long screws on each side of the USB-C port. You’ve got this!
Step 5
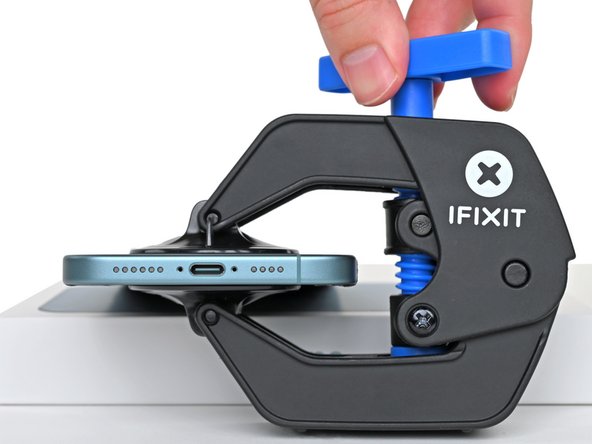
Get ready for the next five steps where we introduce the Anti-Clamp, a nifty little gadget designed to simplify your opening experience. If you’re not using the Anti-Clamp, feel free to hop down four steps for another method.
The Anti-Clamp creates a suction grip on both the screen and the back glass. If you’re only looking to open the back glass, just make sure to secure the screen with some tape.
For detailed instructions on how to make the most of the Anti-Clamp, check out this guide.
Just a quick reminder: be sure that the tape is only holding the screen and not the back glass.
– Snip off two strips of tape, then stick them down along the long sides of your phone. Give them a little fold over the screen to keep everything snug and secure!
Step 6
If your phone’s surface feels a bit too slippery for the Anti-Clamp to grip, just grab some tape and give it a little texture!
– Give that blue handle on the Anti-Clamp a good tug backward to free up those arms.
– With the back glass facing up, gently slide the arms over the right edge of your phone, placing one suction cup on the back and the other on the screen. Aim to center those cups near the bottom edge for best results.
– Support your phone so it sits nice and level between the arms of the Anti-Clamp—a little box can do wonders here.
– Now, squeeze those cups together to get a solid suction going!
Step 7
If tape is playing hard to get, just warm up those suction cups a bit to help them stick like best buds!
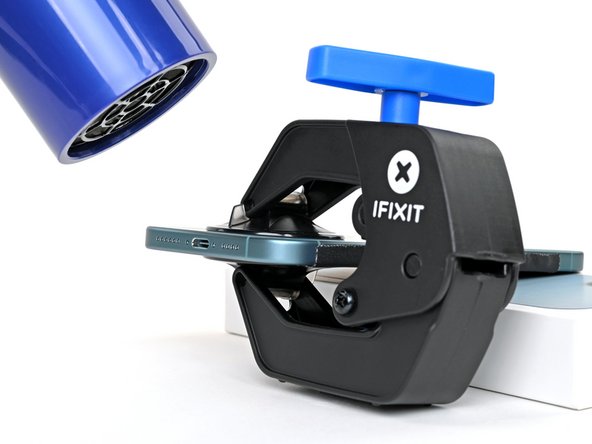
– Swing that blue handle forward to secure the arms.
– Crank the handle a full 360 degrees or until the cups start stretching.
– As the cups stretch, ensure they stay perfectly aligned vertically. If they keep slipping, remove the Anti-Clamp and use some tape to keep the cups in place.
Step 8
Watch out for the heat—keeping your phone cooler than a polar bear in sunglasses is key! The battery doesn’t take kindly to the hot stuff.
Alternatively, grab a hair dryer or heat gun and warm up the bottom edge of the back glass until it’s nice and toasty to the touch.
If you don’t see a gap forming after a minute, give it a little more heat and twist the handle a quarter turn. Let the Anti-Clamp do its magic, repeating this as needed!
– Warm up your iOpener and give it a cozy spot on the bottom edge of the back glass for about two minutes.
– Take a breather for up to a minute while the adhesive loosens up and a little gap appears between the back glass and the frame.
Tools Used
Step 9
– Slide the tip of an opening pick into the gap.
– Use the pull tabs on the suction cups to remove the Anti-Clamp.
– Skip the next couple of steps.
Step 10
Watch that heat! Don’t make your phone a toast—the battery doesn’t appreciate a sauna session. If you need help, you can always schedule a repair.
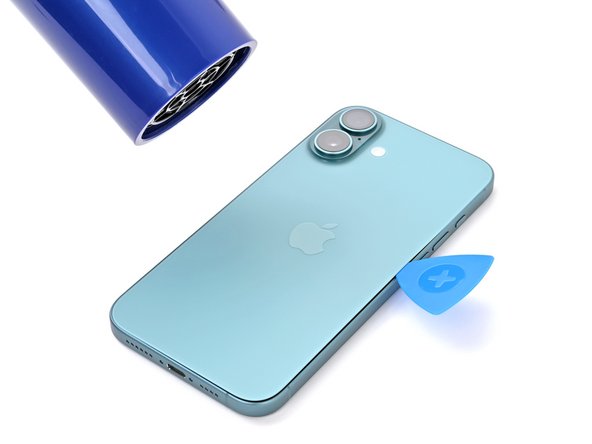
If you’re feeling a bit adventurous, grab a hair dryer or a heat gun and warm up that bottom edge of the back glass until it’s nice and toasty. Just remember, it should be hot to the touch, but not so hot that it burns your fingers!
– Warm up your iOpener and place it on the bottom edge of the back glass for a solid two minutes. If you need help, you can always schedule a repair
Tools Used
Step 11
– Grab a suction handle and stick it right on the bottom edge of the back glass, just above the USB-C port.
– Give that handle a good, steady pull to open up a little gap between the back glass and the frame.
– Now, slide the tip of your opening pick into that gap you’ve just created.
Tools Used
Step 12
As you slice through the adhesive to free the back glass in the next steps, watch out for these tricky spots:
– Watch out for a super delicate cable that connects the back glass to your phone, located right next to the volume up button. Keep your pick away from this area to prevent any accidental snips!
– There are several spring contacts hugging the edges of your phone. Be sure to keep your pick within the recommended depth in each step to avoid bending these little guys. You’ve got this!
Step 13
Keep your pick under 5 mm on the bottom edge – we want to avoid any mishaps with those delicate spring contacts!
– Gently glide your pick along the bottom edge like you’re dancing with it to break that stubborn adhesive loose.
– Keep your trusty pick snugly in the bottom right corner to ensure that pesky adhesive doesn’t sneak back and seal things up again.
Step 14
Grab your trusty hair dryer or heat gun and warm up that back glass until it feels nice and toasty to the touch!
– Warm up your iOpener and give the right edge of that back glass a cozy two-minute hug with it.
Tools Used
Step 15
Remember, don’t go deeper than 5 mm along the right edge—your device’s spring contacts and ribbon cable will thank you for it!
Steer clear of slicing near the volume buttons; we wouldn’t want to accidentally mess with the wireless charging or flash cable!
– Gently glide your pick around the bottom right corner and slide it about halfway up the right edge, until you hit a snug little clip that’s keeping the back glass in place.
– Keep that pick in there to stop the adhesive from playing tricks and resealing itself.
Step 16
When using a hair dryer or heat gun, warm the area until it’s comfortably warm to the touch.
– Warm up your trusty iOpener and give it a cozy two-minute hug on the left edge of that back glass. It’s all about making things easier for you!
Tools Used
Step 17
Careful now! Keep your pick no deeper than 5 mm along the left edge to avoid giving the spring contact a surprise.
As you glide past, you’ll hear and feel those metal clips popping free like little party favors.
– Pop in a second opening pick at the bottom edge.
– Gently slide that second pick around the bottom left corner and along the left edge of the screen to break free the adhesive and unclip those metal clips.
– Keep this pick snugly in the top left corner to stop the adhesive from sealing back up.
Step 18
Grab your trusty hair dryer or heat gun and warm it up until it’s pleasantly toasty!
– Warm up a heated iOpener and place it at the top edge of the back glass, making sure to angle it to cover the volume buttons, for a cozy two minutes.
Tools Used
Step 19
Keep your pick shallow (under 3mm) along the top edge to avoid messing with those spring contacts.
You’ll hear and feel those satisfying clicks as the top two clips let go.
– Gently glide your opening pick along the top edge and smoothly around the top right corner until you reach the volume up button to break that adhesive seal.
Step 20
Hold up! Don’t yank off the back glass just yet—it’s got a delicate ribbon cable still hanging on. Stick with us through the next steps to safely detach it. If you need help, you can always schedule a repair.
If the back glass isn’t popping open like it should, no need to muscle through it—just take a stroll around the edges with your pick and see if any sneaky adhesive or clips are still holding on.
You might want to give the back glass a gentle lift before swinging it open to make sure those clips are ready to let go.
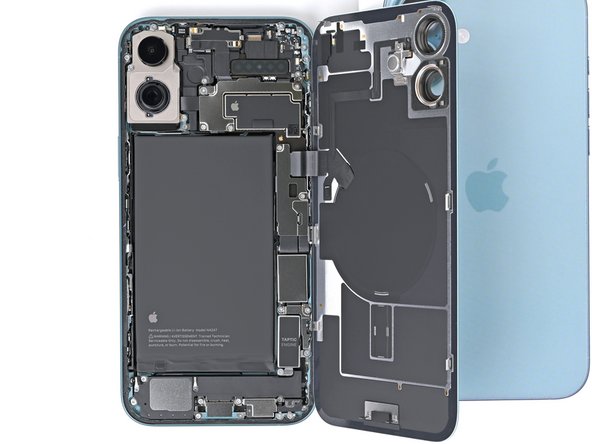
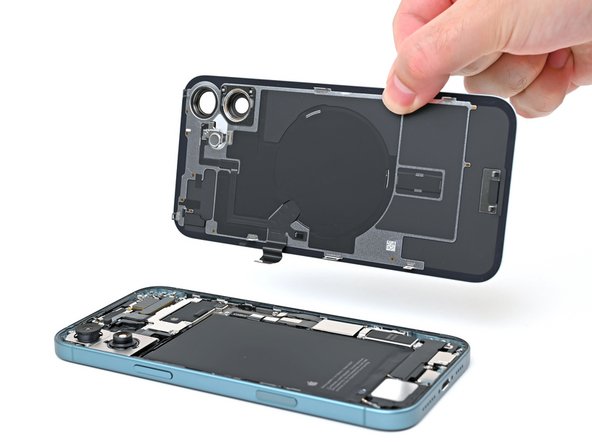
– Carefully swing the back glass open towards the volume buttons, like you’re unveiling a surprise.
– Support the back glass with a clean, sturdy object, such as a small box, to keep that cable from getting a workout.
– Now, gently remove the opening picks—you’re almost there!
Step 21
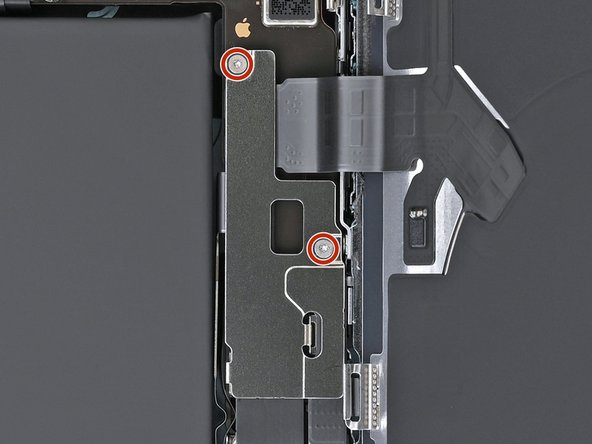
– Grab your trusty tri-point Y000 driver and unscrew those two 1.3 mm-long screws holding down the middle connector cover. You’re just a few steps away from making this device shine again!
Step 22
Take it easy and steer clear of giving that battery a dent or a poke while you’re at it!
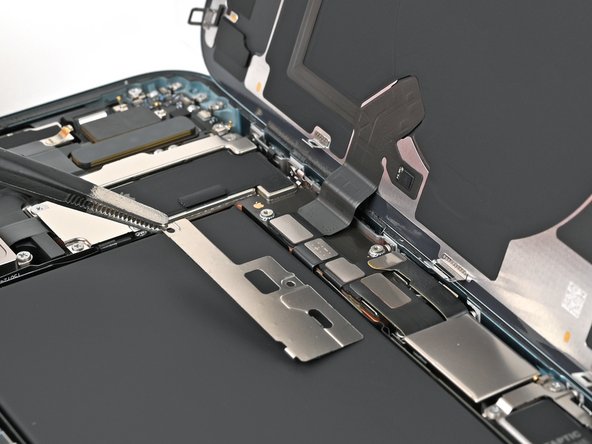
– Grab those blunt-nose tweezers or just your fingers and slide the cover to the left edge of the phone. Give a little nudge to free it from its cozy spot on the logic board.
– Time to remove the cover and reveal the magic inside!
– When you’re ready to put everything back together, make sure to line up the hooks with their homes on the logic board. Give the cover a gentle press down and slide it back to the right to lock those hooks in place.
Step 23
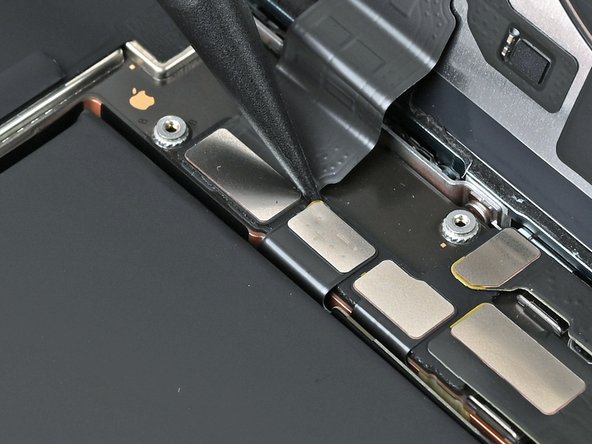
– Grab your spudger and gently lift up to unplug the battery press connector. Easy does it!
– When putting it all back together, make sure to line up the connector with its socket. Use your fingertip or the flat end of the spudger—press down on one side, then the other—until you hear that satisfying click. No need to force it. If it’s being stubborn, just reposition and try again.
Tools Used
Step 24
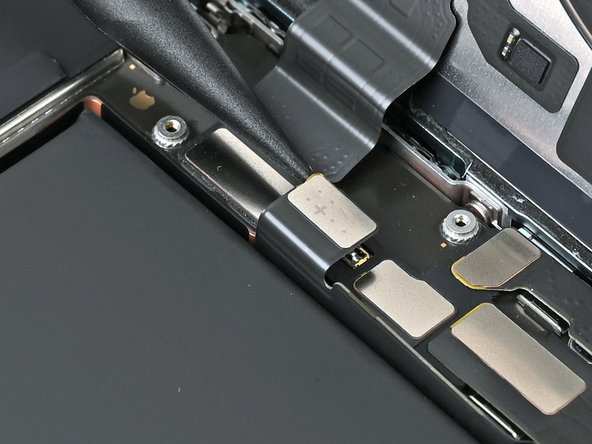
– Grab your trusty spudger and gently nudge up that wireless charging coil press connector to disconnect it. You’ve got this!
Tools Used
Step 25
– Gently lift the back glass off the frame and set it aside.
– Now, before you seal everything up, here’s a pro tip: why not test your handiwork? Temporarily reconnect the battery and the back glass (just hold off on that adhesive for now), power on your device, and make sure everything is running smoothly. Once you’re satisfied, power it down, disconnect the battery, and let’s get back to reassembling.
– Follow this guide to reapply adhesive and put that back glass back on like a champ.
Step 26
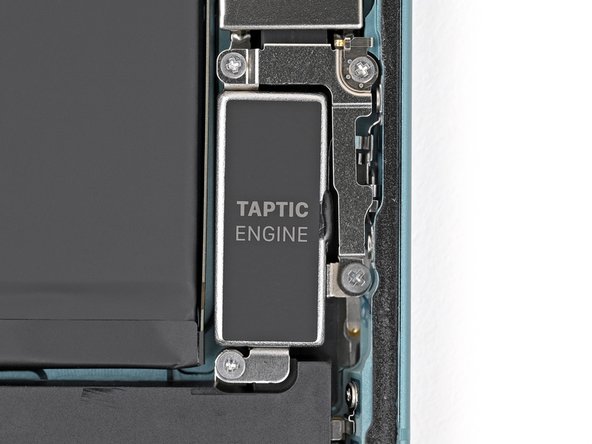
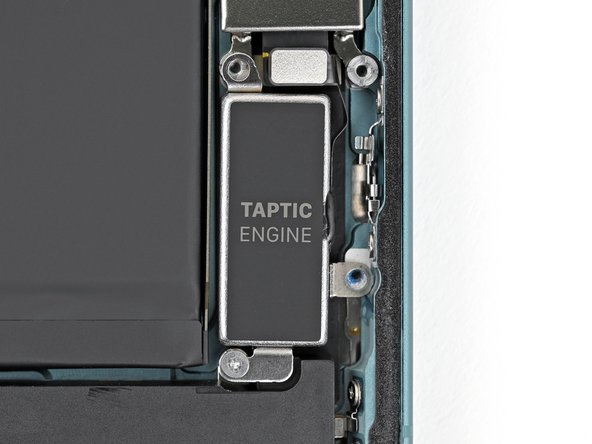
– Grab your trusty Phillips screwdriver and let’s get those screws out! Start by removing the three screws that are holding the Taptic Engine bracket in place:
– Two screws that are 1.9 mm long, just right for this job.
– And don’t forget the one screw that’s 2.1 mm long, it’s the cherry on top!
Step 27
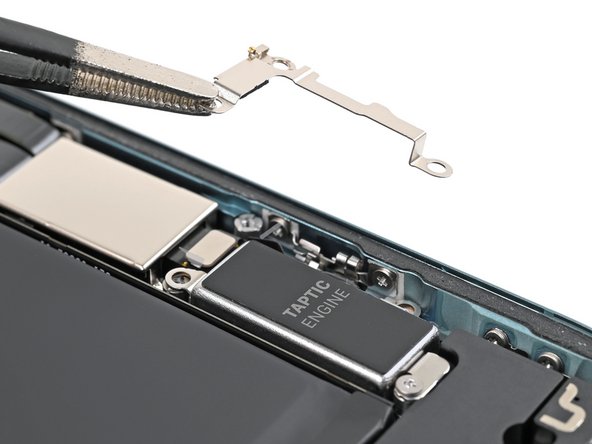
– Grab your trusty tweezers or just use your fingers to gently lift off the Taptic Engine bracket. You’ve got this!
Step 28
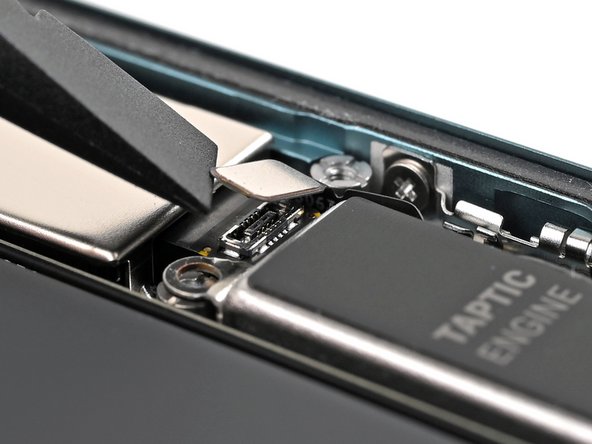
– Grab that trusty spudger and gently lift up the Taptic Engine press connector to disconnect it. You’ve got this!
Tools Used
Step 29
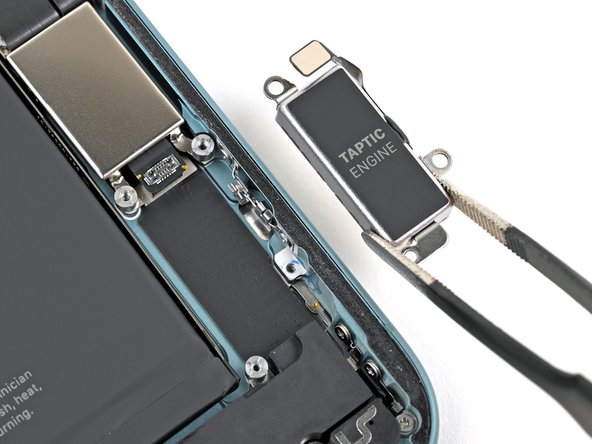
– Grab your trusty Phillips screwdriver and gently twist out that 1.8 mm screw holding the Taptic Engine in place. You’ve got this!
Step 30
– Grab some blunt-nose tweezers or just use your fingers to gently lift and remove the Taptic Engine. You’ve got this!
Step 31
Handle that battery with TLC—no poking or jabbing with your screwdriver!
If you find yourself without a standoff driver, no worries! A slim flathead driver can do the trick—just be gentle and avoid stripping those delicate notches in the screw heads.
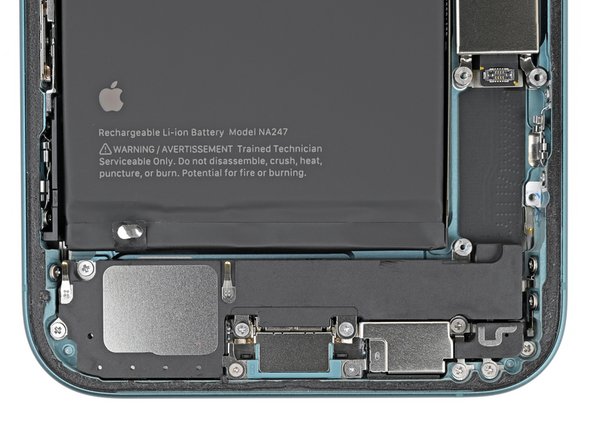
– Grab your trusty Phillips screwdriver and go ahead and unscrew those four screws holding the loudspeaker in place:
– Next up, take your tri-point Y000 screwdriver and carefully remove the 1.3 mm screw that’s keeping the grounding contact and loudspeaker snug as a bug.
– Now, it’s time to use your standoff screwdriver to take out that 3.4 mm screw that’s securing the loudspeaker.
– Don’t forget about those three tiny 1.5 mm screws—let’s remove them!
– Lastly, one more step: take out that one 3.0 mm screw.
Tools Used
Step 32
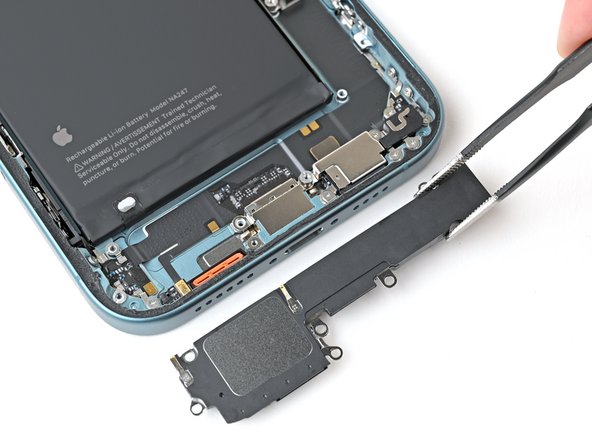
– First up, let’s grab that loudspeaker and give it a gentle pull to remove it. You’re doing great!
– As you put everything back together, just double-check that the orange speaker gasket is snugly seated in its frame slot. You got this!
Step 33
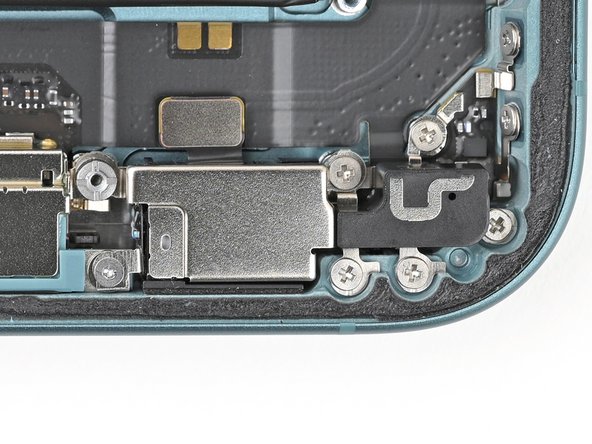
– Let’s get started by unscrewing the four little screws that keep the microphone cozy:
– First up, grab that 3.3 mm standoff screw and give it a gentle twist.
– Next, you’ll want to tackle the 1.3 mm tri-point Y000 screw—it’s a tiny but mighty one!
– Don’t forget the 1.5 mm Phillips screw; it’s waiting for its turn.
– Finally, say goodbye to the 1.3 mm Phillips screw as well—you’re almost there!
Step 34
Handle the battery gently – it’s got a bit of a temper and could ignite if damaged. If you need help, you can always schedule a repair.
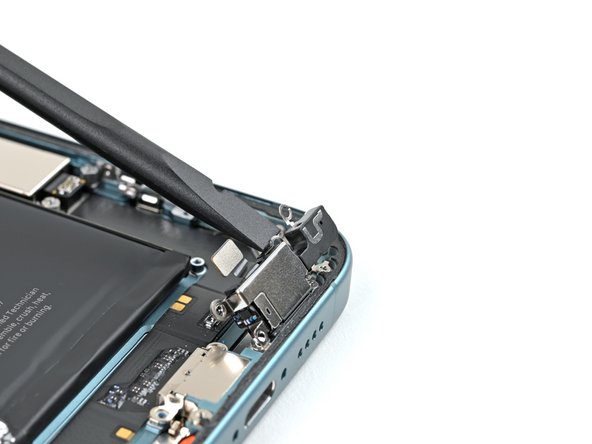
The microphone is snugly secured with strong adhesive at the bottom edge of the phone.
If the microphone is being stubborn, try a bit of gentle heat using an iOpener, hair dryer, or heat gun. Just be careful to only warm it to the point where it’s slightly hot to the touch, as the battery doesn’t enjoy high temperatures.
– Slide the flat end of a spudger under the top edge of the microphone and pry it up until you can grab it with your fingers.
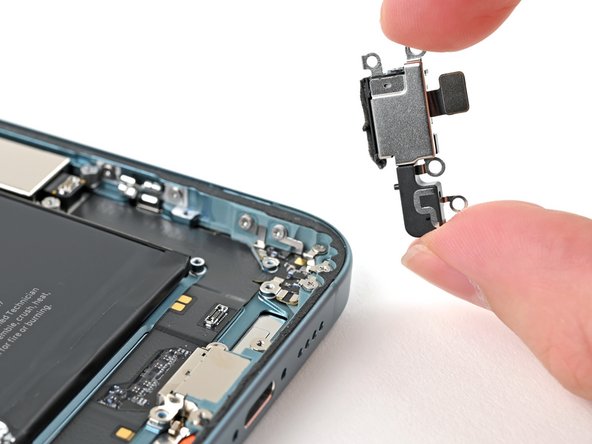
– Peel the microphone off the adhesive securing it to the frame and remove it.
– When putting things back together, if your replacement part doesn’t have adhesive, use thin, double-sided tape instead. Just make sure it doesn’t block the sound cutouts during installation.
Tools Used
