DIY Guide to Replace iSight Camera on Apple iPhone 8
Duration: 30 min.
Steps: 15 Steps
In this guide, we’re here to help you swap out that pesky iSight camera that’s been giving you trouble. With a little bit of elbow grease, you’ll be back to snapping stunning photos in no time! Wishing you all the best as you tackle this camera replacement. And hey, when you have a moment, don’t forget to check out our manual for more tips and tricks!
Step 1
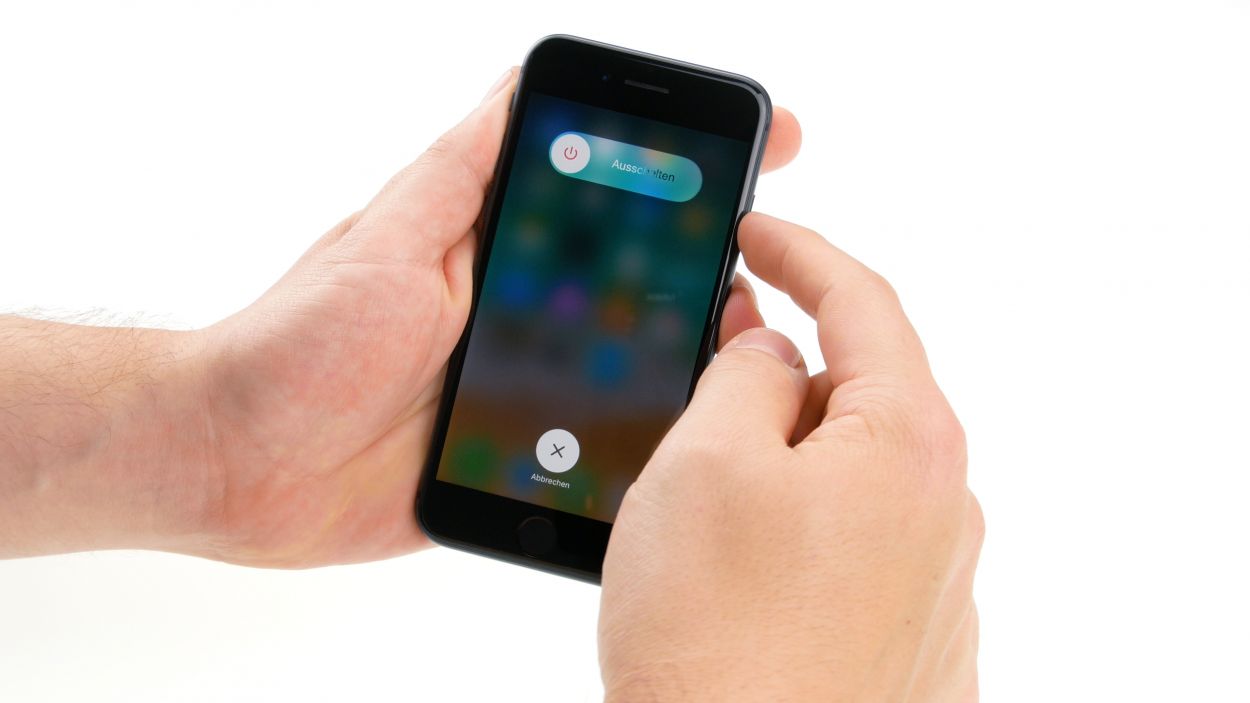
– First things first, let’s keep your iPhone safe! Power it down completely to avoid any sneaky short circuits. Simply press the standby button for about three seconds until you see the ‘Turn off’ slider pop up on your screen.
– Now, slide that little slider from left to right and hang tight until your iPhone is fully powered down. You’re doing great!
Step 2
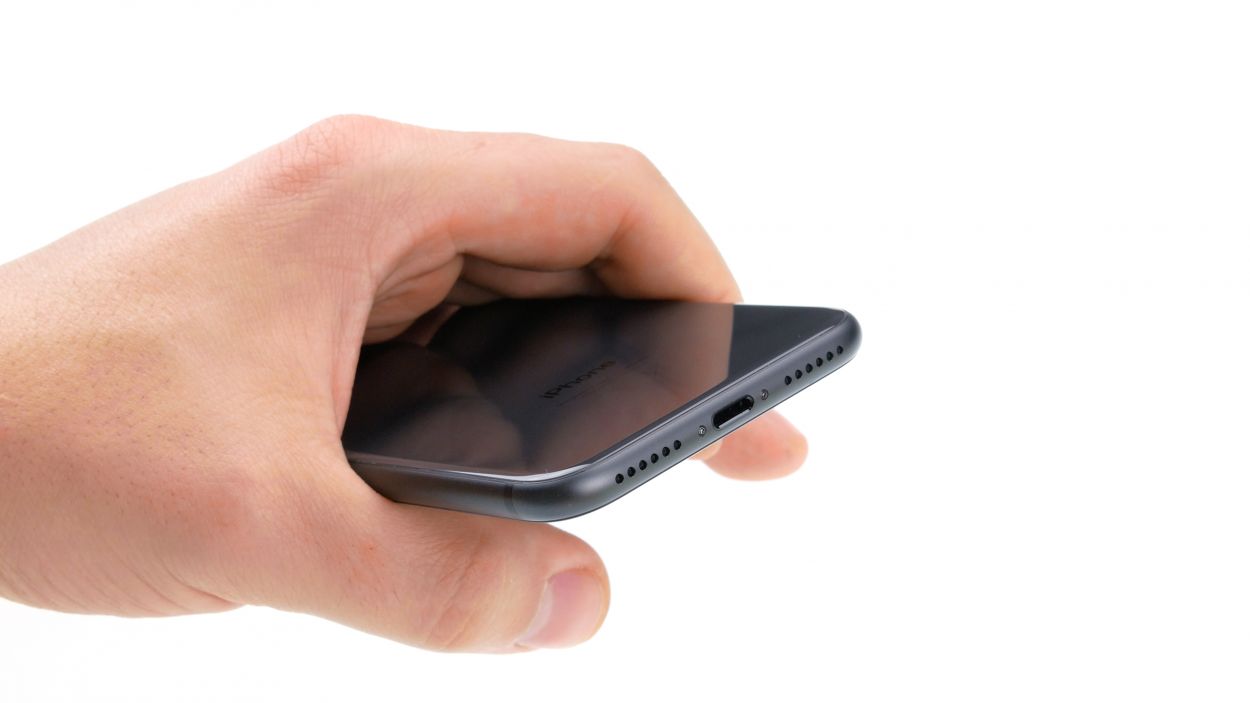
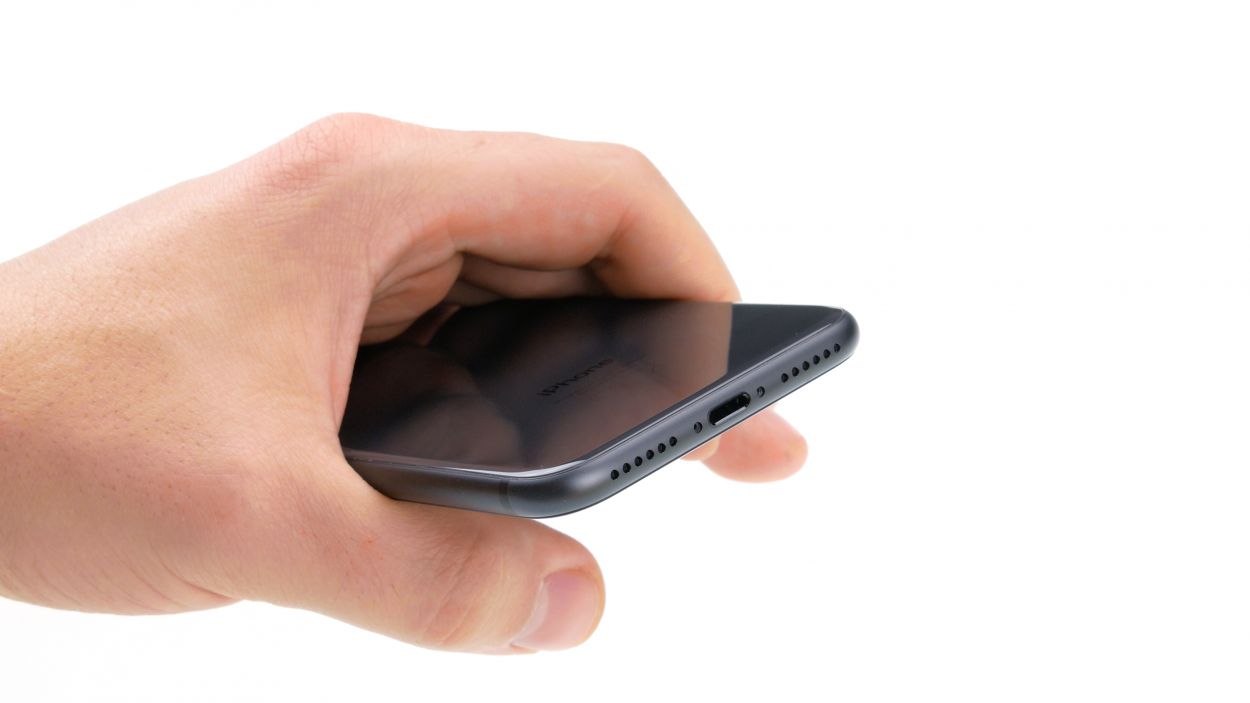
– Gently unscrew the two Pentalobe screws located on either side of the Lightning Connector, and don’t forget to tuck them away safely in your screw storage! You’re doing awesome!
2 × 3.4mm Pentalobe
To keep track of your screws and parts during this repair journey, we suggest using a screw storage solution. An old sewing box can work wonders for this! At Salvation Repair, we love our high-quality magnetic mat, which lets us lay out the screws just like they were in the phone. This way, you’ll know exactly where each screw belongs, making reassembly a breeze!
Tools Used
Step 3
When it comes to heating your device, aim for a cozy warmth—enough that you can touch it without feeling like you’re in a hot lava pit. Keep it comfy!
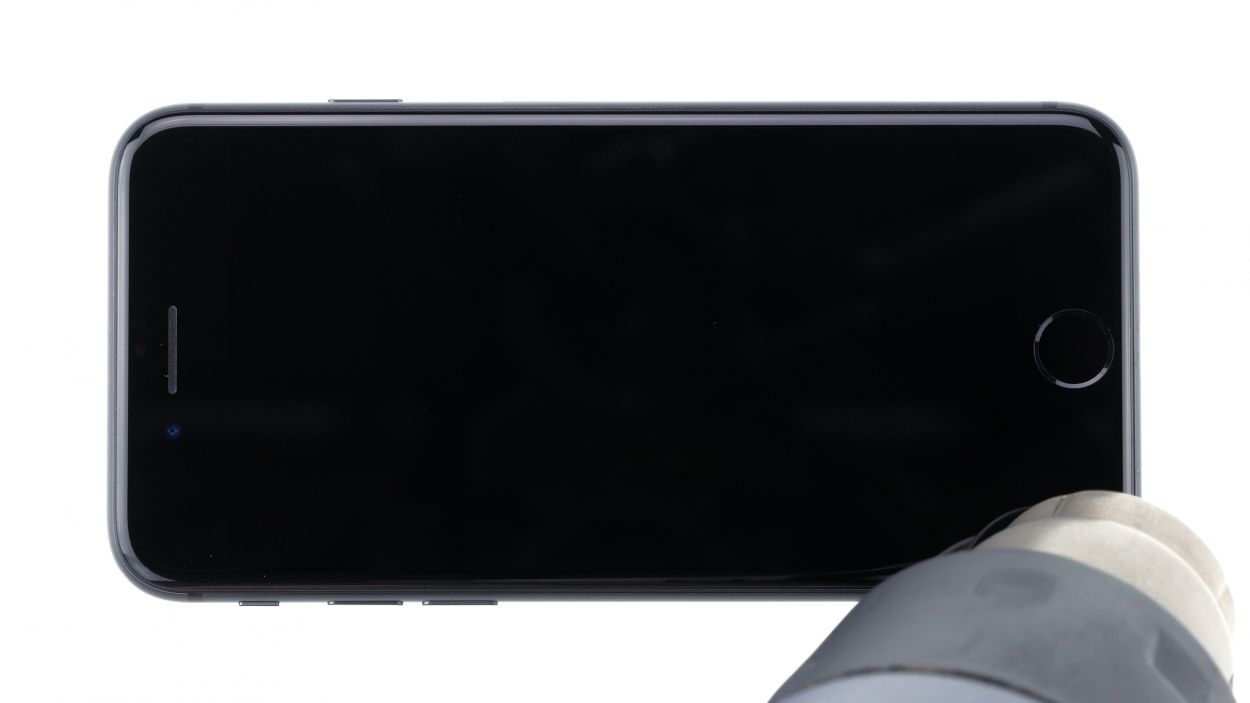
– Alright, first things first! Set your iPhone 8 down on a nice, soft surface—think cozy blanket or a plush pillow—so it doesn’t get any scratches when you’re lifting that display.
– Next up, grab your trusty hot air tool, whether it’s a heat gun or just a regular ol’ hairdryer. Give the outside of the display a nice, even warm-up. You got this!
Tools Used
- heat gun to heat parts that are glued on so they’re easier to remove.
In most cases, you can also use a hairdryer.” rel=”noopener”>Heat gun
Step 4
Opening up your iPhone 8 means saying goodbye to that dust and splash warranty, as well as the waterproof guarantee. So, if you’re ready to dive in, just know that you’re going in without a life jacket!
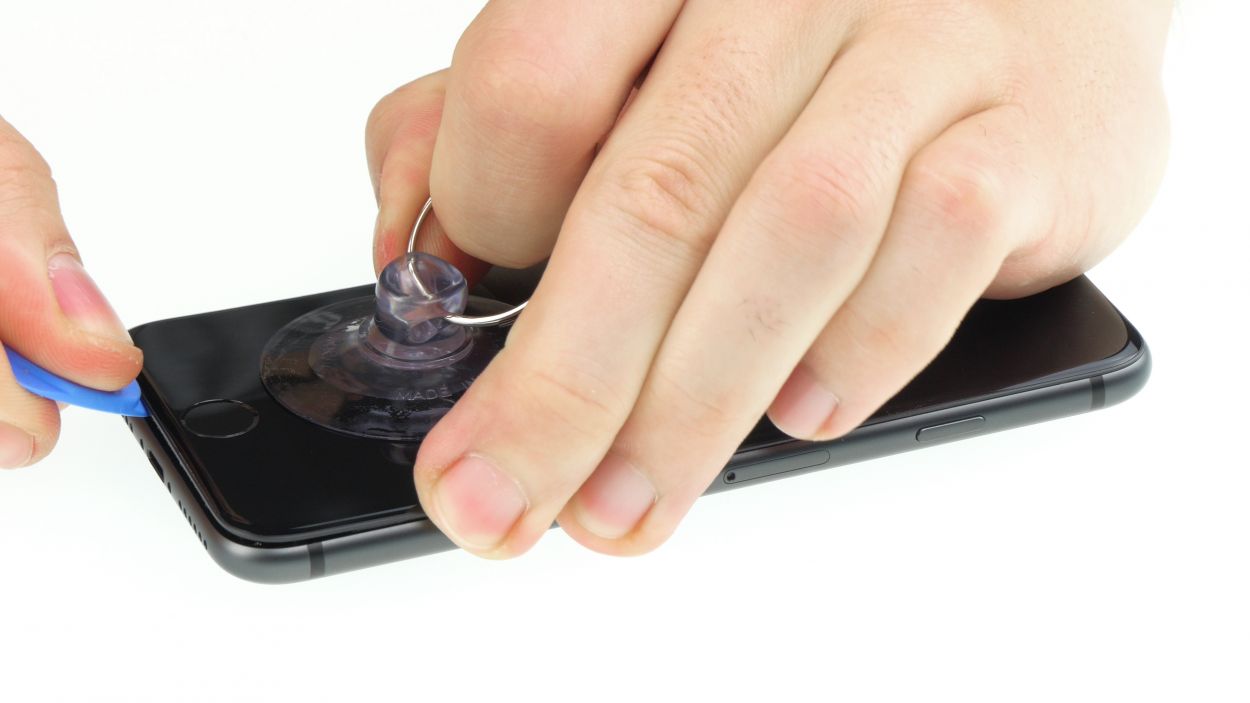
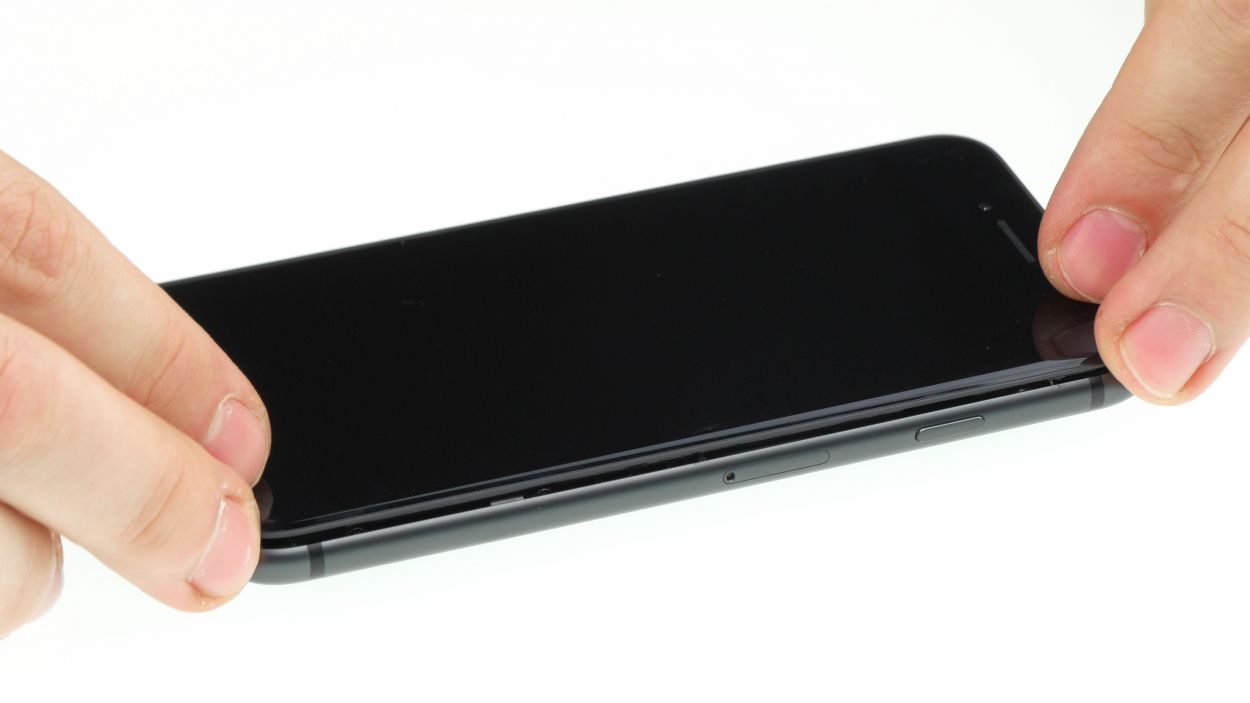
– Stick a suction cup right above the Home button on the display and give it a gentle pull upwards. This will create a tiny gap between the aluminum and display frames—just enough to get started!
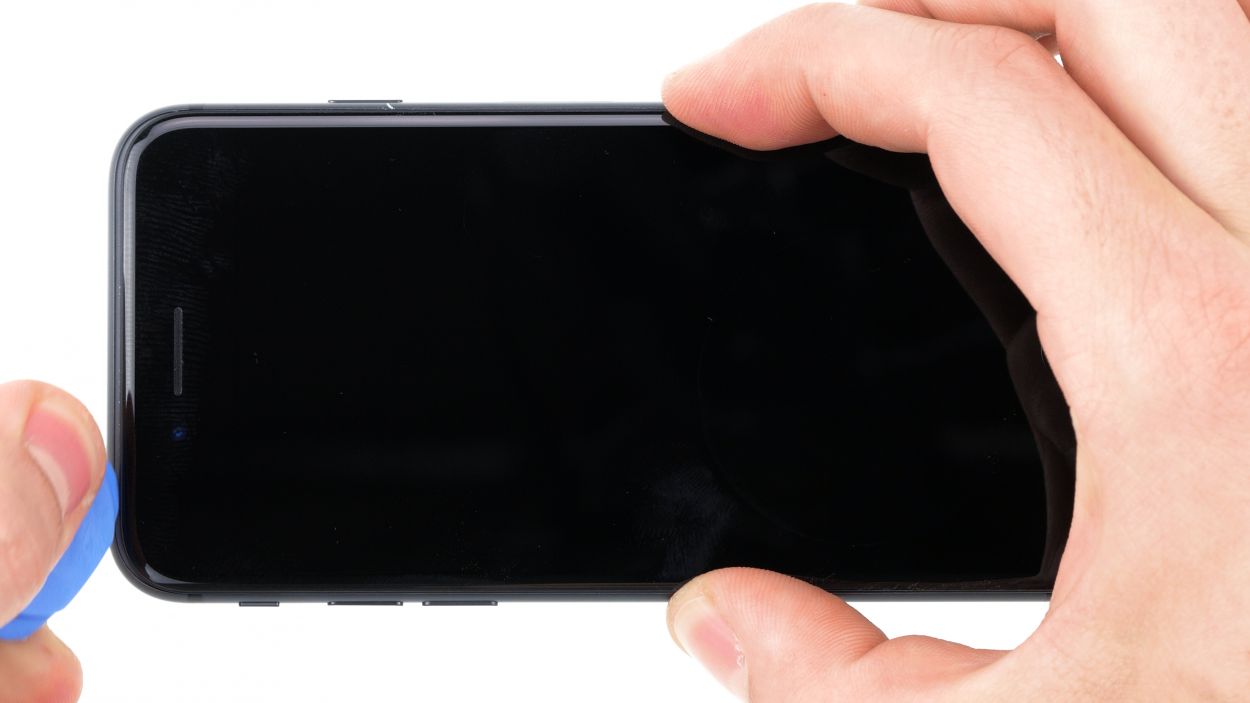
– Now, grab a flat plastic tool and slide it into that little gap you just made. Give it a little nudge to widen the gap by pushing the aluminum frame upwards. Flat plastic picks work wonders for this!
Tools Used
Step 5
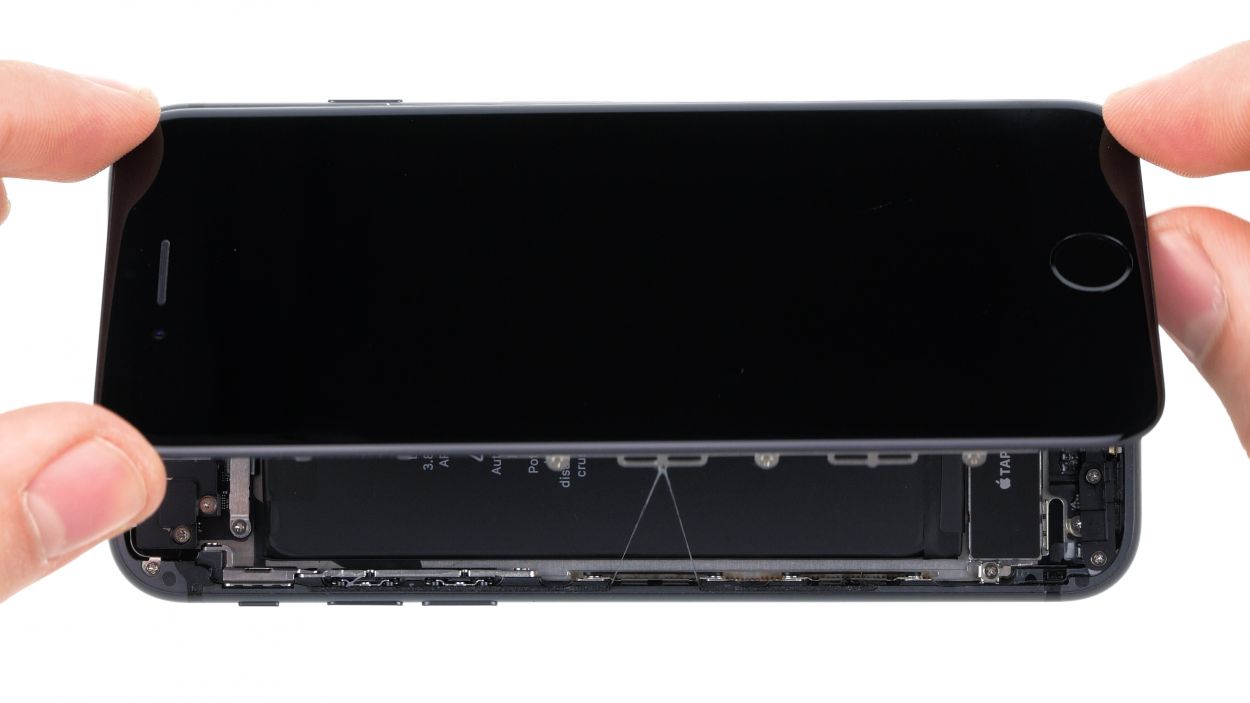
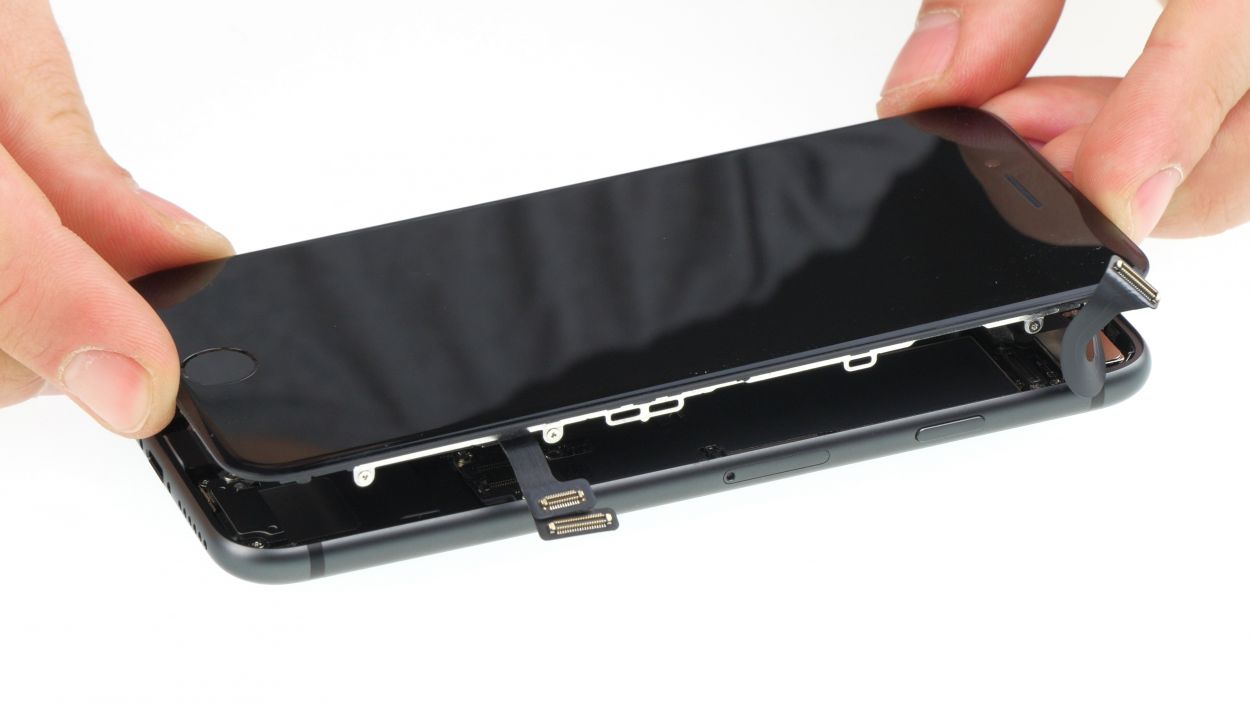
While you’re on this repair journey, remember to keep that display angle under 180°! If you go beyond that, those delicate flex cables might just throw a tantrum and tear. So, let’s keep it cool and steady!
– With a gentle nudge, push the display upwards using your plectrum to pop those lugs free from the aluminum frame. You’re doing great!
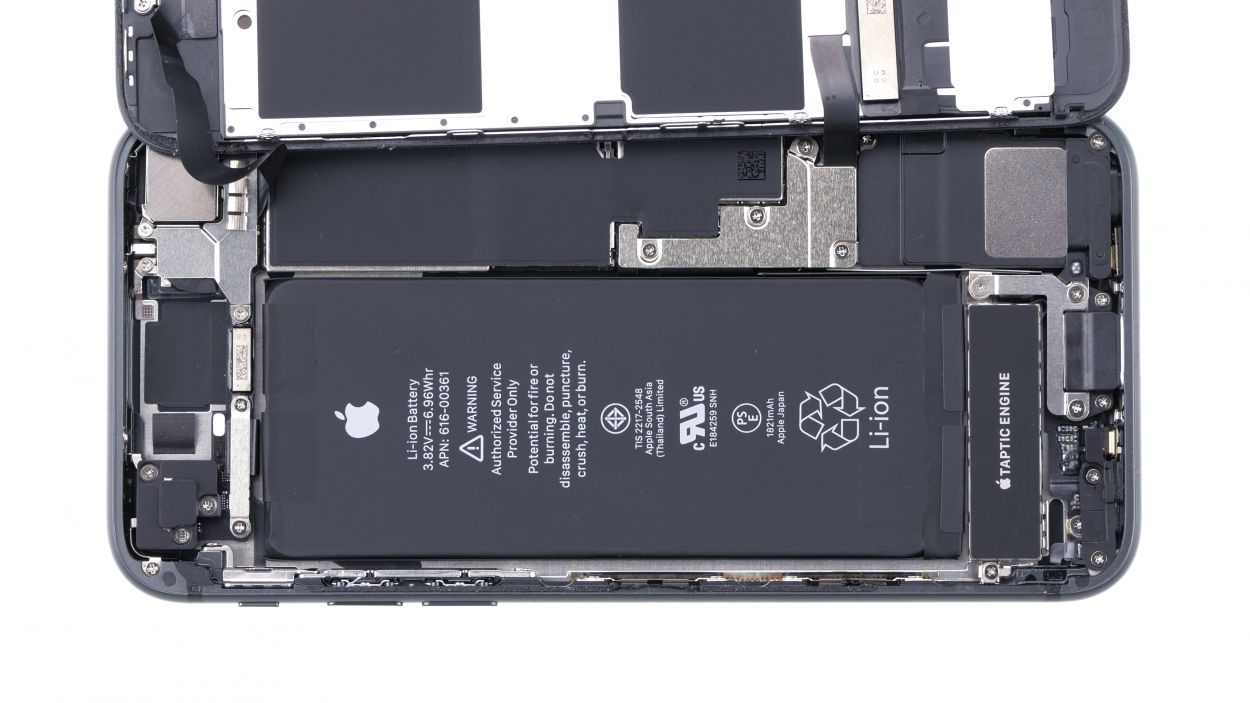
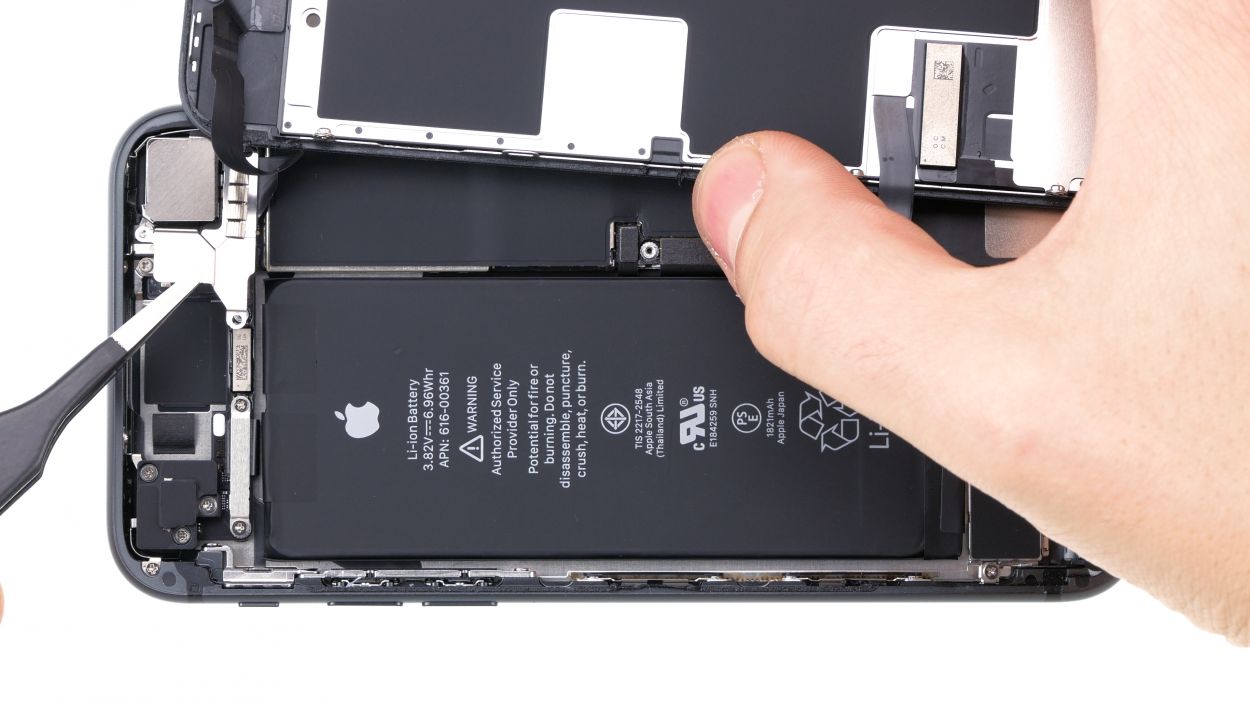
– Now, swing that display open towards the standby button like a pro. Lean it against something sturdy to keep those flexible cables from overstretching. You got this!
Tools Used
Step 6
2 × 2.6 mm Phillips
2 × 1.0 mm Phillips
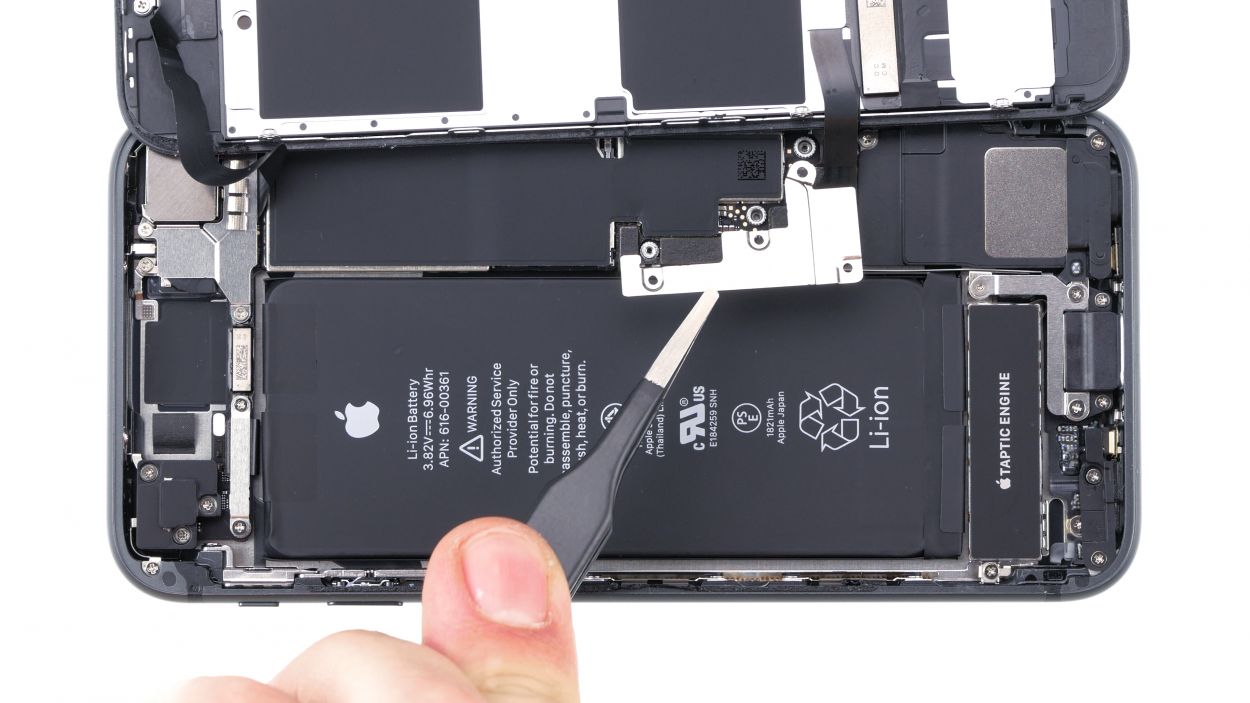
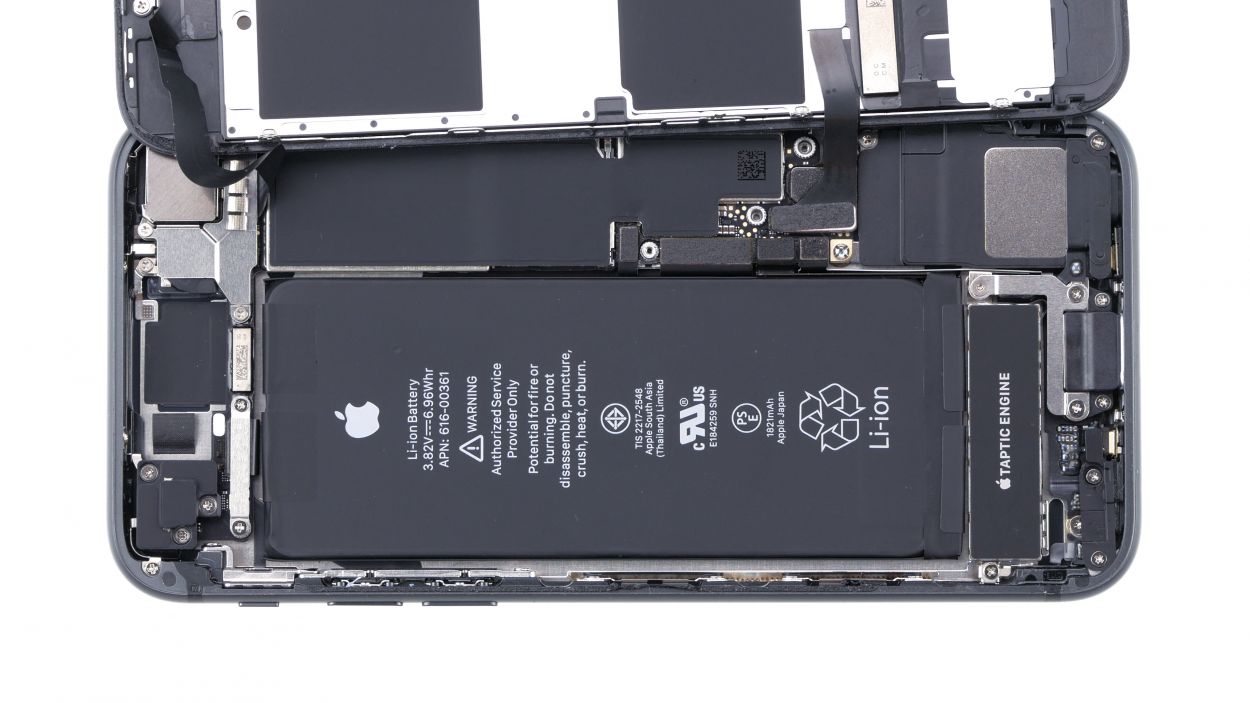
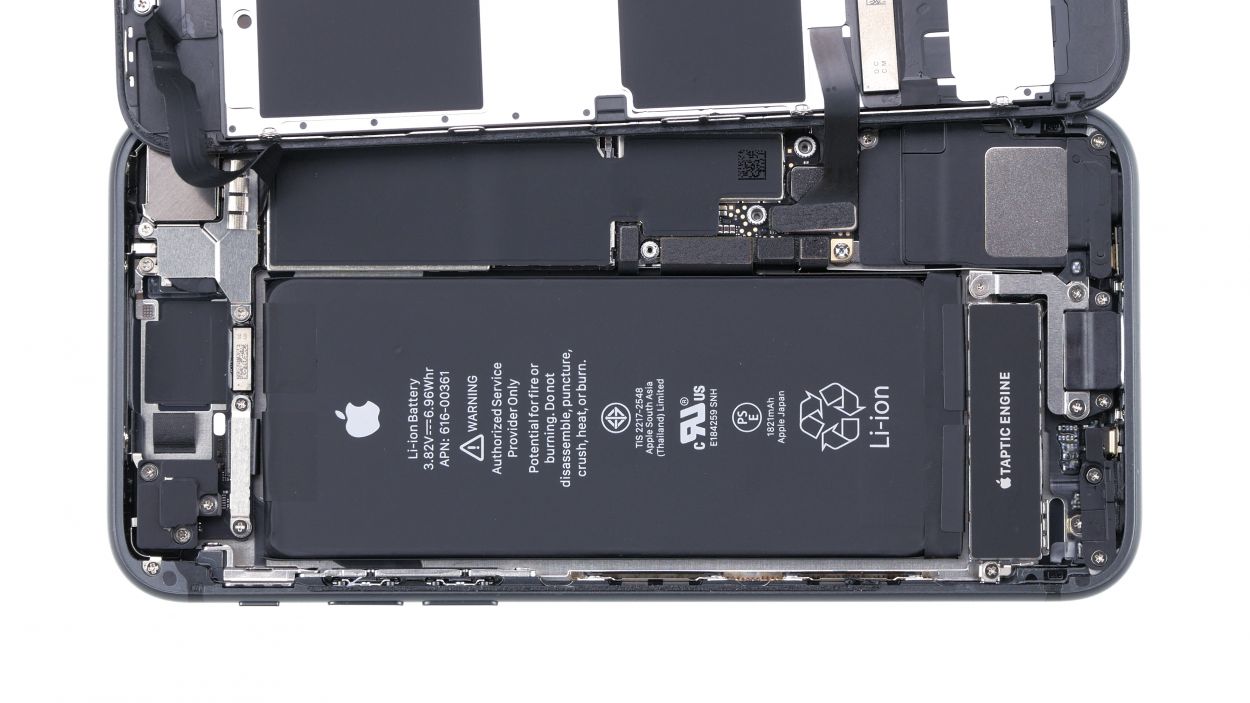
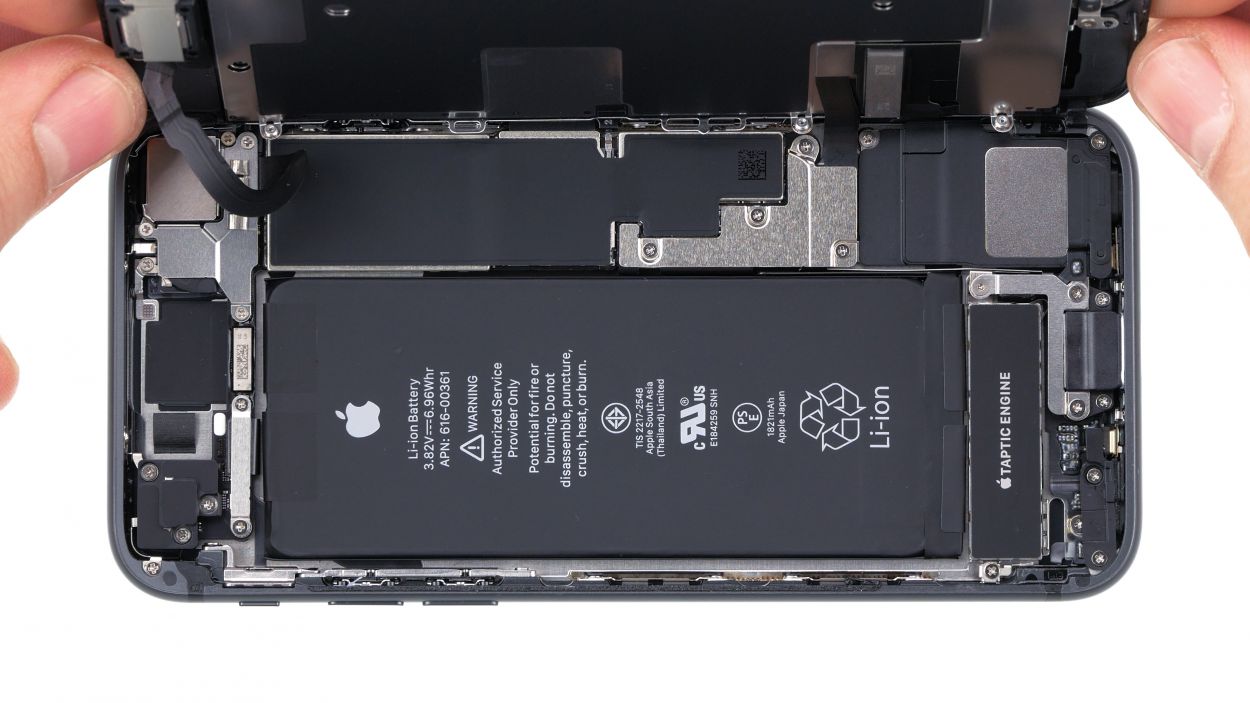
Before you dive into the repair fun, make sure to disconnect that battery connector! It’s like putting on your seatbelt—keeps you safe from short circuits and ensures your device doesn’t accidentally spring to life while you’re working your magic.
– Use a phillips screwdriver to remove the four phillips screws. Then carefully take off the cover with tweezers.
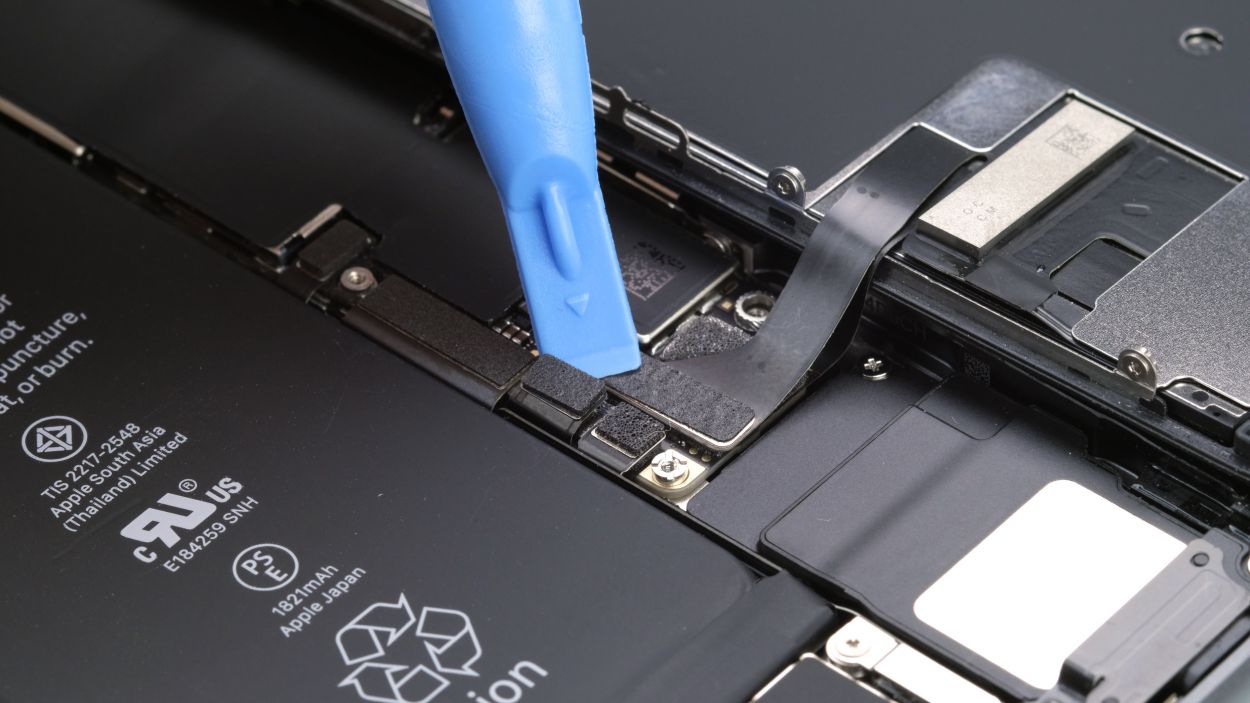
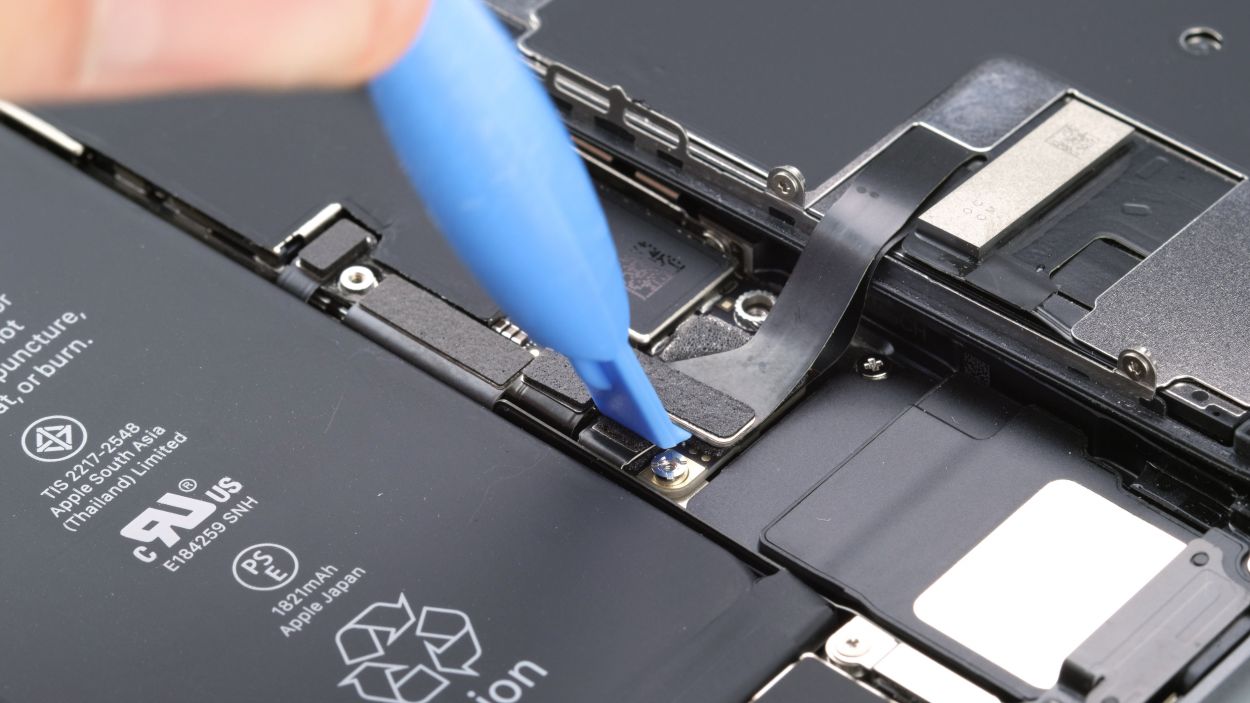
– Now disconnect the battery connector by carefully levering it off with a lever tool. For this purpose we use a plastic spudger.
Step 7
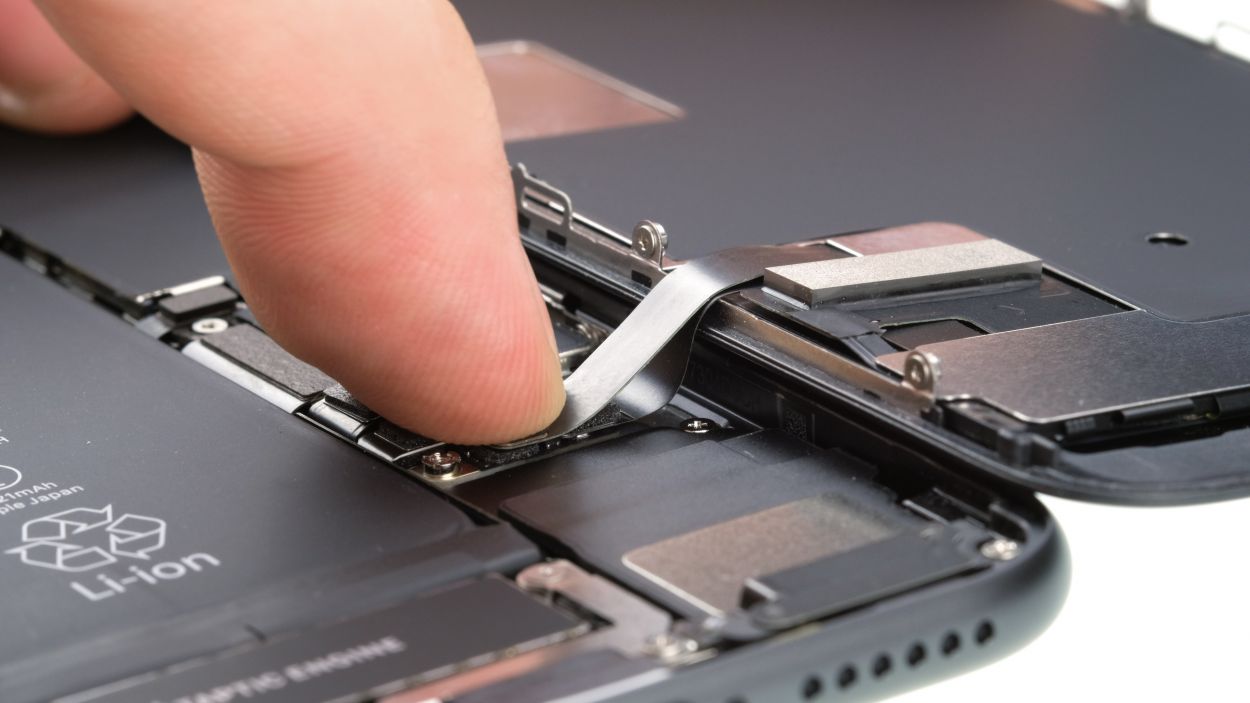
– Grab your trusty spudger and gently disconnect those display connectors, including the display and the home button. You’re making great progress!
Tools Used
Step 8
3 × 1.0 mm Phillips
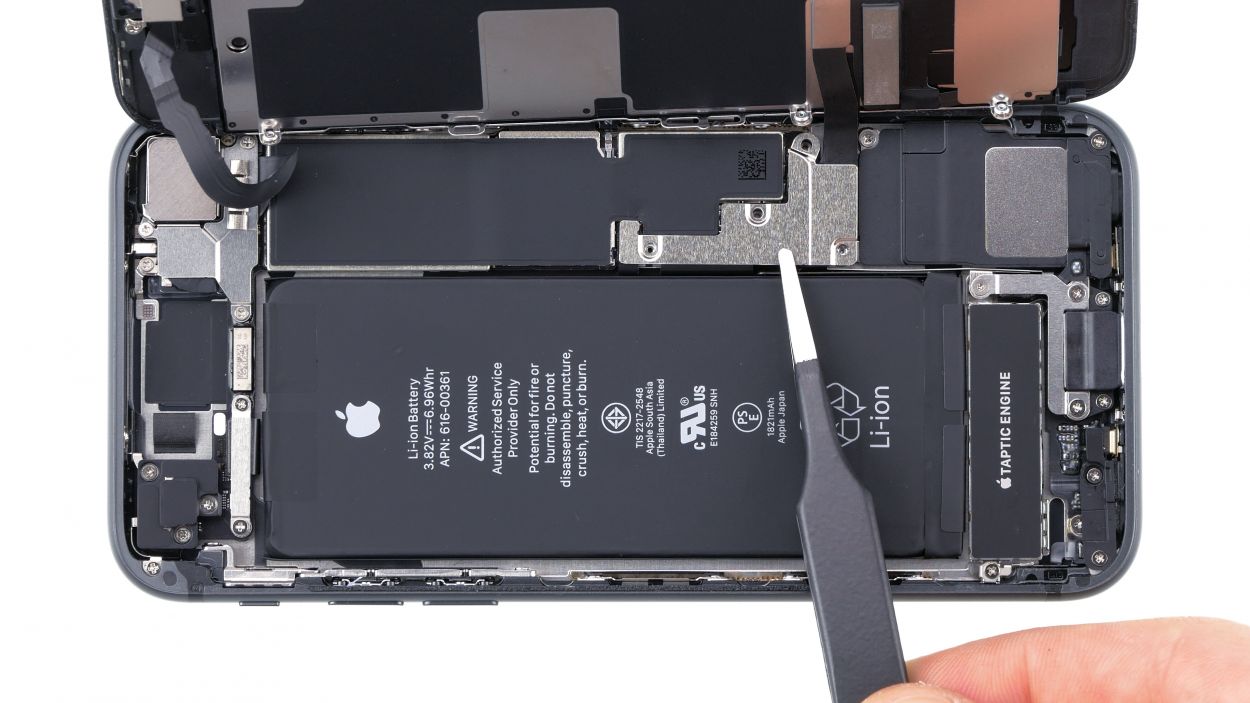
– Unscrew the three Phillips screws from the cover plate above the connector with care, just like unwrapping a gift!
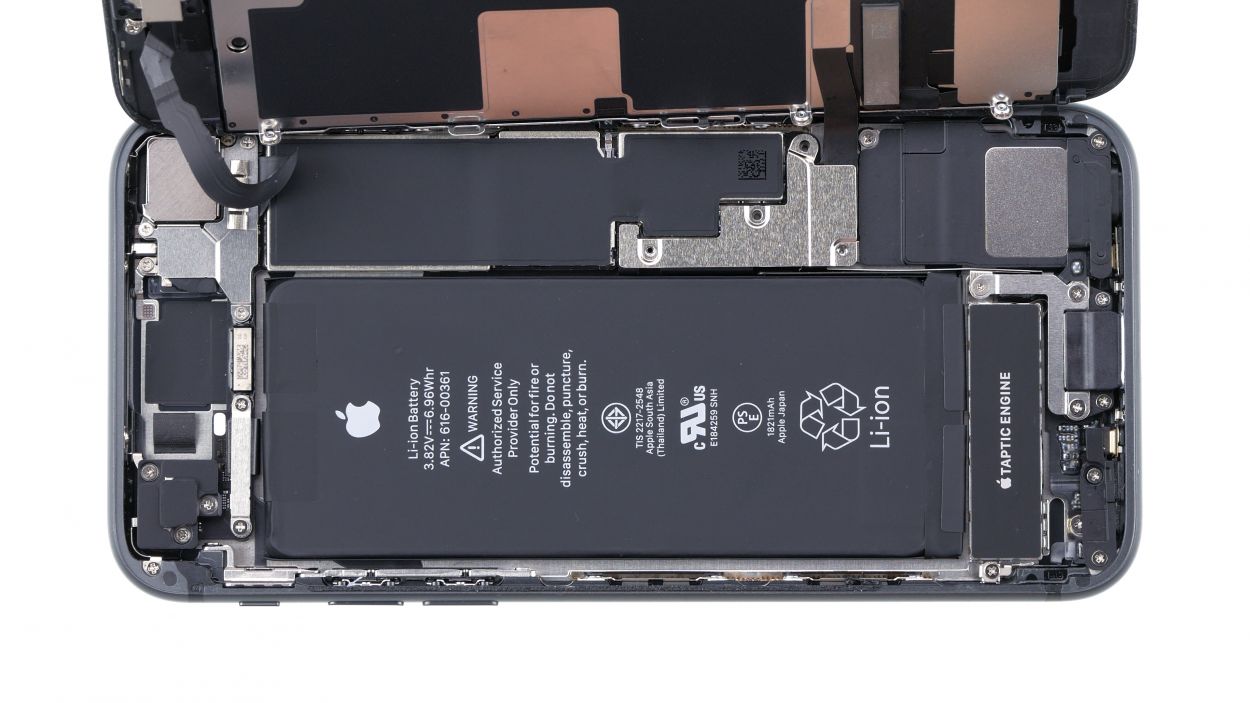
– Use your trusty tweezers to gently lift that cover plate off your iPhone 8. You’ve got this!
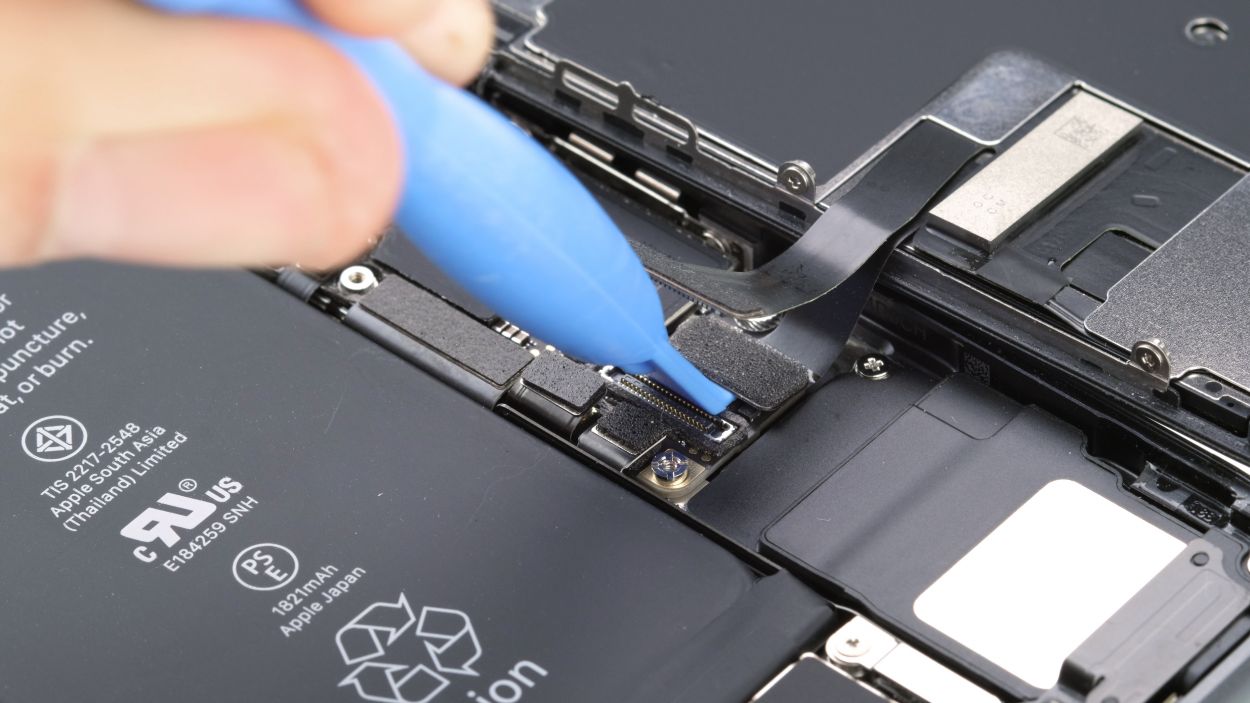
– With a steady hand, carefully separate the FaceTime connector from the board using a spudger. It’s like a dance move, just smooth and gentle!
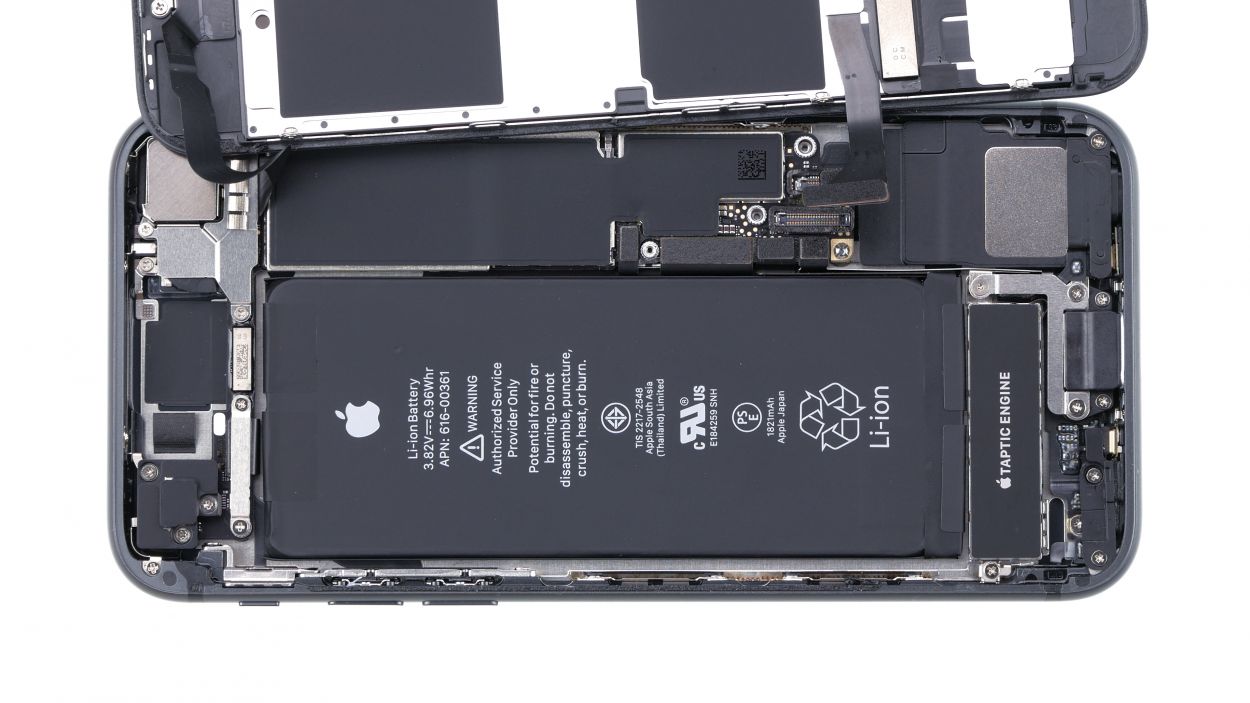
– Now, go ahead and remove the display completely. You’re almost there!
Step 9
1 × 2.9 mm Phillips
1 × 3.0 mm Standoff
For that tricky stand-off screw, you can grab a special screwdriver, but hey, a regular narrow slotted screwdriver will do the job just fine too! You’re on the right track!
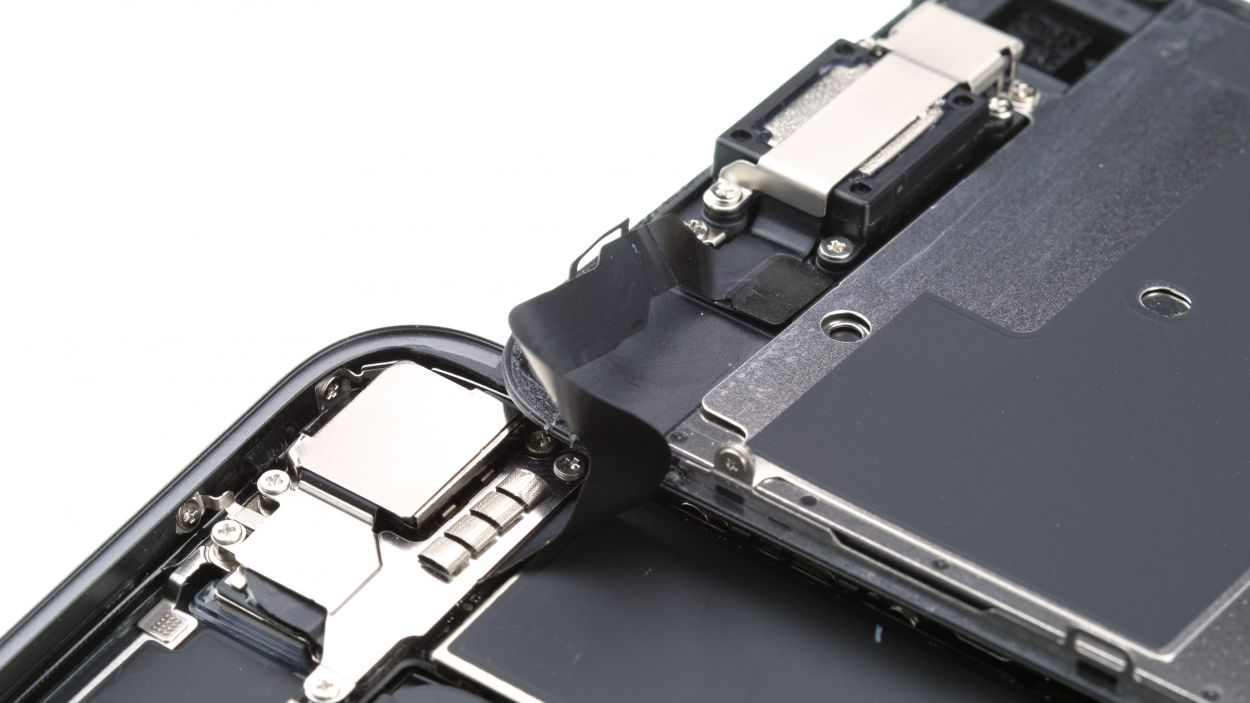
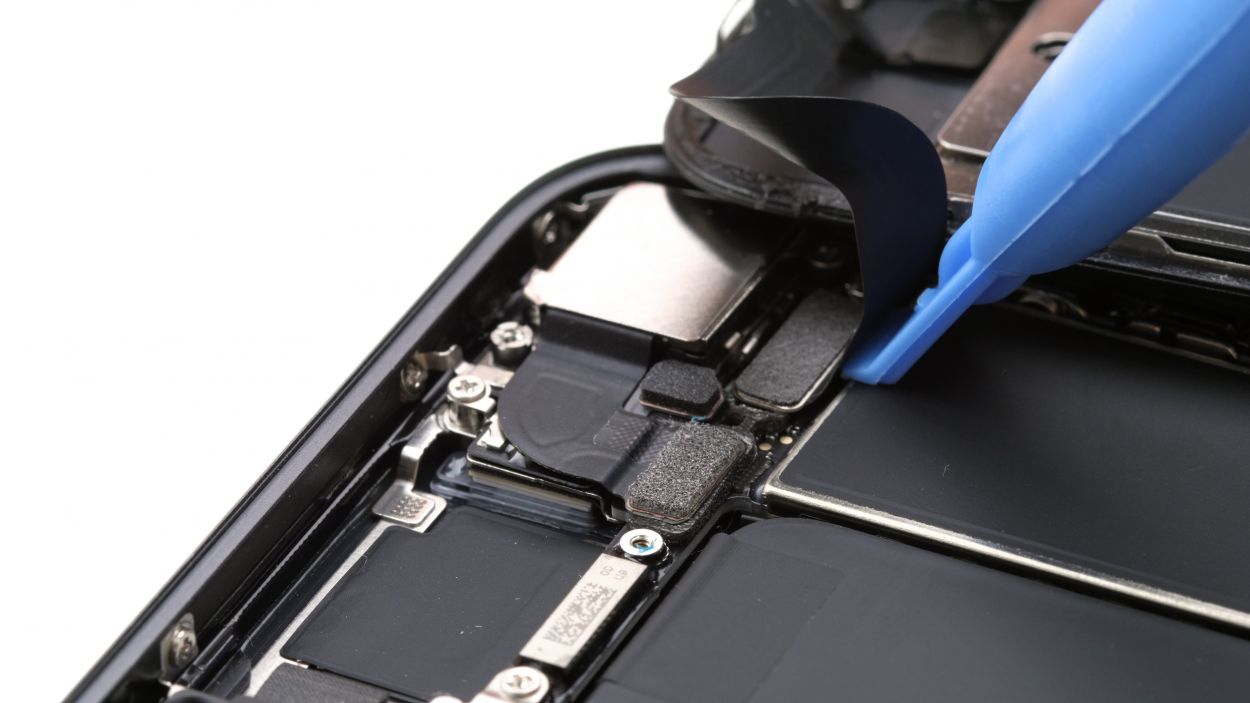
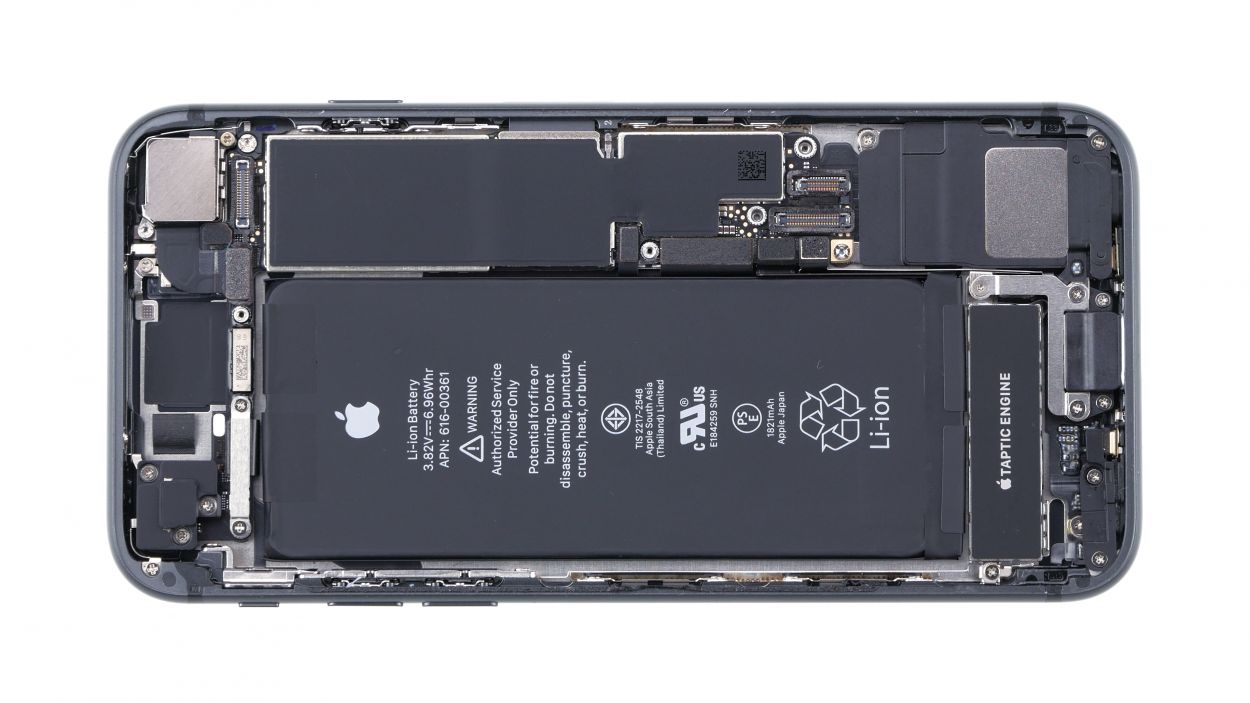
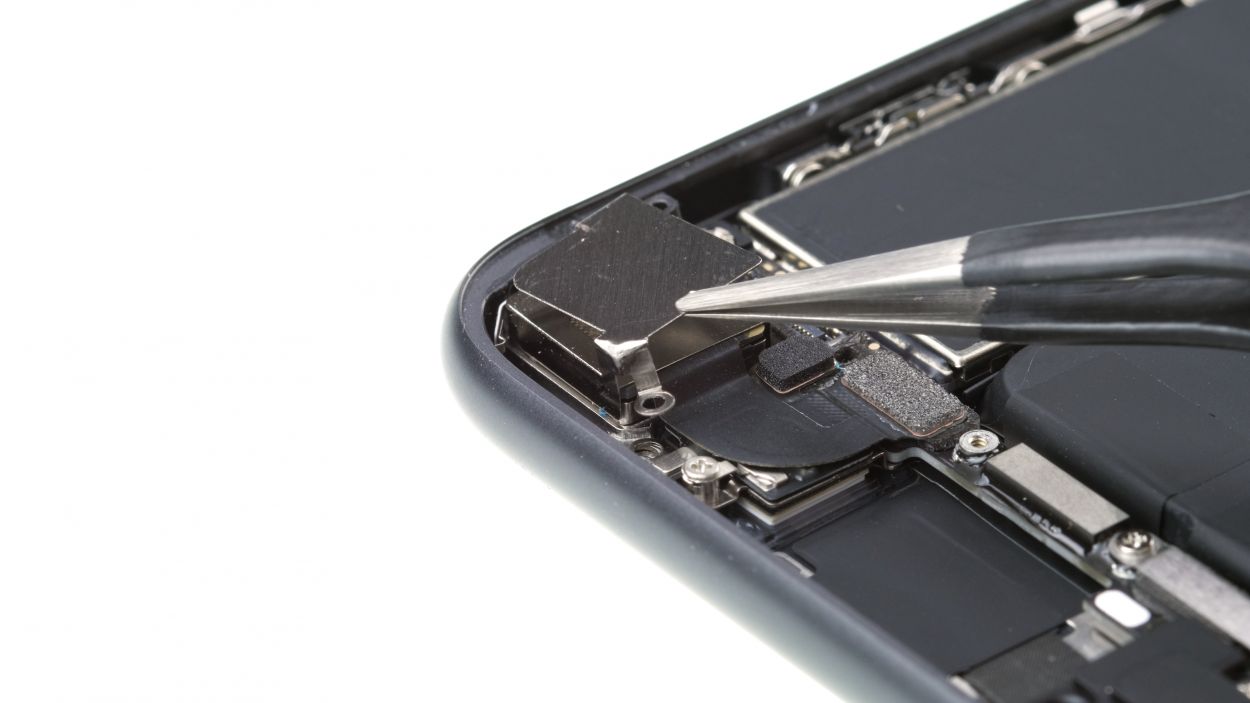
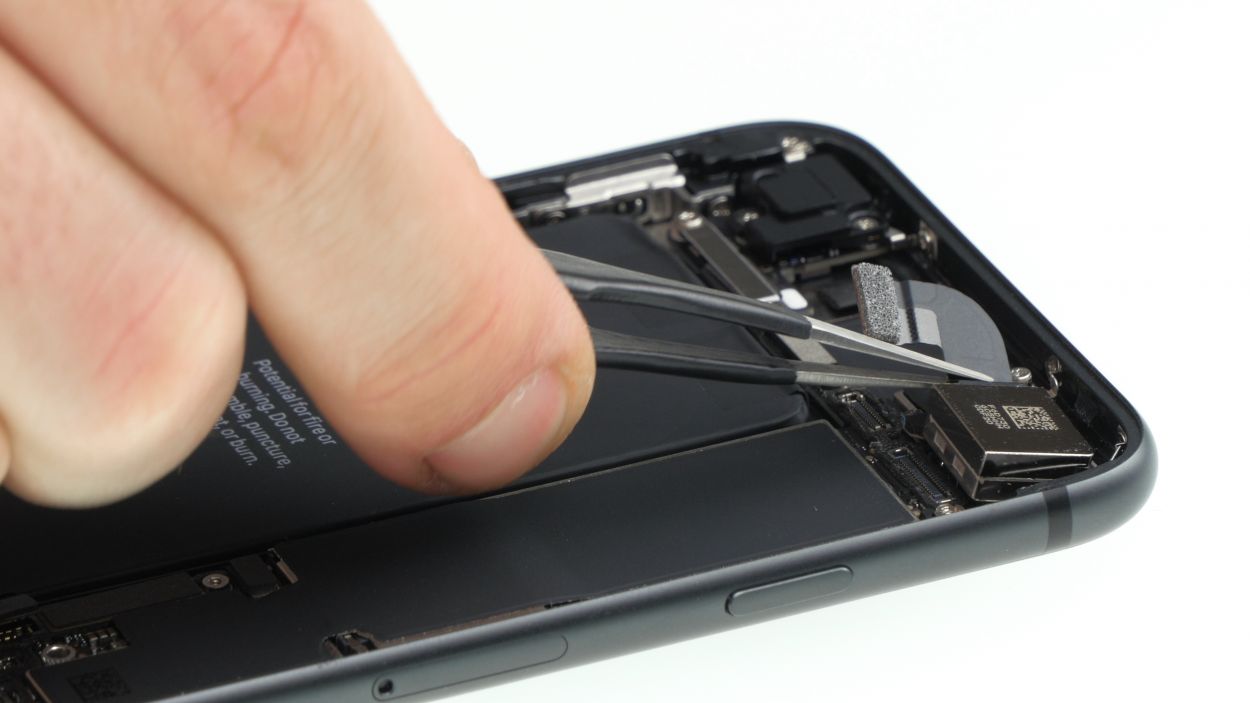
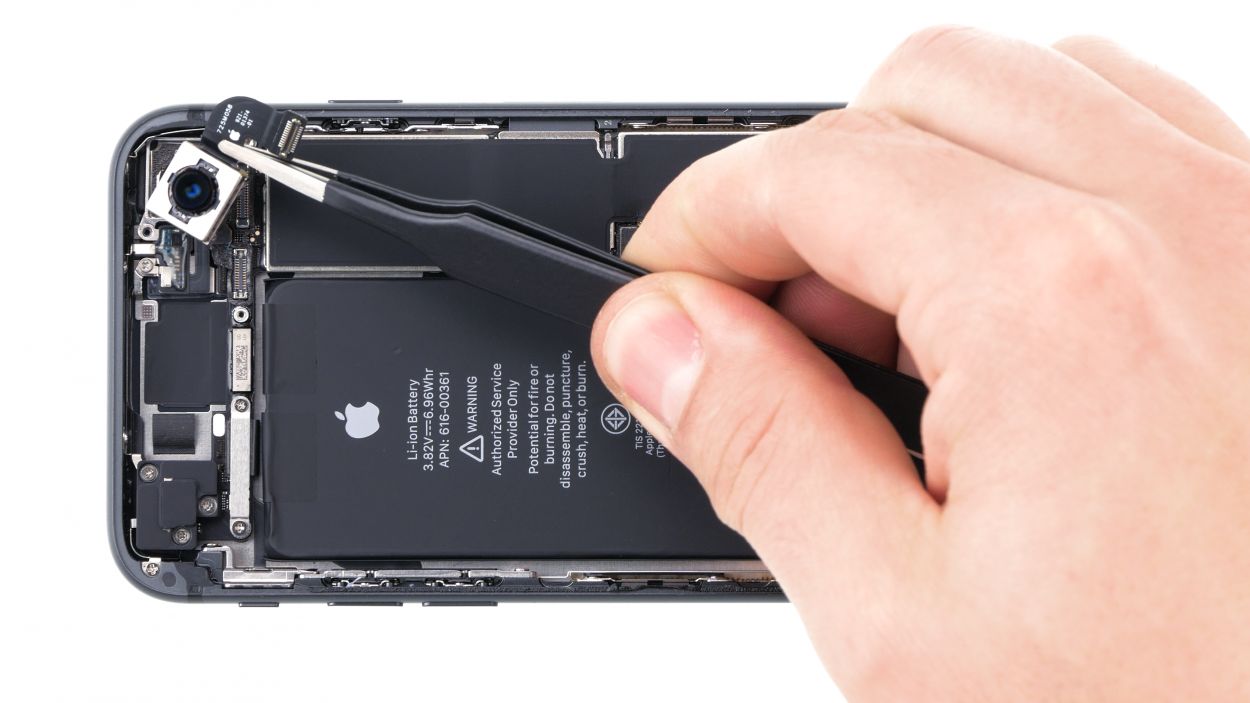
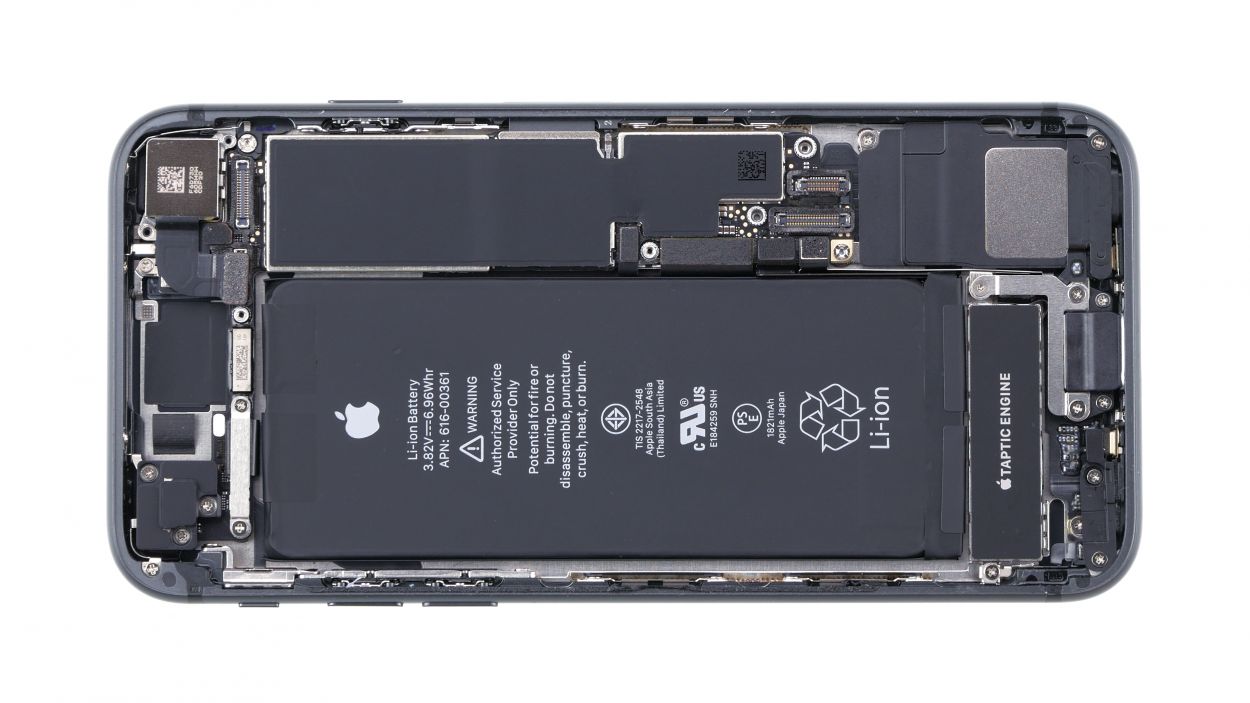
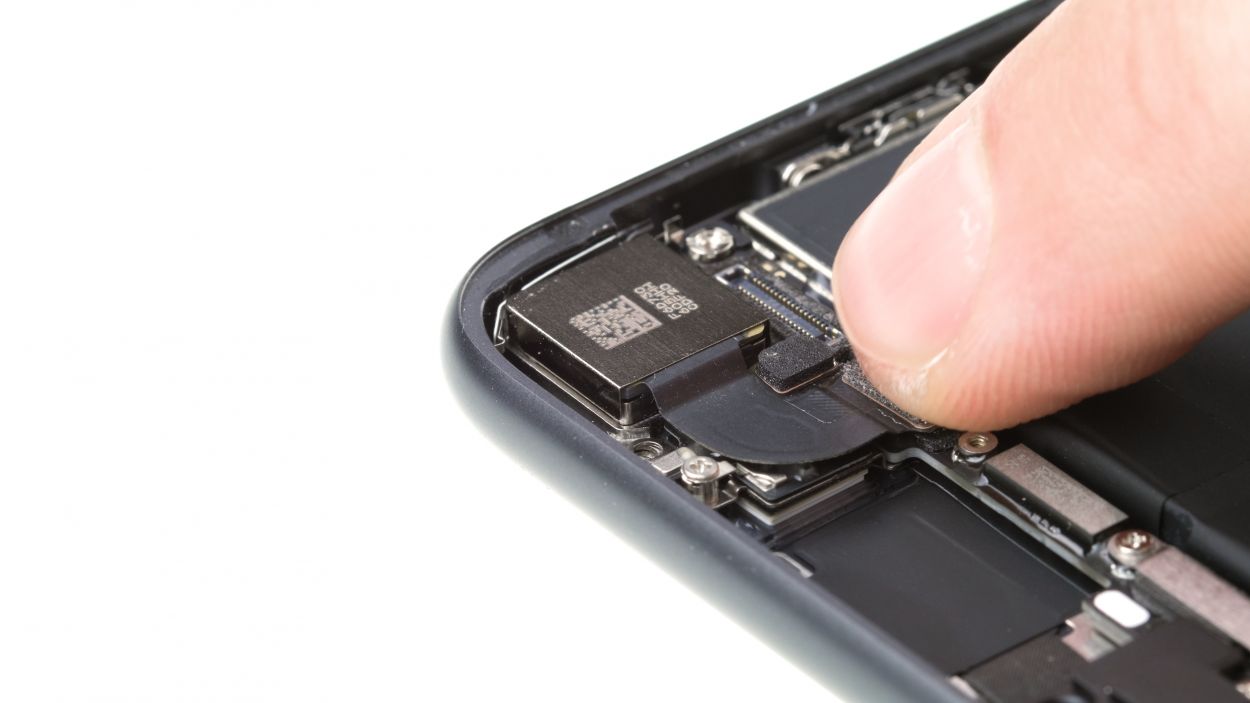
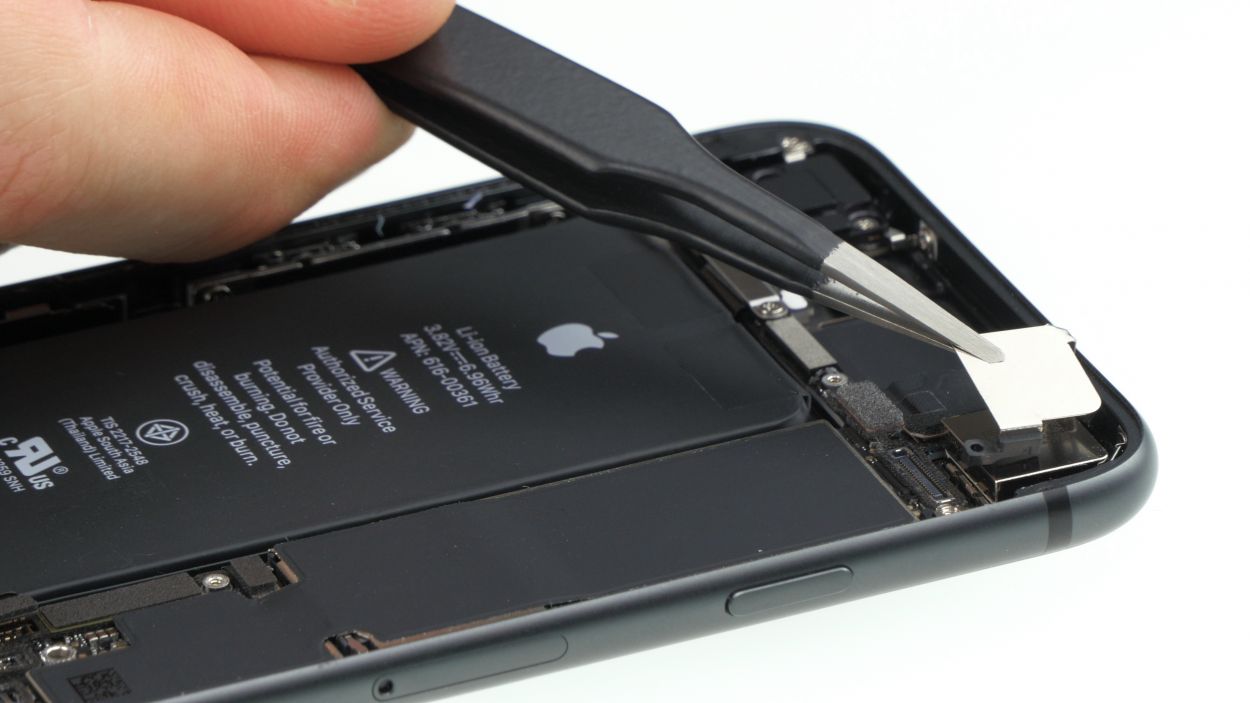
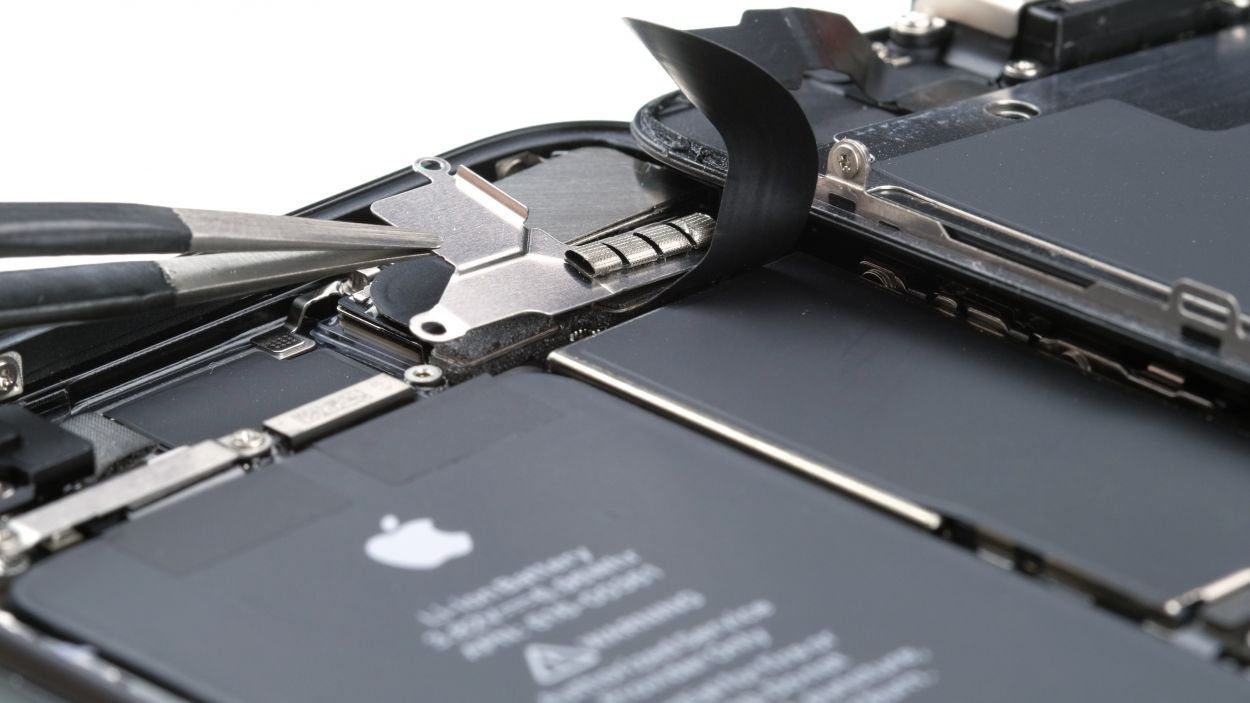
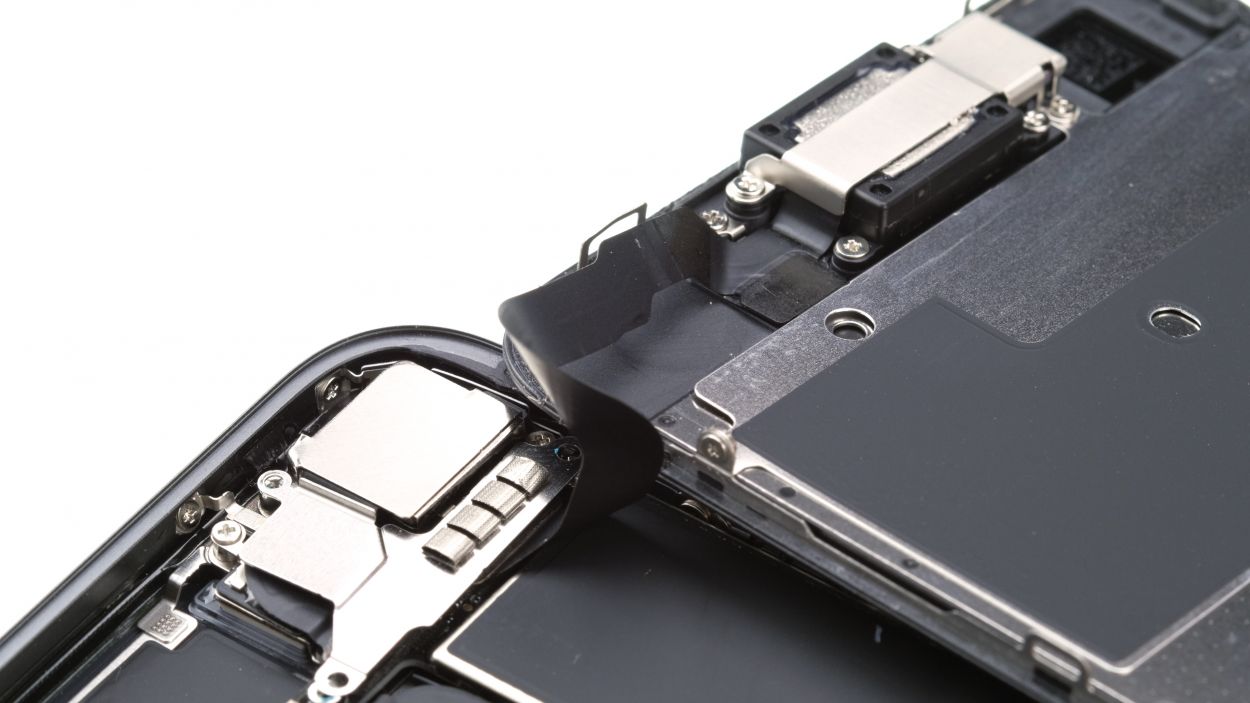
– Loosen those screws and gently lift off the cover plate of the iSight camera. You’ve got this!
Step 10
1 × 2.9 mm Phillips
1 × 3.0 mm Standoff
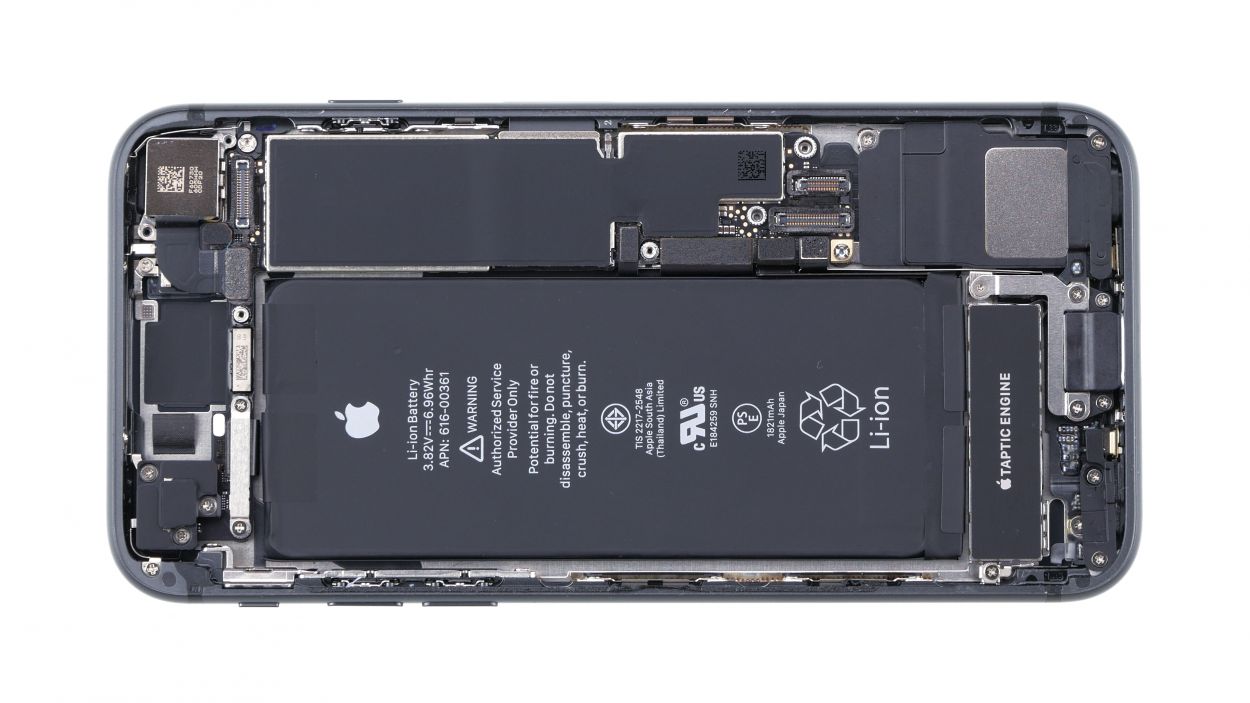
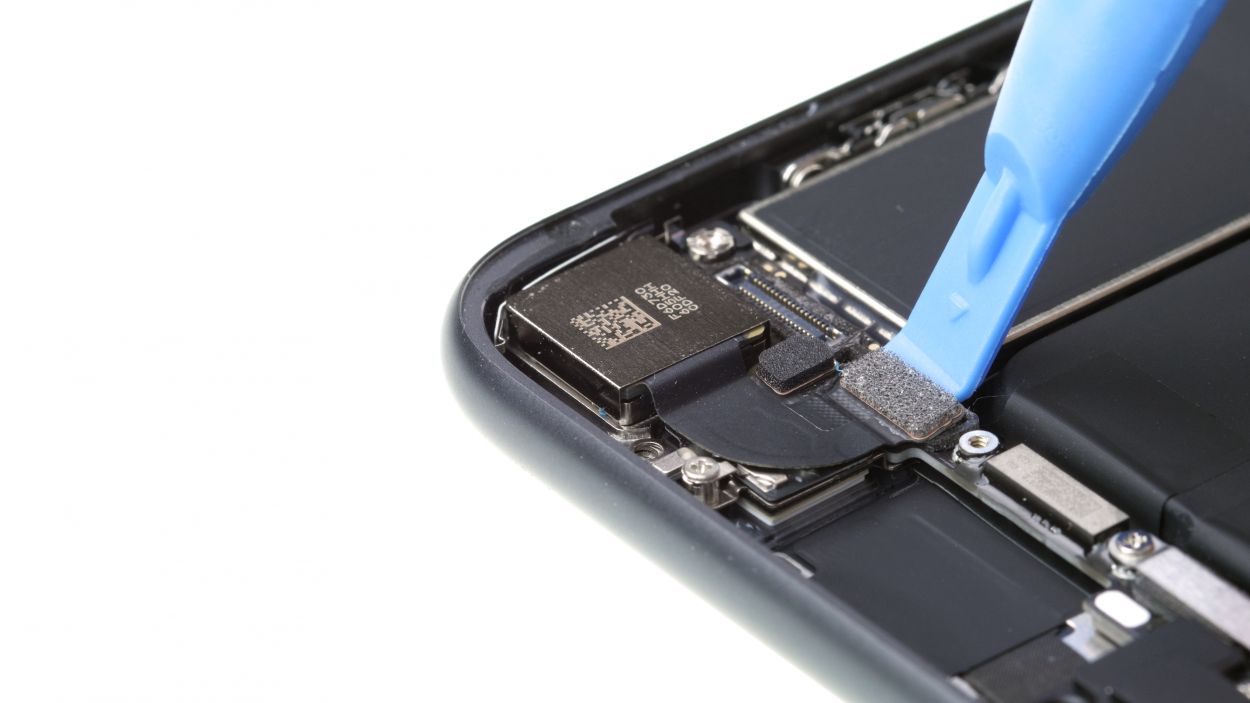
– Gently press the camera back into its cozy little home.
– Connect the camera connector like a pro.
– Secure the camera’s bracket plate back on and tighten it up snugly.
Step 11
3 × 1,0 mm Phillips-Schraube
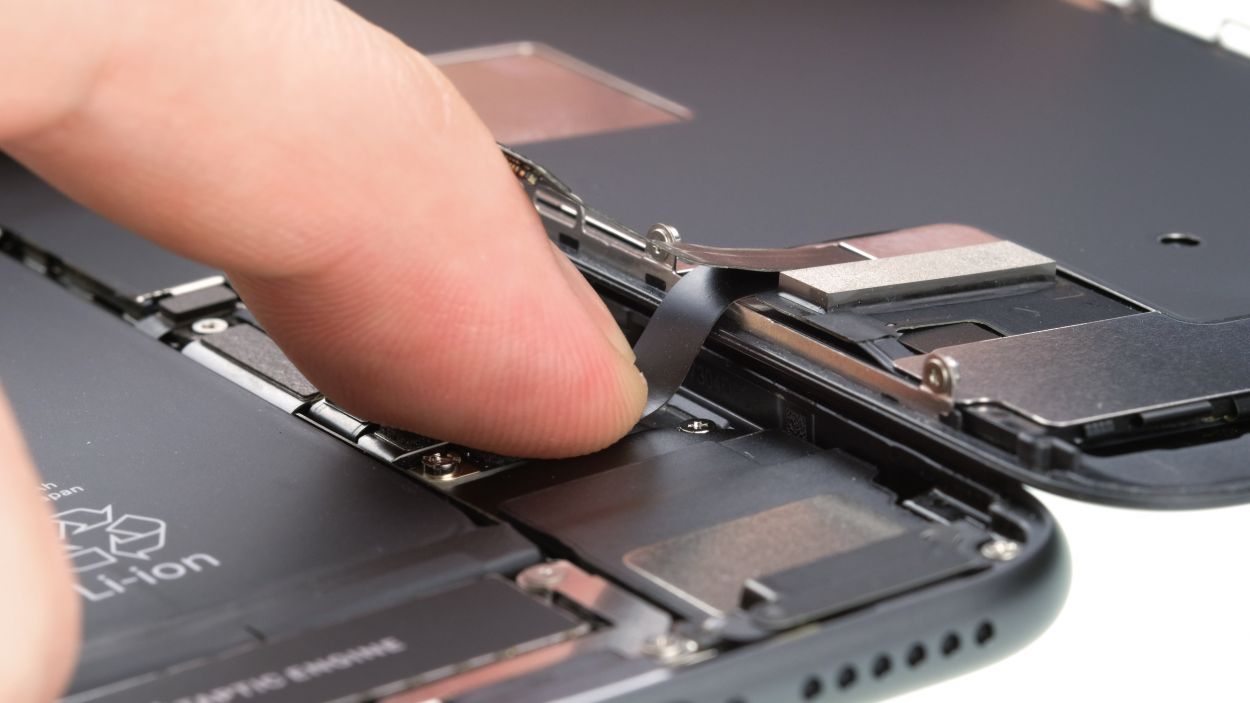
– Stand the display tall on the frame and connect that FaceTime connector to the logic board like a champ.
– Gently rest the display against the back cover, giving it a moment to relax.
– Cover that FaceTime connector with the plate and secure it snugly with the three Phillips screws. You’ve got this!
Step 12
– Reconnect the two display connectors—one for the display and the other for the home button—back to the logic board. You’re almost there!
Step 14
– Gently set the display next to the back cover and fold it over with care, like tucking in a cozy blanket.
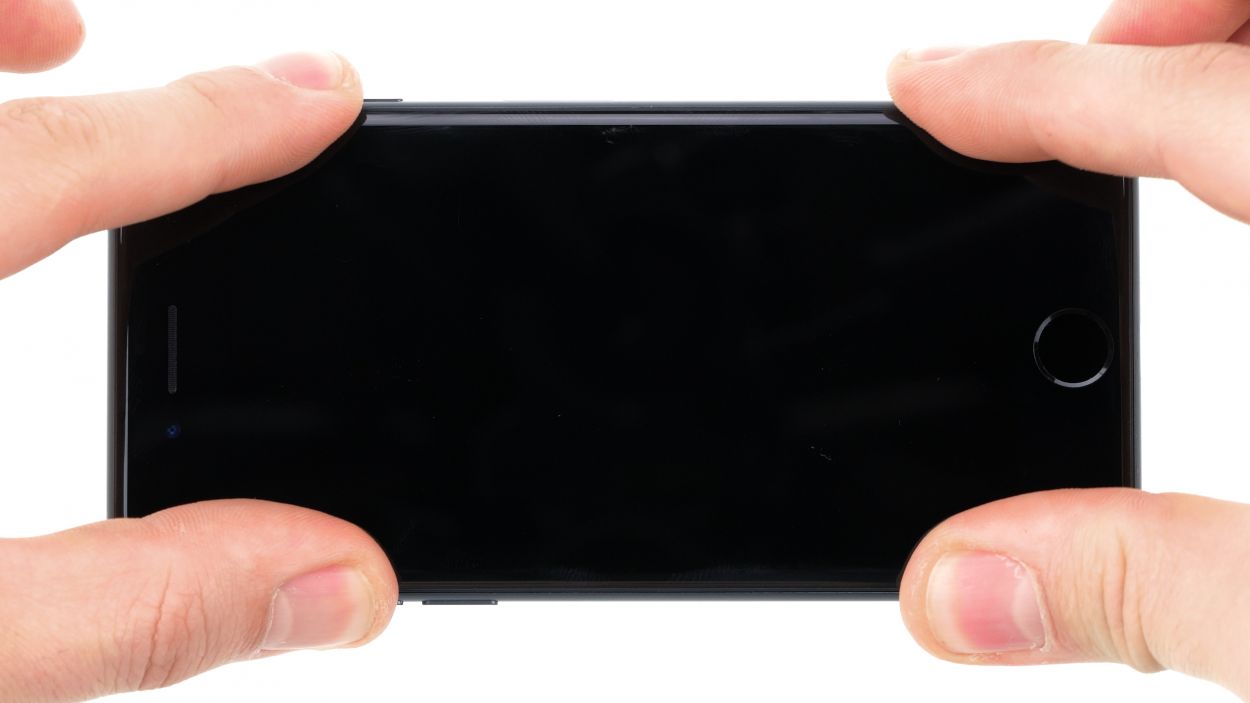
– Now, give that display a nice, firm press all over. You’re sealing the deal like a pro!
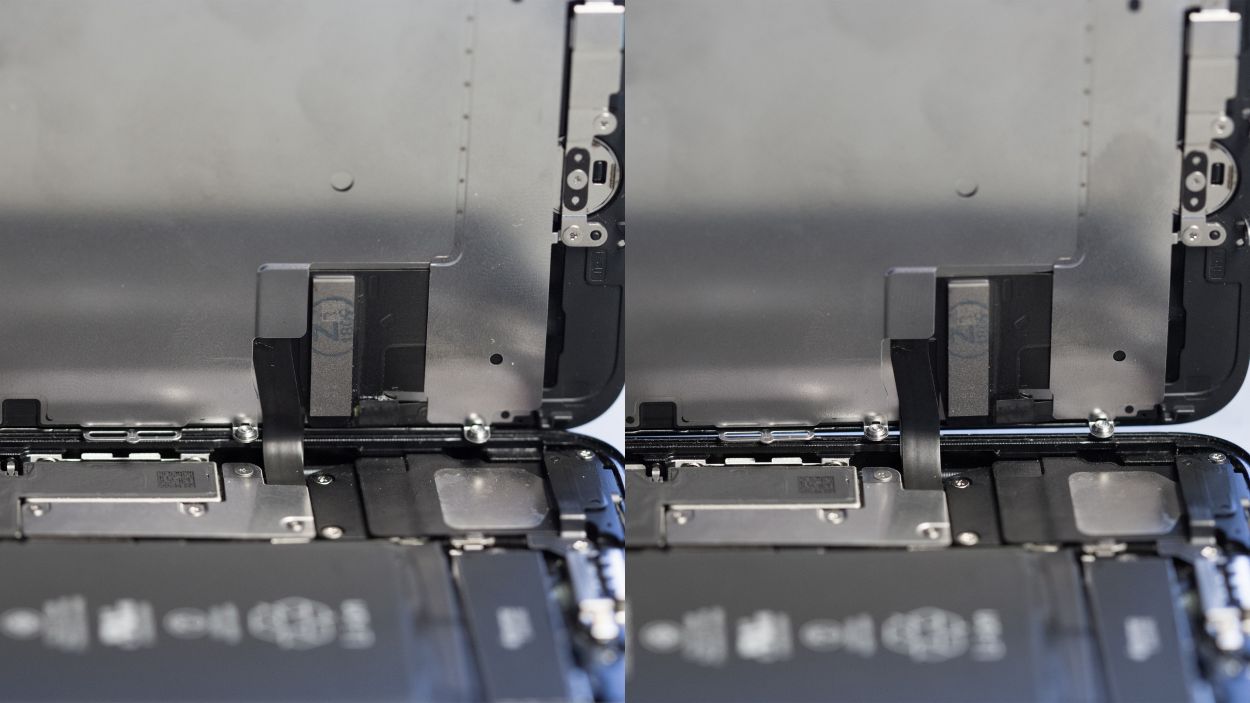
Wrong position
Right position
Hey there! Just a friendly reminder to ensure that the silver chip on the cable is lined up perfectly as it was before (check out the photo!). If it’s not, you might end up with some funky discolorations and spots on the screen after you’re done. If that happens, no worries—just double-check the cable’s position and make sure that chip is aligned like in the pic. You got this!
Step 15
2 × 3.4 mm Pentalobe
– Time to wrap things up! Grab those two pentalobe screws that you so wisely set aside earlier, and gently screw them back into the rear case, one on each side of the Lightning connector. You’re almost at the finish line!
Tools Used
