DIY Guide to Replace LG G6 Earpiece Step-by-Step
Duration: 30 min.
Steps: 13 Steps
Ready to tackle your LG G6’s earpiece issue? We’re here to guide you through replacing that pesky, faulty earpiece all by yourself! If the conversation feels more like a whisper or you can’t hear the other person at all, it’s time for a little DIY magic. Let’s get your phone back to its chatting glory!
Step 1
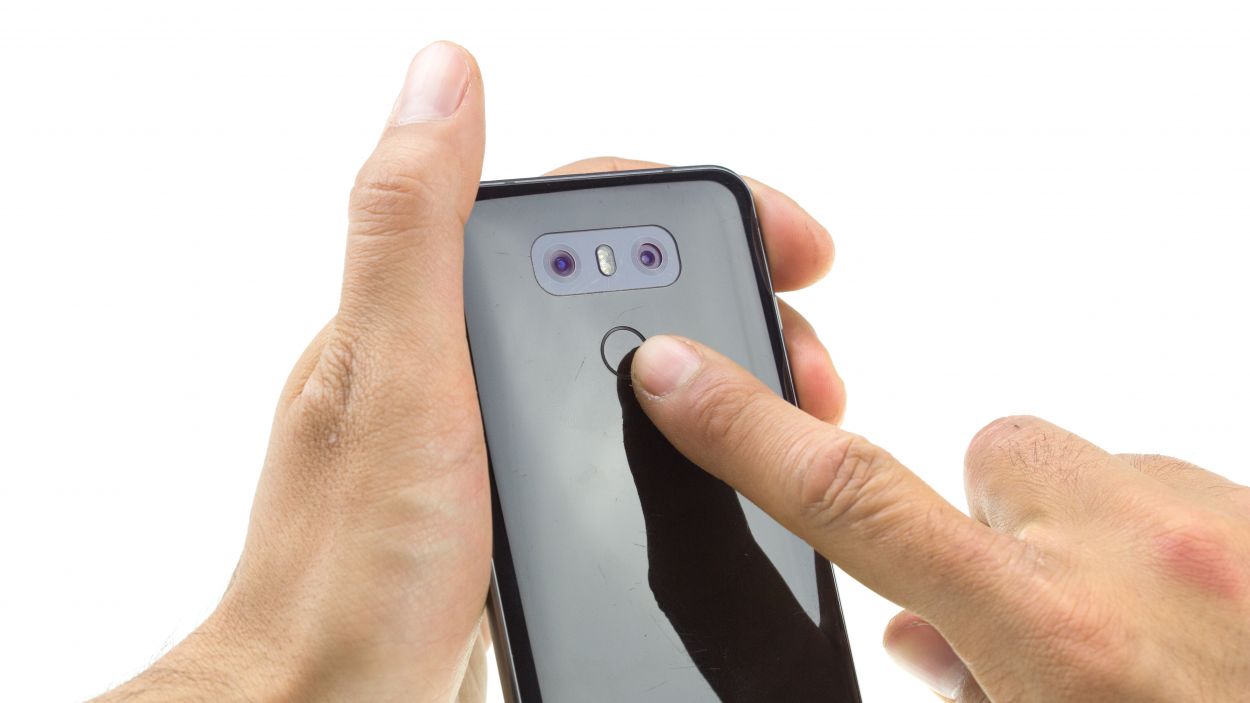
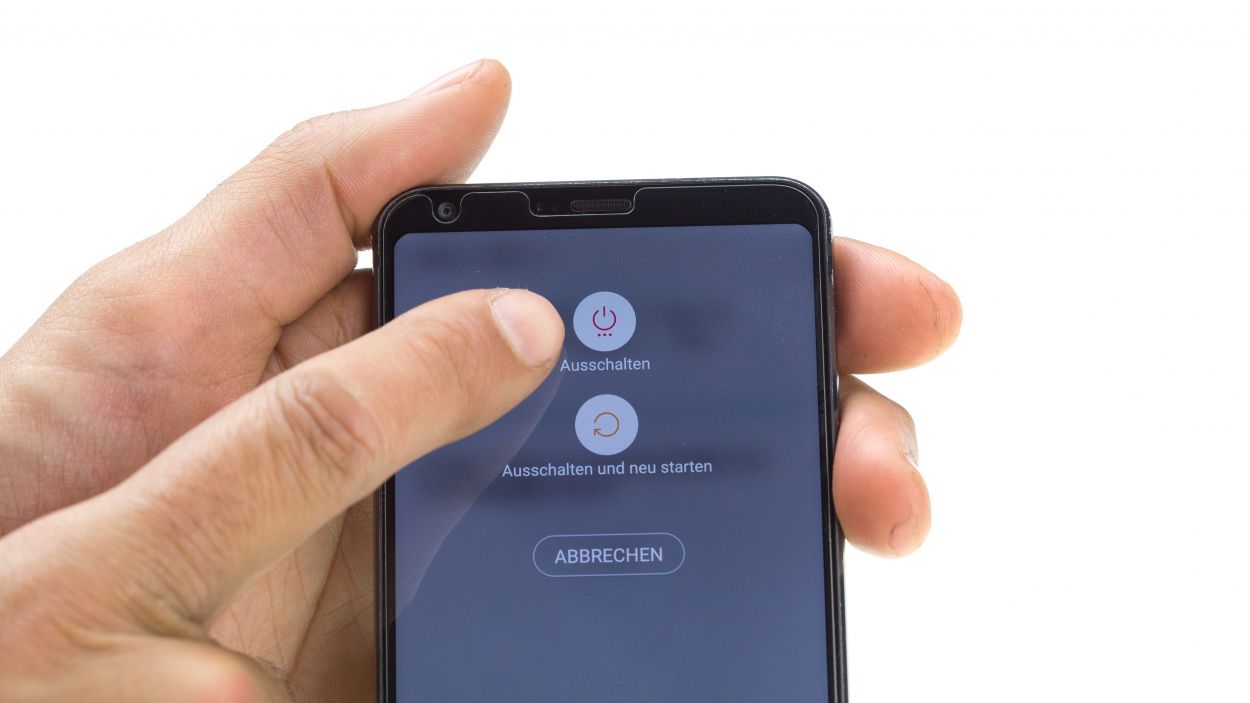
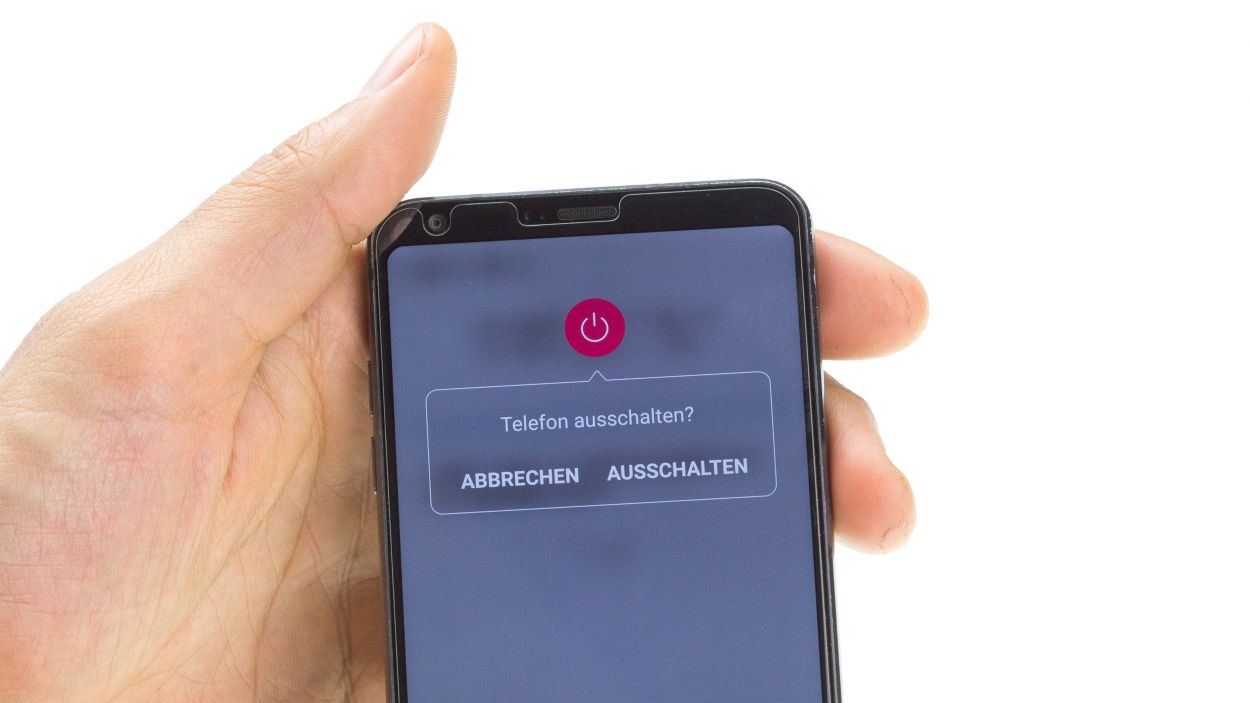
– Give your device a little break by pressing and holding the power button on the back until you see the ‘Power off’ option pop up.
– Go ahead and tap that option to confirm, then sit back and watch as the screen fades to black.
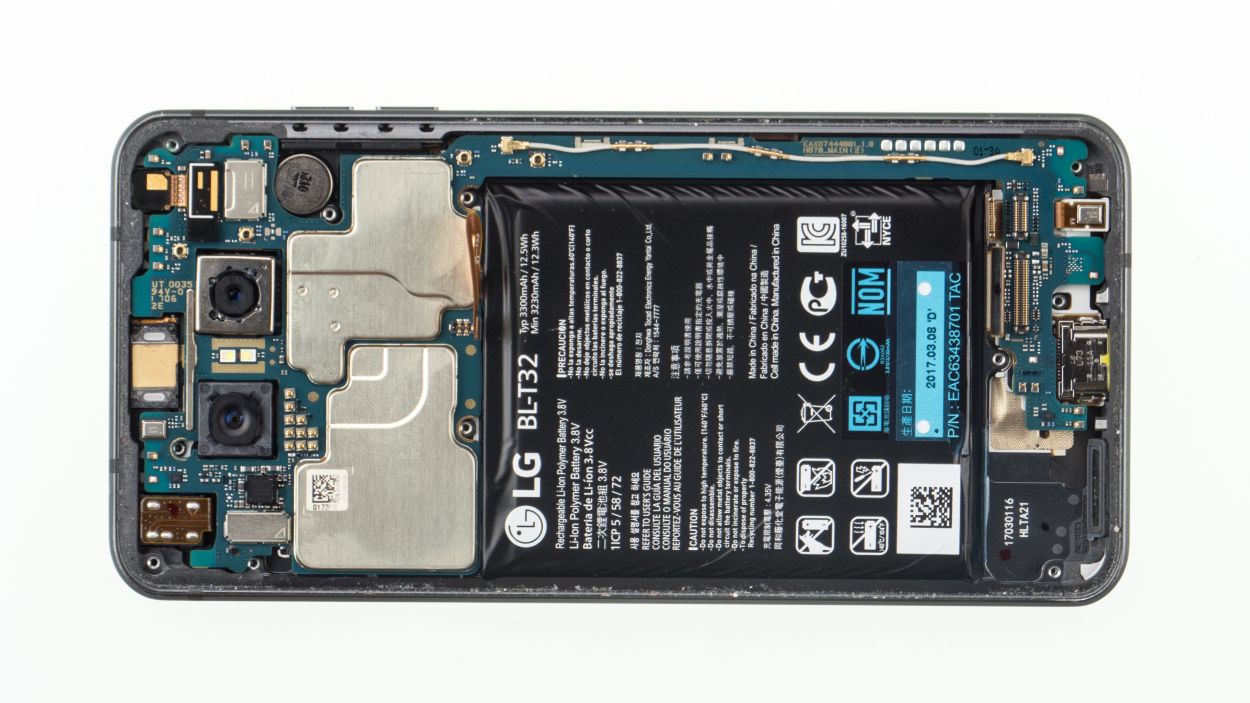
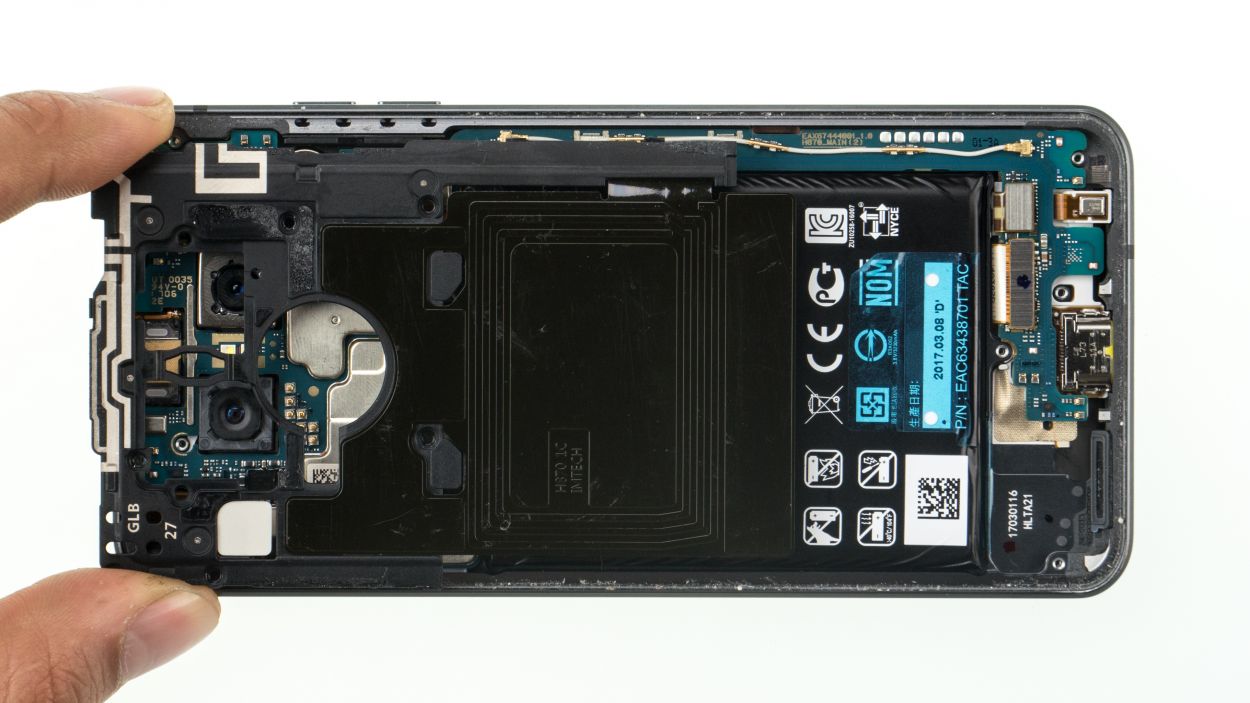
Step 2
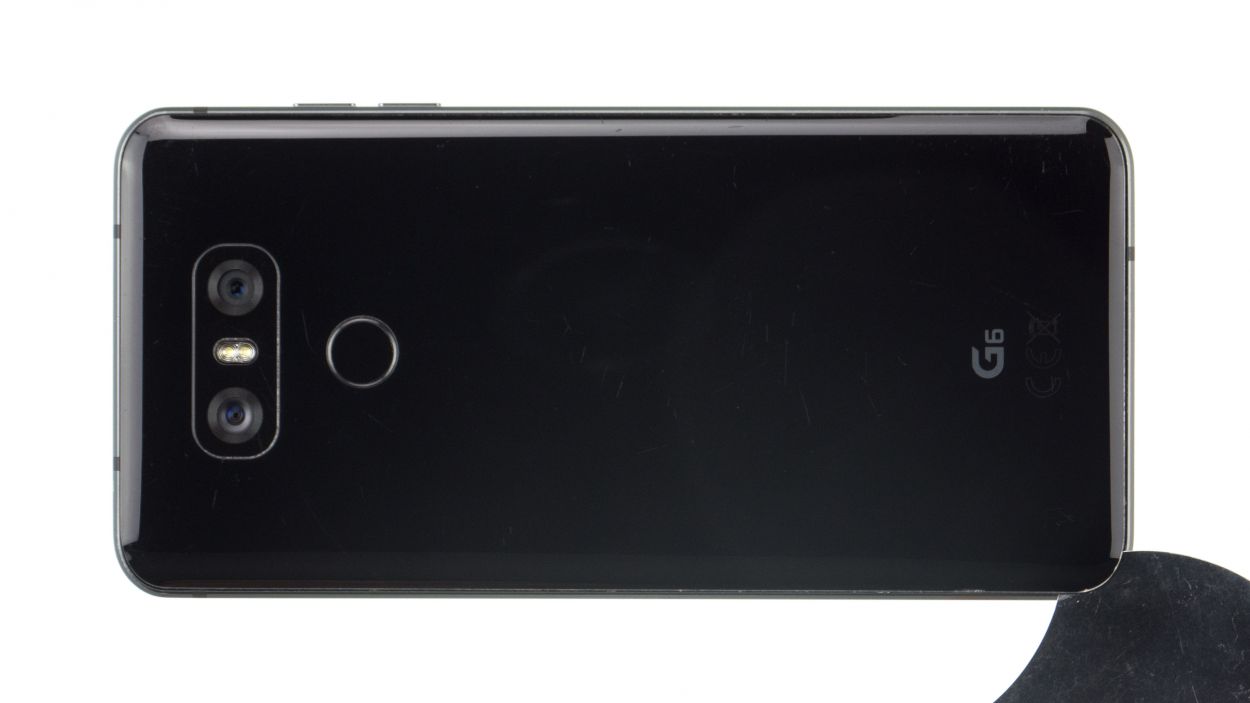
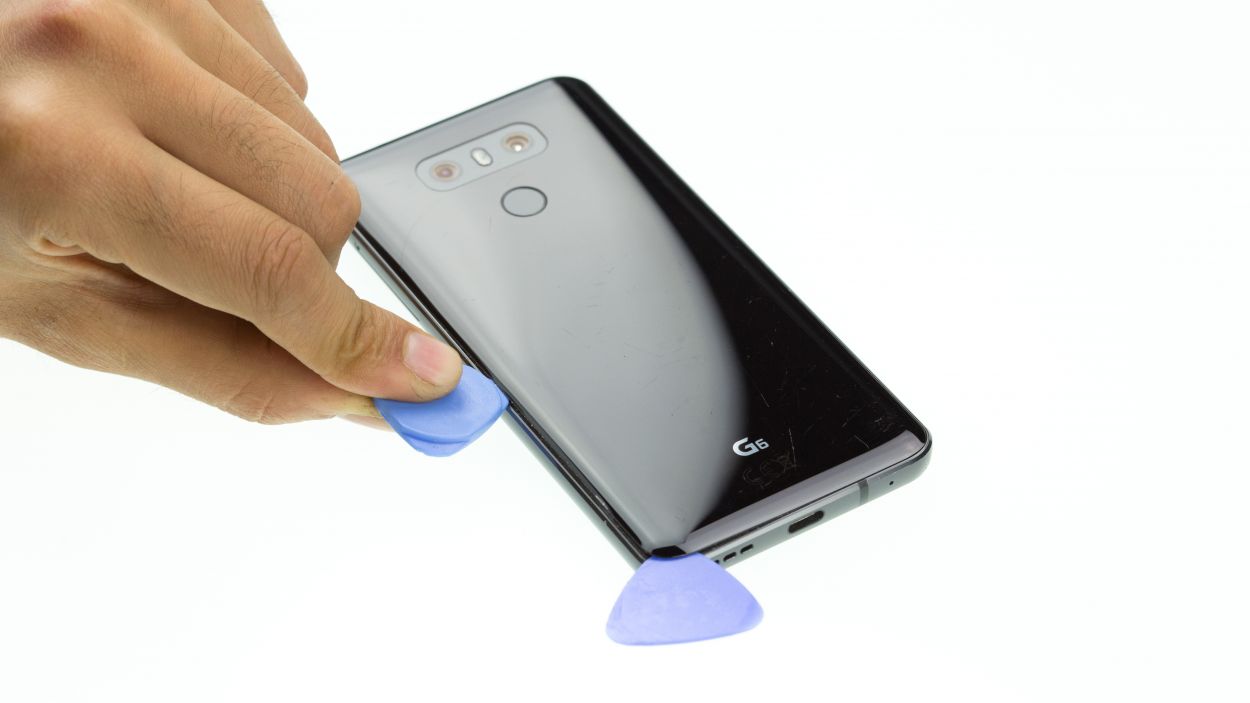

Let’s do the hokey-pokey and put the back cover away!
Just remember to be a careful cutie and avoid breaking anything. If you get stuck, don’t fret – we’re here for you! schedule a repair
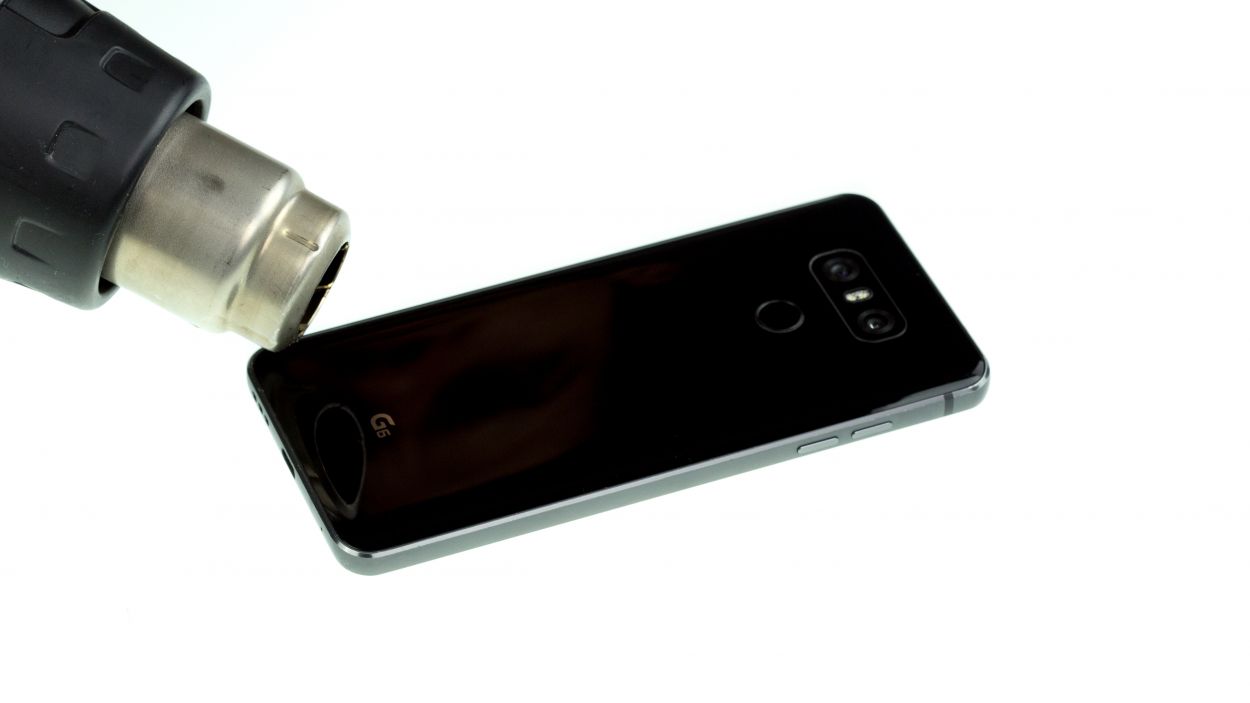
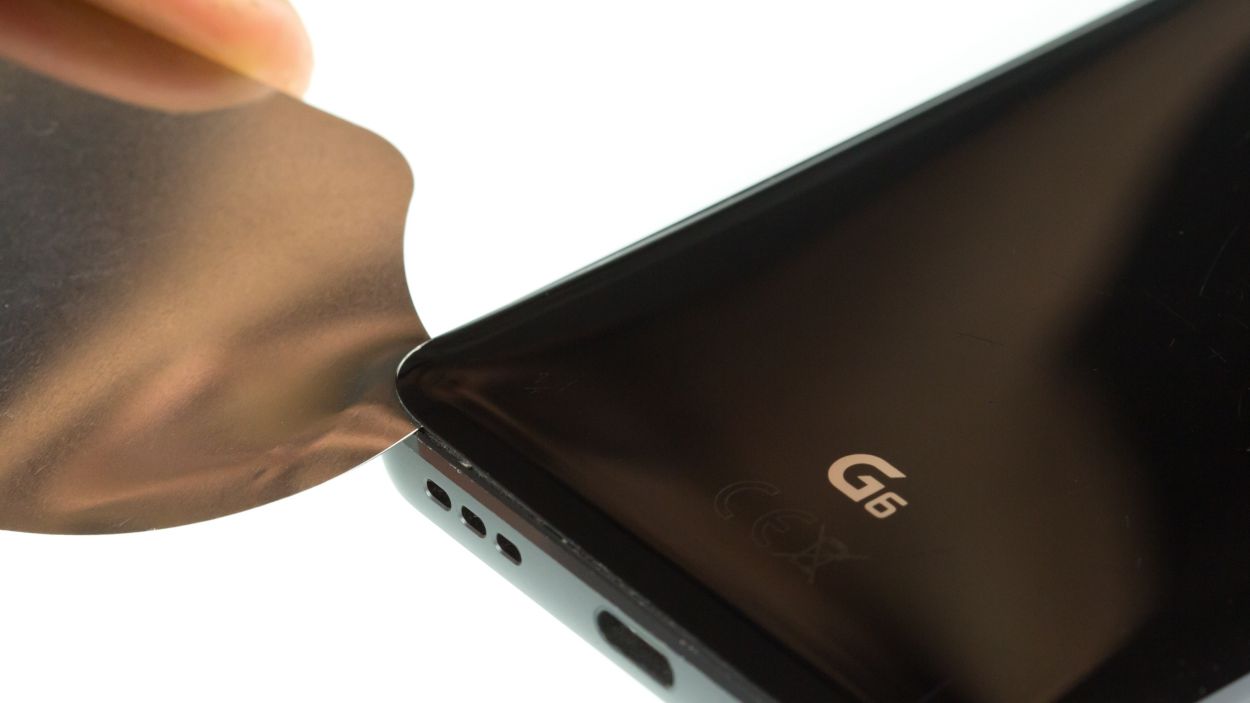
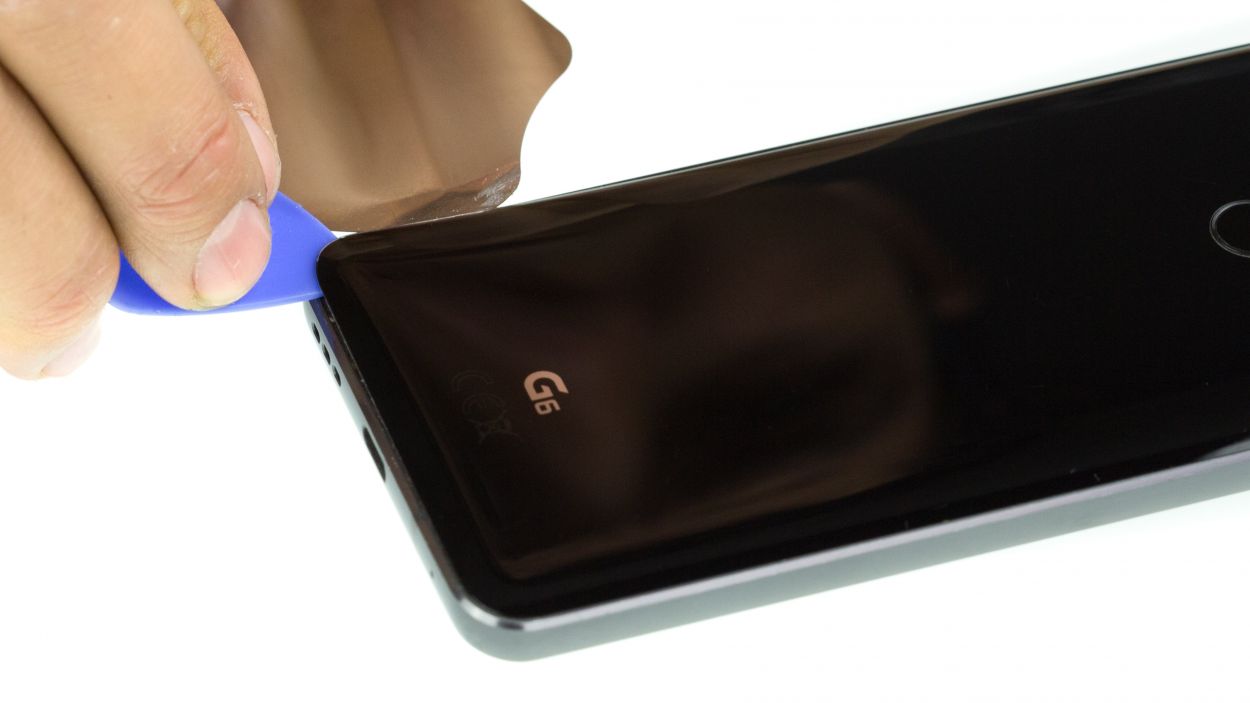
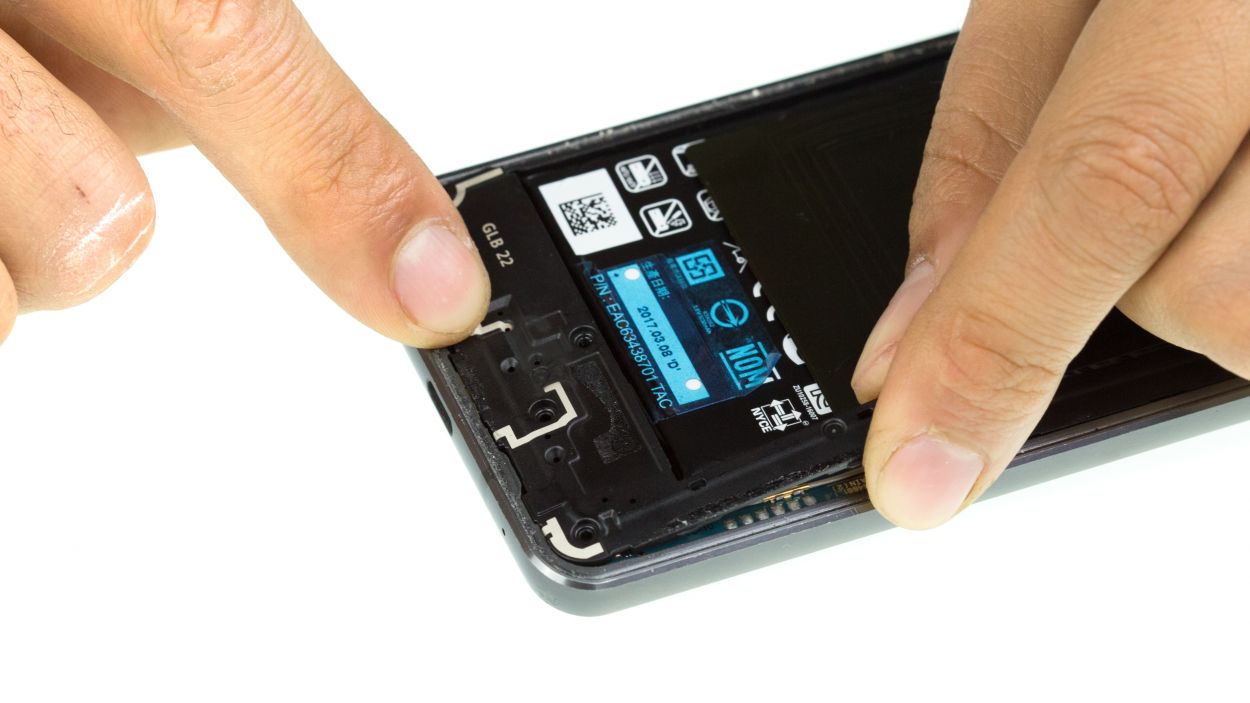
– Warm up that rear glass all around! It’s stuck tight along the edges, around the home button, and even over the USB port.
– Gently slide the iFlex between the rear glass and the frame, but keep it to a maximum of 5 mm. We want to be careful here!
Step 3


4 × 2.7 mm Phillips
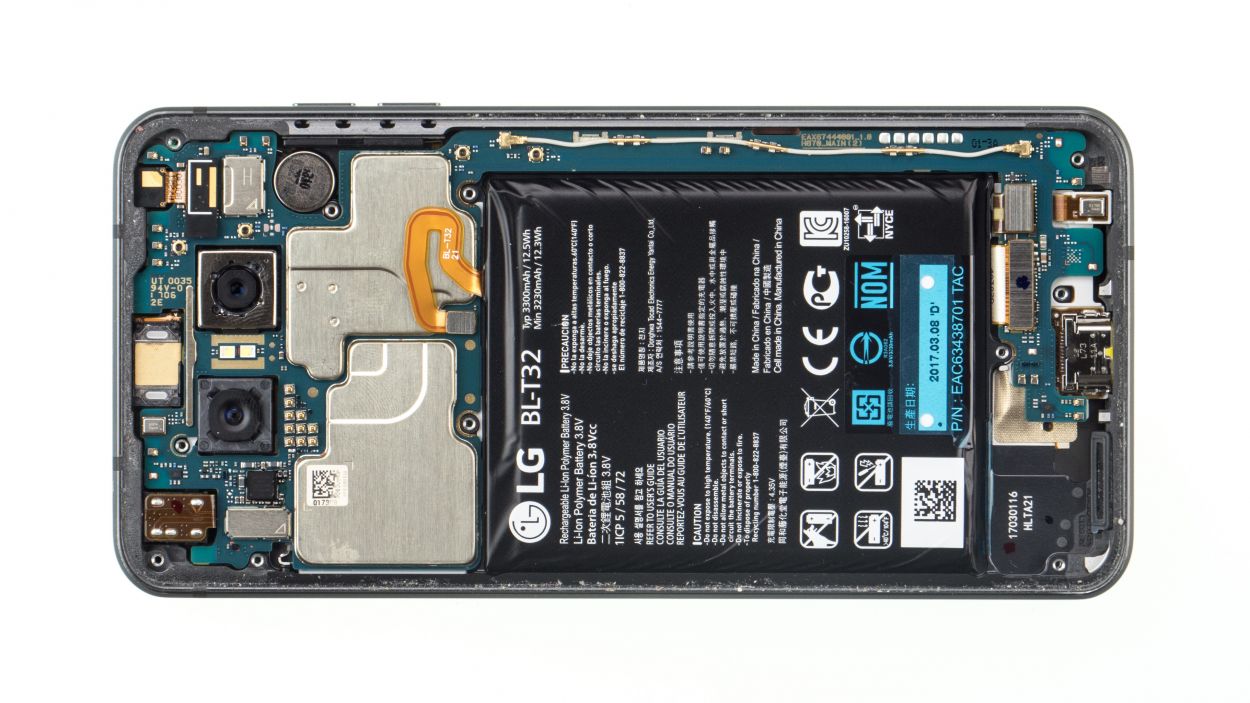
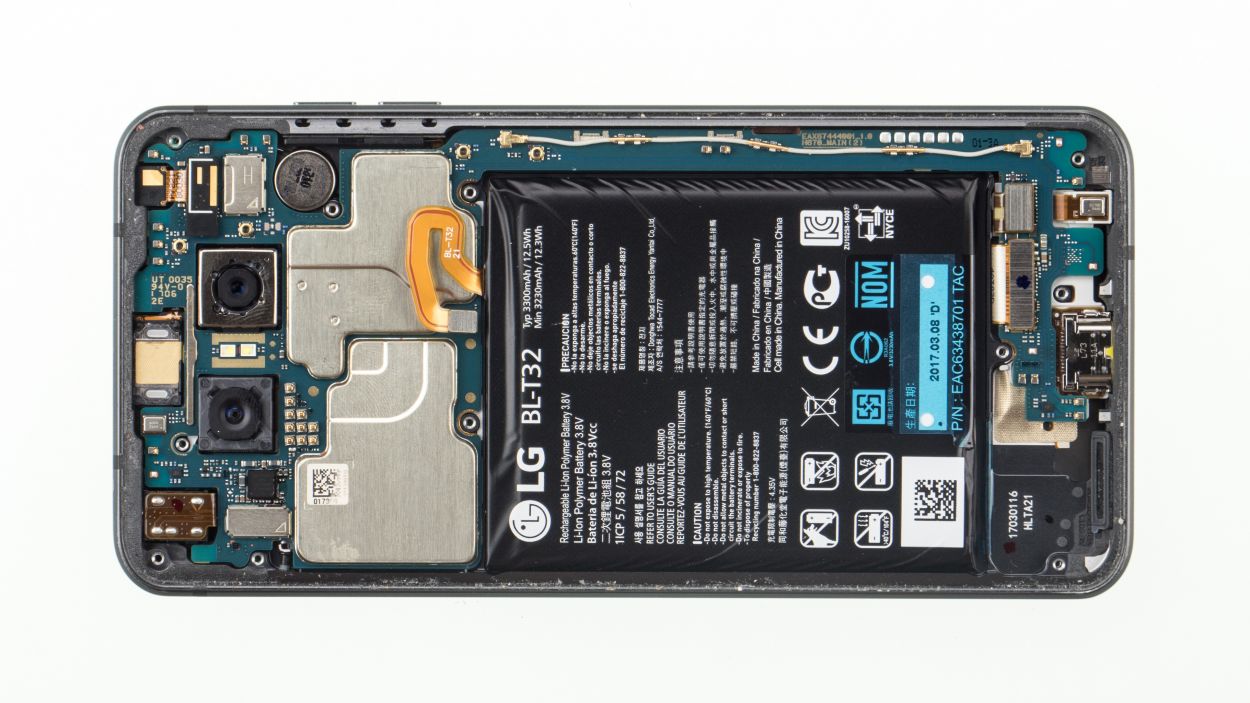
The LG G6 is so simple that there’s only one type of screw to deal with! Just the midframe and speaker are screwed in.
– Remove the equal-length Phillips screws from the speaker and store them for later.
– Then pry out the speaker from the side of the battery and take it out of the device.
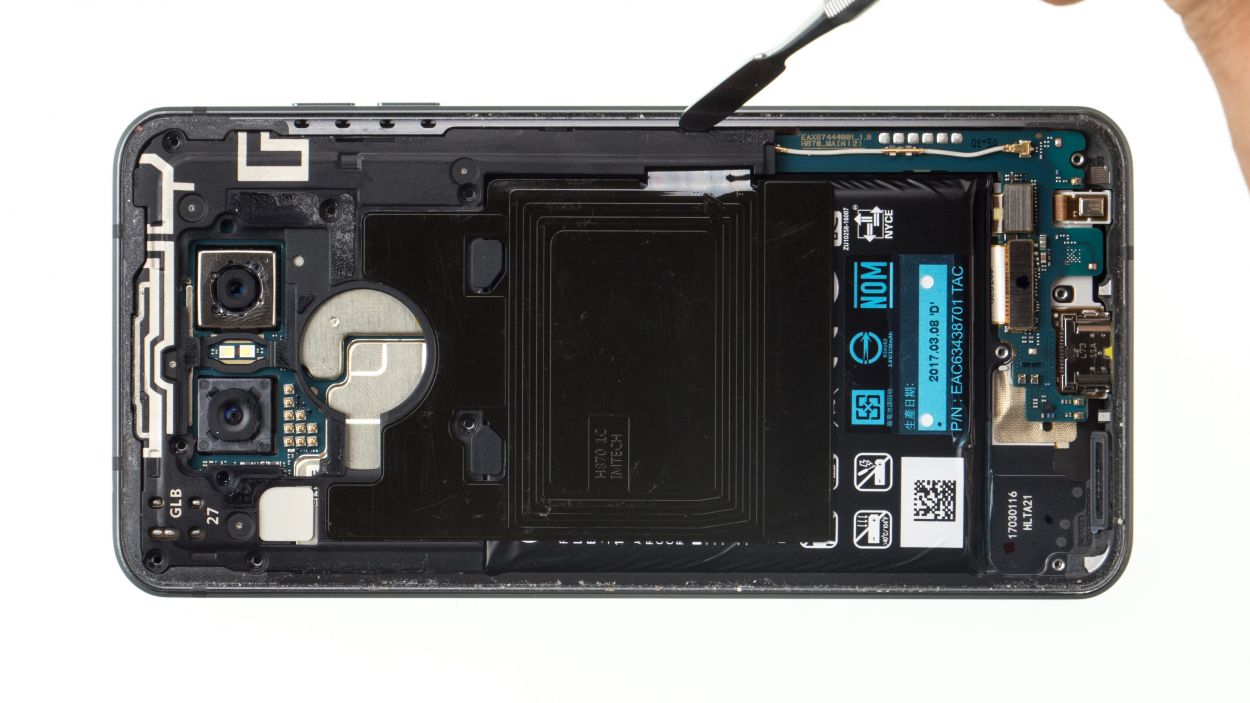
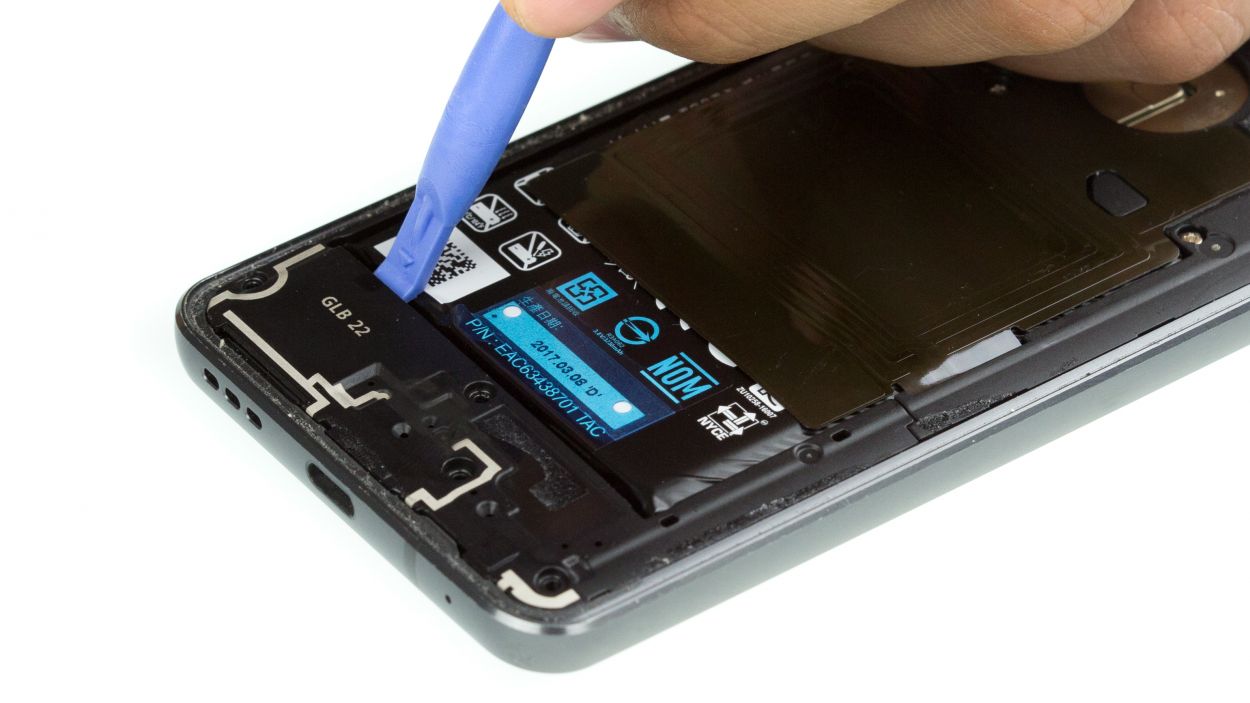
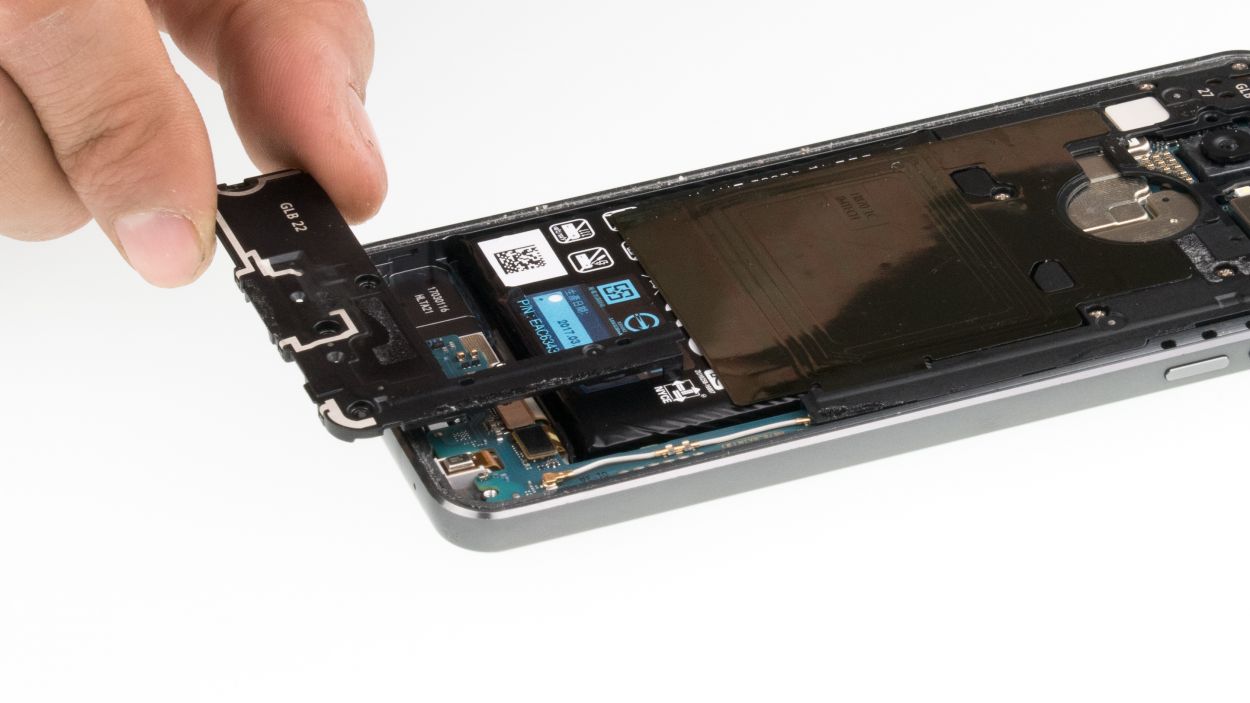
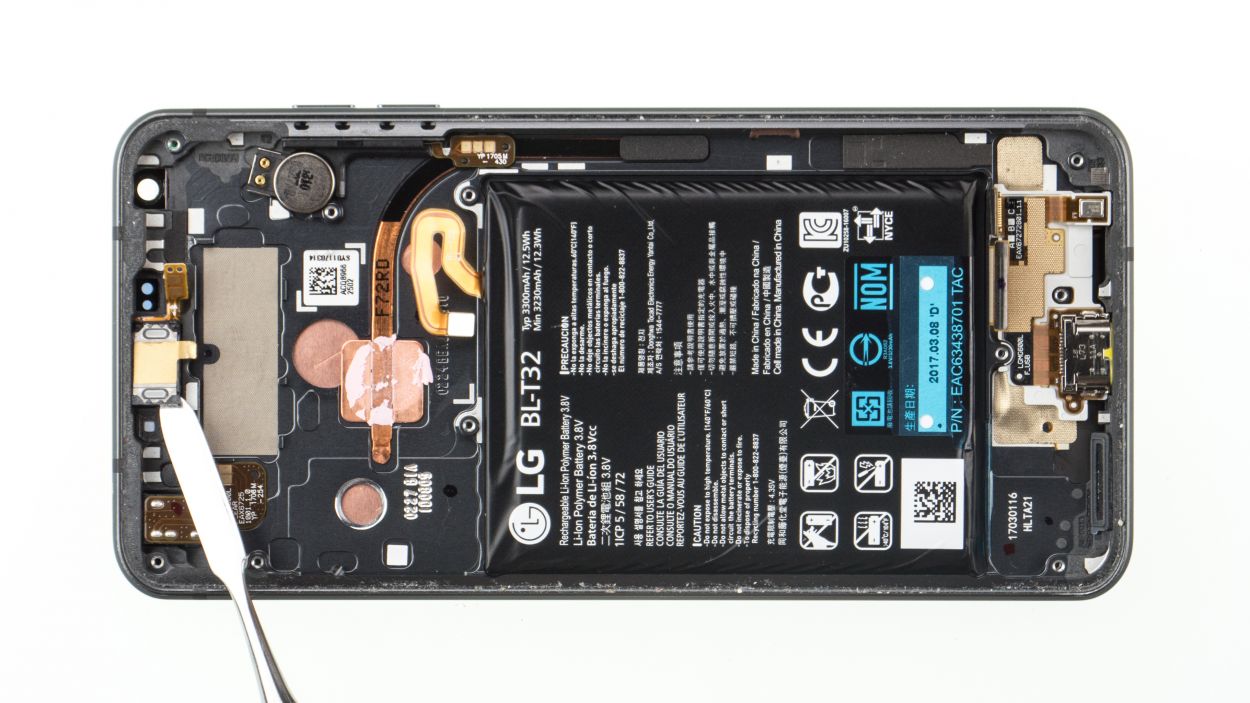
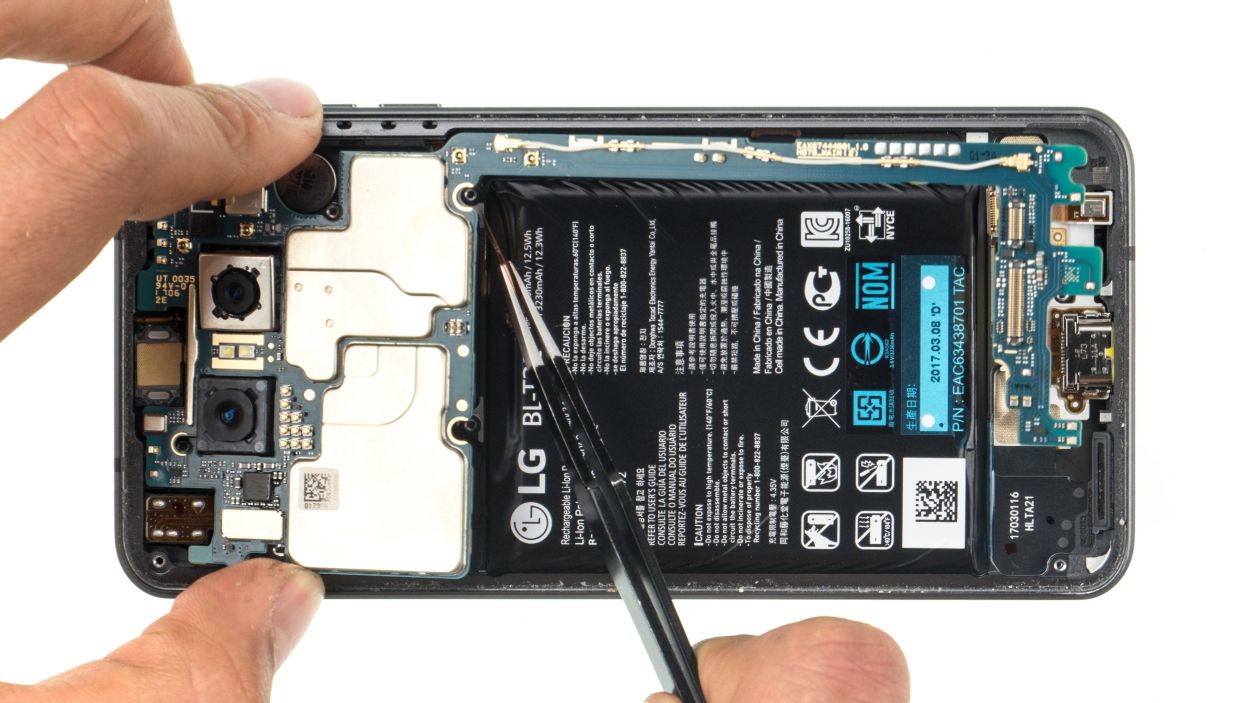
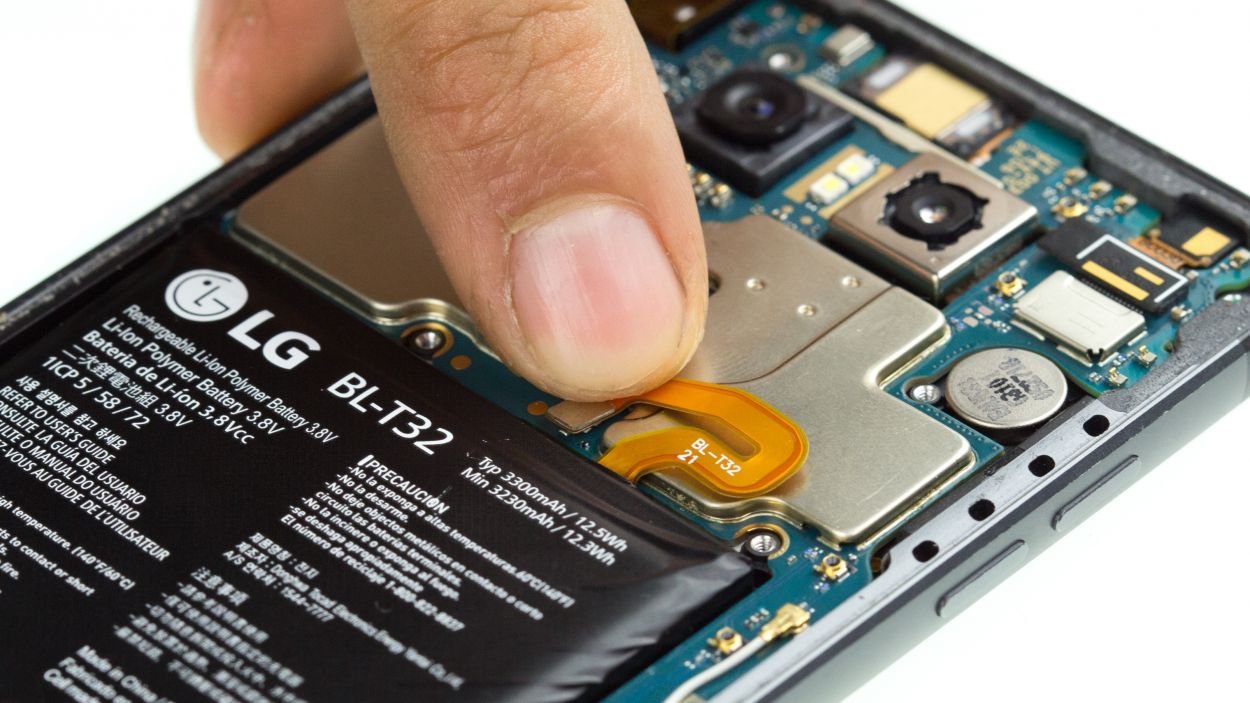
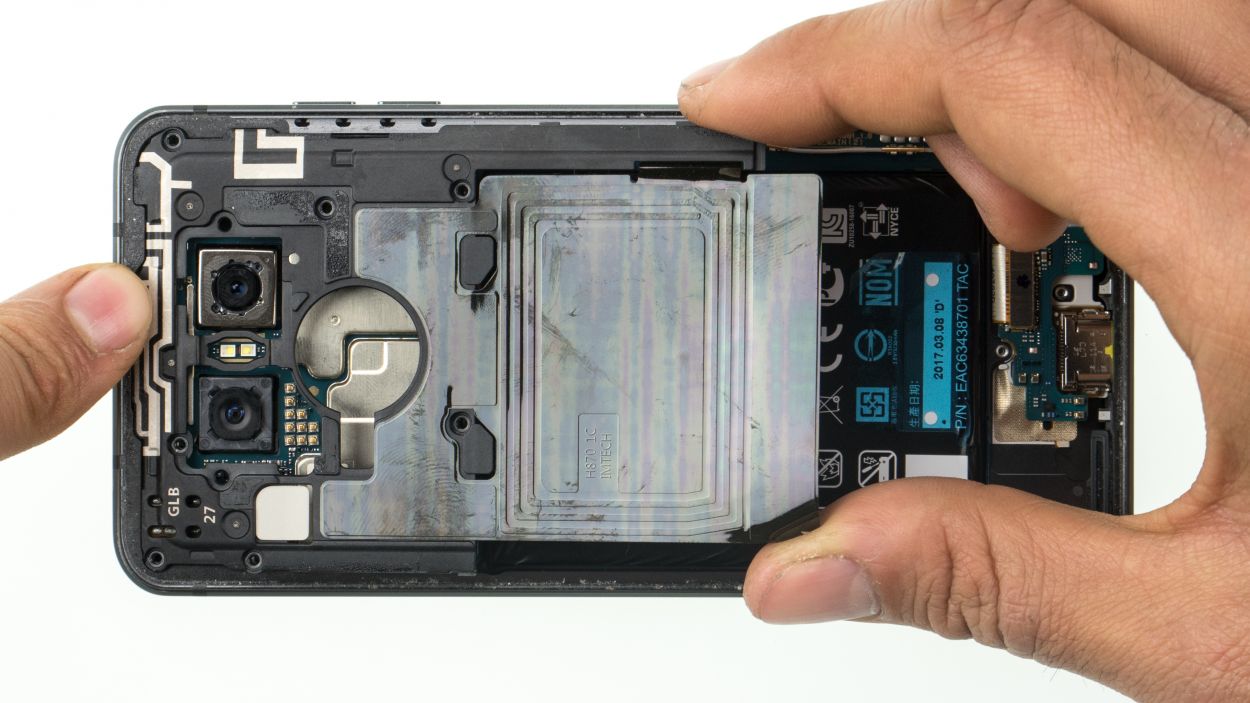
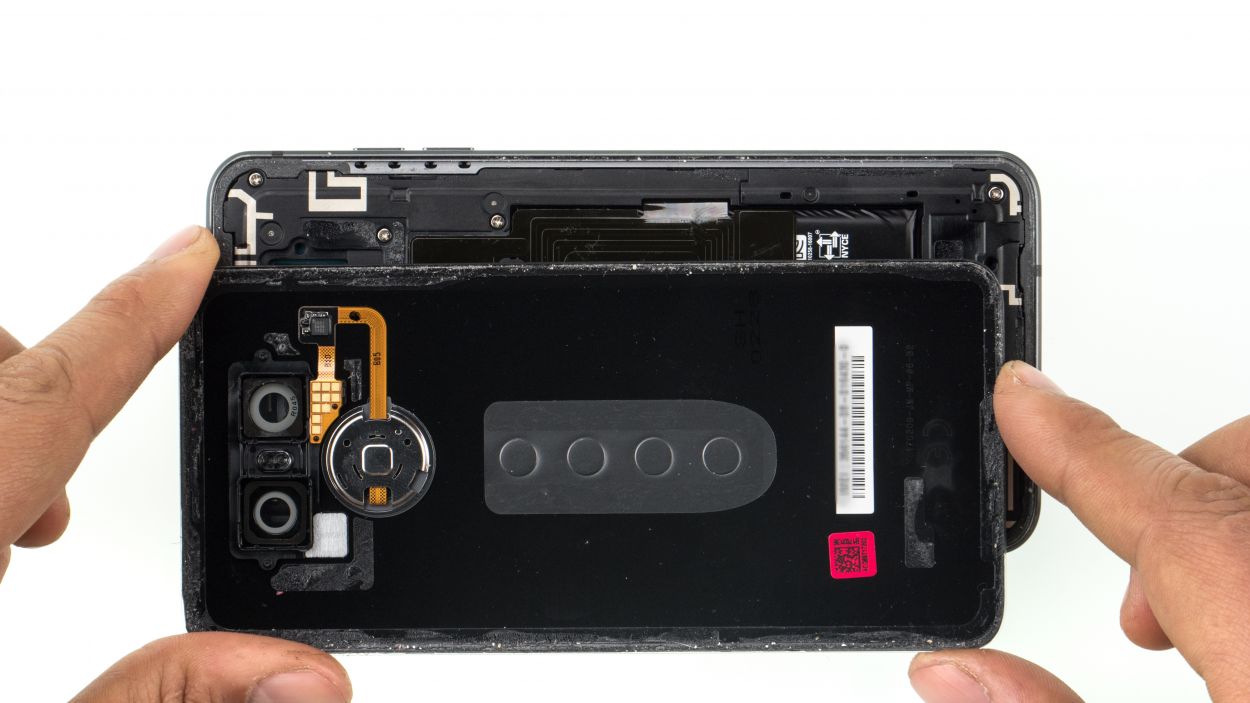
Step 6

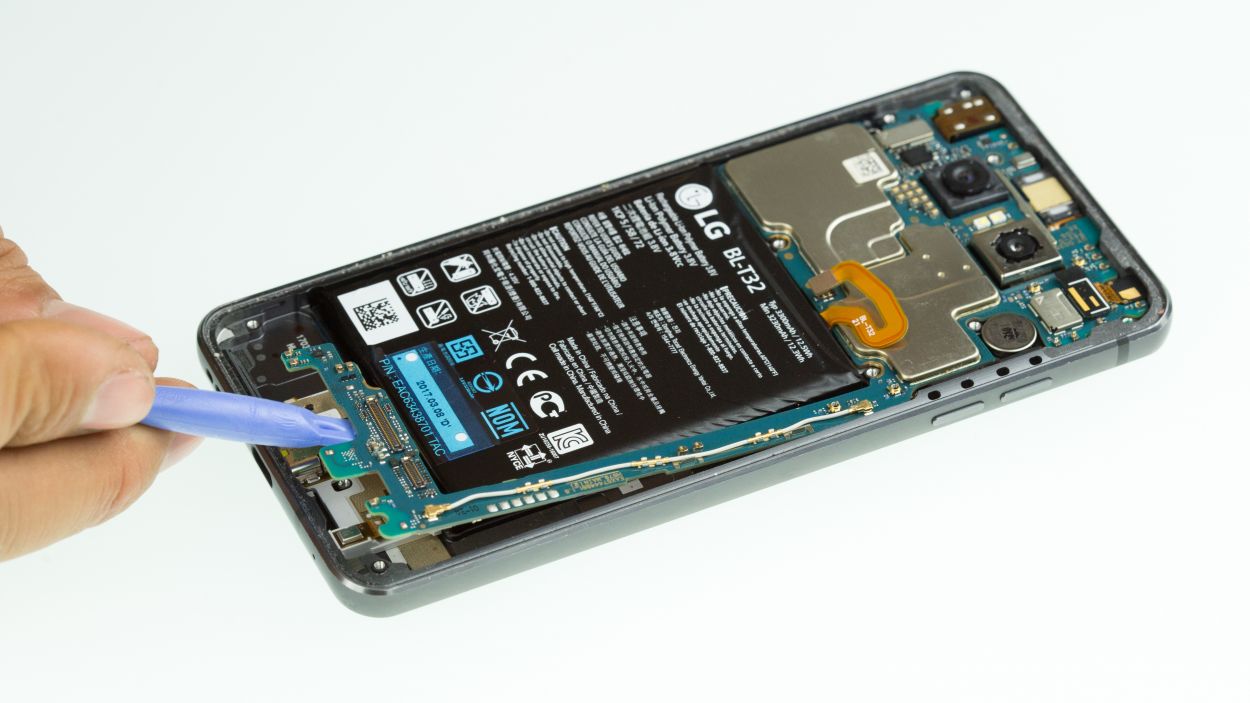
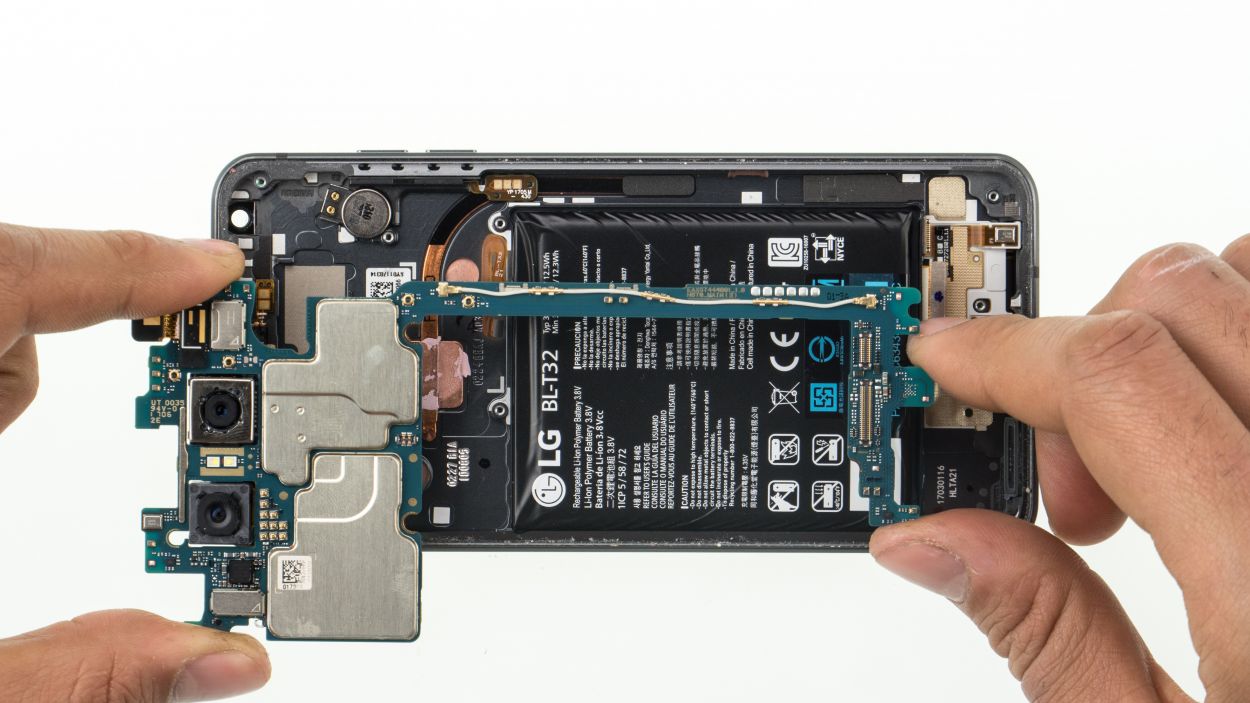
Don’t bend the logic board, since it breaks easily.
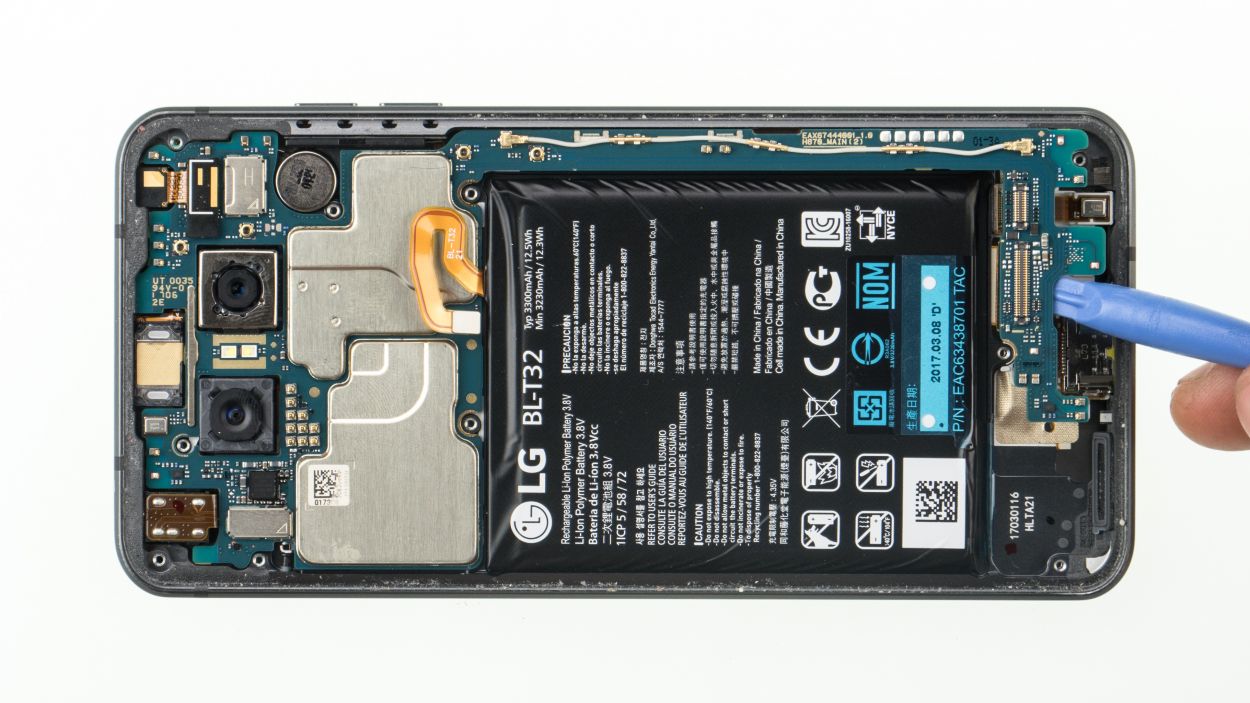
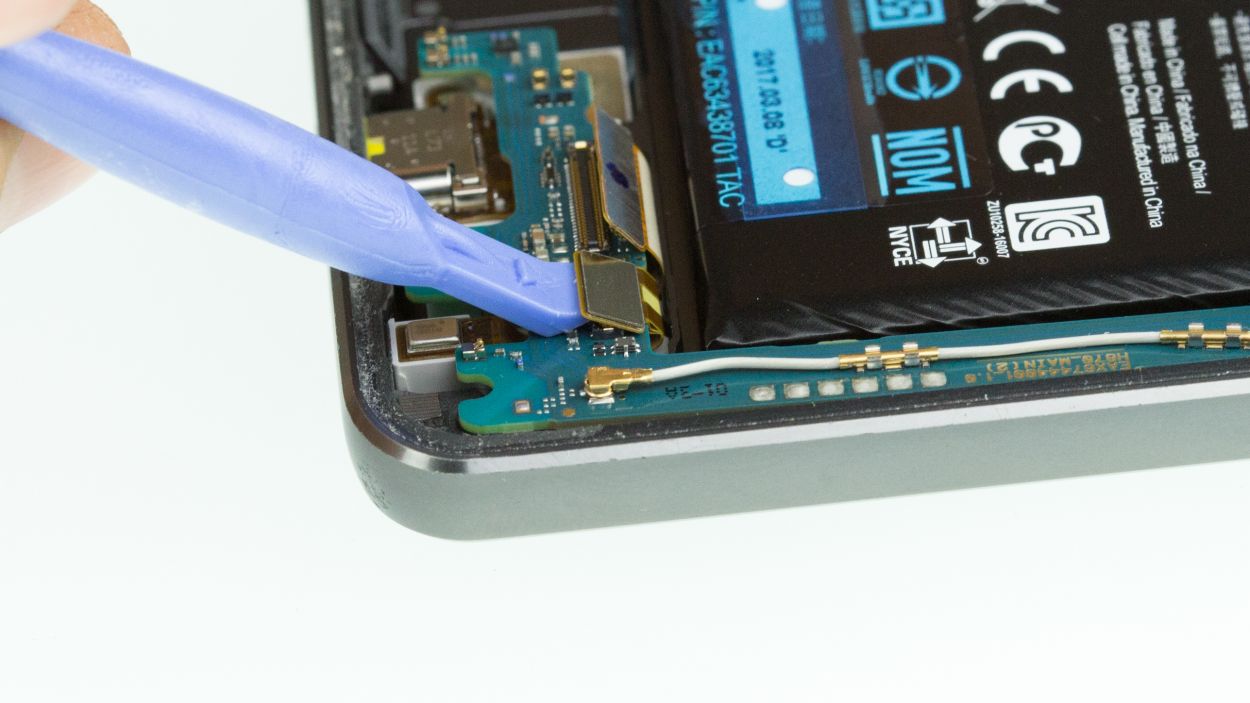
– Start by disconnecting the two connectors located at the bottom of the logic board. You’ve got this!
– Now, gently pry out the lower section of the logic board. Don’t forget to unclip it from the other points where it’s secured. Just a little finesse, and you’ll be on your way!
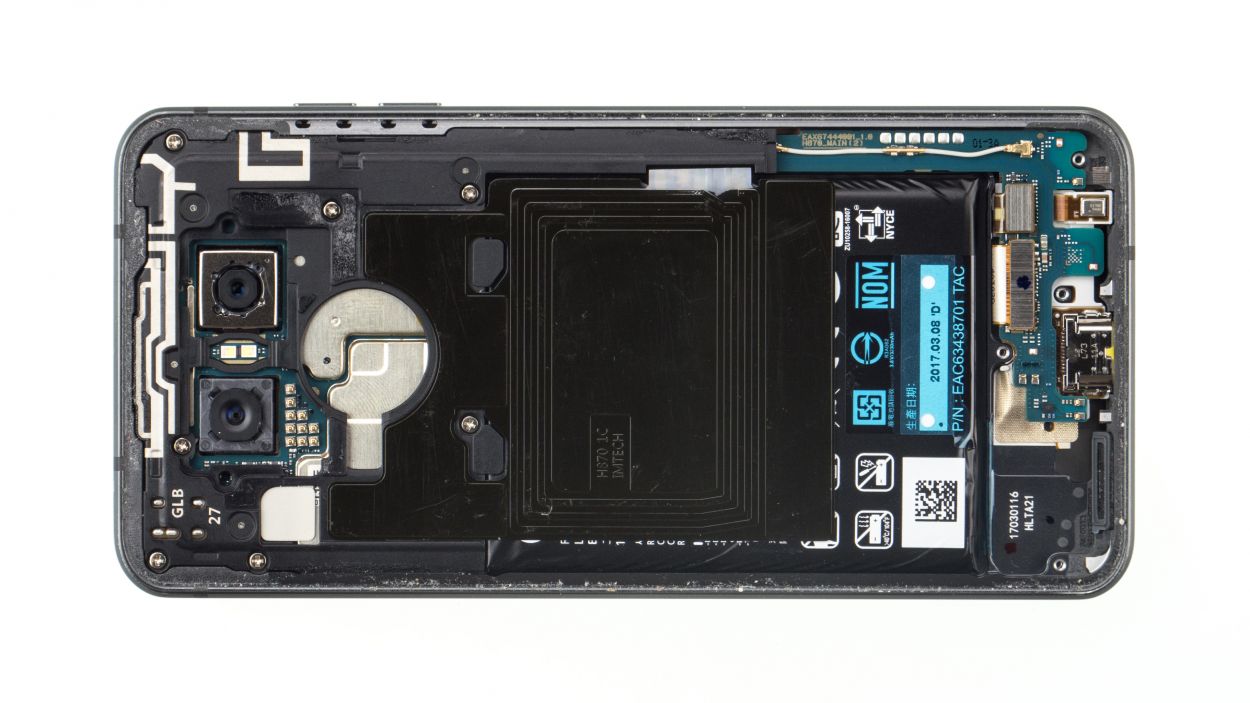
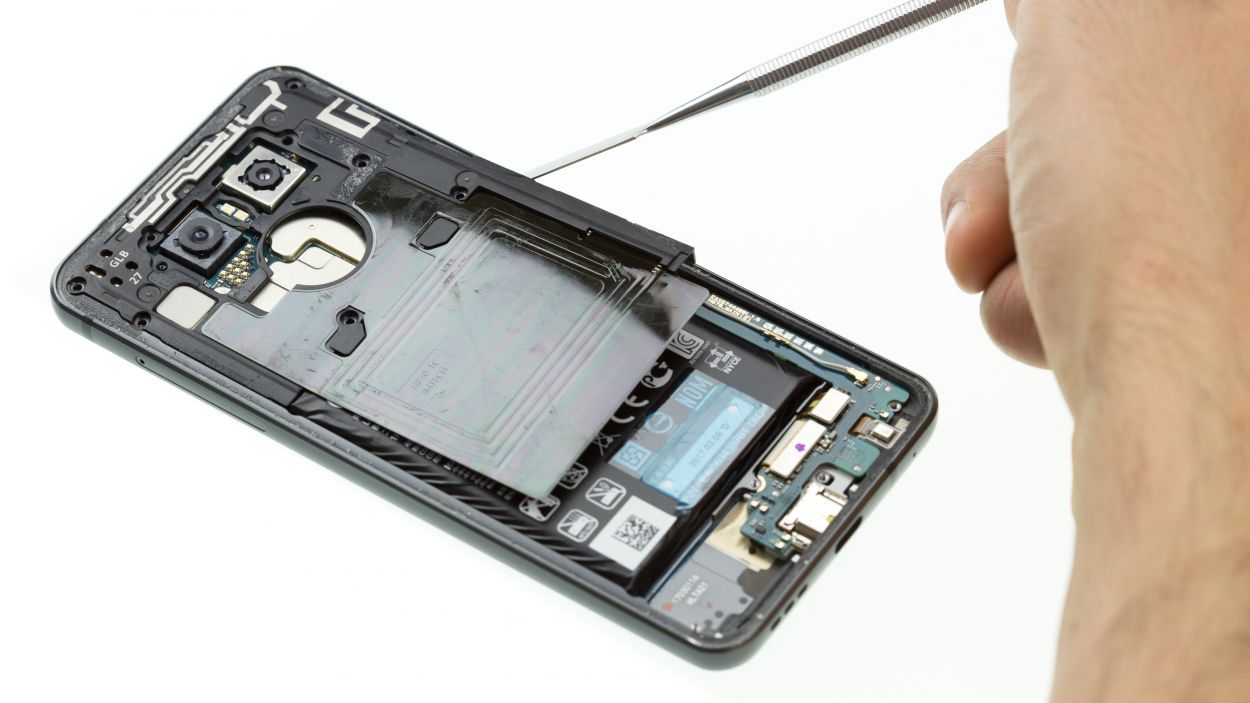
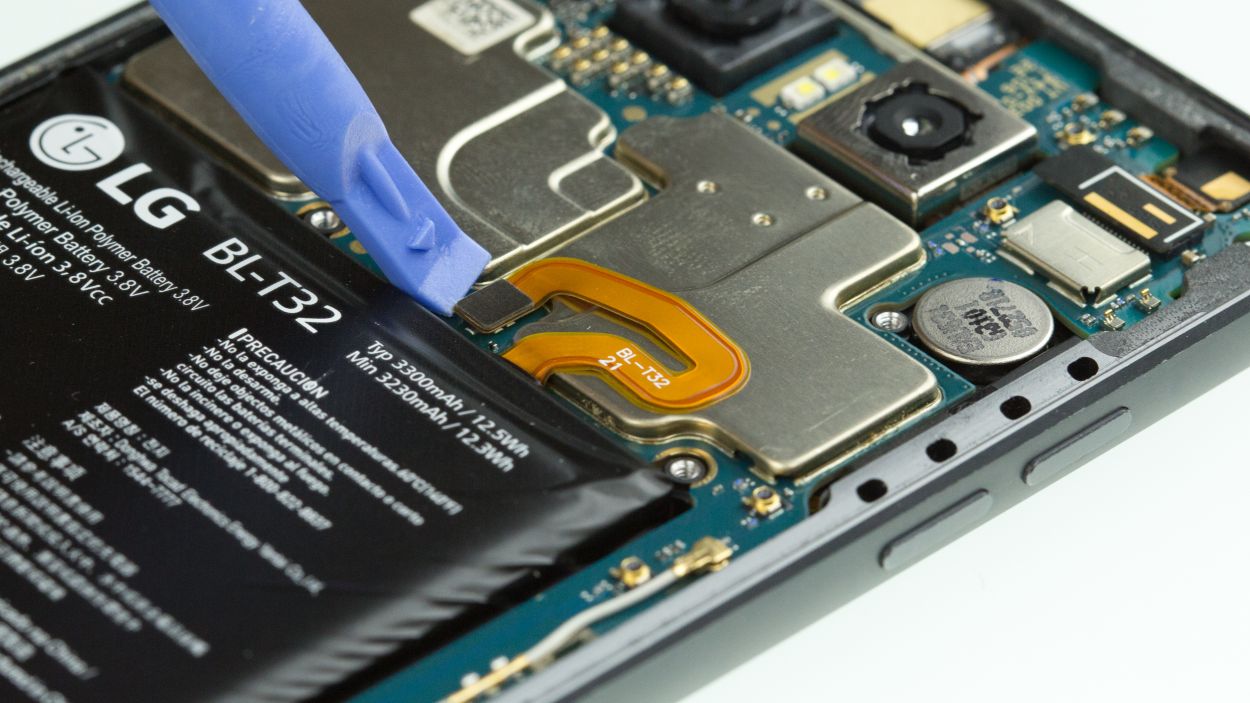
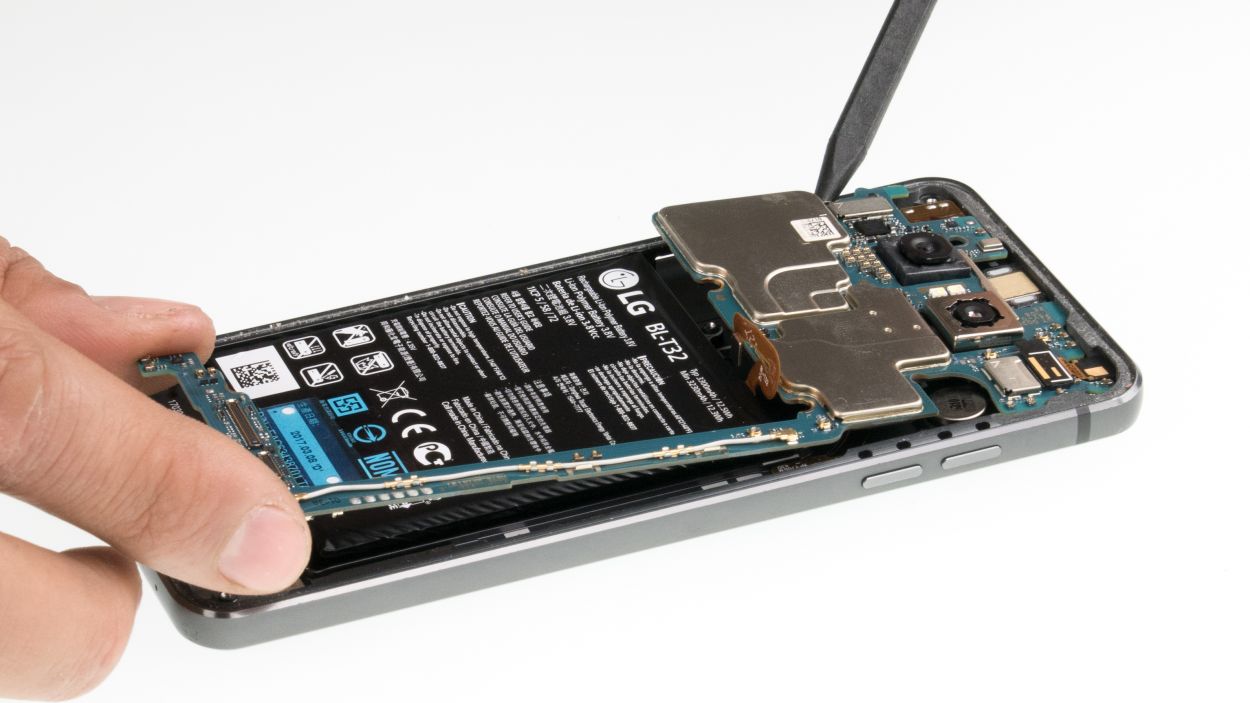
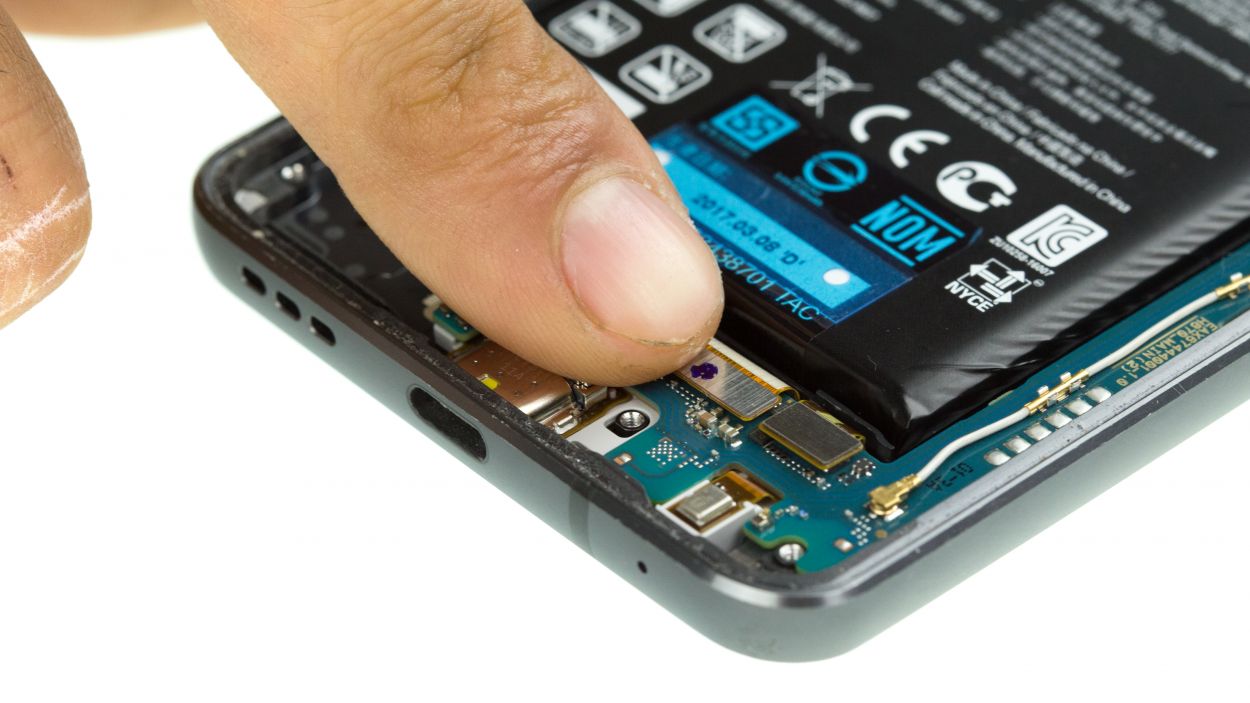
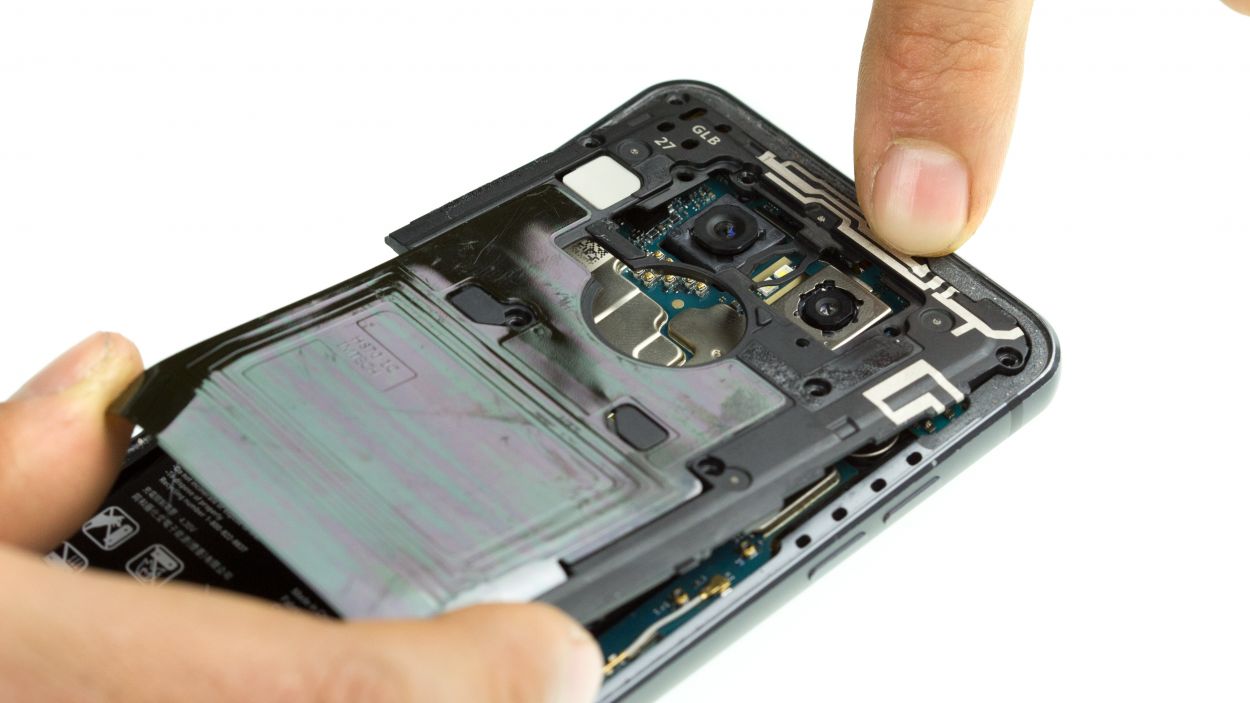
Step 7
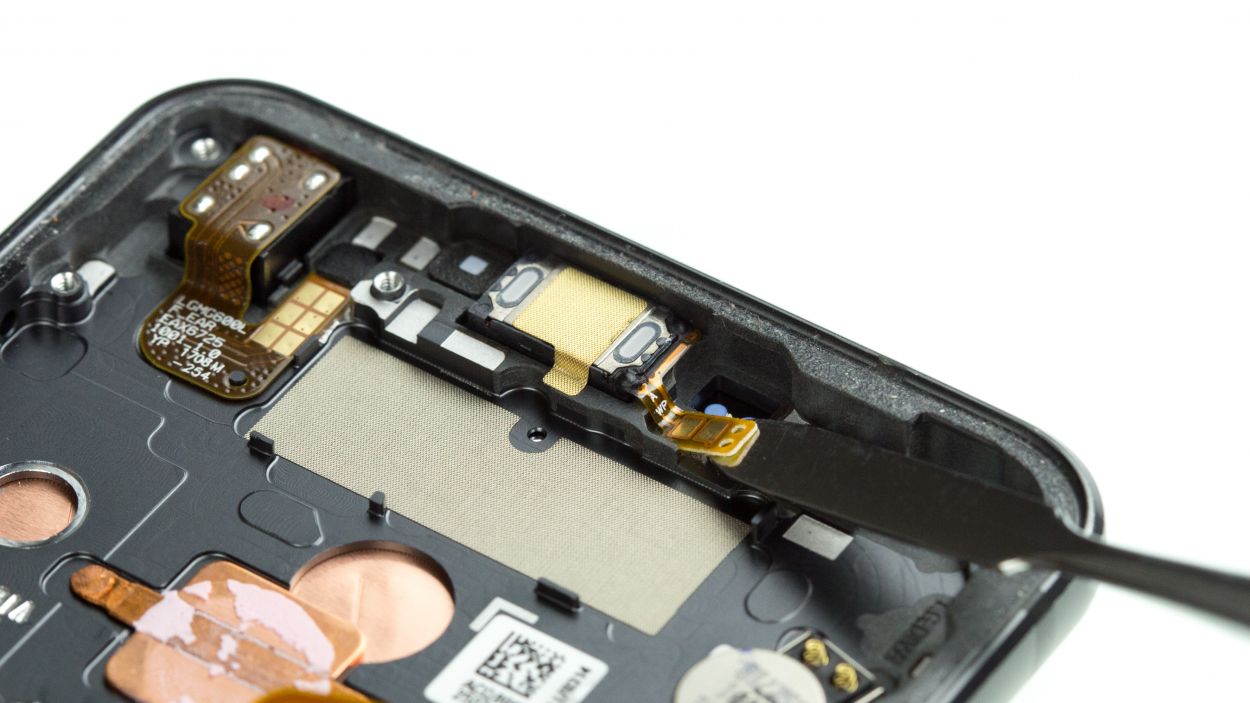
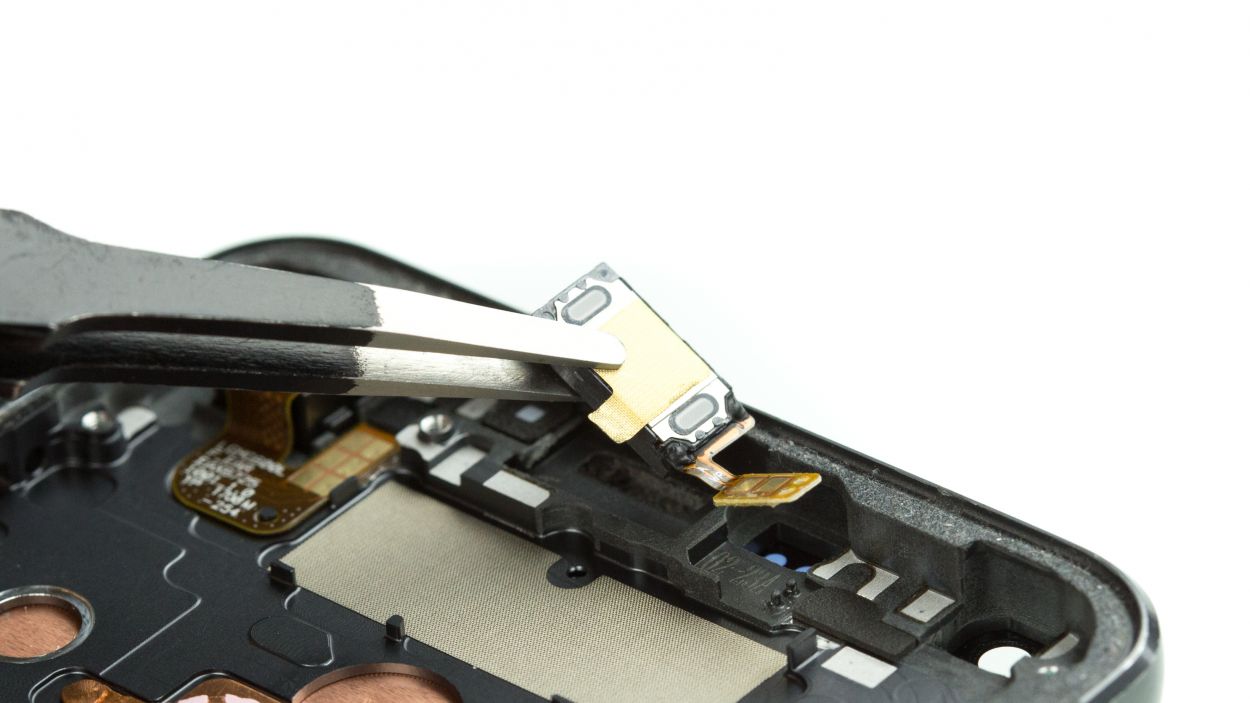
– First, give that glued flex cable of the earpiece a gentle nudge to release it from its sticky prison.
– Next up, carefully peel away the tape that’s been holding the earpiece snugly in place.
– Finally, with a steady hand, pry the earpiece out of its holder and set it free from the device.
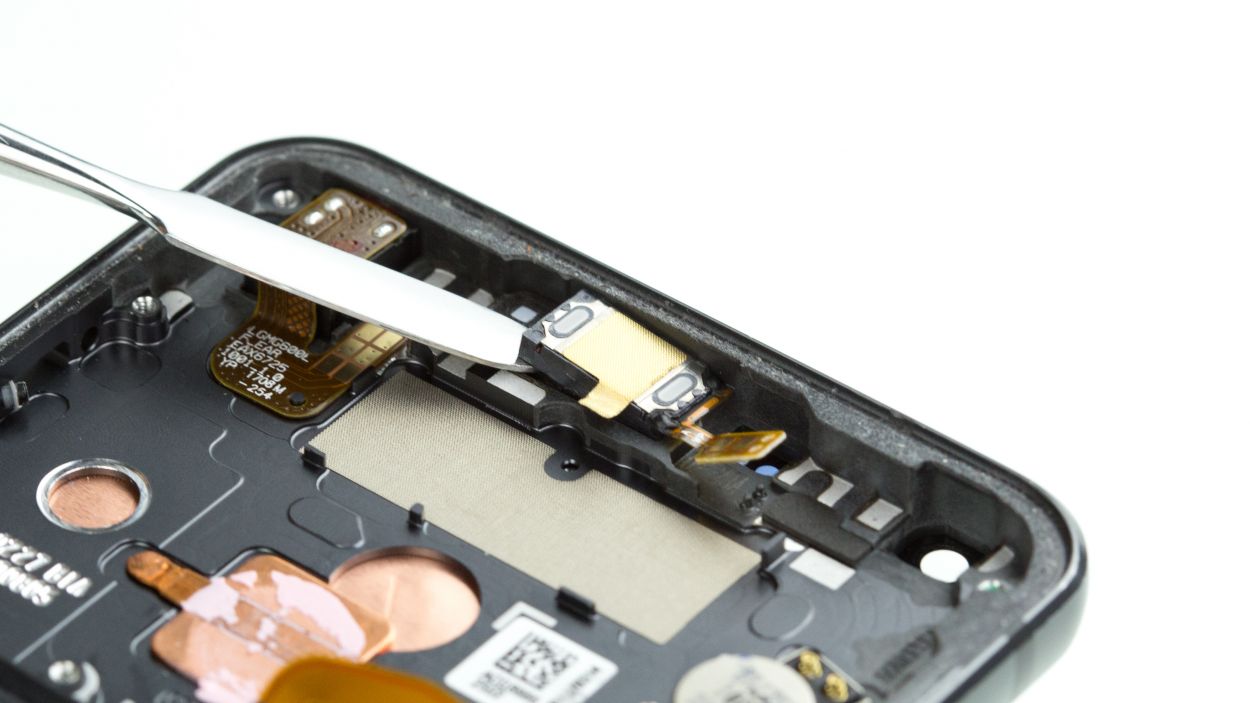
Step 8


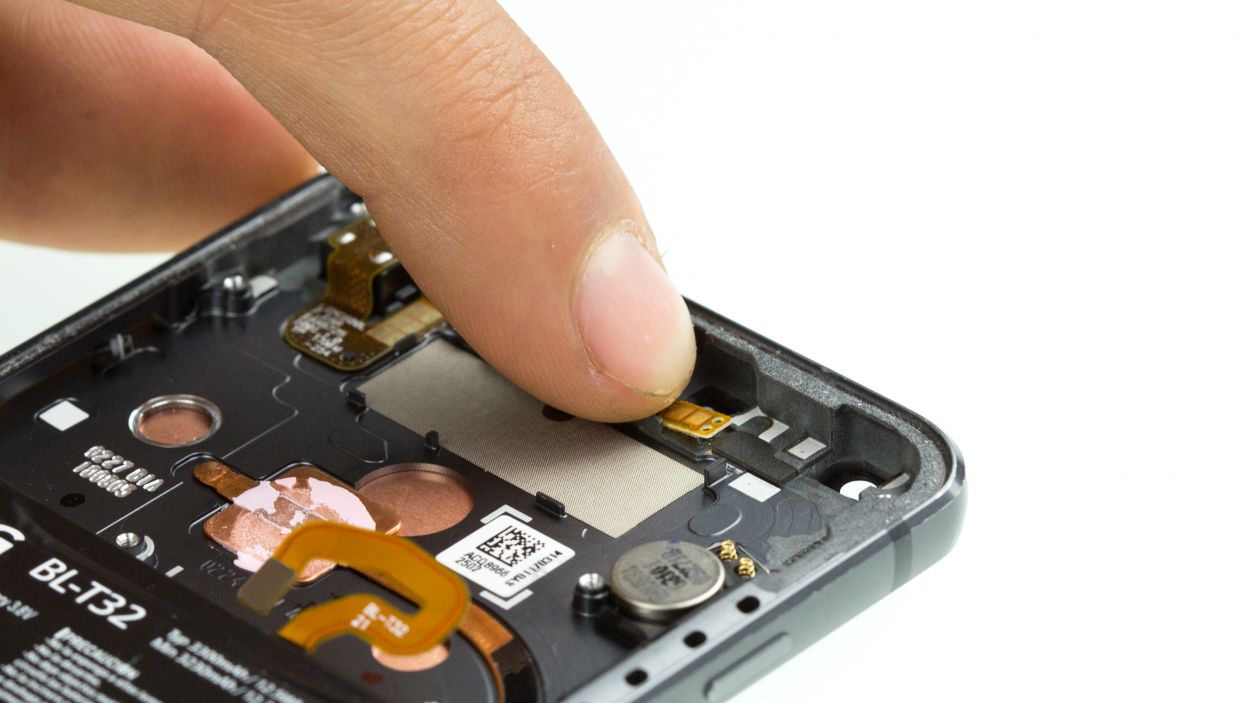
– Gently pop the earpiece back into its cozy spot and give it a little press to secure it.
– Don’t forget to reattach the tape to keep everything snug.
– Press down on the flex cable, making sure those two little holes fit perfectly onto the pins in the case.
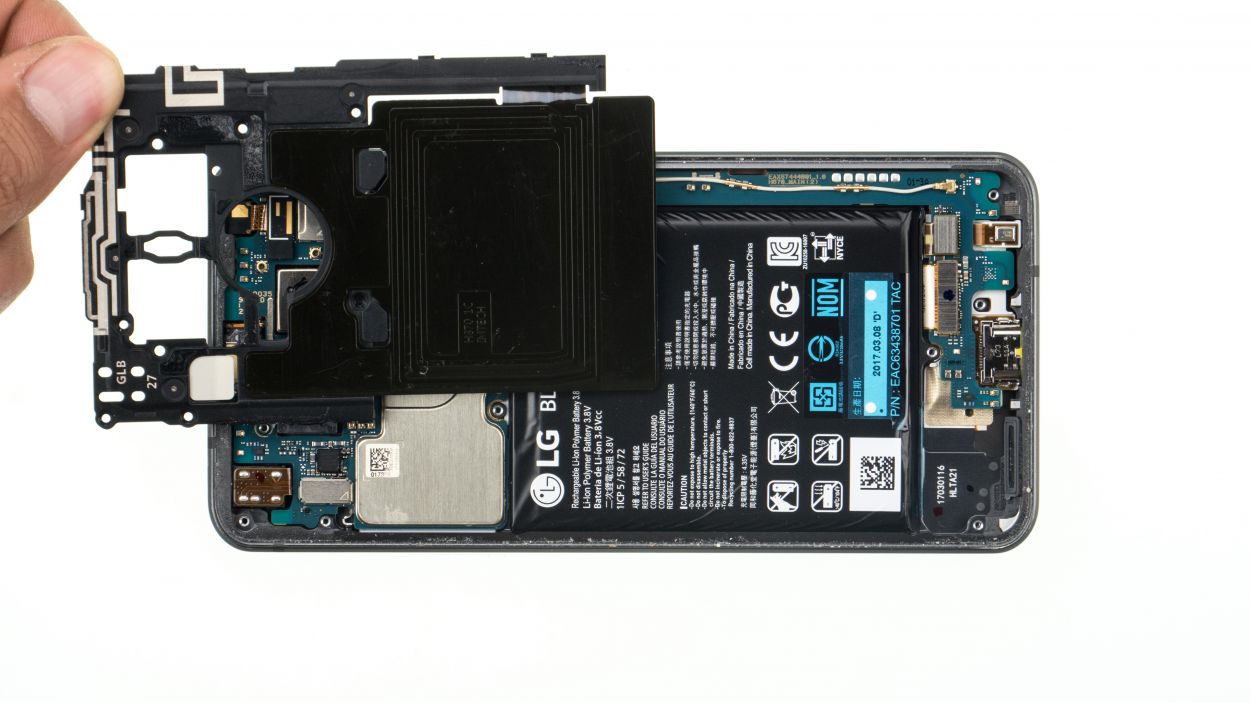
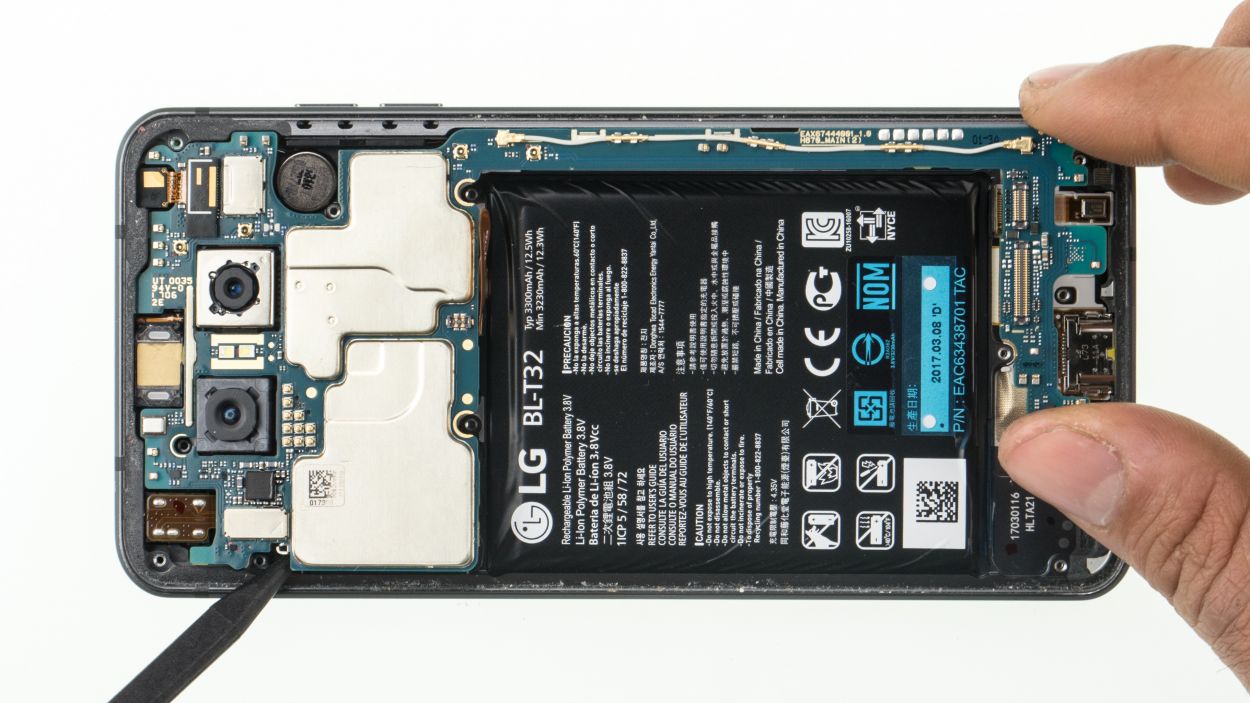
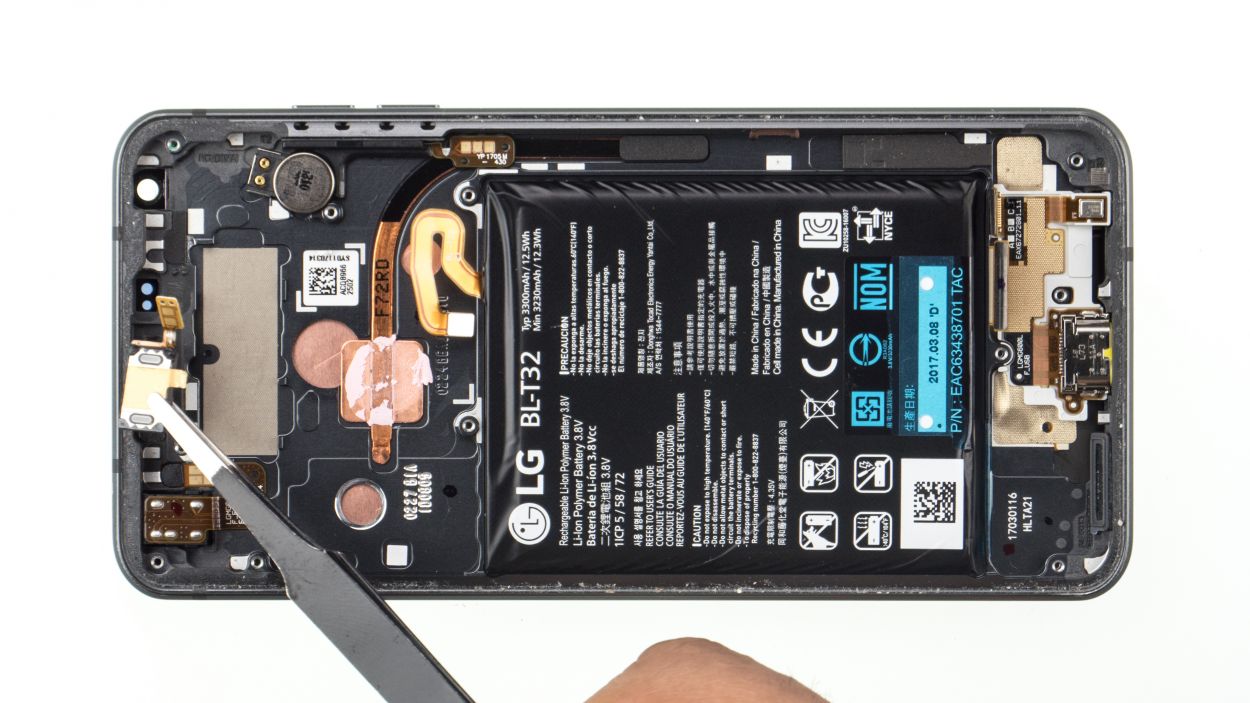
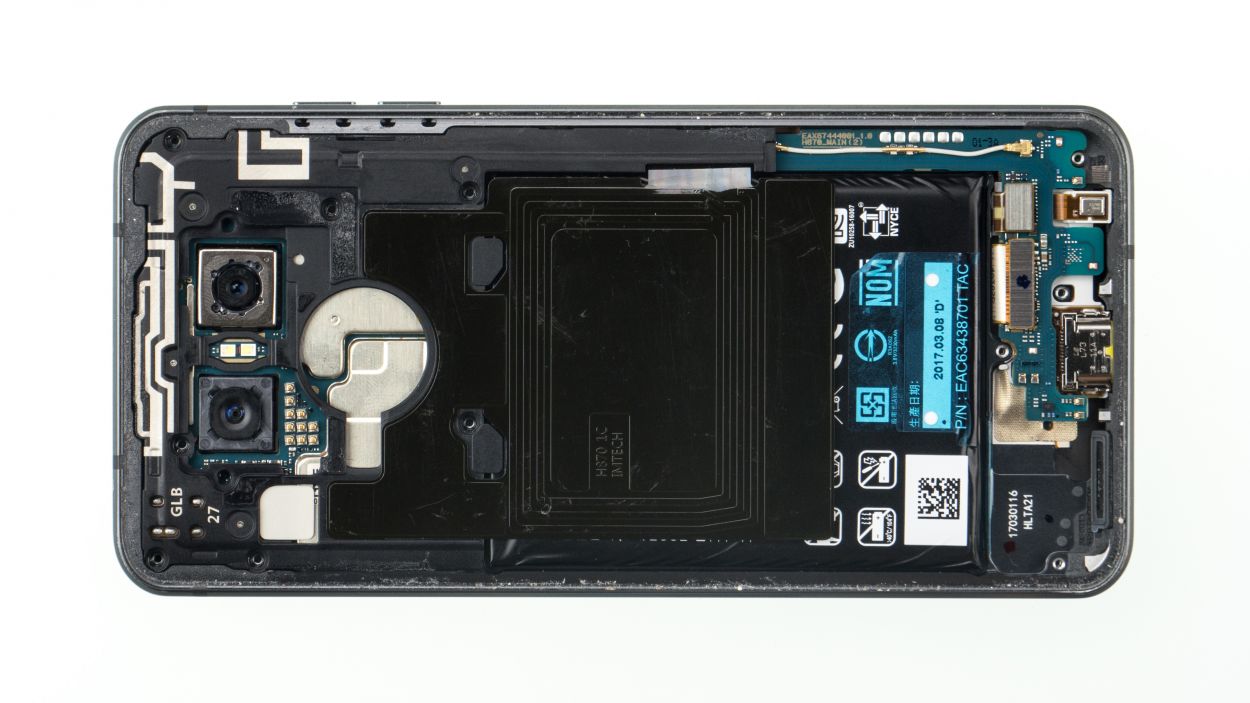
Step 9
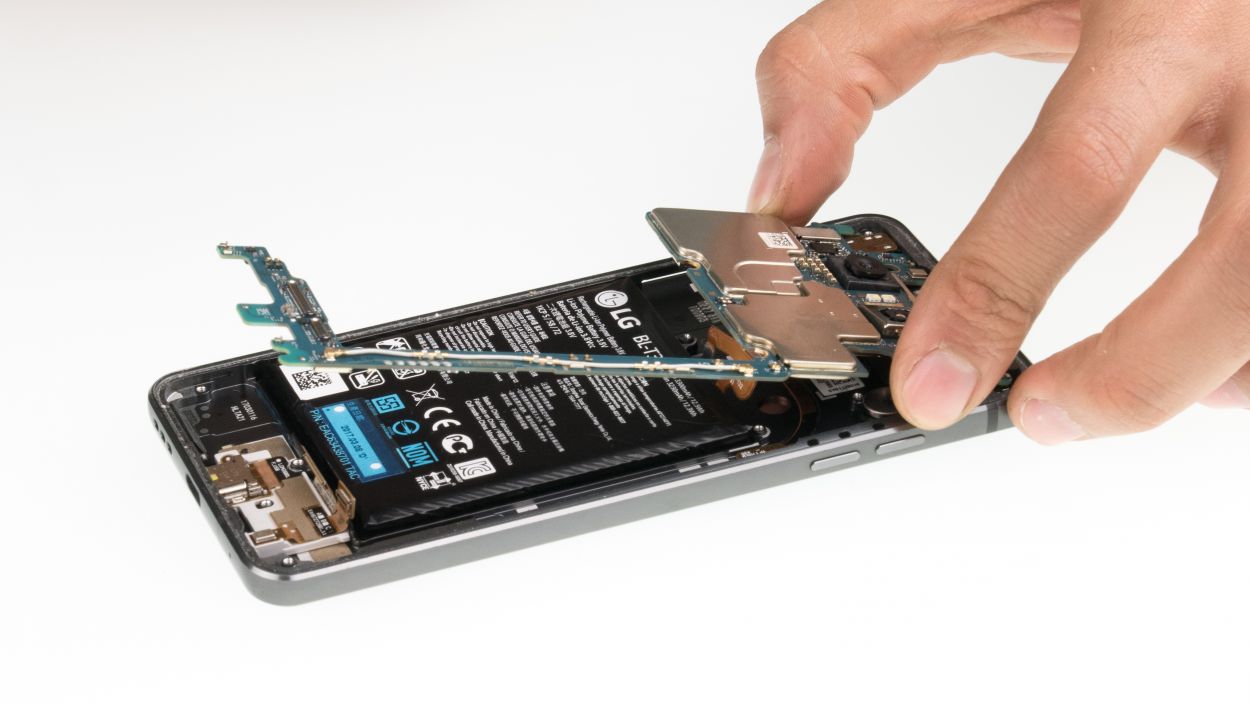


Keep an eye on that battery cable and the two connectors at the bottom! We don’t want them playing hide and seek under the board.
– Yo, check that you’ve got that SIM tray pin in place. If not, slide it back into its home.
– Now, it’s time to put the logic board back where it belongs.
Step 11
7 × 2.7 mm Phillips
– Gently pop the midframe back into your device and give it a little press to secure it.
– Tighten it up with those trusty Phillips screws.
Step 12


4 × 2.7 mm Phillips
– Sneak the speaker into your device and give it a gentle press to seat it nicely.
– Tighten those Phillips screws like you mean it!
Step 13
You can heat the rear glass again to make the glue stick better.
– Place the rear glass back on the device and press it on.