DIY Guide to Replace Lumia 950XL Chassis Step-by-Step
Duration: 15 min.
Steps: 9 Steps
In this guide, we show you how to remove your Lumia 950XL’s chassis on your own. You need to remove the chassis if it’s damaged or destroyed.
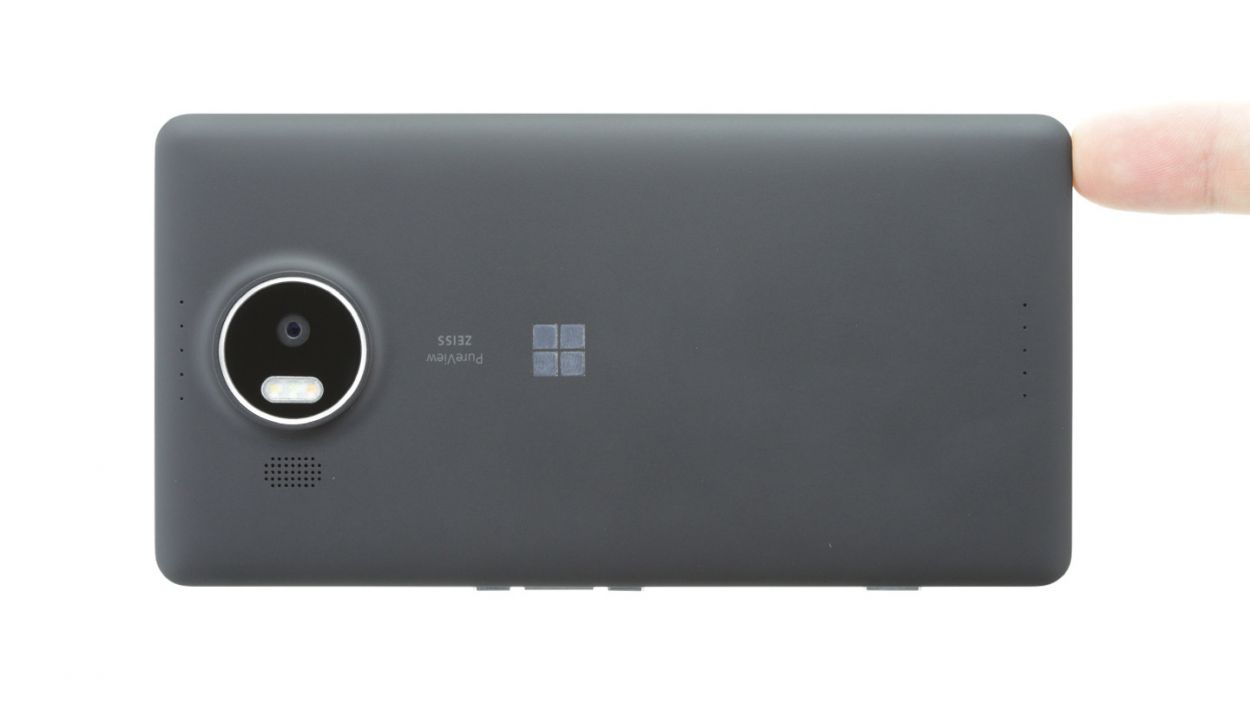
Step 1
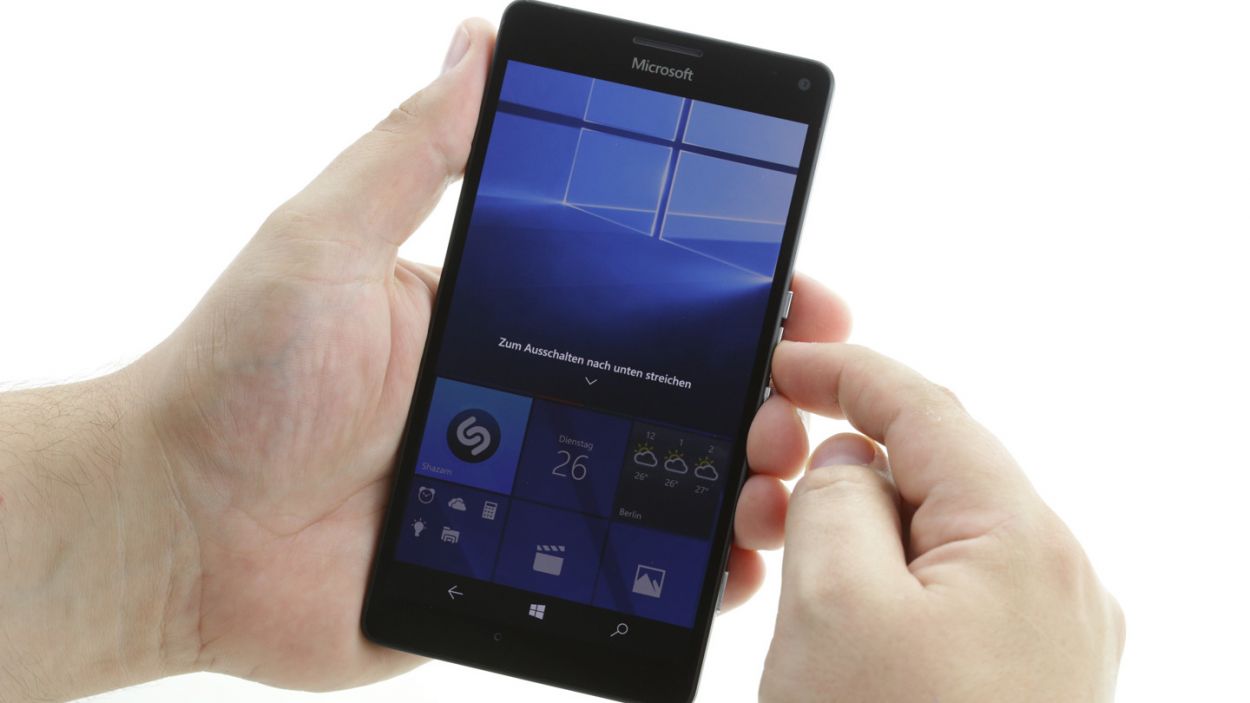
– Give your boy a break by holding down the power button until the “slide down to power off” message shows up.
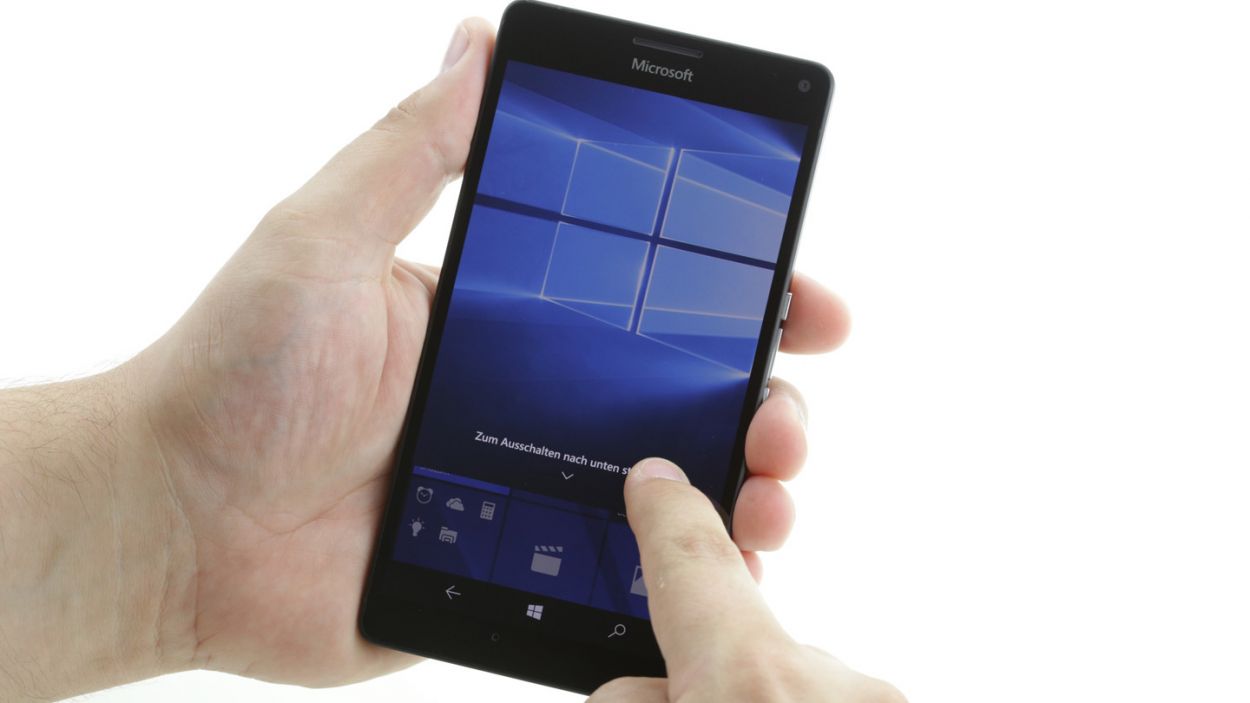
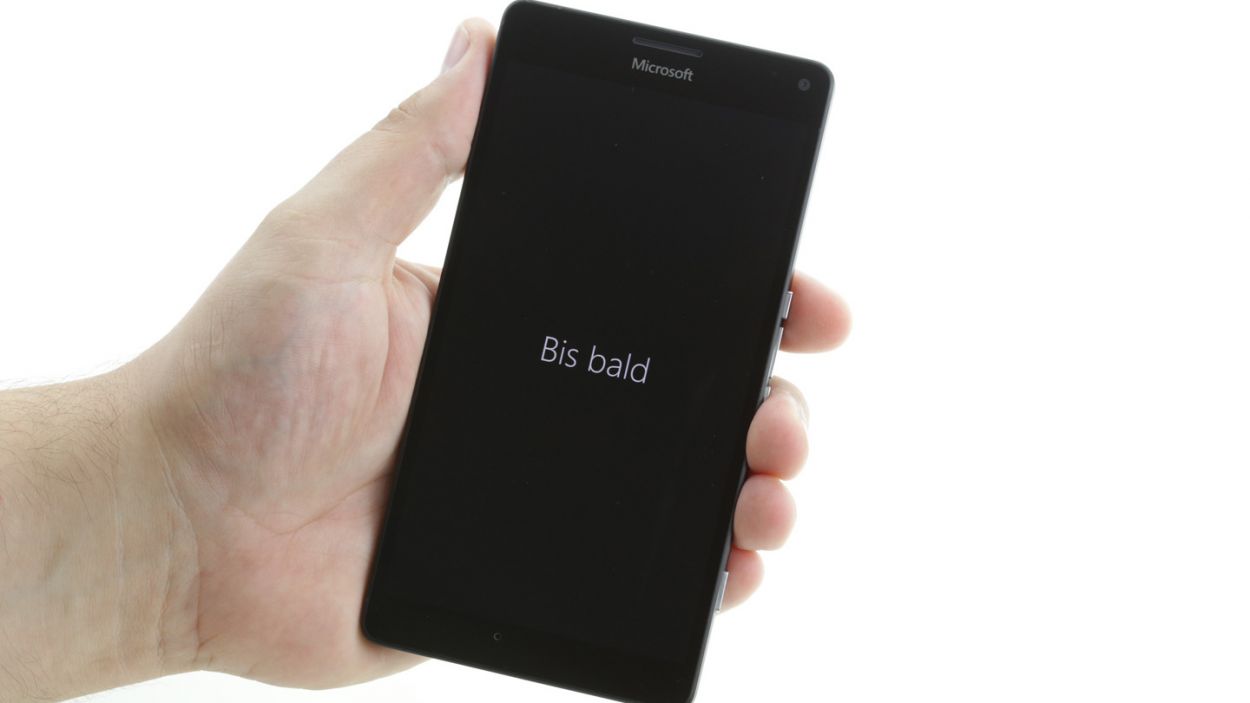
– Slide your finger down over the screen until “goodbye” appears and your device is chilling out.
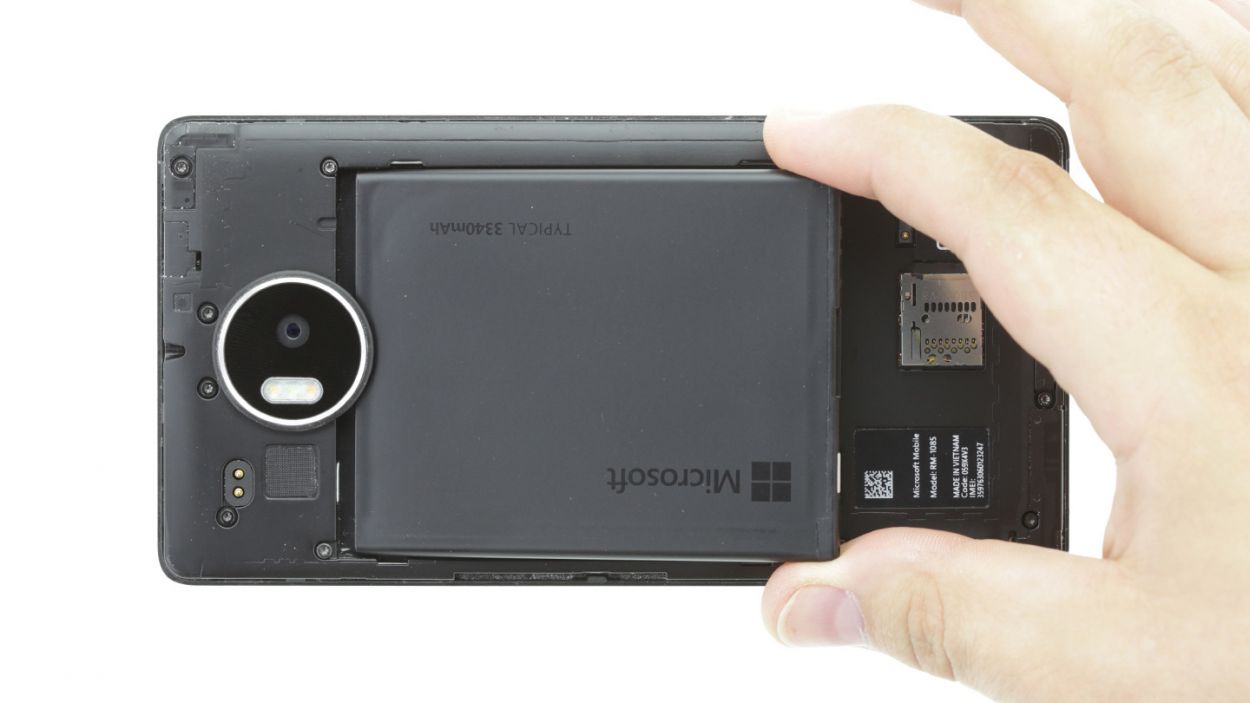
Step 2

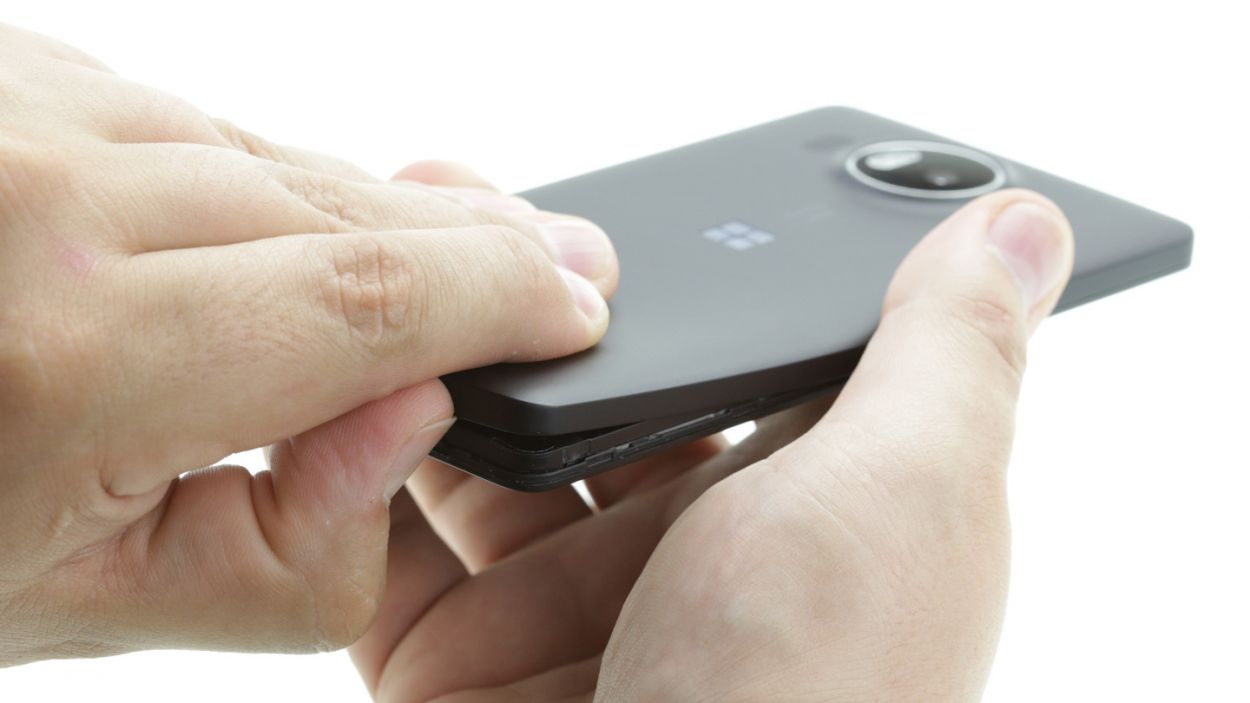
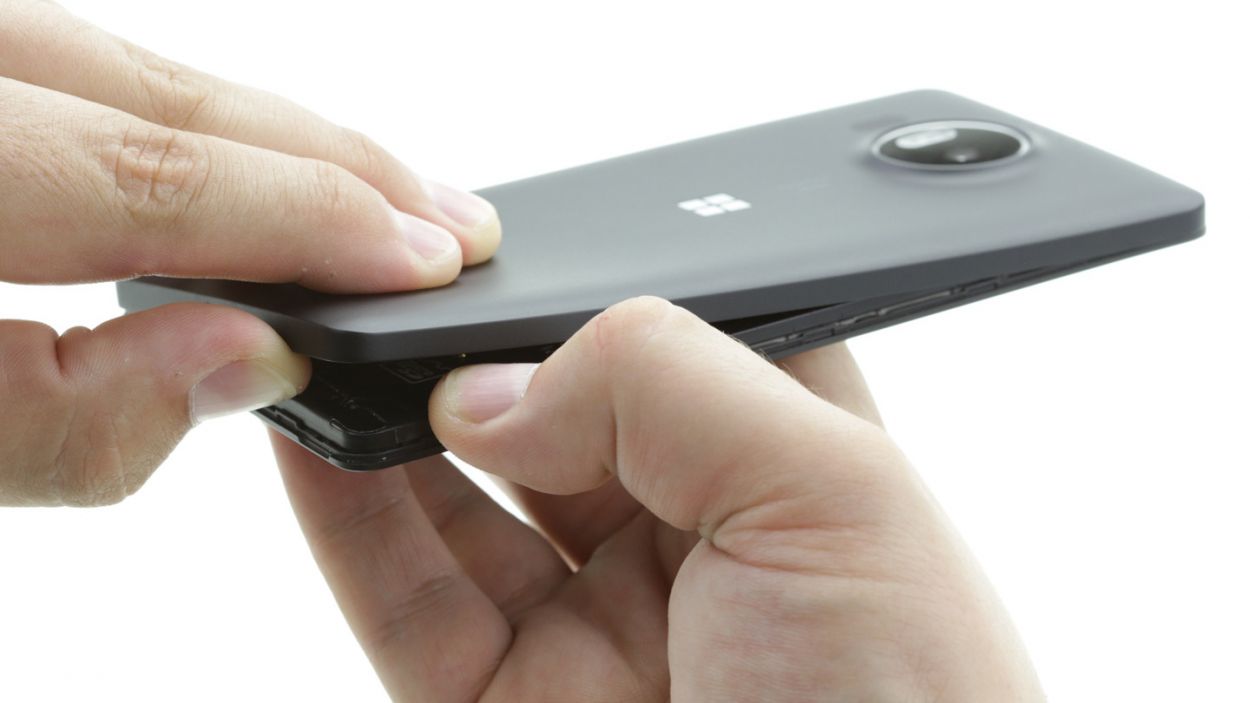

– Gently pry off the back cover from the enclosure frame. There’s a nifty little slot at the bottom where you can slide in your fingernail or a handy tool.
– Slowly work your way around to detach the back cover from your device.
– Now, go ahead and lift the back cover off your device.
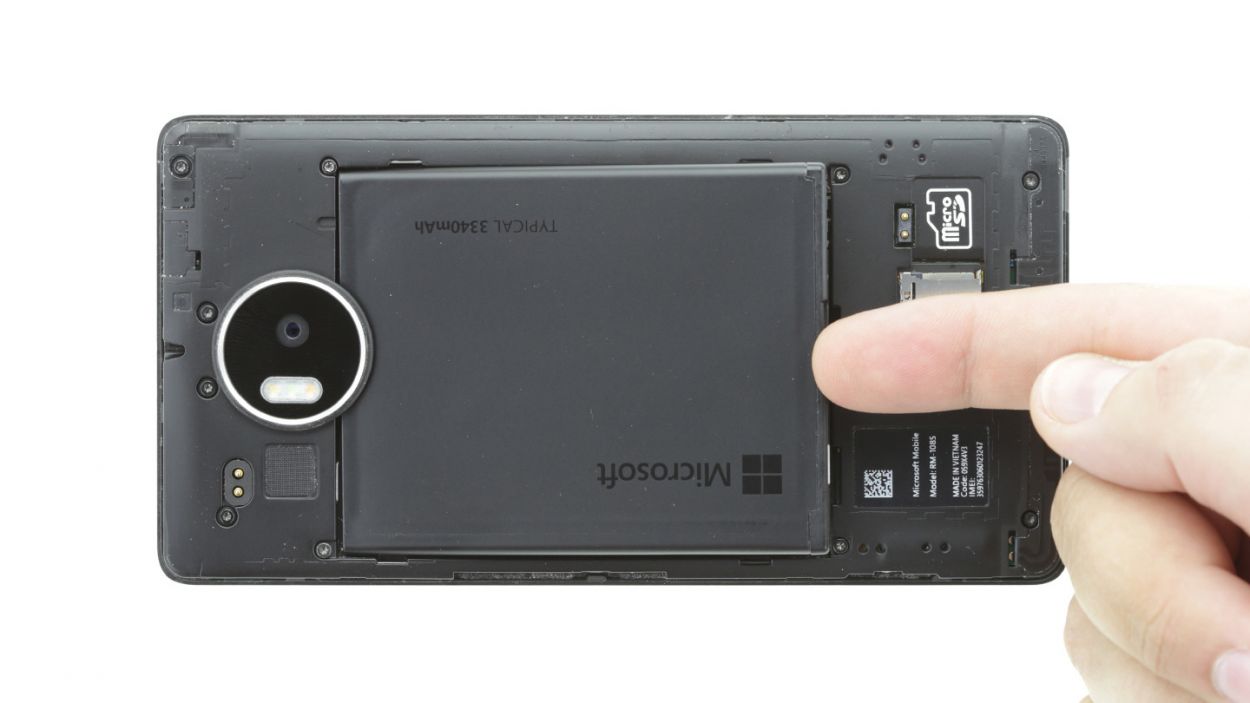
Step 4
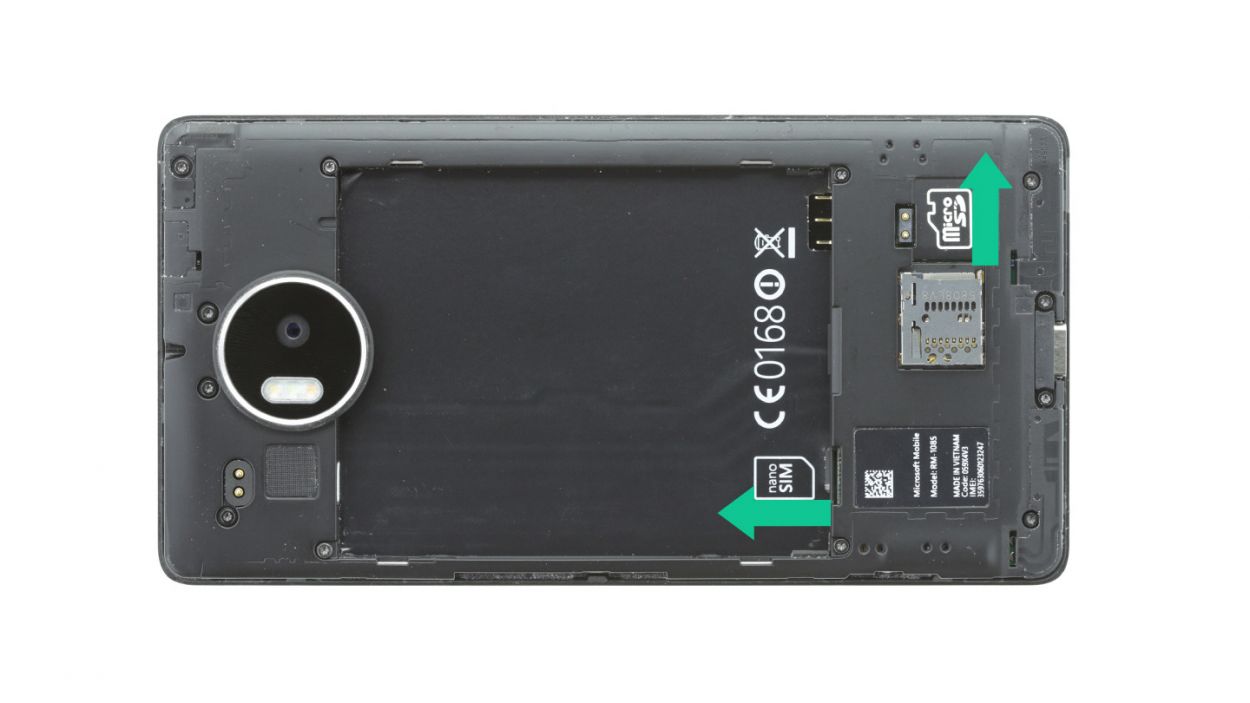
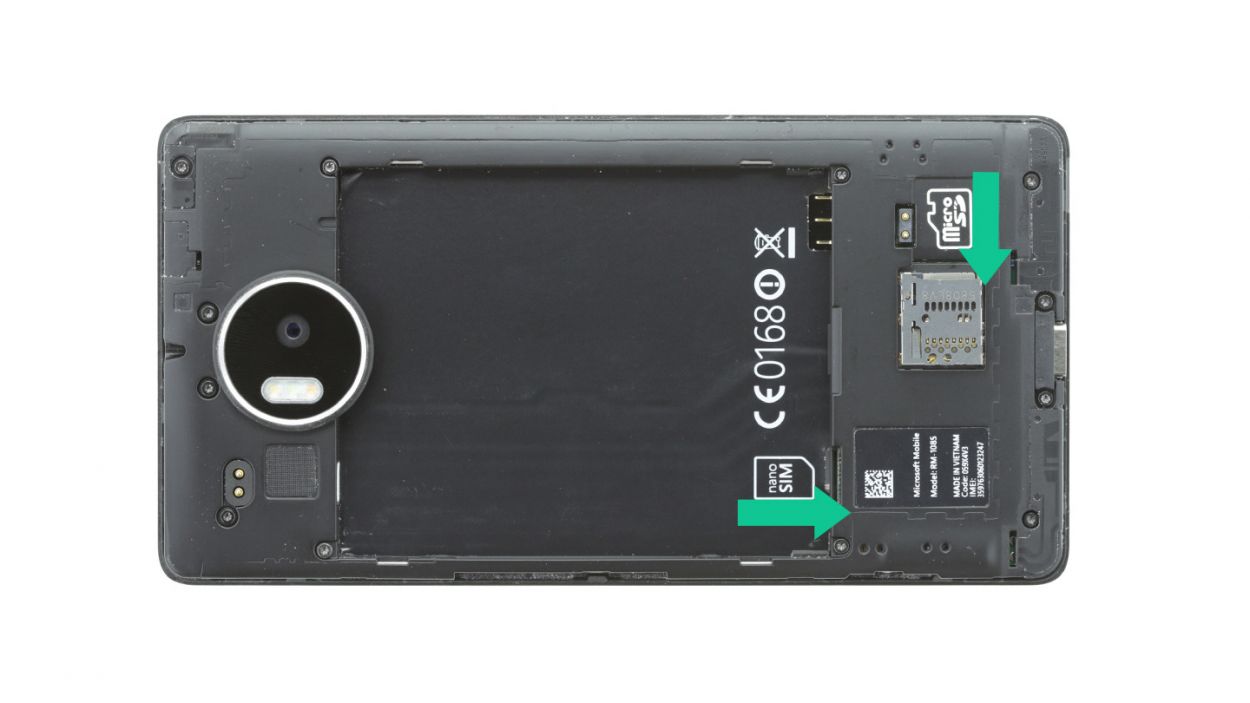
– Go ahead and take out the SIM and microSD cards from your device. You’ve got this!
Step 5
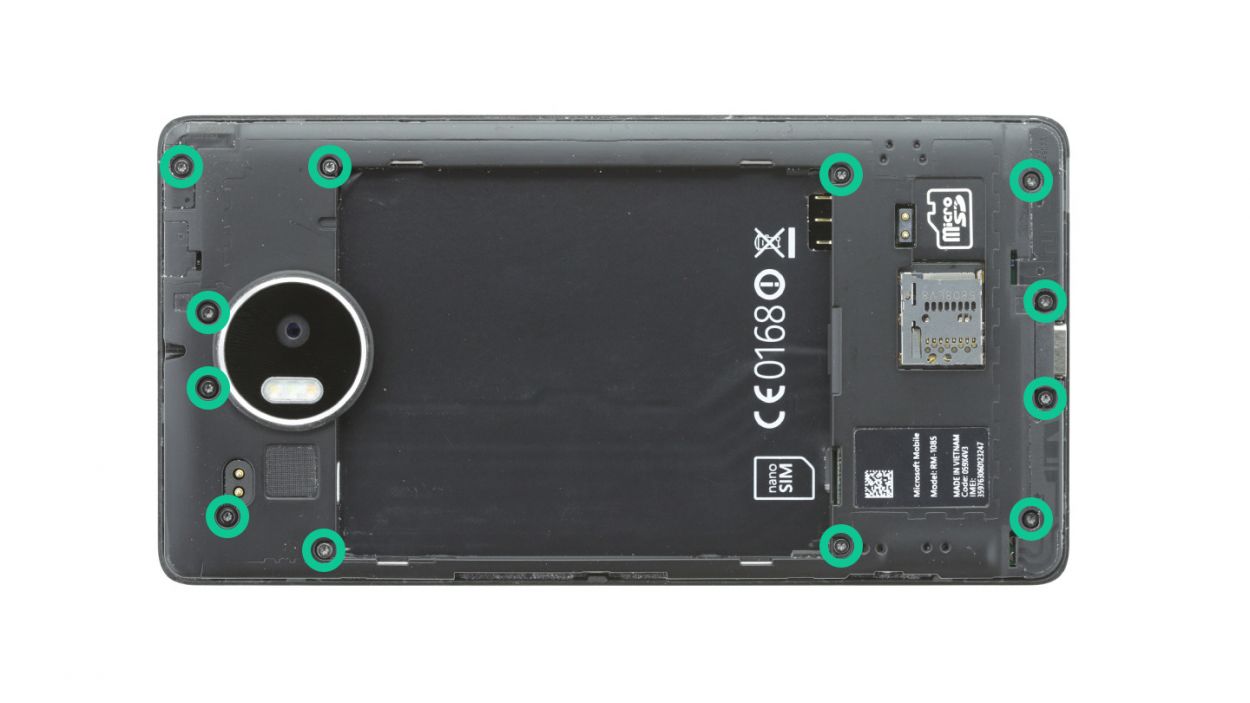

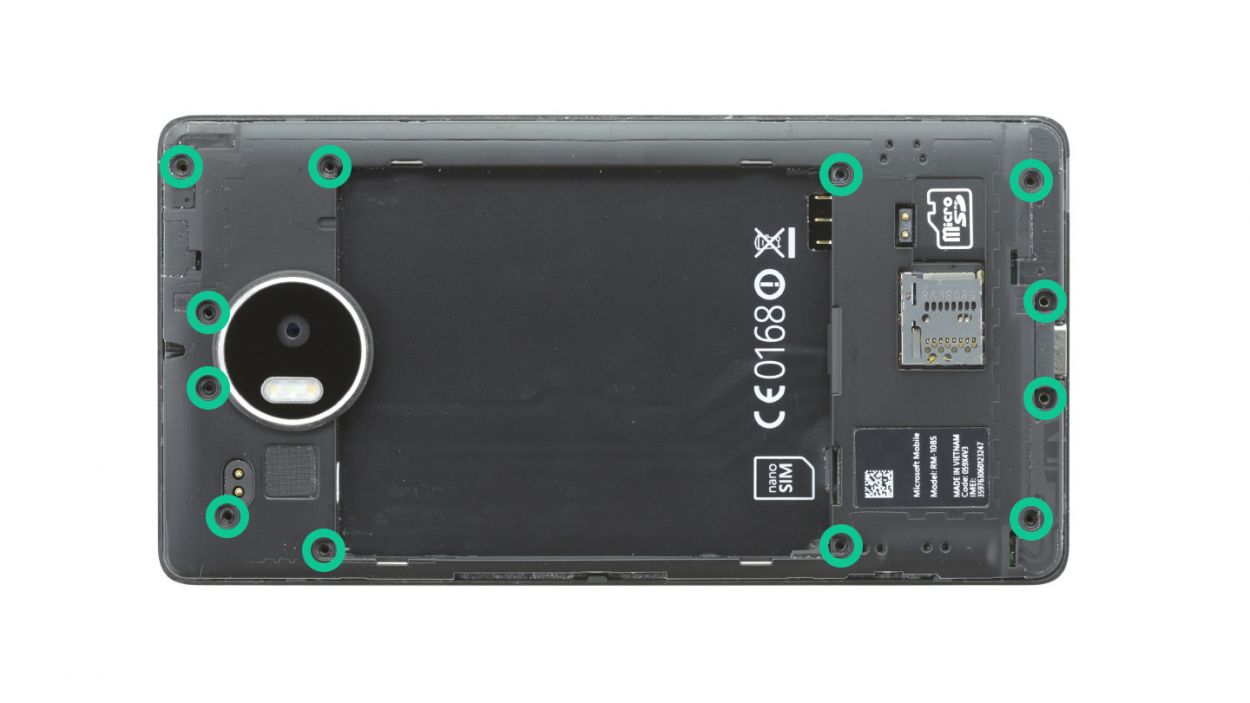
– First things first, let’s tackle those twelve screws holding the chassis to the enclosure. Grab your trusty 4.5 mm T4 Torx screwdriver and get to work!
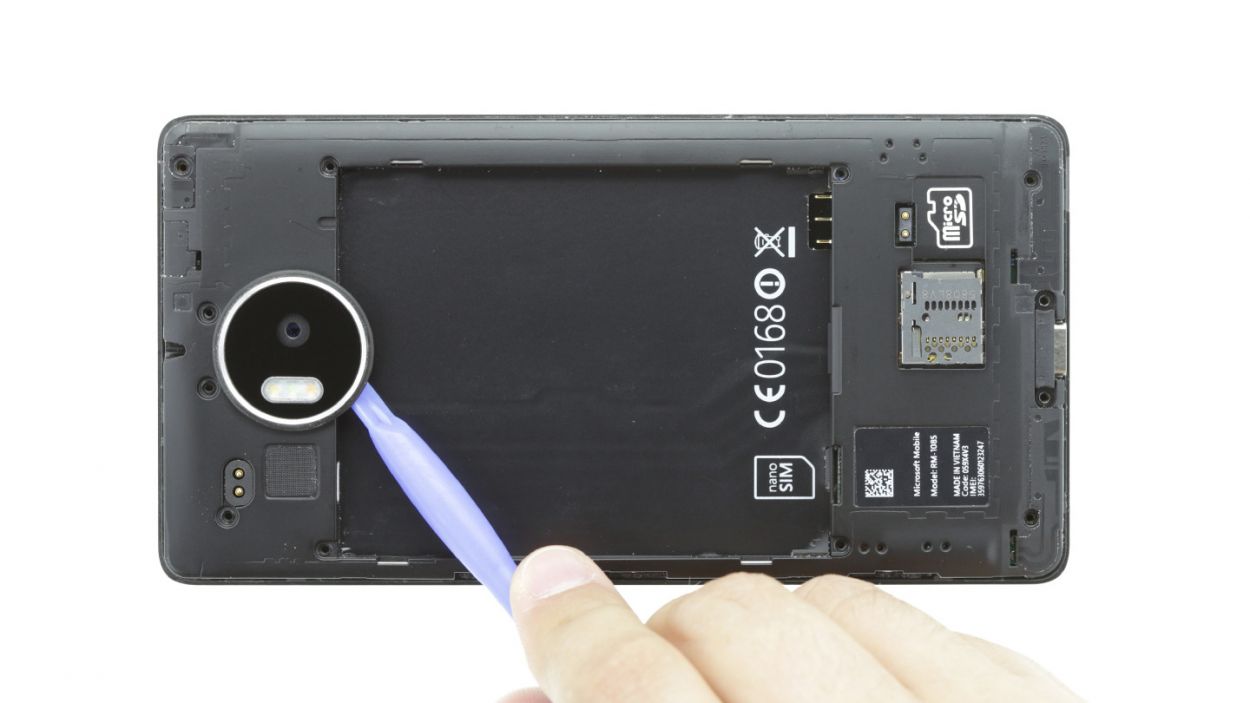
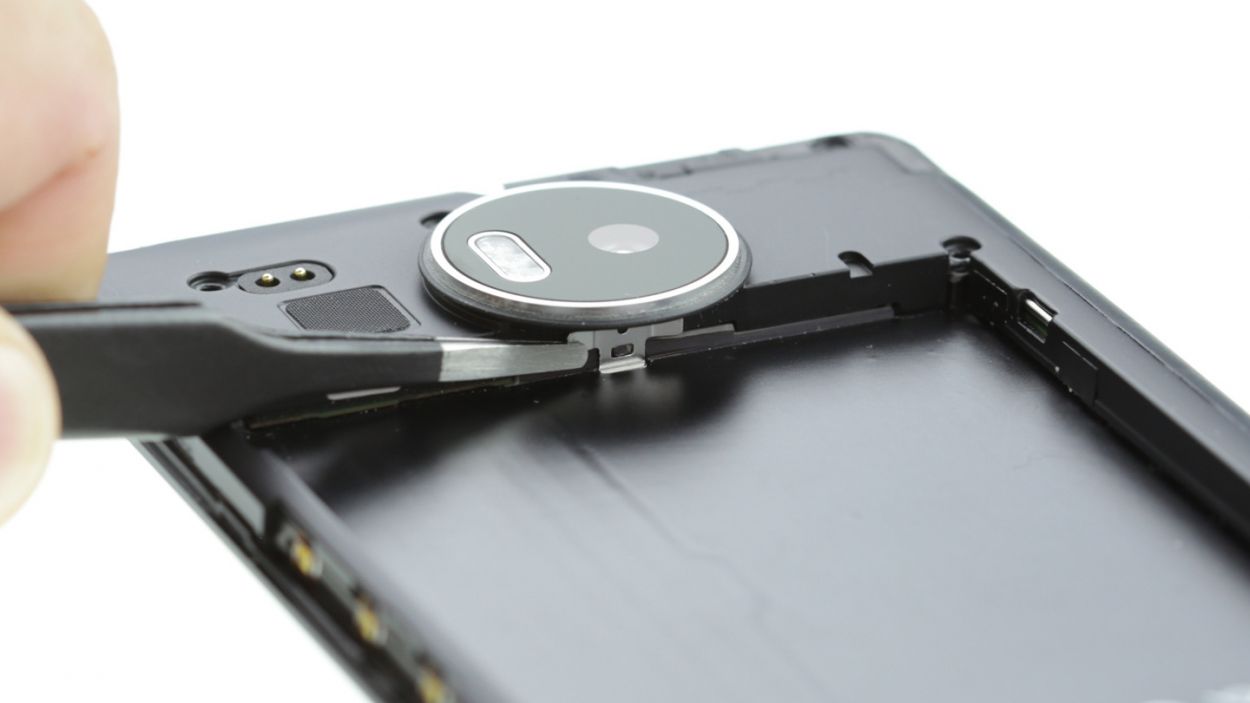
– Next up, the chassis is snugly hooked onto the enclosure right below the rear camera. Use your tweezers or spudger to gently unhook it—easy does it!
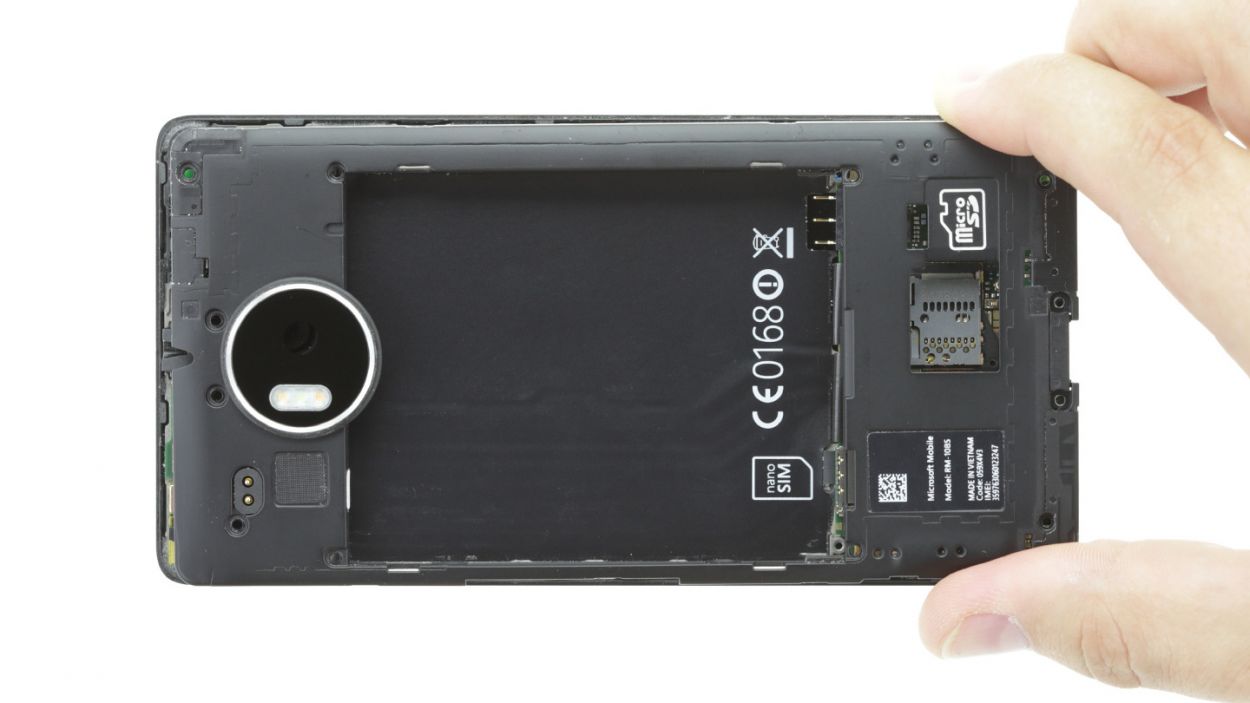
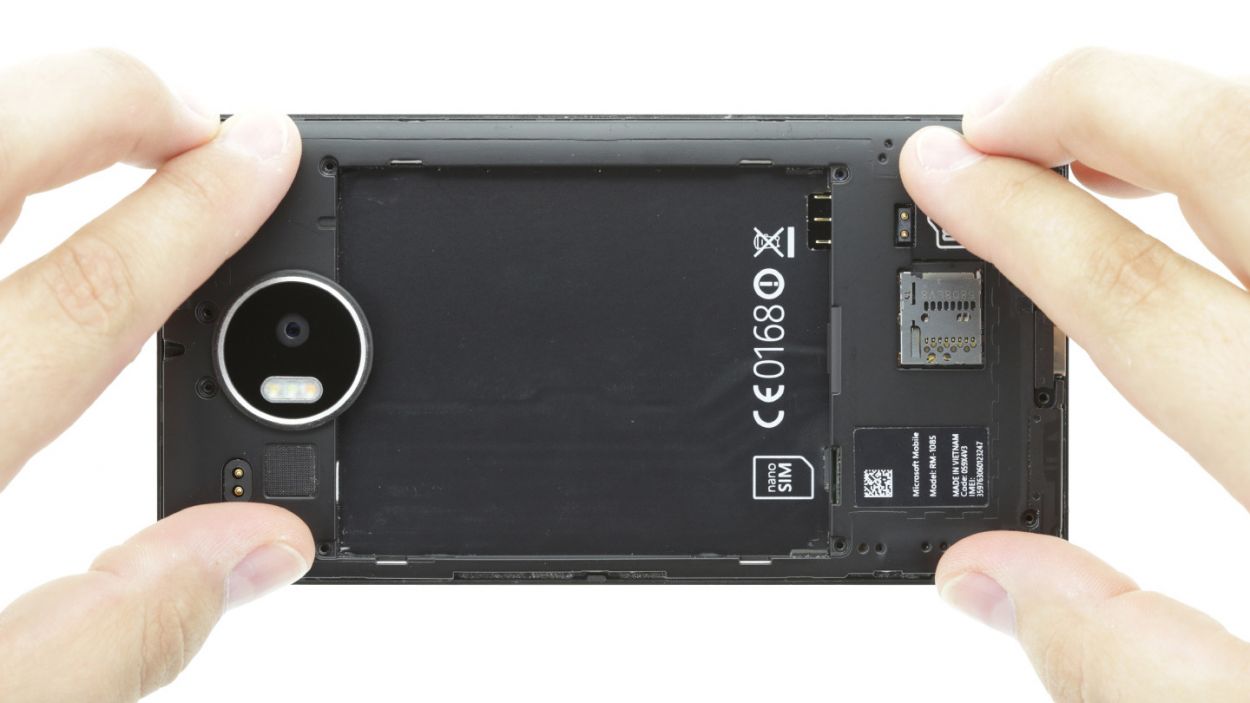
– Now, lift that chassis up and away. You’ve got this!
Step 6
– Let’s get this device fixed and back in action! Put the chassis back on and snug it down into its cozy enclosure – don’t forget to hook the camera notch below.
– Next, it’s time to sink the screws in! Use the 12 x 4.5 mm T4 Torx screwdrivers by your toolbox (if you need help, you can always schedule a repair).
Step 7
– Pop that SIM card back in place! And hey, if you’ve got a microSD card hanging around, don’t leave it out in the cold—slot it in too!
Step 8
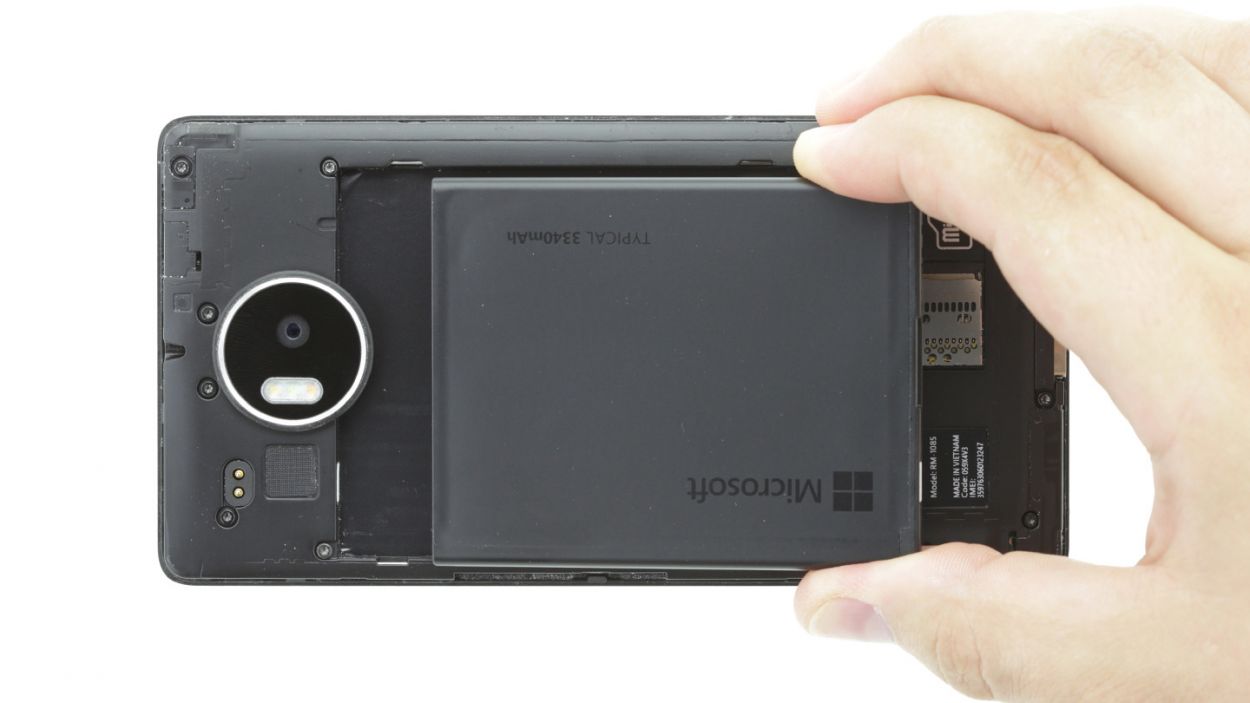
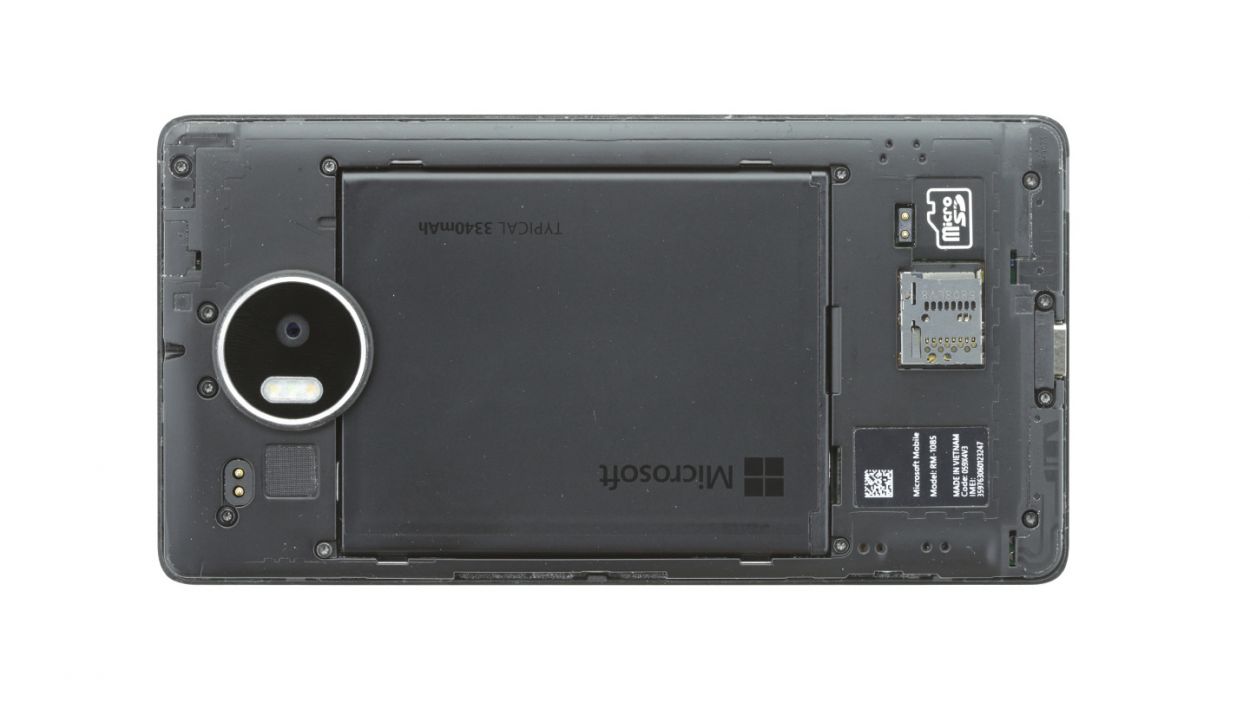
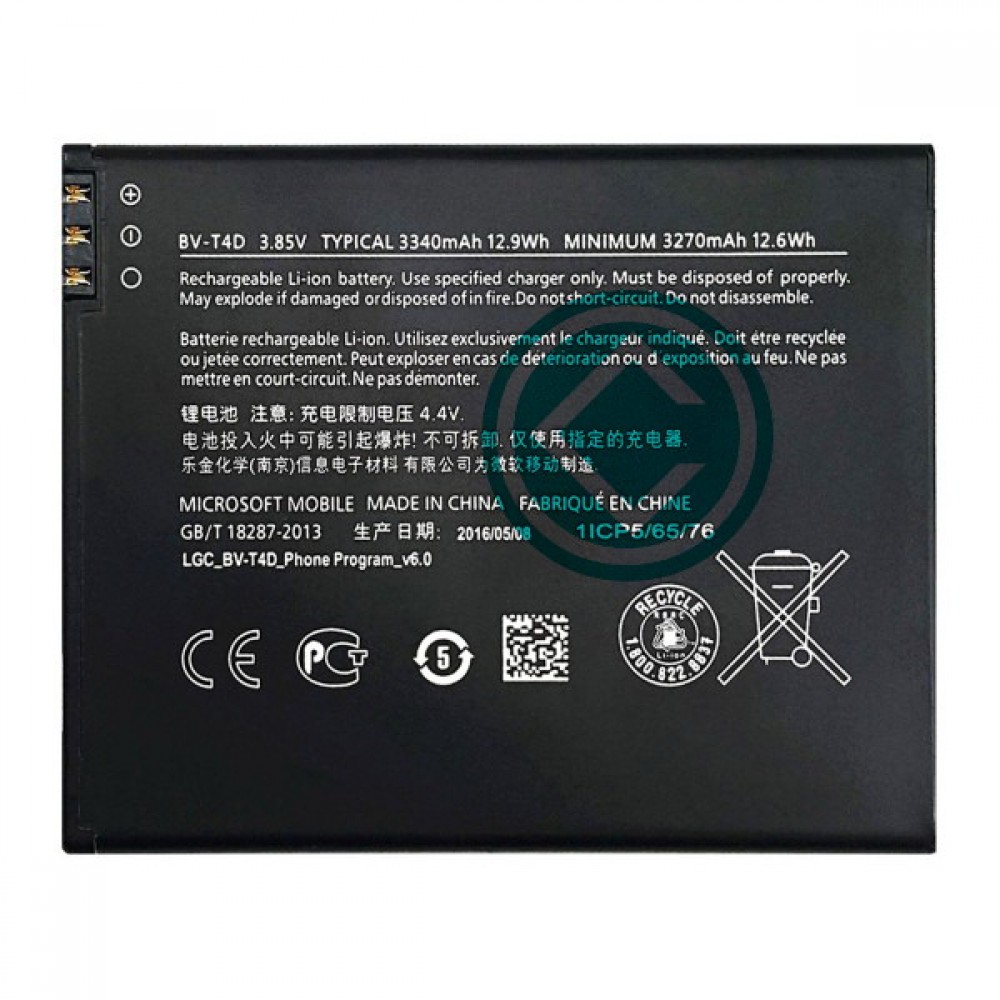
– Alright, battery lover! Time to put your battery back in the device. Find those three parallel slots on the bottom – they’re ready for their close-up! The contacts are in those slots, so make sure they line up with the three shiny gold contacts in your device. Easy peasy!
– Ensuring the battery is snug and secure, it should be level with the enclosure. If you’re not sure, take a look at our tutorial on scheduling a repair and we’ll get you all fixed up!
Step 9
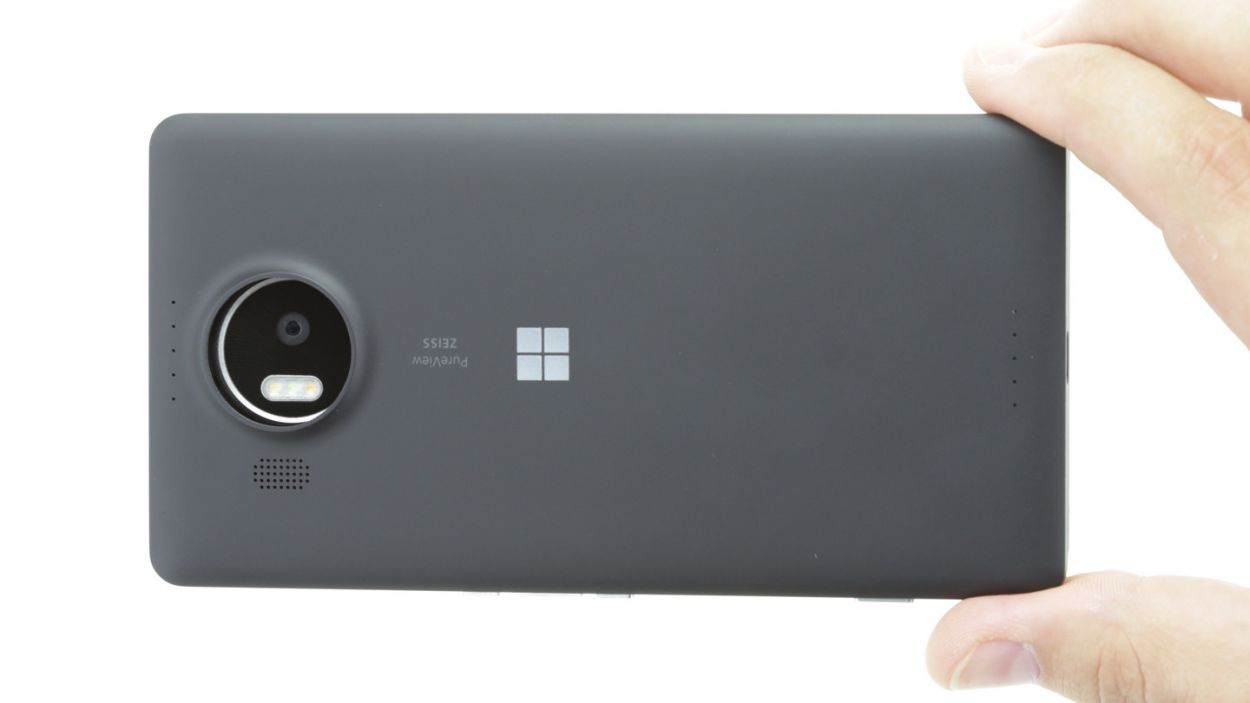
– Put the back cover back on.
– Use your finger to press it onto the entire frame so all the clips on the back cover click into place on the enclosure.