DIY Guide to Replace Lumia 950XL Mainboard – Step-by-Step
Duration: 30 min.
Steps: 15 Steps
In this repair guide, we’re here to help you tackle the task of removing your Lumia 950XL’s PCB all by yourself! If your device has had a little too much fun with water, cleaning the PCB is a must. Check out our tips on handling water damage right here. And remember, if you need help, you can always schedule a repair!
Step 1
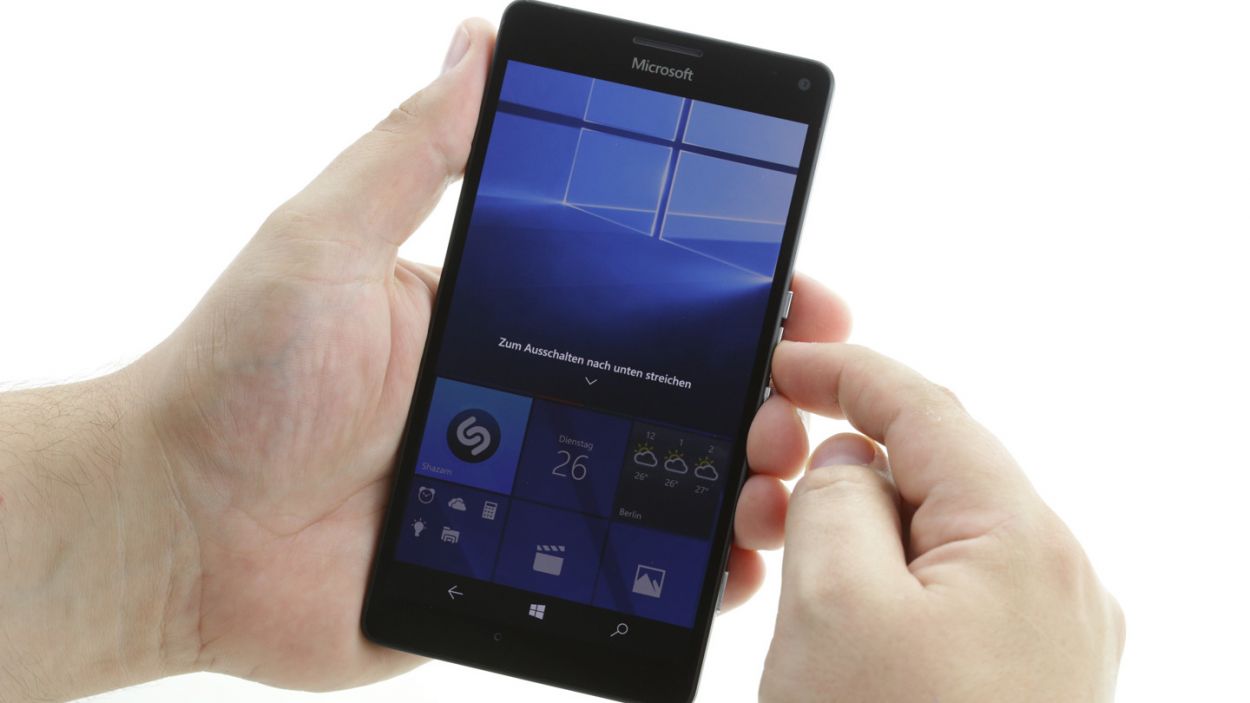
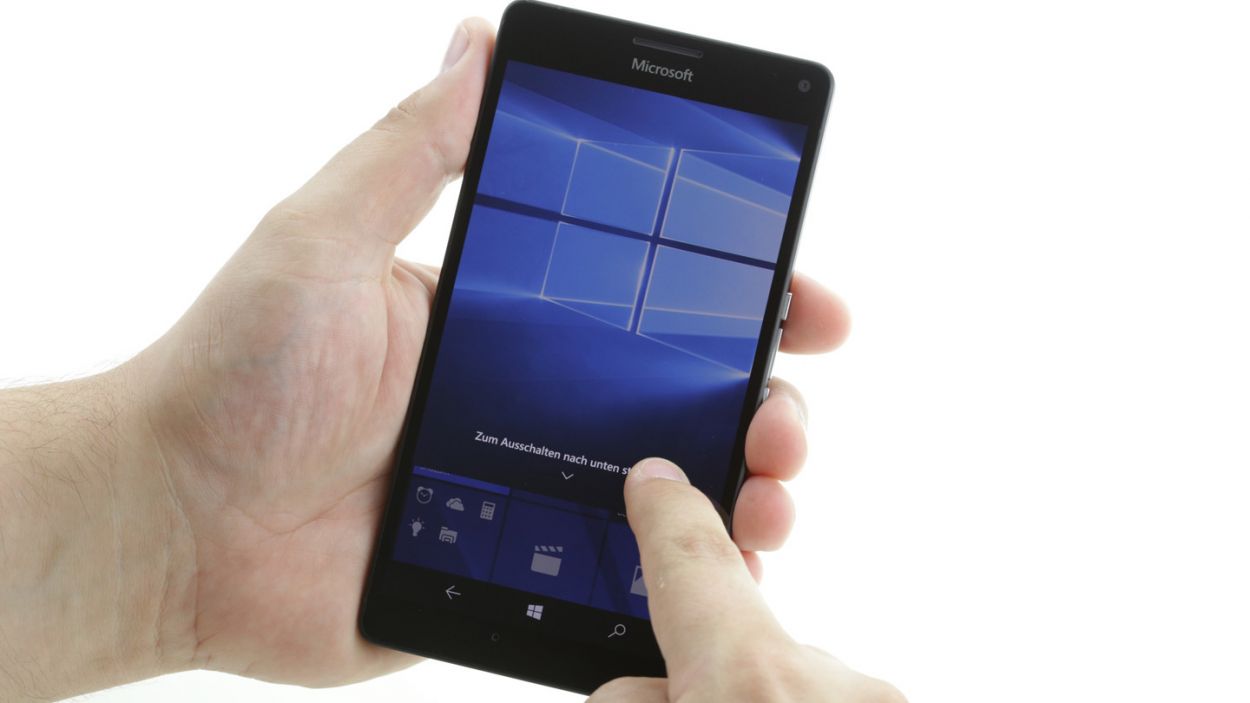
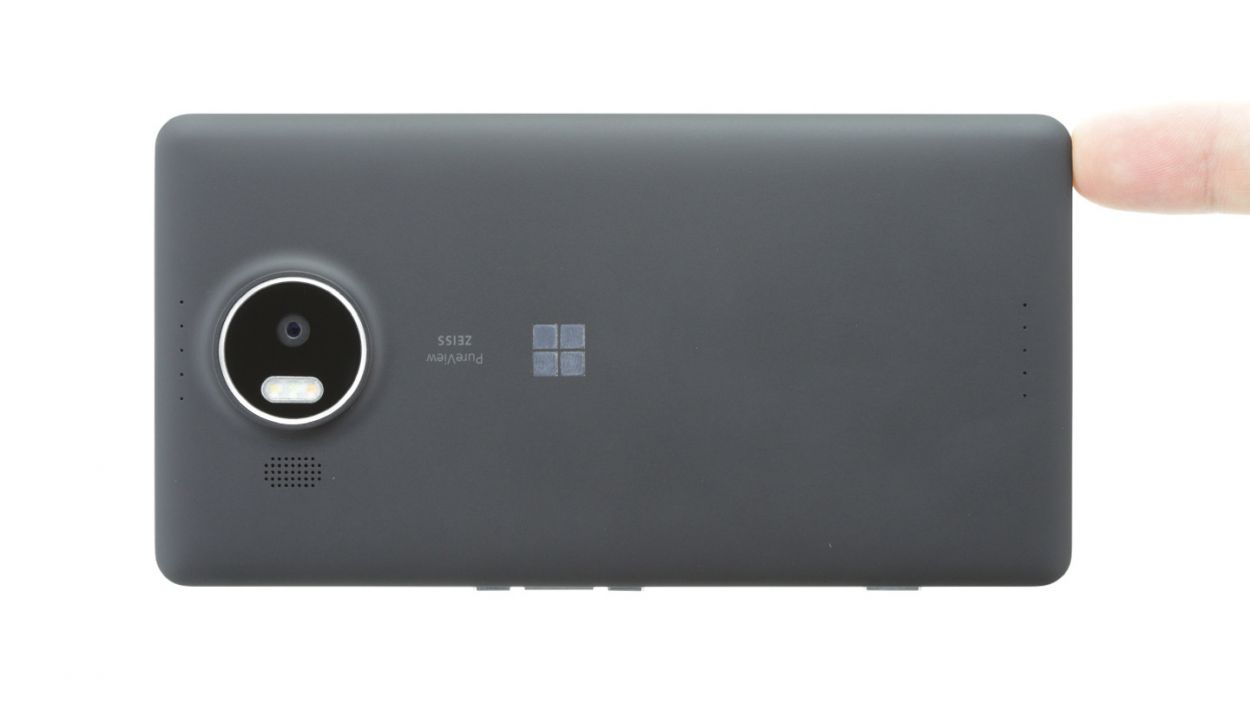
– Give your device a little break by pressing and holding the power button until you see the delightful message pop up: ‘slide down to power off.’
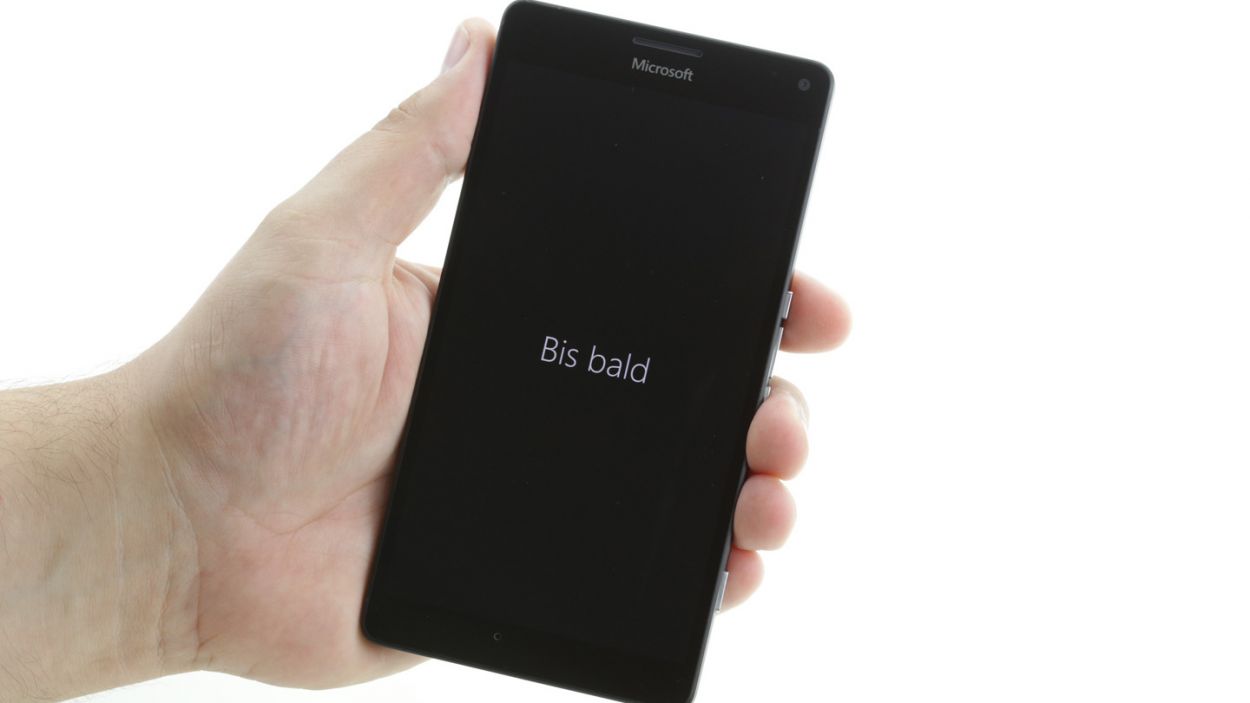
– Now, glide your finger down the screen until you catch a glimpse of ‘goodbye’ and voilà, your device is taking a snooze!
Step 2

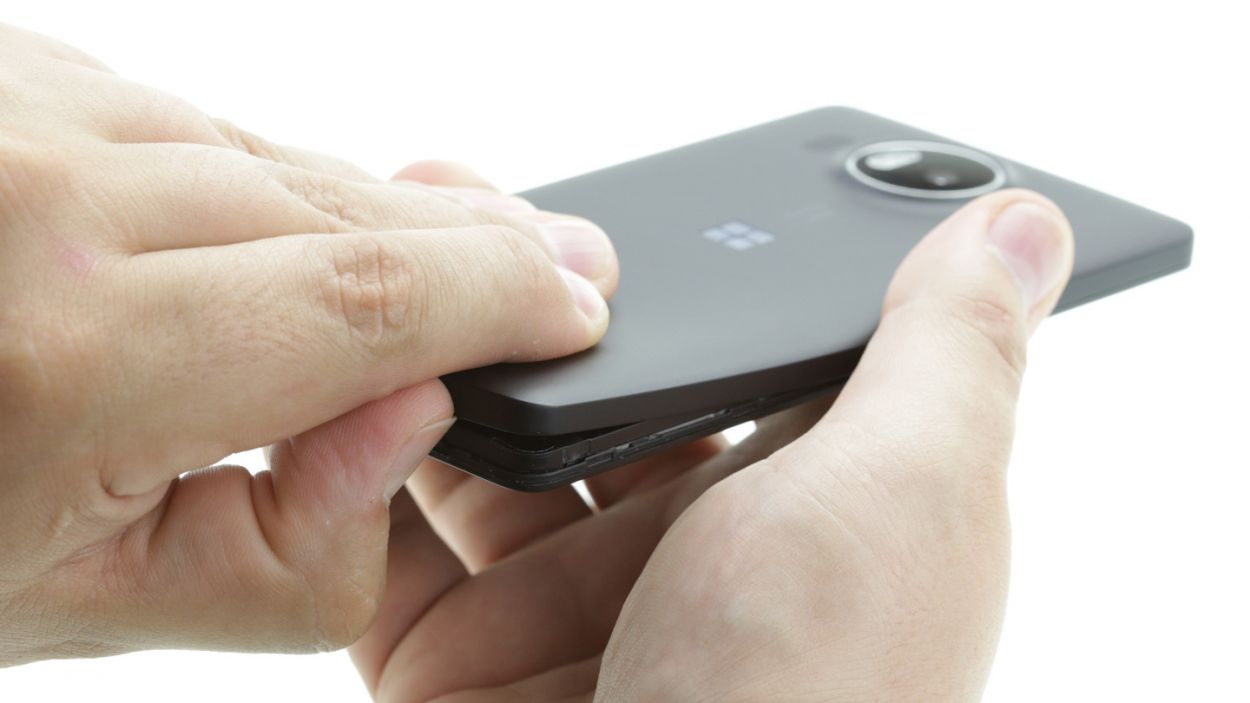
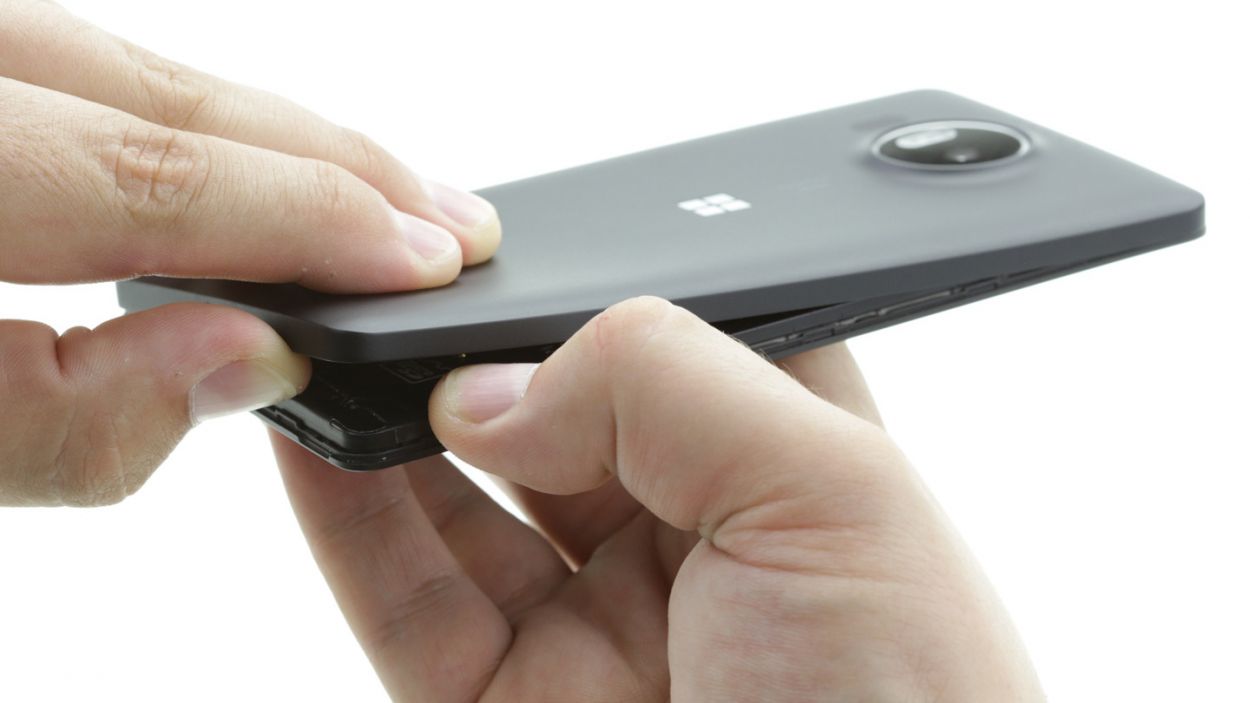

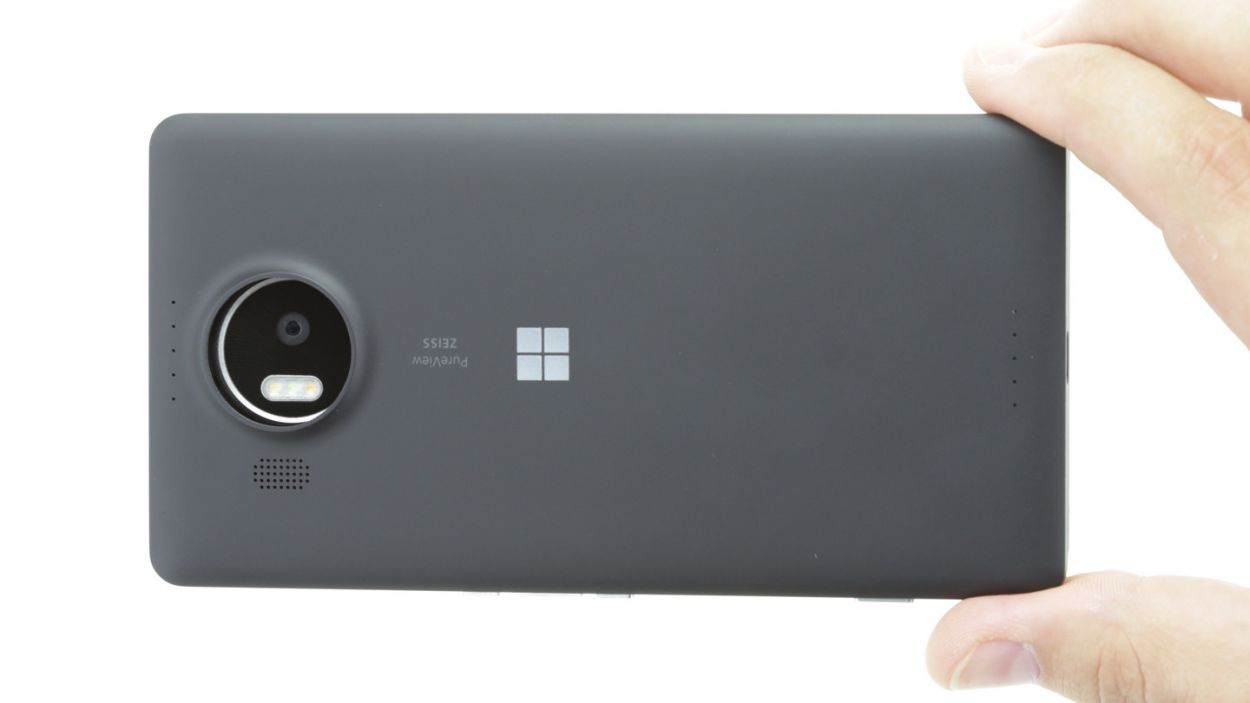
– Gently pry off the back cover from the enclosure frame. There’s a nifty little slot at the bottom where you can slide in your fingernail or a handy tool.
– Slowly work your way around to detach the back cover from your device.
– Now, go ahead and lift the back cover off your device.
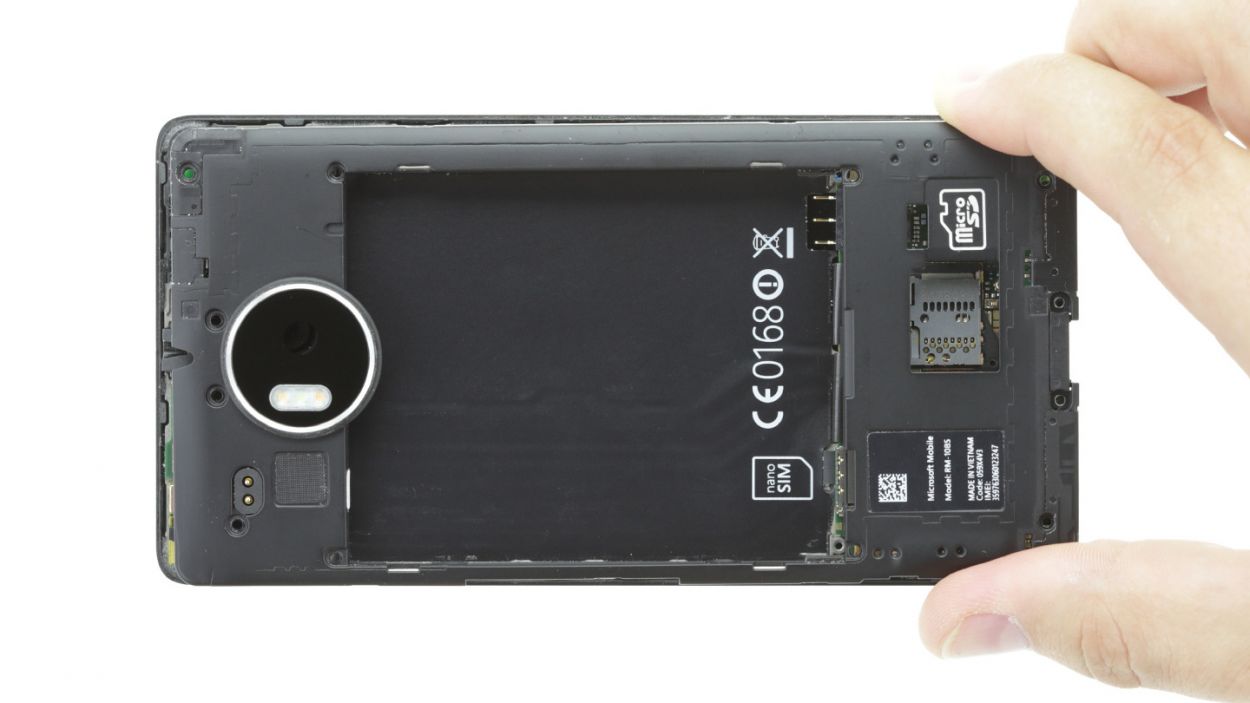
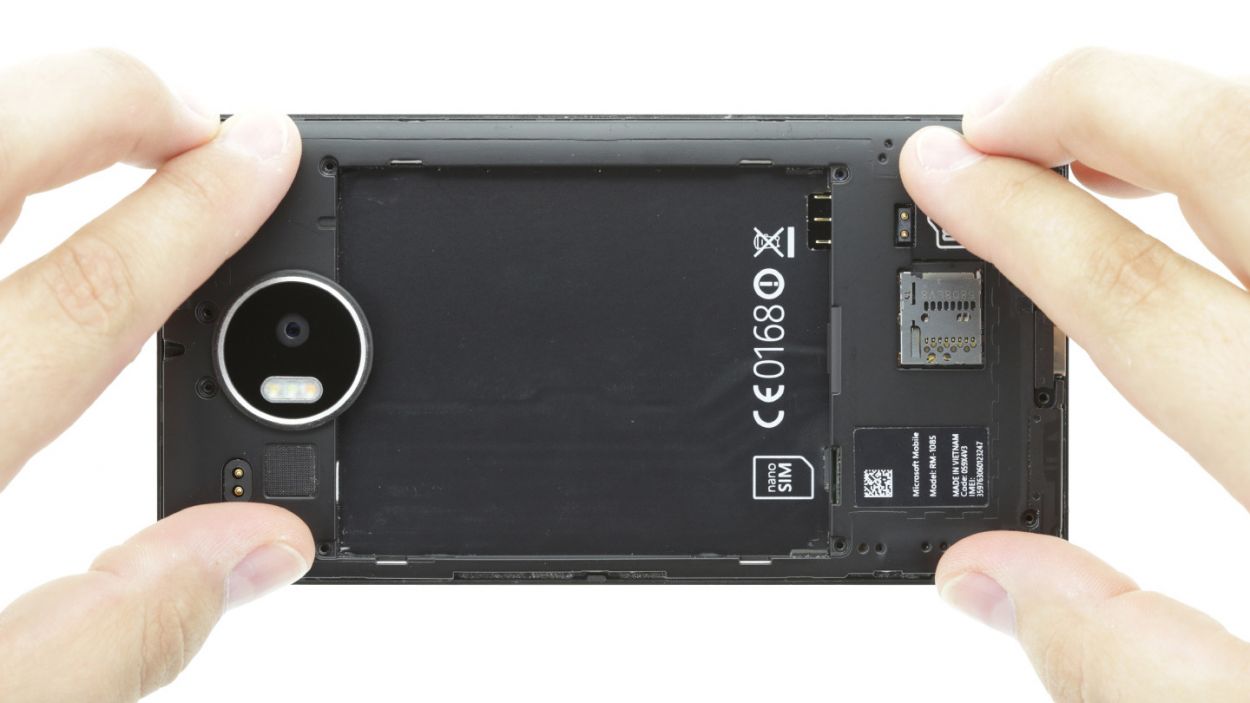
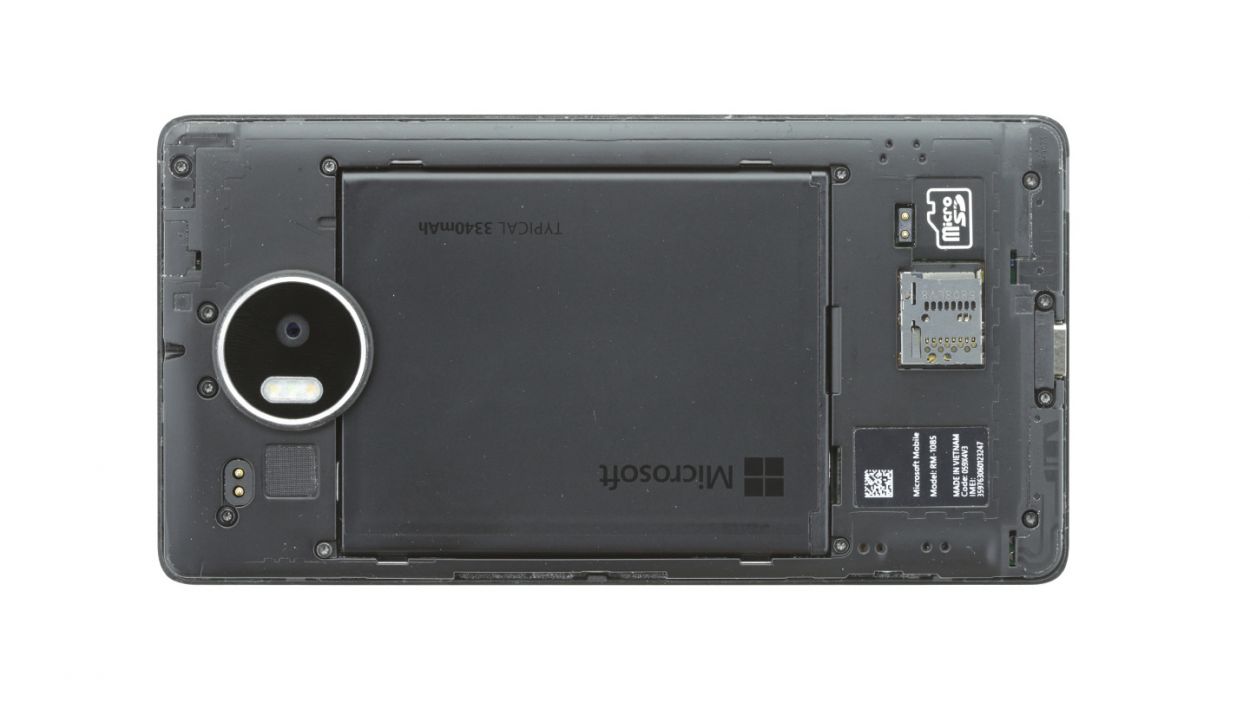
Step 4
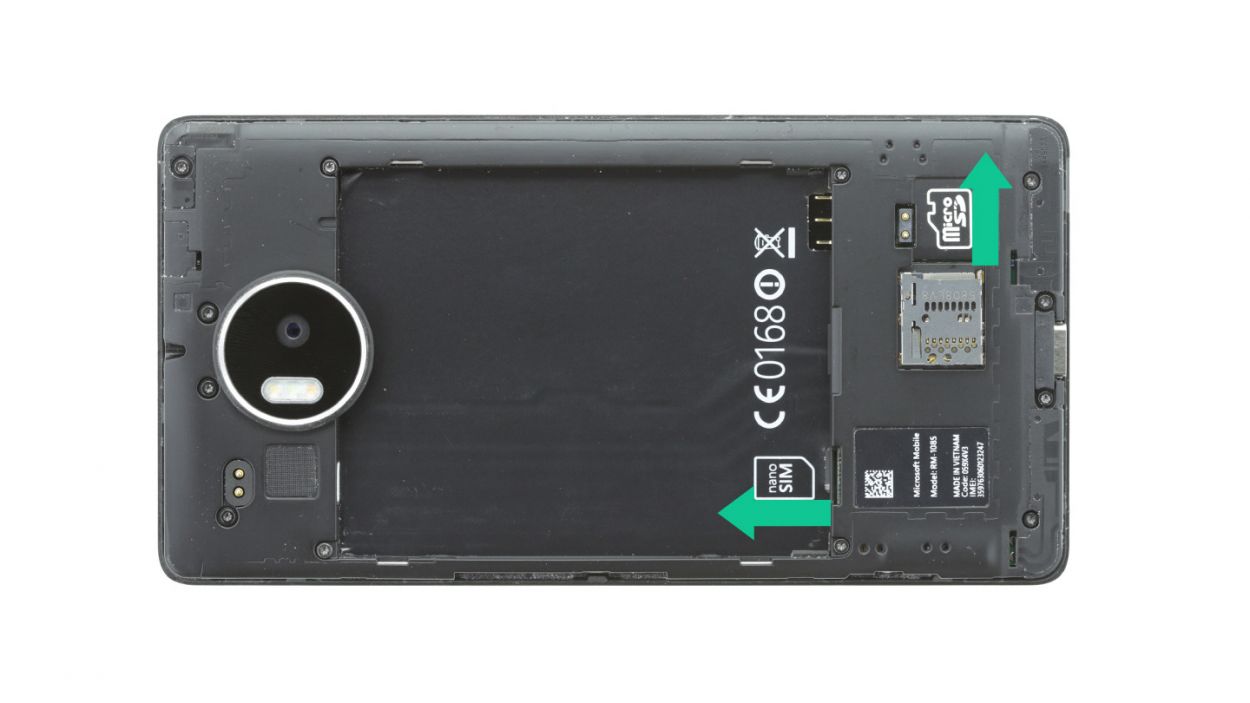
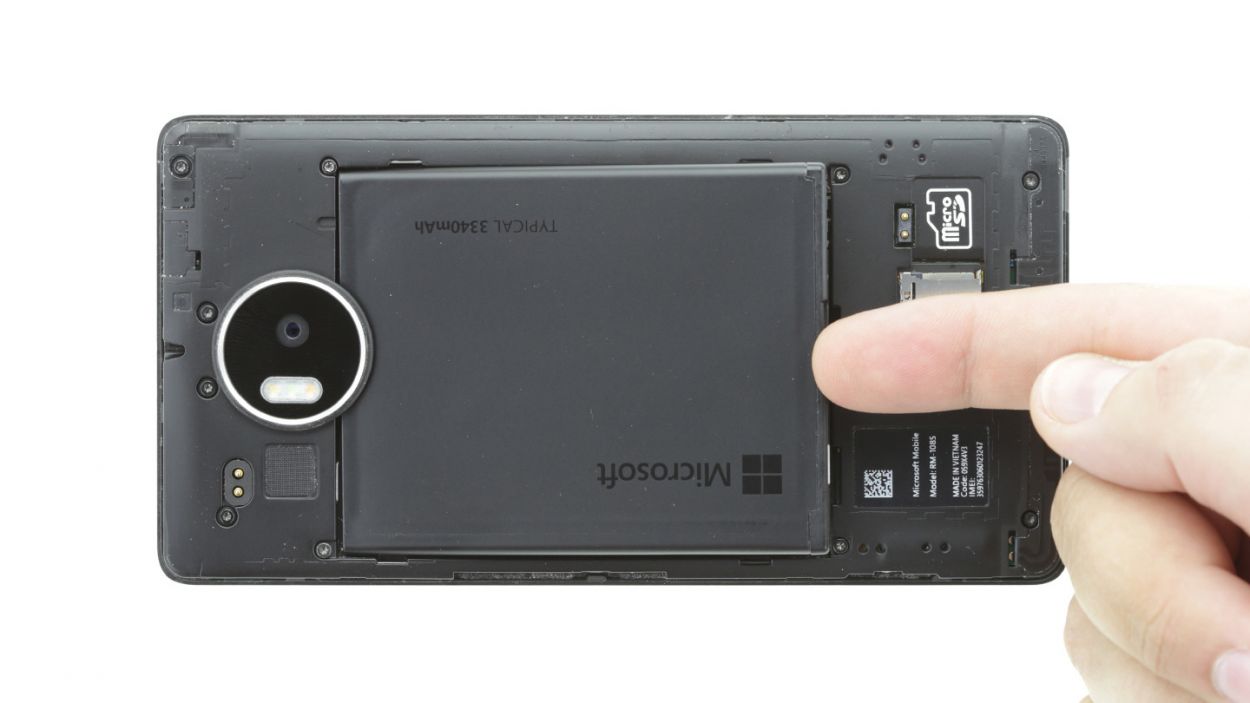
– Let’s take a little journey together and remove those nifty SIM and microSD cards from your beloved device!
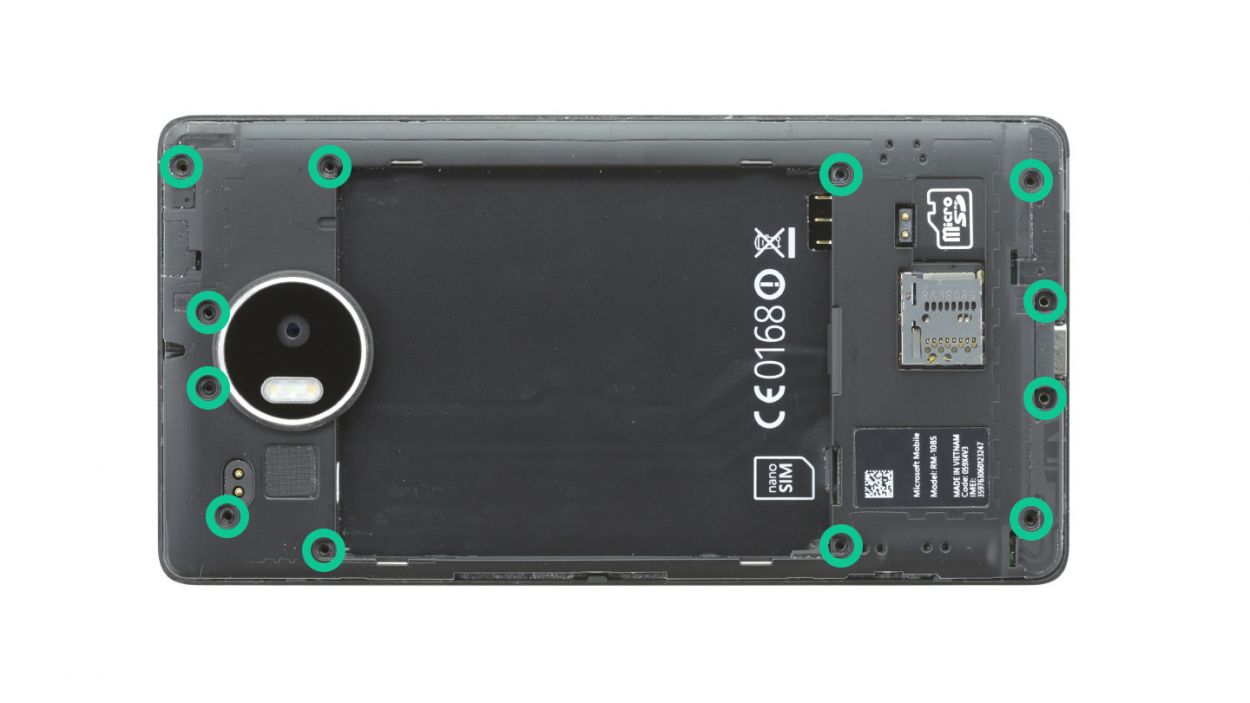
Step 5
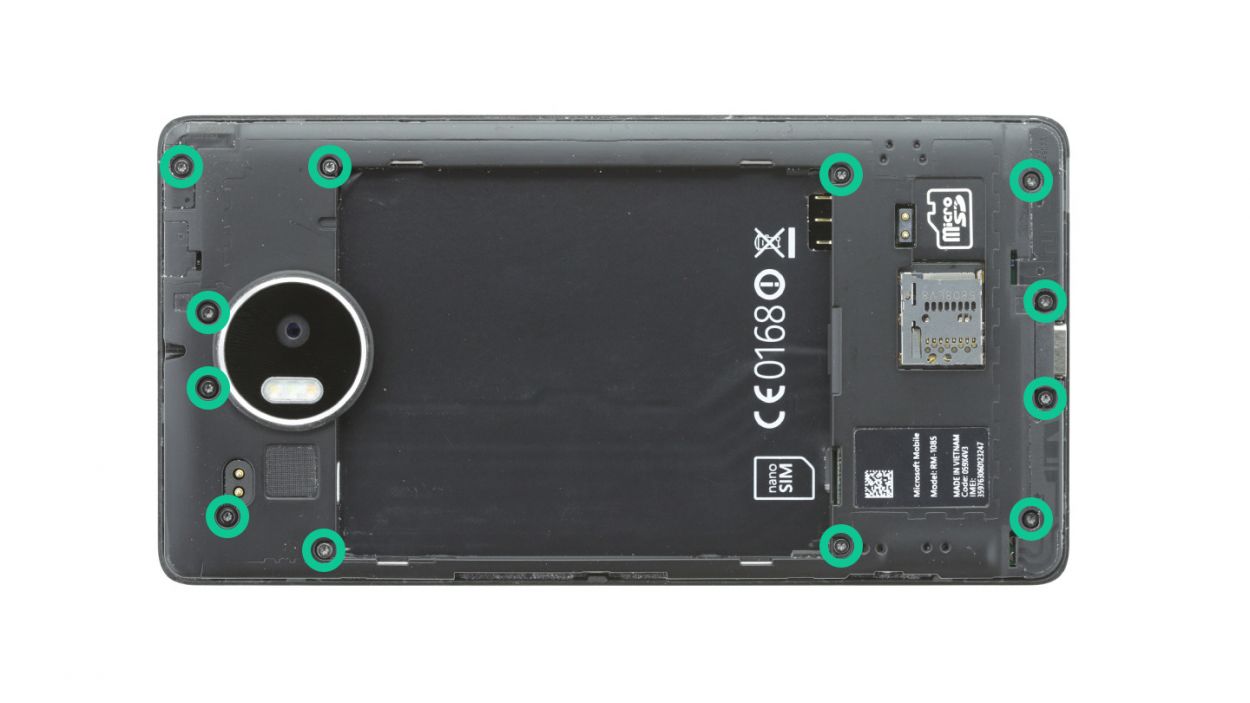

– Let’s get started by unscrewing the twelve screws that keep the chassis snugly attached to the enclosure. These are your 12 x 4.5 mm T4 Torx screws.
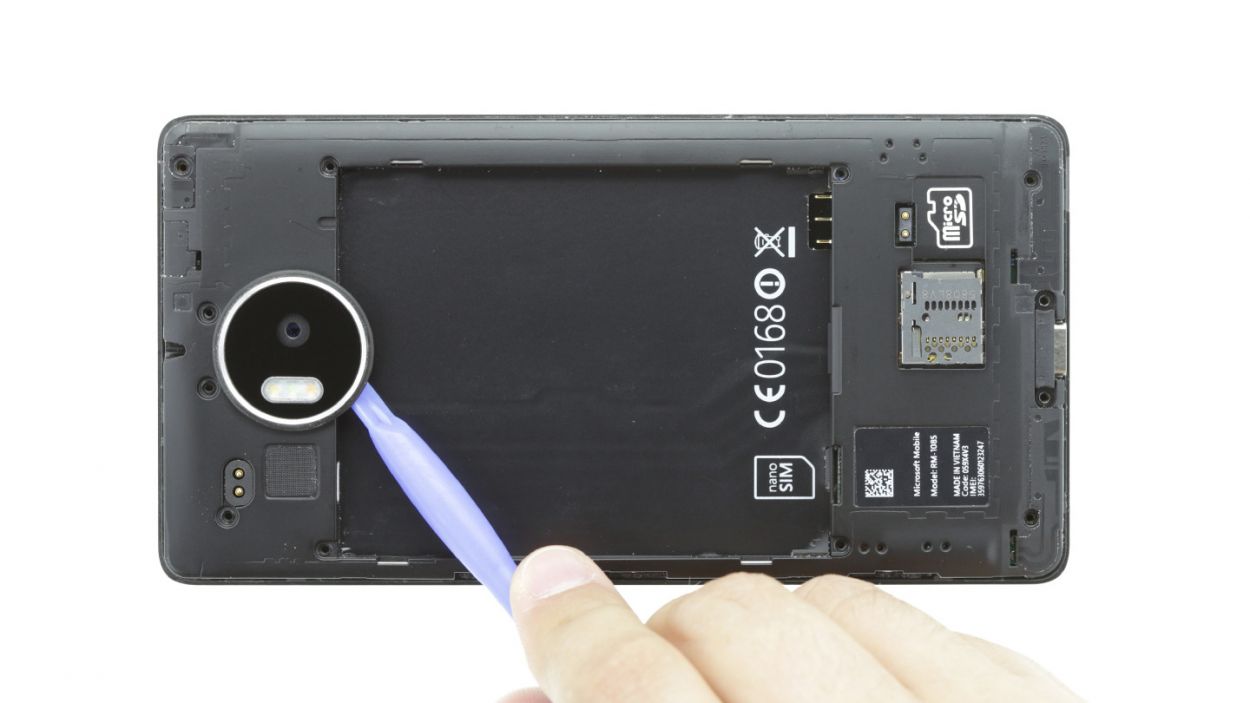
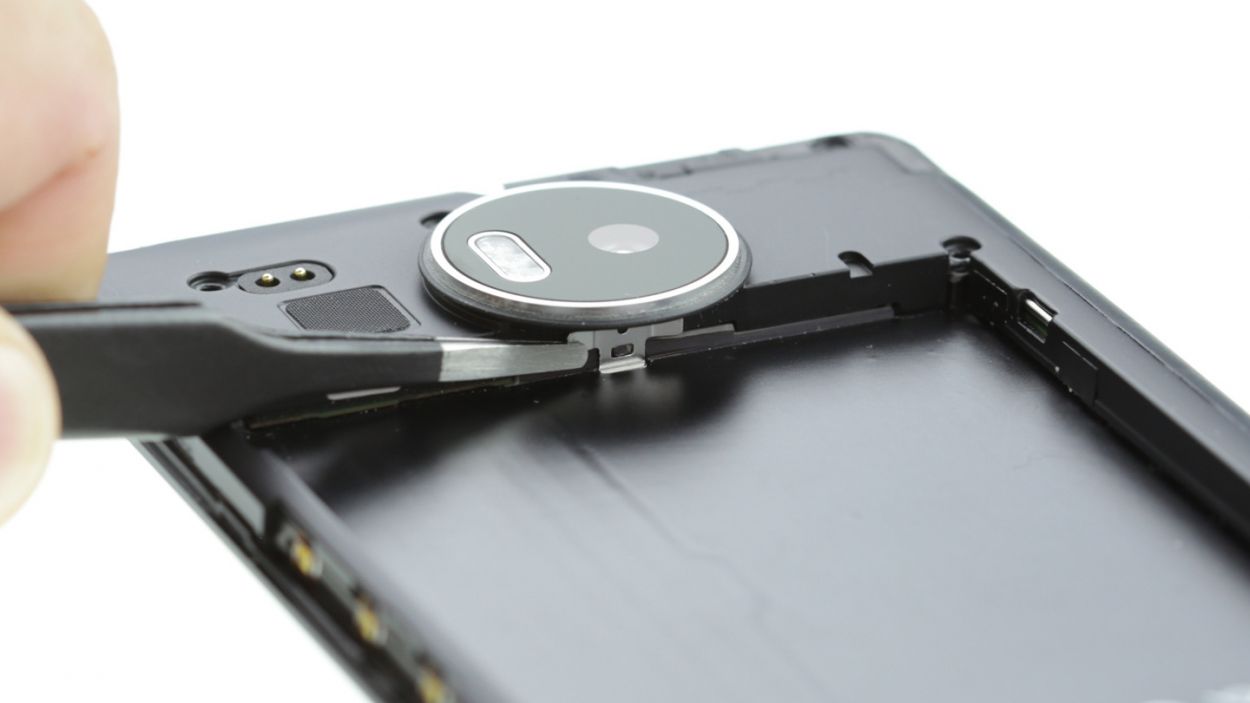
– Next up, we’re going to delicately unhook the chassis from below the rear camera. Grab those tweezers or a spudger and work your magic!
– Now, lift that chassis away and give yourself a little victory cheer as you remove it!
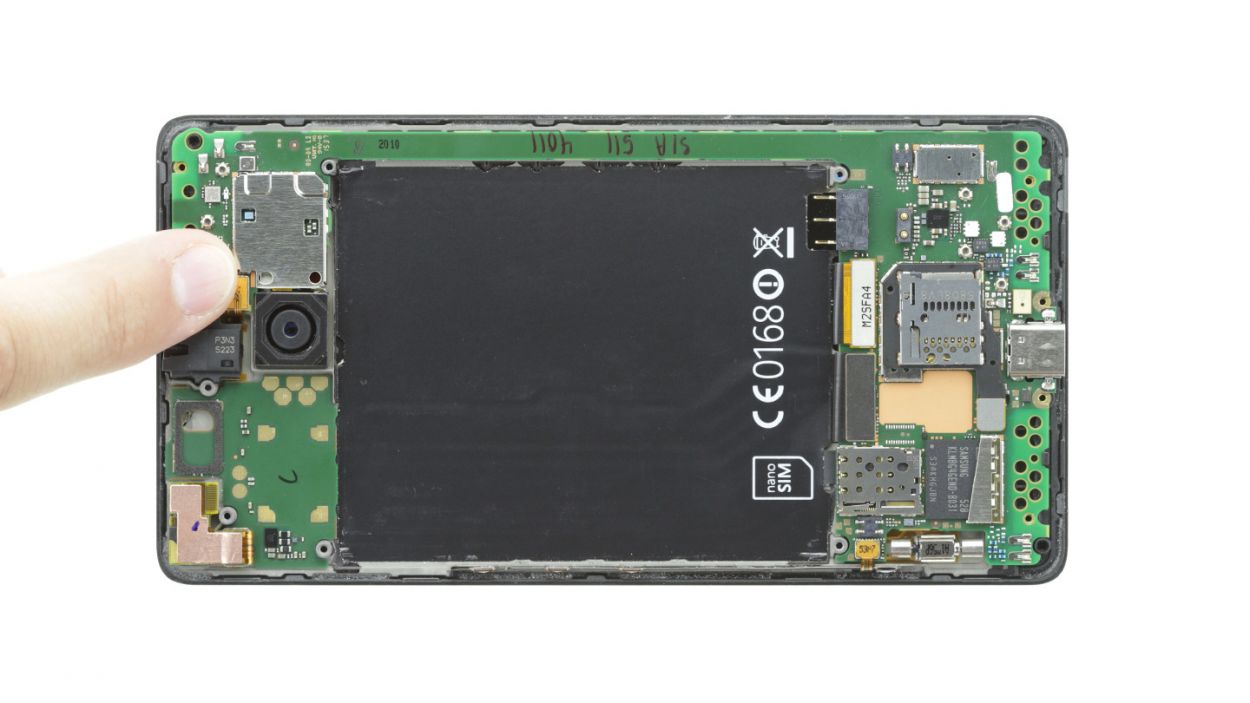
Step 6

– Gently detach the headphone jack’s connection from the motherboard, taking your time to avoid any mishaps.
– Next, slide that jack out of the enclosure like a pro!
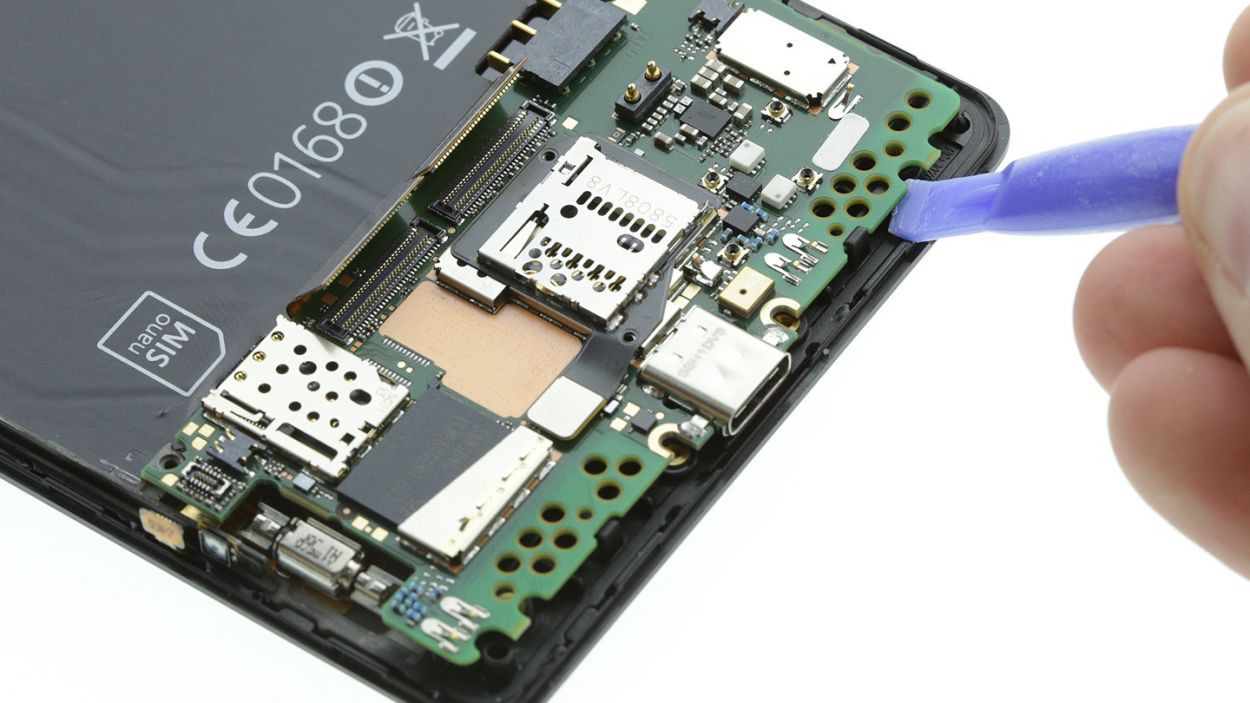
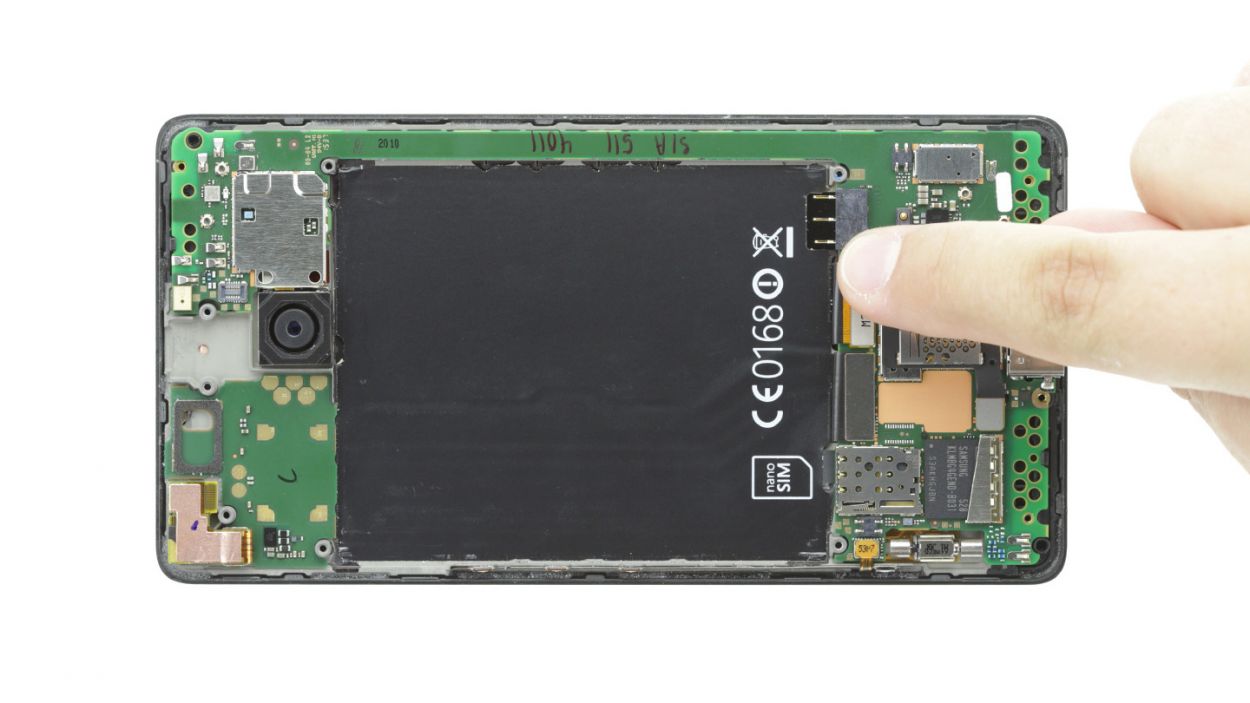
Step 7
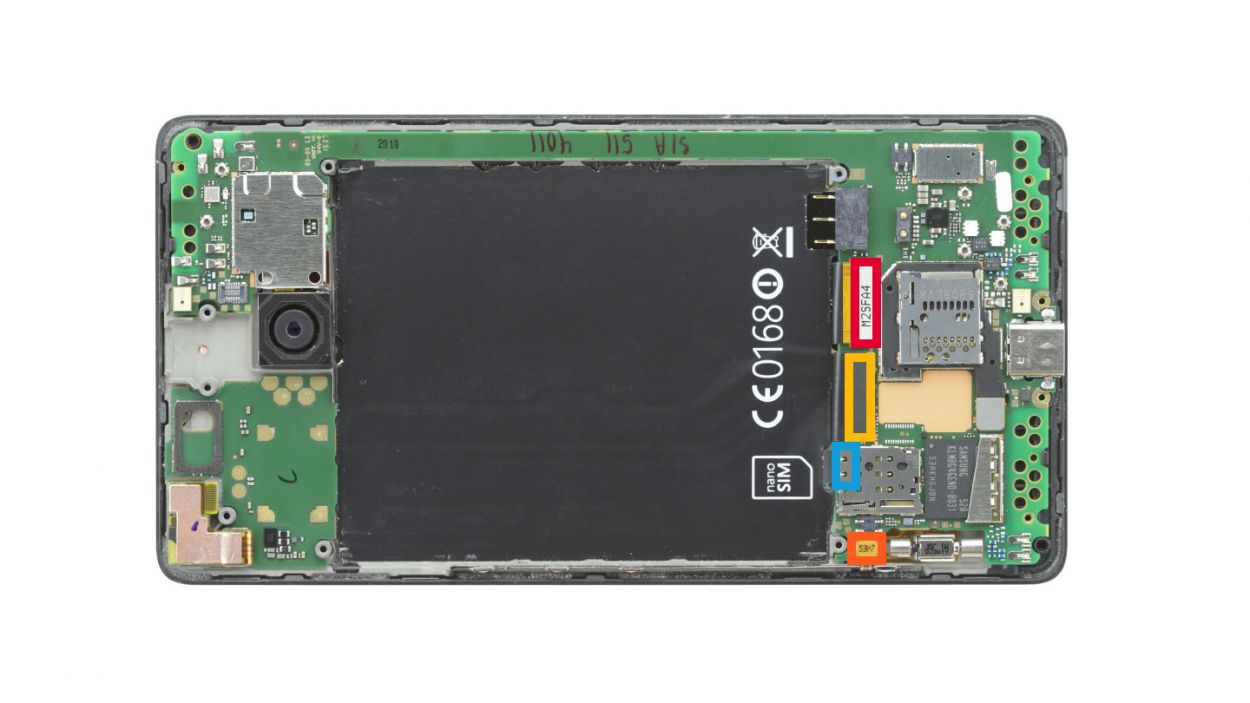


– Using the spudger, carefully disconnect the following four plug contacts from the motherboard.DisplayFront cameraProximity sensor (back)Control buttons
– Start with the display contact.
– Continue with the front camera connection.
– Disconnect the control buttons.
– The back of the proximity sensor is connected to the board. If it’s too hard to disconnect this contact, remove the board from the enclosure first (see next step).
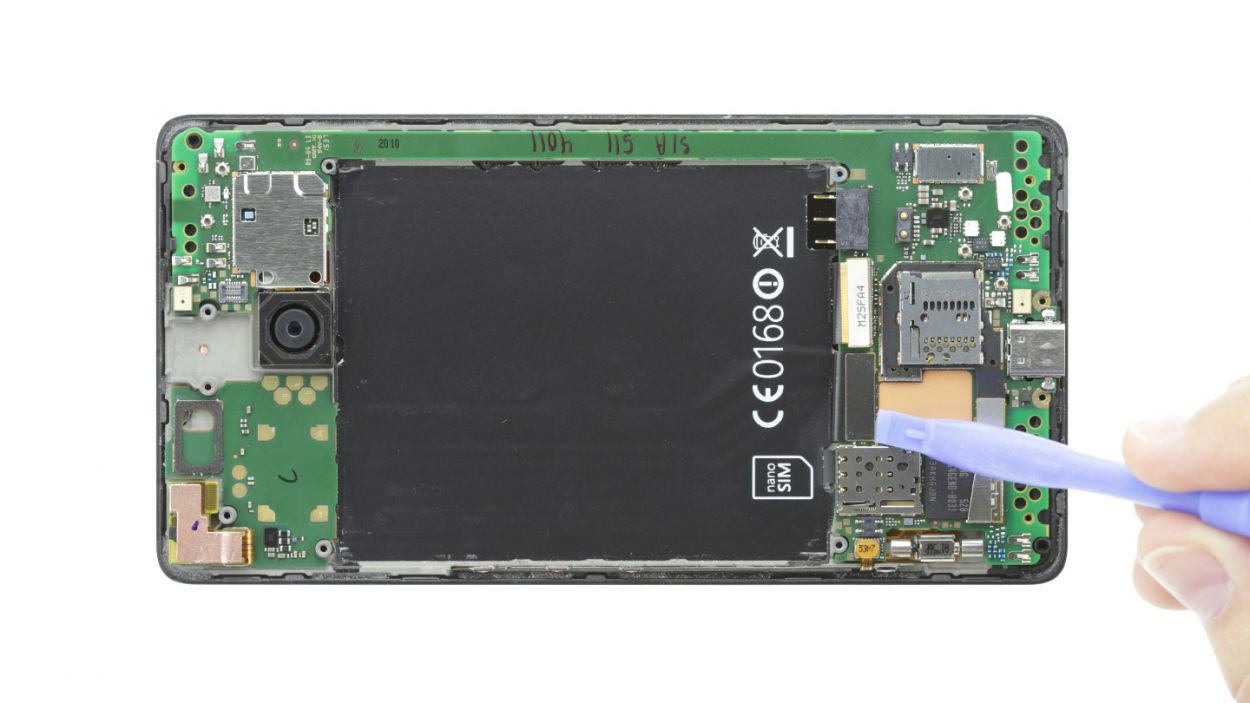
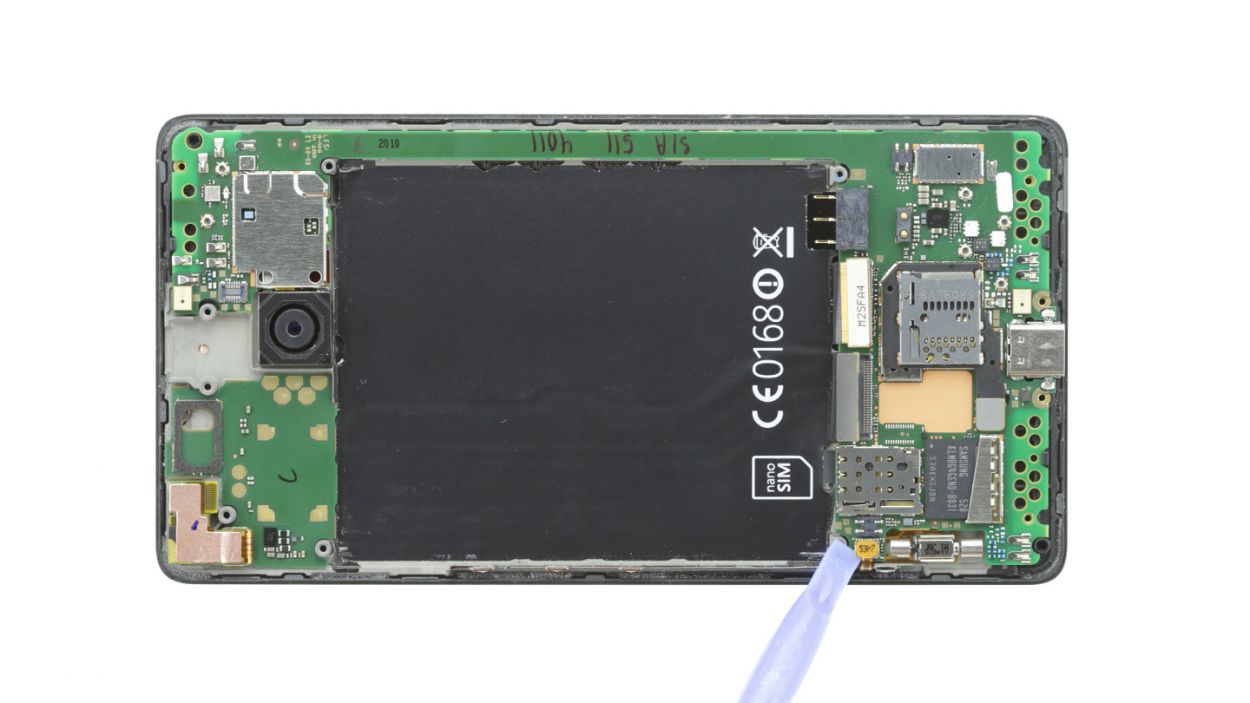
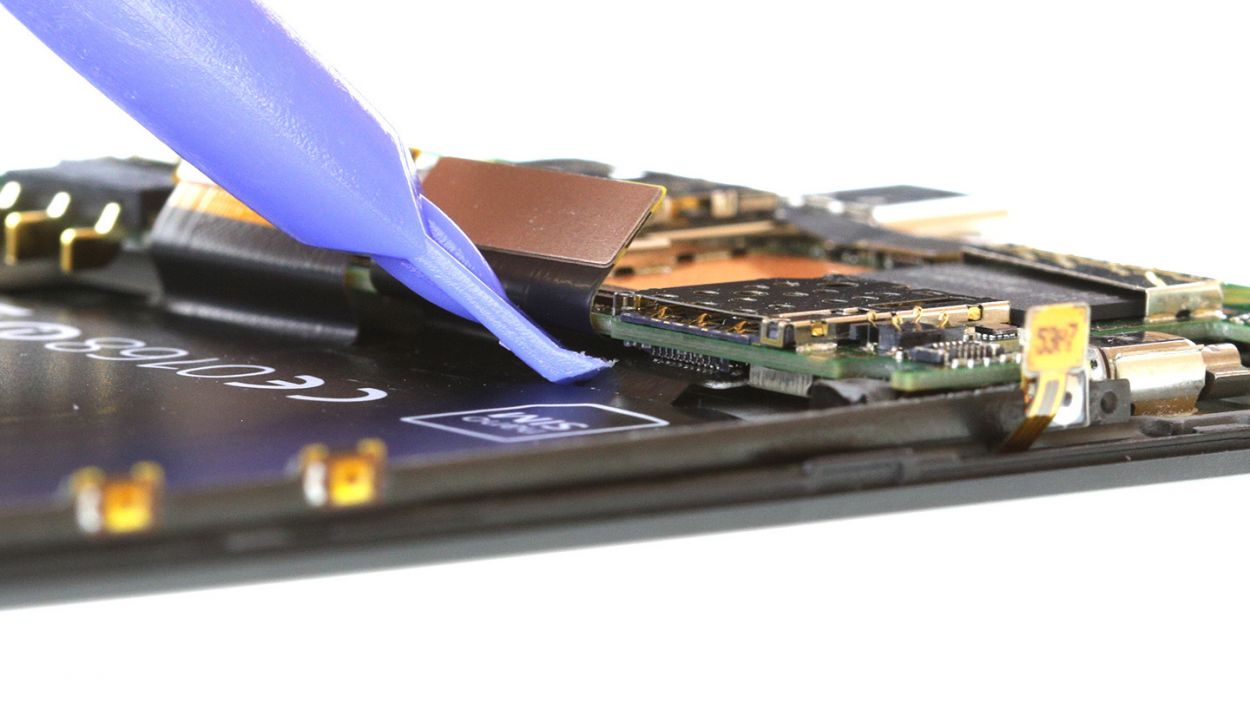
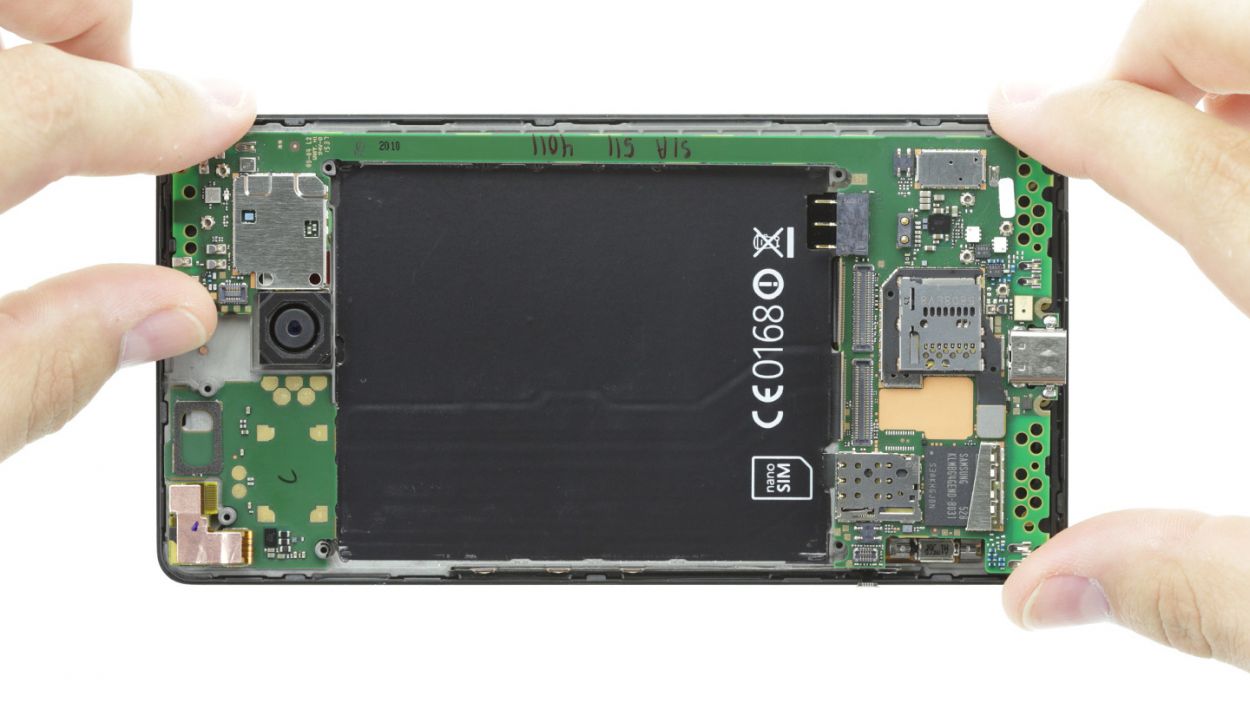
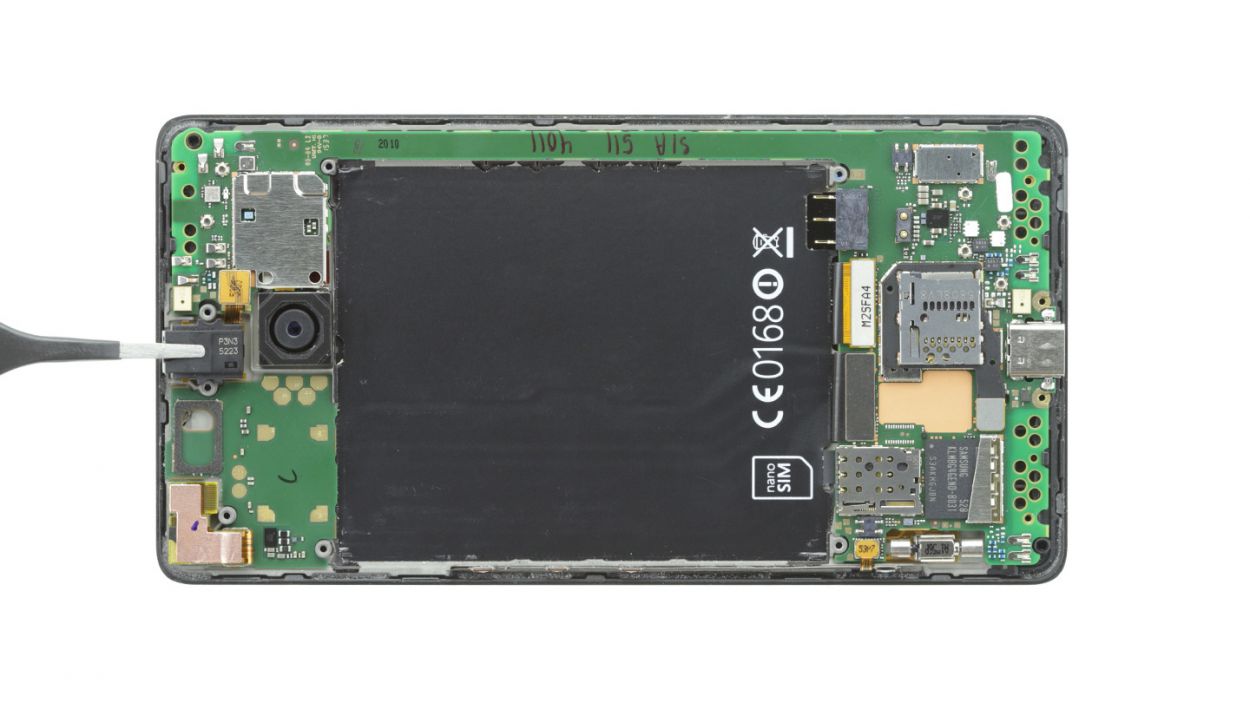
Step 8
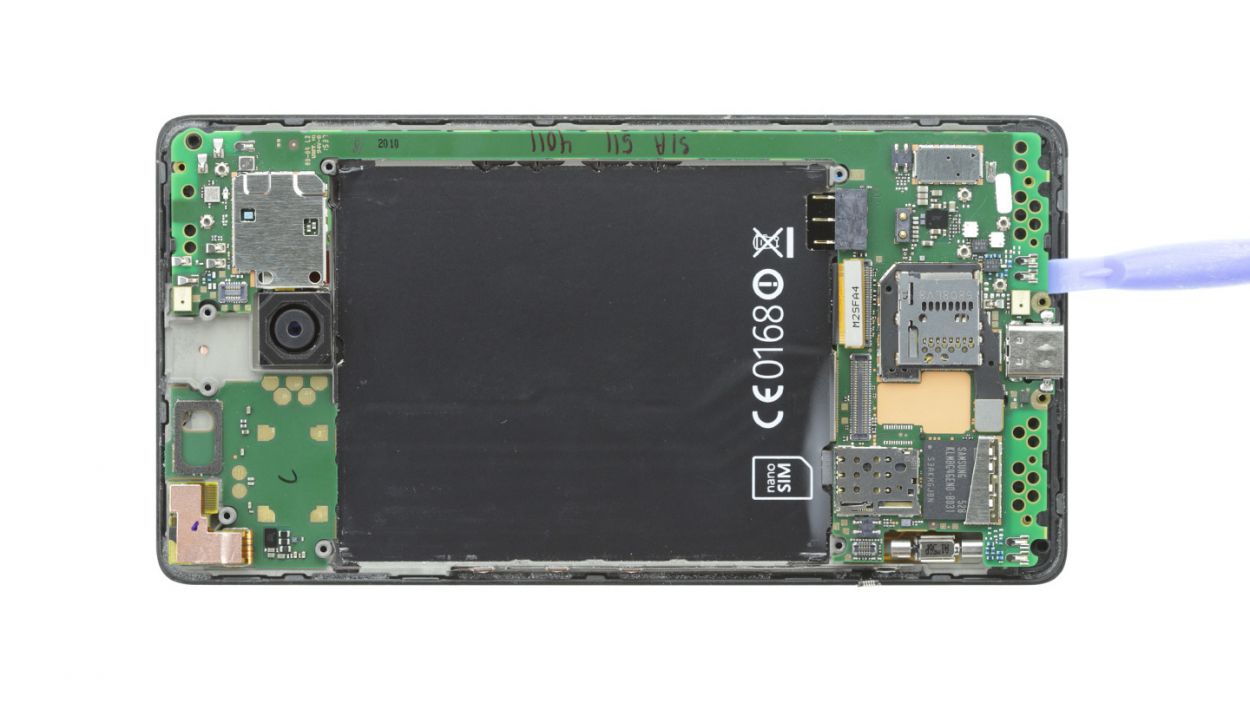
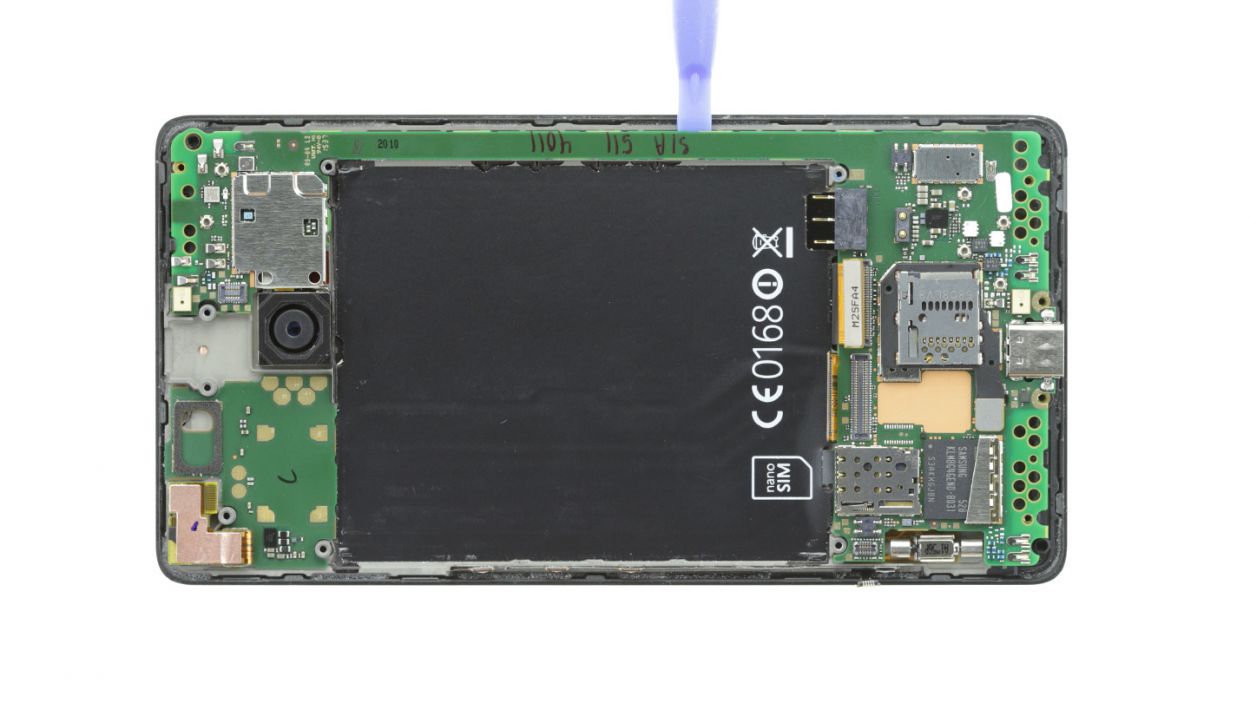
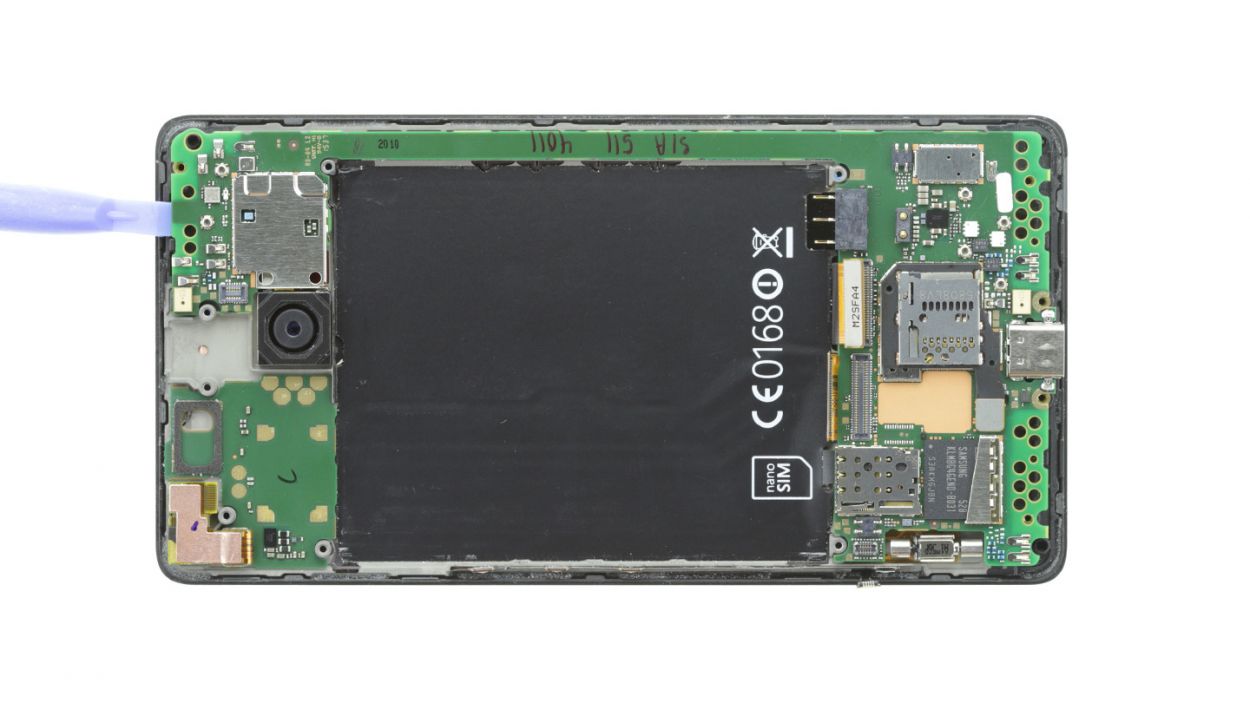
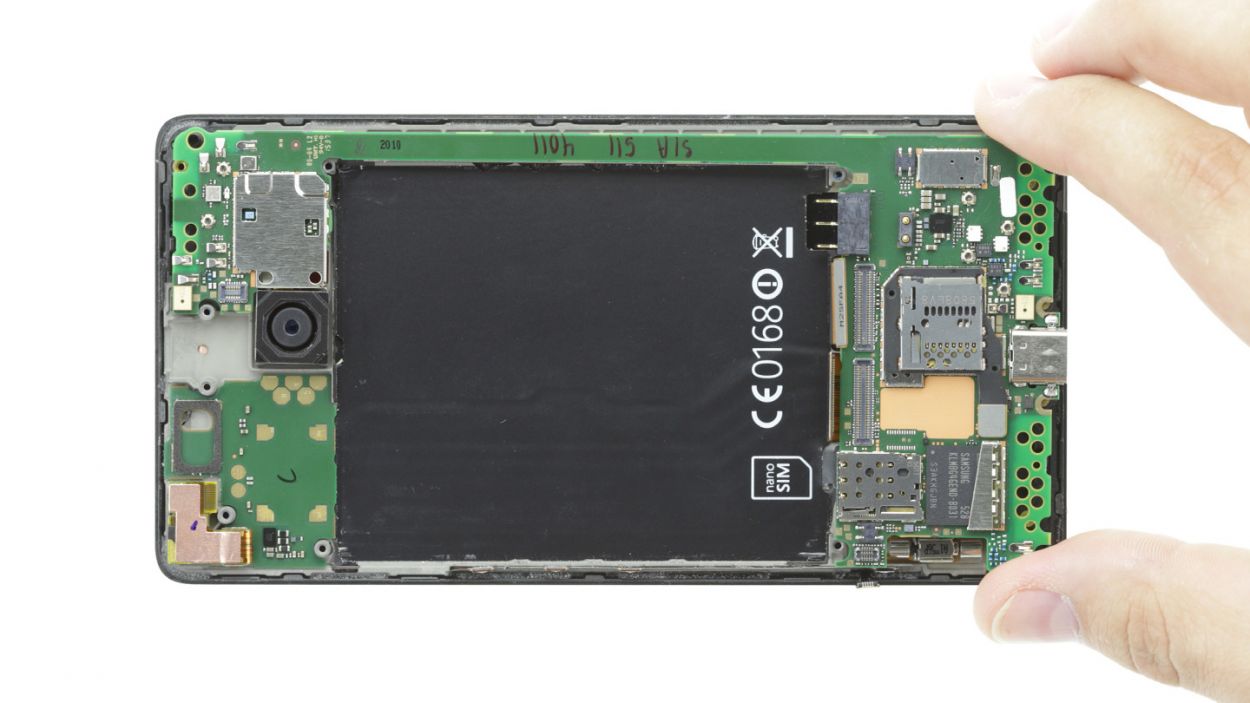
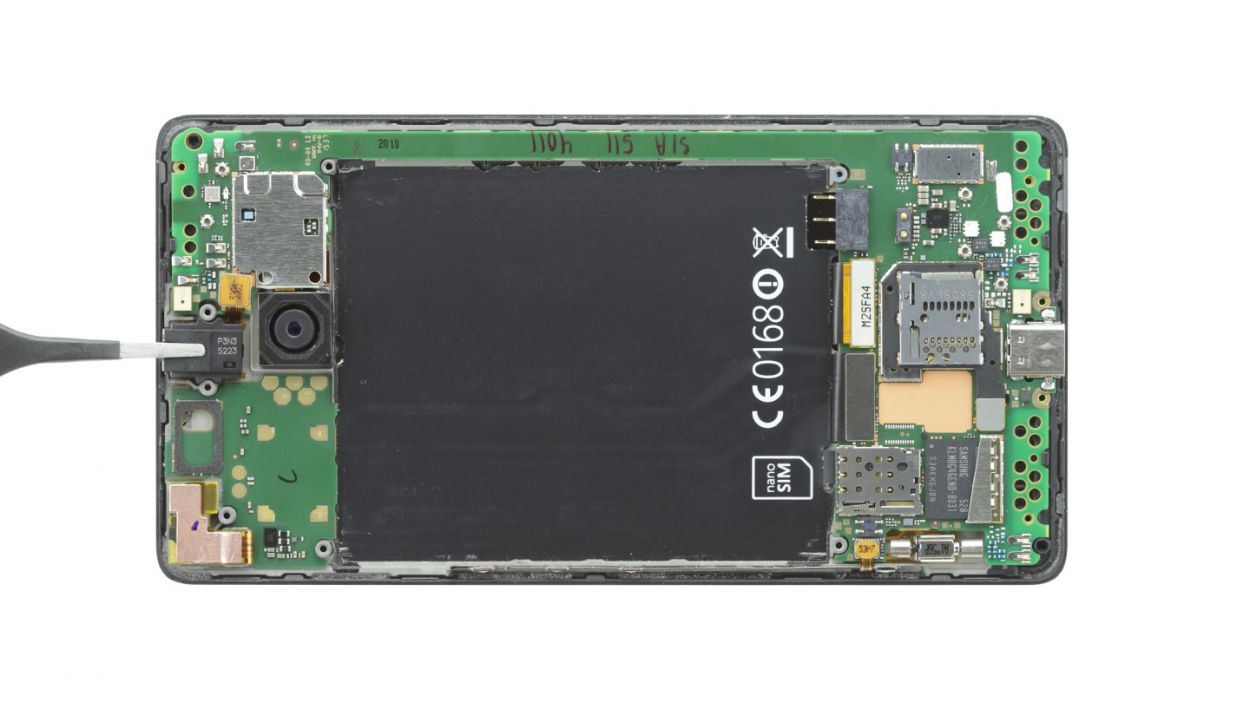
– The board is hooked onto the enclosure at several points. Unhook it by carefully inserting the spudger below the board and prying it loose. Make sure you don’t break any components off the board.
– Once you’ve detached the entire board, you can remove it.
Step 9

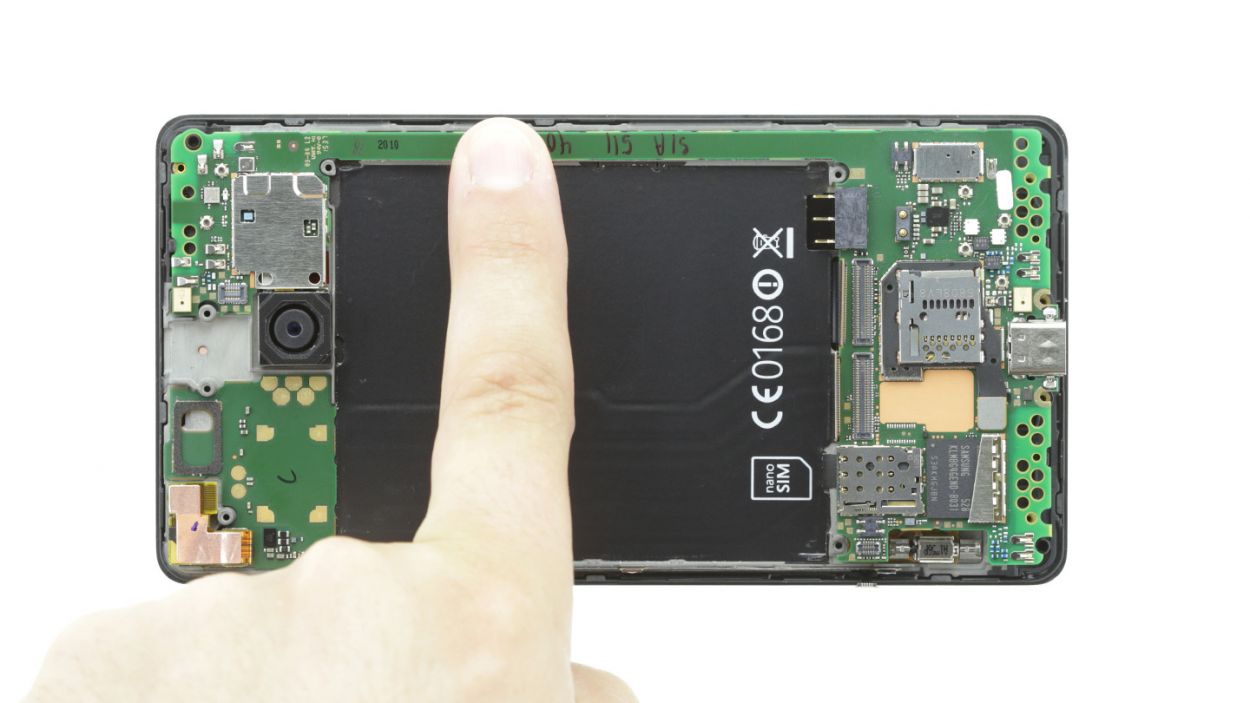

– Alright, champ! Now that you’ve properly inserted the board, make it click into its home in the enclosure. Press down gently but firmly until you hear that sweet ‘click’. It’s gonna feel like a great accomplishment, and trust us, it is!
– Your enclosure is now looking shiny and new again. If you need help, you can always
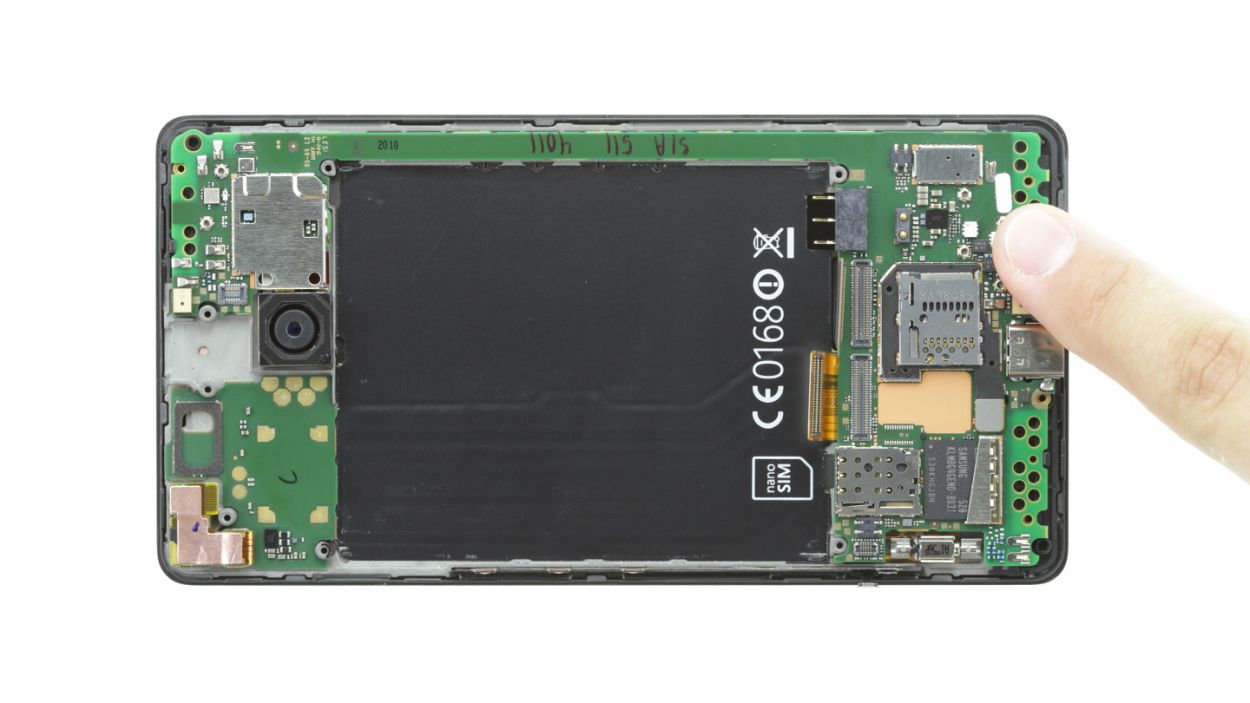
Step 10


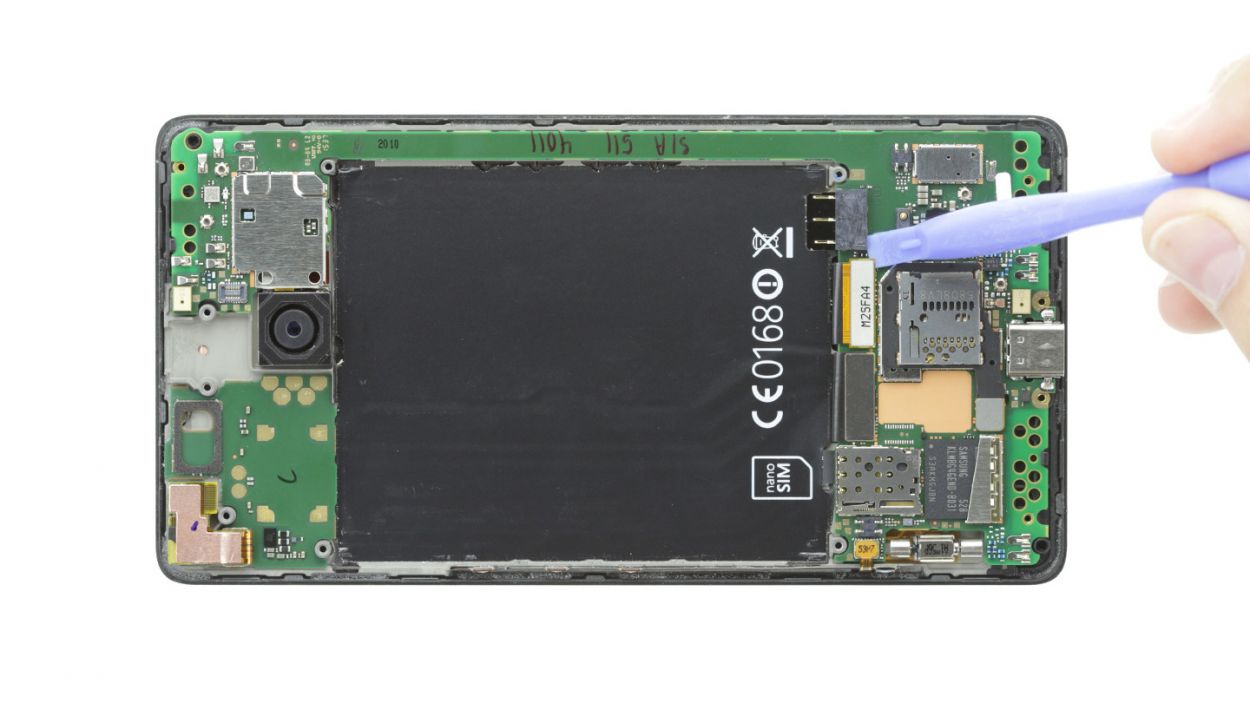
– Carefully connect the following four plug contacts to the motherboard. You’ll hear the contacts click into place. Use your finger to carefully press all of them into the appropriate sockets. Start with the proximity sensor. If the proximity sensor’s contact isn’t positioned right, remove the board from the enclosure and try connecting it again.DisplayFront cameraProximity sensor (back)Control buttons
Step 11
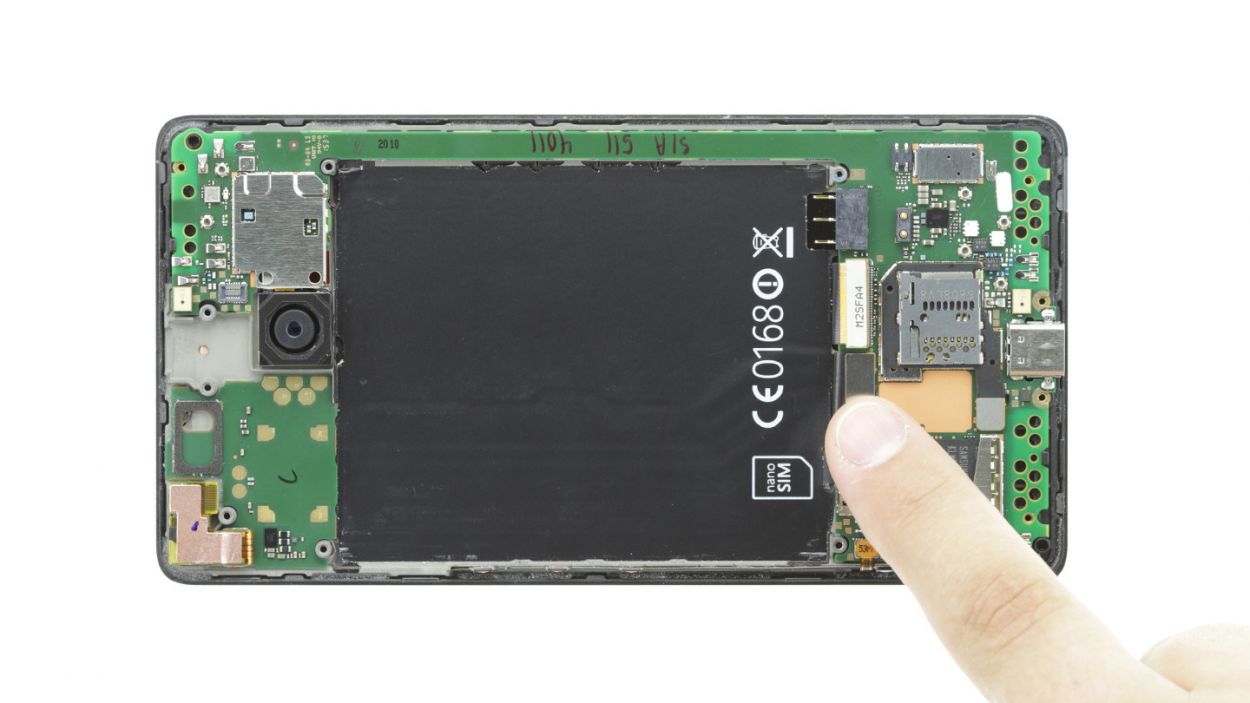
– Let’s get this party started! Put the jack back into the delightfully cozy recess on the upper end of the device’s home. Easy peasy!
– Now, connect the jack’s clip to the motherboard, making sure it clicks into place – voilà! You’re getting close!
Step 12
– Time to get that chassis back on! Gently press it into the enclosure, making sure it clicks back into place right under the camera.
– Now, grab those twelve screws and secure the chassis to your device. We’re using 12 x 4.5 mm T4 Torx screws for this part!
Step 13
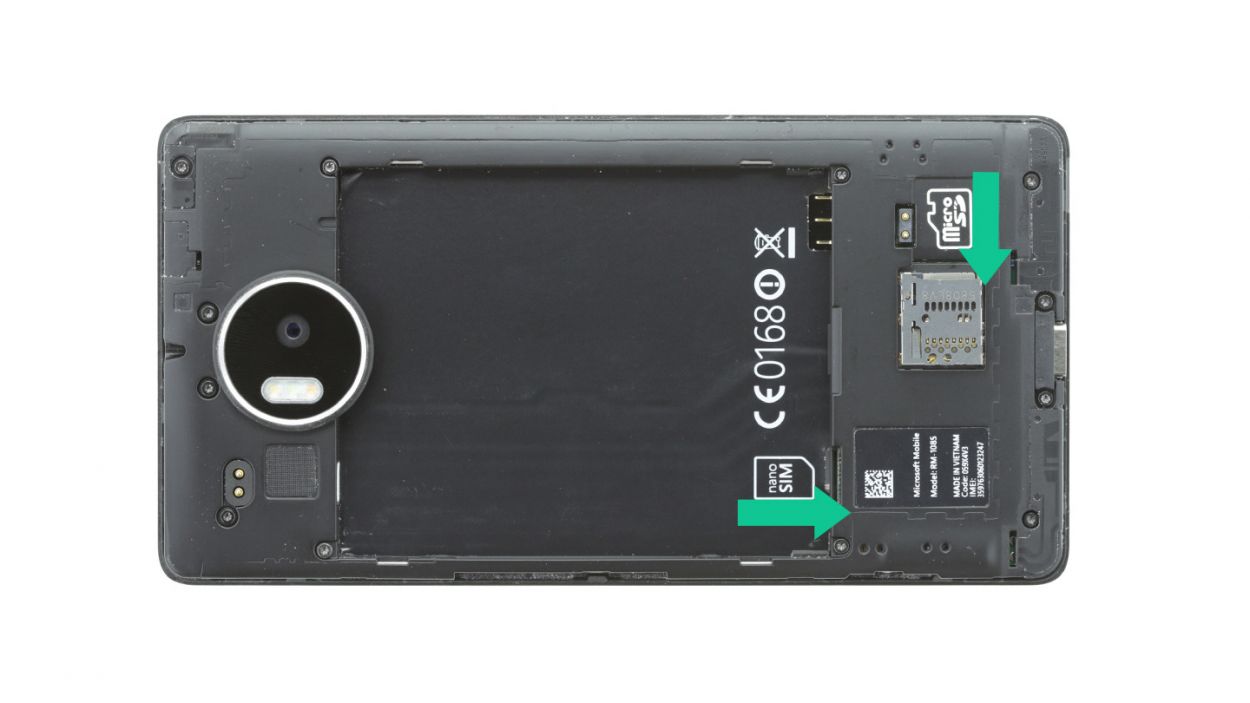
– Slide that SIM card back into its cozy little home! And hey, if you’ve got a microSD card, don’t forget to pop that in too for some extra storage love.
Step 14
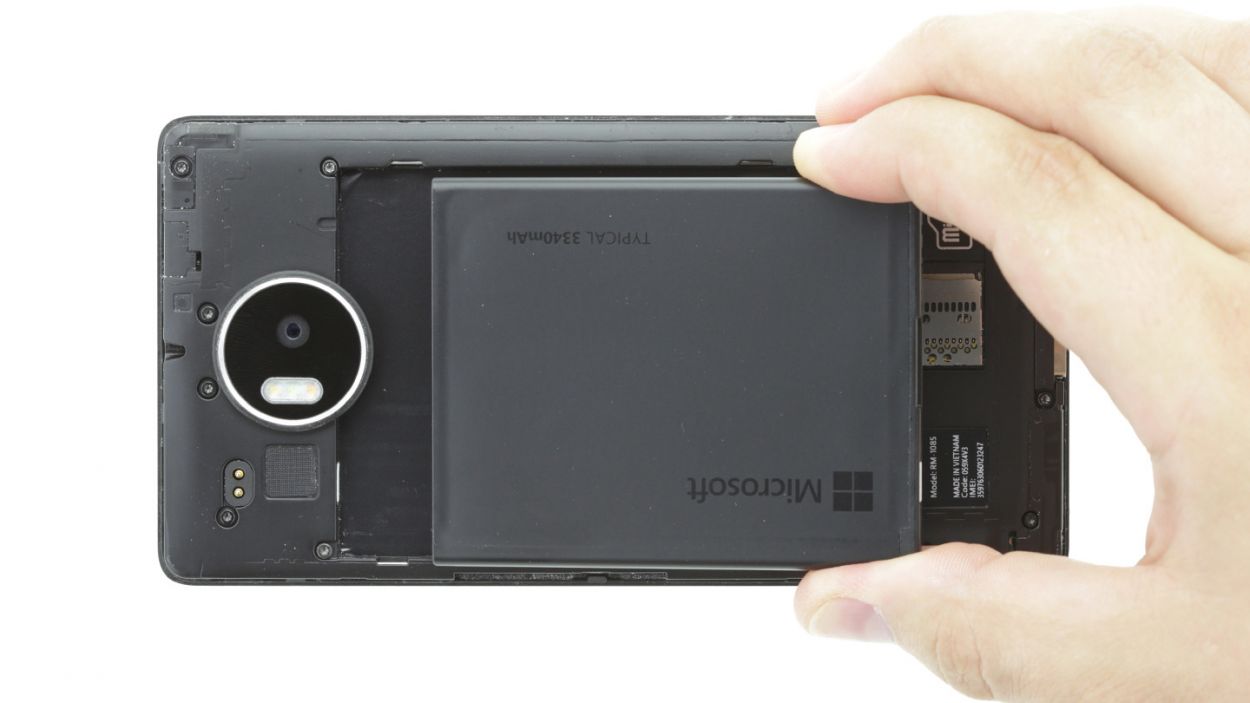
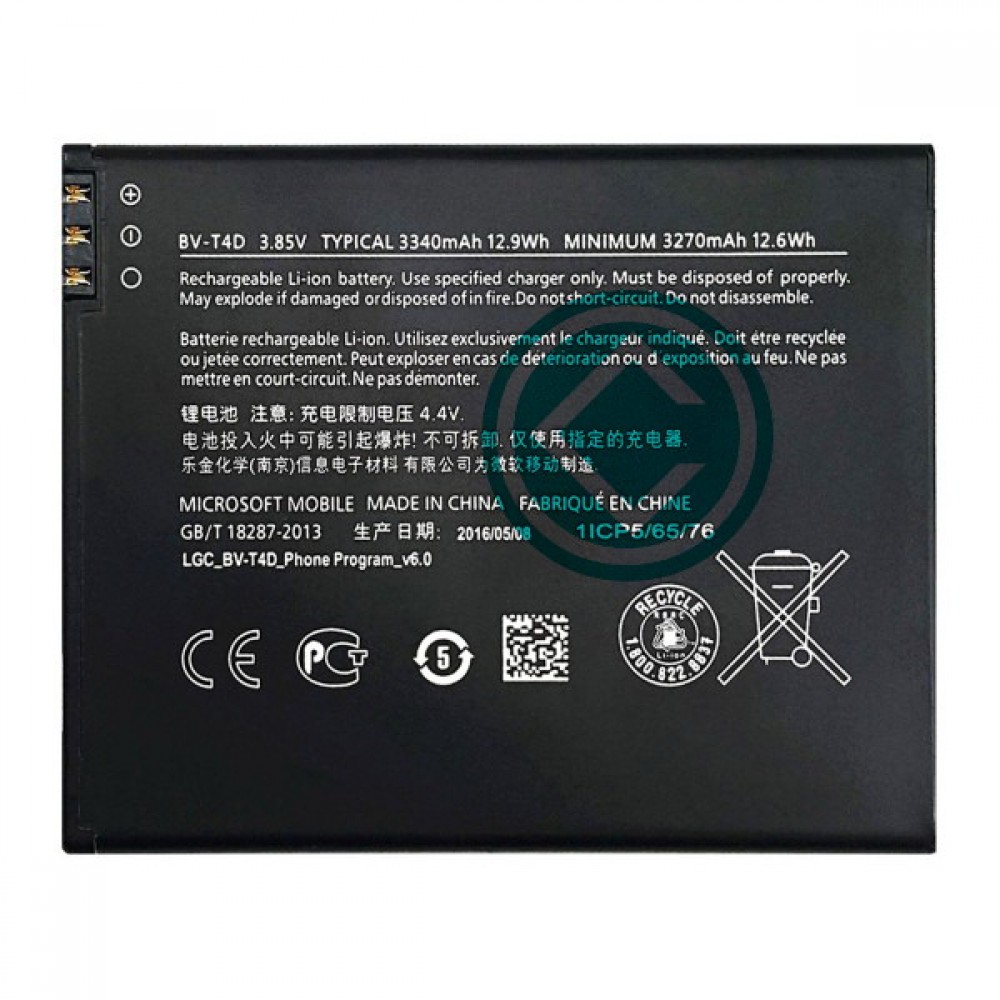
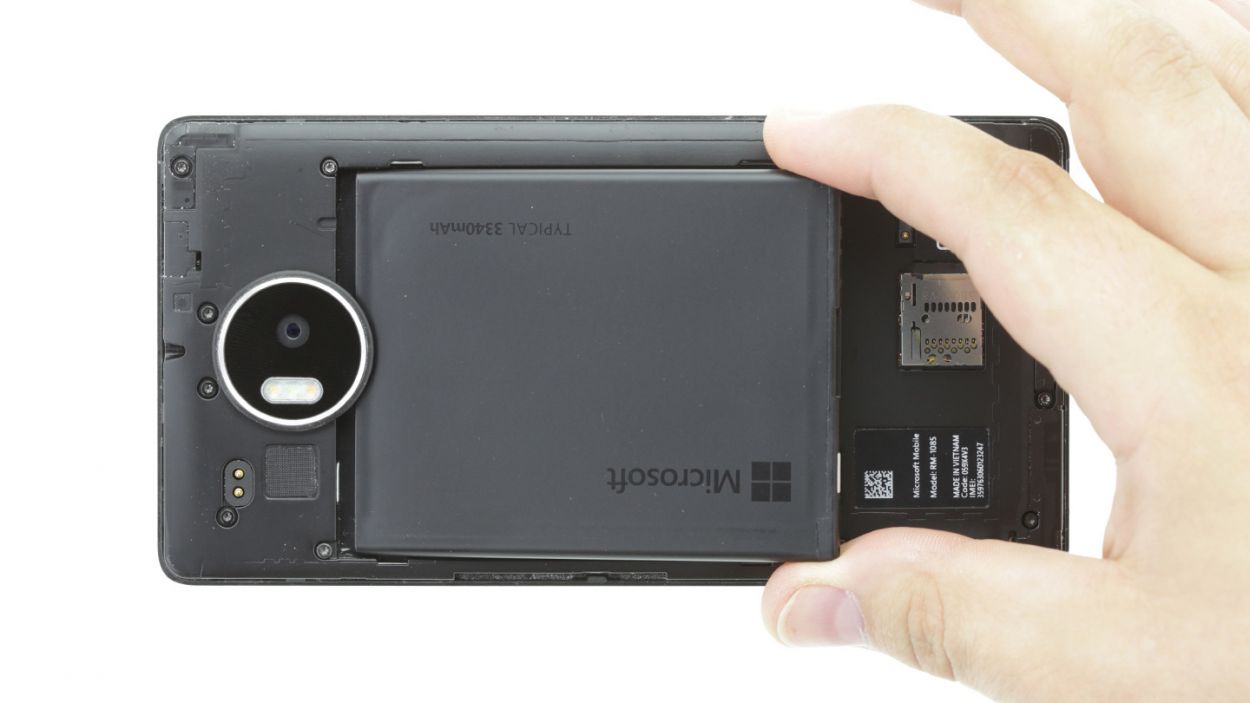
– With a victorious flourish drop that battery back into its home! Check out those three snazzy slots at the bottom of the battery? They’re hiding some important connections, so make sure they line up just right with the three golden contacts in your device’s home.
– You’ll know you’ve got it just right when the battery is all cozy and flush with the rest of the device.
Step 15
– Time to pop that back cover back on!
– Give it a good press with your finger all around the frame, making sure each clip on the back cover clicks snugly into place. You’re almost there!