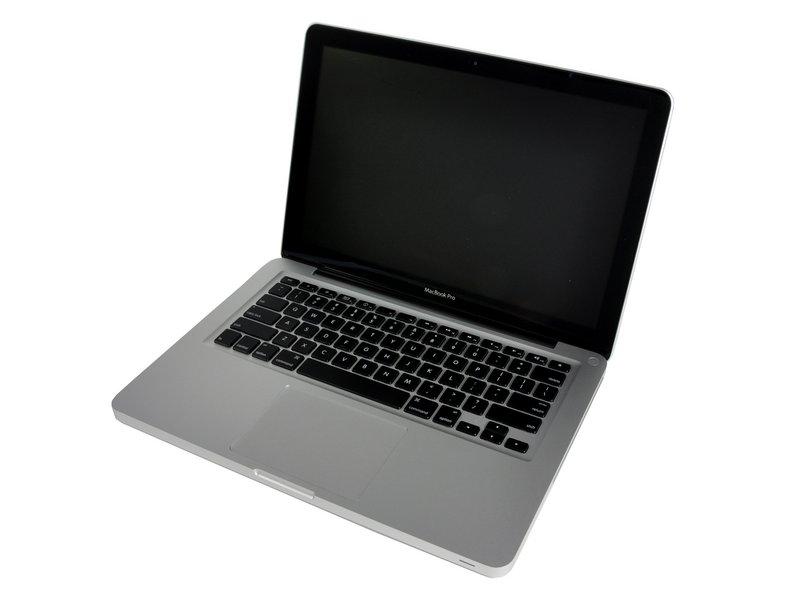
DIY Guide to Replace MacBook Pro 13 Early 2011 Fan
Duration: 45 minutes
Steps: 7 Steps
Hey there! Just a friendly reminder: if you find yourself in a jam or need a hand, don’t hesitate to schedule a repair. We’ve got your back!
Follow this guide to swap out that pesky, noisy fan or tackle a burnt-out one. Let’s get that device running quietly and smoothly again!
Step 1

– Unscrew the ten screws listed below with care:
Step 2


– Gently use your fingers to lift the lower case away from the MacBook’s body near the vent. It’s like giving it a little hug!
– Now, go ahead and take off the lower case. You’ve got this!
Step 3


Gently pry up on both short sides of the connector to help it ‘walk’ out of its cozy socket. Just a heads up—watch those connector corners; they can be a bit fragile and might break off if you’re not careful.
– Gently nudge the battery connector upward from its cozy spot on the logic board using the edge of a spudger. You’ve got this!
Tools Used

Step 4

– Gently nudge the battery cable a bit away from its logic board socket. This way, it won’t sneak back into place while you’re doing your thing!
Step 5


Check out the fan socket and connector in the second and third pictures! Just a friendly heads-up: when using your spudger to gently lift the fan connector straight up and out of its socket, be super careful not to snap the plastic fan socket off the logic board. The layout of the logic board in the second picture might look a bit different from your device, but no worries—the fan socket is the same!
– Gently nudge the fan connector with the edge of a spudger to lift it up and out of its cozy spot on the logic board. You’re doing great!
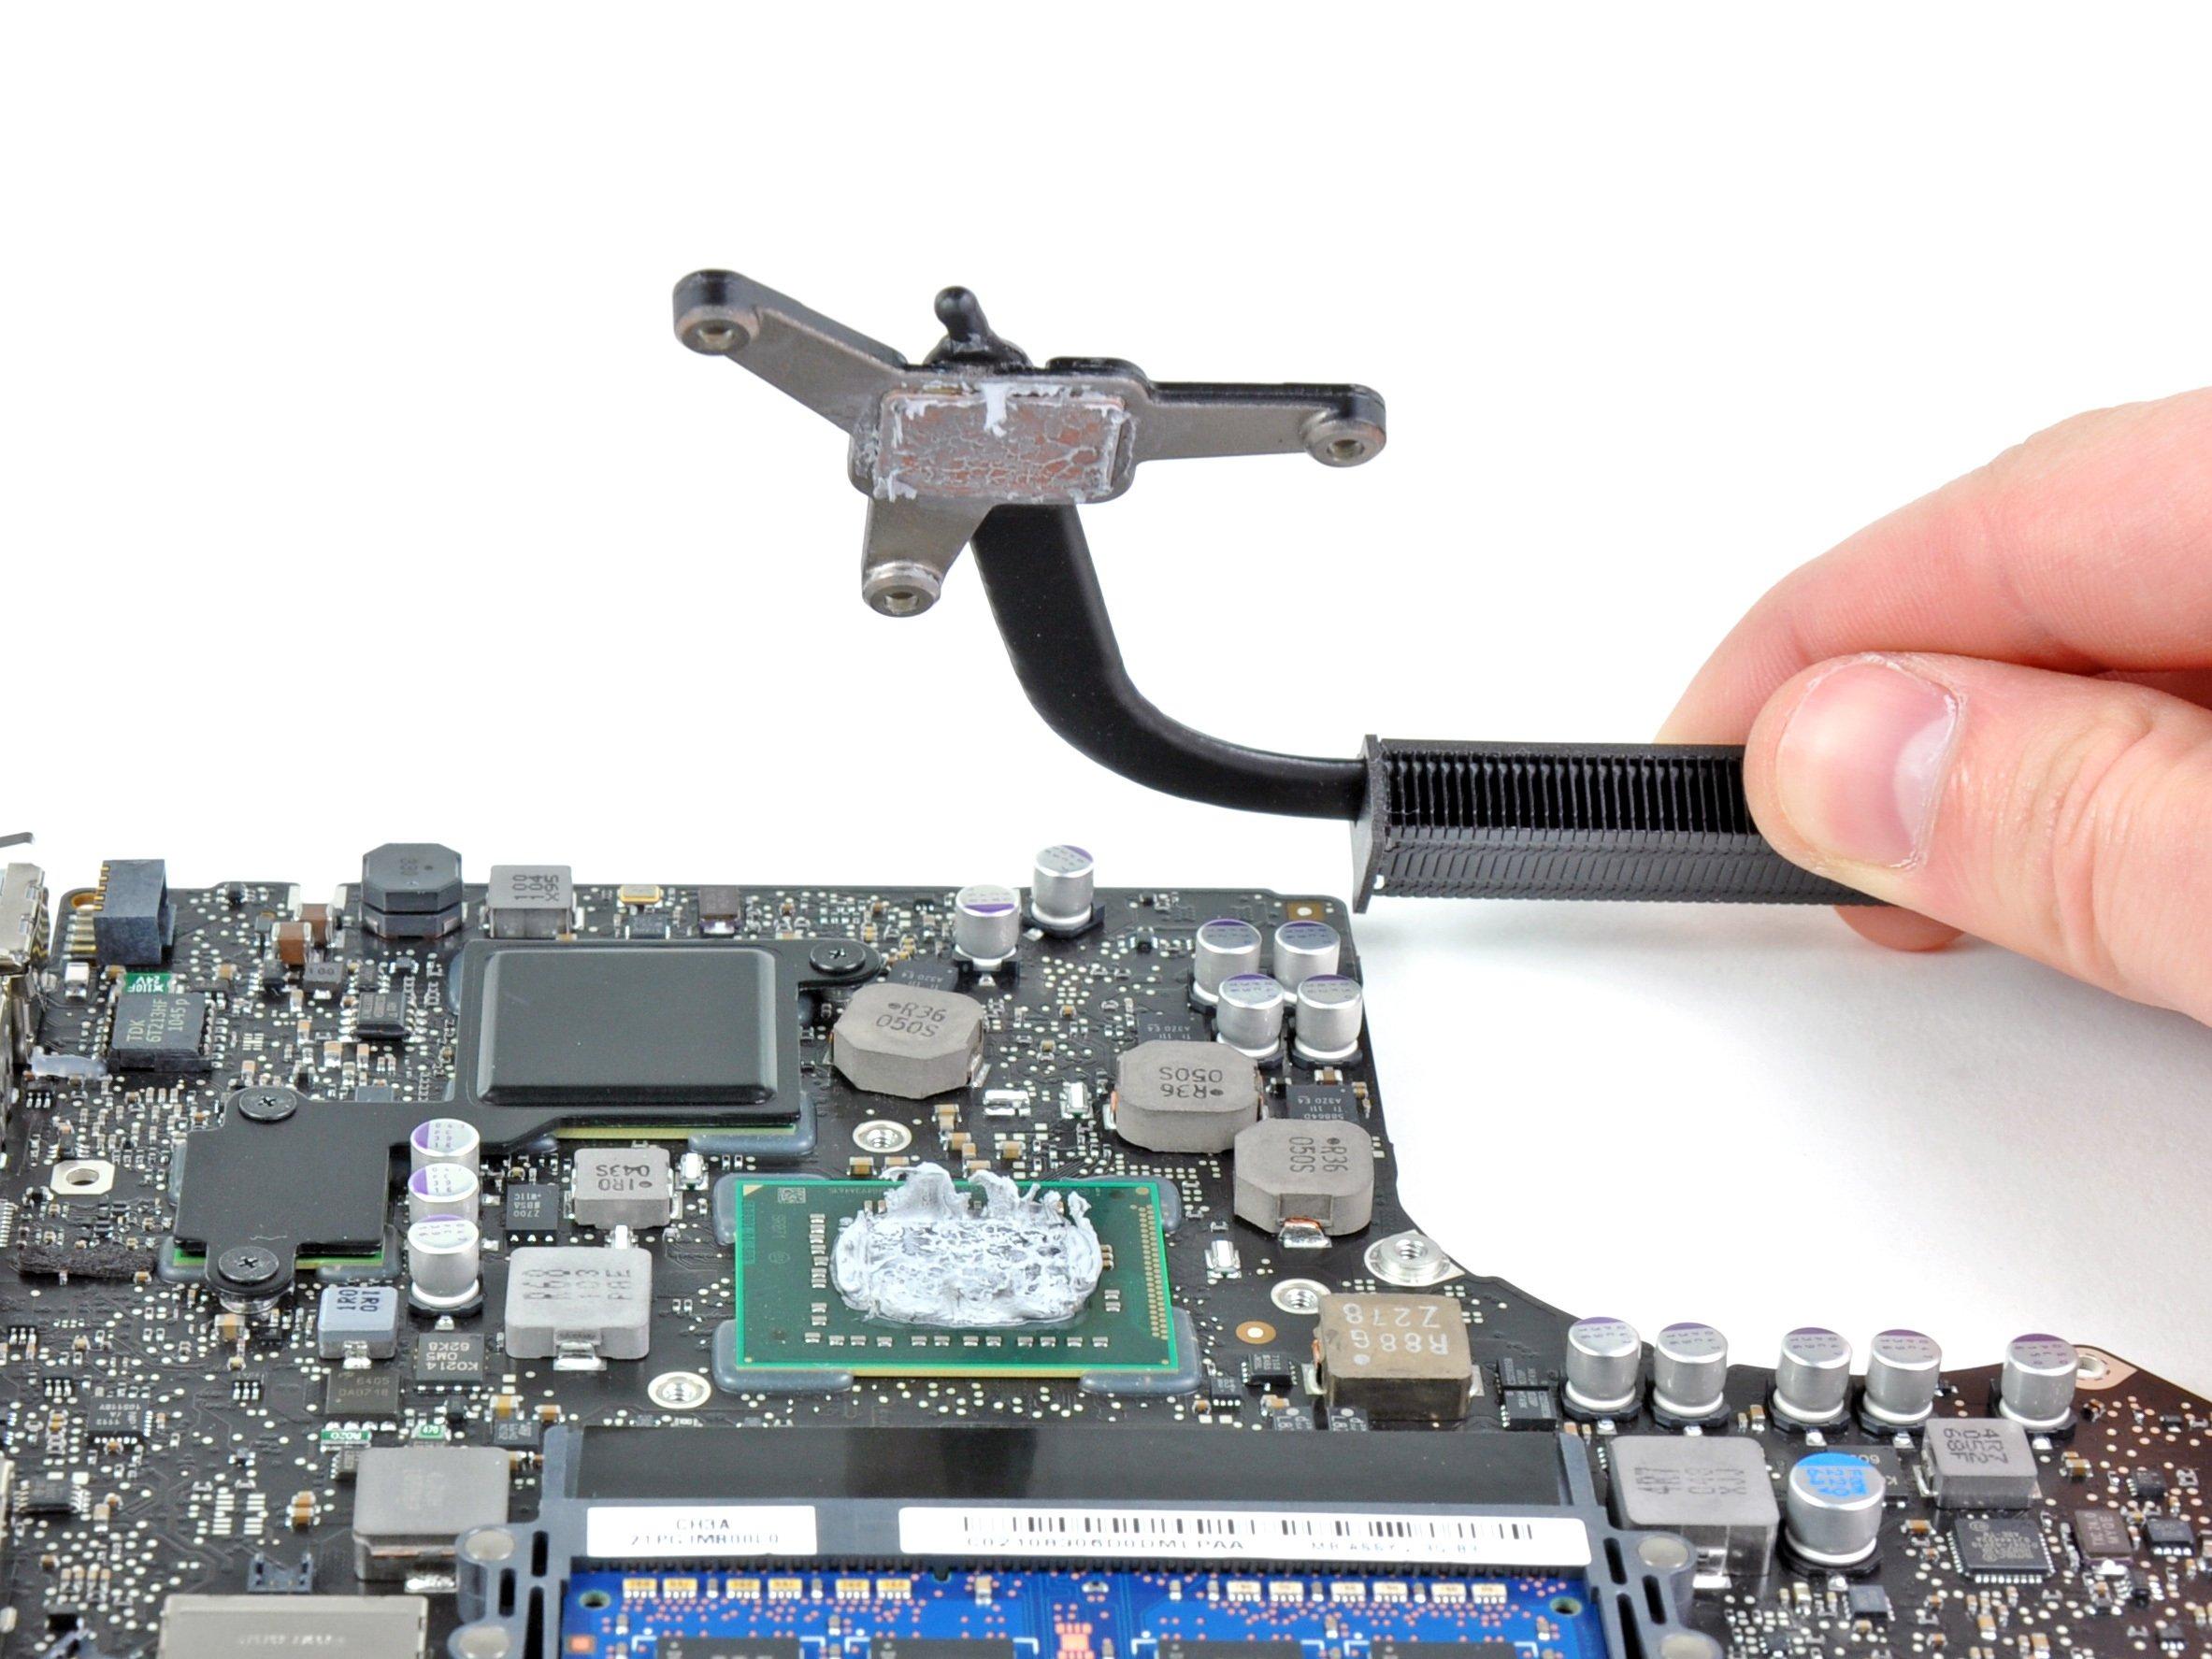
Step 6

– Unscrew those three screws holding the fan snugly to the logic board, and let’s get this party started!
Step 7

– Gently lift the fan out from its cozy spot on the logic board, but keep an eye on its cable—it might try to tag along!