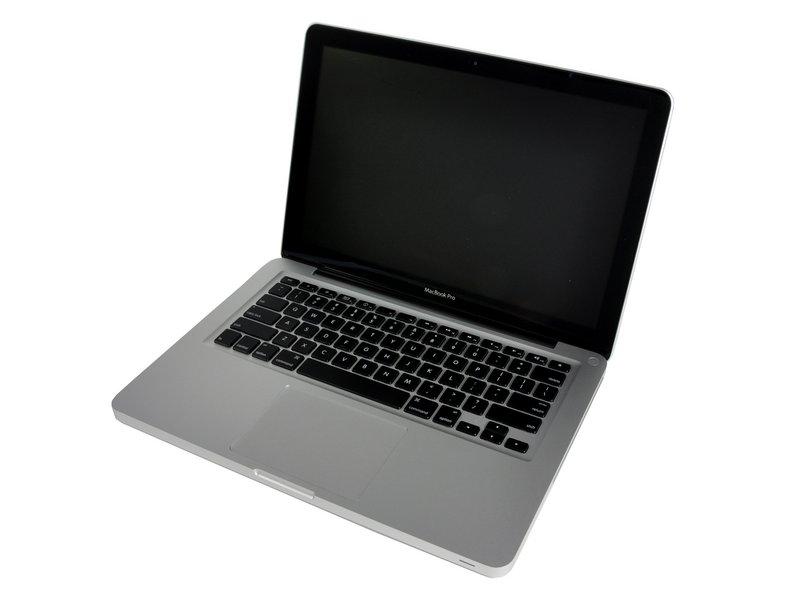
DIY Guide to Replace MacBook Pro 13 Unibody Early 2011 Hard Drive
Duration: 45 minutes
Steps: 9 Steps
Heads up! If you find yourself in a jam, don’t sweat it—just schedule a repair and let the pros handle it!
Ready to bring your device back to life? This guide will help you swap out that stubborn dead hard drive with ease! Let’s get started and give your tech the refresh it deserves. If you need help, you can always schedule a repair.

Step 2


– Gently use your fingers to pop off the lower case of your MacBook near the vent area. It’s like giving your laptop a little hug!
– Carefully lift off the lower case and set it aside.
Step 3


Gently nudge the connector upwards on both short sides to help it wiggle free from its cozy socket. Just a heads-up: the corners of the connectors can be a bit fragile, so handle with care to avoid any breakage.
– Gently nudge the battery connector upward from its cozy spot on the logic board using the edge of a spudger. You’re doing great!
Tools Used

Step 4

– Gently nudge the battery cable a bit away from its cozy spot on the logic board. This way, it won’t accidentally reconnect while you’re in the zone working your magic.
Step 5

These screws are going to stay cozy right where they are on the hard drive bracket.
– Let’s get started! First, grab your trusty Phillips screwdriver and remove those two screws holding the hard drive bracket in place on the upper case. You’re doing great!
Step 6

The hard drive bracket might be snugly tucked against the upper case.
– Time to take off that hard drive bracket! Let’s get it out of the way so we can keep moving forward. You’ve got this!
Step 7

Hold your horses on yanking that hard drive out! It’s still cozy with its hard drive cable.
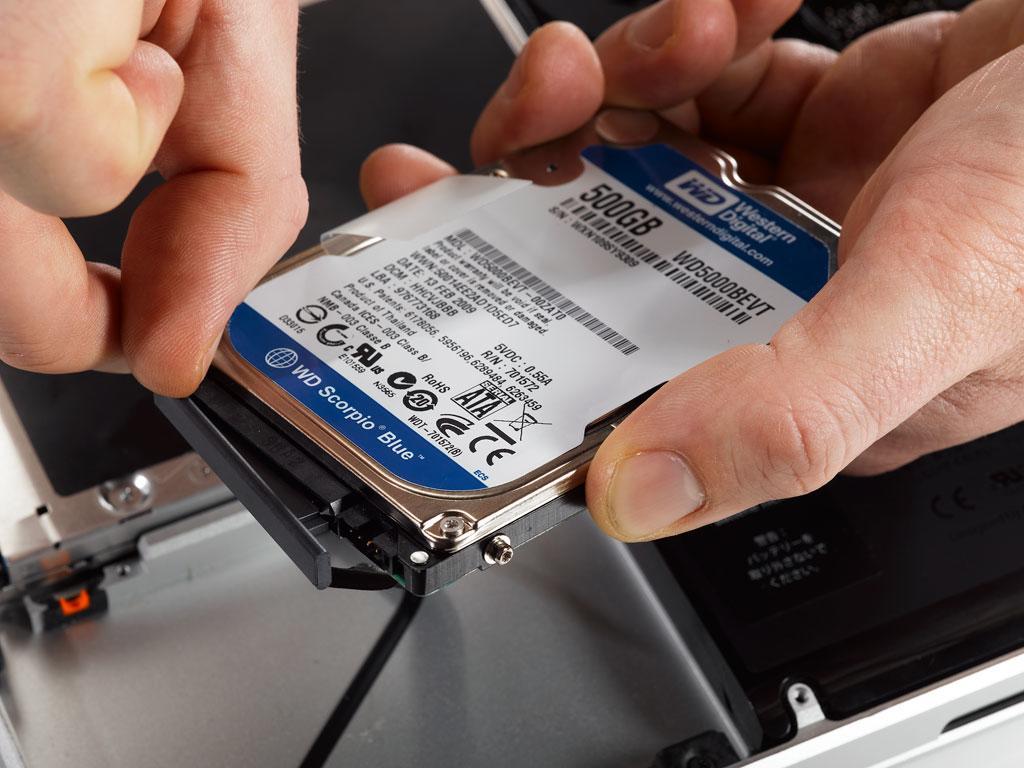
– Grab that handy pull tab and gently lift the hard drive out of the upper case. You’ve got this!
Step 8


– Gently tug the hard drive cable away from the hard drive’s body—like you’re giving it a friendly nudge.
– Now, carefully lift out the hard drive. You’ve got this!
Step 9


Feel free to move that handy pull tab over to your shiny new drive if you’d like.
Upgraded your EFI Firmware ROM? Great! You can now also try an internet recovery.
– First up, let’s unscrew those four 6.0 mm T6 Torx posts that are holding your hard drive in place. Time to set it free!
– Now, grab those retaining posts and transfer them over to your shiny new hard drive. You’re doing great!
– If you’re putting in a brand-new hard drive, no worries! Check out our OS X install guide to get everything up and running smoothly.