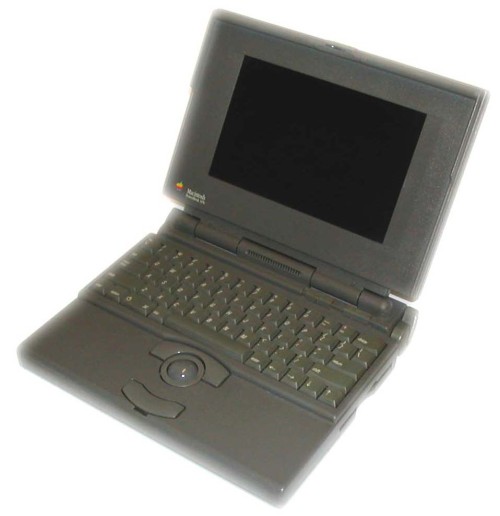
DIY Guide to Replace Macintosh PowerBook 165c Daughterboard
Duration: 45 minutes
Steps: 13 Steps
Hey there! Before you dive in, remember: safety first! Make sure to unplug your device and work in a tidy space. If you hit a snag or need a hand, don’t hesitate to schedule a repair. You’ve got this!
Ready to dive in? This guide is here to help you swap out that daughterboard like a pro! Let’s get your device back in action together.


Step 3

– Flip your computer right side up so the back is facing you, just like a pro!
– Go ahead and pop open that Input/Output (I/O) door. You’re doing great!
Step 4

– Gently arch the door until one of the pins pops free from its snug little home.
– With one pin now liberated, go ahead and take off the I/O door from your computer.
Step 5

– Flip your computer over so the bottom is up and the back is facing you. You should be able to spot the Macintosh label easily from this angle.
Step 6

– Grab your trusty T8 torx screwdriver and let’s tackle that 6.8mm screw sitting just above and to the right of the modem jack. You’ve got this!
– Now, give it a gentle twist counterclockwise to set that screw free. Easy peasy!
Step 7

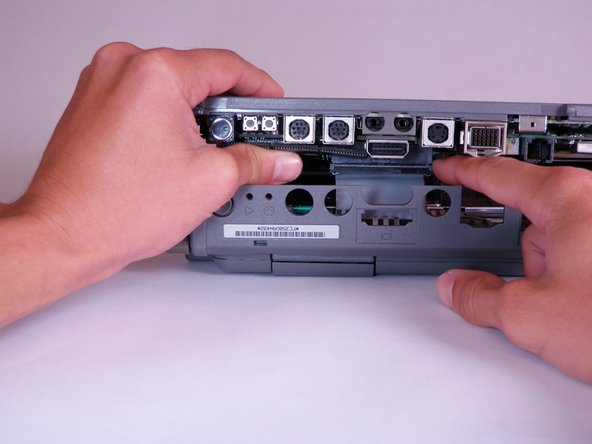
– Grab your trusty T10 torx screwdriver and get ready to tackle those four 18mm long screws holding down the lower case. Let’s get to it!
Step 8

Heads up! You won’t be able to completely remove the lower case until you release those two sneaky plastic clips tucked away in the front corners. Check out the next step for all the juicy details.
– Gently place your hands on the lower case, right above the I/O panel, and with a smooth motion, lift it up a few inches away from the main body of your device. Nice and easy!
– Next, carefully disconnect the large, gray interconnect ribbon cable located just behind the I/O panel. You’re doing great!
Step 9

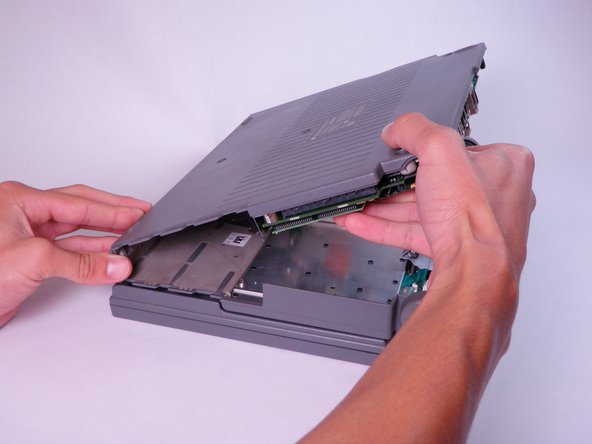
– Alright, let’s get started! First, place your thumb inside the empty battery slot on the upper case and let your index finger hang out on the left side of the lower case.
– Now, give a gentle pinch with your thumb and index finger to release the clip. Keep that pinch going strong, and use your index finger to nudge the lower case upwards.
– Gently lift the lower case off to completely remove it. You’re doing great!
Step 10
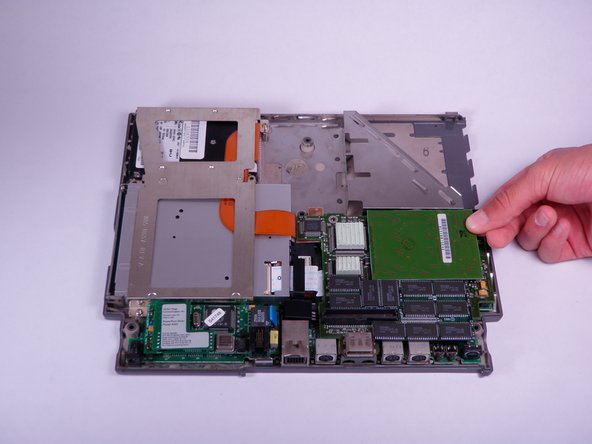

– Gently find the RAM card and lift it straight up until it pops out of the connector. Easy peasy!
– If it feels a bit stubborn and doesn’t want to budge, give it a light wiggle back and forth to help it along.
Step 11


The PSRAM expansion card is a nifty little add-on that might not come with every device, so don’t be surprised if yours is missing!
– Find the PSRAM expansion card and gently lift it straight up until the connector releases its grip.
– If the card is being a bit stubborn, try wiggling it side to side as you lift. A little teamwork goes a long way!
Step 12

– Grab your trusty T8 torx screwdriver and let’s get to work! Start by removing the four screws that are hanging out around the edges of the daughterboard—each one is about 7.7mm long. You’ve got this!
Step 13

– Gently lift the daughterboard straight up to disconnect it from the connector. It’s like giving it a little hug to set it free!
– If the daughterboard isn’t budging easily, don’t worry! Just rock it back and forth gently as you lift. Sometimes, a little wiggle is all it needs!