DIY Guide to Replace Midframe on Sony Xperia Z5 Compact
Duration: 15 min.
Steps: 12 Steps
In this guide, we’ll walk you through the steps to swap out the faulty midframe of your Sony Xperia Z5 Compact. If your midframe has seen better days, this repair is just what you need!
Step 1

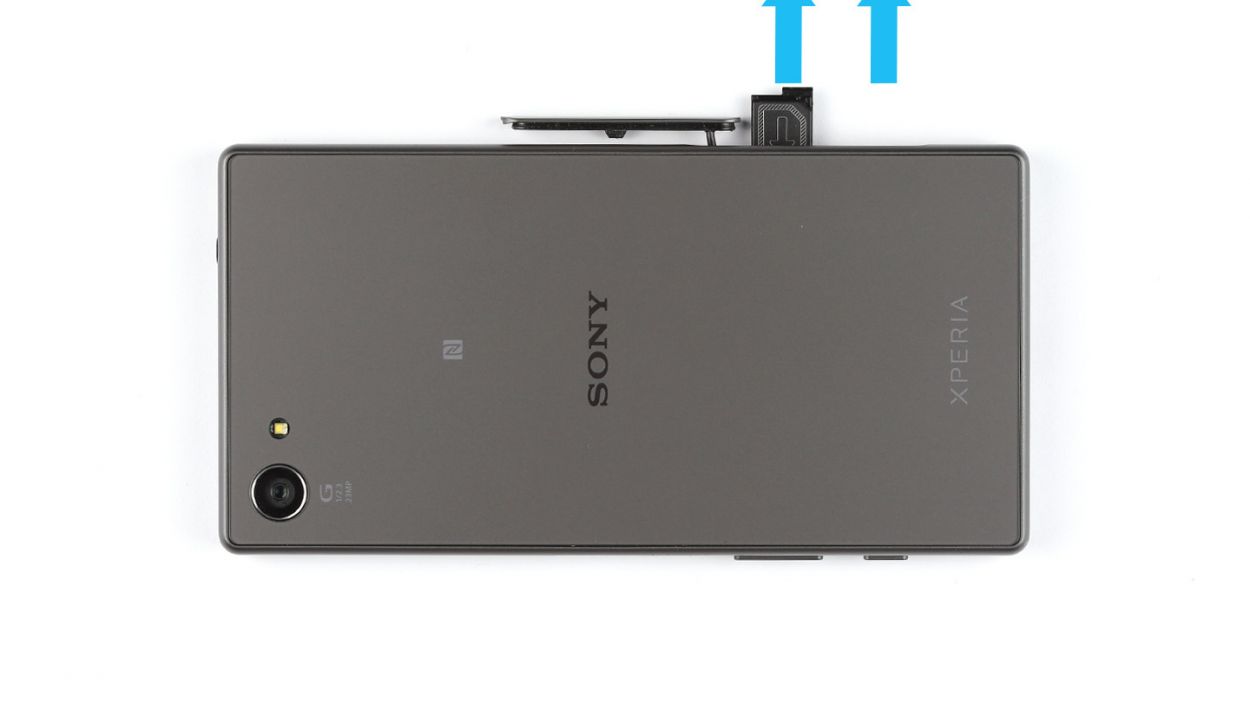
– Give that cover a gentle nudge with your finger or a spudger at the bottom of your smartphone. Twist it 90° for a better peek at the card slot!
– Time to say goodbye to the SIM and microSD cards! The SIM card is cozily tucked away in a tray.
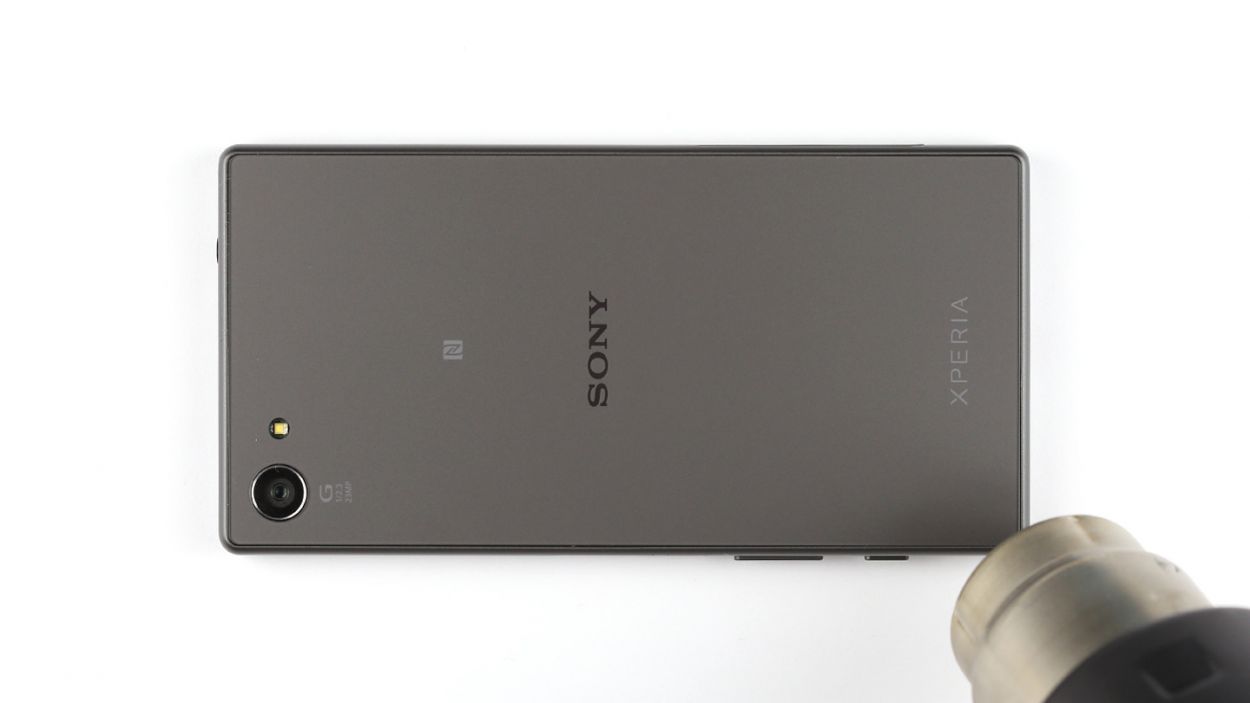
Step 2

Psst! The back cover’s got a little paint job on the inside. Gently remove any sticky stuff – we don’t want any unhappy scratches or cracks! If you need a hand, you can always schedule a repair
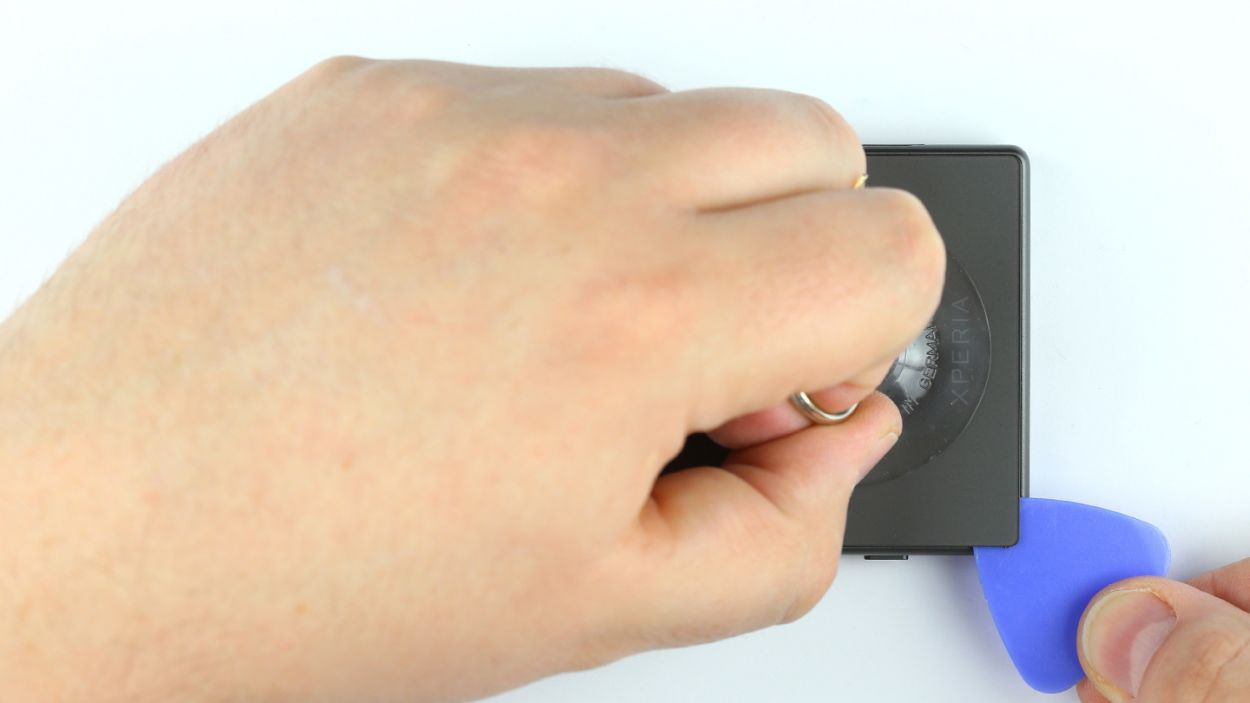
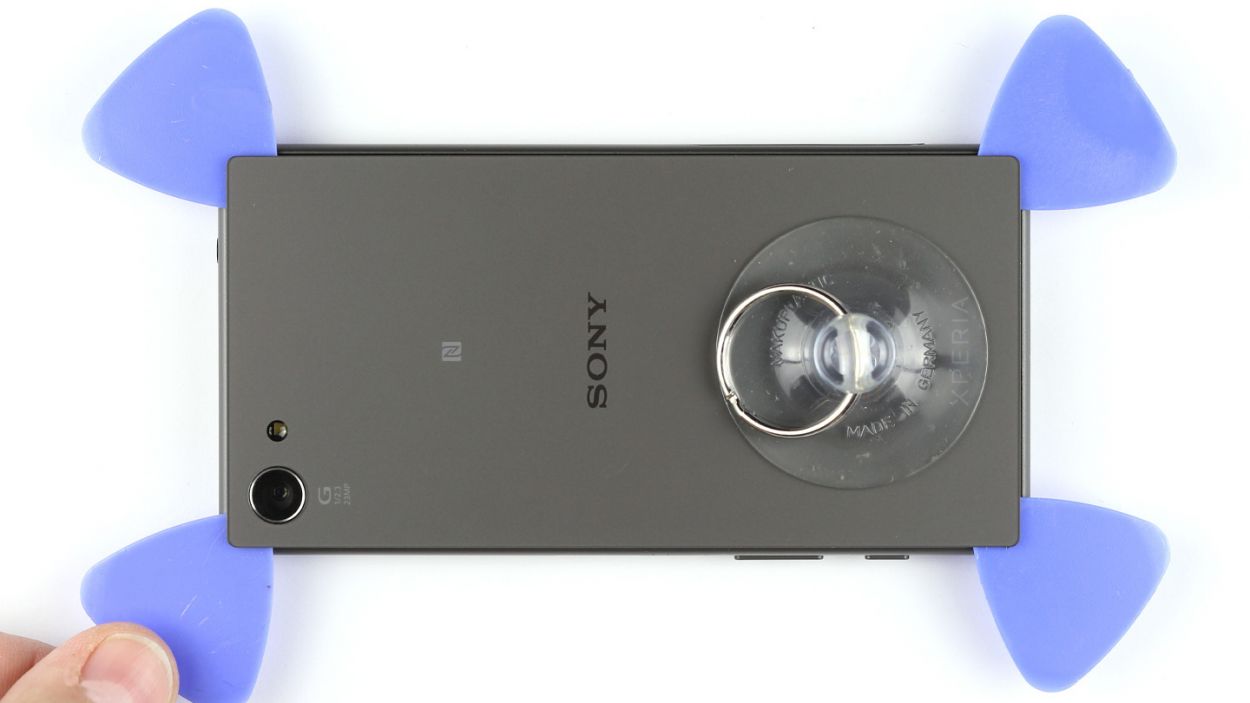
– First up, let’s tackle that back cover! It’s glued tight to the chassis, so grab your trusty heat gun and warm it up to loosen that adhesive.
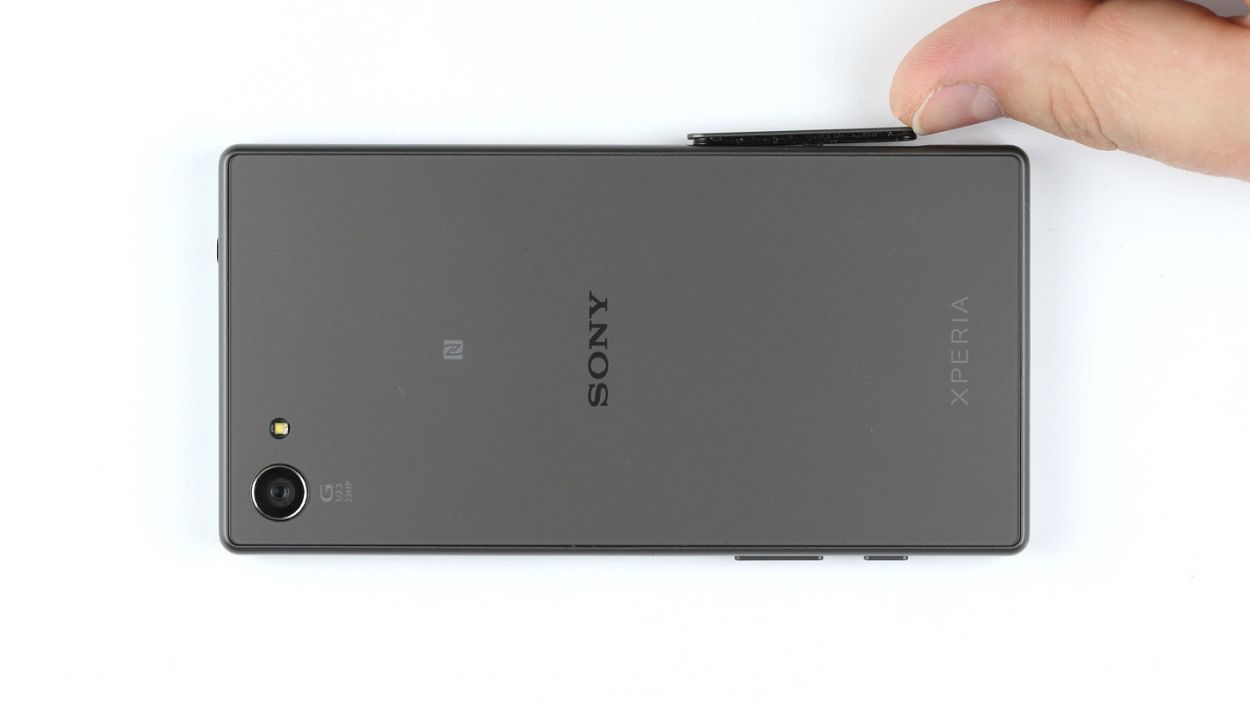
– Next, pop a suction cup onto the bottom of the device. Give it a gentle pull while using a plastic pick to hold down the chassis—teamwork makes the dream work!
– Once you see the gap forming between the chassis and the back cover, slide your pick in there. Be careful—it’s painted on the inside. Remove any leftover adhesive gently to keep it scratch-free.
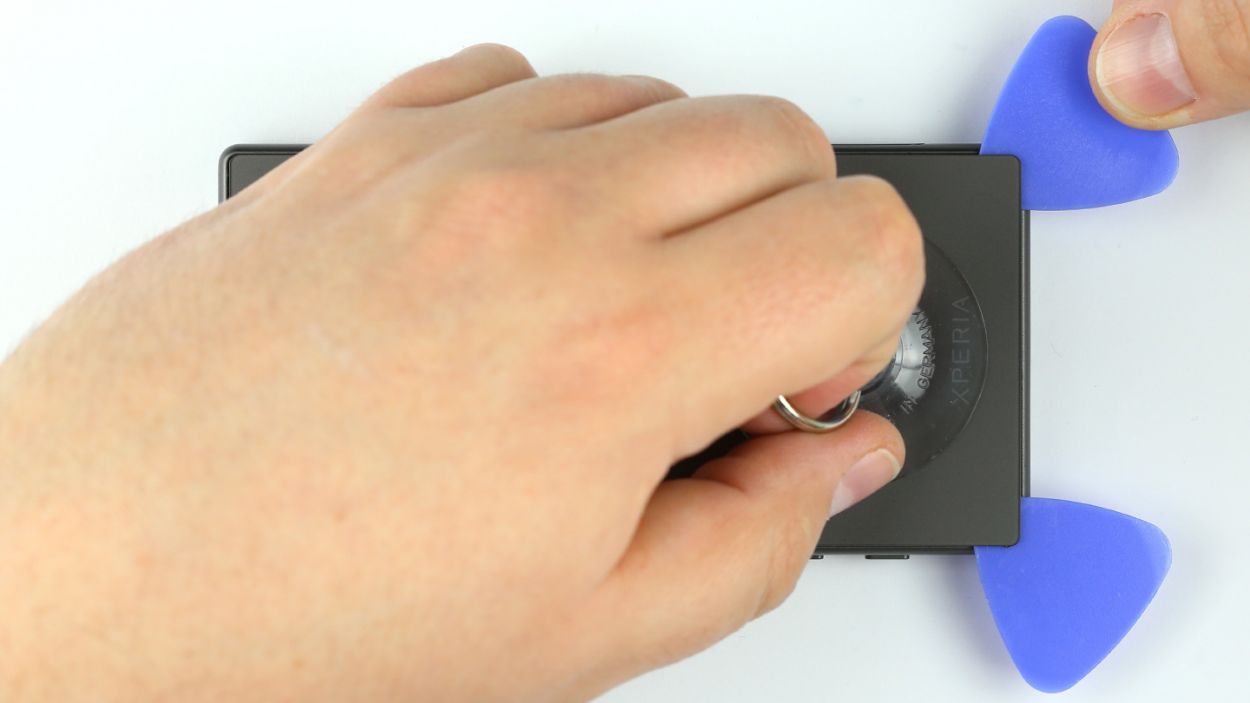
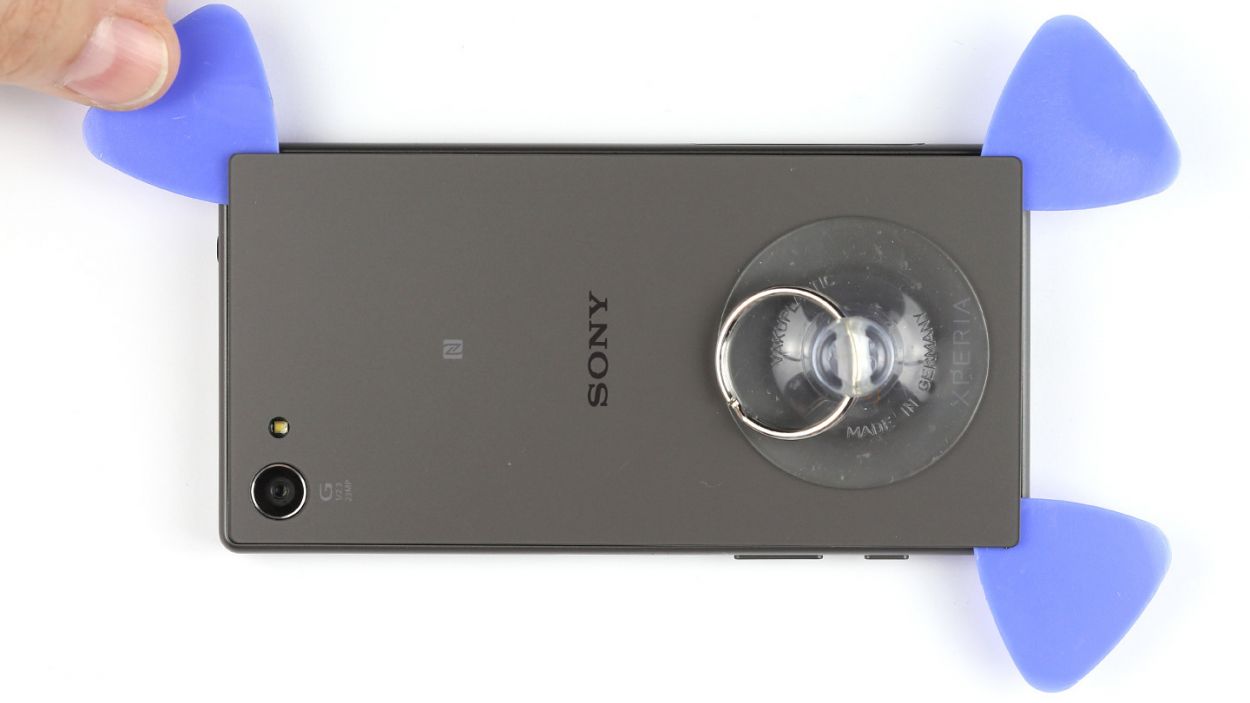
– Now, let’s make the rounds! Run your pick all the way around the device to detach the glue completely. If you’ve got extra picks, why not stick one in each corner for good measure?
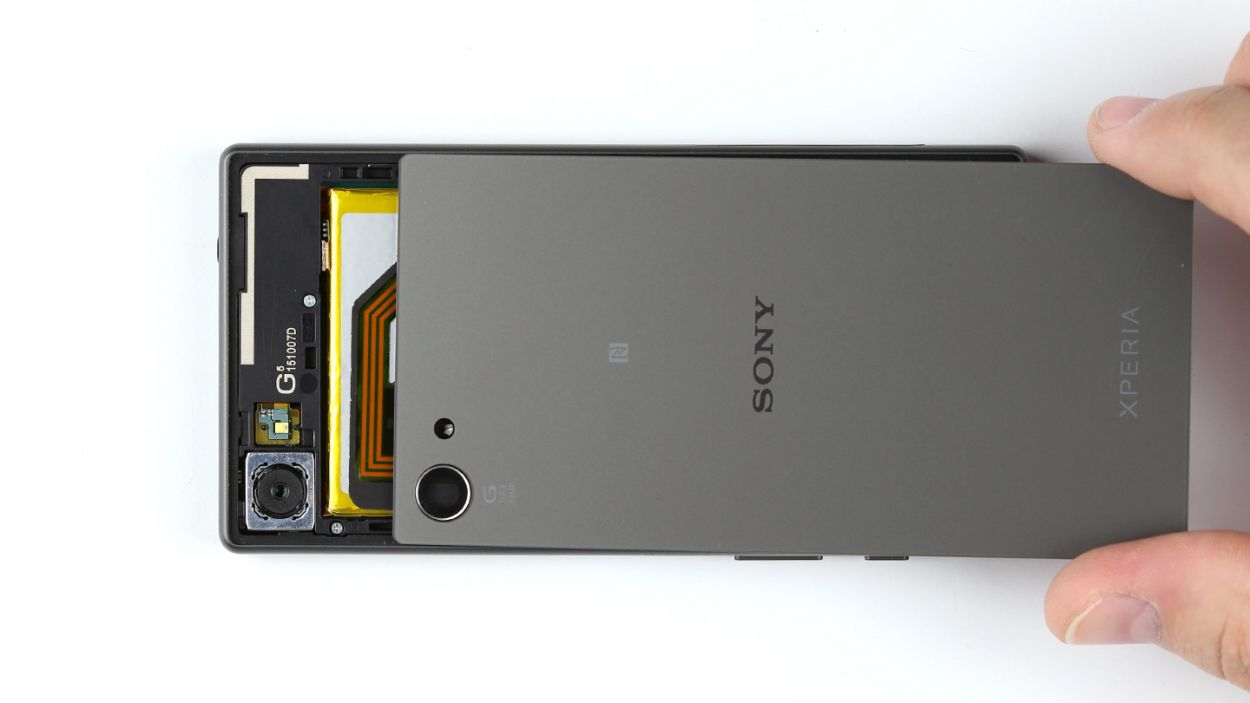
– Finally, it’s time to lift off that back cover and reveal what’s inside!
Step 3

– Pop off the type plate, which is nestled in the SIM and microSD card slot. You’ve got this!
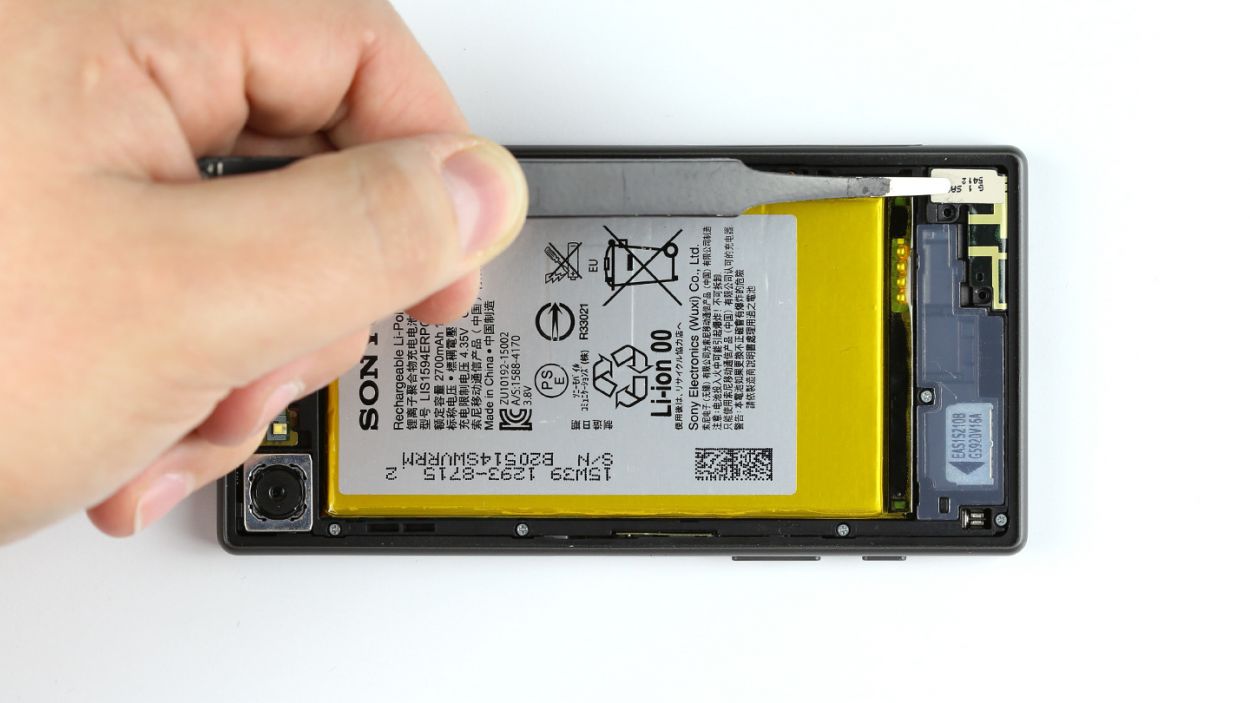
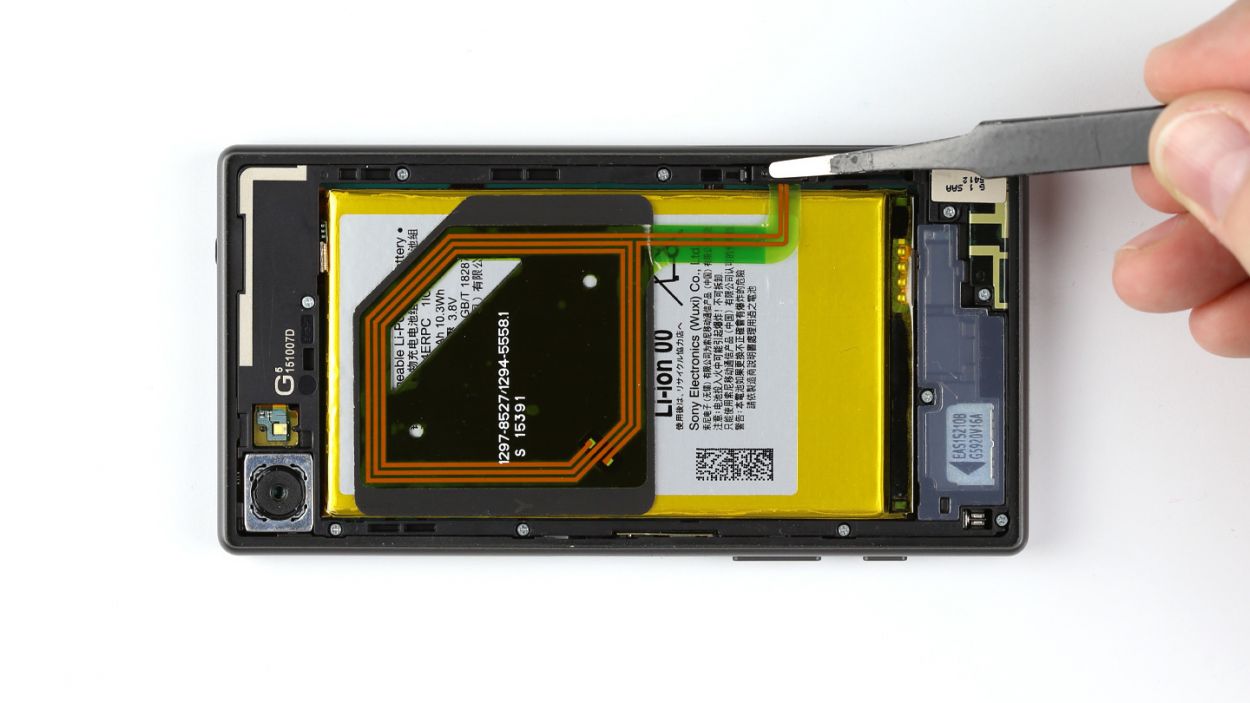
Step 4
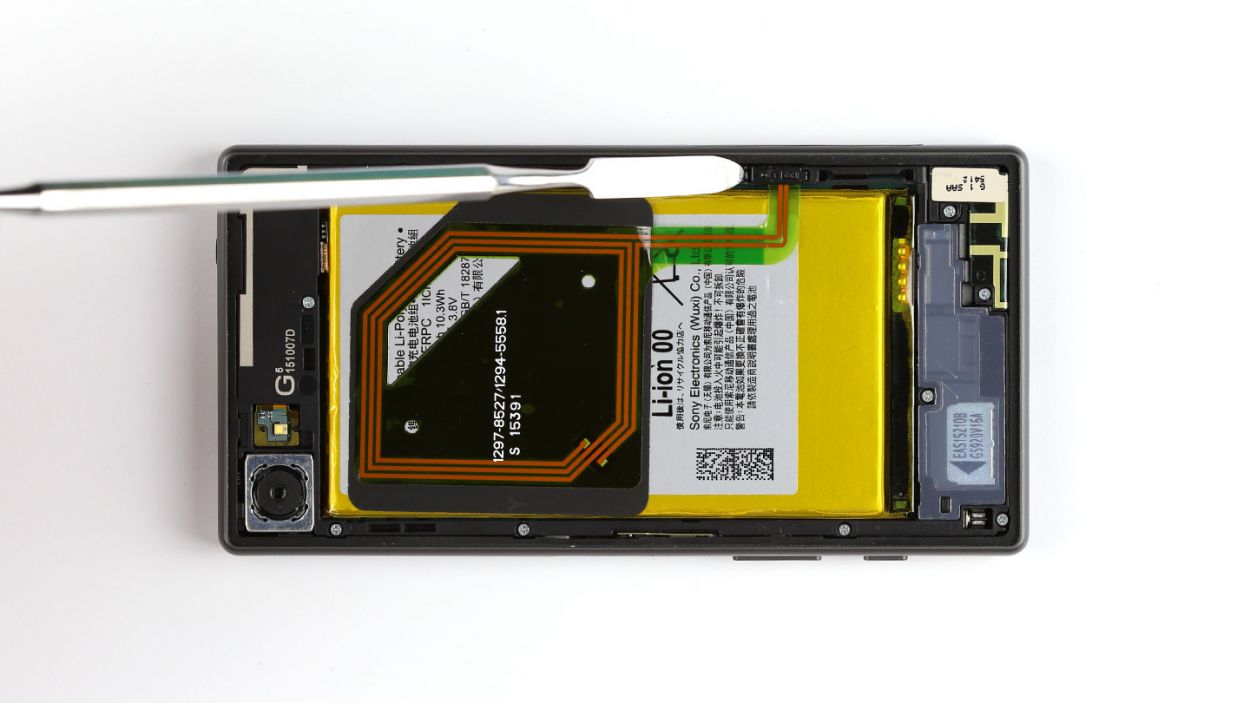
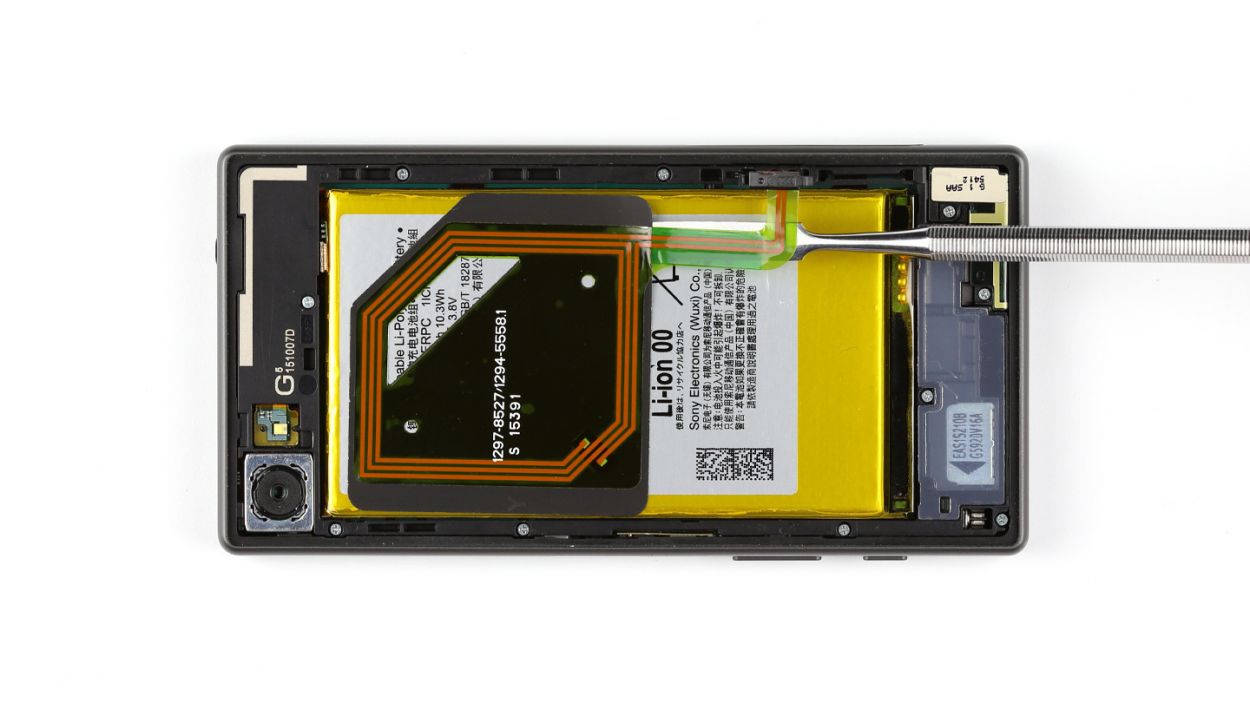
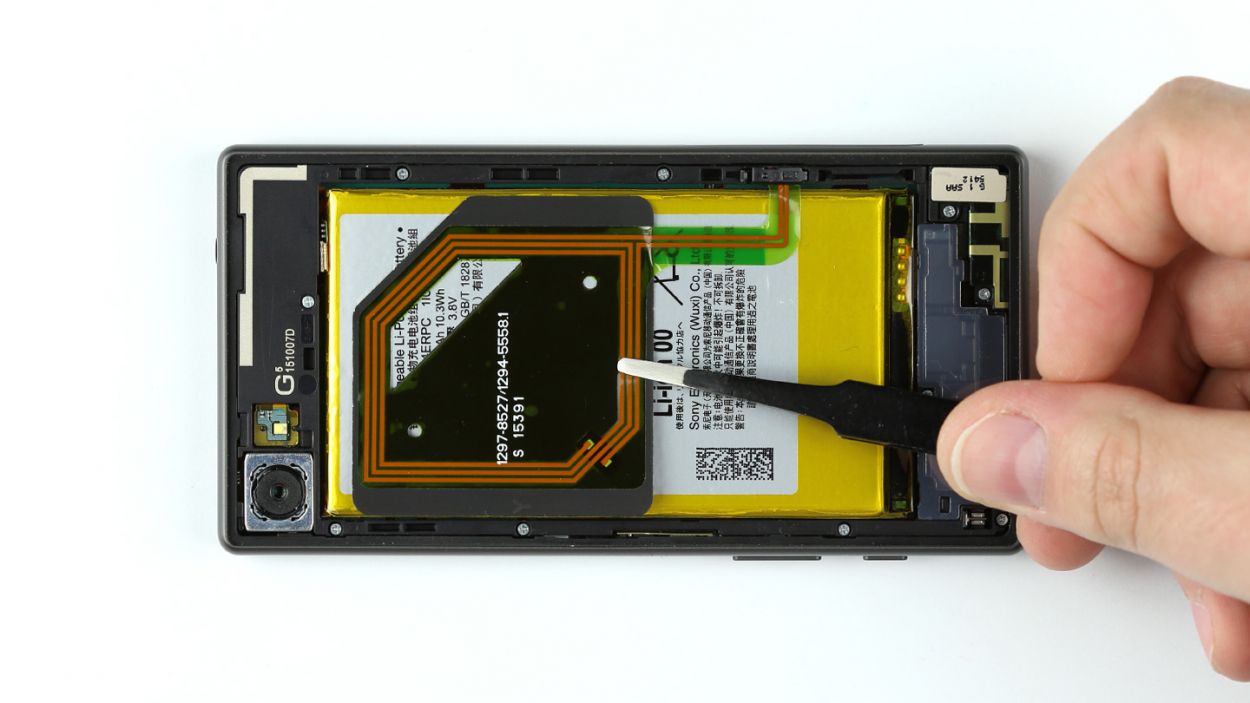
– First off, gently unplug the NFC antenna from the chassis. It’s like giving it a little hug goodbye!
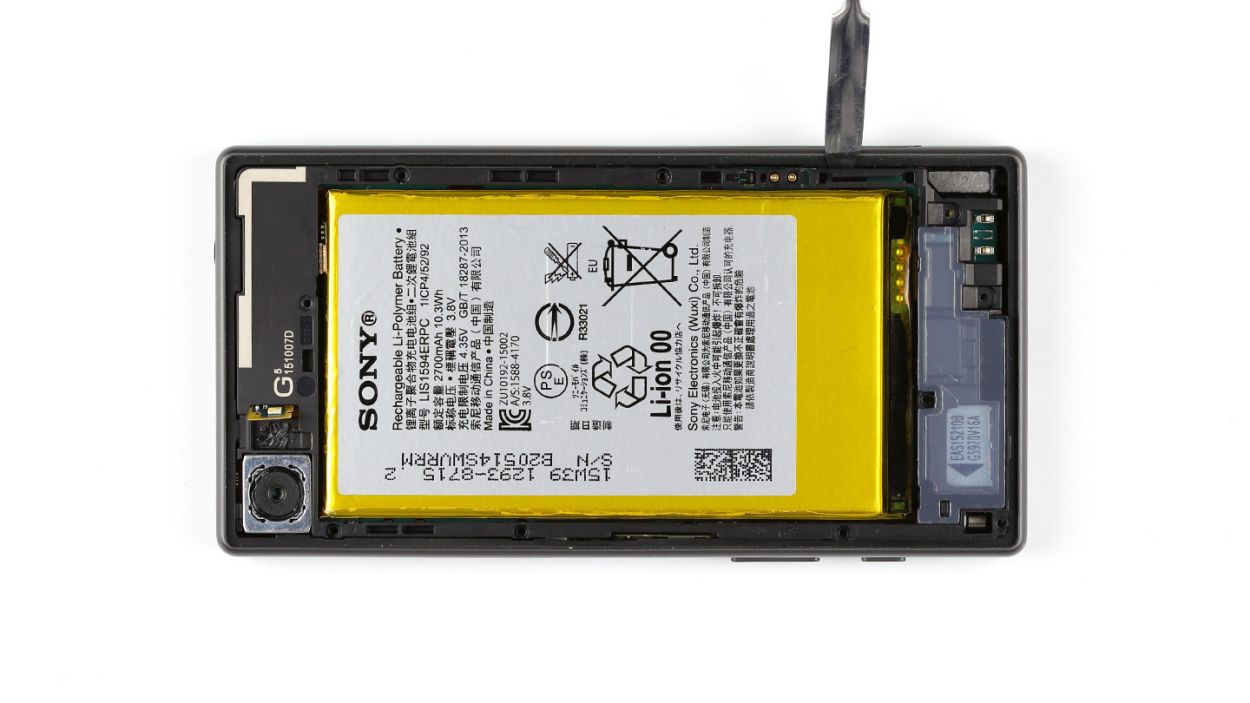
– Next up, let’s detach the antenna from the battery. Since it’s glued on there, grab a steel laboratory spatula and carefully slide it between the antenna and the battery. If the glue is feeling particularly clingy, a little heat can help loosen things up.
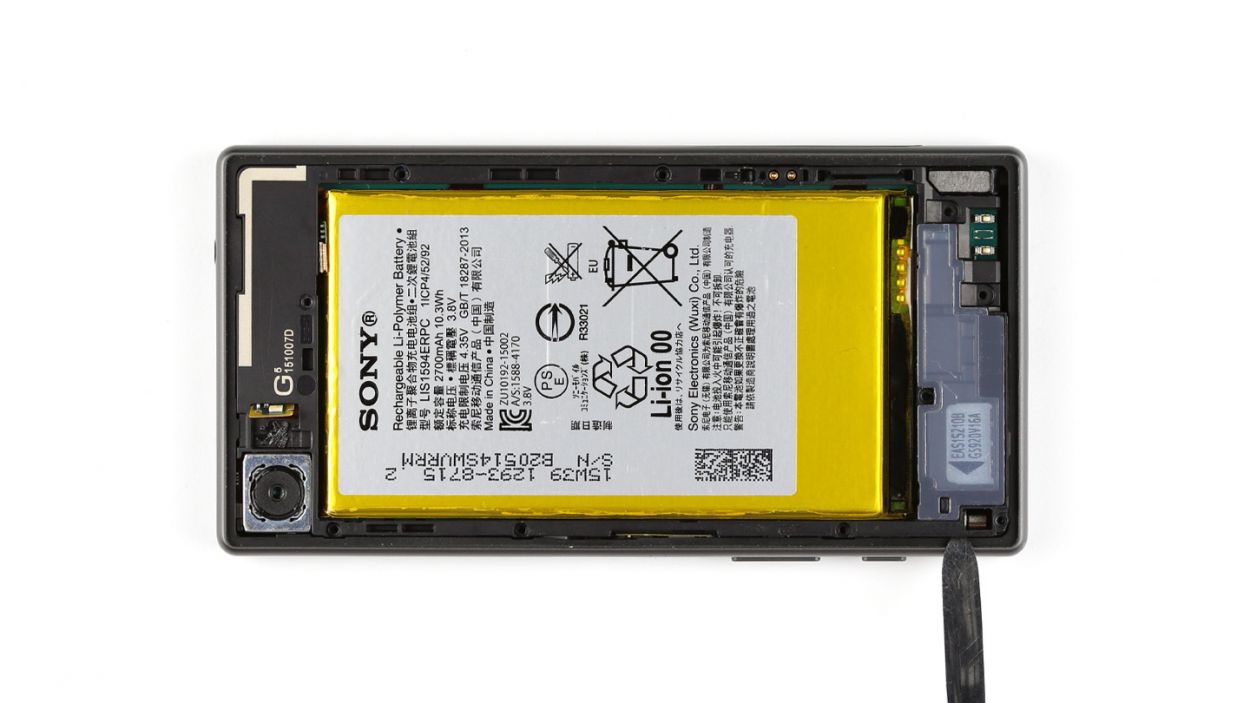
– And finally, remove the NFC antenna. You’re doing great!
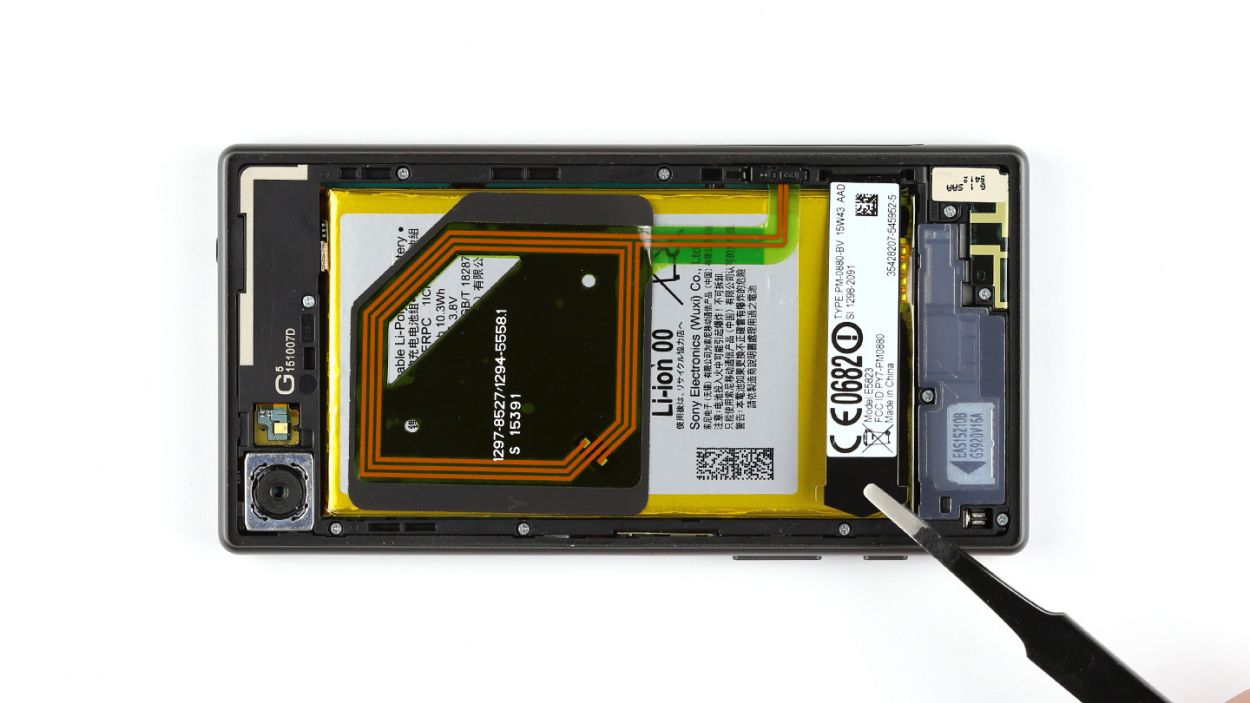
Step 5

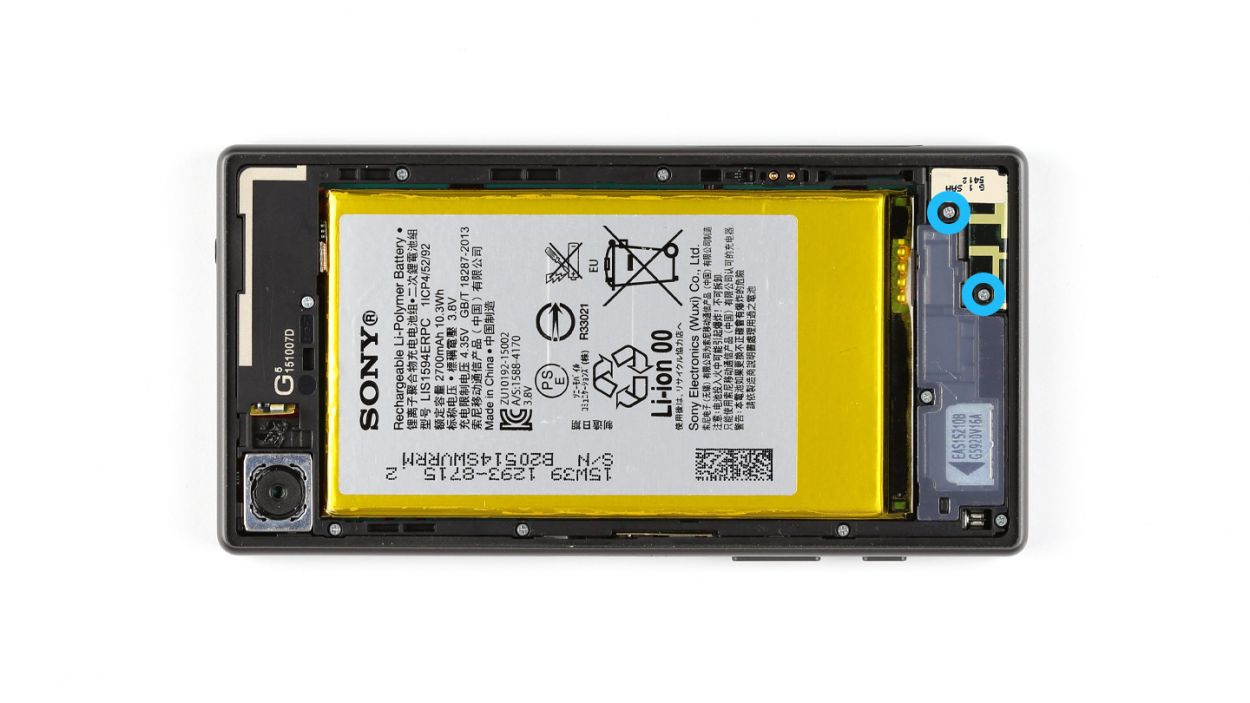
– Let’s get those screws out! Grab your trusty Phillips screwdriver and unscrew the two Phillips screws that are keeping the main antenna snugly in place. We’re talking about 2 x 4.5 mm Phillips screws here, so make sure you have the right fit.
– Once those screws are off, gently remove the main antenna from the device. You’re doing great!
Step 6


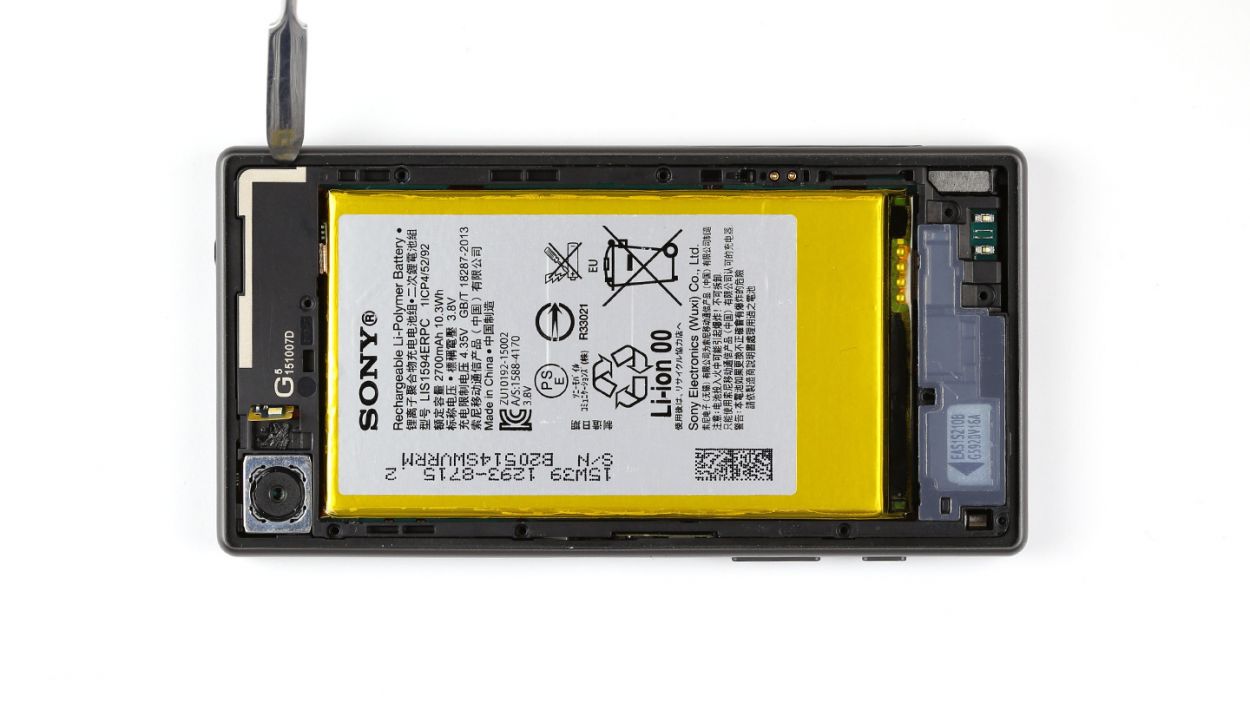
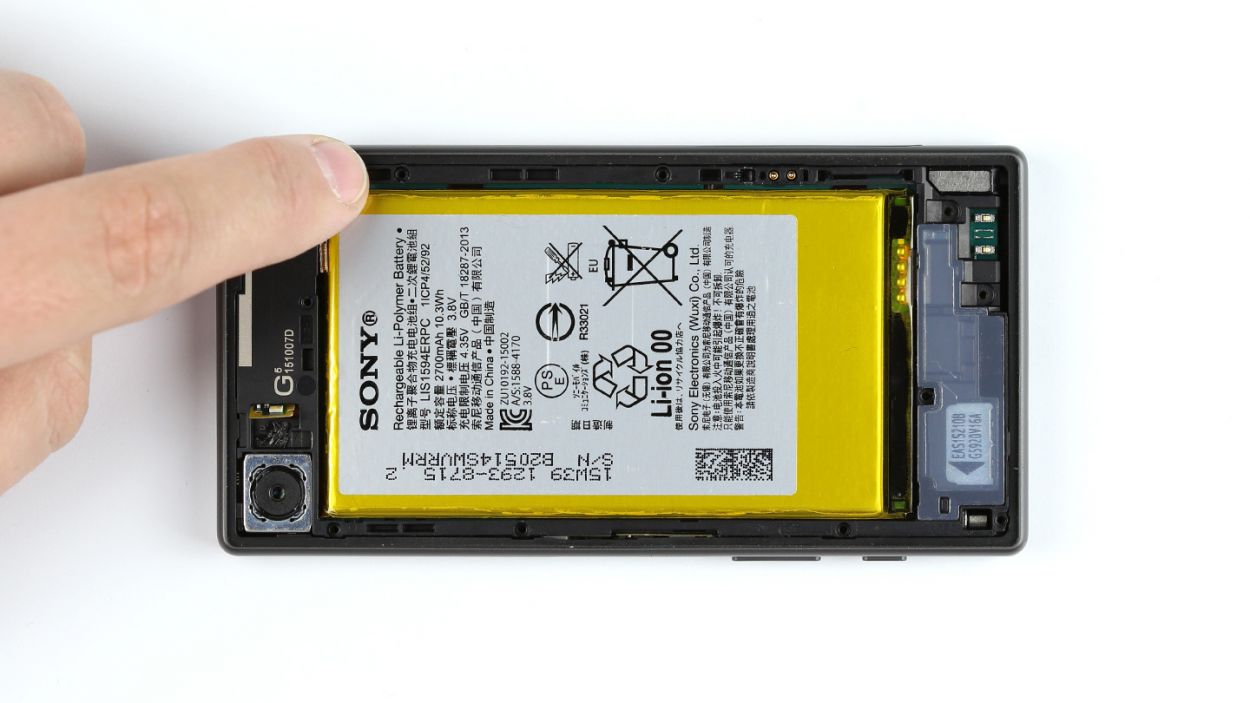
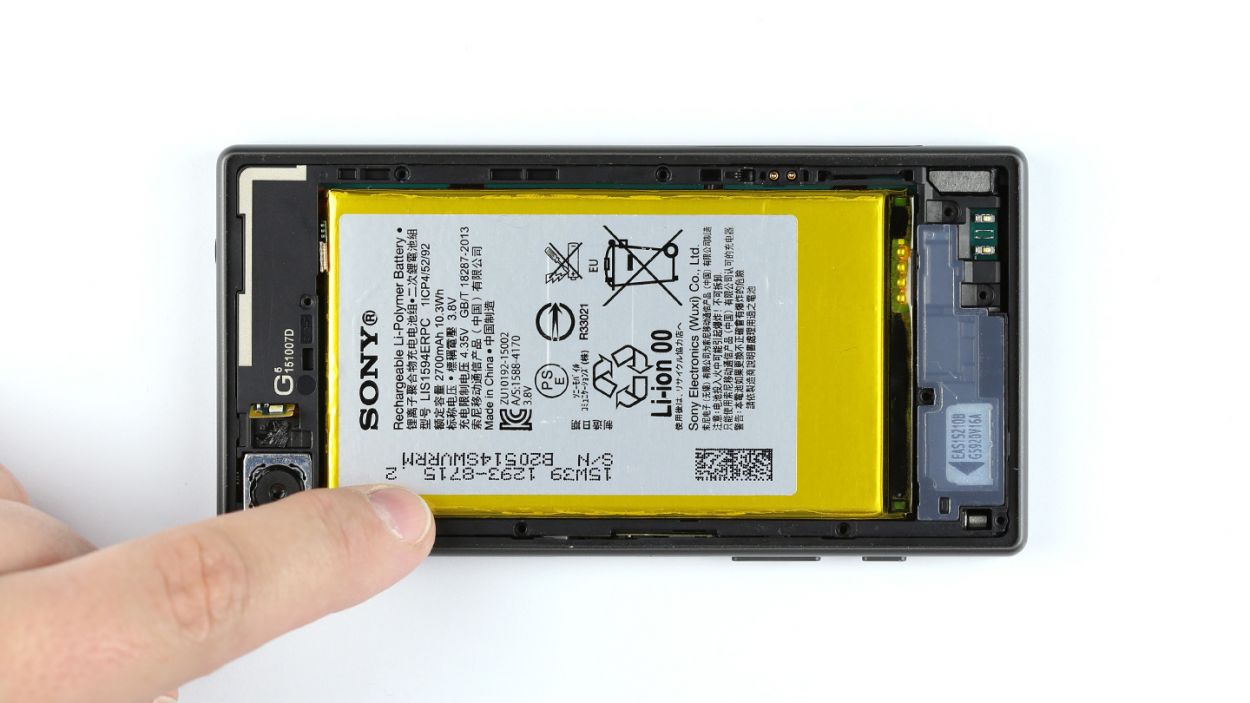
– Using the steel laboratory spatula, carefully detach the LED flash from the chassis. The flash is glued to the chassis.
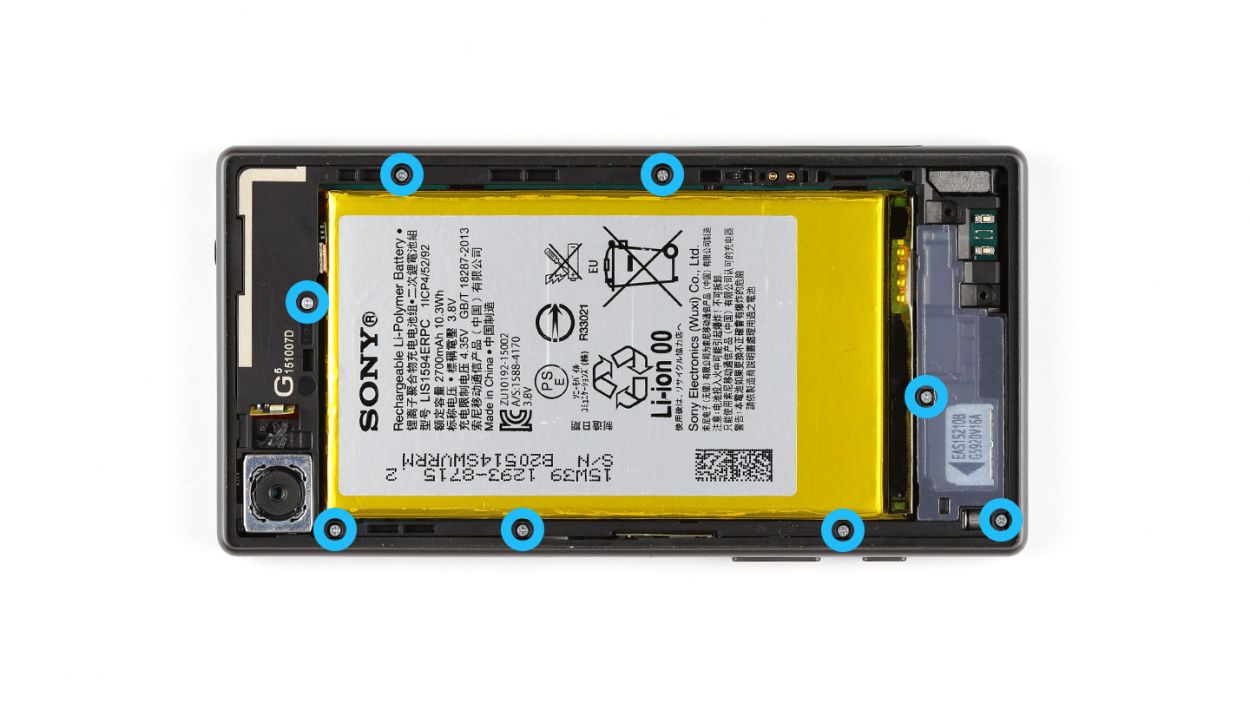
– Remove the eight Phillips screws that attach the chassis to the display.8 x 4.5 mm Phillips screws
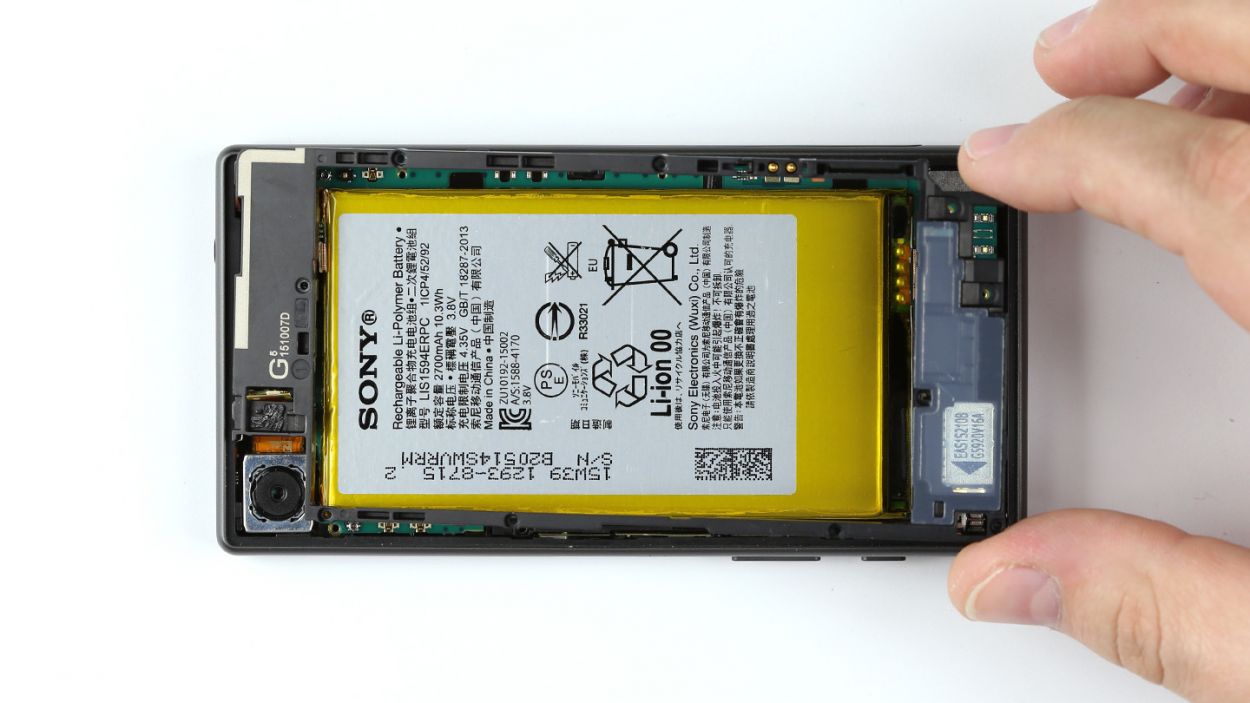
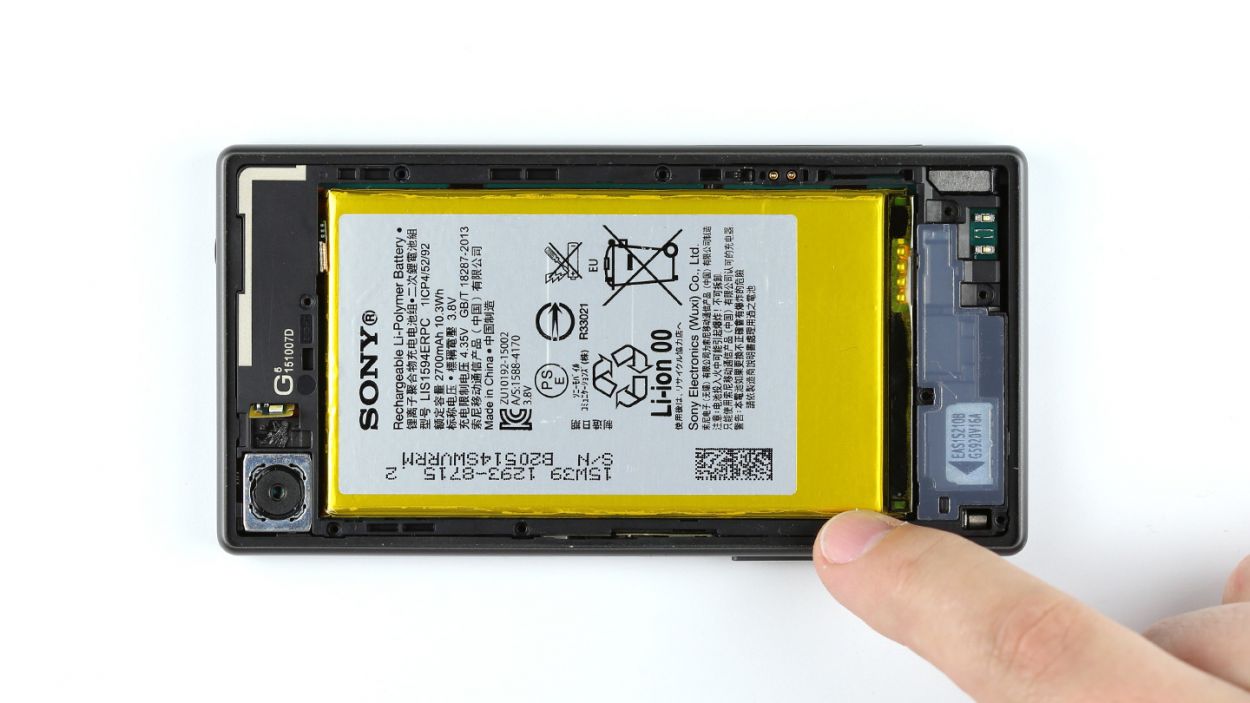
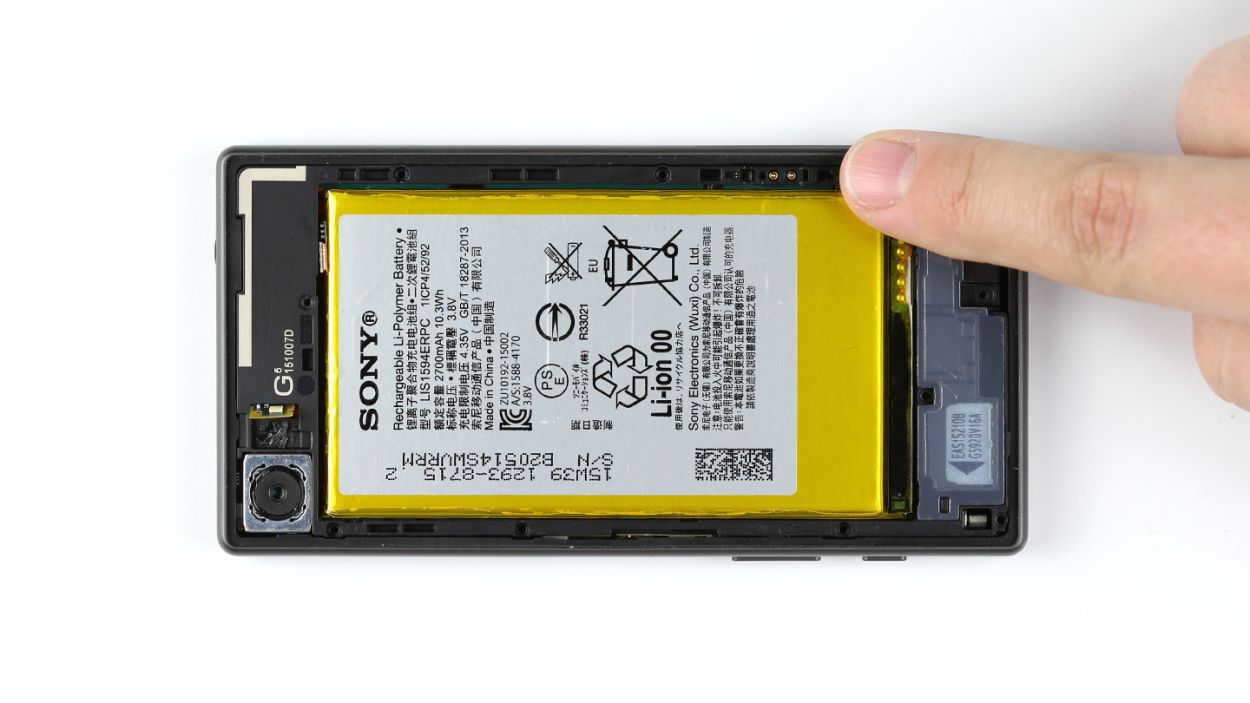
– The chassis is hooked onto the display. Use the steel spatula to detach the chassis from the display. Insert the spatula between the chassis and the display.
– Remove the chassis.
Step 7


– Gently place the chassis on top of the display, making sure it’s cozy.
– Give the chassis a little press until you hear that satisfying click as it fits snugly onto the display frame.
– Time to secure things! Grab those eight Phillips screws and fasten the chassis to the display – they’re 8 x 4.5 mm Phillips screws, just in case you need to know.
– Don’t forget to attach the LED flash to the chassis – it’s the cherry on top!
Step 8

– Let’s get that antenna snug in its home! Gently place the main antenna inside the enclosure.
– Time to lock it in! Secure the antenna using those two 4.5 mm Phillips screws. Easy peasy!
Step 9

– Time to get that NFC antenna cozy with the battery! Gently press it down – let’s get that glue reacquainted.
– Now, give that NFC antenna plug a high-five and connect it to the chassis. You’re doing great!
Step 10
– Time to pop on that type plate! Just slide it into the SIM and microSD card slot like a pro.
Step 11

– Time to get that back cover snug on the chassis! Press it down firmly all around the edges to make sure it sticks like a champ.
– If you’re feeling fancy, give the back of the device a little warmth to help it bond better. A gentle clamp can work wonders by keeping steady pressure on the back cover.
Step 12

– If the cover is closed again, give it a gentle nudge with your finger or a trusty spudger to pop it open. You can even give it a little twist of 90° to make accessing that card slot a breeze.
– Now it’s time to slide those SIM and microSD cards back into place. Just pop the SIM card into its tray, and you’re all set!

