
DIY Guide to Replace NFC Antenna in Sony Xperia Z5 Compact
Duration: 15 min.
Steps: 8 Steps
In this guide, we’ll walk you through the steps to swap out the faulty NFC antenna in your Sony Xperia Z5 Compact. If you’re having trouble connecting to NFC-enabled devices, this repair is just what you need to get back in the game. And remember, if you need help, you can always schedule a repair.
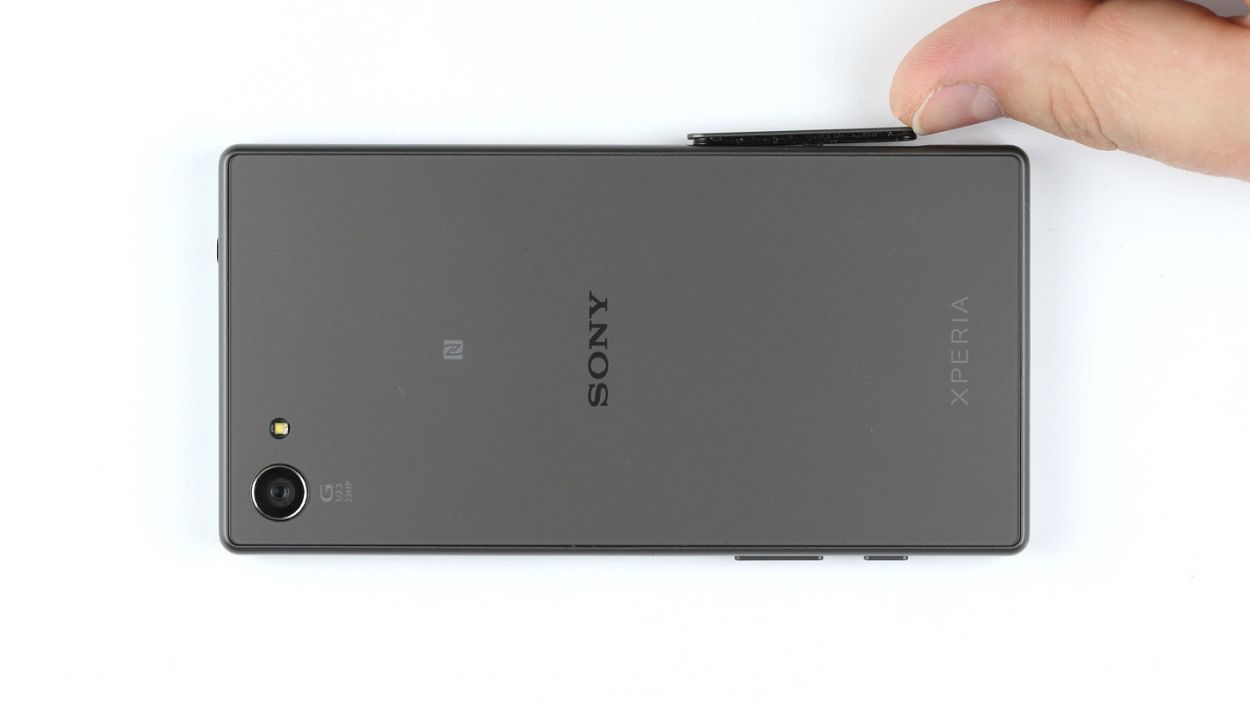
Step 1

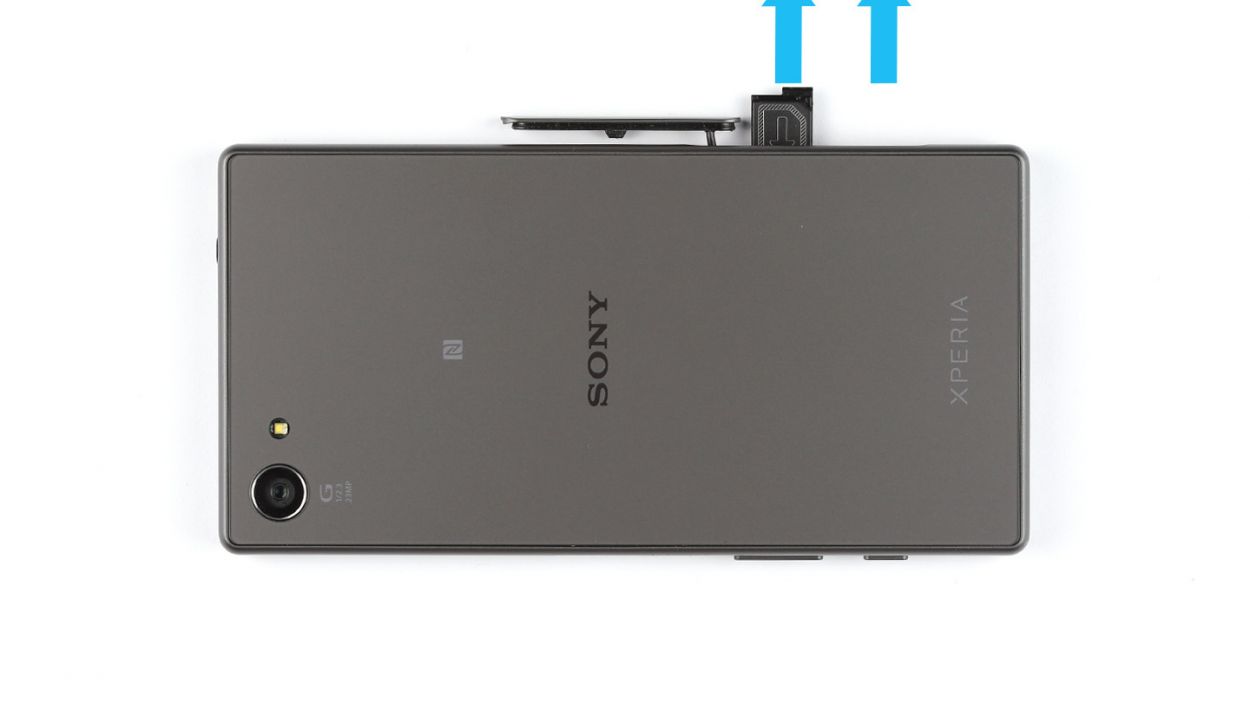
– Give that cover a gentle nudge with your finger or a spudger at the bottom end of your smartphone. A little twist of 90° will help you peek into the card slot like a pro!
– Time to liberate the SIM and microSD cards! The SIM card is snug in its tray, just waiting for you to set it free.
Step 2

Hey, don’t forget to remove that sticky stuff from the back cover’s inside! Be gentle, so you don’t end up with scratches or cracks. If you need help, you can always schedule a repair.
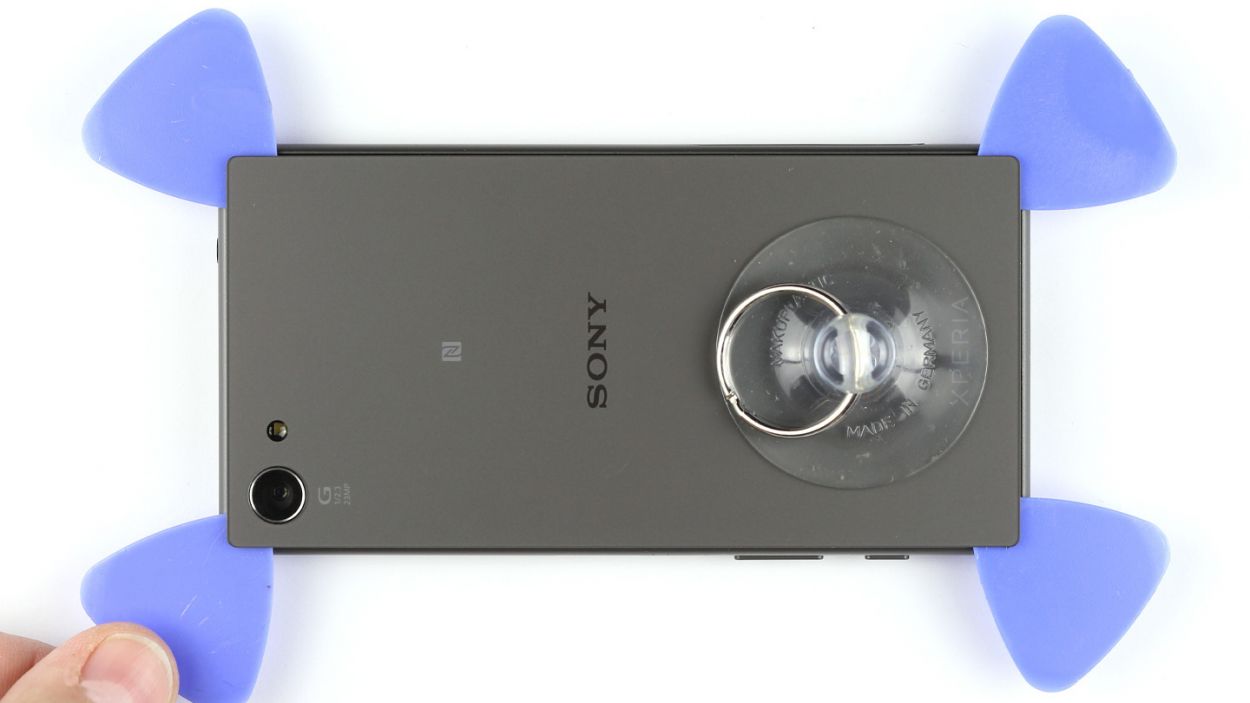
– Time to warm things up! Let’s use that heat gun to make the back cover a little more flexible.
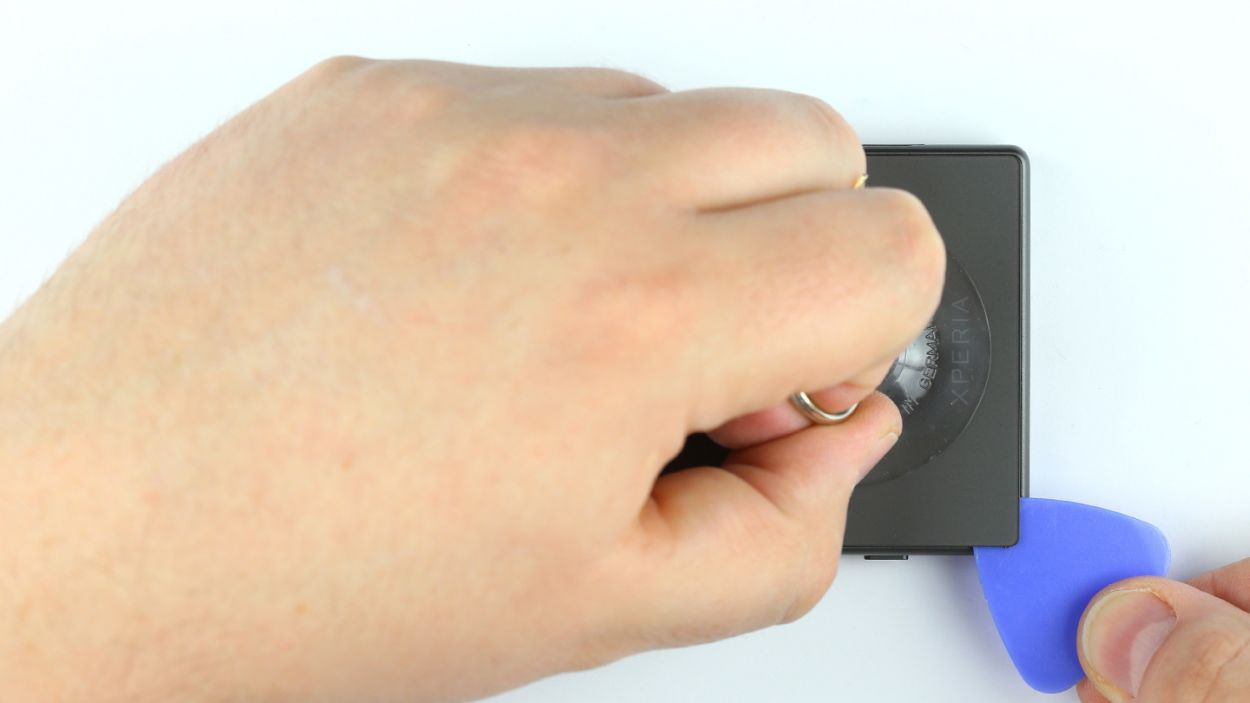
– Grab a suction cup, stick it on the bottom of your device, and give it a good yank while pressing down on that chassis with your plastic pick.
– Ooh, look at that gap! Slide that pick right in and start slicing and dicing that glue around the edges. Be gentle, though, don’t want to scratch anything.
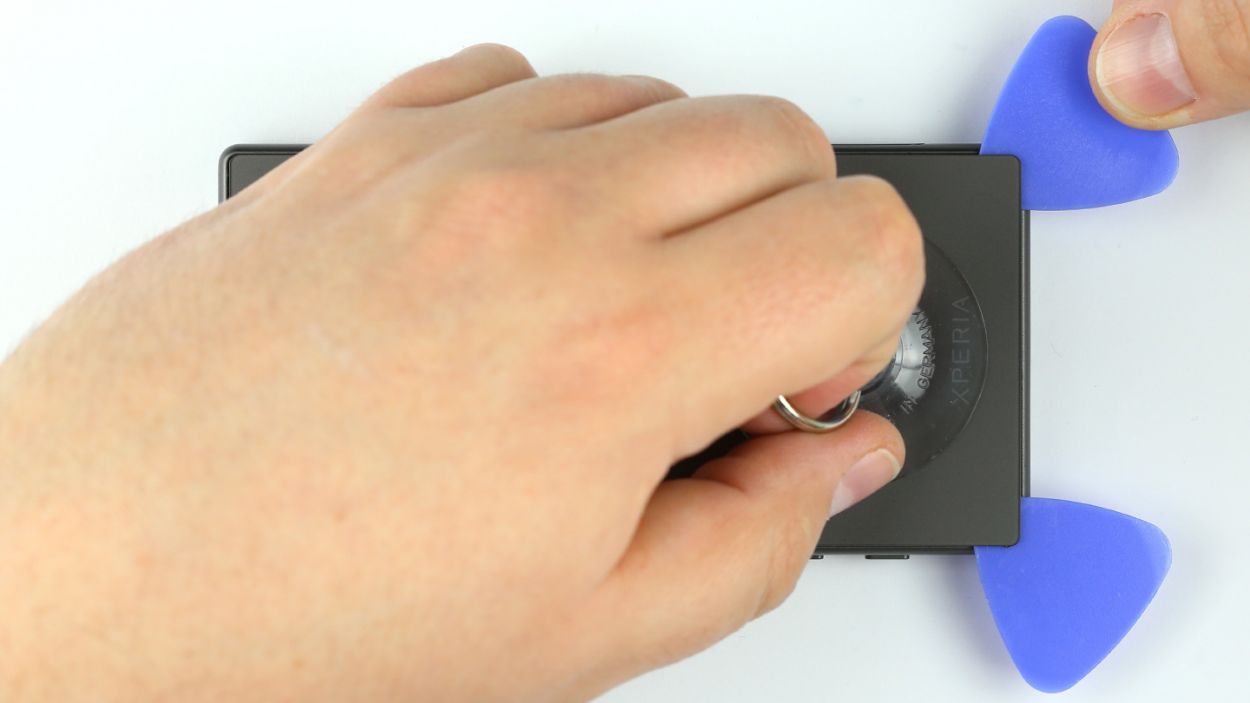
– Keep that pick moving, all the way around your device. If you’re feeling fancy, use multiple picks at once.
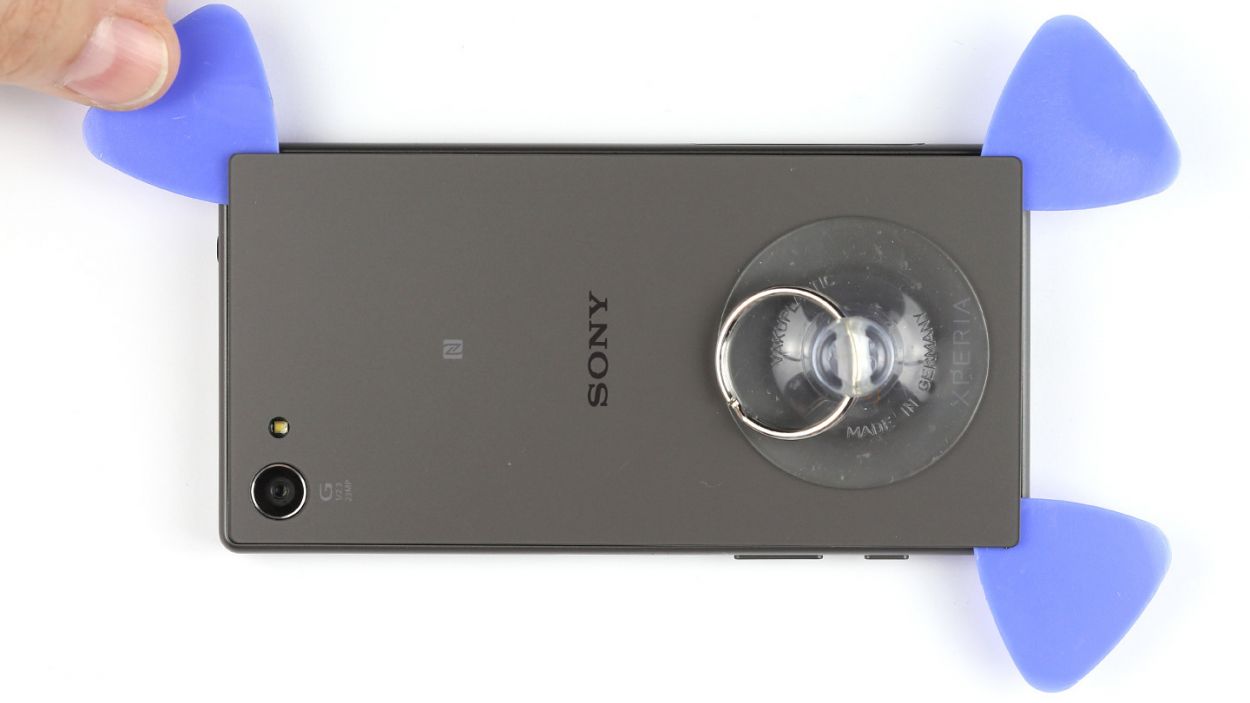
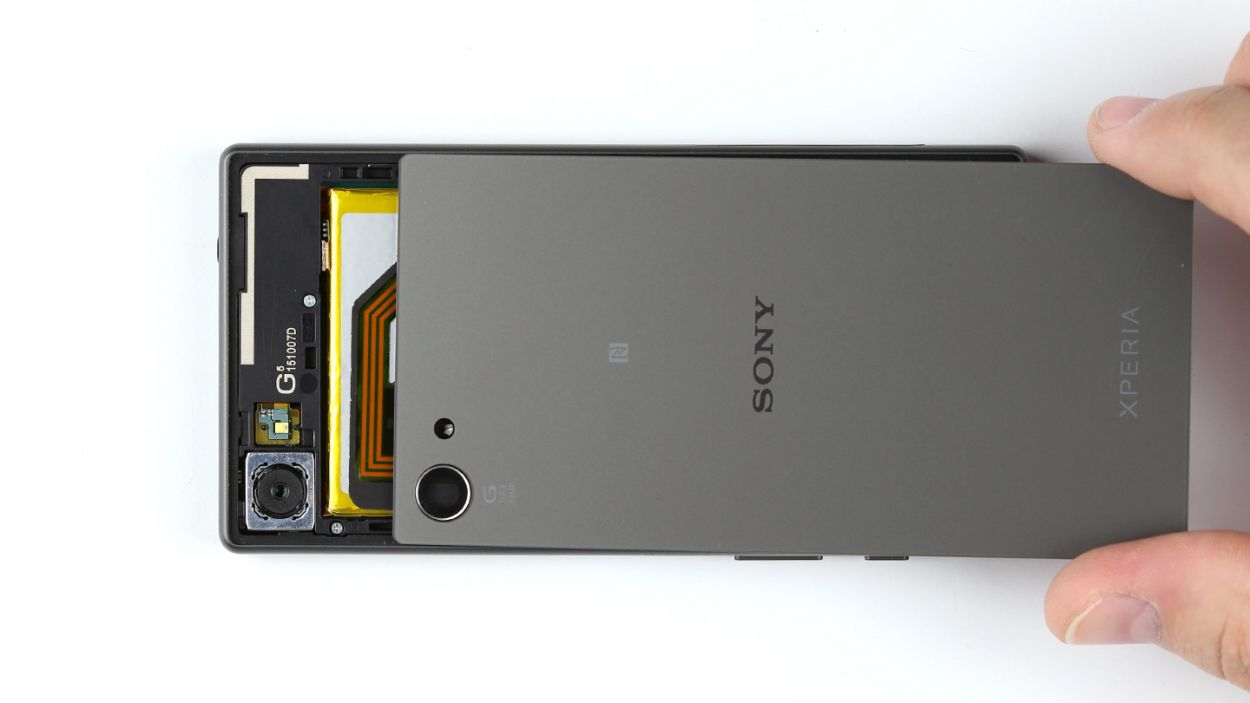
– And there it is! The back cover is off! Hooray!
Step 3

– Time to pop off that type plate! It’s snugly fit in the SIM and microSD card slot, so give it a gentle nudge and it should come right out.
Step 4
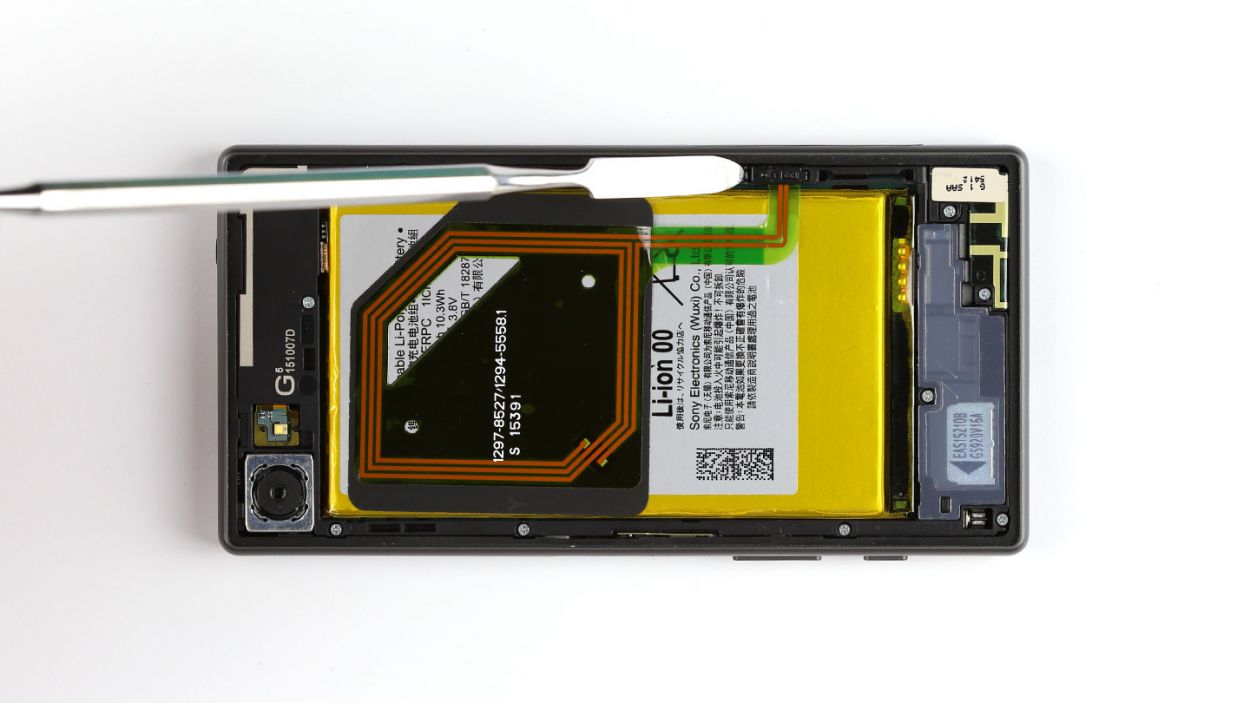
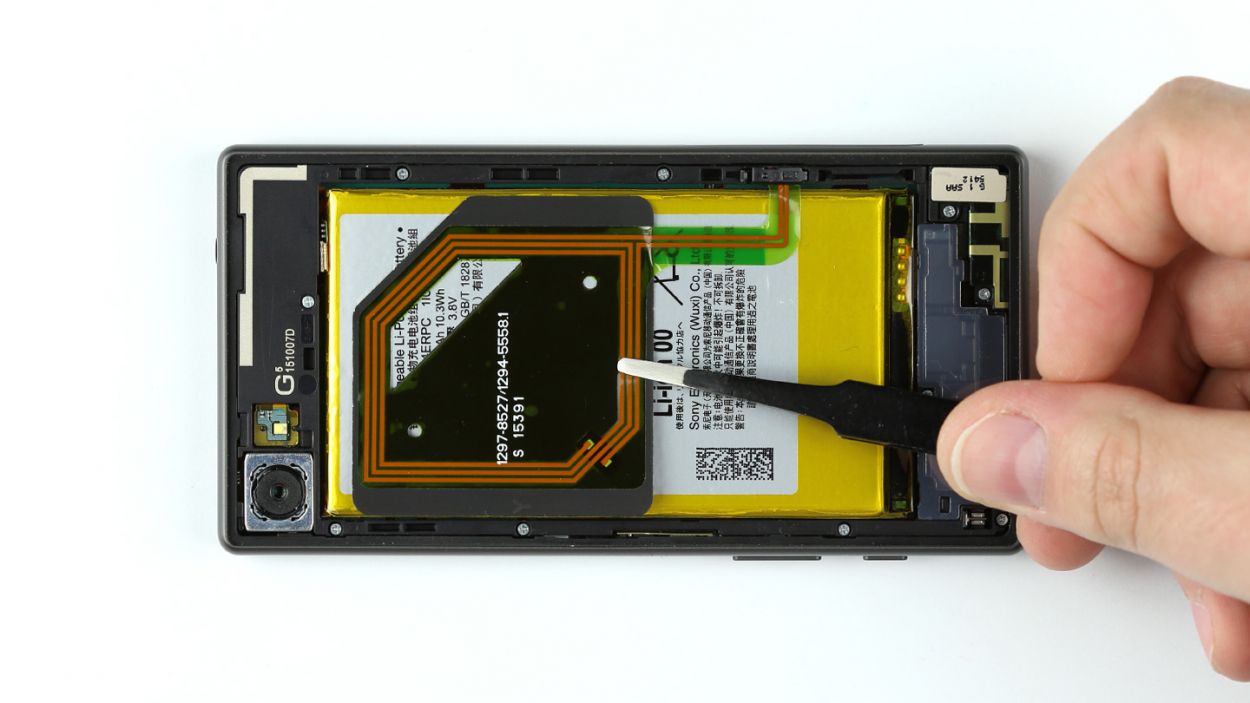
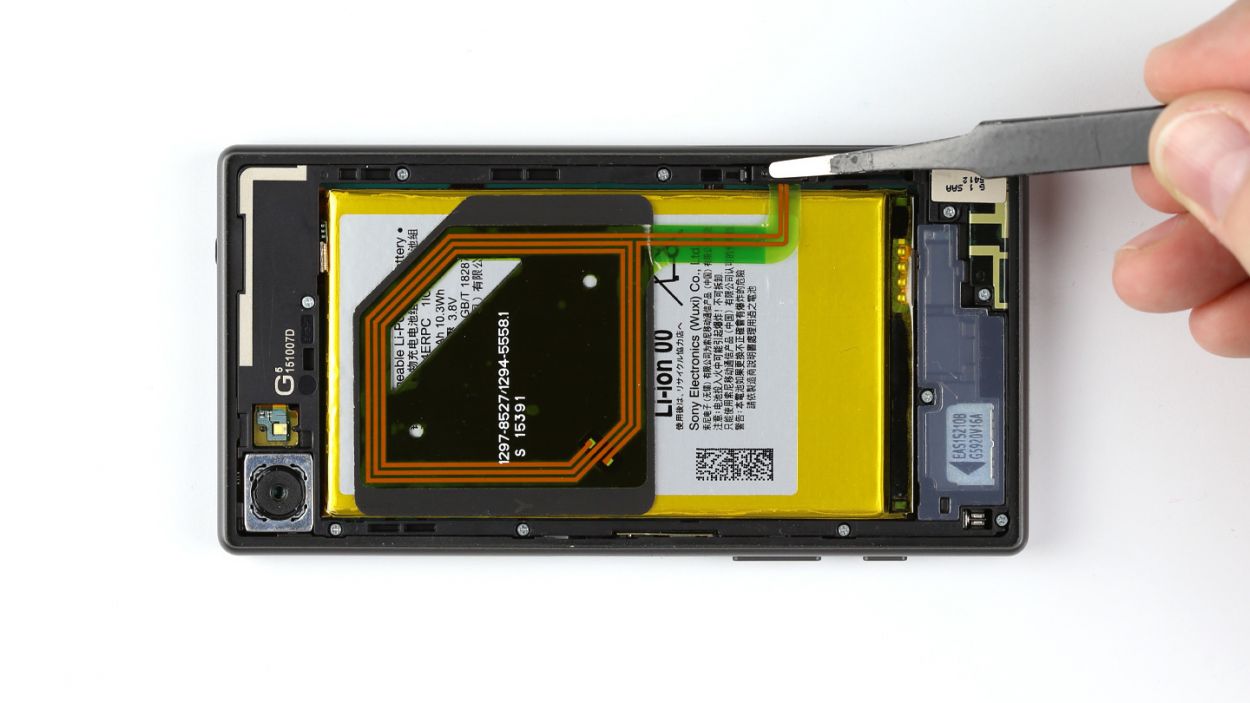
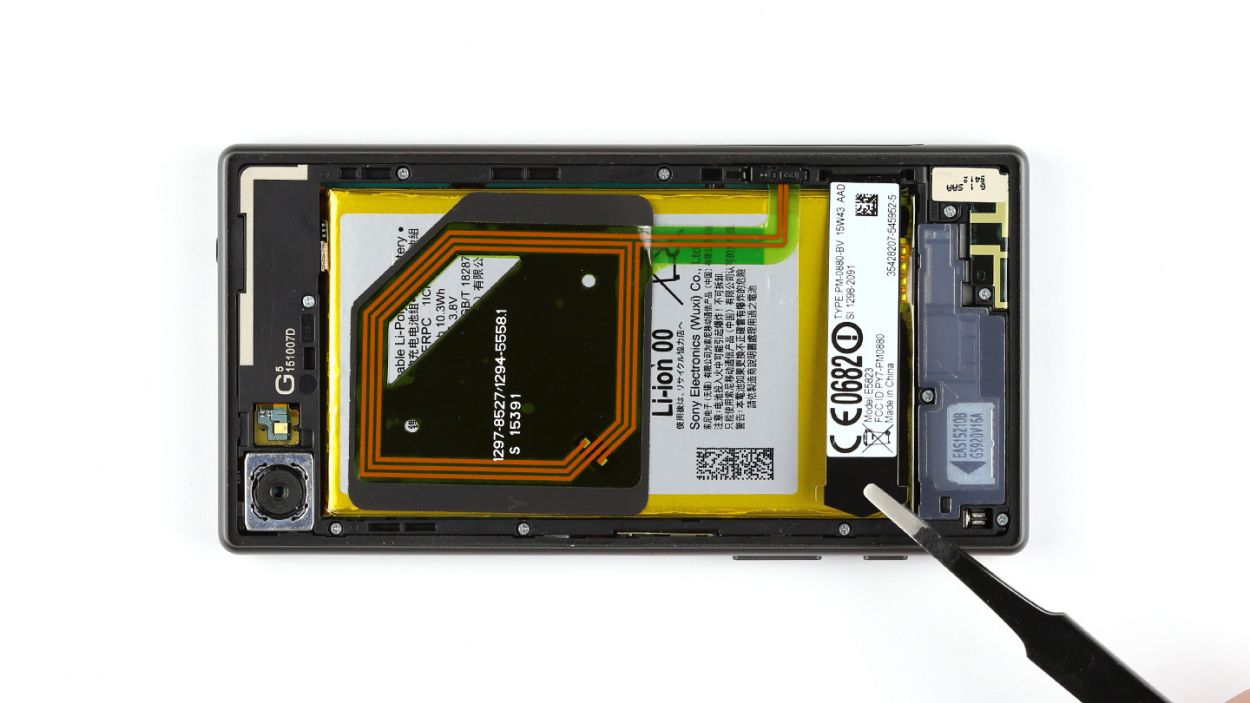
– First things first, let’s unplug the NFC antenna’s connector from the chassis. You’ve got this!
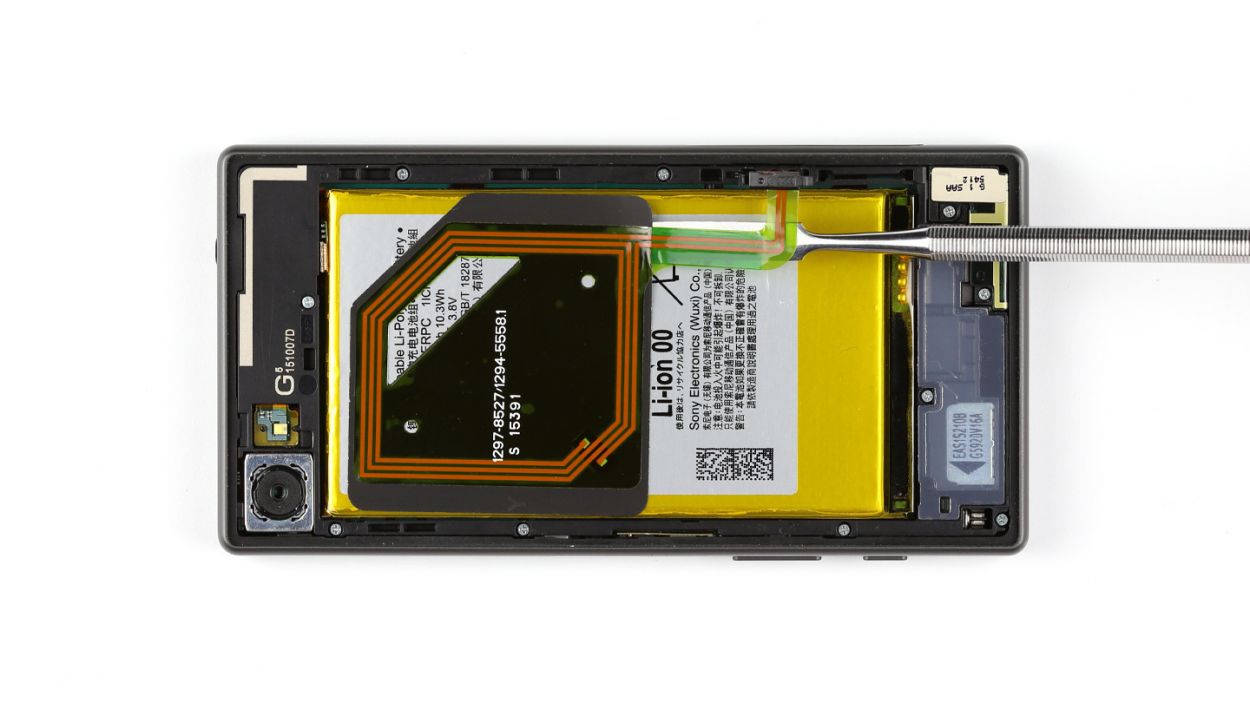
– Next up, gently detach the antenna from the battery. It’s a bit sticky since it’s glued on there. Grab your trusty steel laboratory spatula and slide it between the antenna and the battery. If the glue is being stubborn, a little heat on the NFC antenna should do the trick.
– Now, it’s time to remove the NFC antenna. You’re almost there!

Step 7

– Get that back cover ready to rock on the chassis! Press it down firmly around all the edges to make sure everything sticks together nice and snug.
– If it’s feeling a bit stubborn, a little heat on the back of the device can work wonders. Clamping it down helps keep that pressure on the back cover for a solid bond.
Step 8

– If the cover’s still down, give it some attitude and flick it open with your finger or our sidekick, the spudger. Maybe give it a little dance and a spin? (Just 90° will do, though)
– Pop the SIM and microSD cards back where they belong like the cool kids they are! SIM goes in the tray, by the way.