DIY Guide to Replace OnePlus 5T Main Camera
Duration: 45 min.
Steps: 15 Steps
Ready to give your OnePlus 5T camera a new lease on life? Follow this easy-peasy guide to swap out that pesky old camera all by yourself! Whether it’s blurry snaps, focus fails, or a camera that just refuses to work, this swap is your ticket to crystal clear photos again. Lucky for you, the OnePlus 5T keeps things chill with a no-glue design—just a few hooks here and there. Before you dive in, eyeball your shiny new camera for any quirks. Spot something off? Hold up, and swap it out first! Always remember to backup your data and prep a neat and tidy workspace with good lighting. Take your time and enjoy the repair ride, and hey, if you hit a bump, we’re just a click away for a chat or to drop us a comment on any tricky step.
Step 1

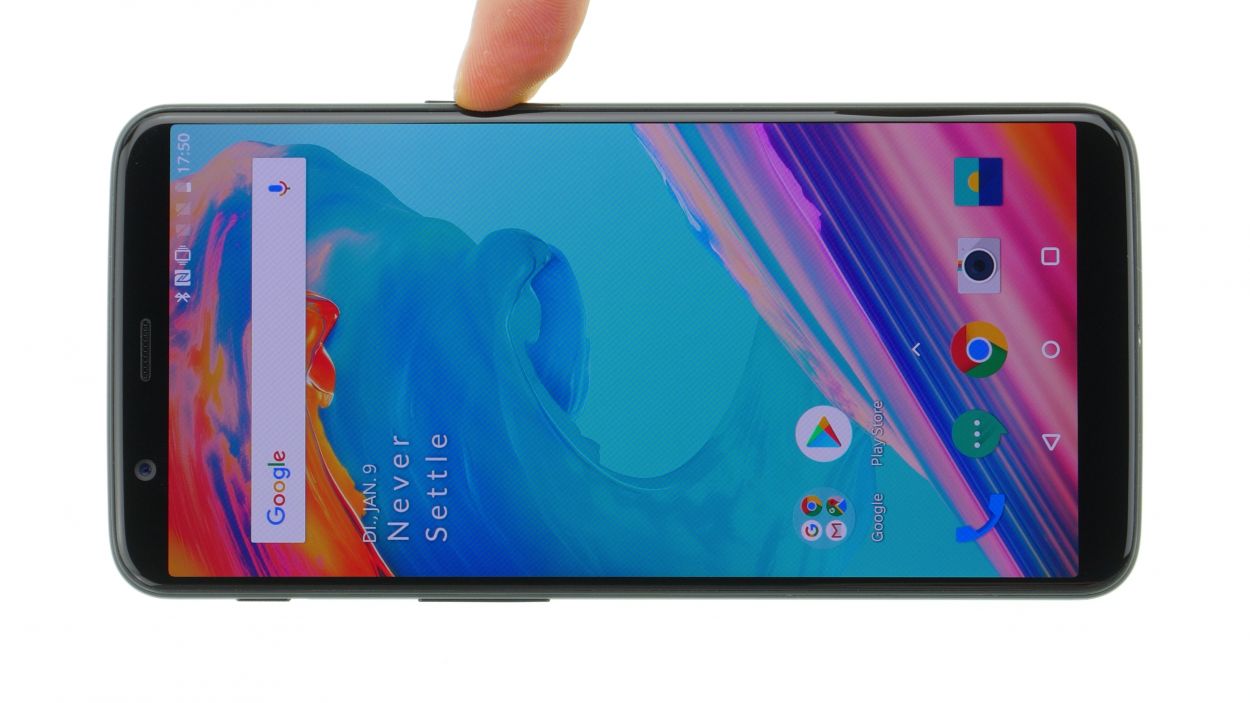
If your OnePlus 5T touchscreen is ignoring your fingertips, don’t sweat it! Cooly press and hold the standby button for a leisurely 10-15 seconds to power it down.
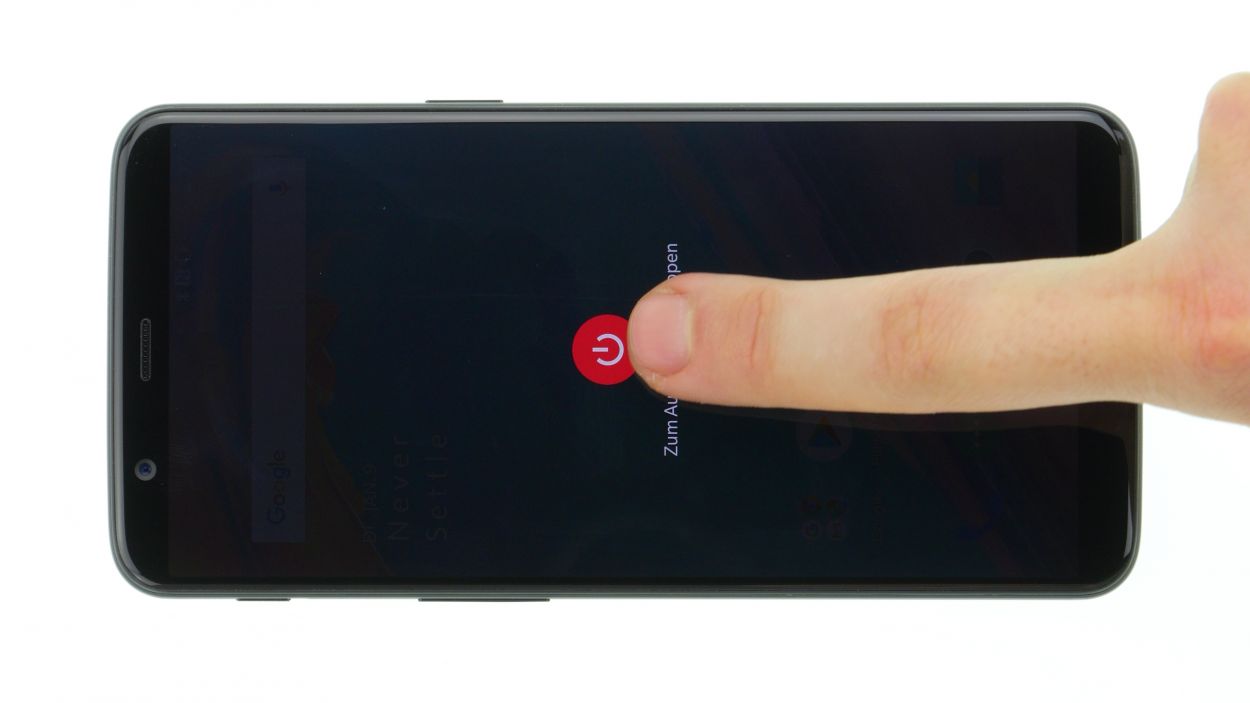
– Hold down the standby button until you see the ‘Switch off’ prompt pop up—like magic!
– Give it another tap to confirm your choice. Easy peasy!
Step 2

2 × Torx T2
– Unscrew the dynamic duo by using your handy-dandy screwdriver on the screws located to the north and south of the USB Port Kingdom. Remember, lefty-loosey!
– Victoriously place those tiny metal conquerors onto a magnetic pad or into your trusty sorting box to prevent them from wandering off.
Step 3
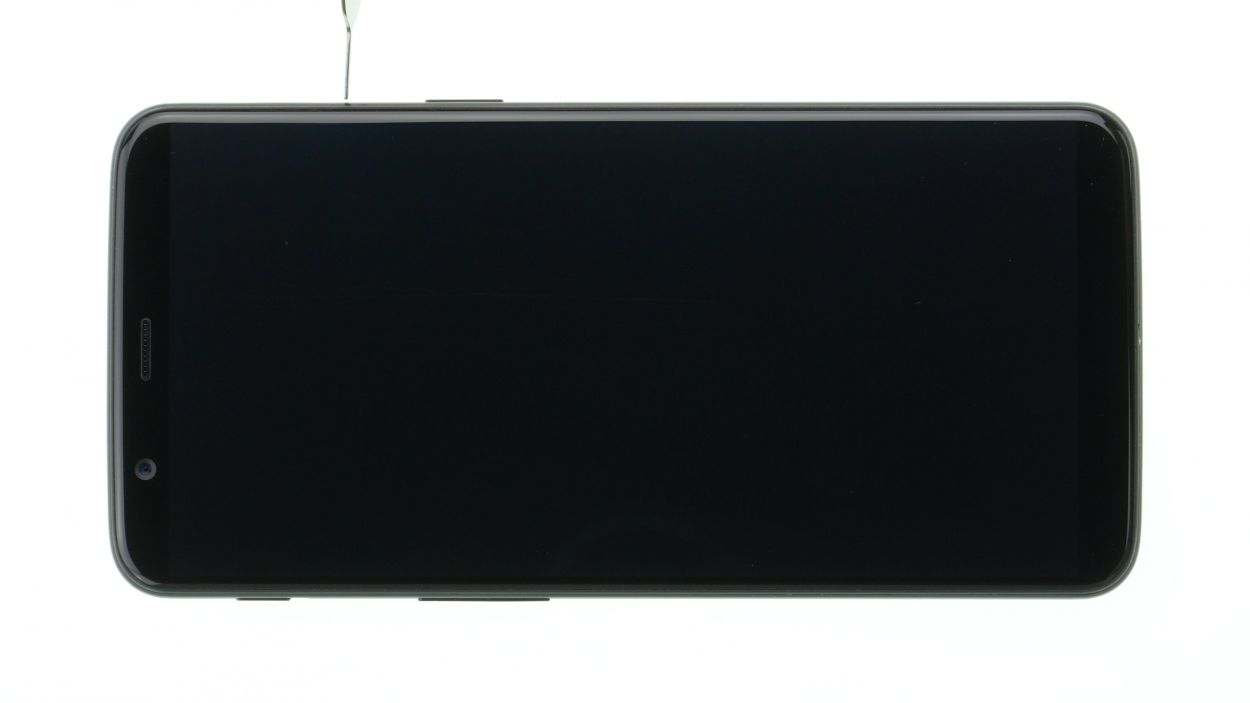

– Let’s shimmy that SIM card holder out! Grab a SIM tool or a trusty paper clip, poke it into the little hole on the SIM tray, and voila, pull it out. Easy-peasy!
Step 4

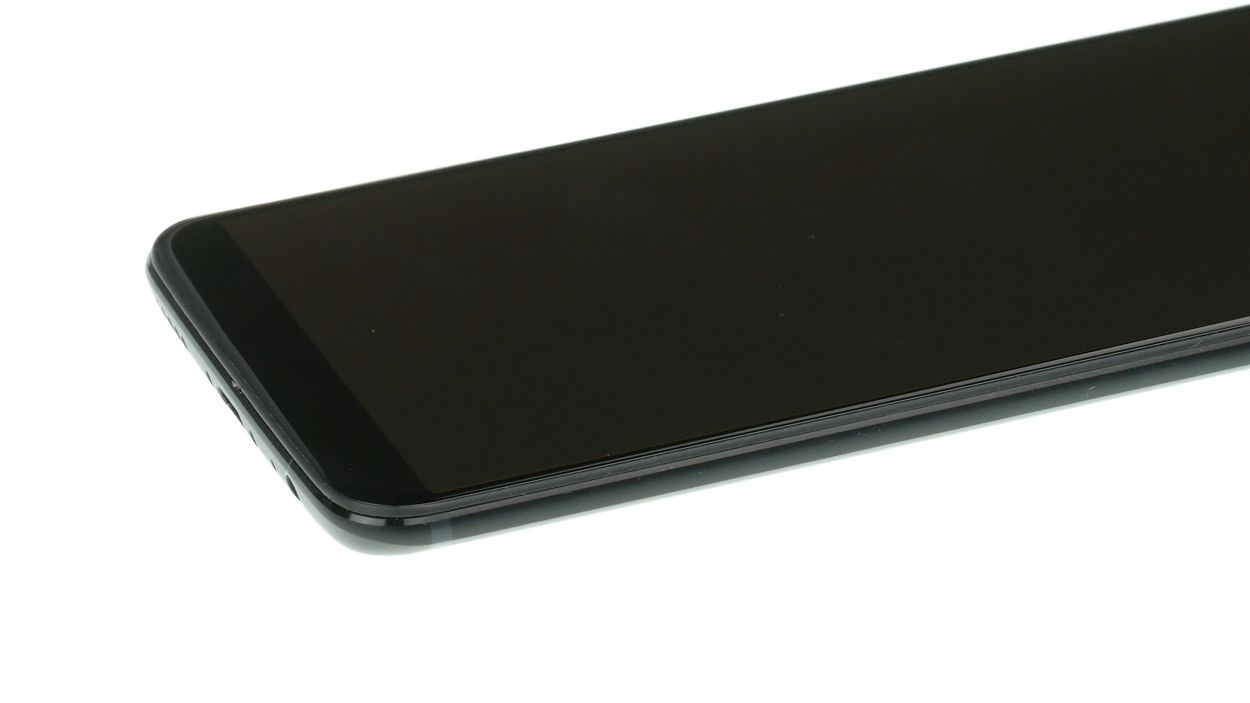
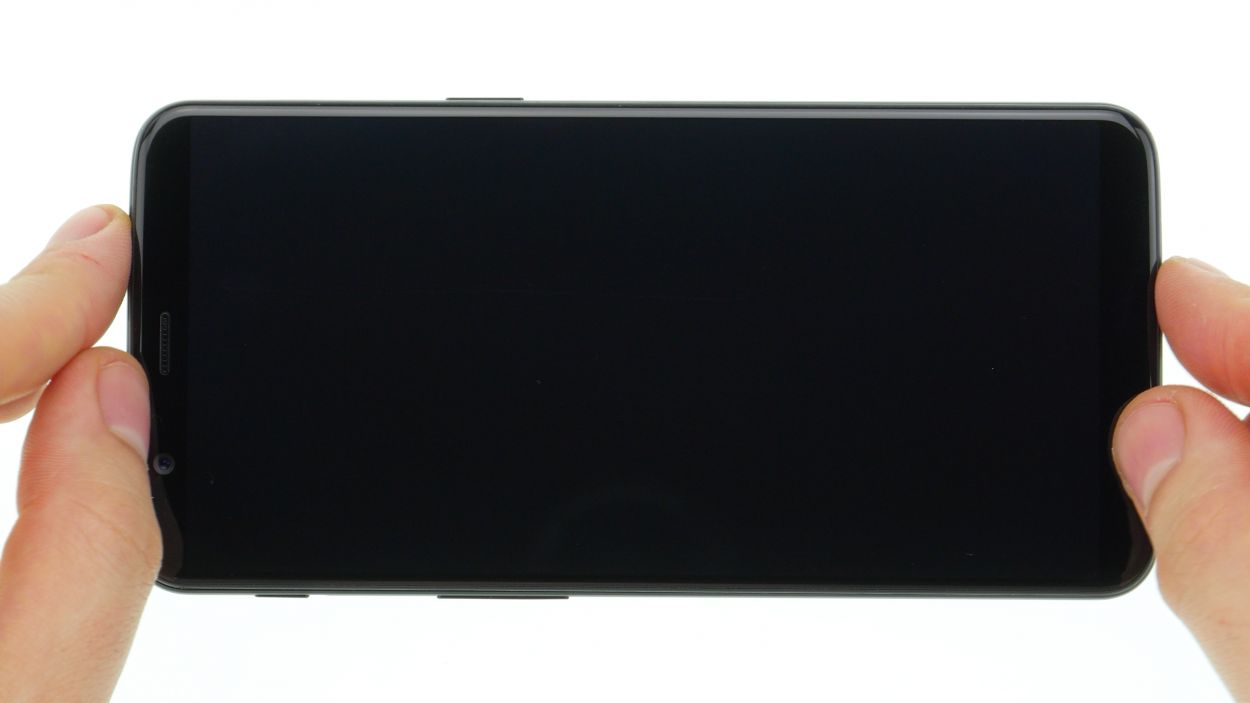
Keep your OnePlus 5T looking sharp by laying it down on a soft, clean surface. Your phone will thank you!
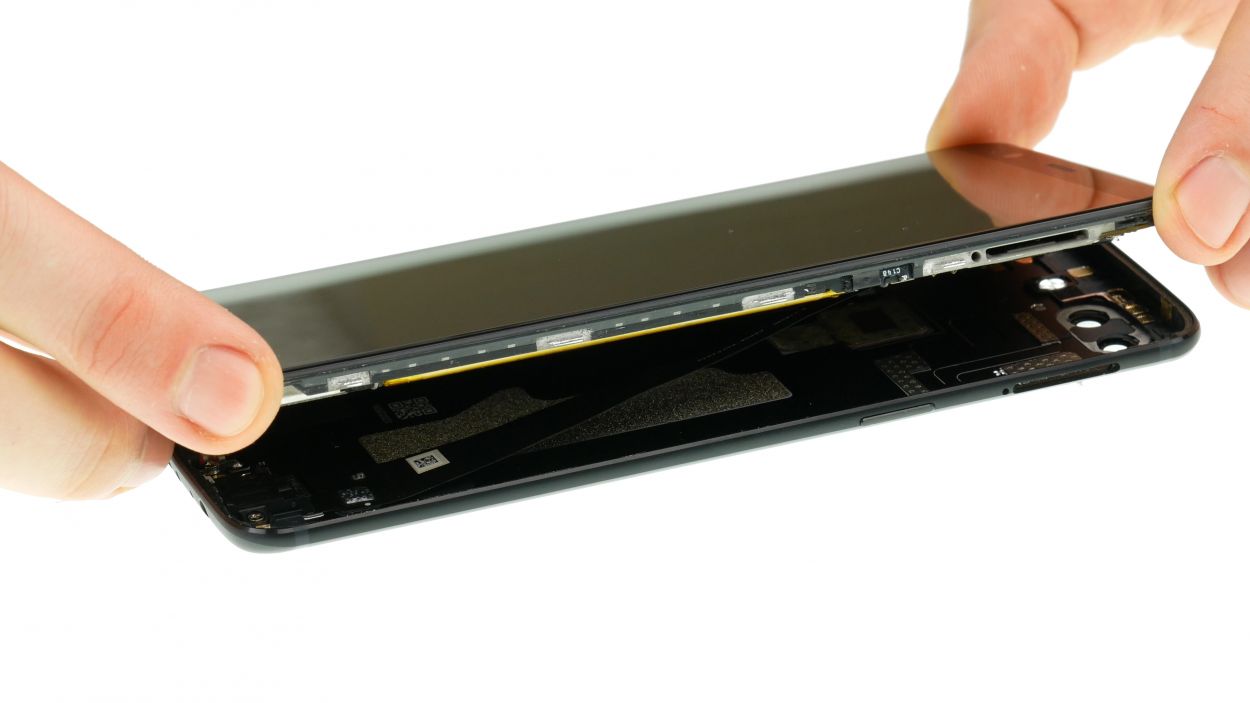
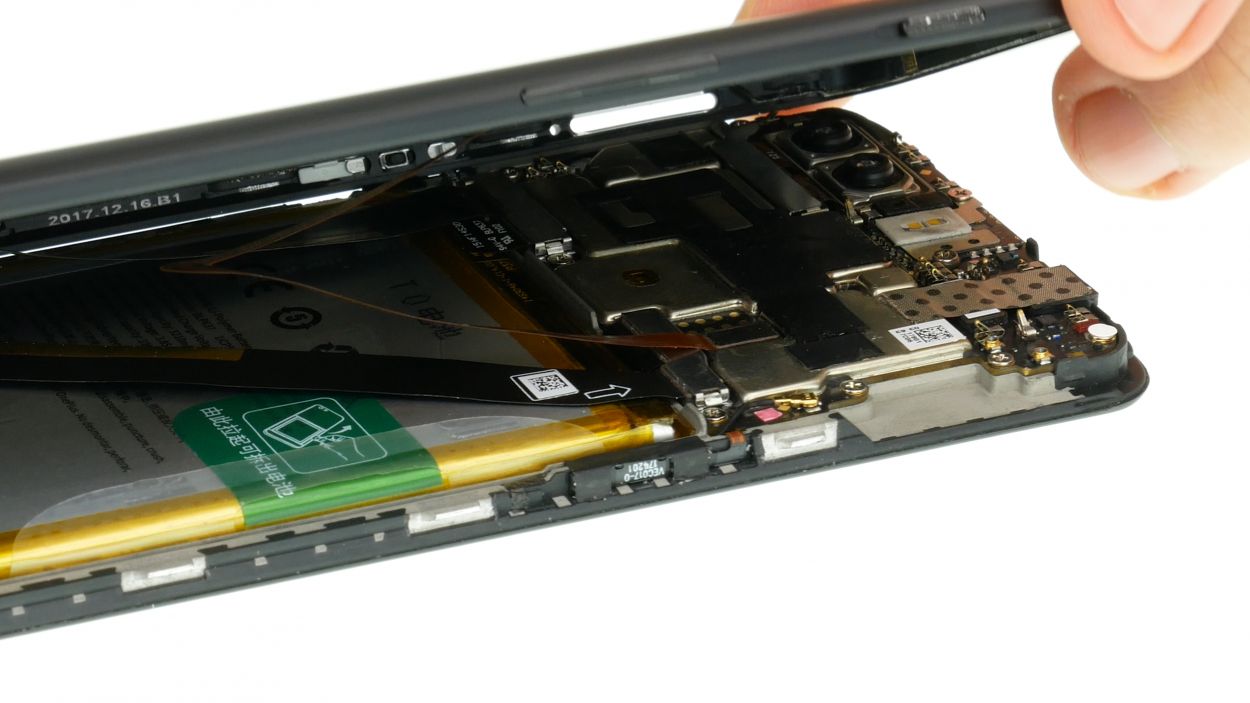
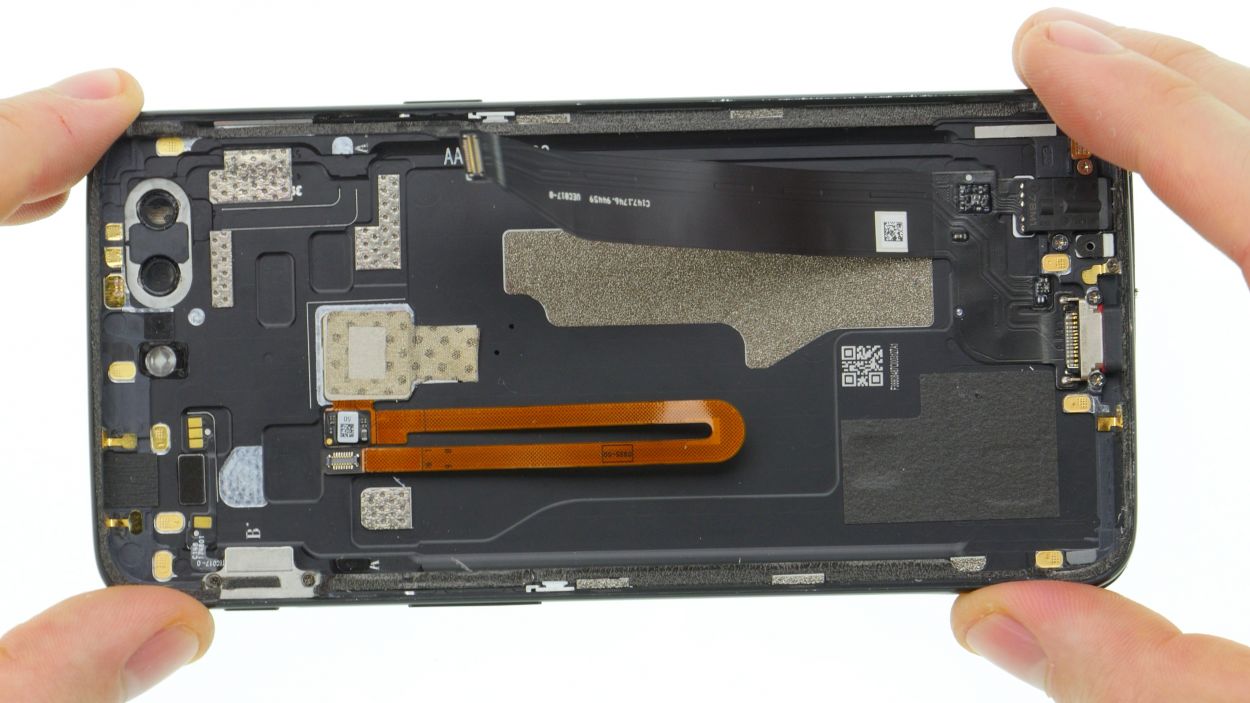
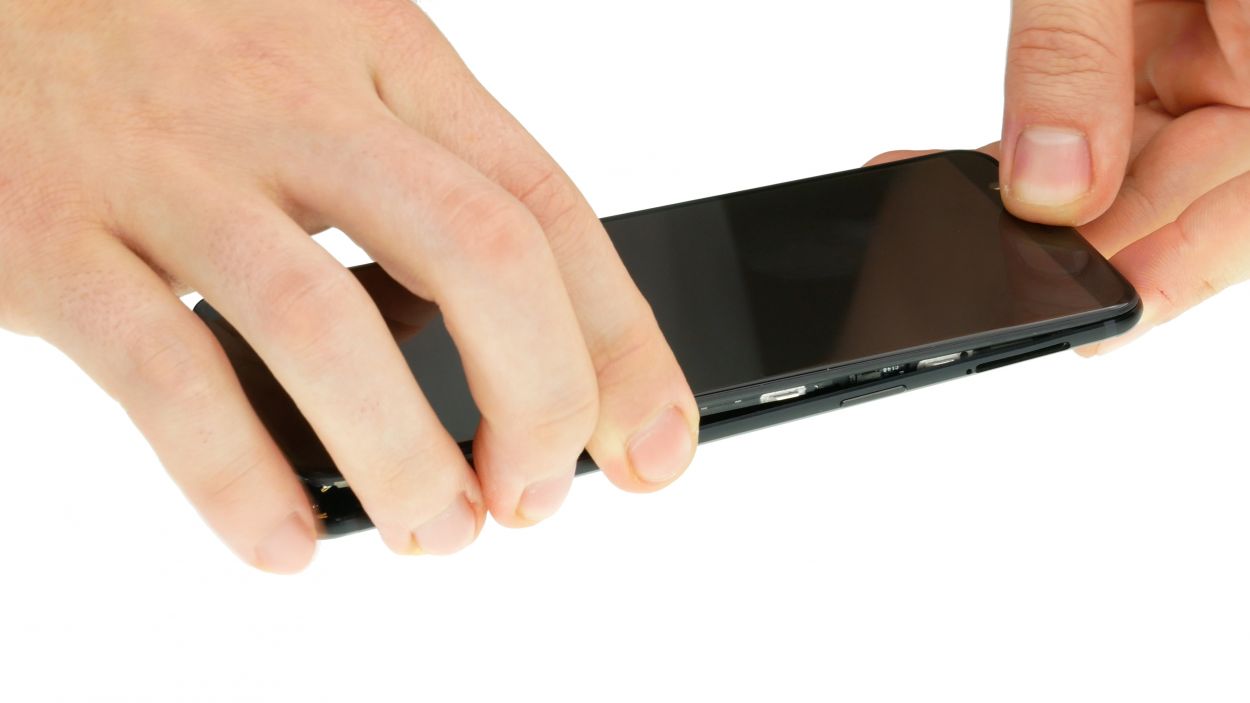
The OnePlus 5T is made up of a back cover and a display unit. All the cool electronics and the screen are snugly fitted into the display unit, while the back cover serves as a stylish case. If you need help, you can always schedule a repair!
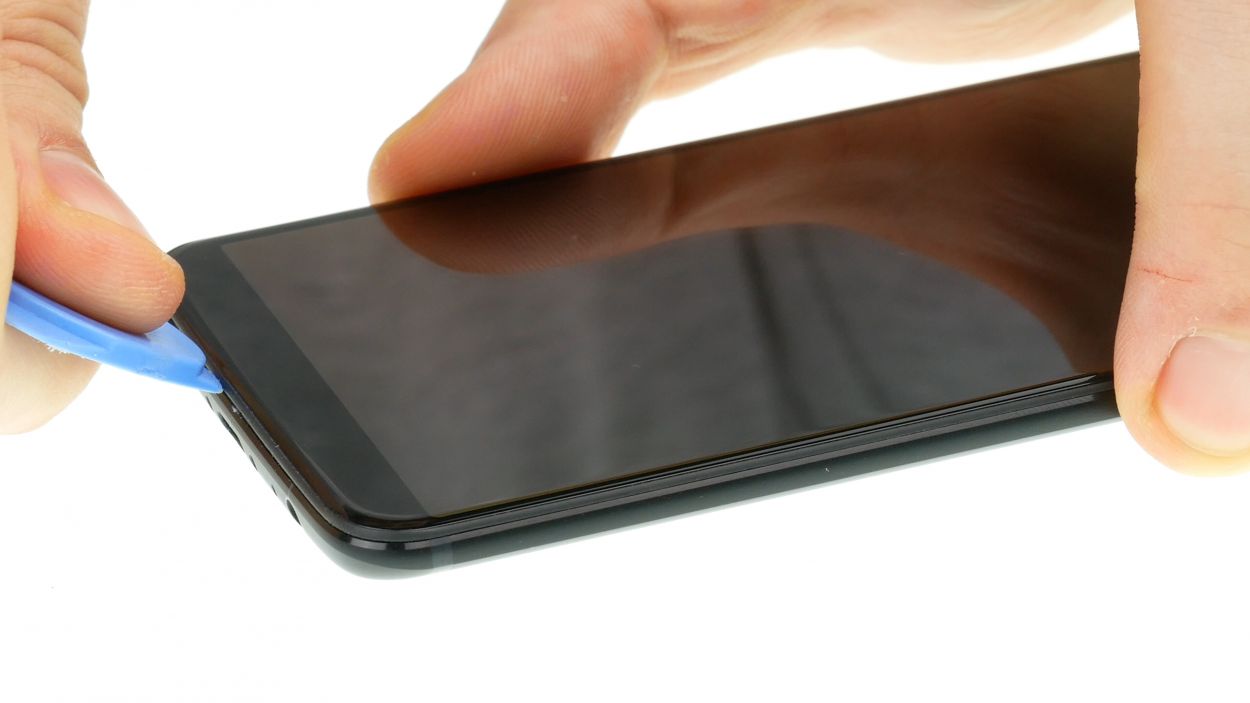
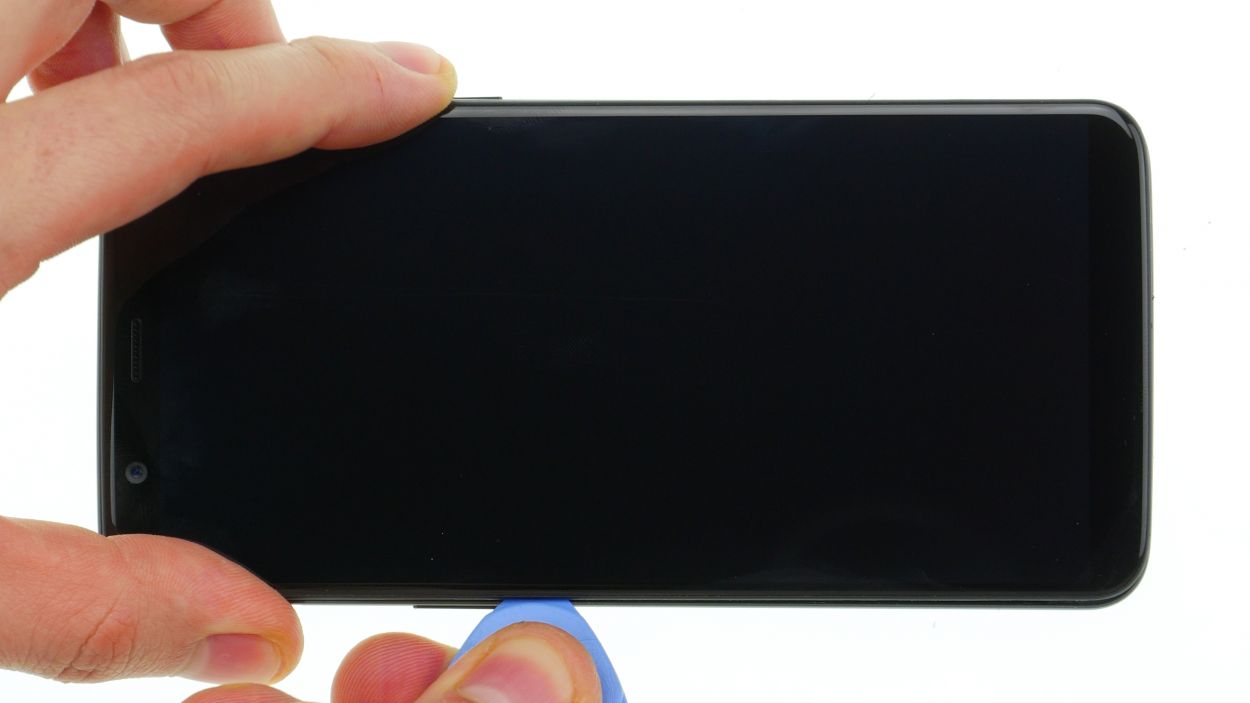
– Push down the frame of the back shell with the tip of a plectrum and push the plectrum into the resulting gap. It is best to take a hard plastic plectrum with a stopper. This cannot slip too far into the device and damage components inside.
Step 5
Fingerprint Connector
– Turn the device over and lay it on the screen.
Step 6

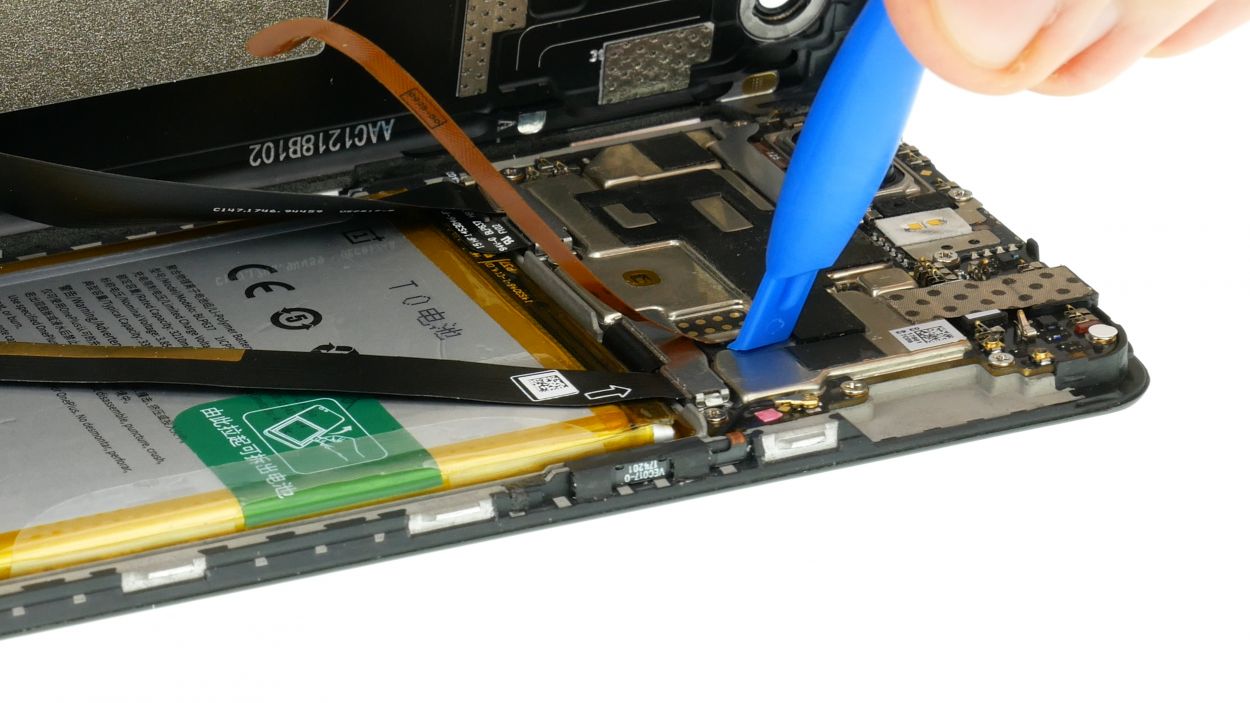
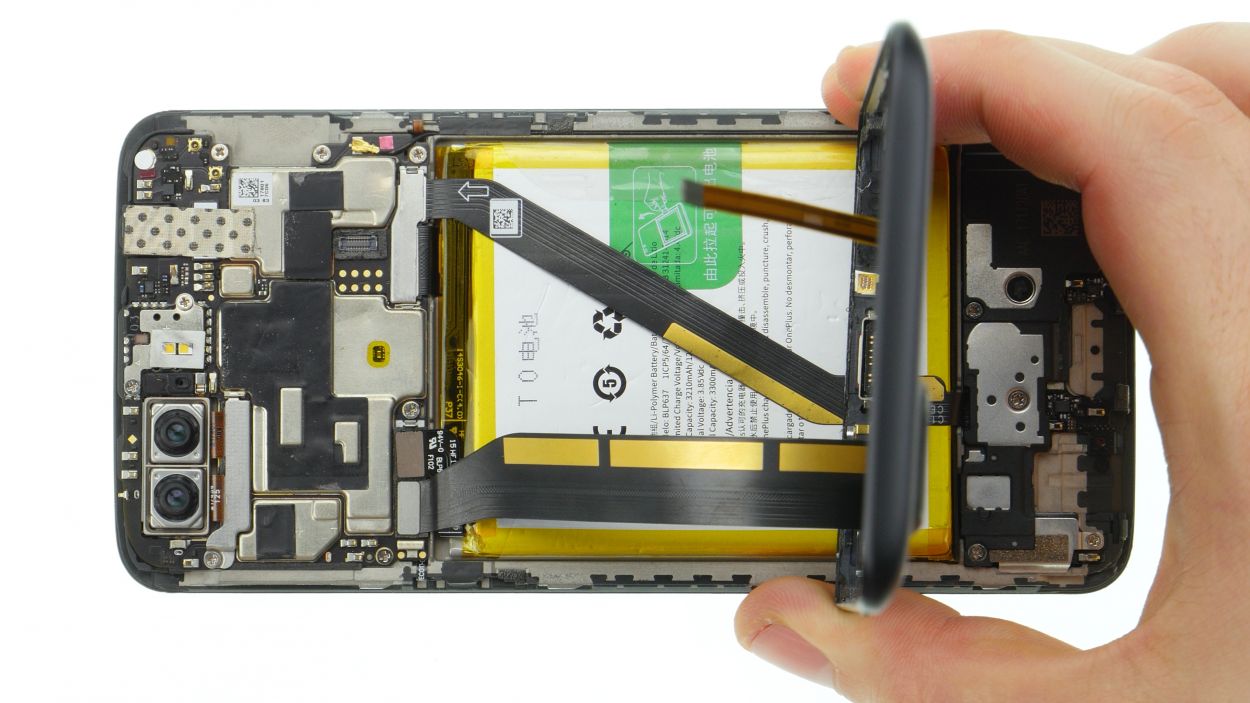
Battery Connector
First things first, let’s keep things safe! Disconnect that battery ASAP to dodge any pesky short circuits. You’ve got this!
– Let’s get this party started! Gently remove the battery connector cover using your ESD tweezers.
– Time to disconnect that battery! Use a plastic spudger to carefully unplug it. Piece of cake!
Step 7

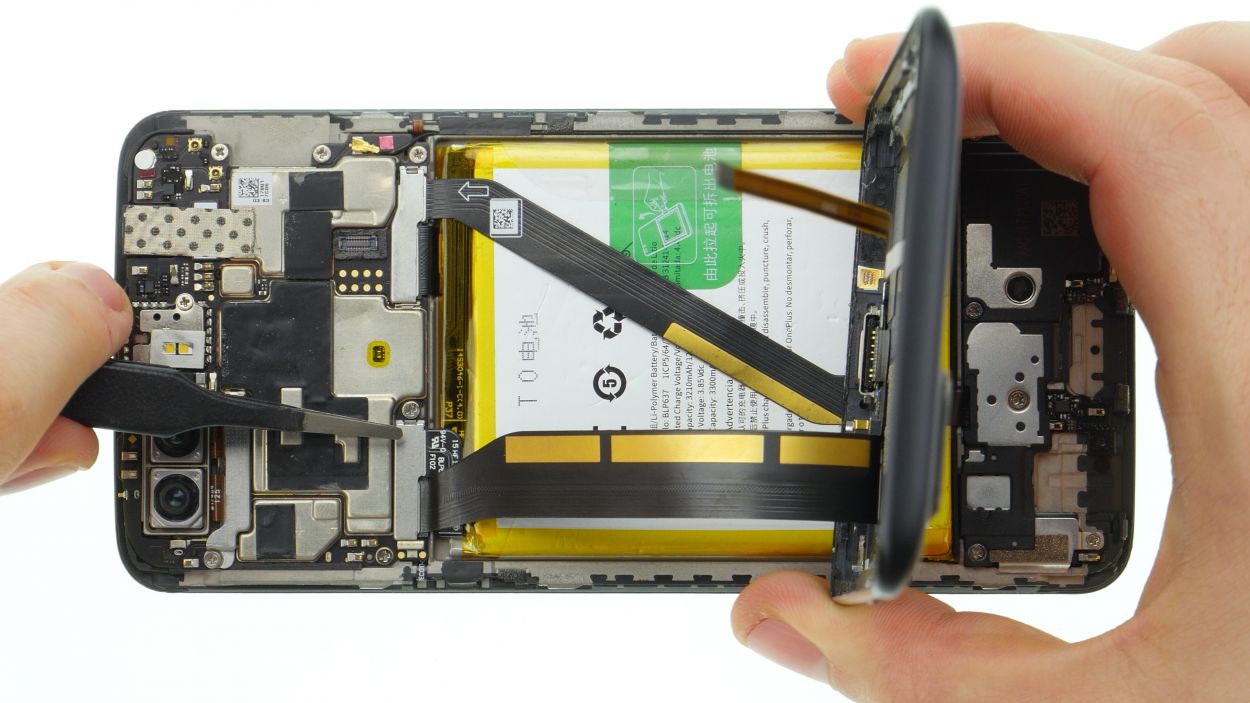
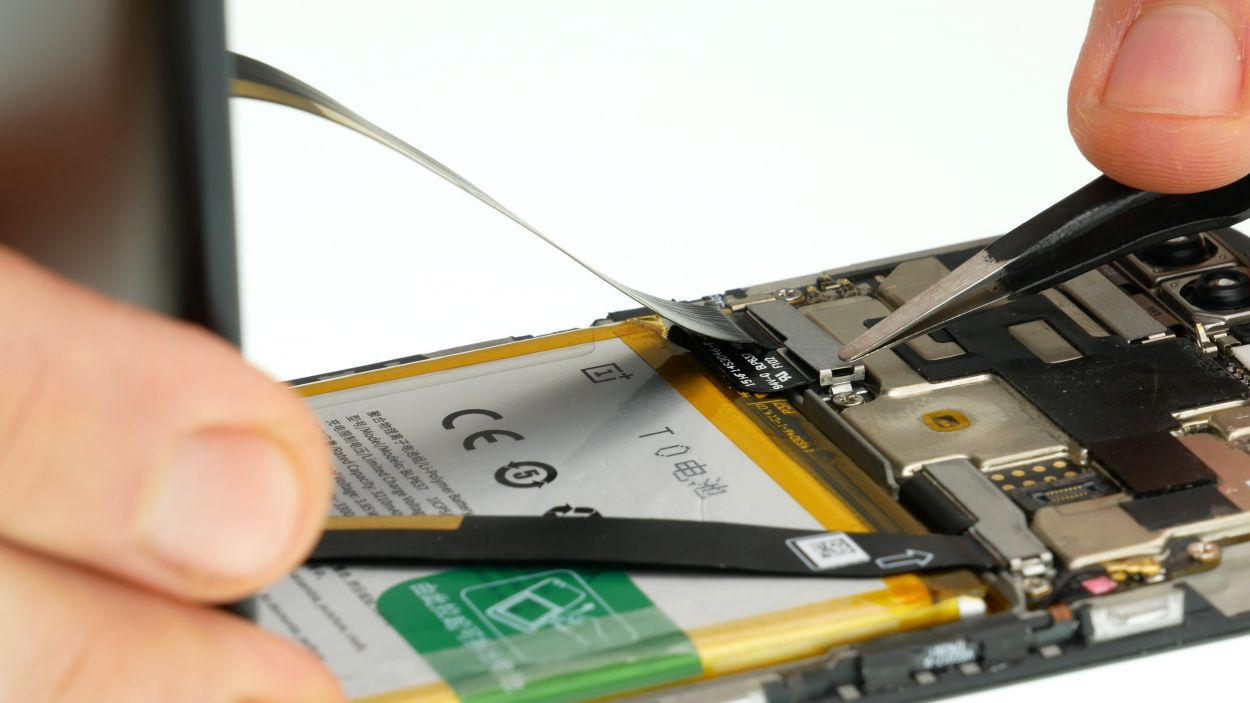
USB/audio flex Connector
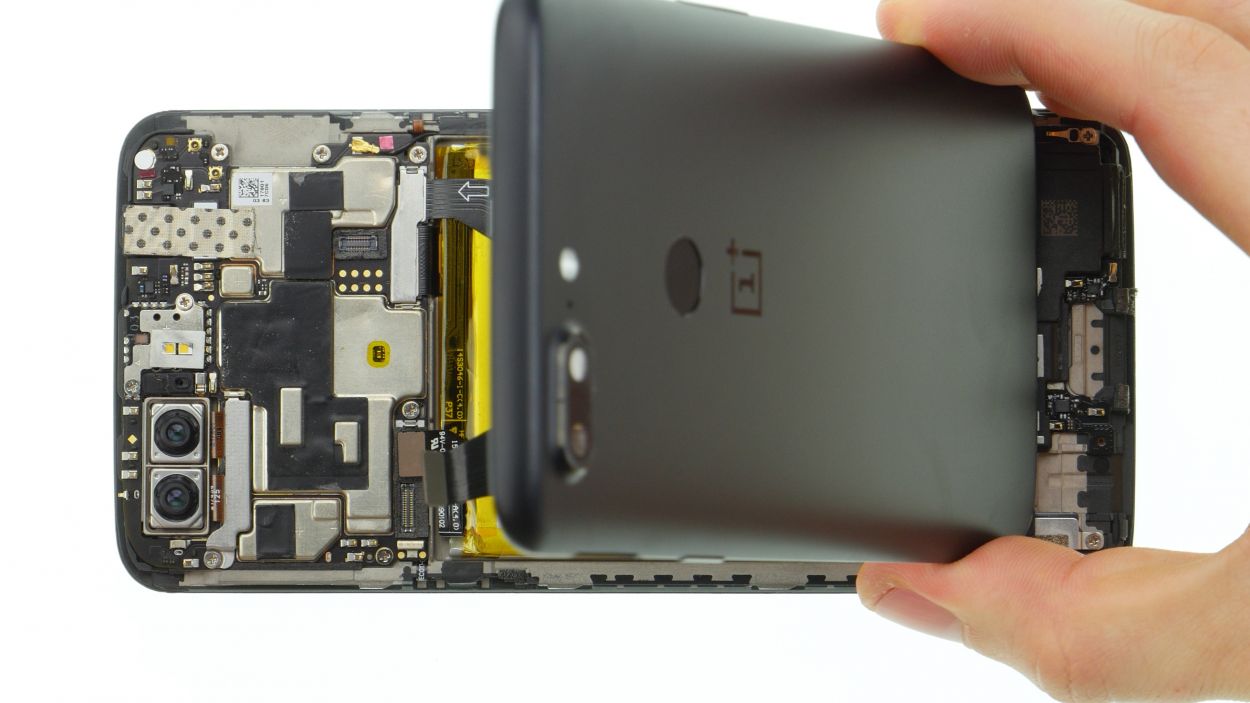
– First things first, gently unplug the USB/audio flex cable from the mainboard. No need to be rough here!
– Once that’s done, feel free to set the back cover aside and give yourself a little pat on the back for making progress!
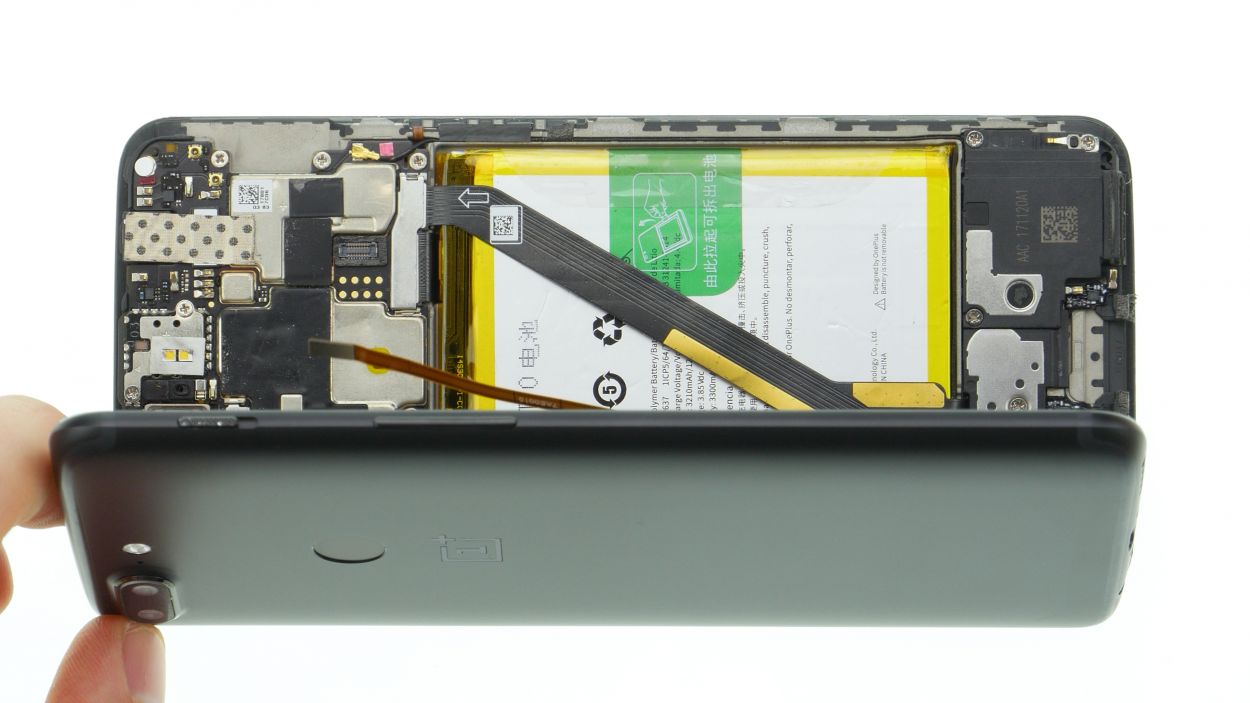
Step 8

1 × 2,3 mm Phillips
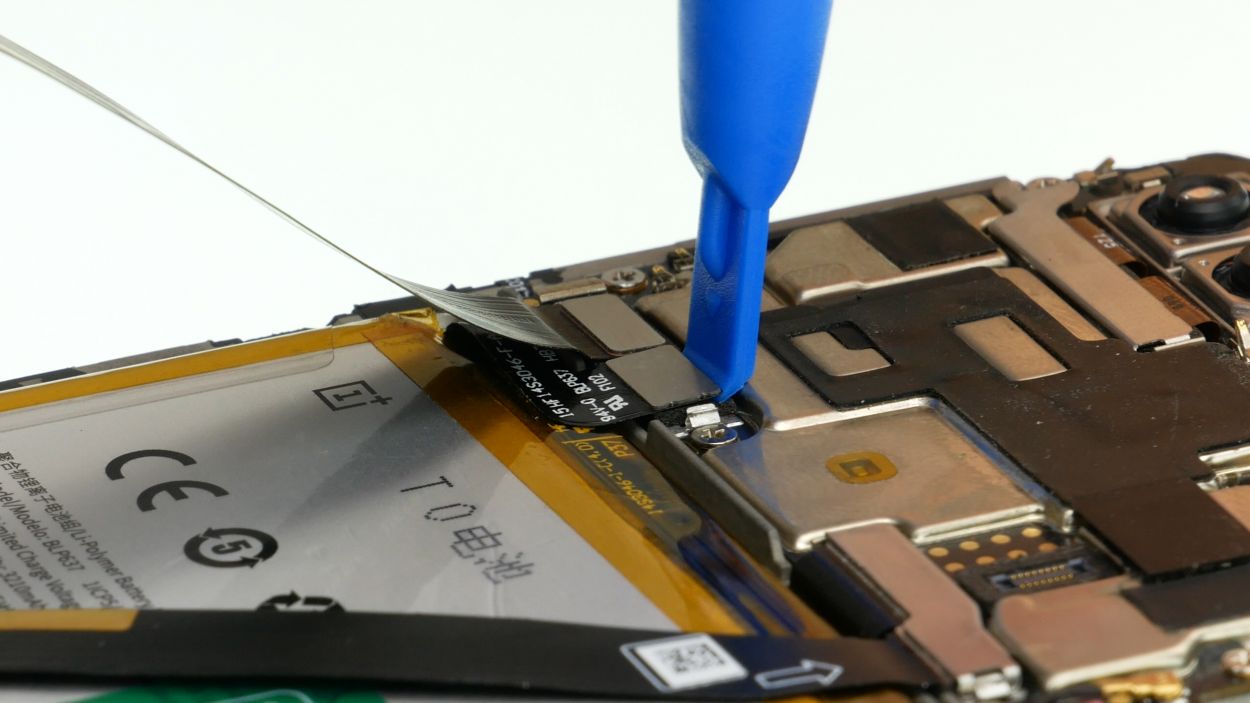
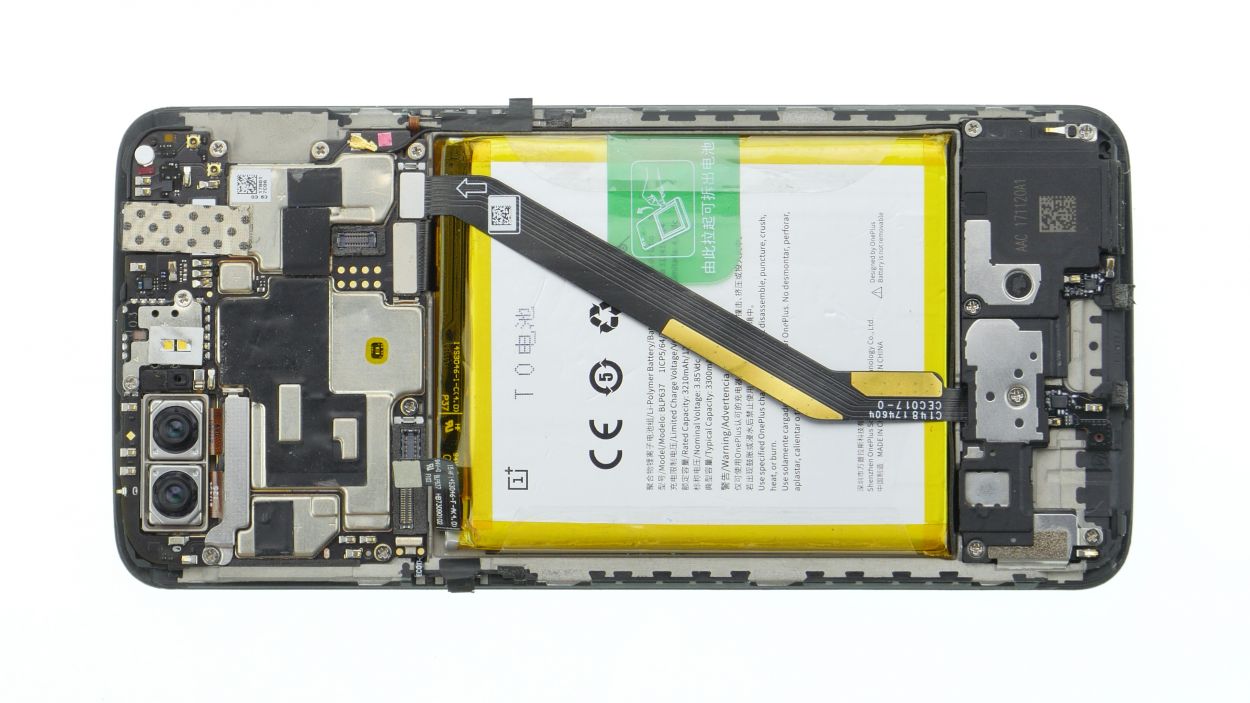
Camera Connector
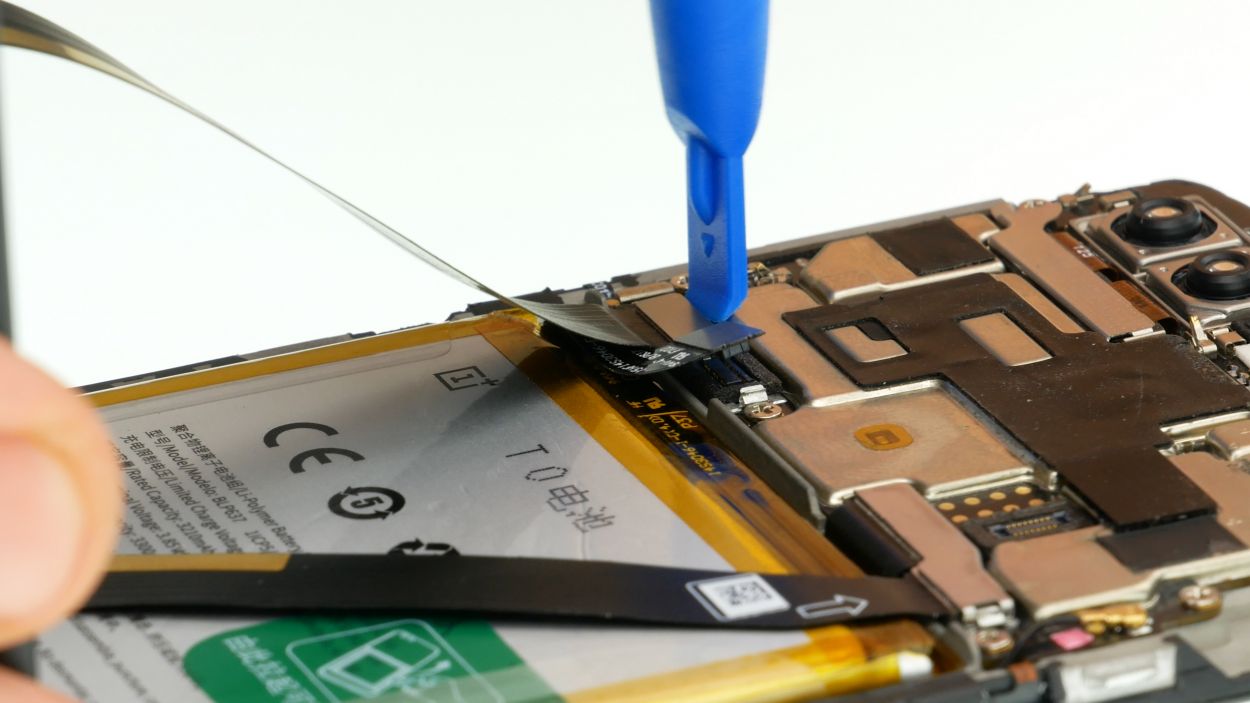
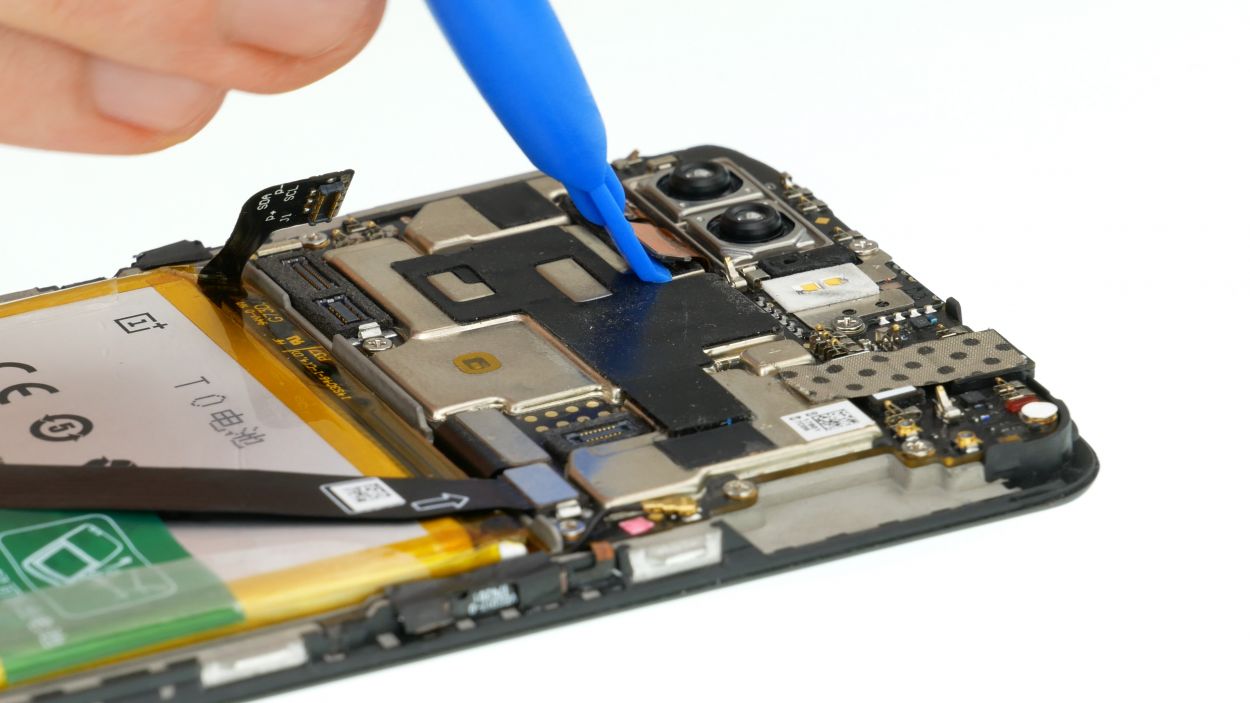
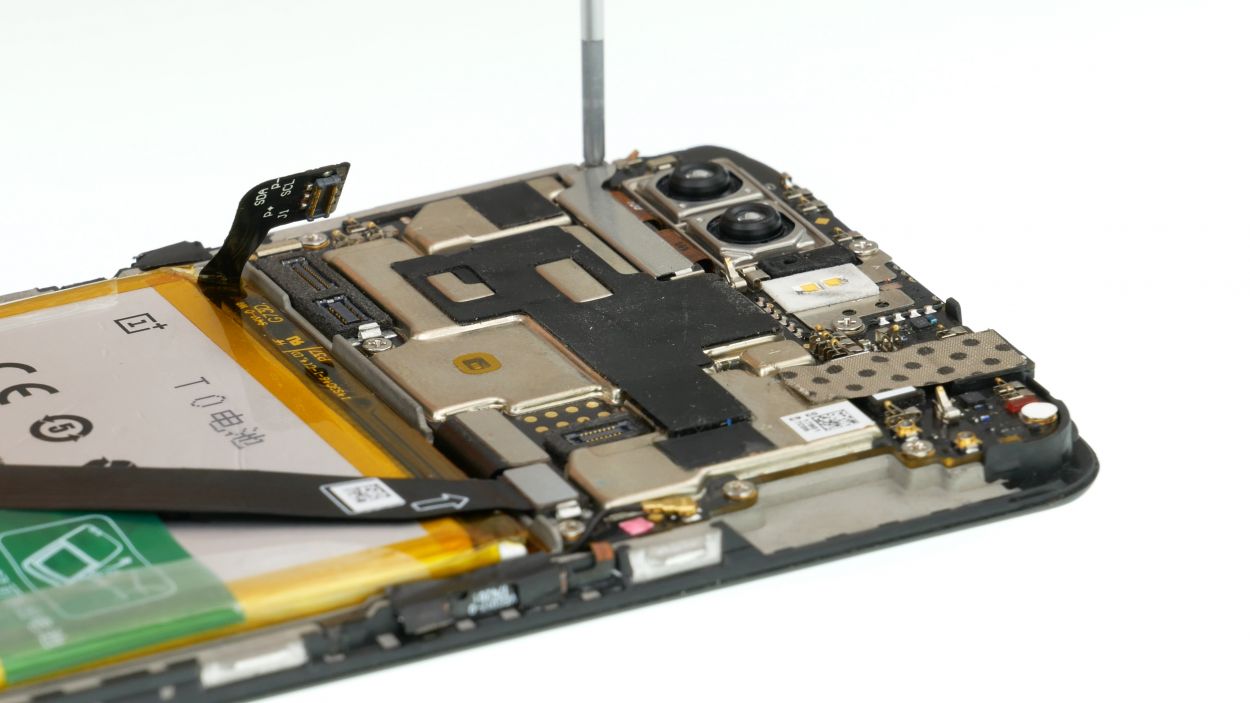
– Start by loosening the screw that holds the cover over the camera connectors, and then gently remove that cover like you’re unveiling a marvelous surprise.
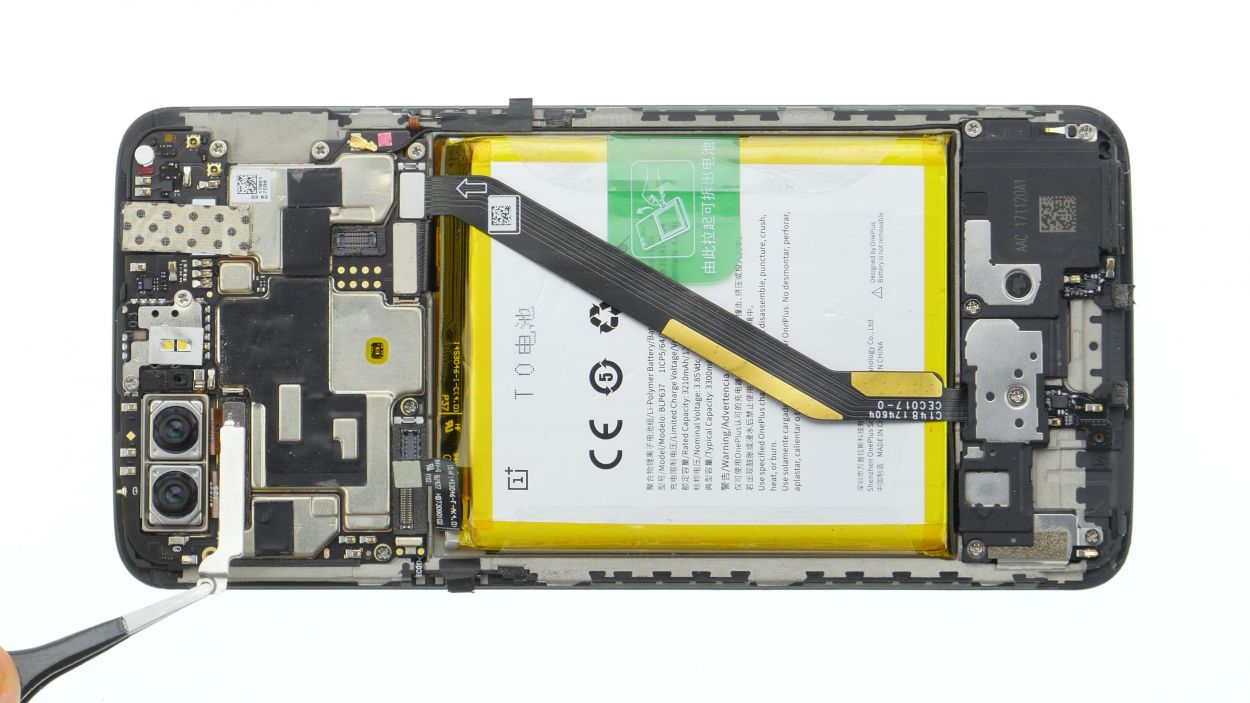
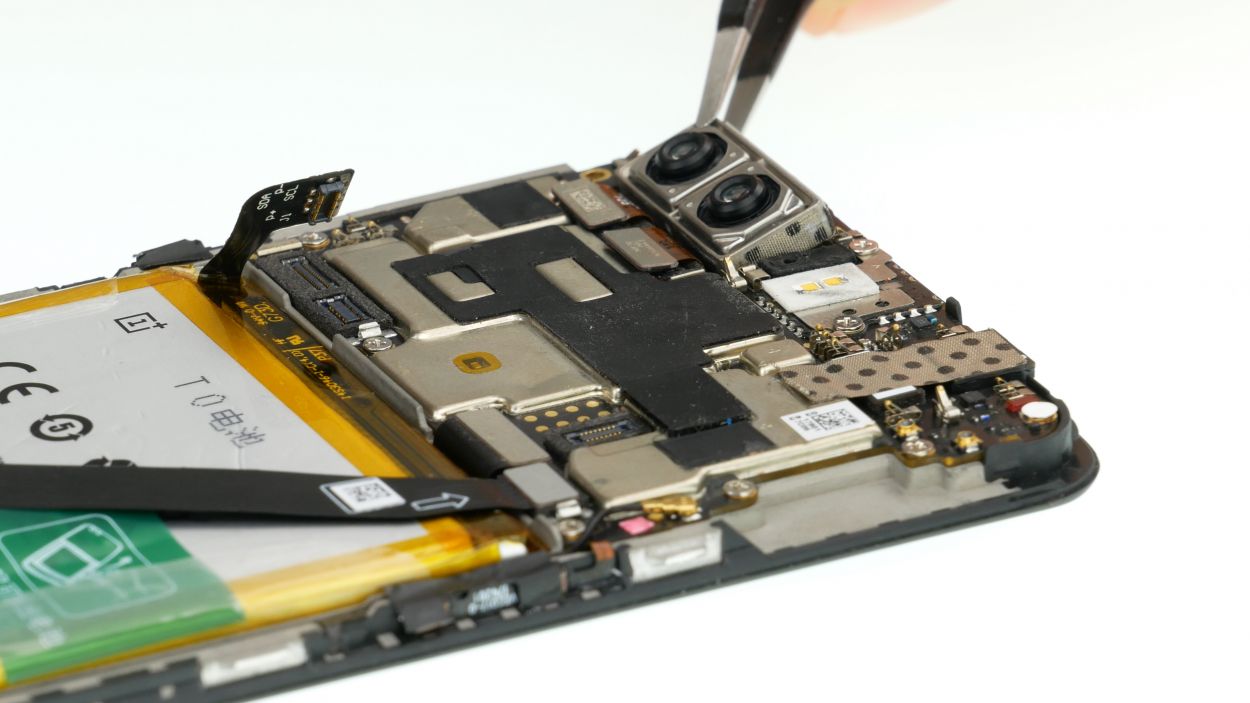
– Next, with a steady hand, unplug the camera connectors using a spudger or even your trusty fingernail—no need to rush, take your time!
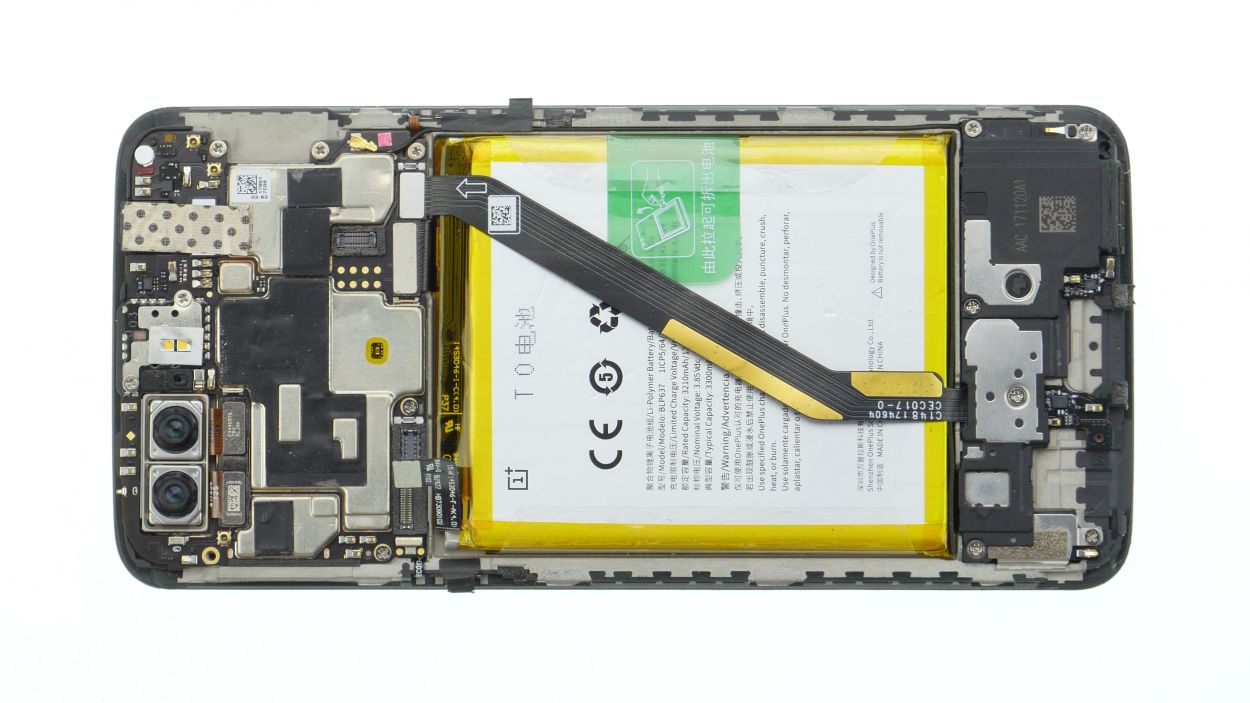
– Once that’s done, you can carefully pry out the camera as if you’re reaching for the last cookie in the jar!
Step 9


Camera Connector
1 × 2,3 mm Phillips
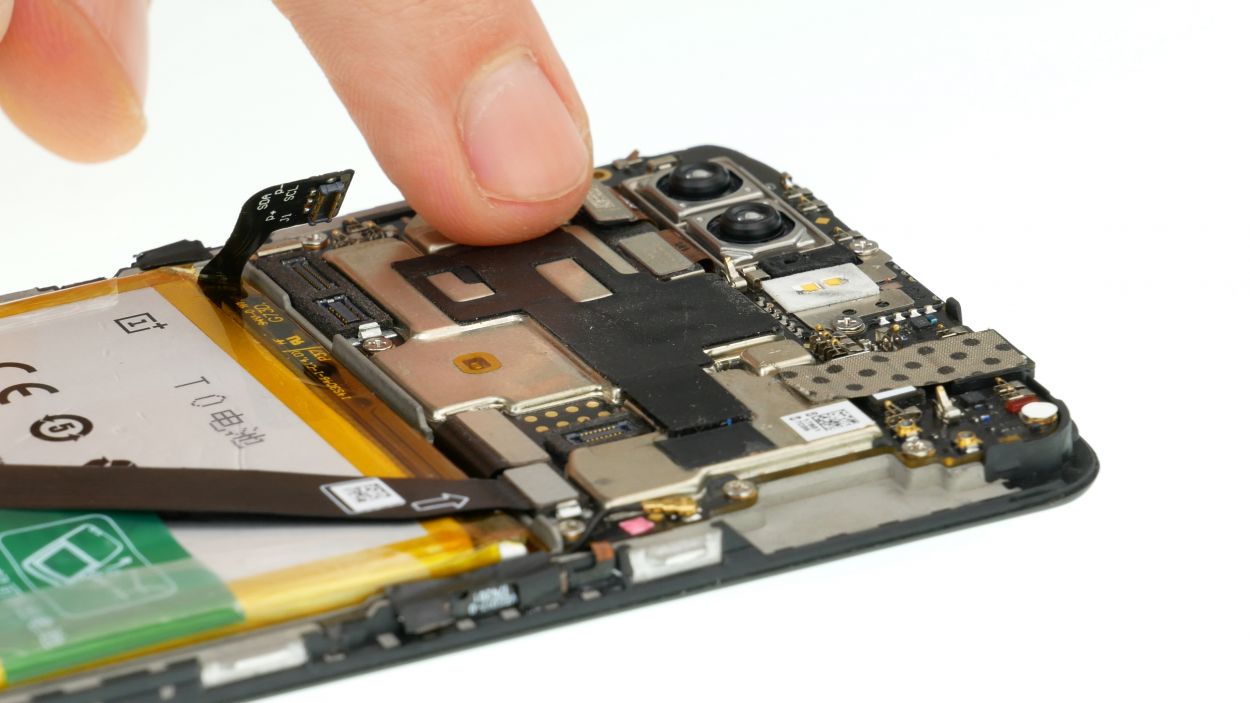
– Pop that new camera into its spot on the motherboard – easy peasy!
– Time to reconnect those connectors. Piece of cake!
– And finally, put the cover back on and give it a good fastening. You’re a rockstar!

Step 11
– Time to plug that battery back in!
– Carefully place the cover back over the battery and the USB/Audio Flex connectors.
Step 12

– Grab those tweezers and gently position the plug just right.
– Give the plug a nice firm press with your fingers to secure it.
Step 13
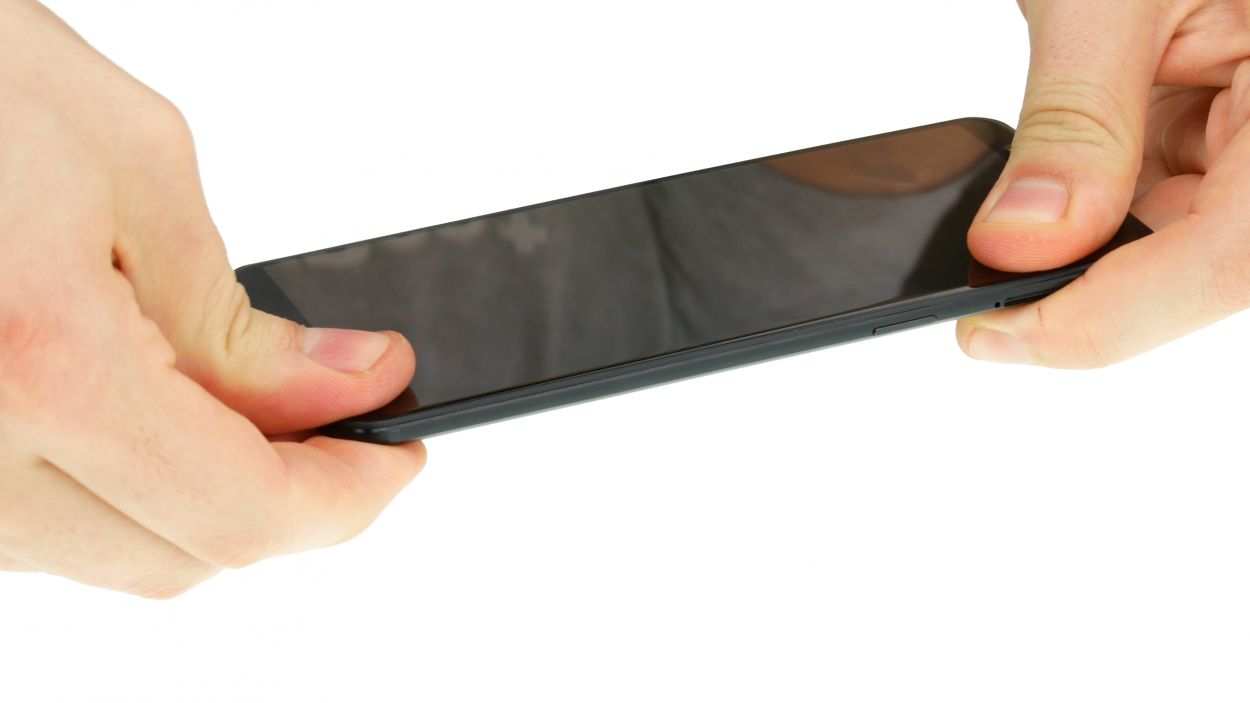
– Alright, grab your device and gently push the display unit back into the back cover. You’ve got this!
– Start by attaching the upper edge first. There are three handy clips waiting for you up there.
– Getting everything clipped together might require a bit of muscle. Use both hands to give it a good squeeze and make sure it all fits snugly.
Step 14
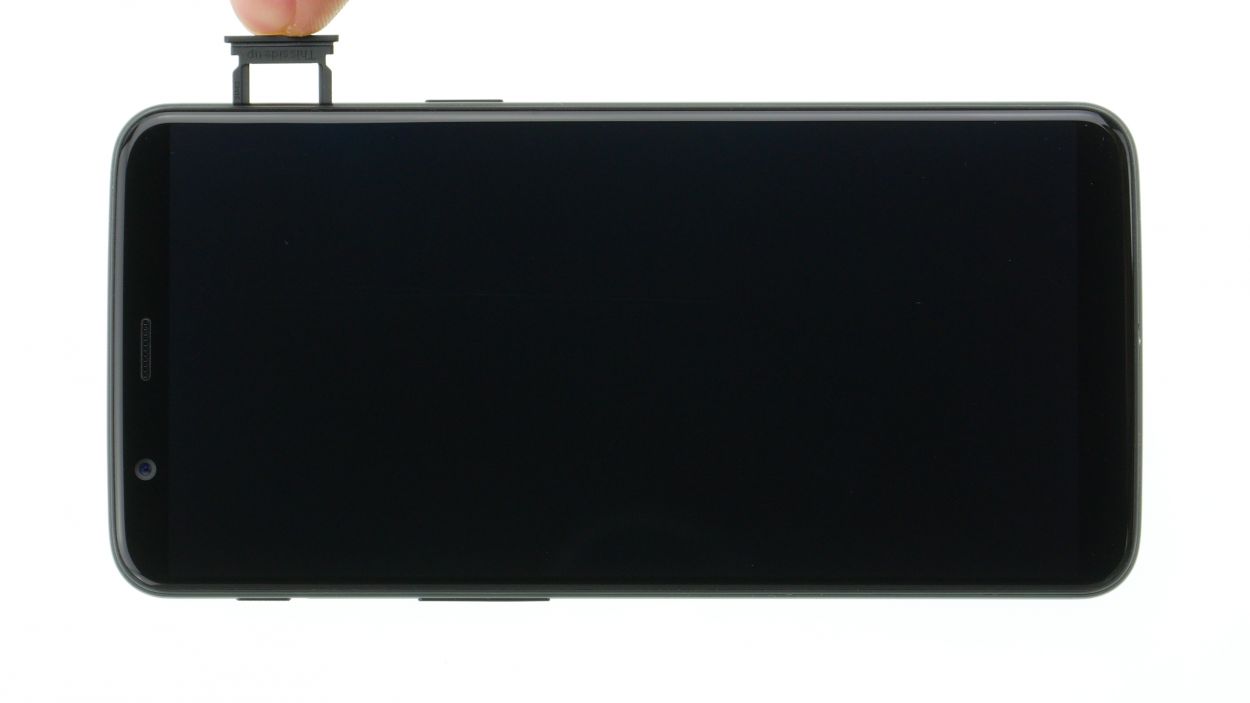
– Pop in those SIM/SD cards and slide the tray back home! Easy peasy!
Step 15
2 × Torx T2
– Fasten the two screws to the left and right of the USB port.