DIY Guide to Replace OnePlus 5T Screen (Other)
Duration: 60 min.
Steps: 35 Steps
Ready to swap out that pesky broken display on your OnePlus 5T? With our easy-to-follow guide, you’ll be a repair pro in no time! We suggest replacing the entire display unit instead of just the shattered glass for the best results. You might need to transfer a few smaller components from your old display to the new one, so keep an eye out! Before you dive in, give your spare part a quick inspection for any damage. If anything looks off, don’t hesitate to swap it out right away. The OnePlus 5T is a breeze to fix—its display is simply hooked into the back shell, not glued, and there aren’t too many different screws to deal with. Just a heads up, loosening the clips on the display can be a little tricky, so take your time! Before you start, make sure to back up your data and set up a clean, well-lit workspace. And remember, patience is key! If you hit a snag, feel free to reach out through our live chat or drop a comment under the step you’re on. Happy repairing!
Step 1
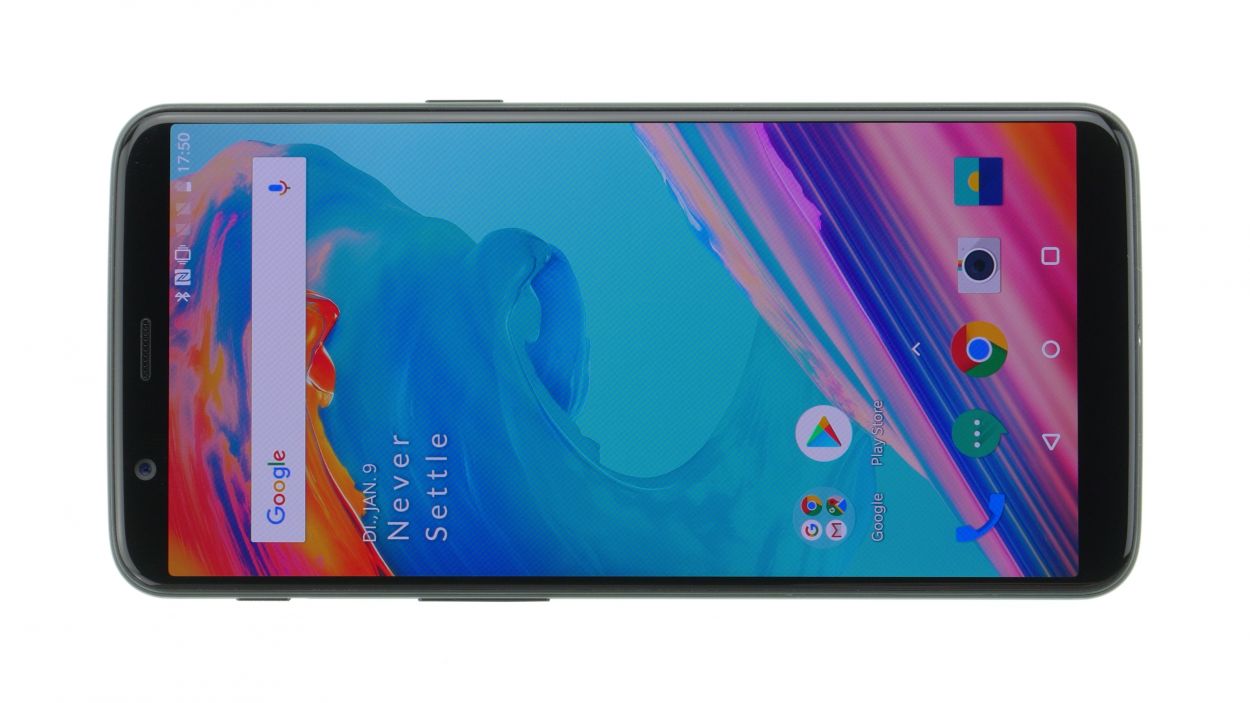
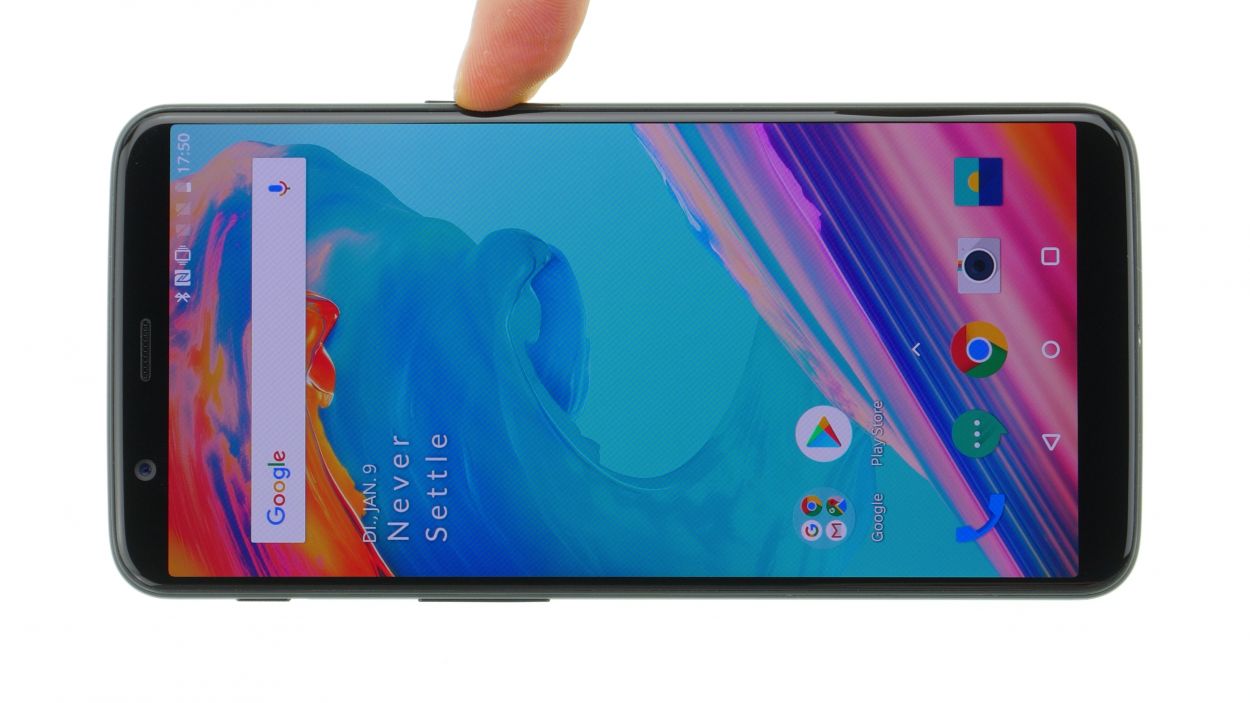
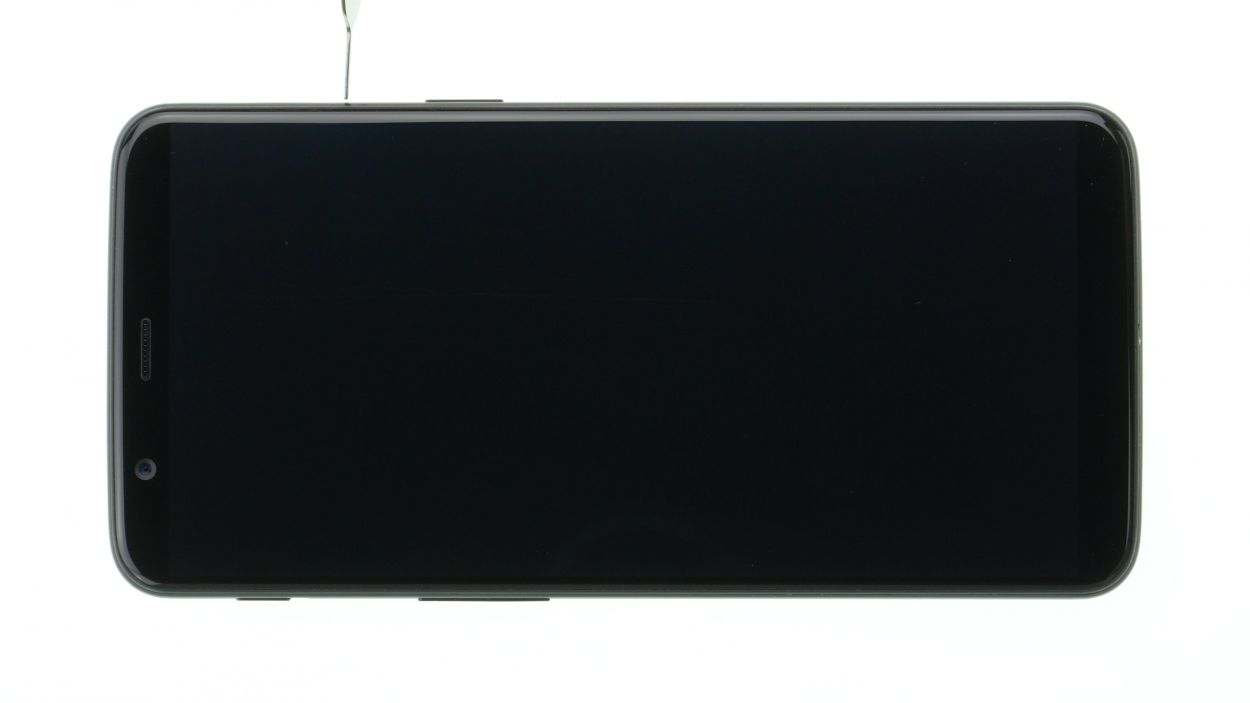
Having touchscreen troubles with your OnePlus 5T? Don’t worry, buckaroo! If it’s not working right, give the standby button a good long squeeze for 10-15 seconds to power it off.
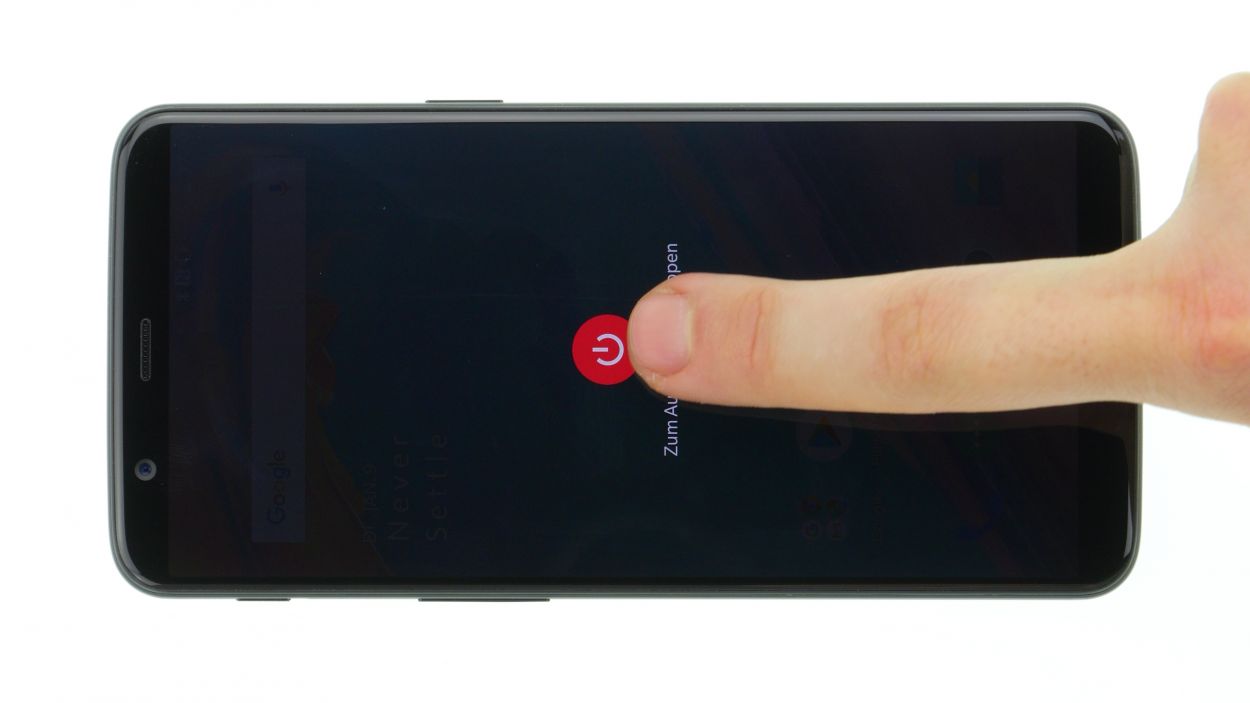
– Time to shut this guy down! Press and hold the power button until you see the ‘Switch off’ option show up.
– Confirm it’s going down with another tap!
Step 2

2 × Torx T2
– Alright, tech squad! Time to get crackin’! Remove the two bottom screws on the case – they’re hangin’ out to the right and left of that USB port. It’s like a little doorstop, just chillin’ over there, waitin’ for you to let it do its thing!
– Now, place those screws in a safe spot, like a magnetic pad or sorting box. Easy peasy!
Step 3

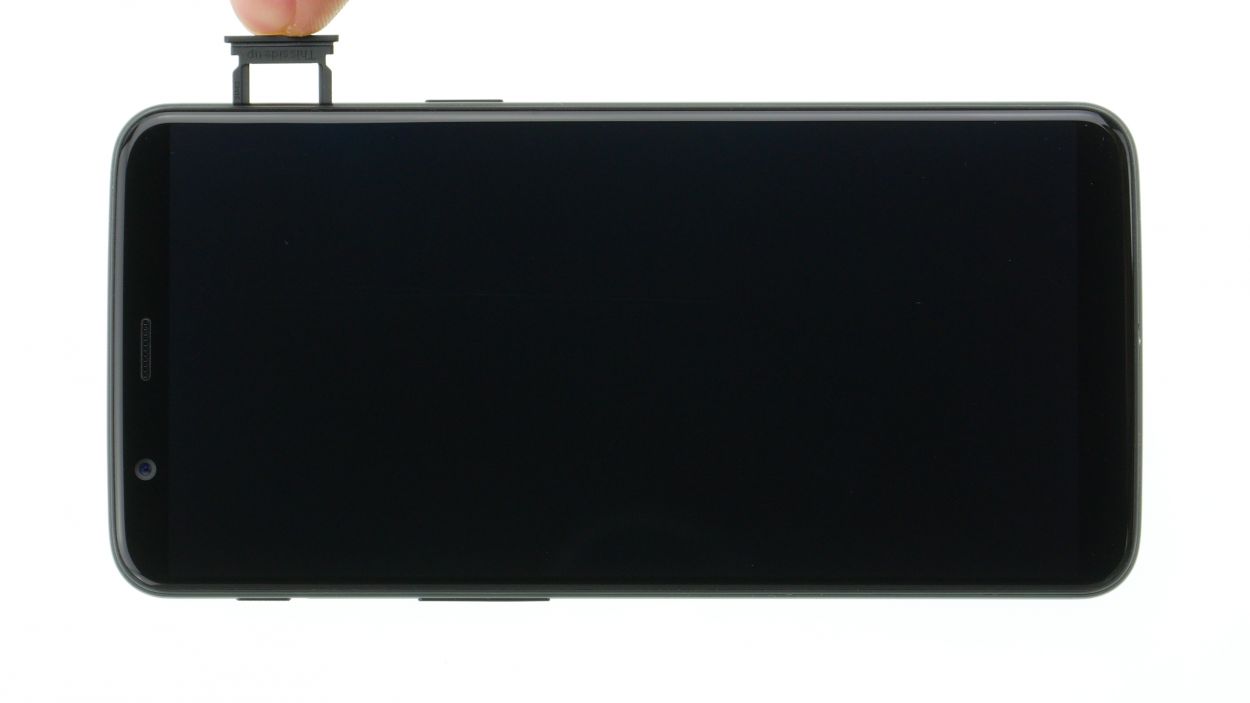
– Remove the SIM card holder with a cool tool or a handy paper clip! Stick the tool into the teeny-tiny hole on the SIM tray and gently pull it out. Easy peasy!
Step 4
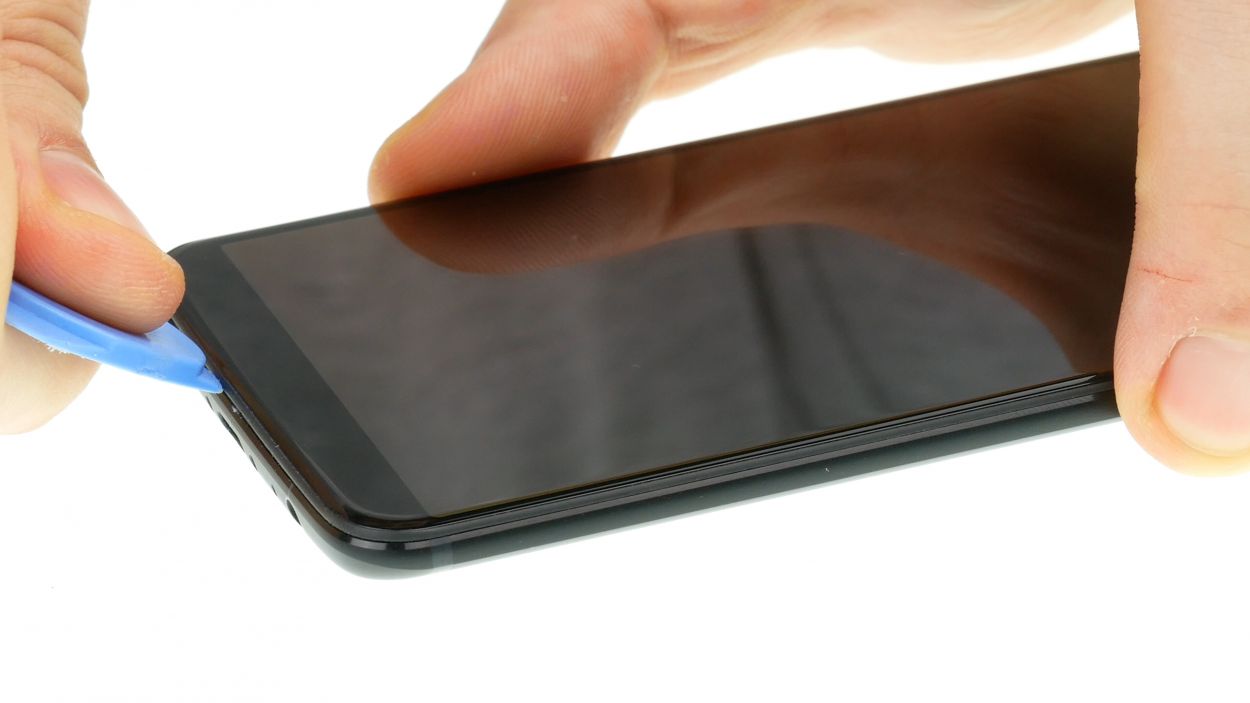

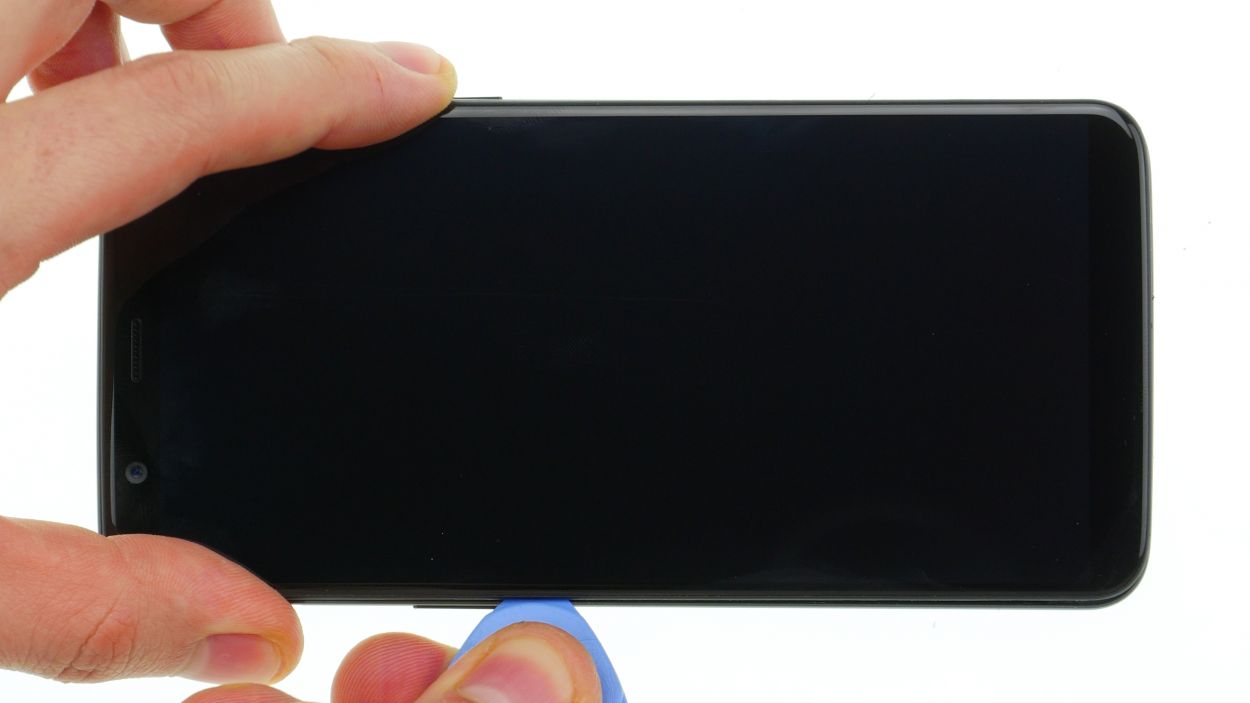
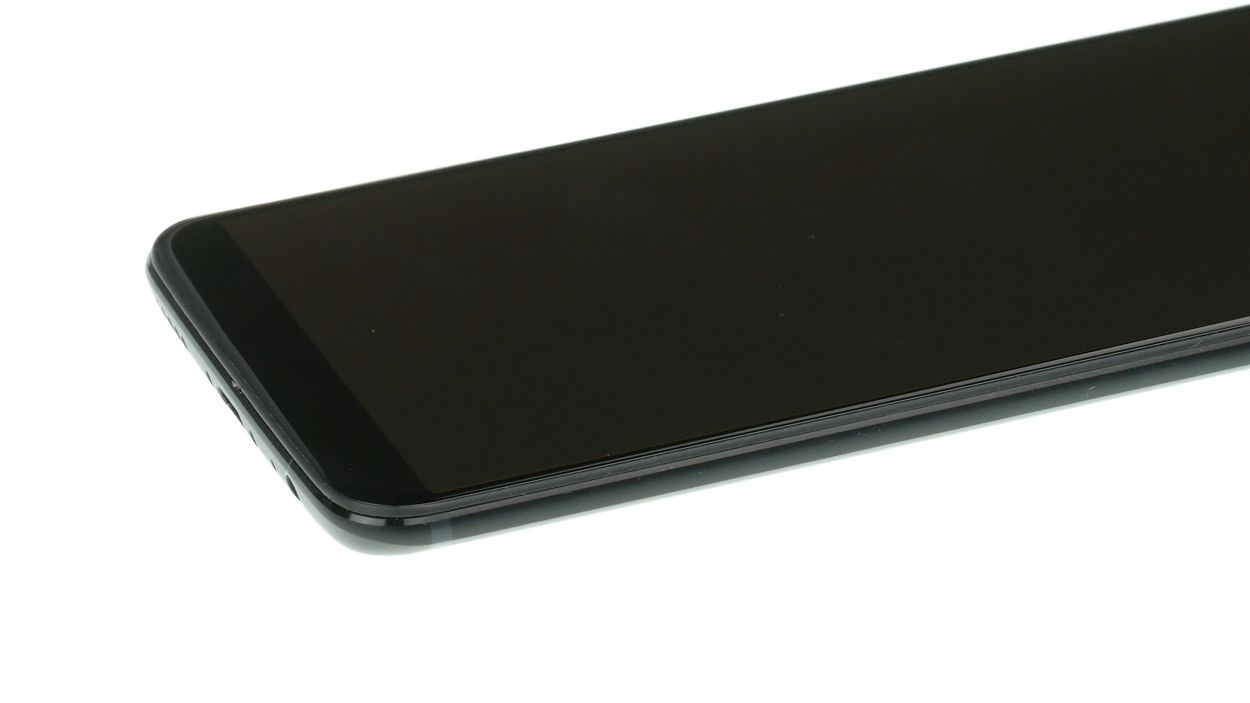
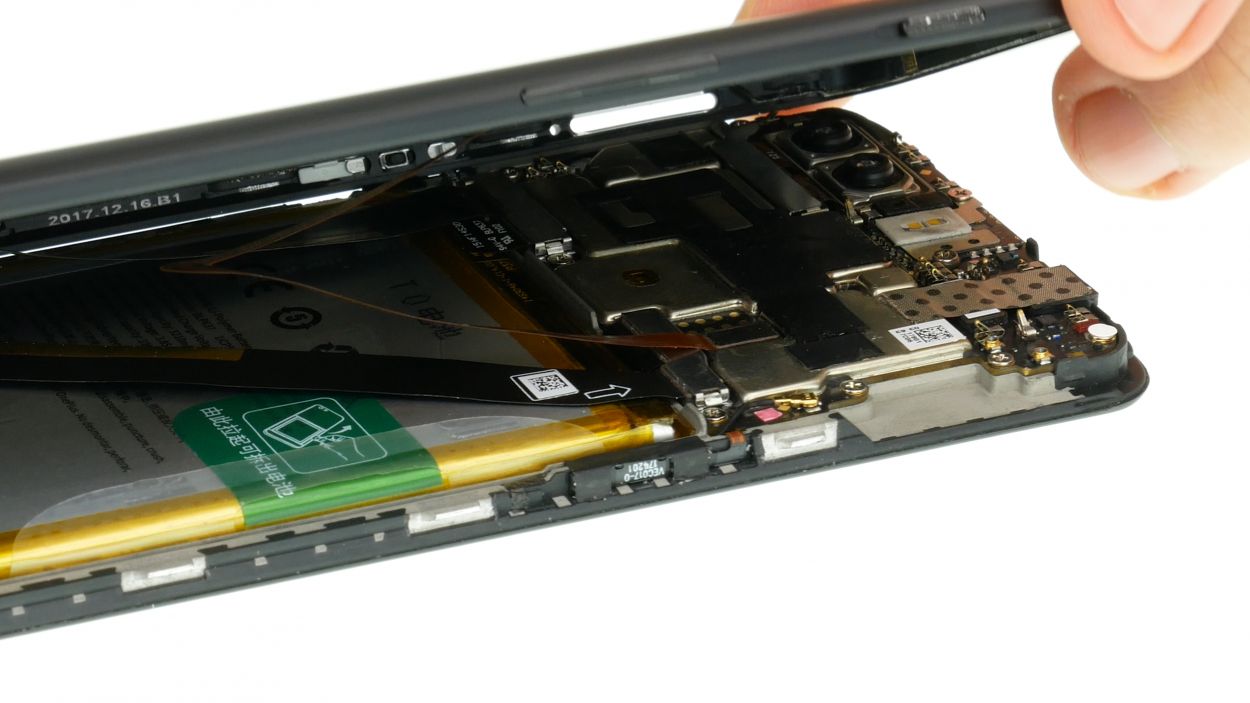
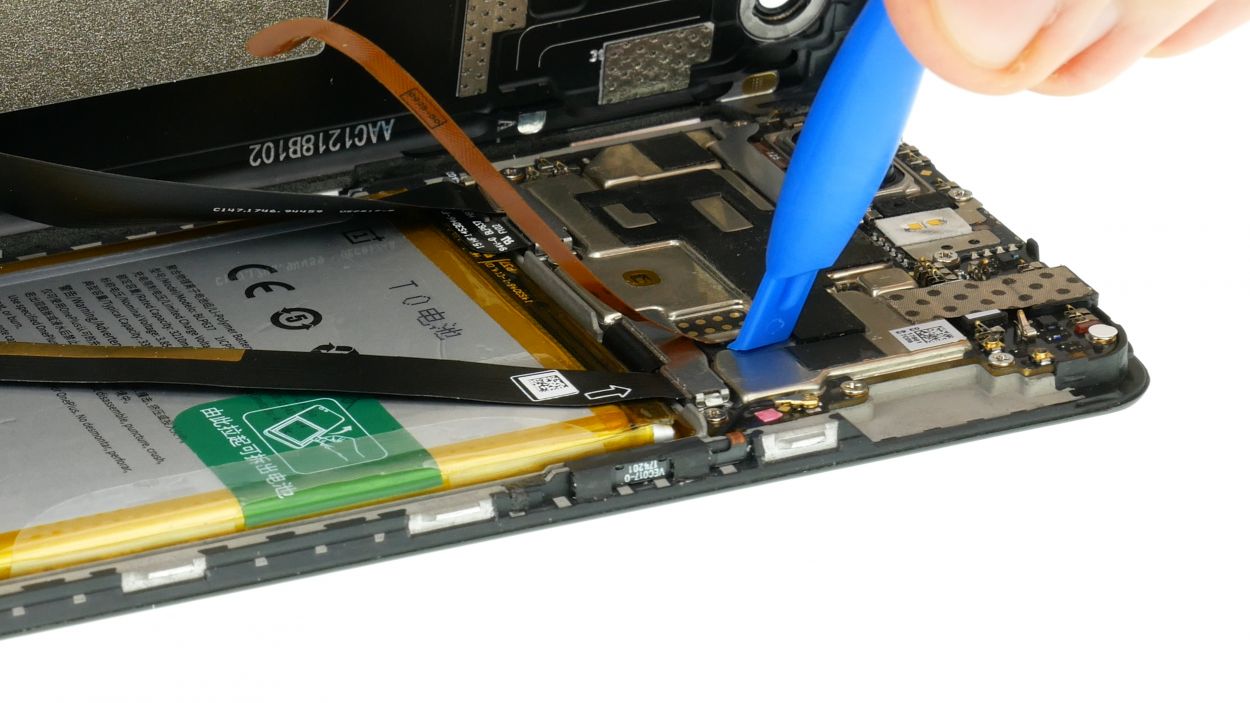
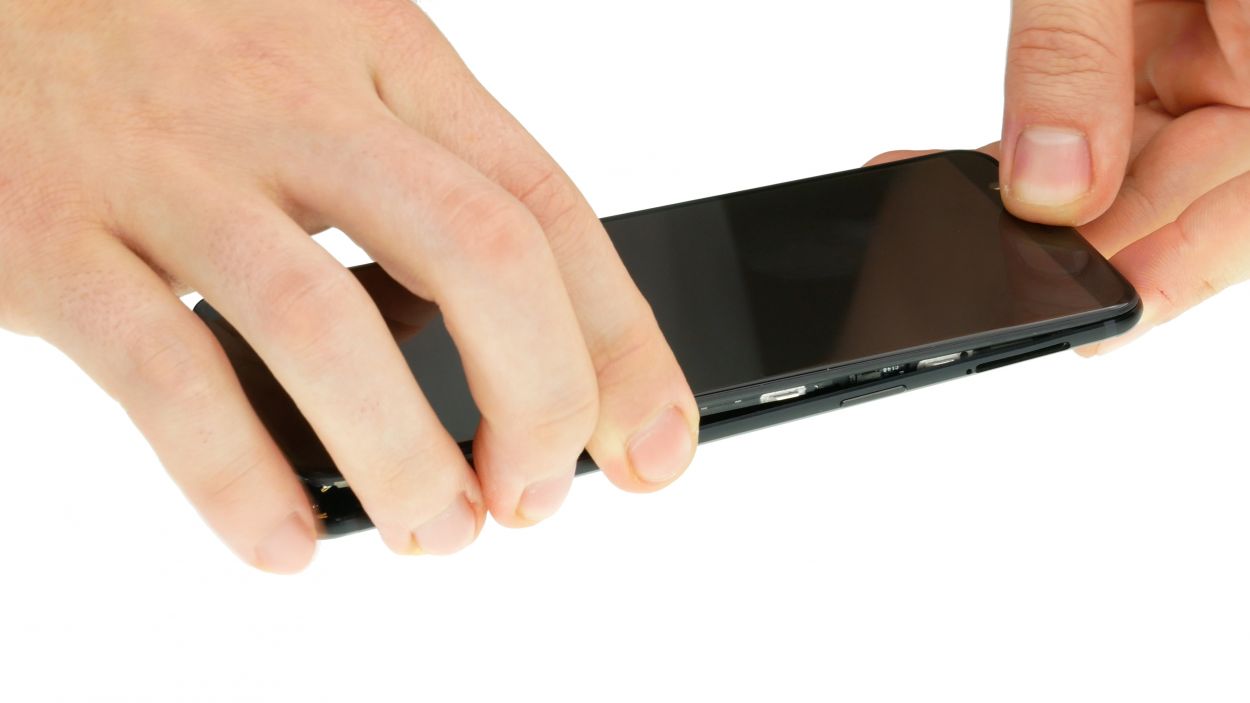
– Gently press down the back shell’s frame with the end of your trusty plectrum, and slide that plectrum into the little gap you’ve created. Going for a sturdy plastic plectrum with a stopper is a smart move—this way, it won’t wander too far into the device and accidentally bump into any delicate components.
Time to get your OnePlus 5T sparkly clean! Gently place it on a soft, static-free mat or a microfiber cloth. Think of it as a spa day for your device! If you need help, you can always schedule a repair
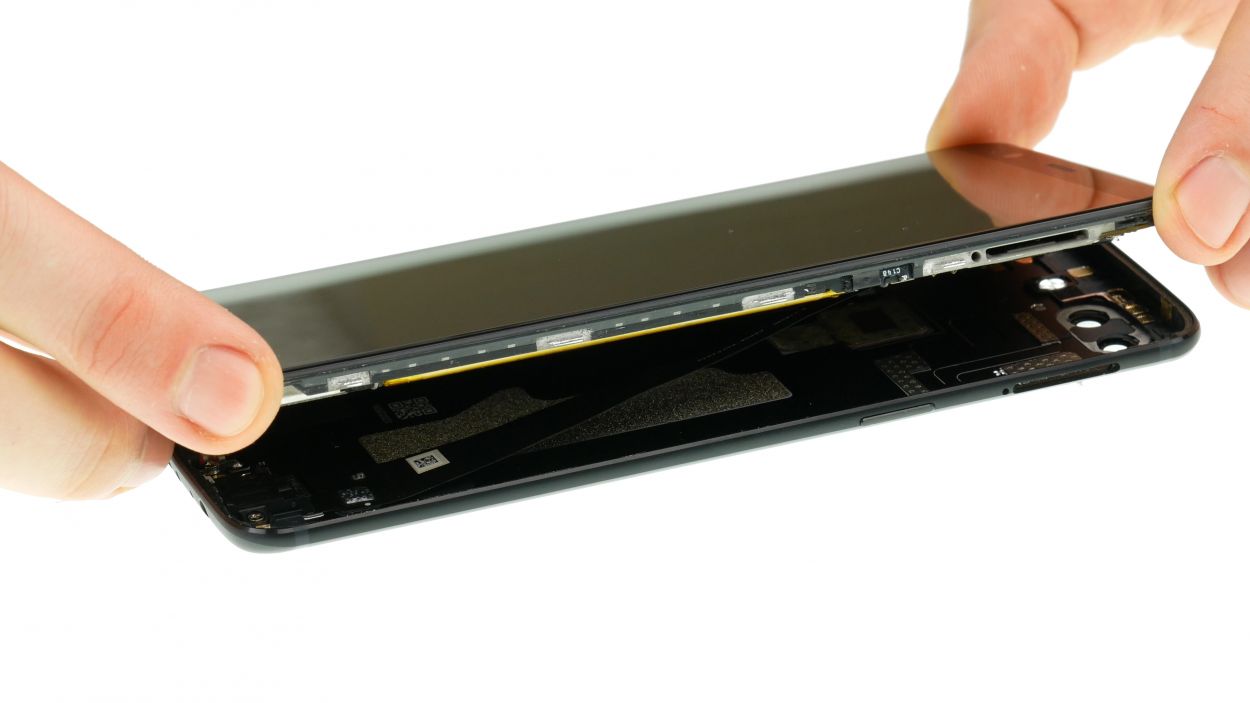
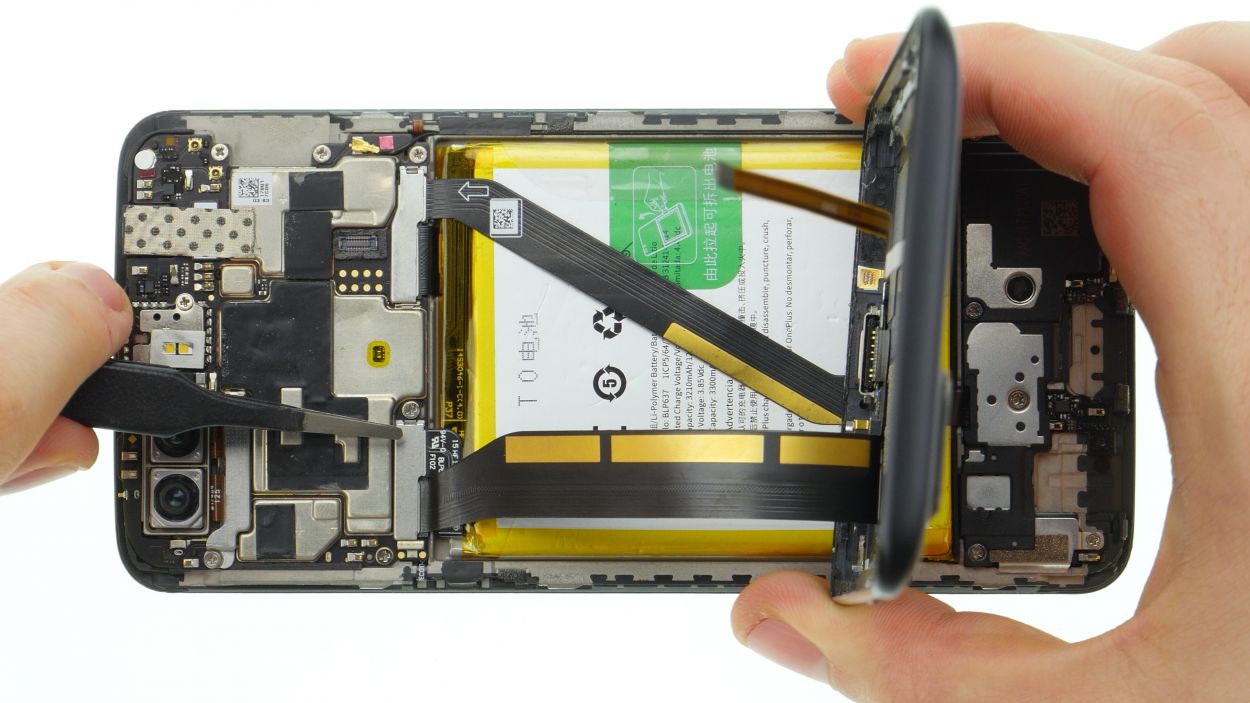
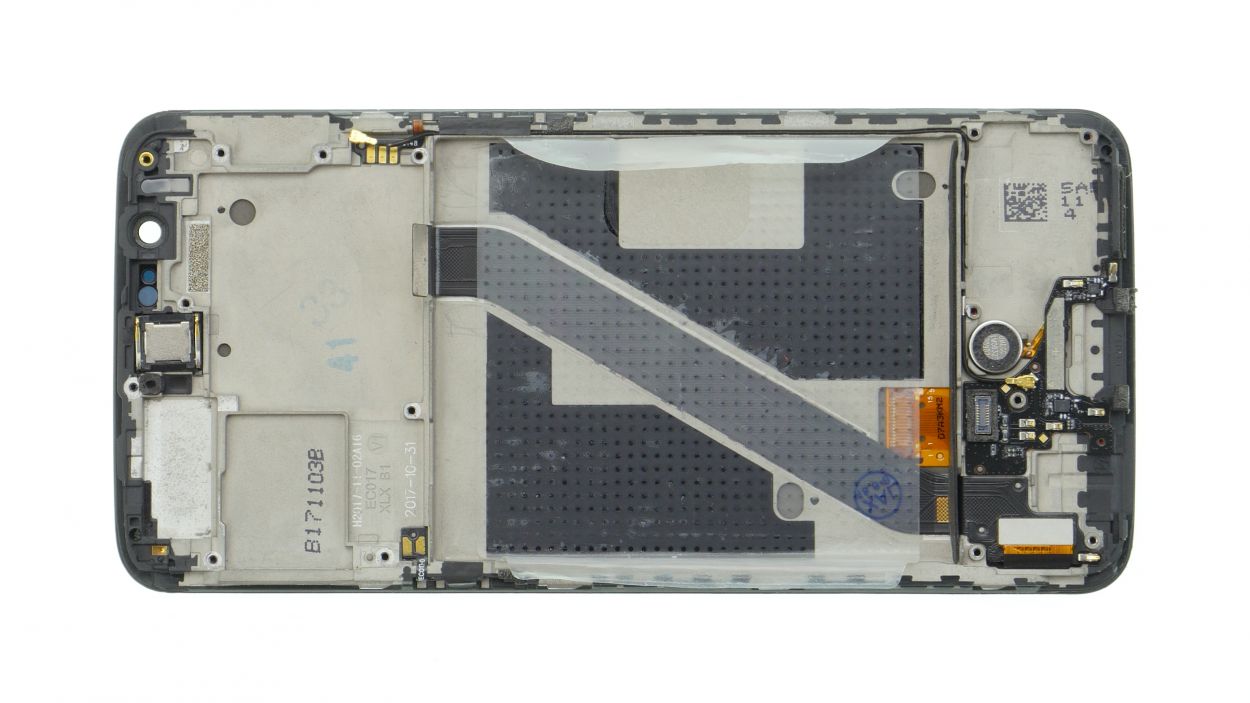
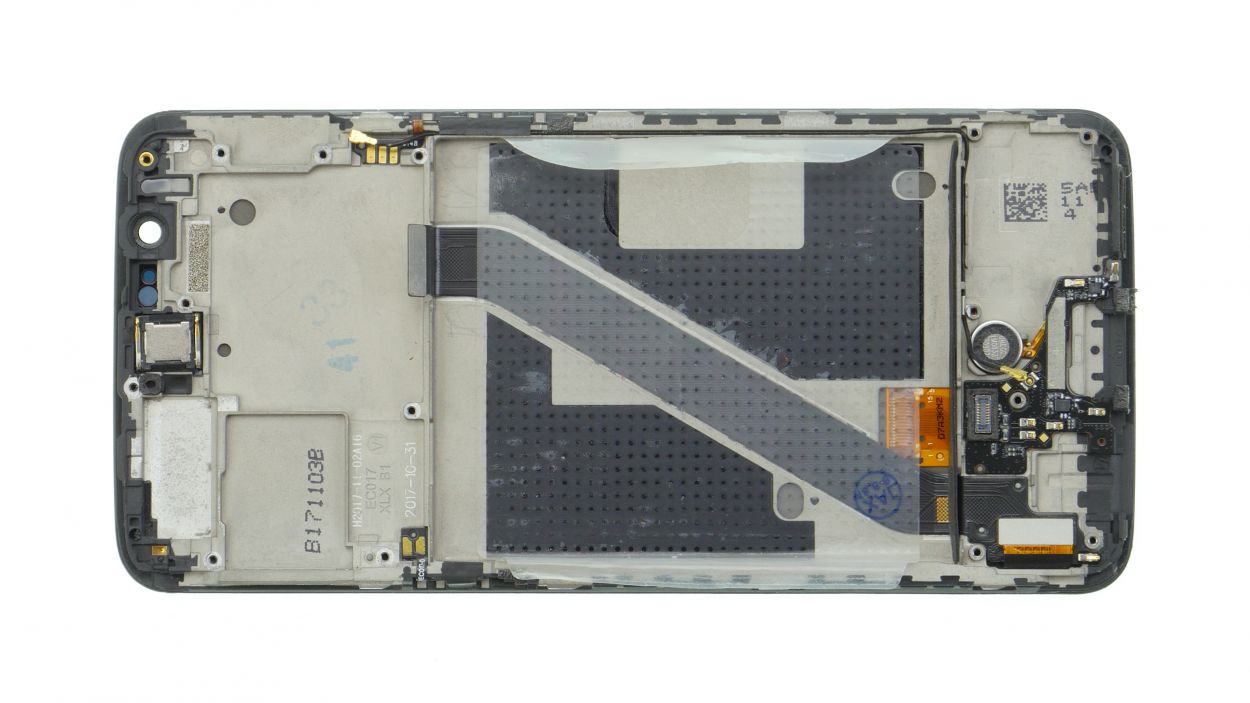
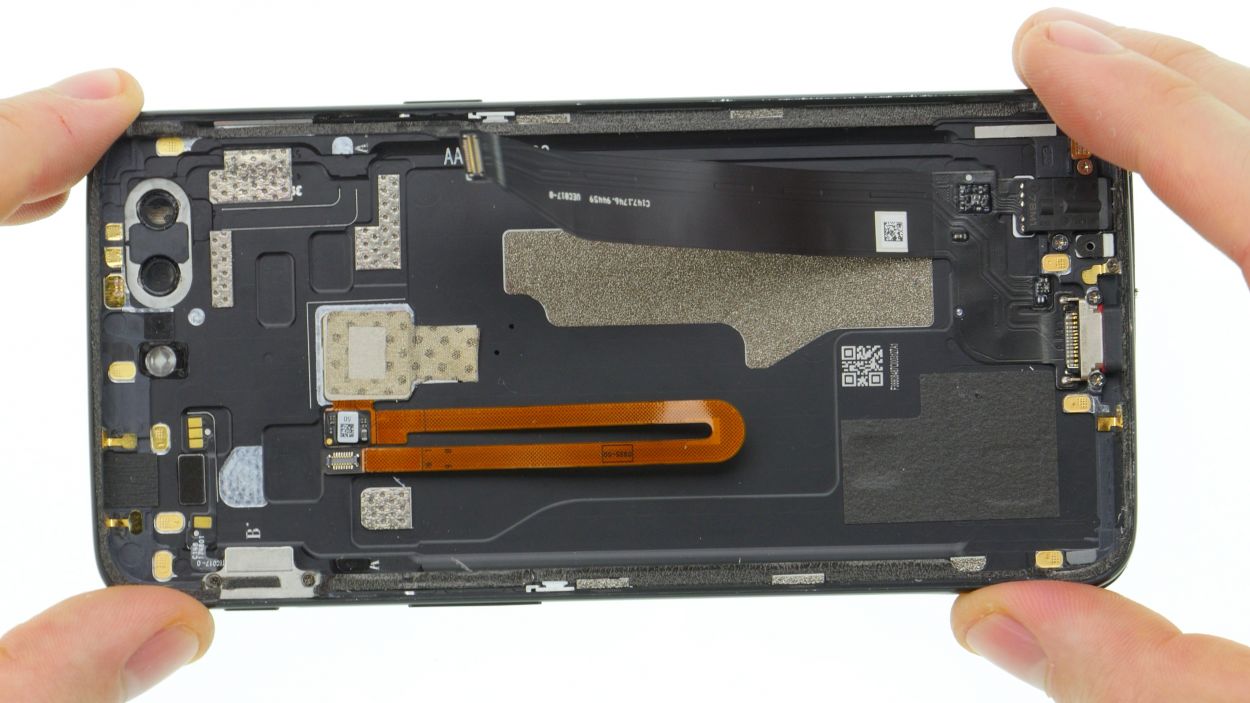
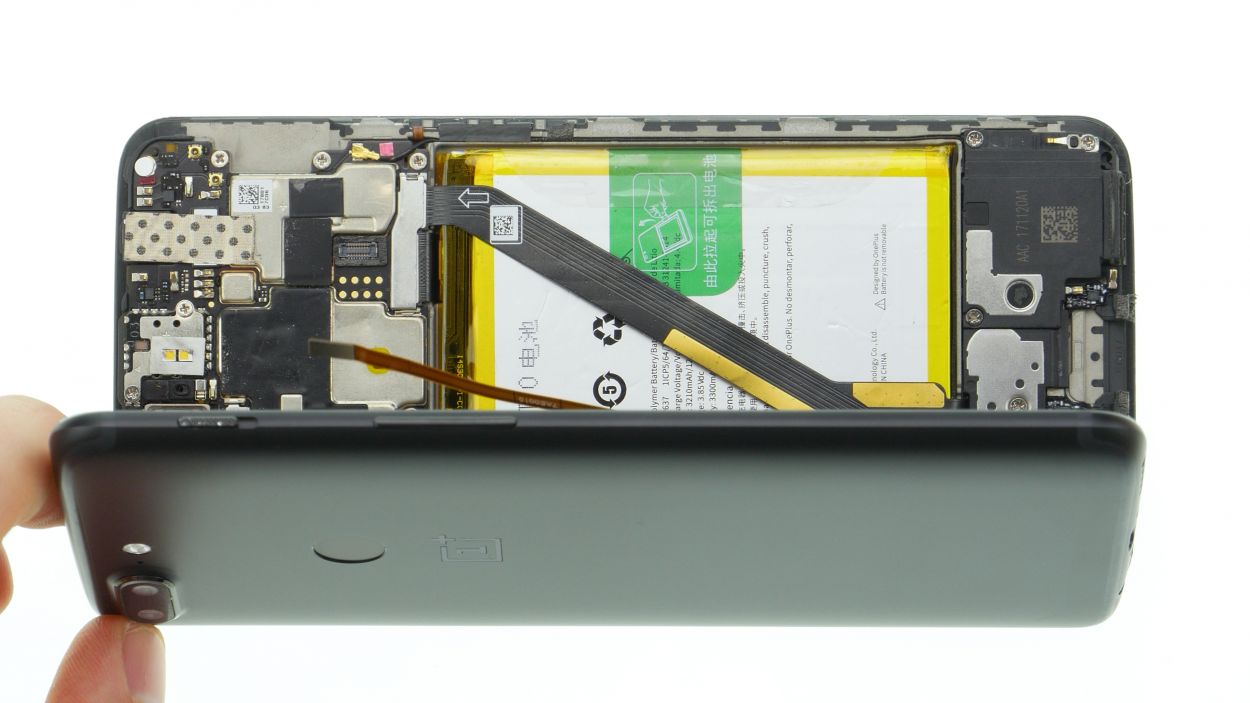
Yo! The OnePlus 5T is all about two parts: the super stylin’ back cover and the blinged-out display unit. And guess what? The brains and the pretty face (screen) chill in the display unit, while the back cover rocks it like a protective case. Now, let’s get this party started and fix your baby!
Step 5
Fingerprint Connector
– Flip your device over so the screen is facing down. Easy peasy!
Step 6

Battery Connector
First things first, let’s keep things safe! Disconnect that battery ASAP to dodge any pesky short circuits. You’ve got this!
– Gently lift off the cover protecting the battery connector using your trusty ESD tweezers.
– Next up, carefully disconnect the battery with a plastic spudger. You’ve got this!
Step 7

USB/audio flex Connector
– Whoa, you’re getting started! First off, let’s disconnect the USB/audio flex cable from the mainboard. Easy peasy!
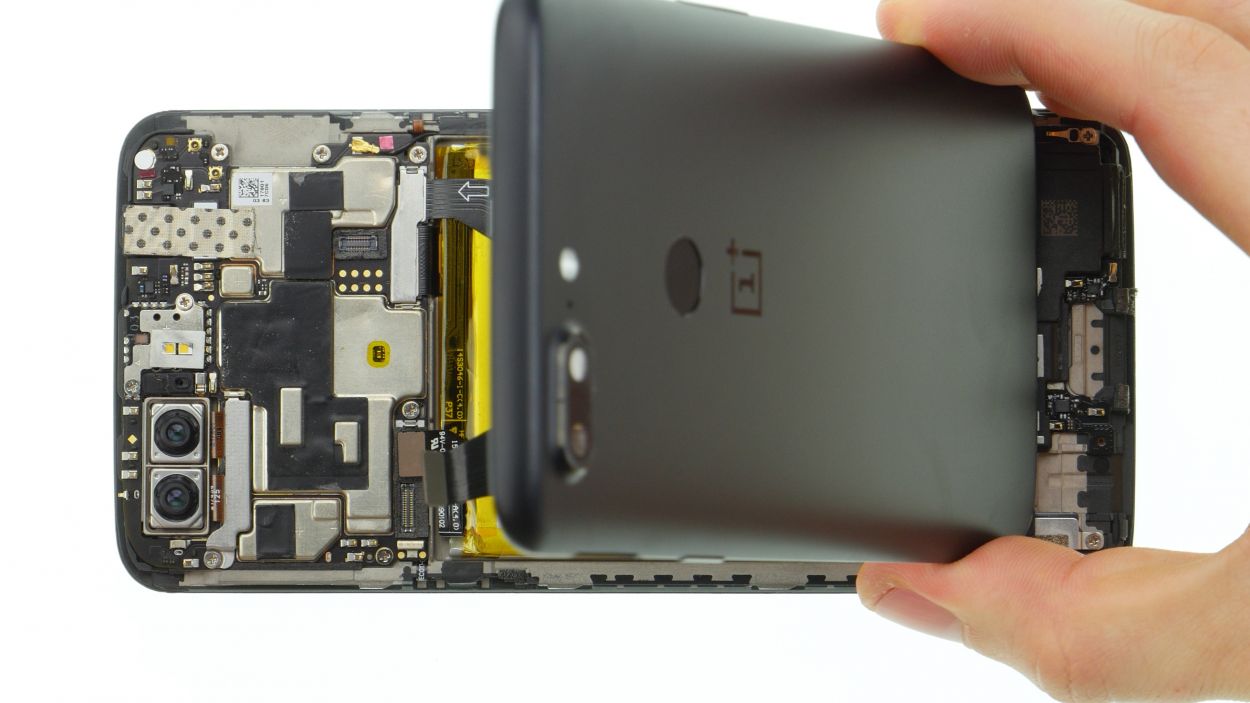
– You got this! Now that’s done, it’s time to put that backcover aside. You’re making great progress!
Step 8
6 × 2,3 mm Phillips
– Unscrew those six little Phillips head screws holding the speaker in place – easy peasy!
– And with a gentle tug, pop that speaker right out! You’re doing great.
Step 9

9 × 2,3 mm Phillips
Hey there! Spot a tiny white sticker hiding a screw? No sweat! Grab your trusty tweezers, give that sticker the boot, and set it aside for safekeeping. We’ll put it back later – no worries!
– Let’s get this show on the road! First, give that flex cable cover the boot and disconnect the connector.
– Next, unscrew those 9 Phillips screws holding down the mainboard. Easy peasy!

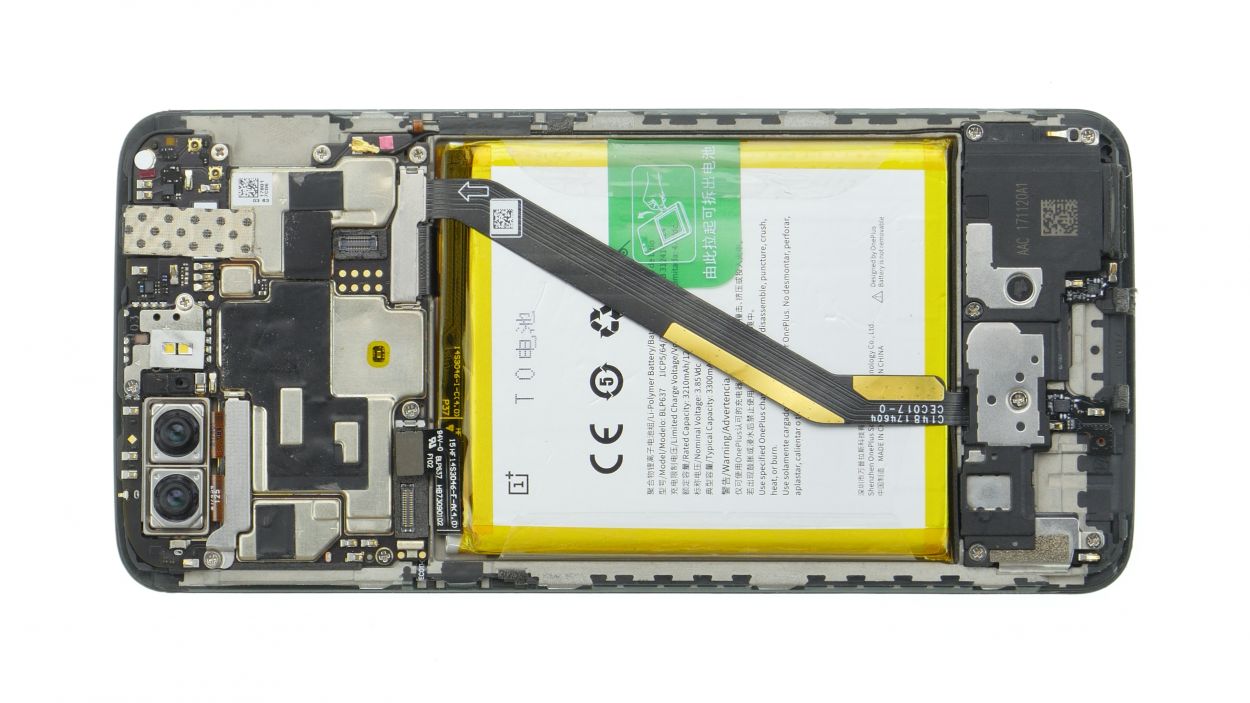
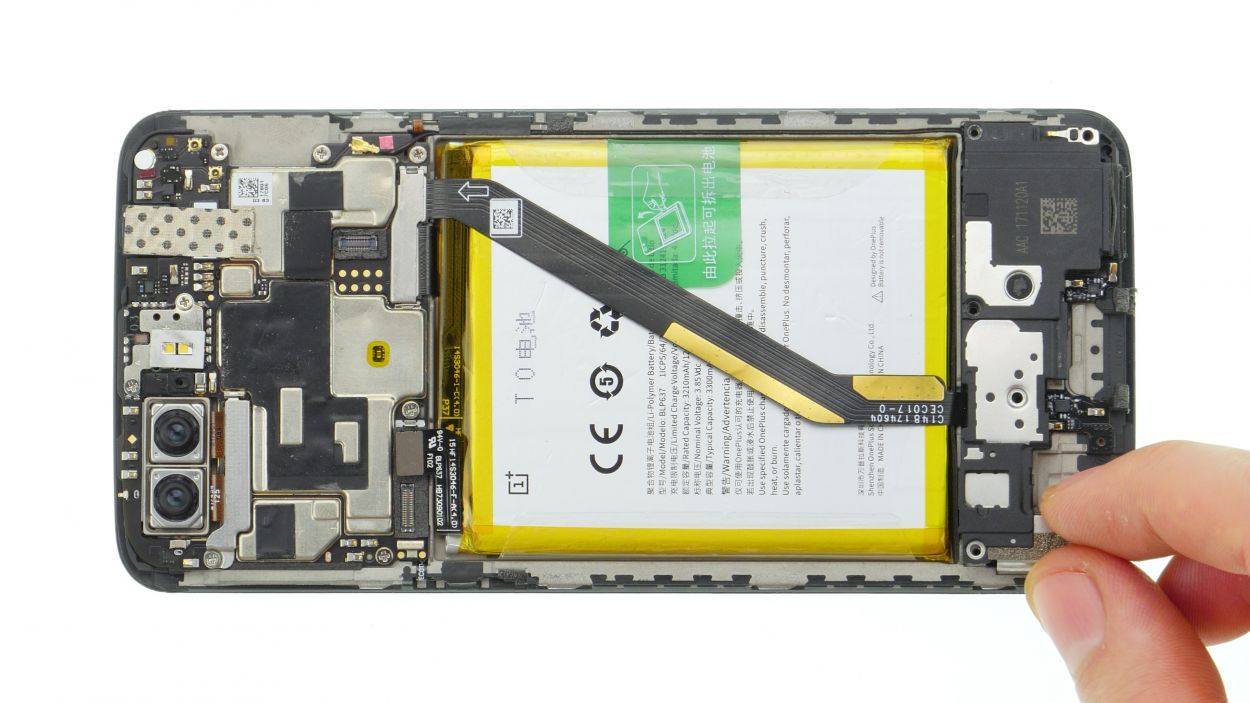
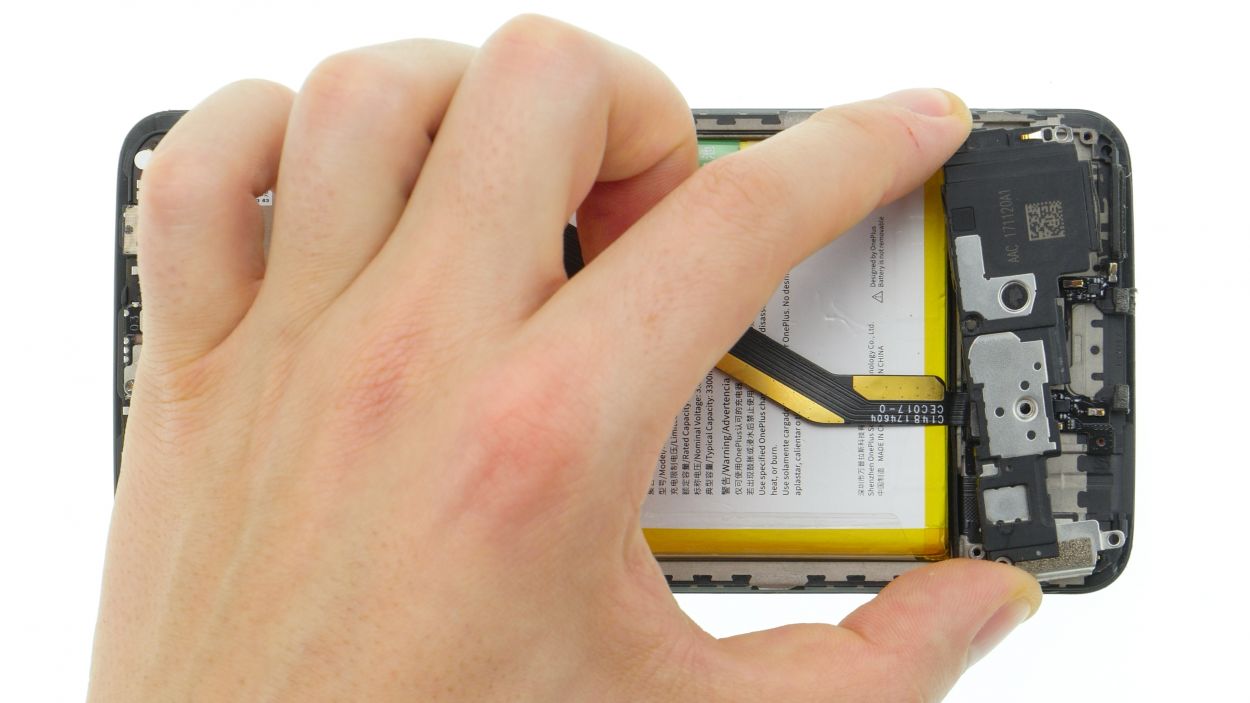
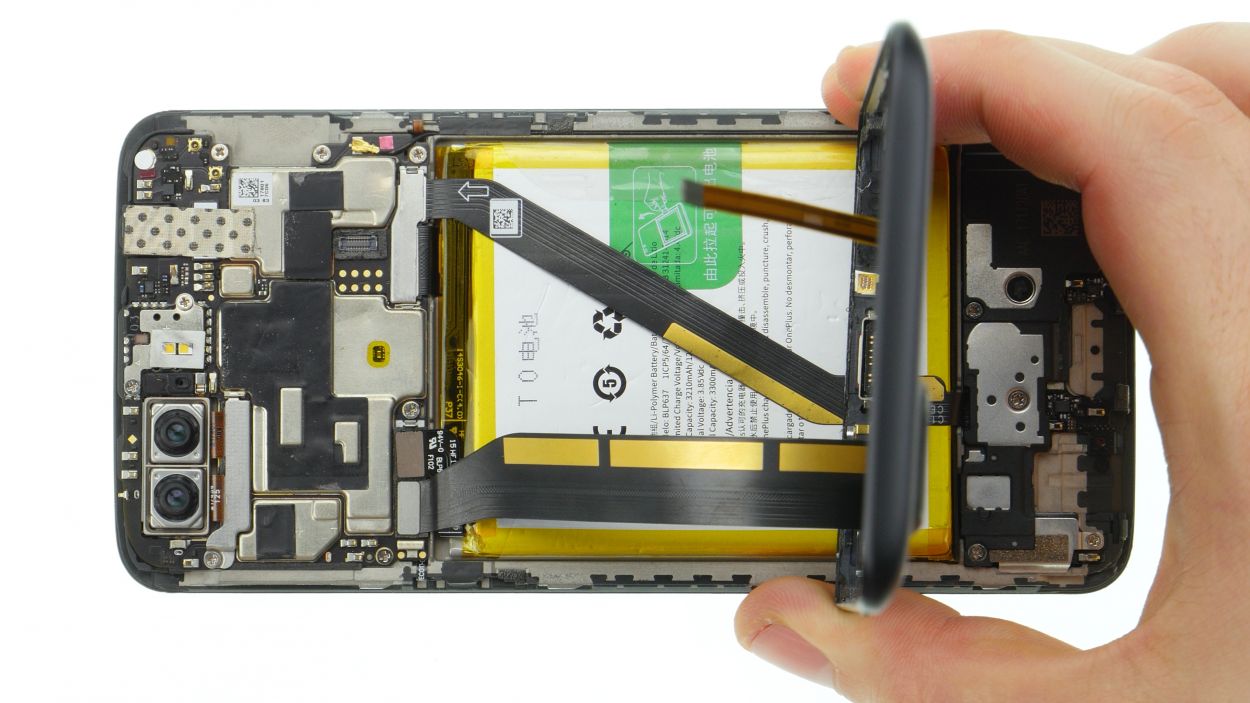
Step 11
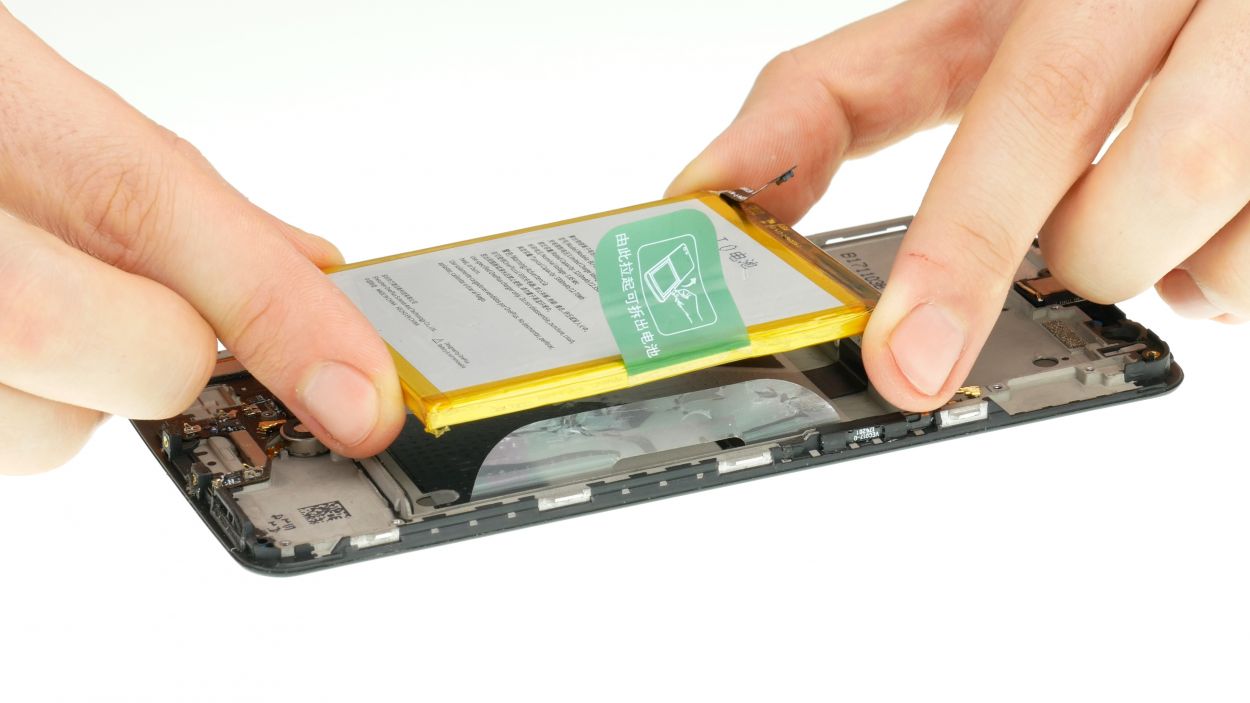
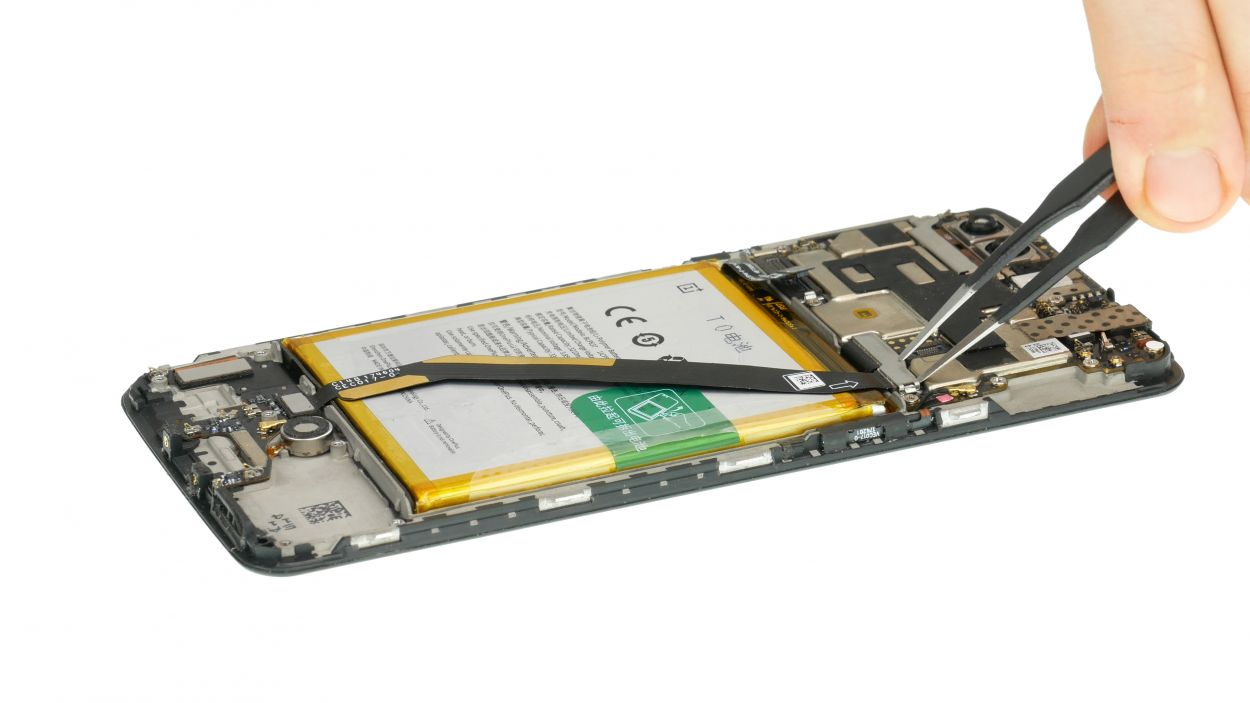
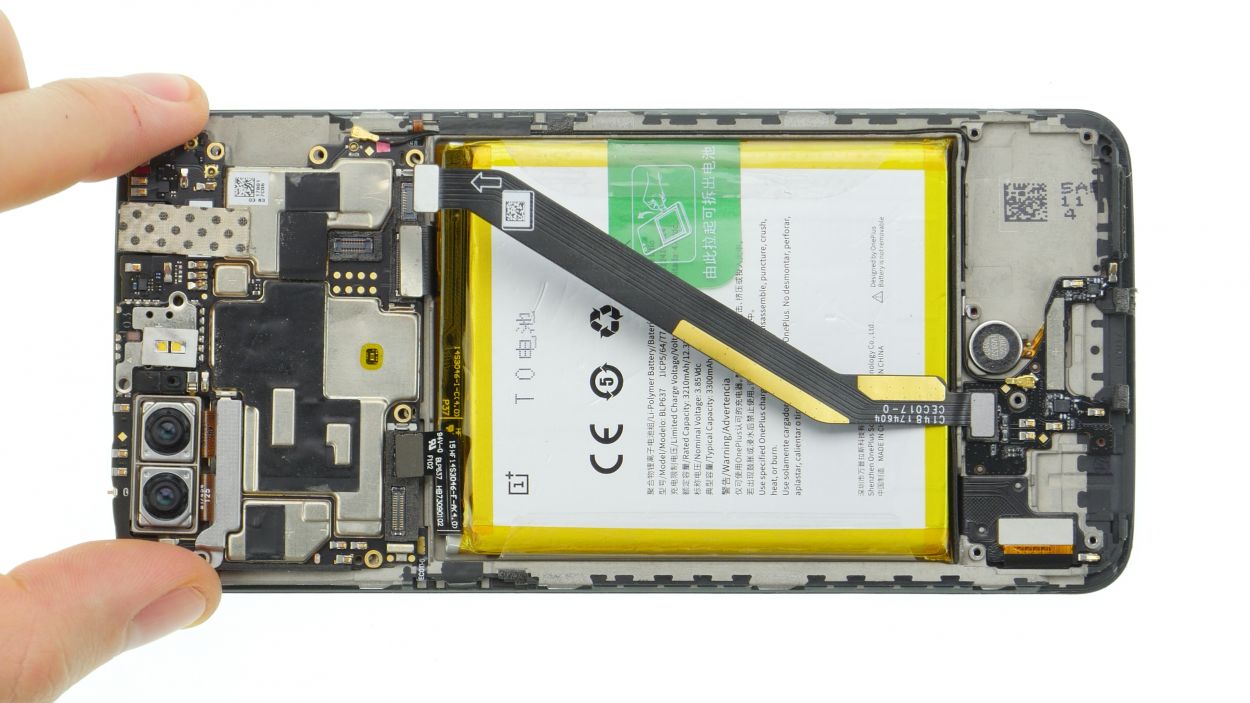
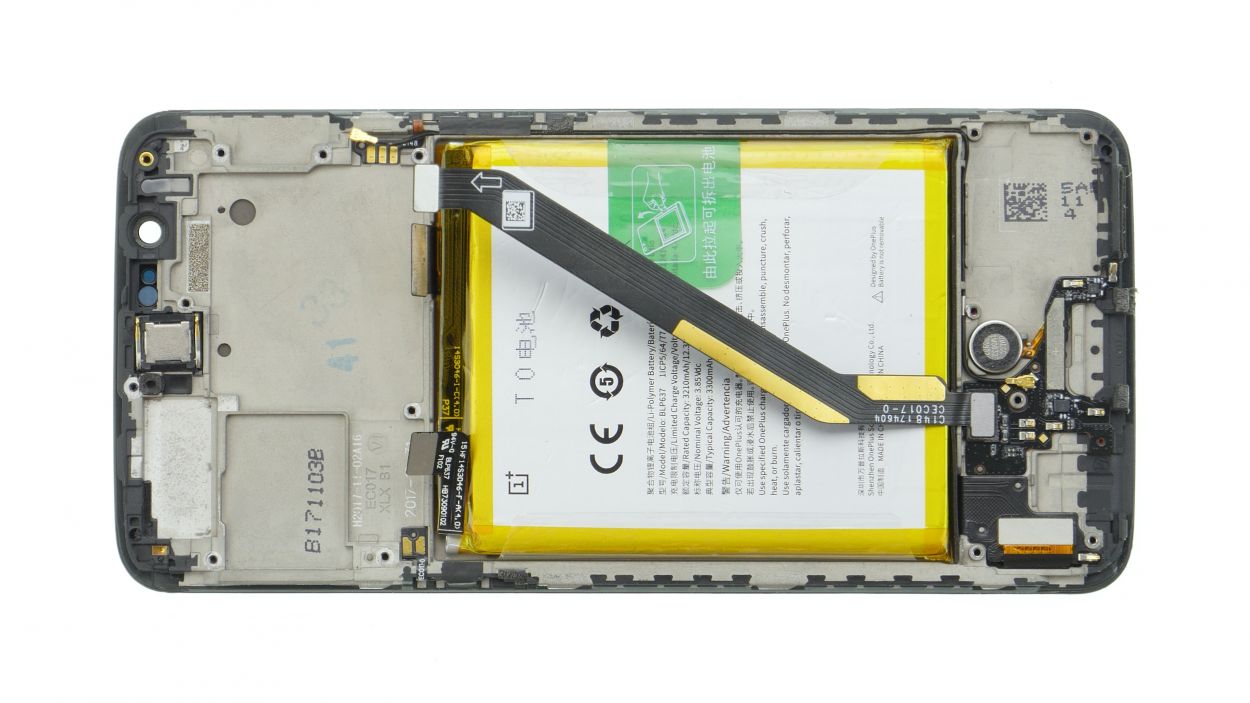
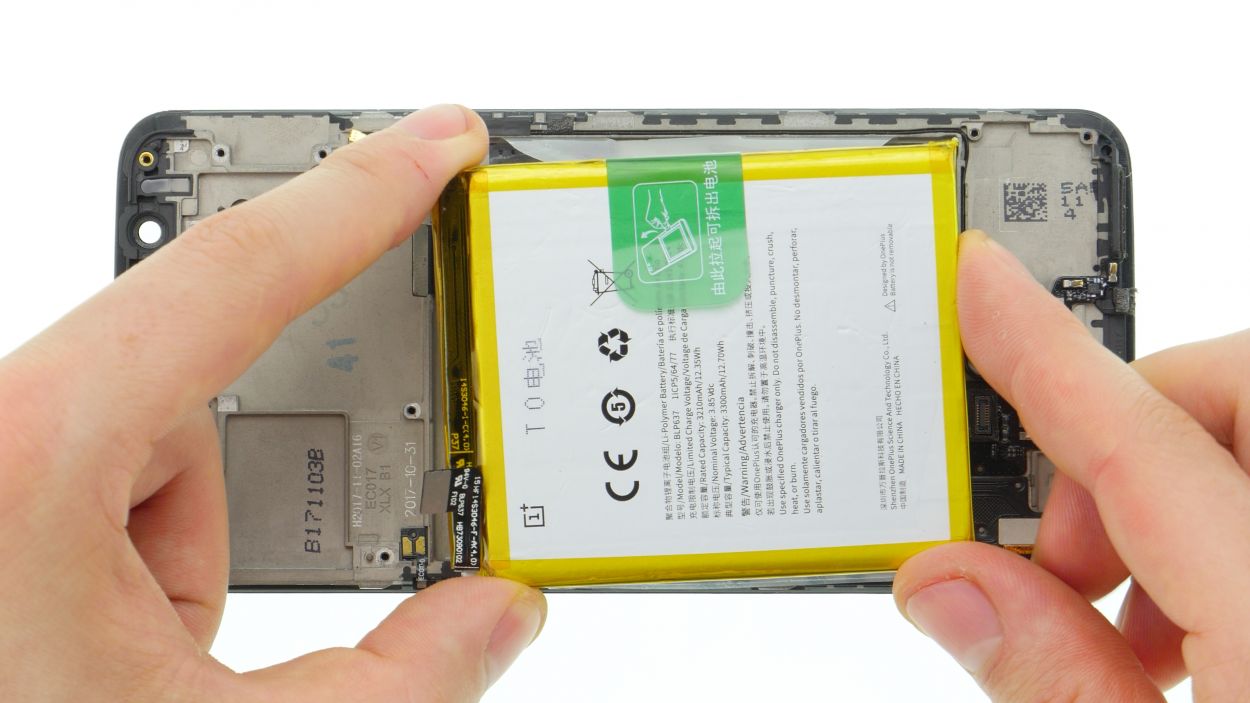
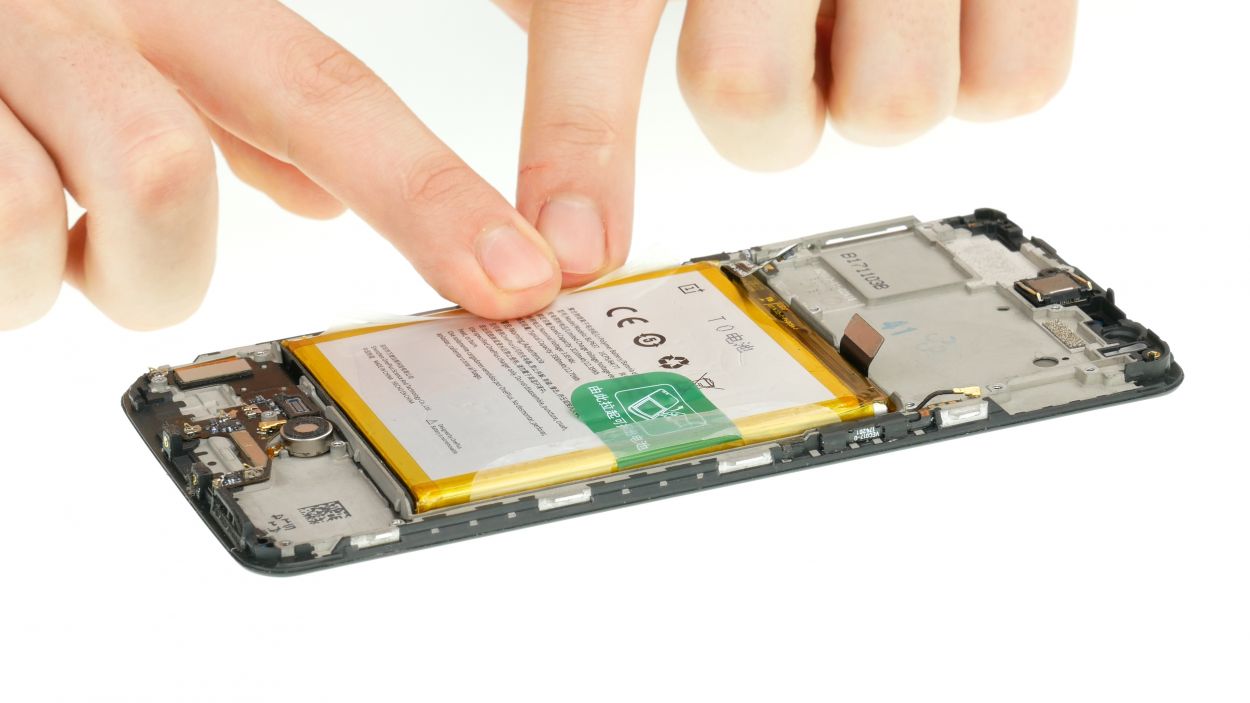
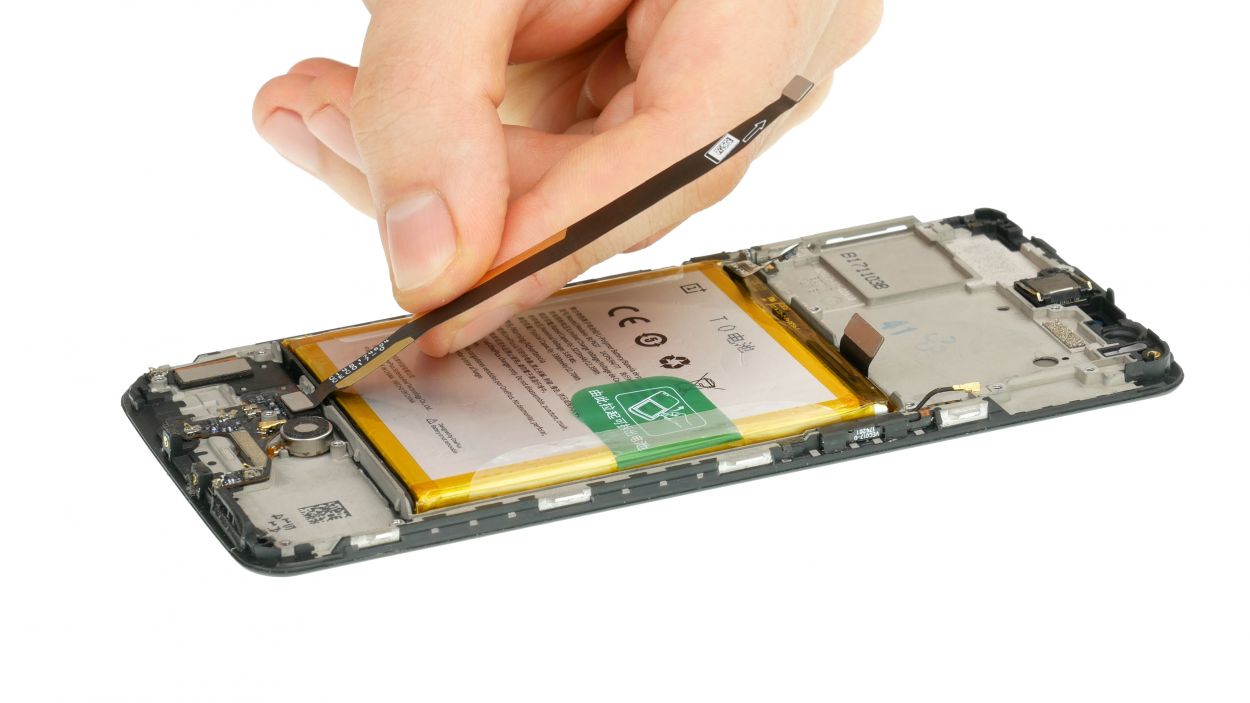
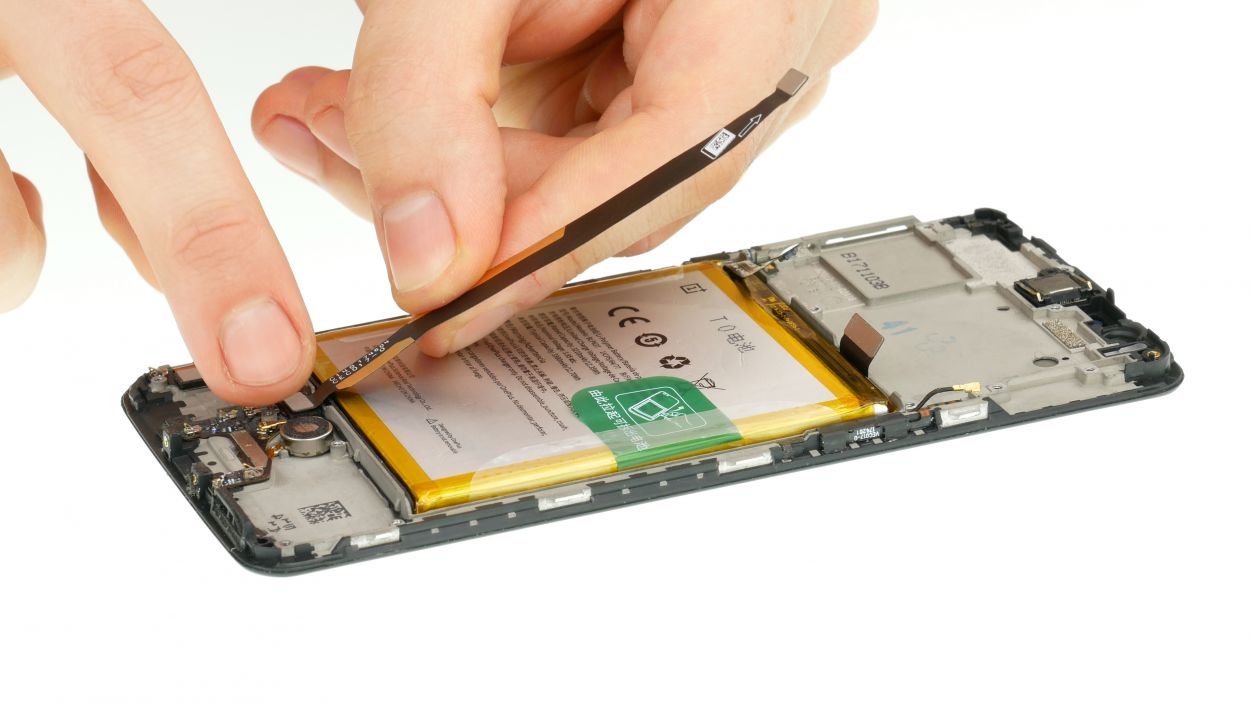
– Time to free that battery! Gently peel off the two clear adhesive+strips+Other&crid=1TJIMMAJSUJUZ&sprefix=repair+tools%2Caps%2C165&linkCode=ll2&tag=salvationrepa-20&linkId=c486487cf454ce8edd6f5beefab4110f&language=en_US&ref_=as_li_ss_tl’>adhesive strips on each side.
– Now, grab the green tab and give it a little tug—easy does it! The battery should pop right out. No need to be a superhero; a gentle pull will do the trick.
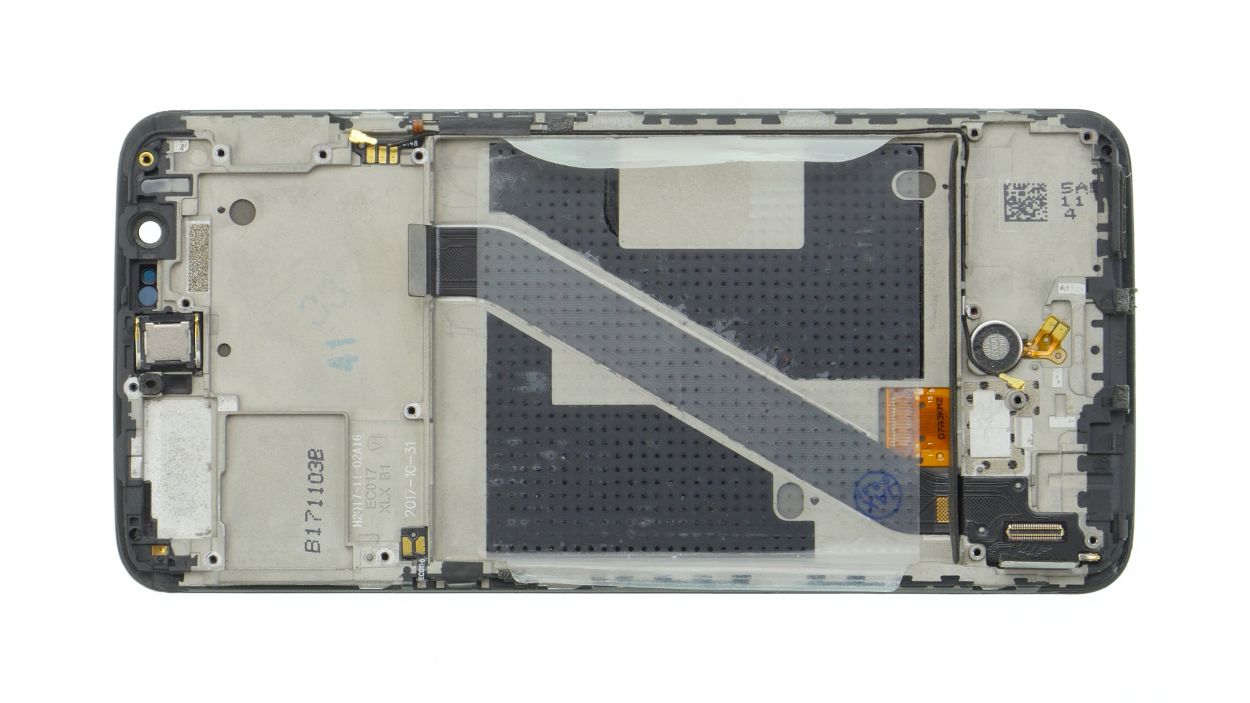
Step 12
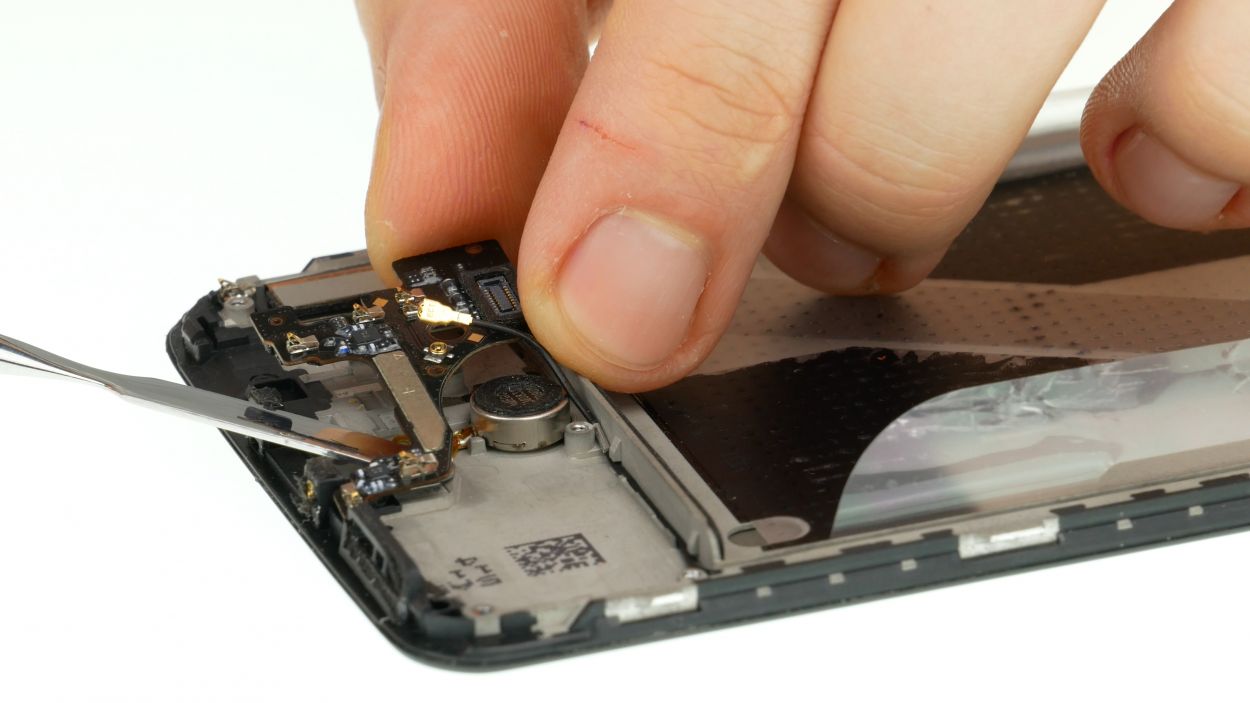
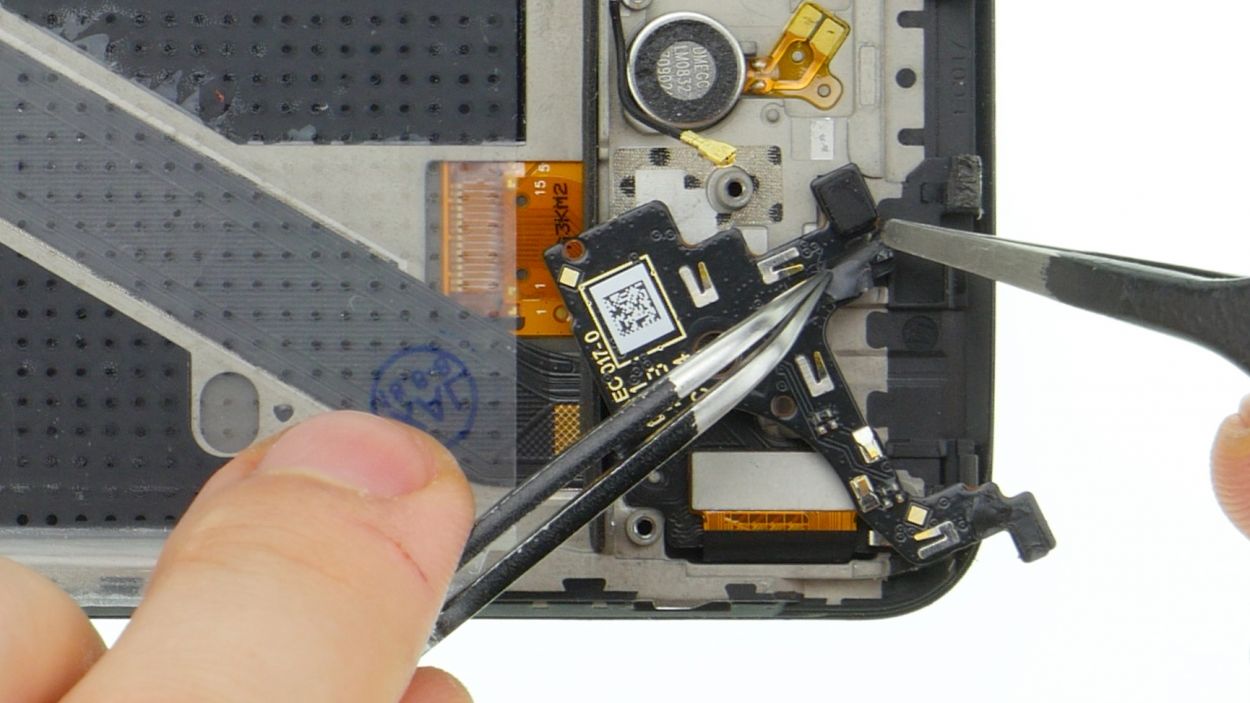
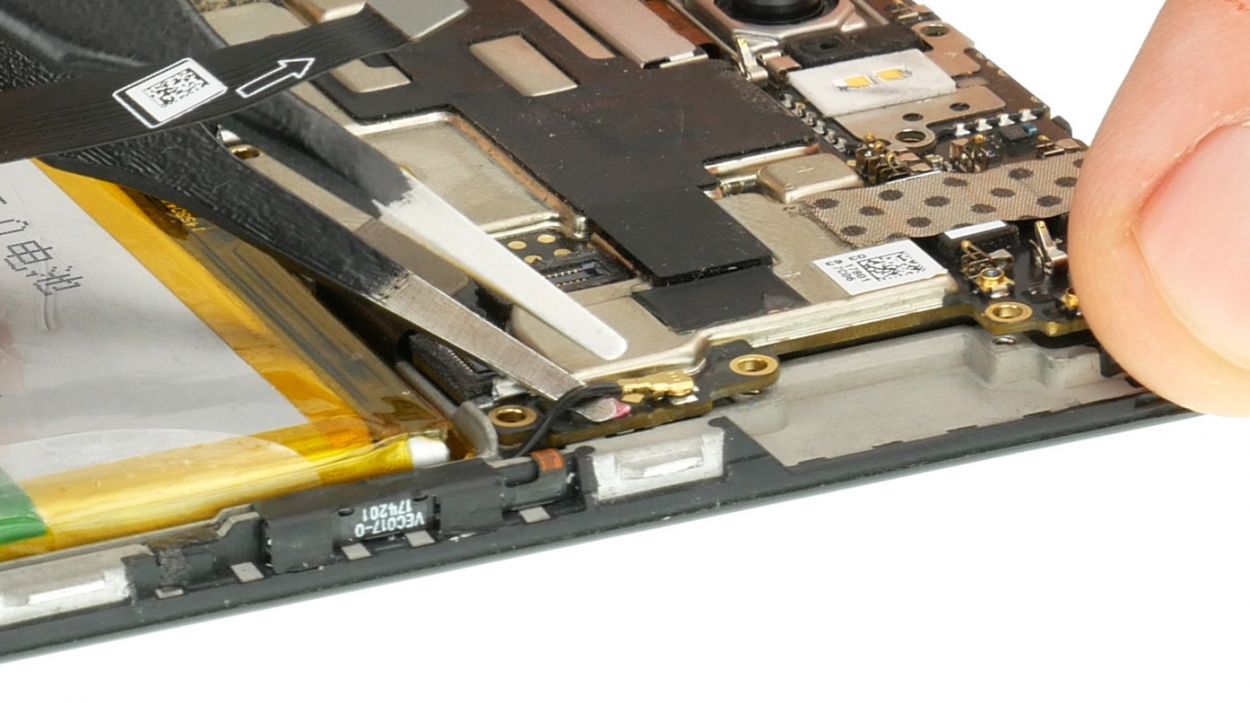
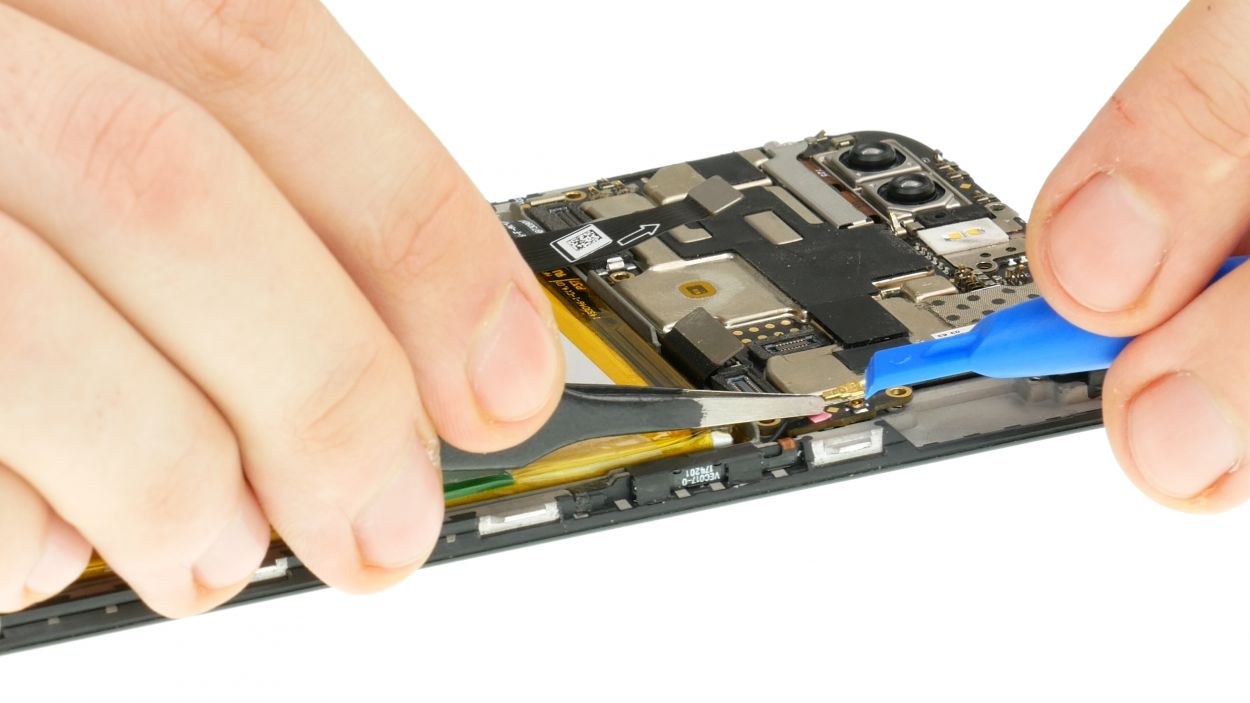
– Unplug that antenna connector from the sub-board – easy peasy!
– The sub-board’s got a little glue hug. A touch of heat will help it let go, making things super smooth sailing.
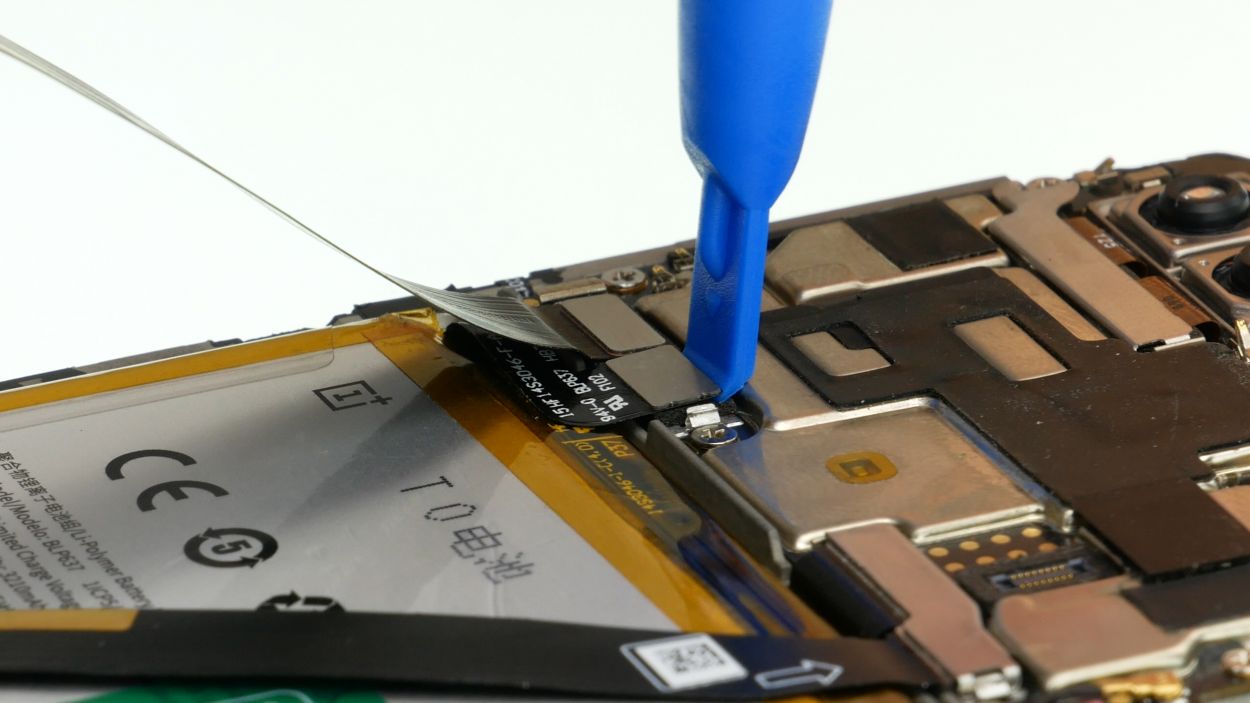
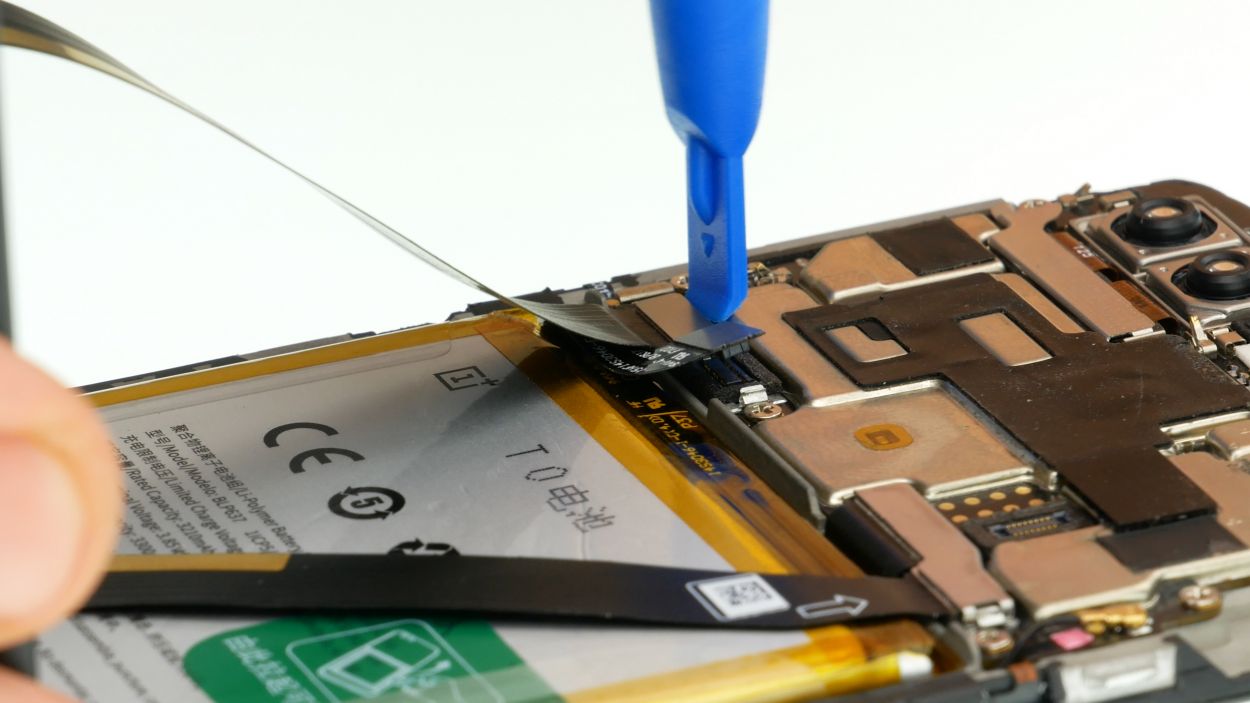
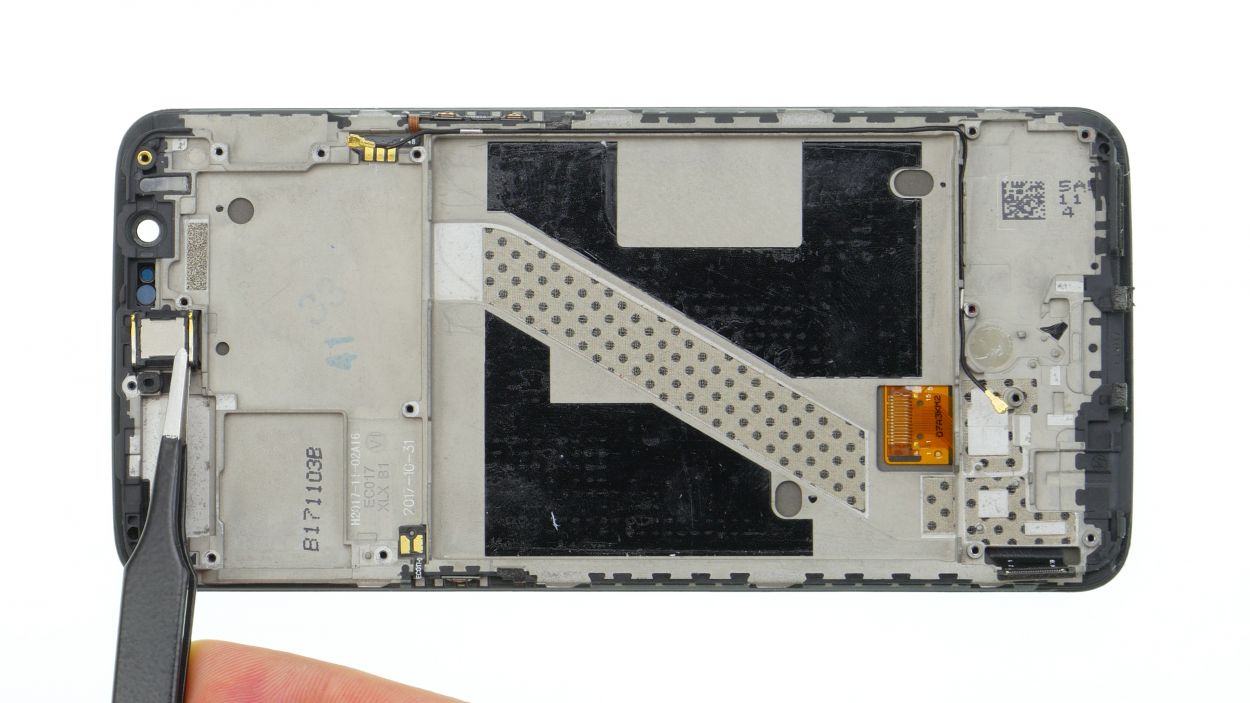
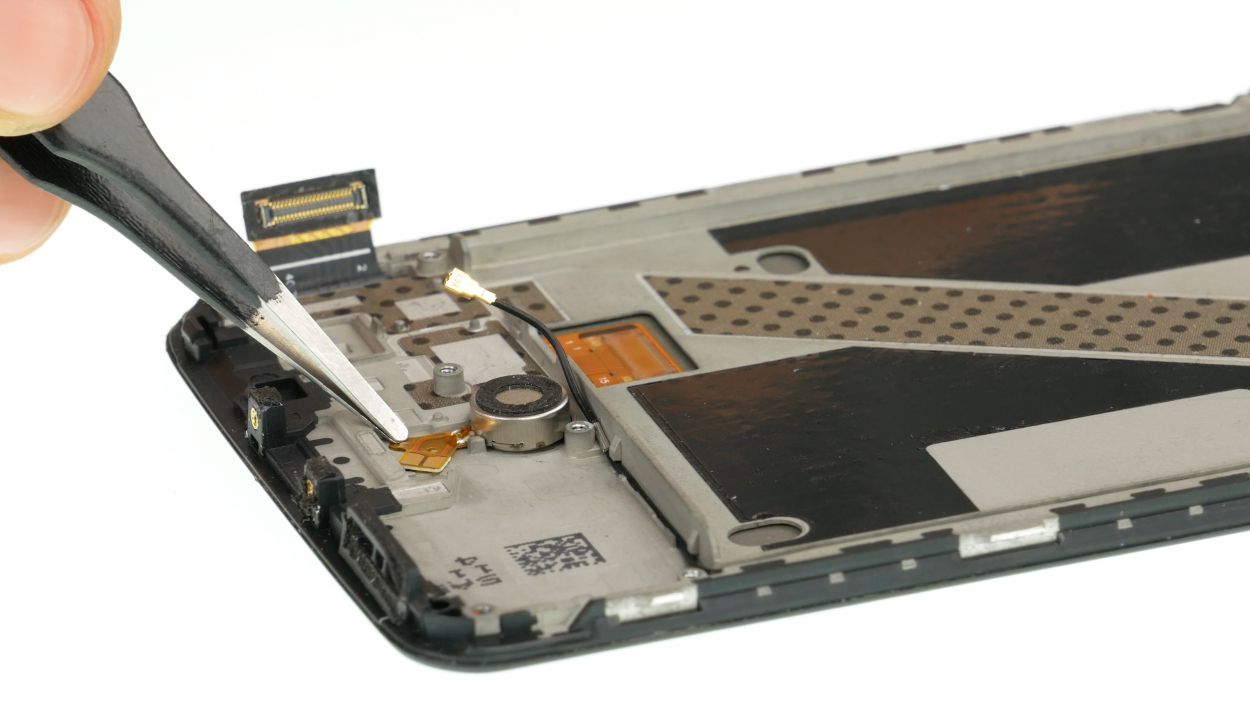
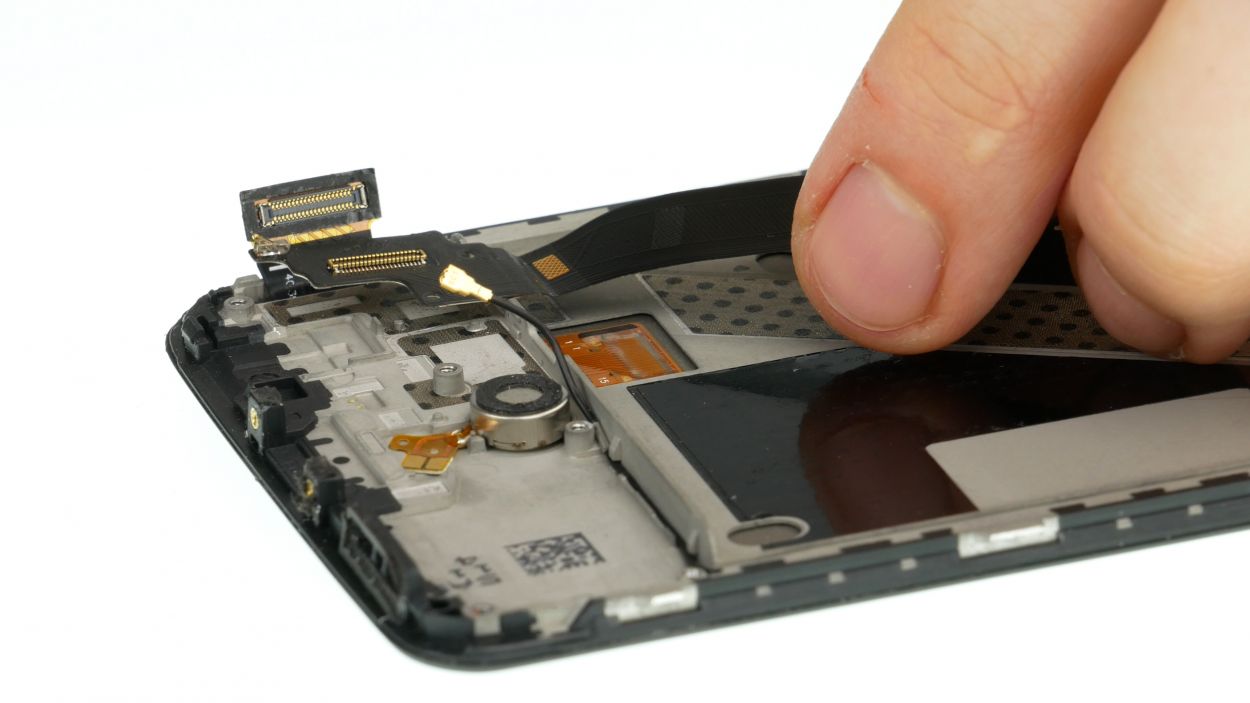
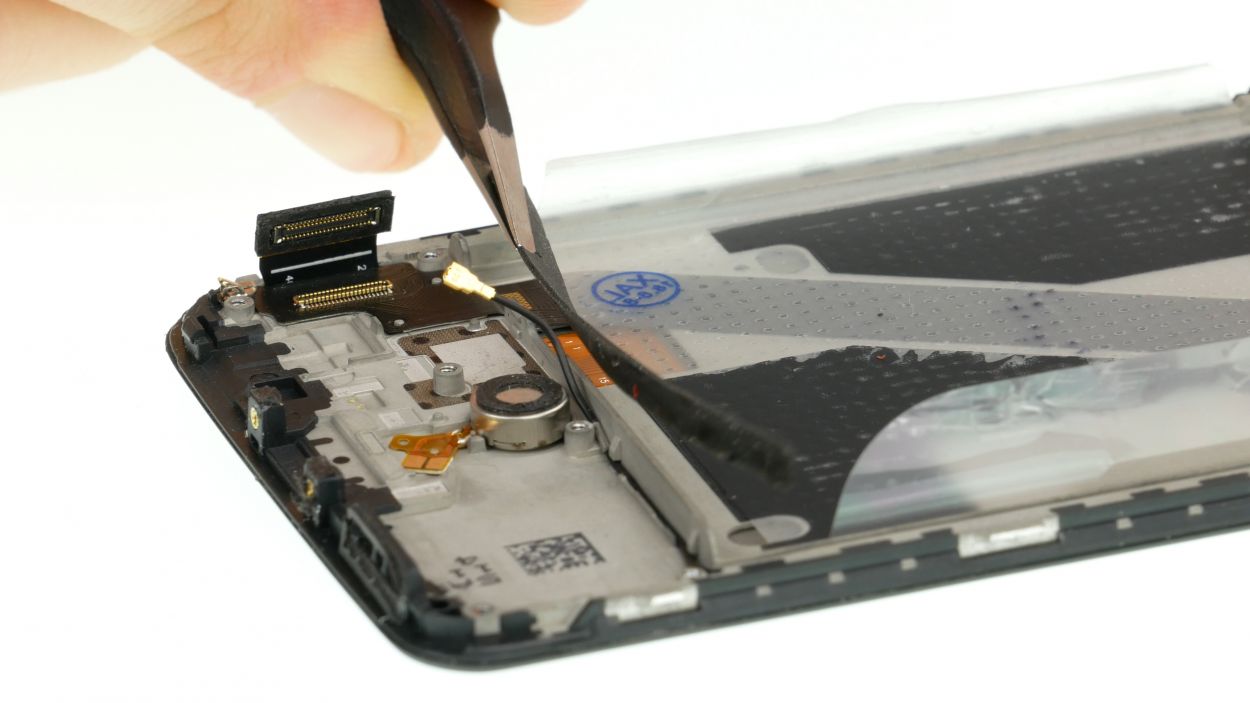
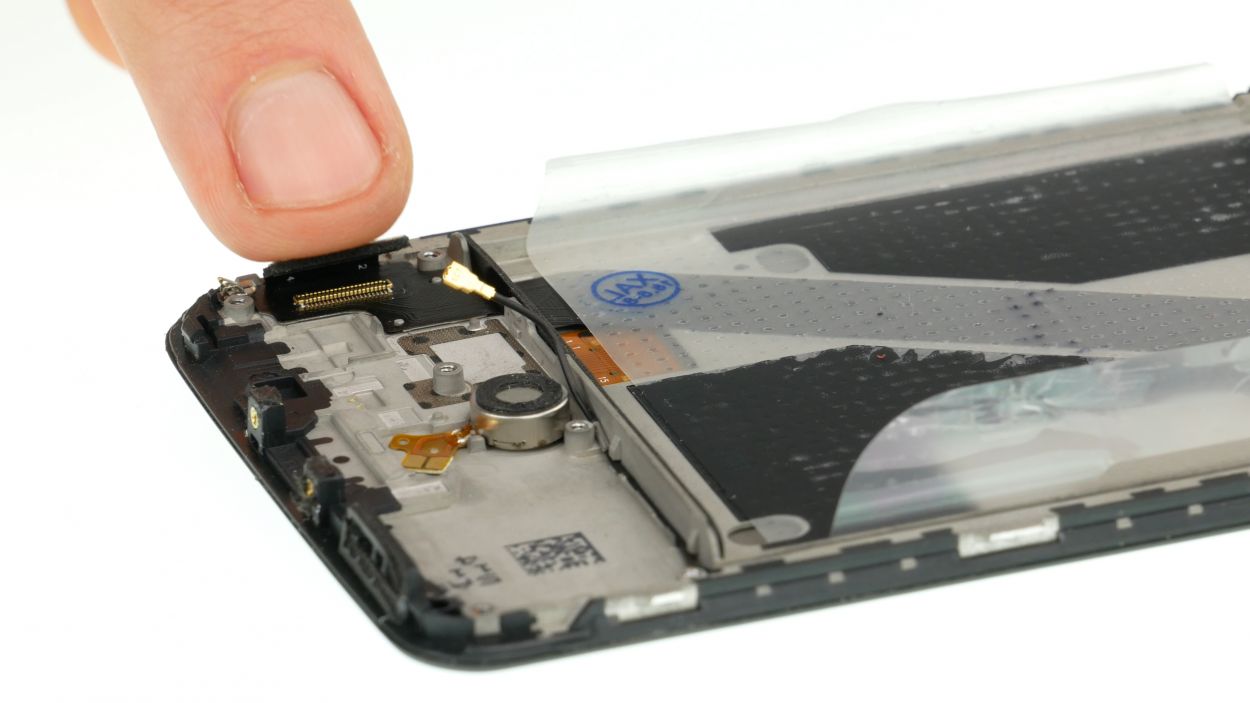
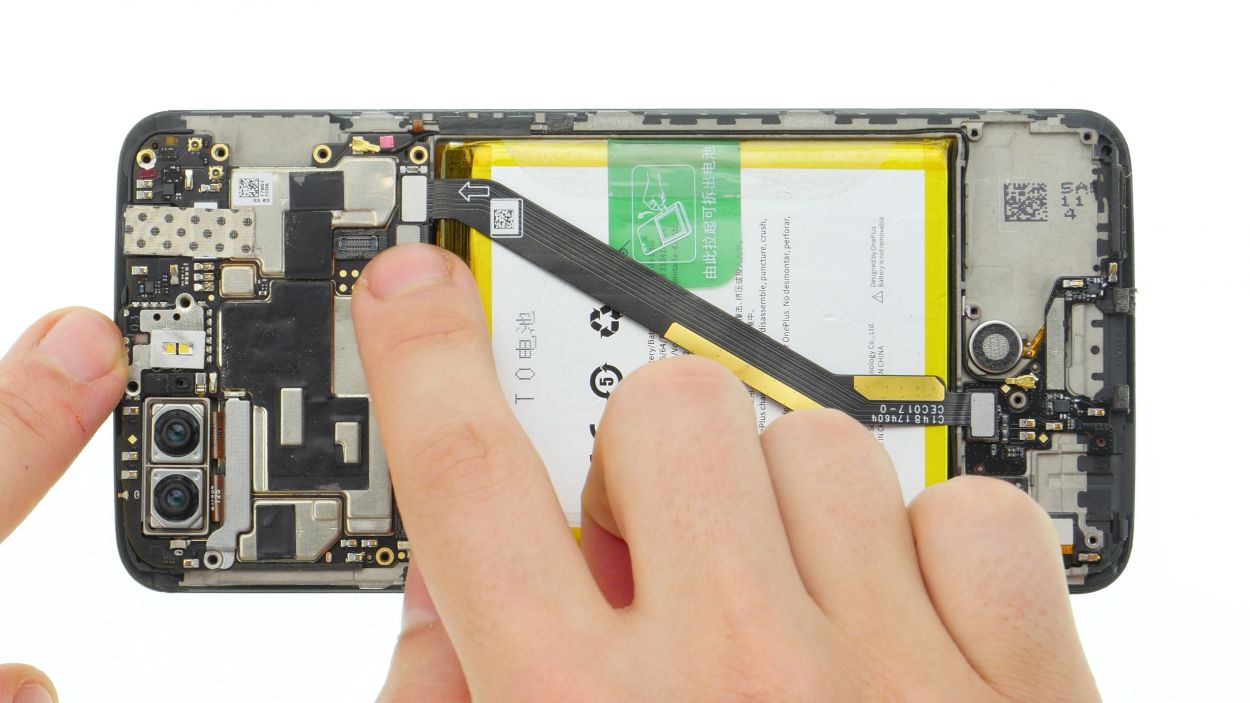
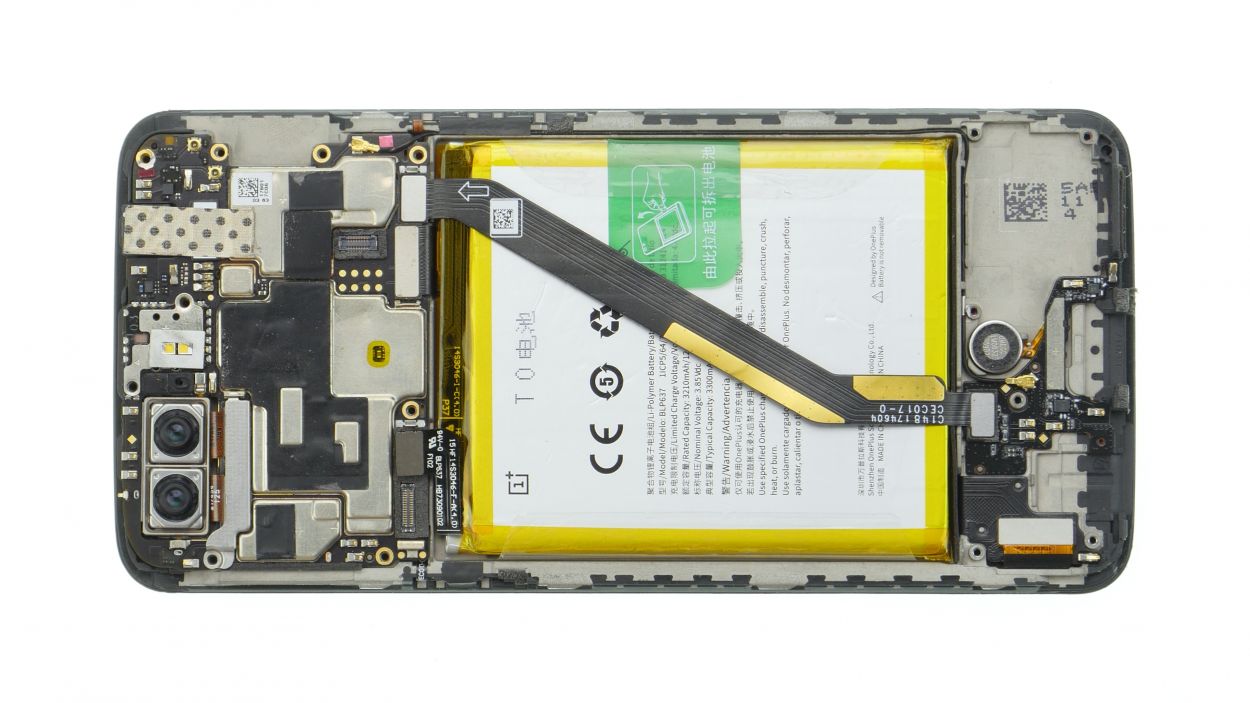
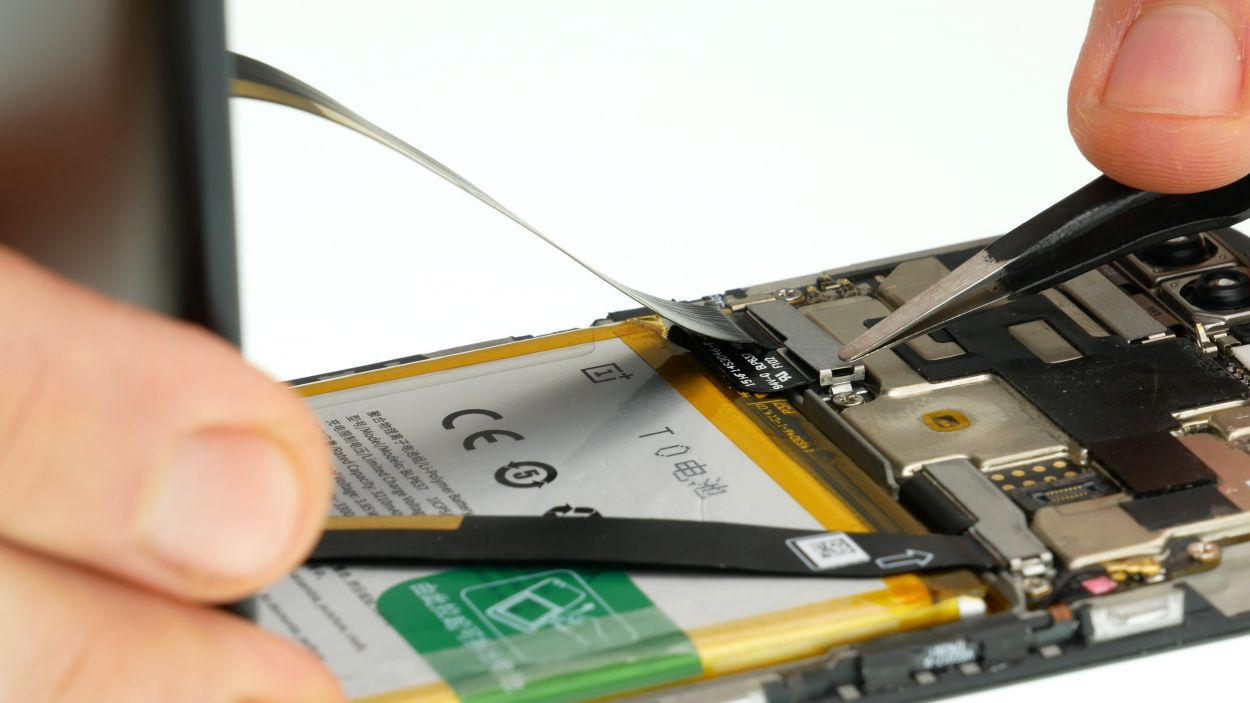
Step 13

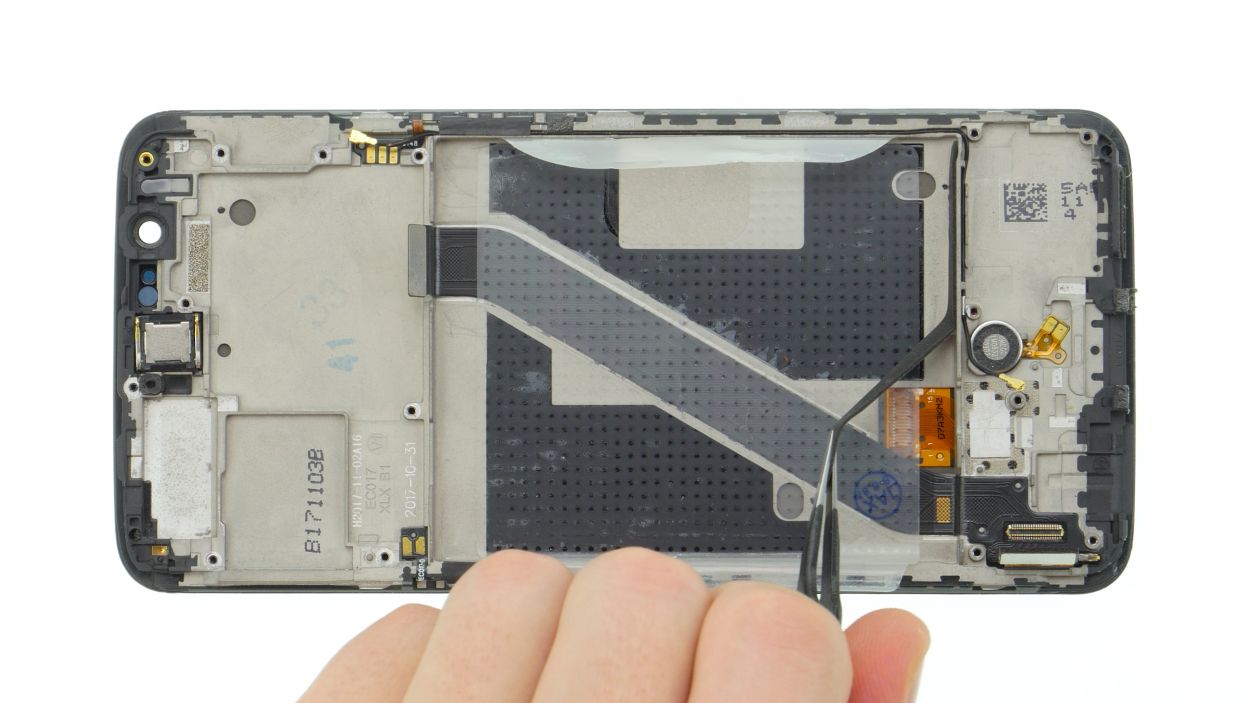
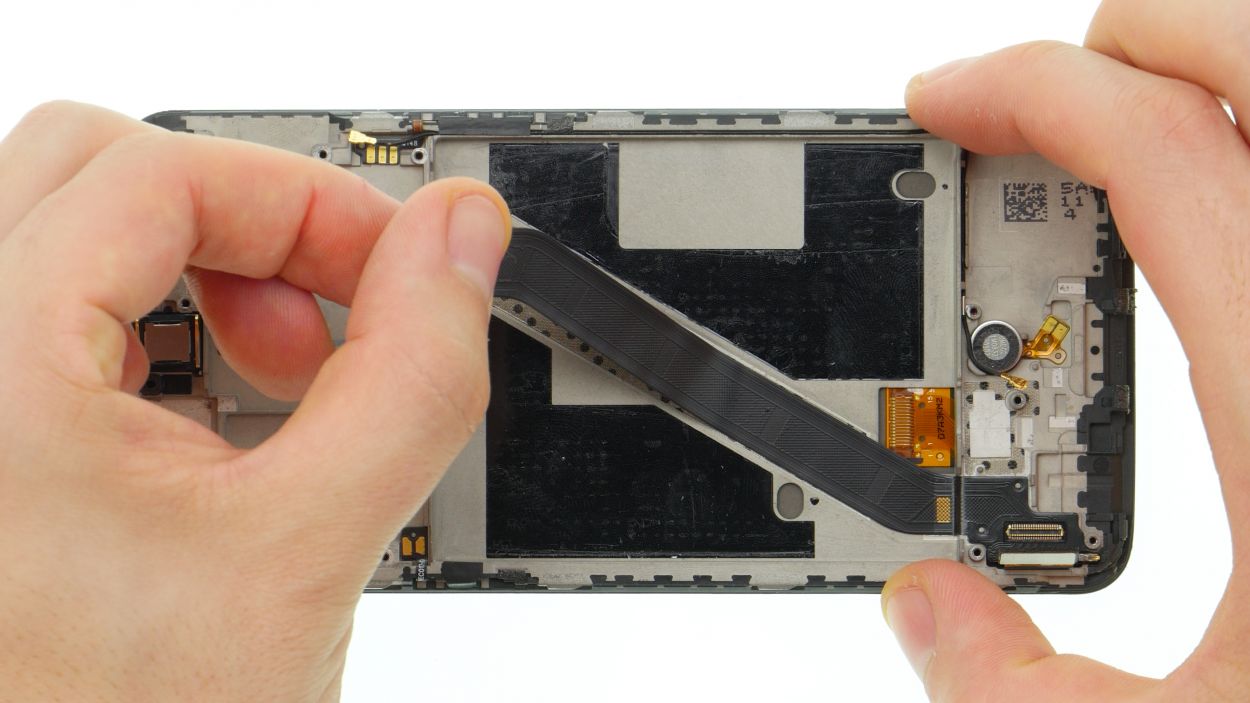

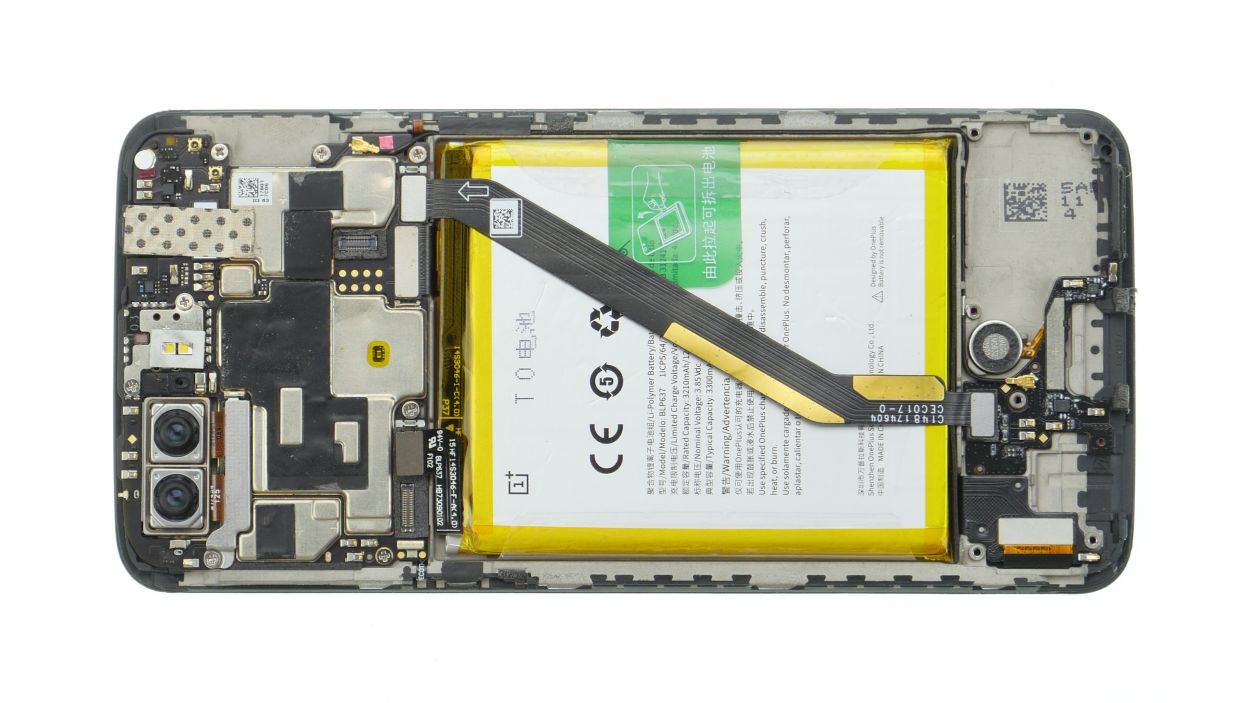
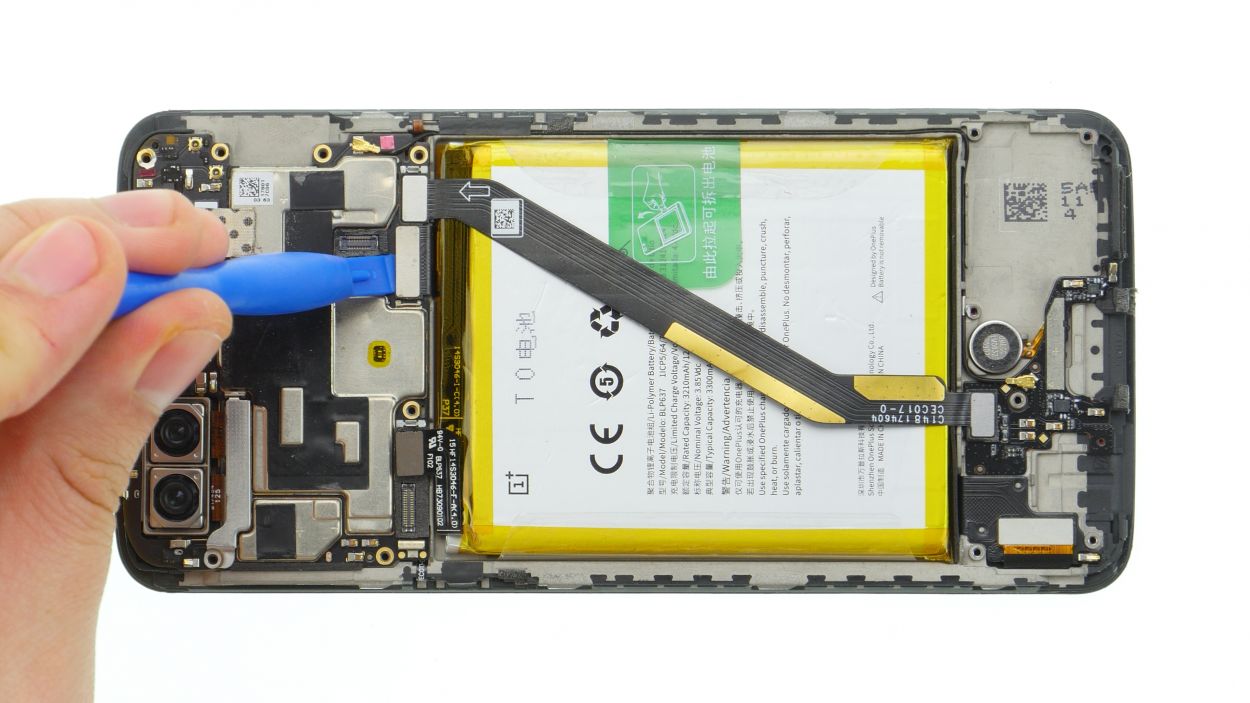
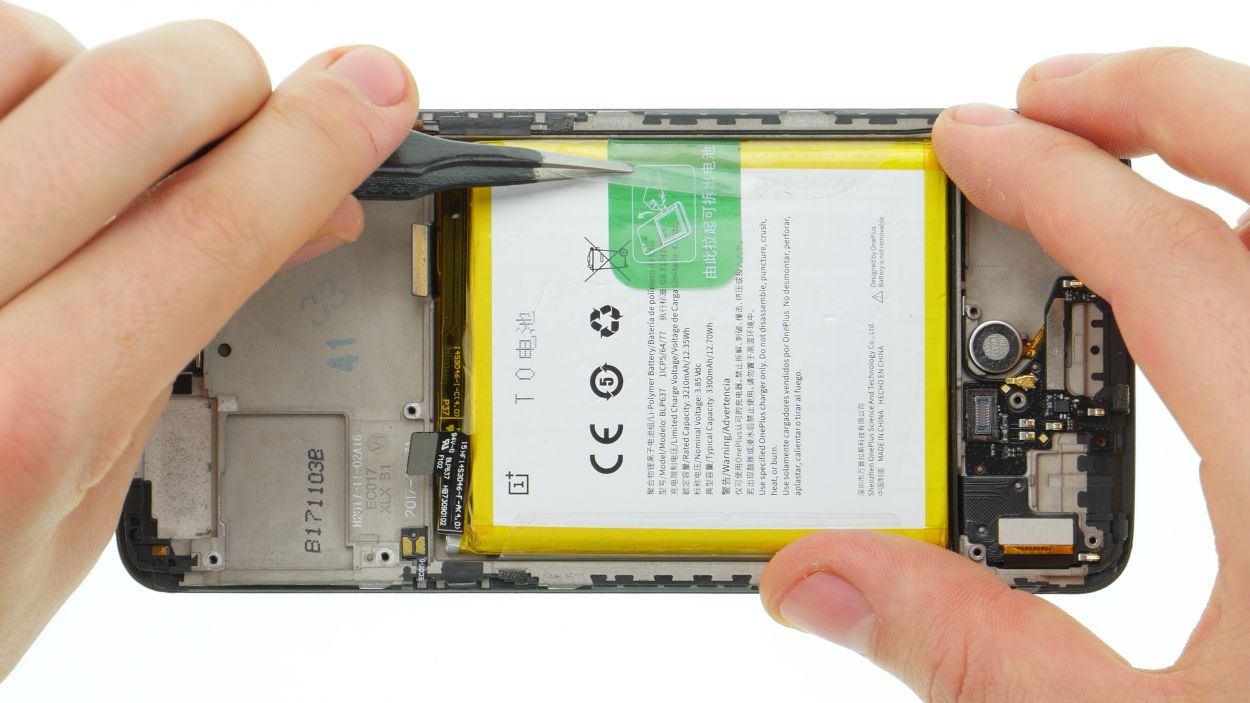
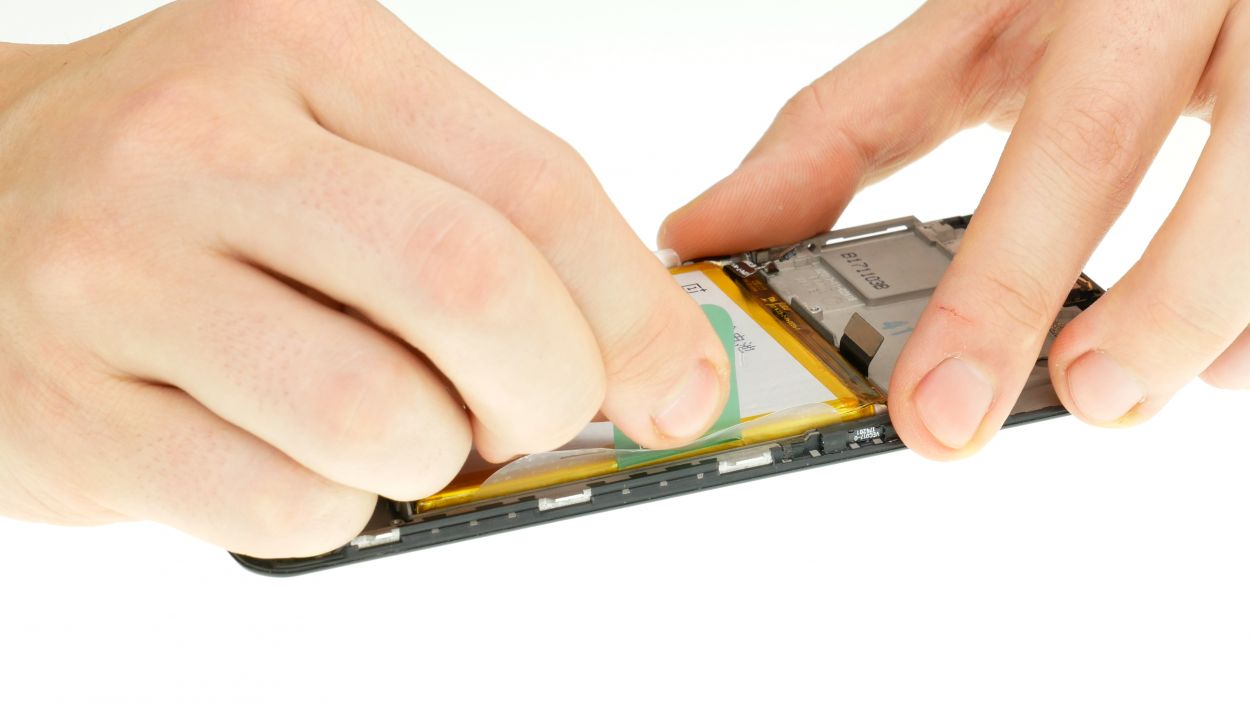
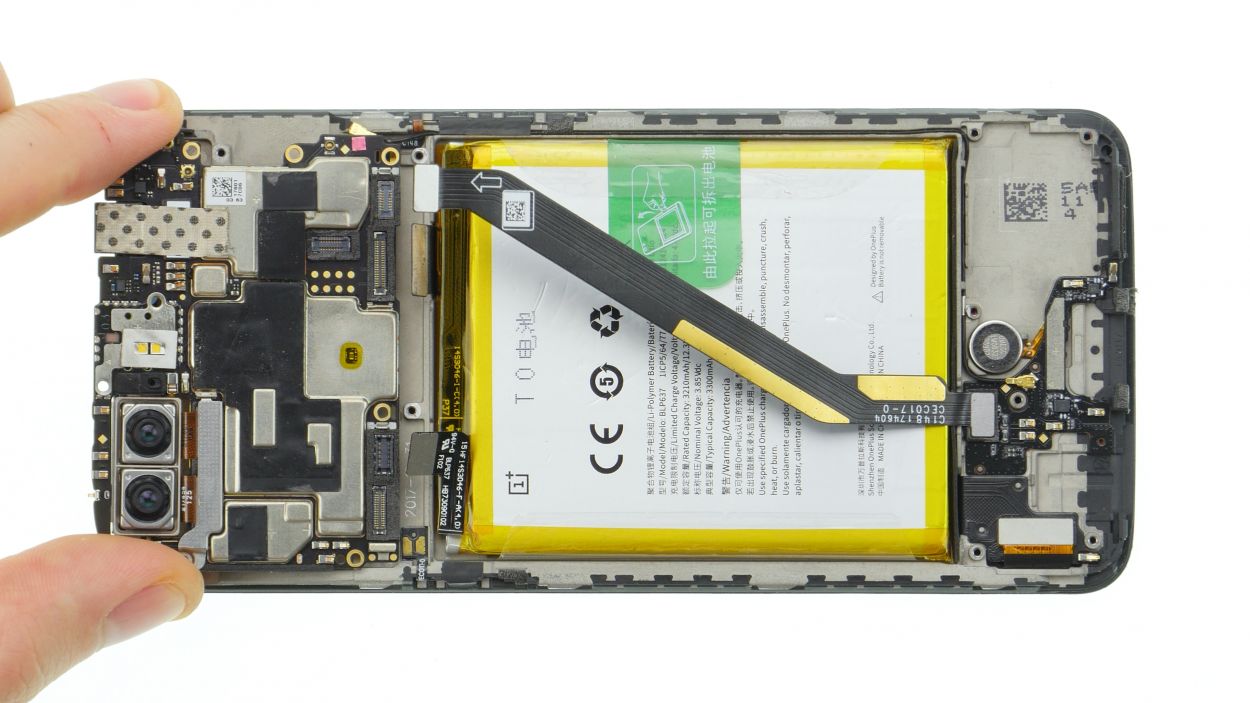
– Unplug that display flex cable – easy peasy!
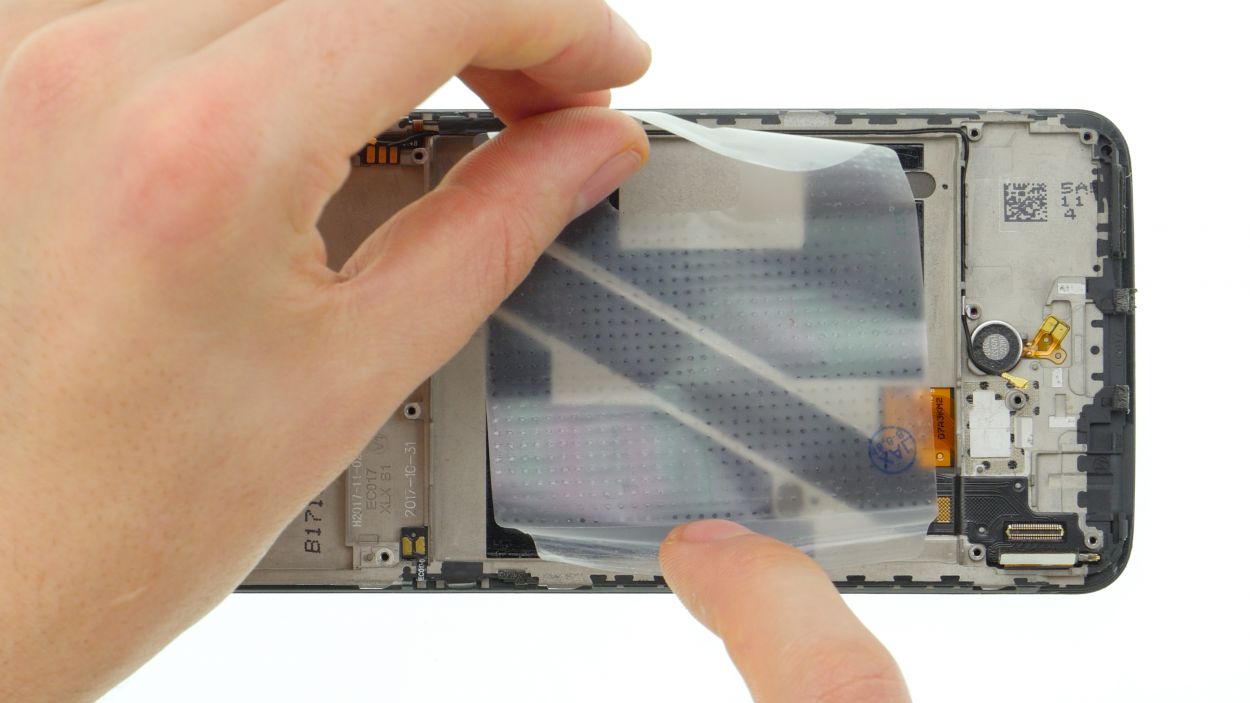
– Next, give that rubber spacer in the battery bay the boot!
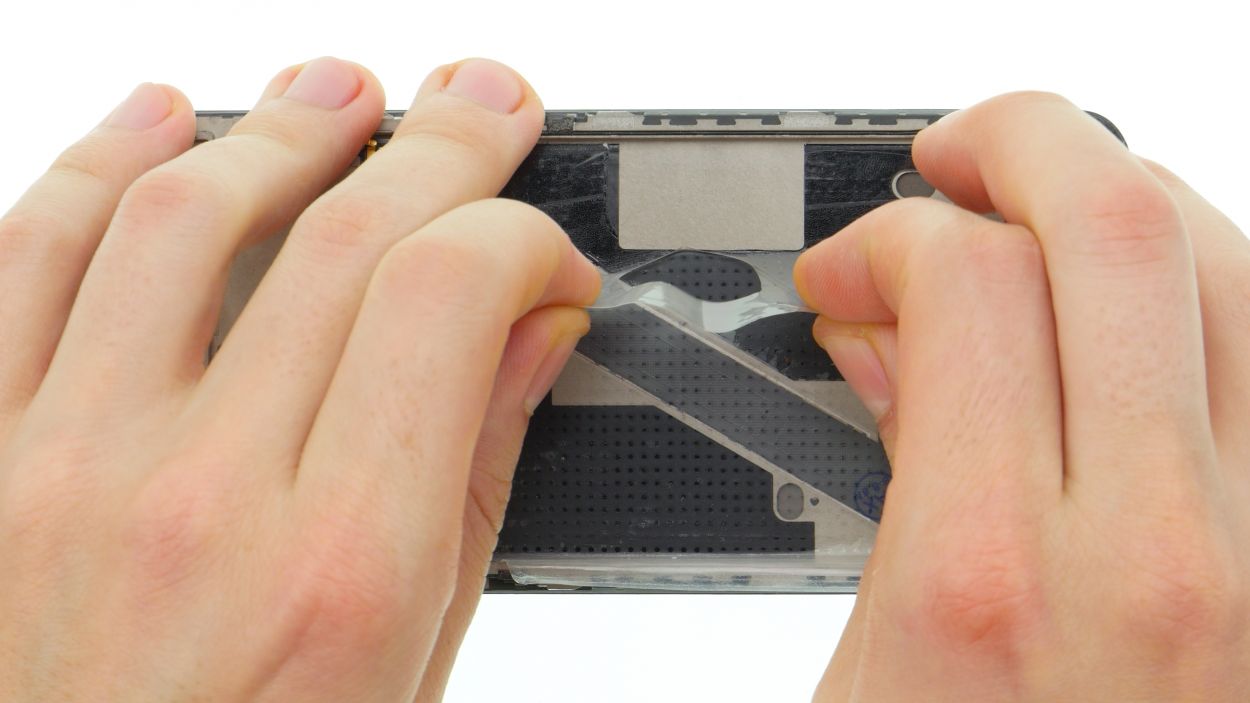
– Time to gently peel off the battery’s transparent adhesive film. Don’t worry, you can reuse it with the new display!
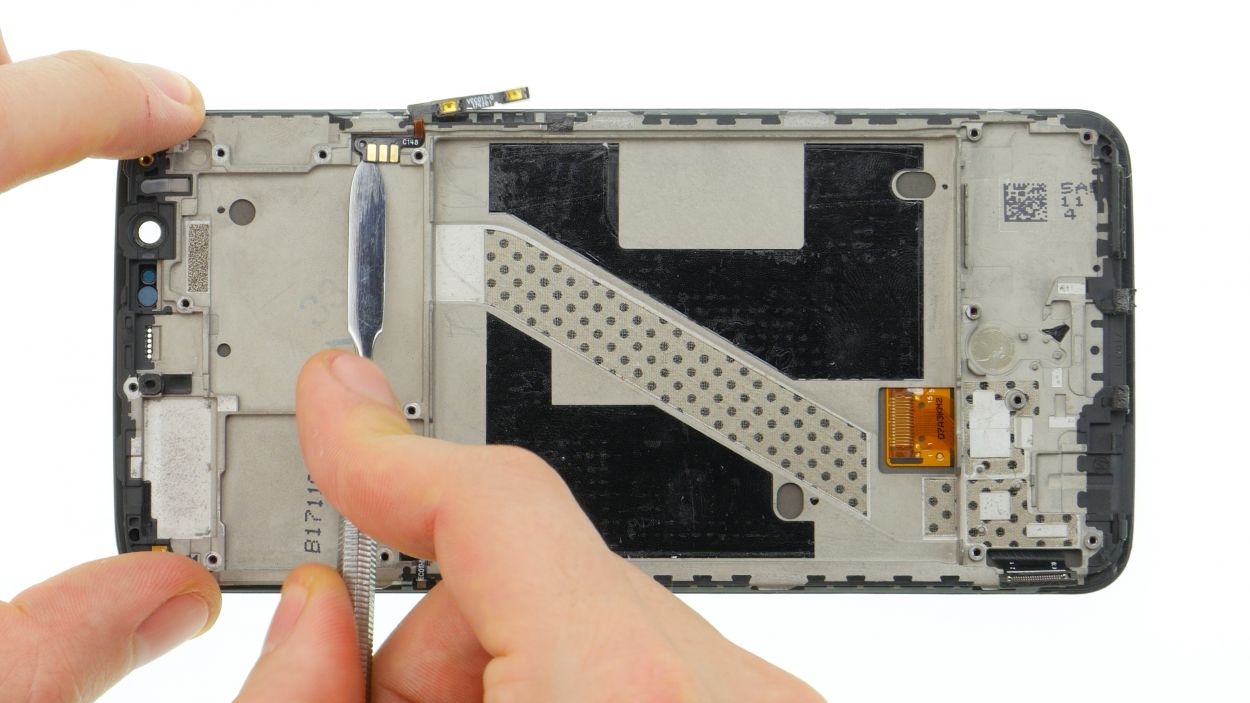
– Let’s warm up that flex cable and then give it a little tug – be gentle!
– Down below, a steel spatula can help loosen that cable. Piece of cake!
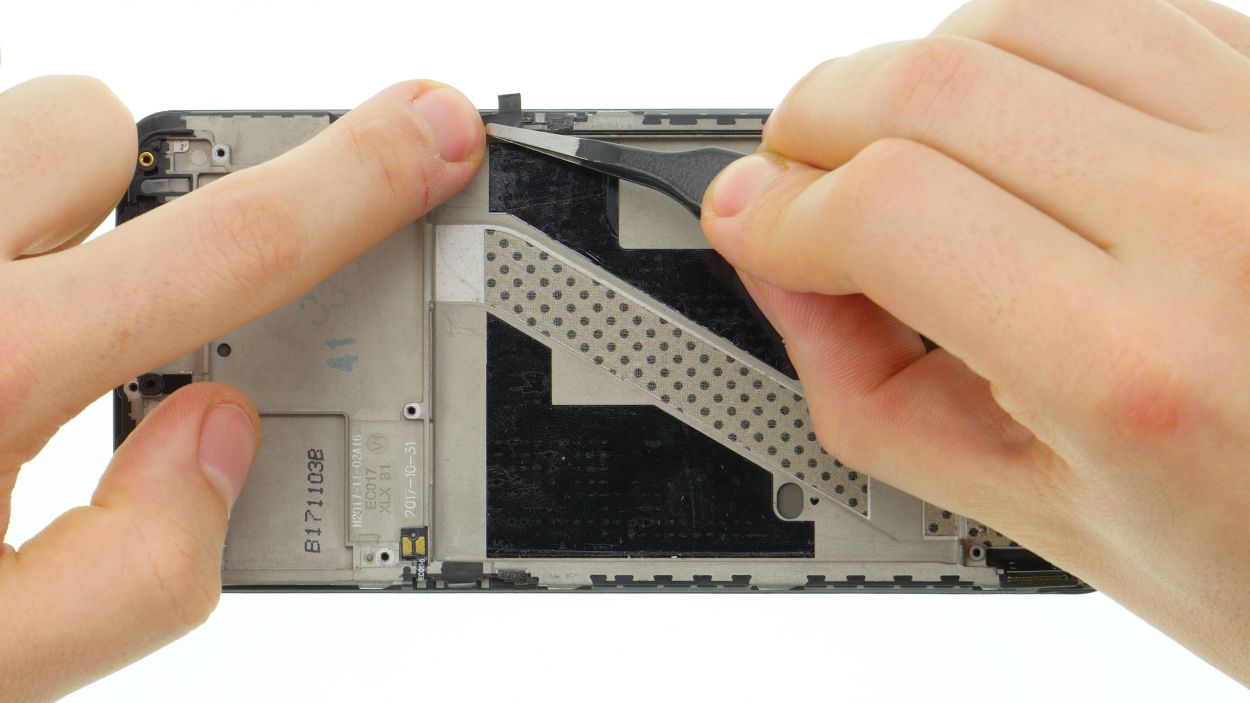
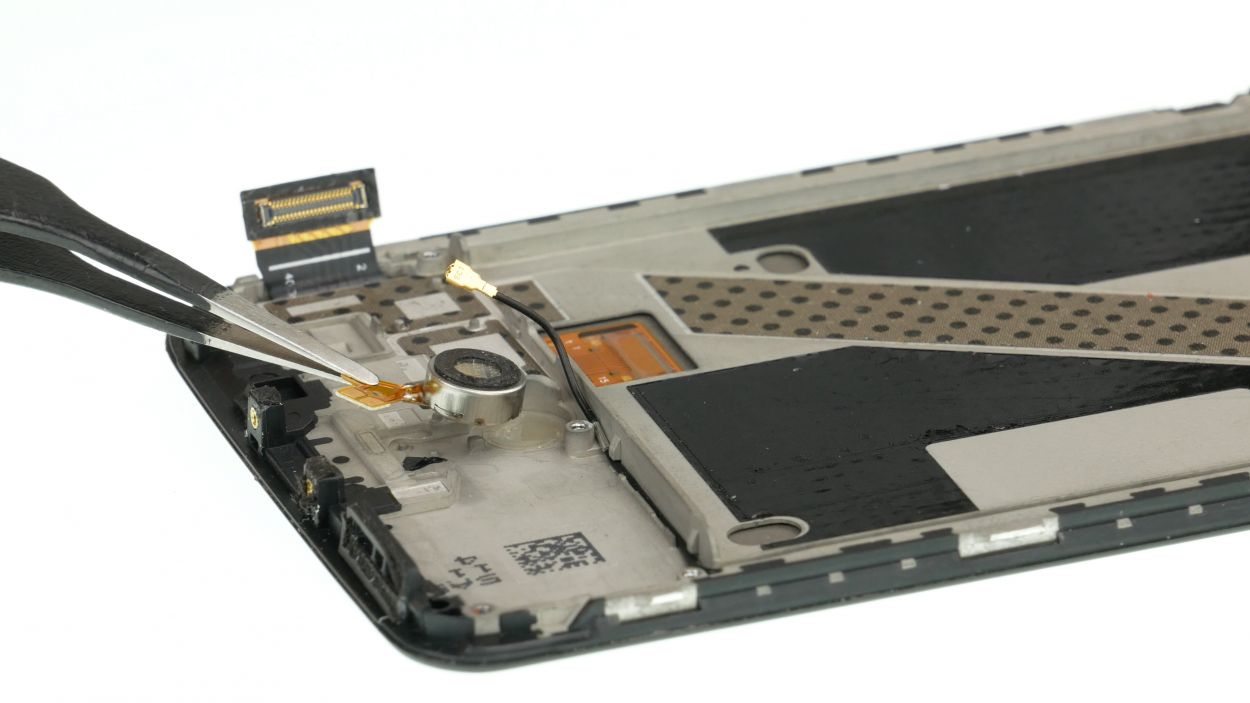
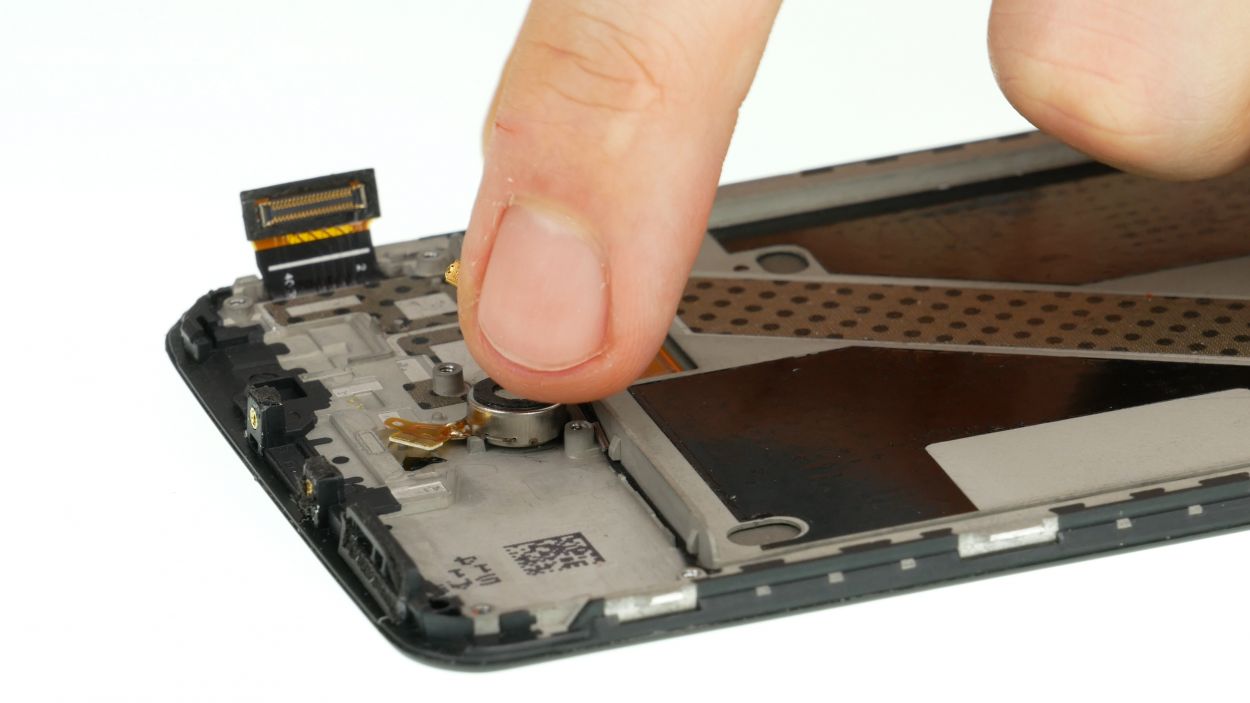
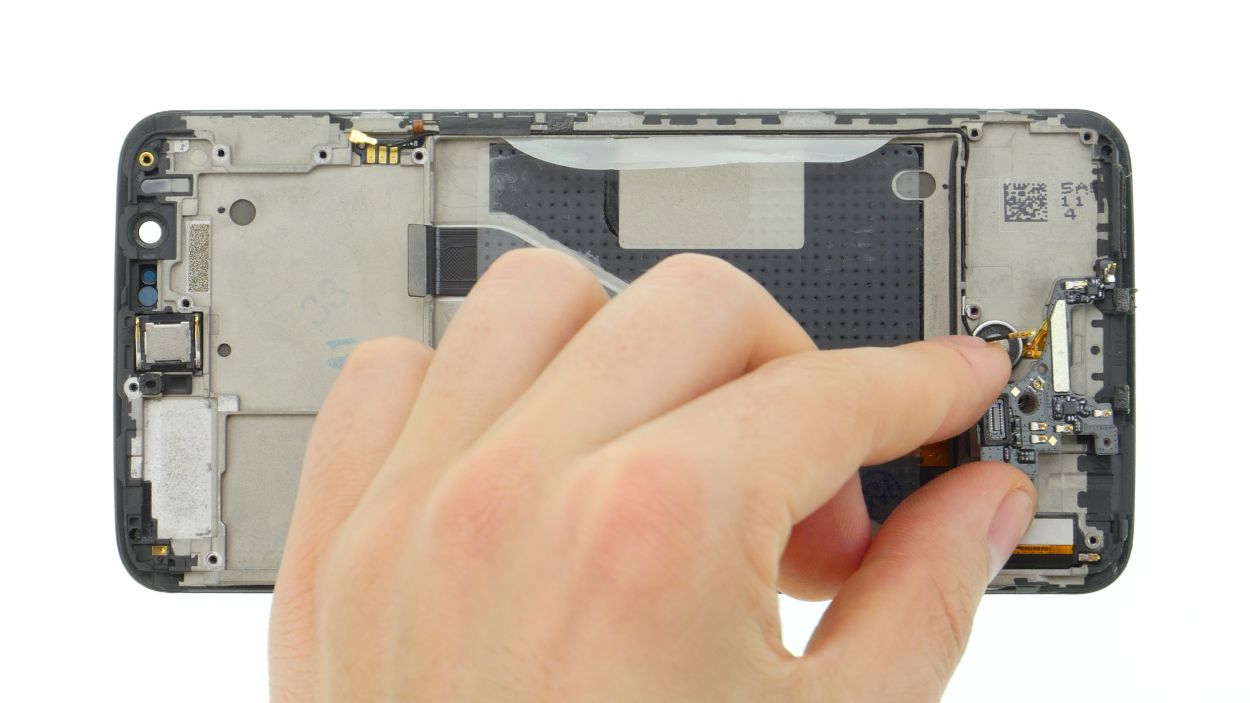
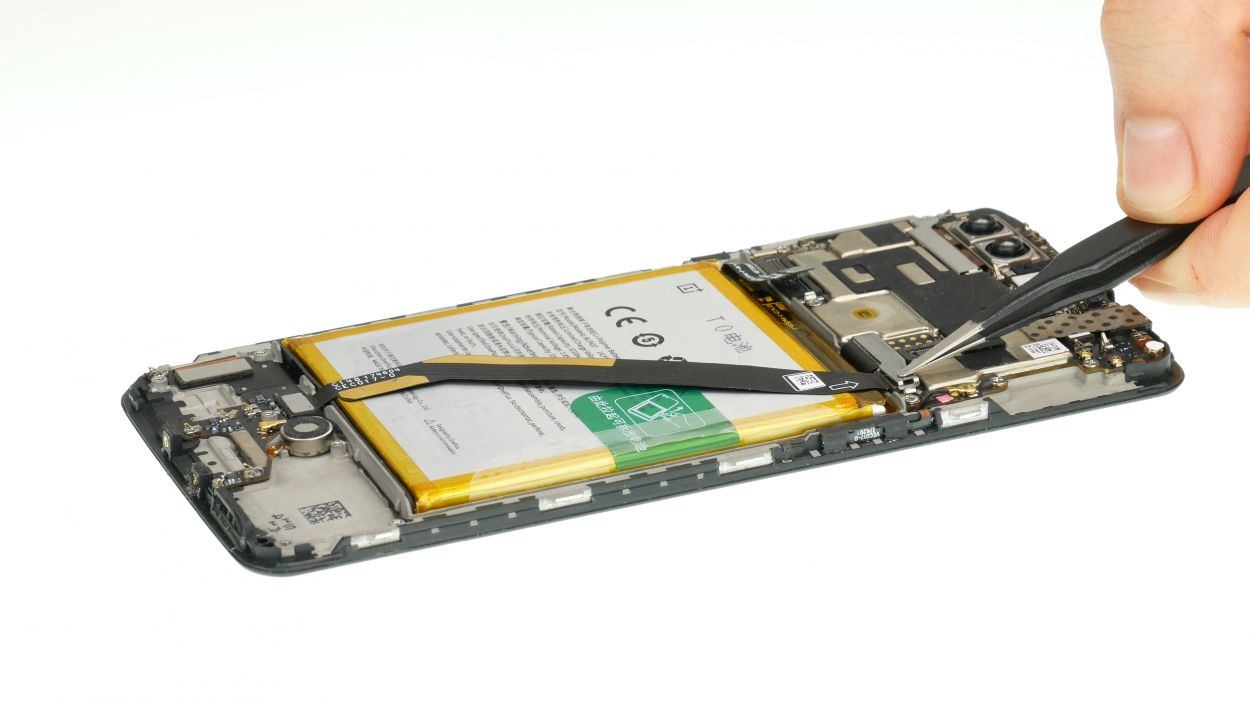
Step 14
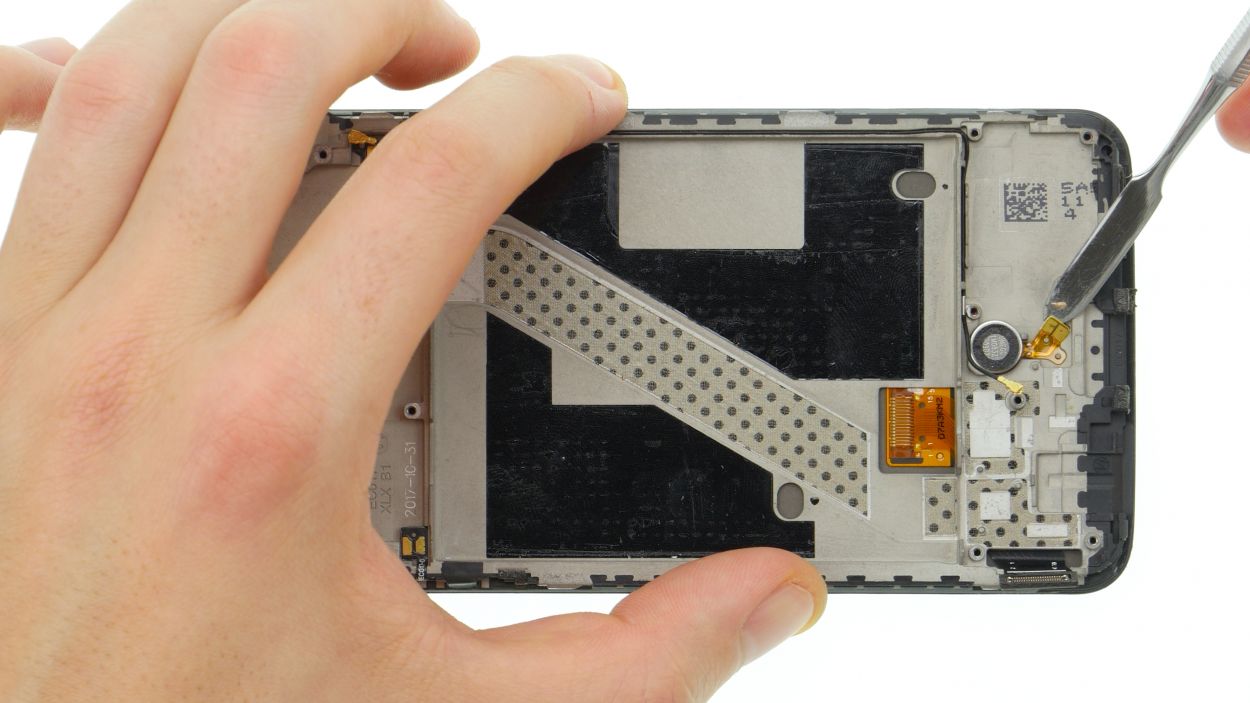
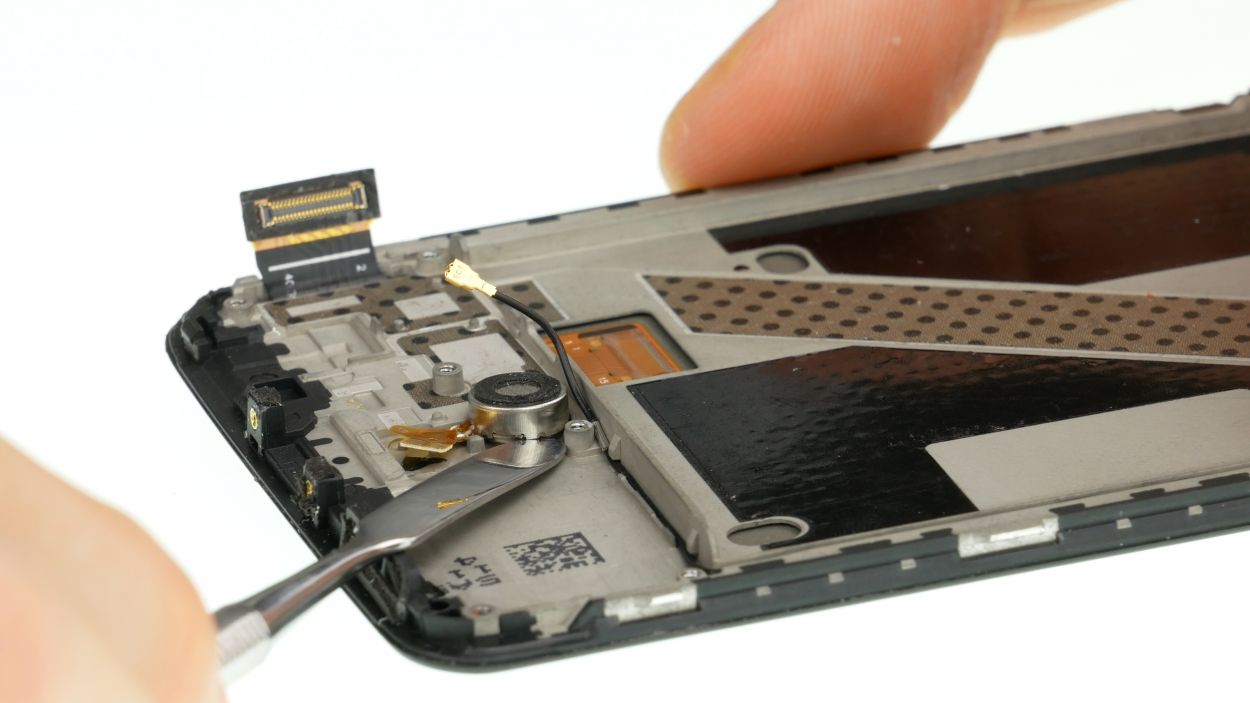
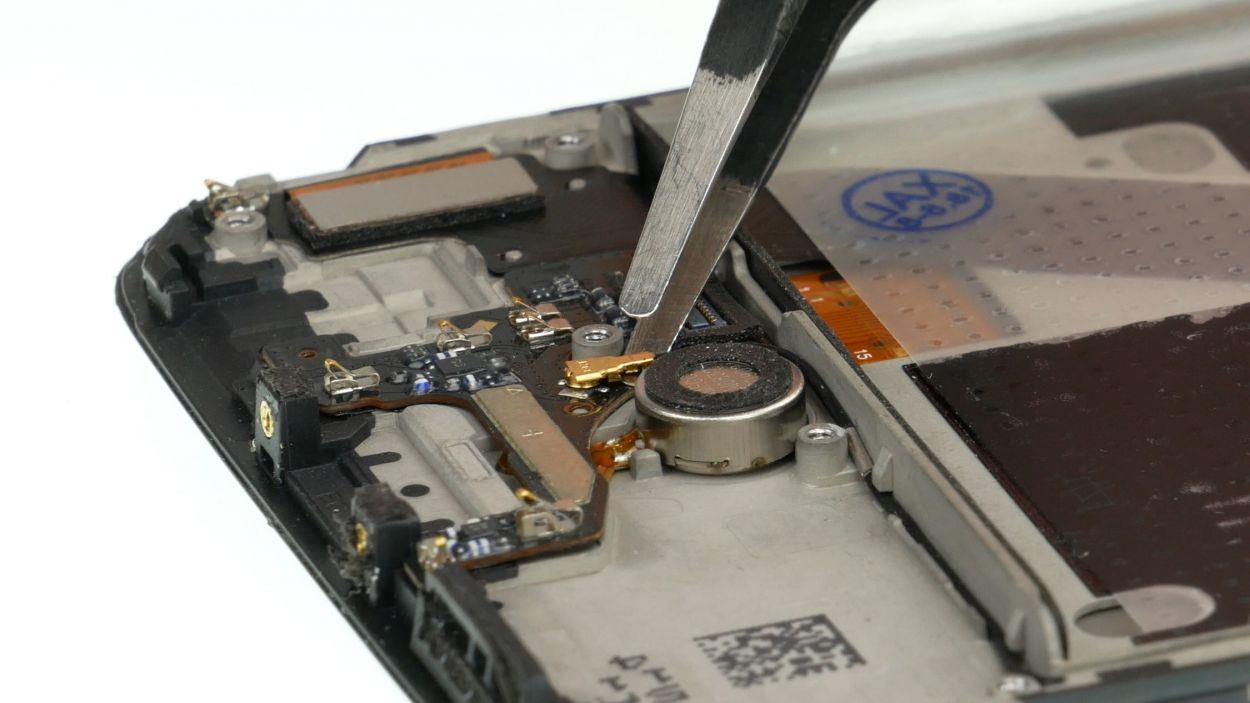
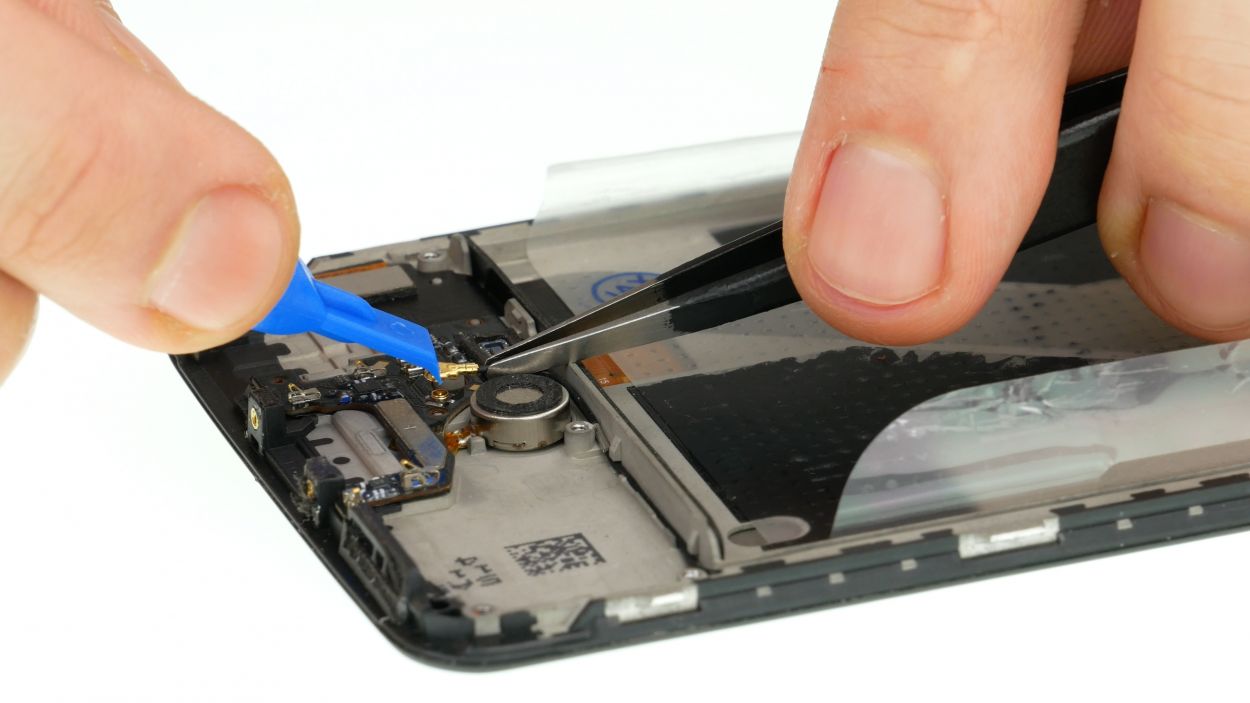
– The vibration motor is a bit stuck due to some adhesive. If you’re having trouble, a little heat can help loosen it up.
– Gently use a spatula to carefully detach the flex cable of the vibrator, then pop it out of its socket.
– Now, go ahead and lift the vibration motor out of the device.
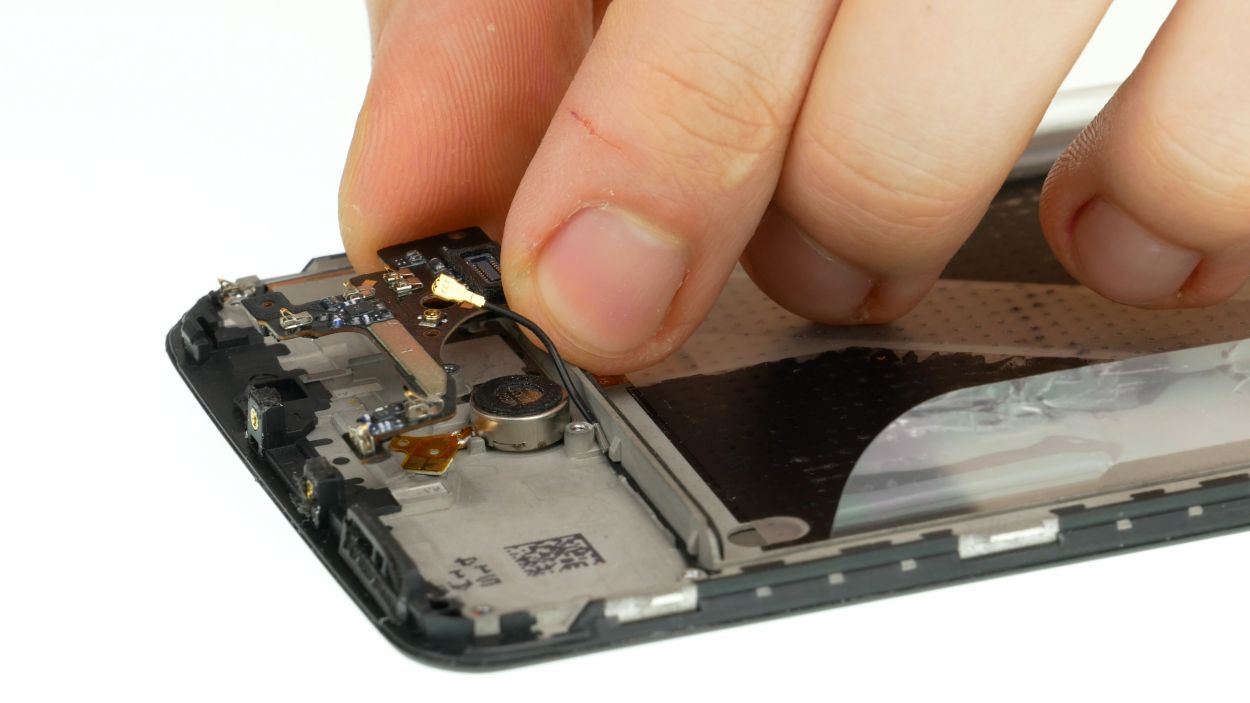
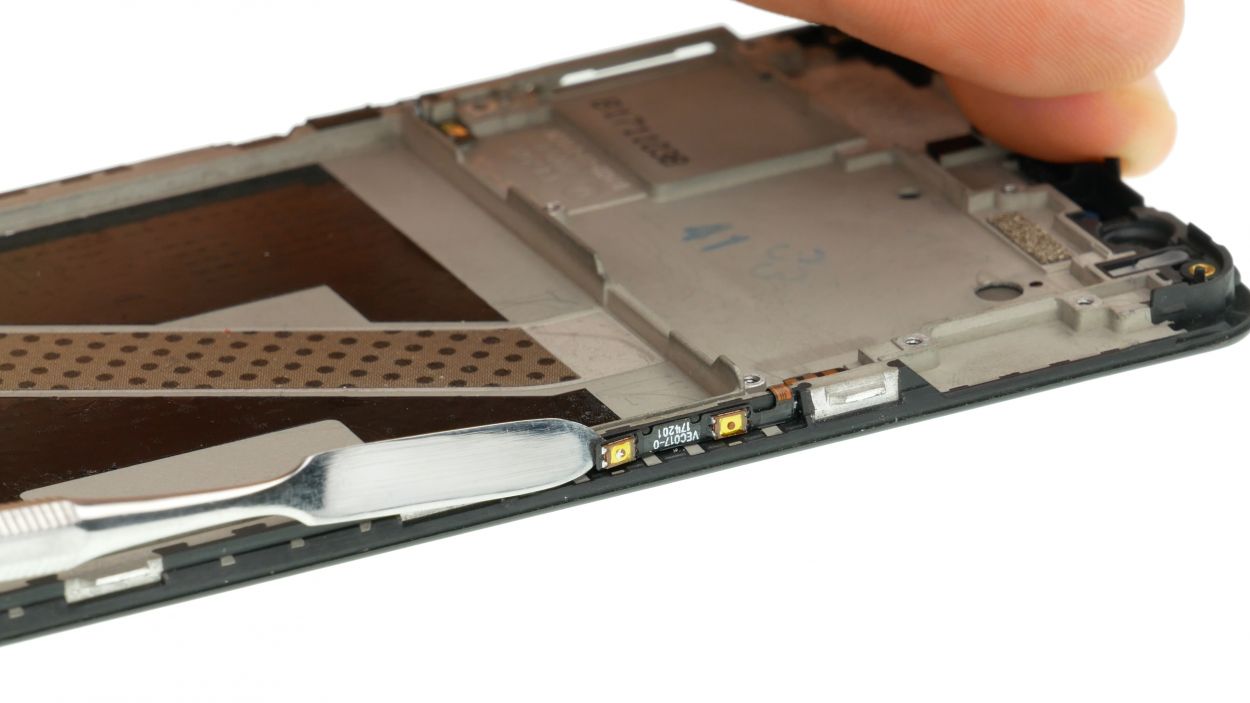
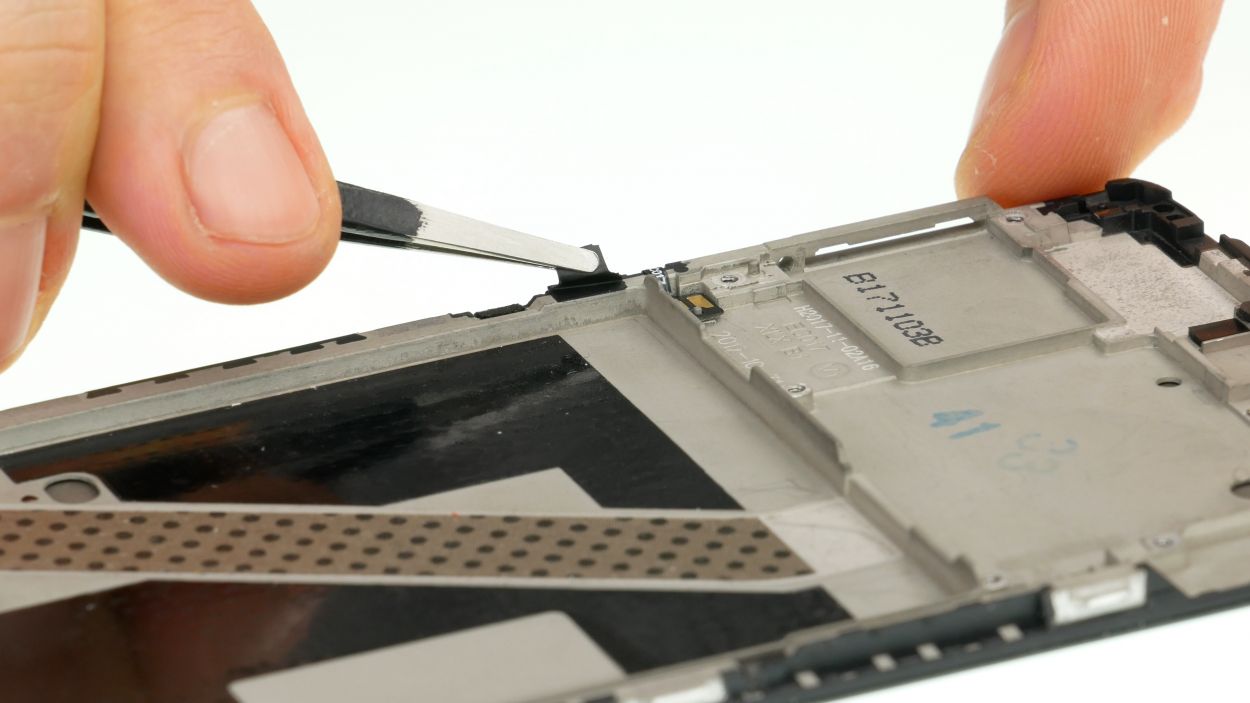
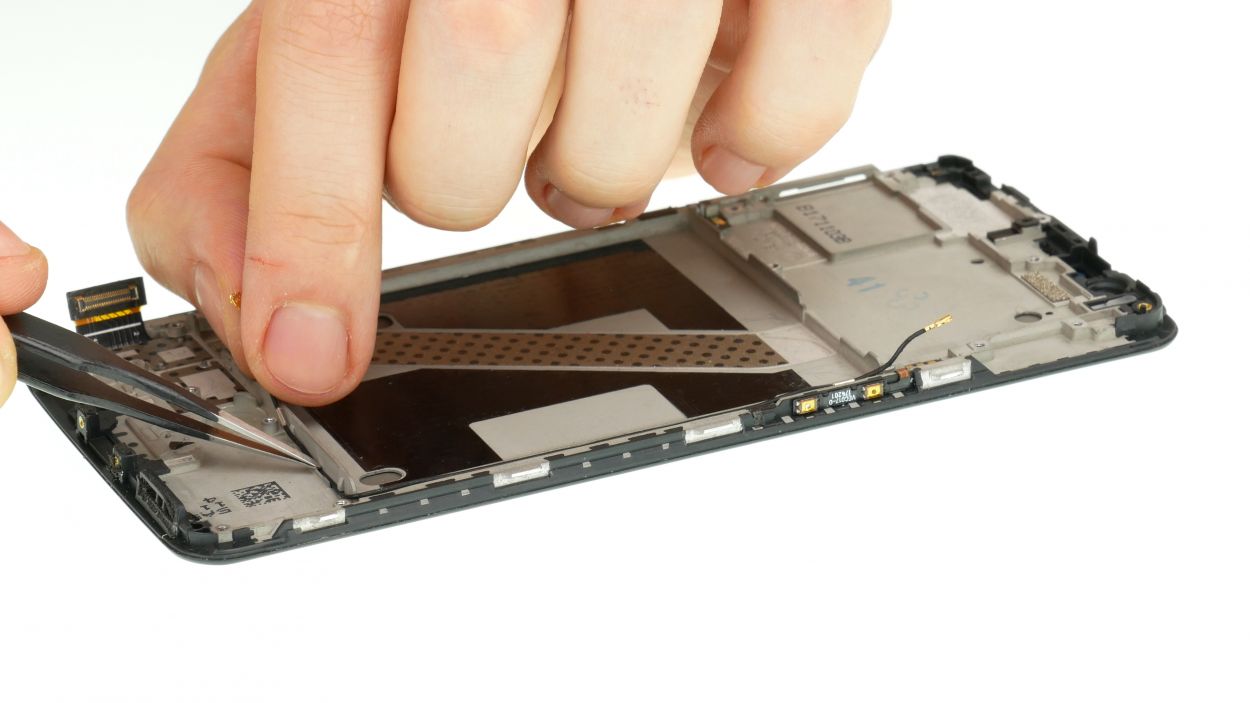
Step 15

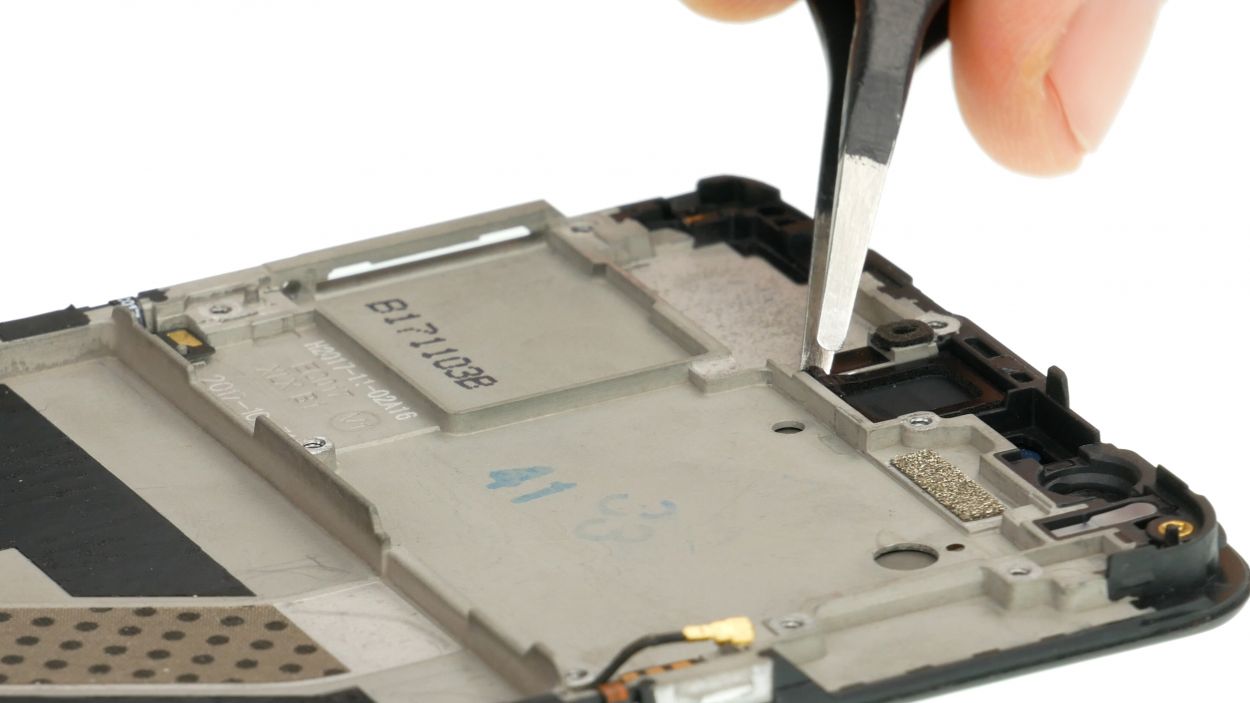
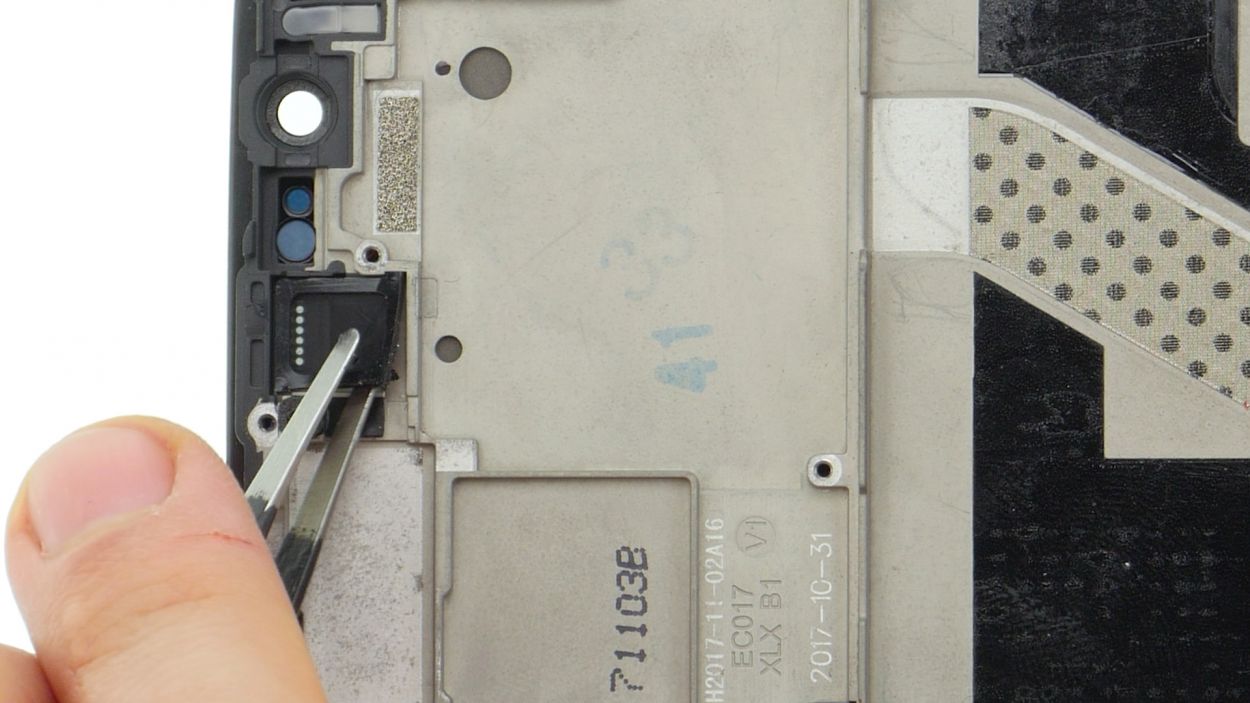
– Gently coax the top piece of the earpiece out of its cozy socket using a trusty flat tool. Then, give it a gentle tug and it’ll probably come right out. Voilà! You did it!
– Time to get grab-y with the tweezers! Carefully, carefully, use your tweezers to sweet-talk the grille into submission. Out comes the tweezers, and in goes the grille, effortlessly!

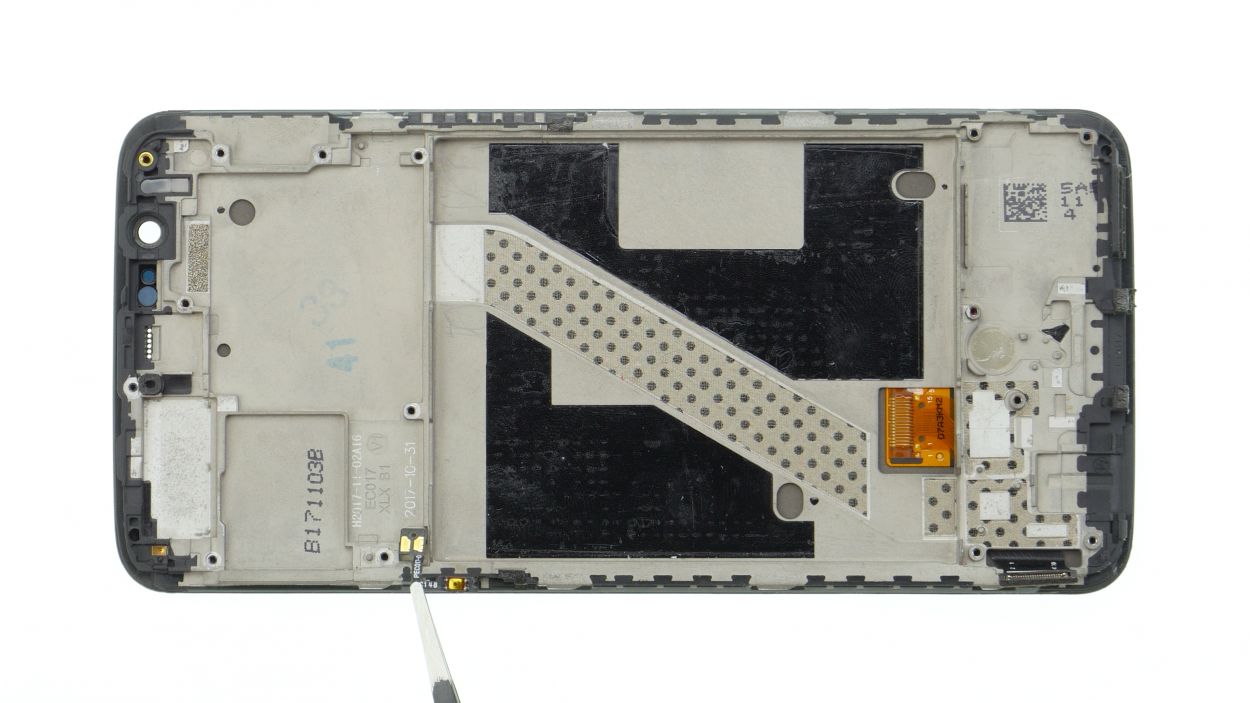
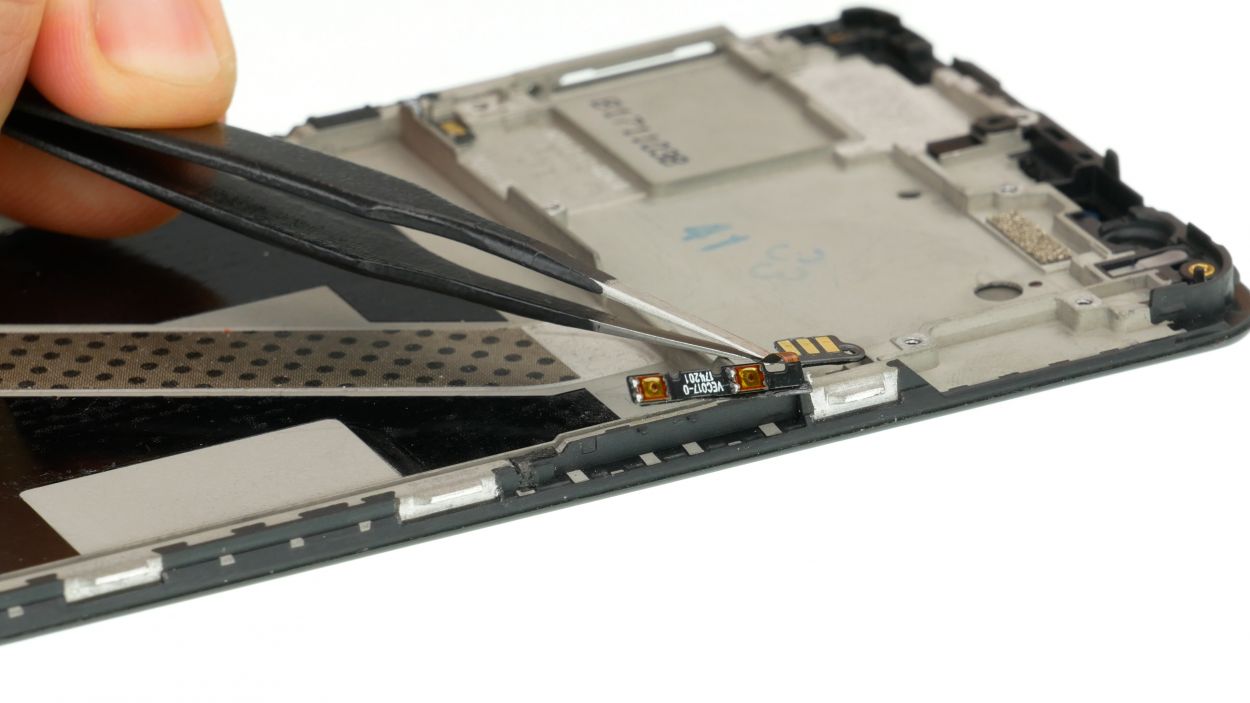
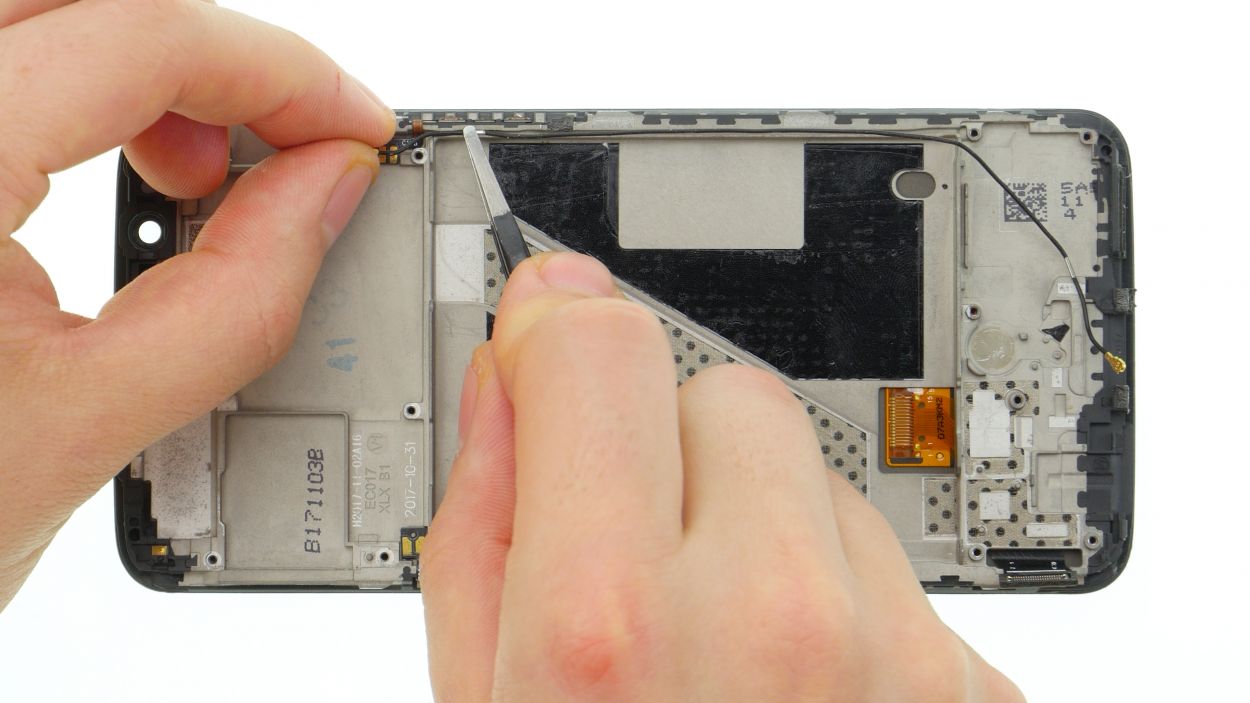
Step 17
– Gently pry open the volume keys using a spatula.
– A little heat might be your best friend to loosen that stubborn glue.
– Carefully detach the glued flex cable with the spatula and pop those keys out of the device.
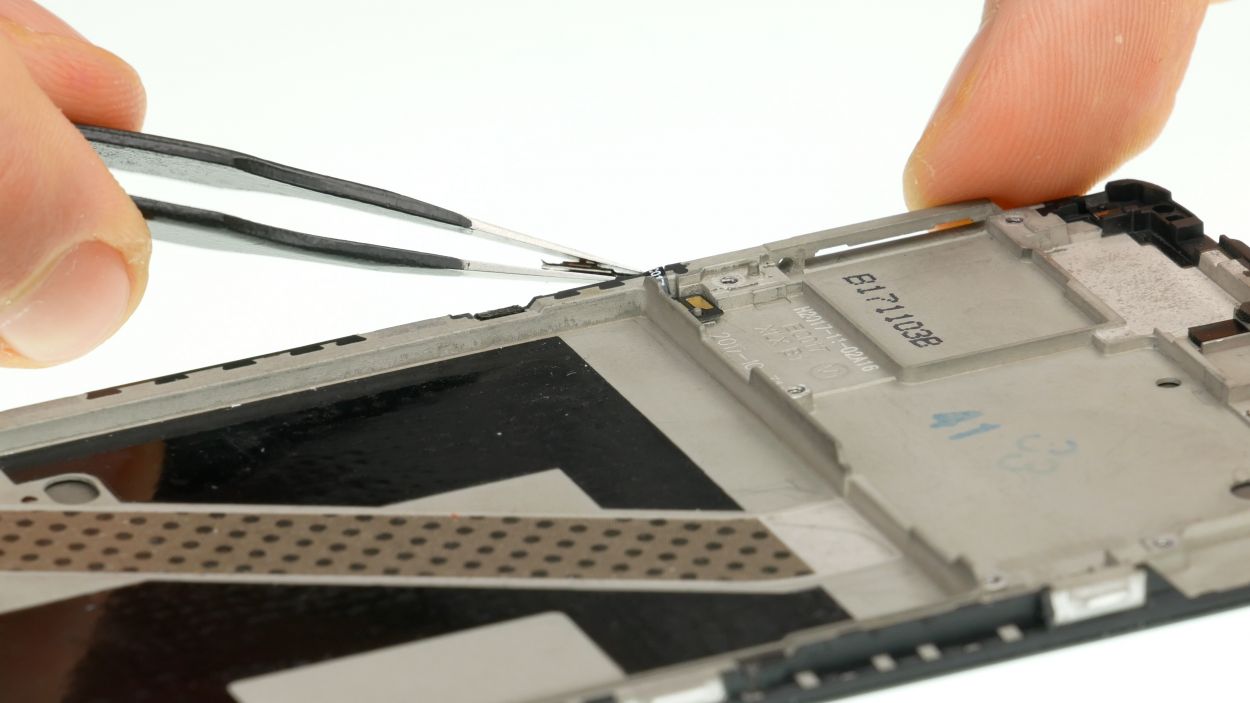
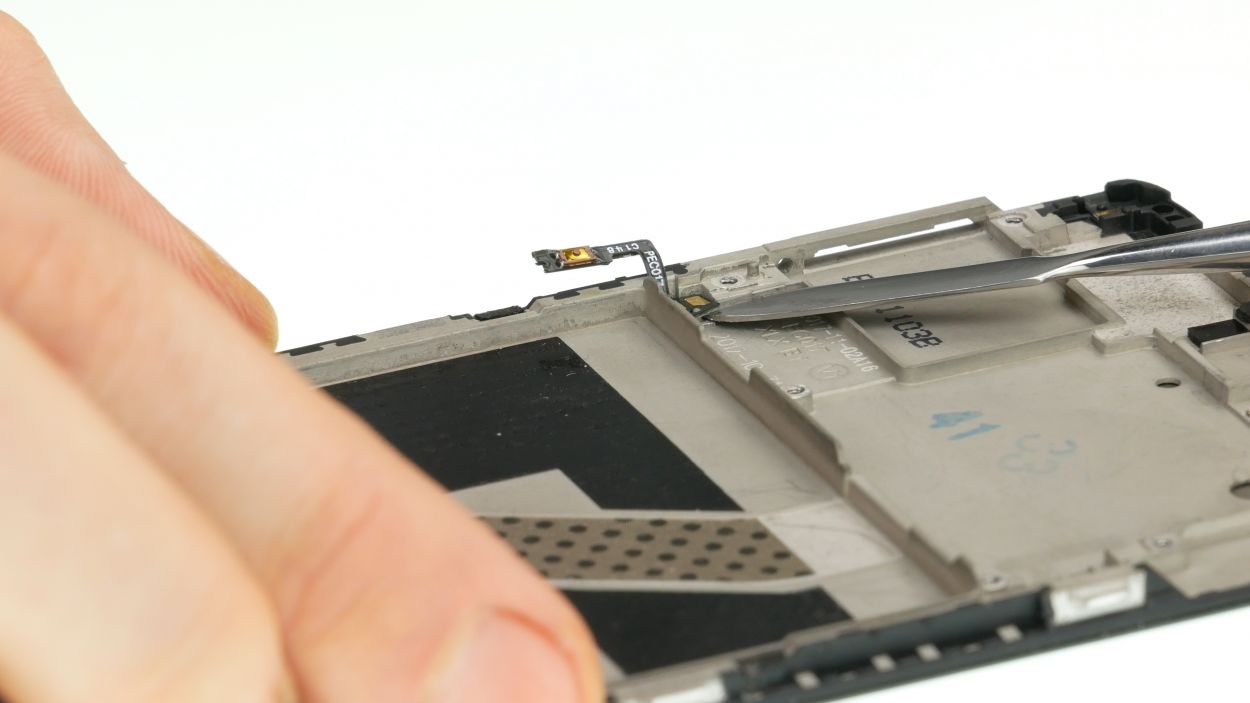
Step 19


– Pop that standby button back into its cozy spot.
– Give it a little press to make sure it sticks like a champ.
– Now, gently press the flex cable against the frame.
– Finally, cover it all up with the tape like a pro.
Step 20
– Slide that antenna cable right into its cozy little guide.
– Next up, give it a snug hug with the black tape strip to keep it in place.
Step 21

– Go ahead and pop that grille and earpiece into place, giving it a gentle press so it sticks like it’s meant to be there!
Step 22
– Gently pop the vibration motor into its cozy little spot and give it a nice press to settle in.
– Next, snug the flex cable against the case for a secure fit.
Step 23
– Position the flex cable at the bottom of the device and then press it lightly down everywhere.
Step 24
– Slide that sub-board right into the device and give it a little press to make sure it sticks like a champ!
– Carefully line up the antenna connector with its buddy on the board and give it a solid press to lock it in place.
Step 26
– Alright, tech wizard, let’s get this flex cable plugged in and connected like a pro! Position the plug, take a deep breath, and attach it with a smile!
Step 27


– First, gently bend all connectors away so they don’t get cozy under the board.
– Carefully place the motherboard into the device and give it a light press.
– Align the antenna cable plug and press it down until you hear a satisfying little snap.
– Connect the flex cable to the mainboard with a gentle push.
– Attach the large connector to the mainboard.
– Secure the mainboard by fastening all 9 screws snugly.
9 × 2,3 mm Phillips
Be careful not to slip with the connectors, as the small pins may get damaged. You should feel the connectors engage with a light snap.
Awesome, you can totally put the moisture indicator back in! This is a super easy step that’ll help keep your device in tip-top shape. Just follow the instructions carefully and you’ll have it back in no time. If you need any help, the friendly folks at Salvation Repair are always here to lend a hand.
Step 28

6 × 2,3 mm Phillips
– Place the speaker back where it belongs.
– Secure the speaker unit by tightening those 6 screws.
Step 29

– Go ahead and plug in that USB/audio flex cable to the mainboard like a pro! You’re doing great—keep it up!
Step 30
– Yo, reconnect that battery! It’s time to juice up your device!
– Now, tuck that sweet cover back into place, covering those awesome battery and Flex connectors!
Step 31

– Hey, DIY rockstar! Let’s get this repair started! First, grab a pair of tweezers and position that plug like a pro.
– Next, make it all click into place by giving it a teensy press with your fingers. Easy as pie!
Step 32
Before you bail, double-check your device to make sure everything is working like a charm!
– Take a moment to check the brightness levels on your display—both the minimum and maximum. Keep an eye out for any pixel hiccups while you’re at it!
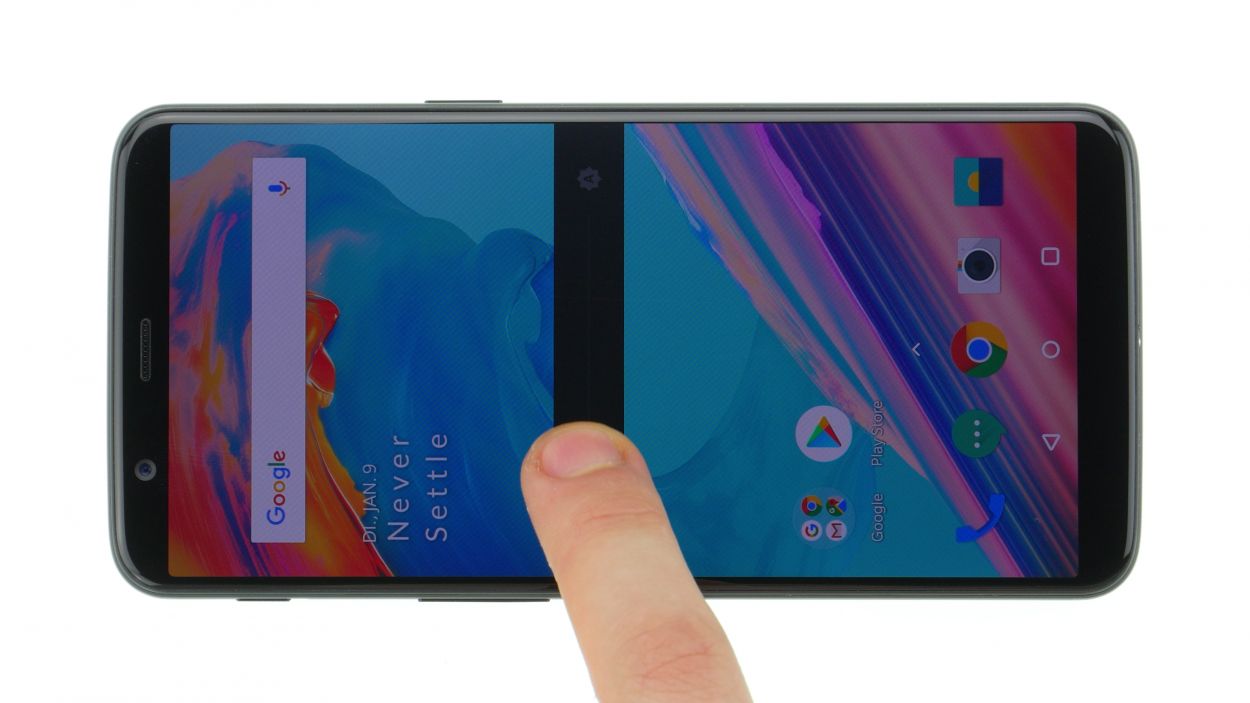
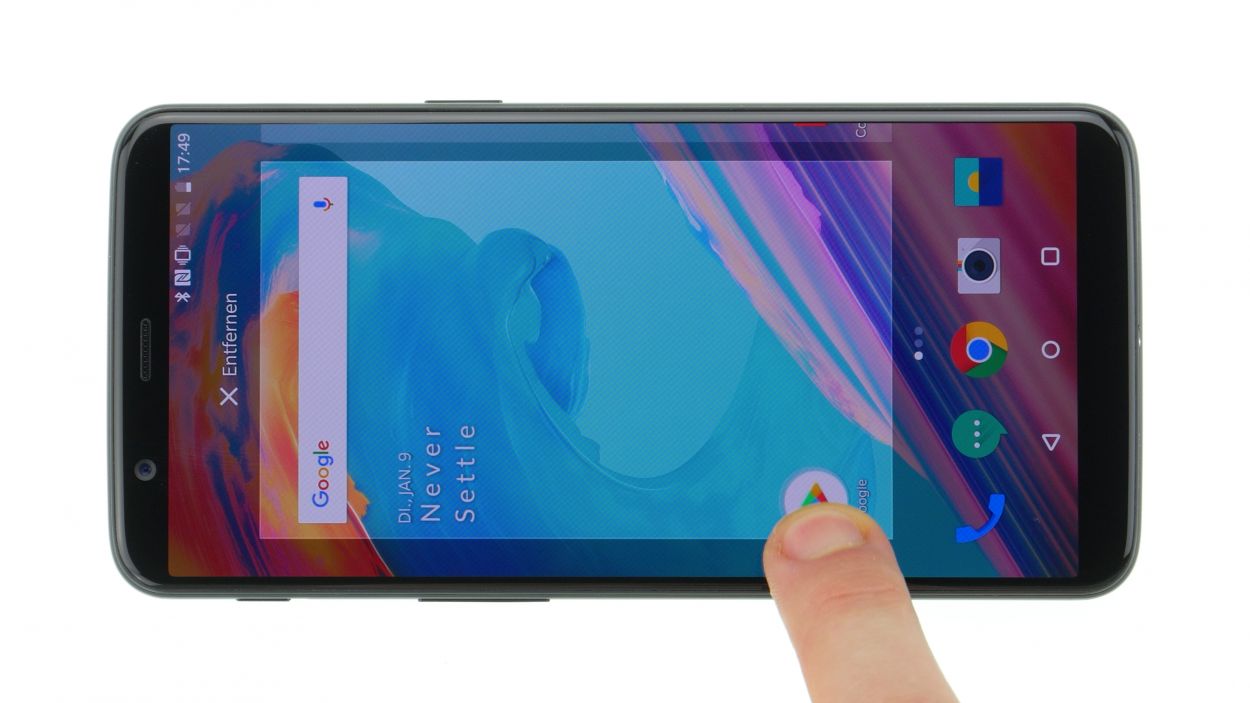
– Give your screen a little workout by dragging an app in a zig-zag dance. If it smoothly follows your finger without any jumps, you’re in good shape with the touch function!
– Don’t forget to put other features to the test! Try out the cameras, speaker, and earpiece—using a recording app can be a fun way to check their performance.
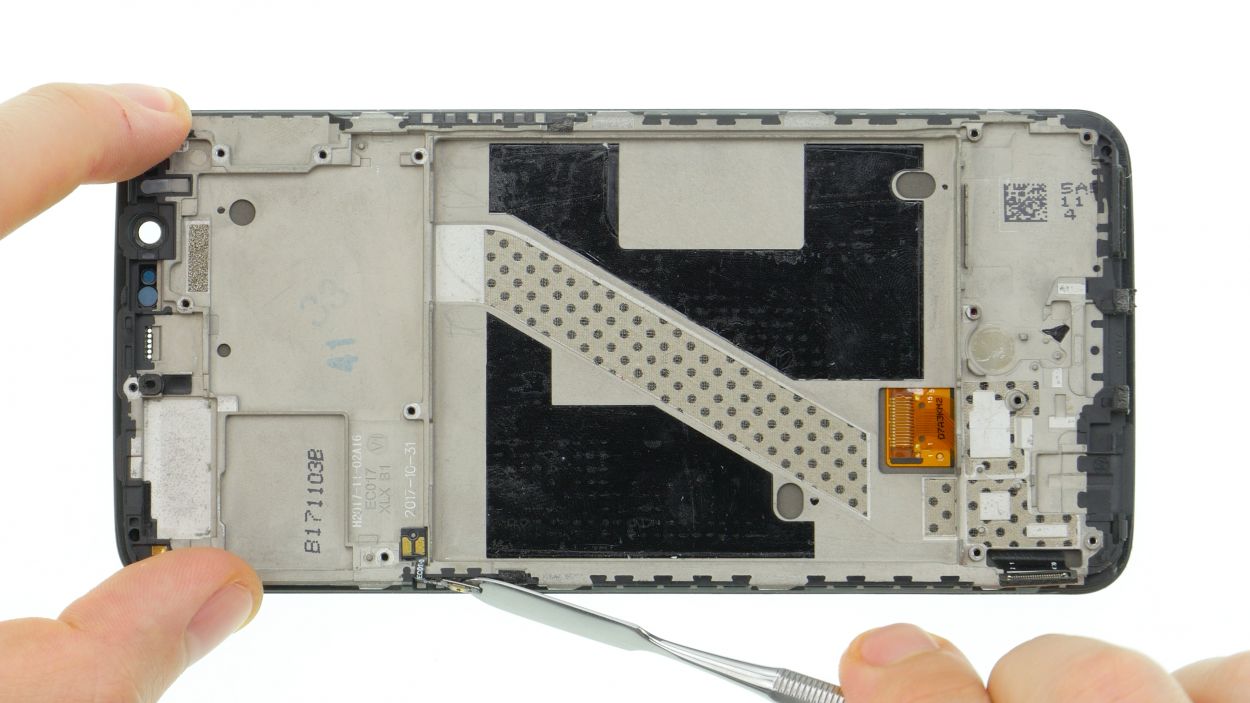
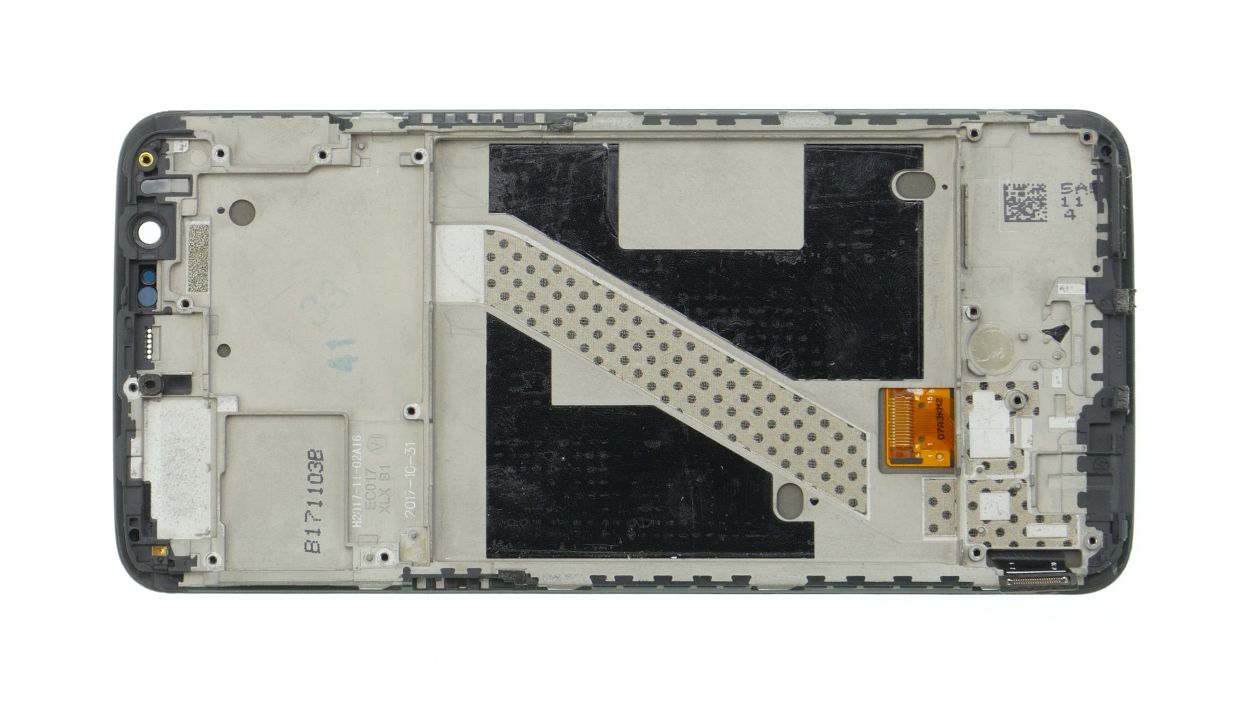
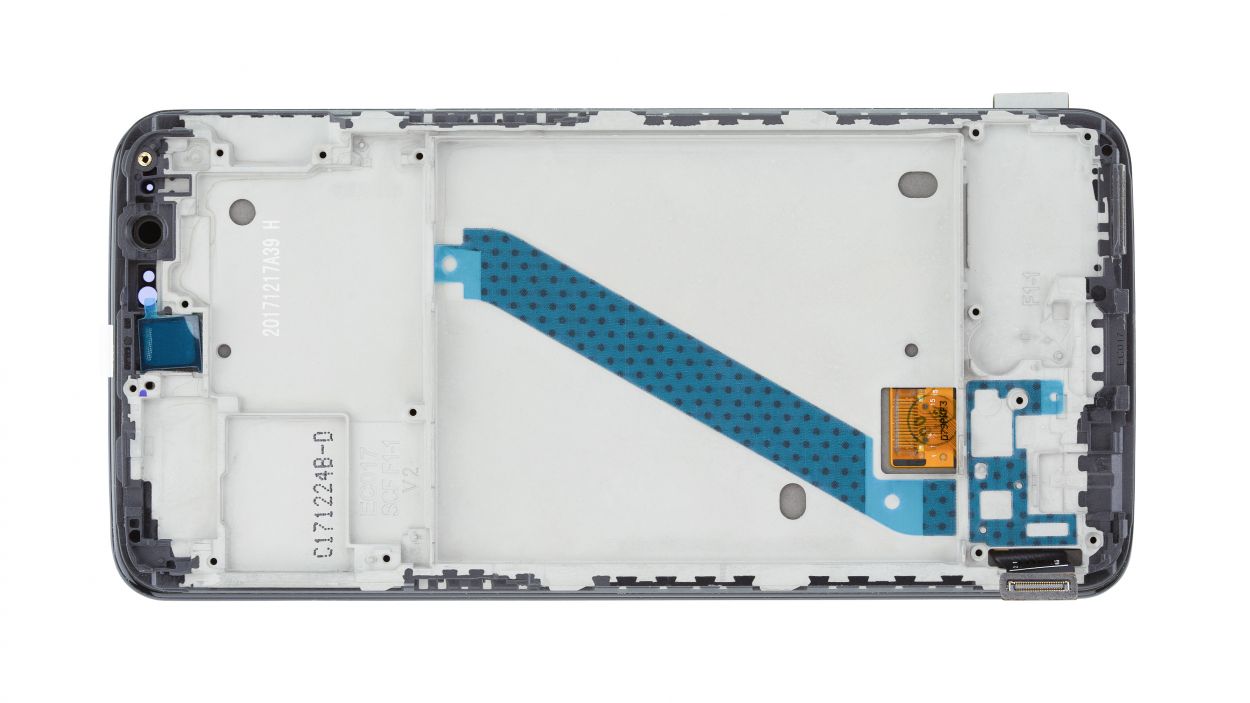
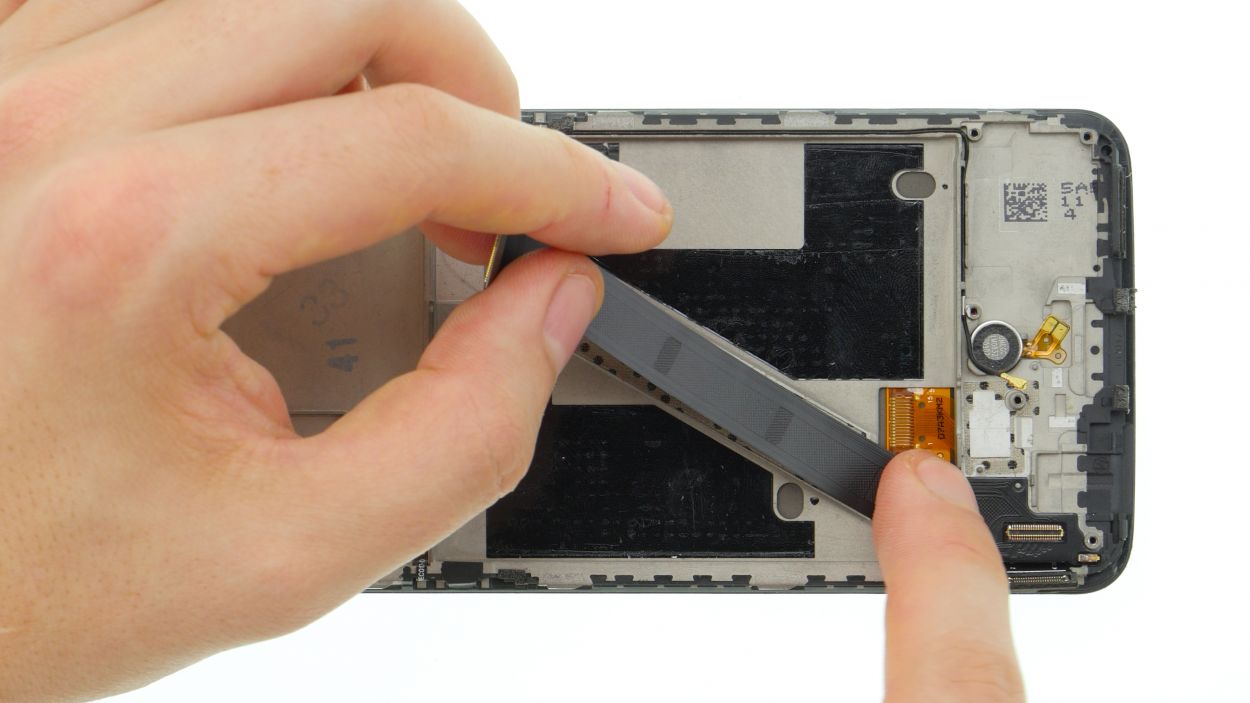
Step 33
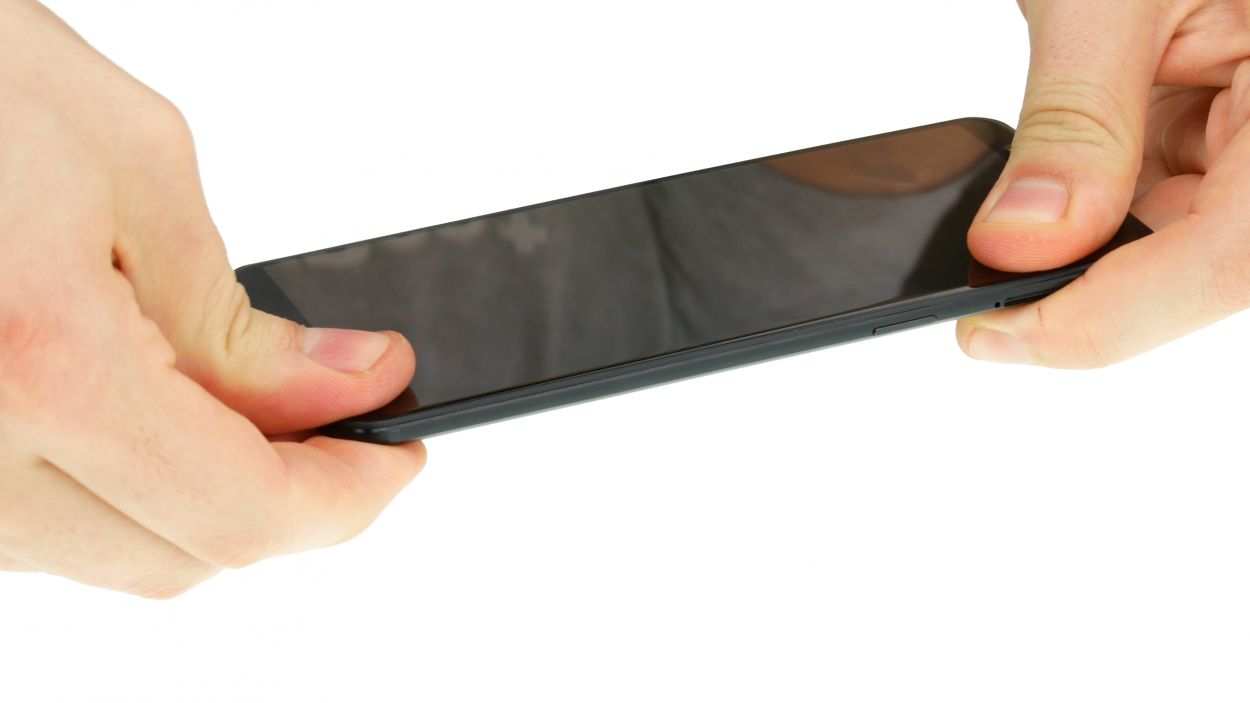
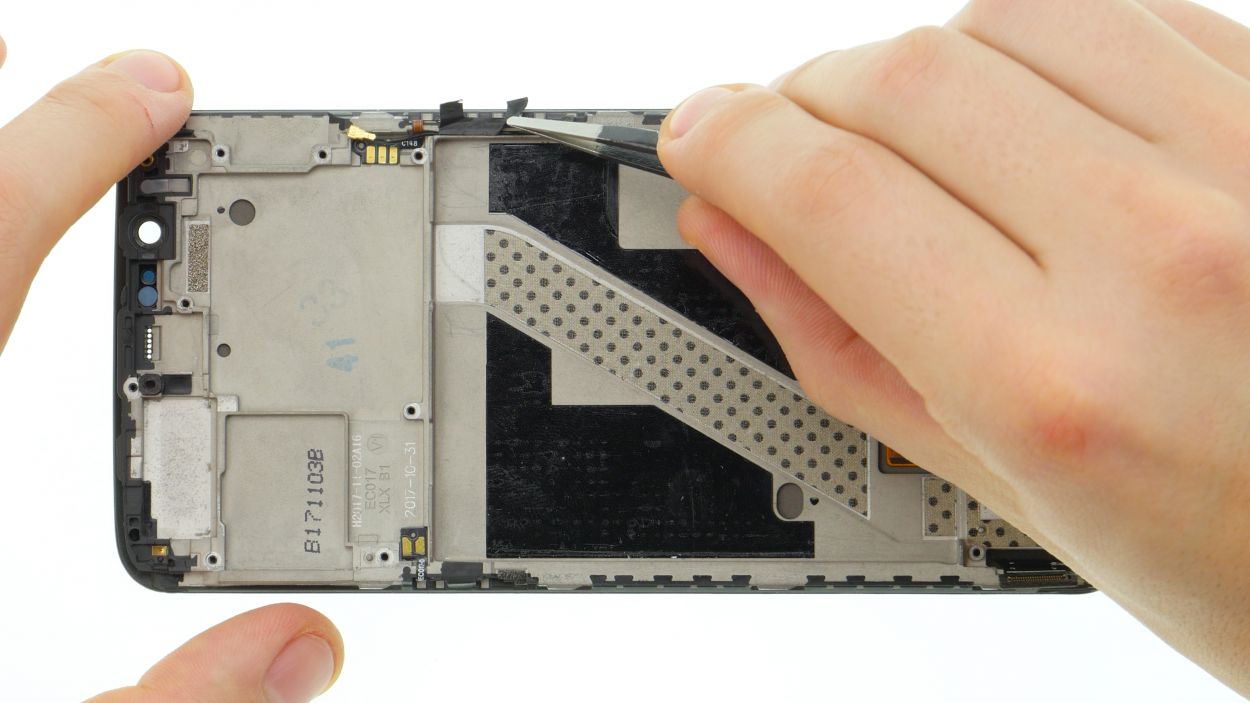
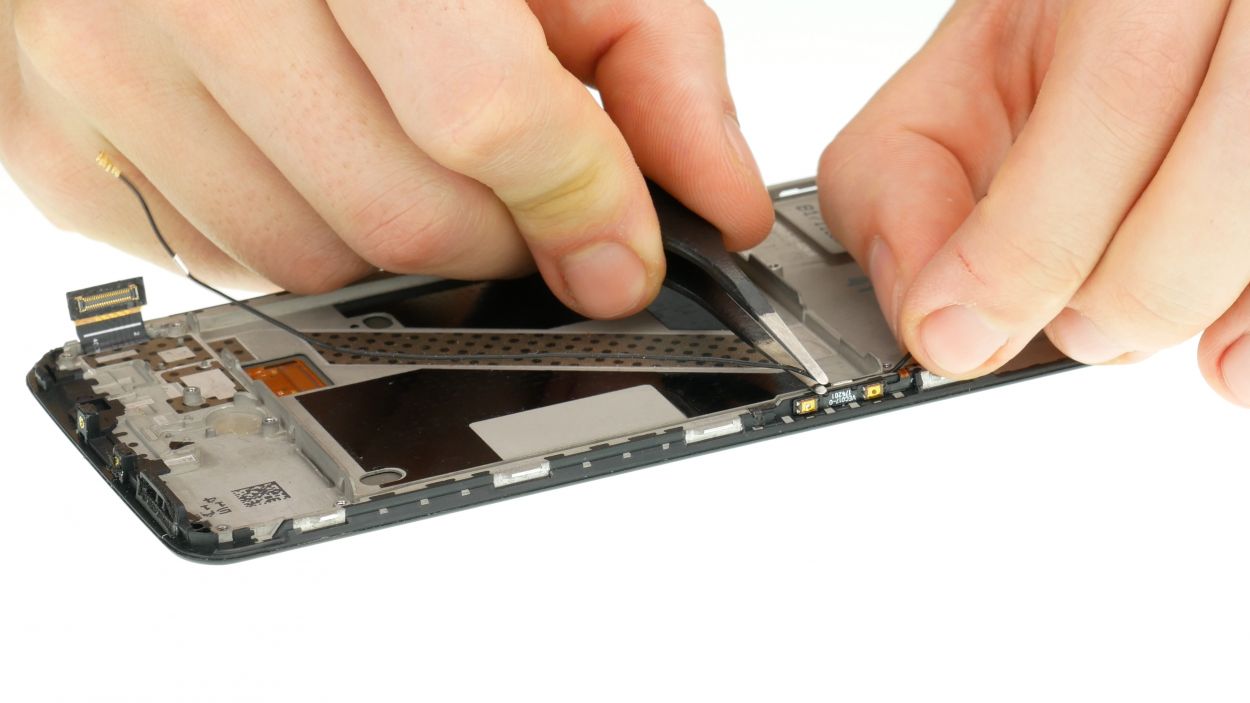
– Alright, grab your device and gently push the display back into the back cover. You’ve got this!
– Start by attaching the upper edge first. There are three clips waiting for you up there.
– Getting everything clipped together might require a bit of muscle. Use both hands to give it a good squeeze with your fingers. You’re almost there!
Step 34
– Insert the SIM/SD cards and slide the tray back into the device.
Step 35
2 × Torx T2
– Tighten up those two screws flanking the USB port, one on the left and one on the right. You’ve got this!