DIY Guide to Replace OnePlus 6 Front Camera
Duration: 60 min.
Steps: 11 Steps
If you have spots on your Selfies, the camera app shows an error or the pictures are blurred, then your front camera may be defective. How you can replace the OnePlus 6 yourself is shown in this guide.The repair is a bit more difficult because the OnePlus 6 has to be opened via the glass back cover.Run a data backup before the repair, use a clean work surface and take enough time. If you have questions, use the live chat on our website or write a comment.
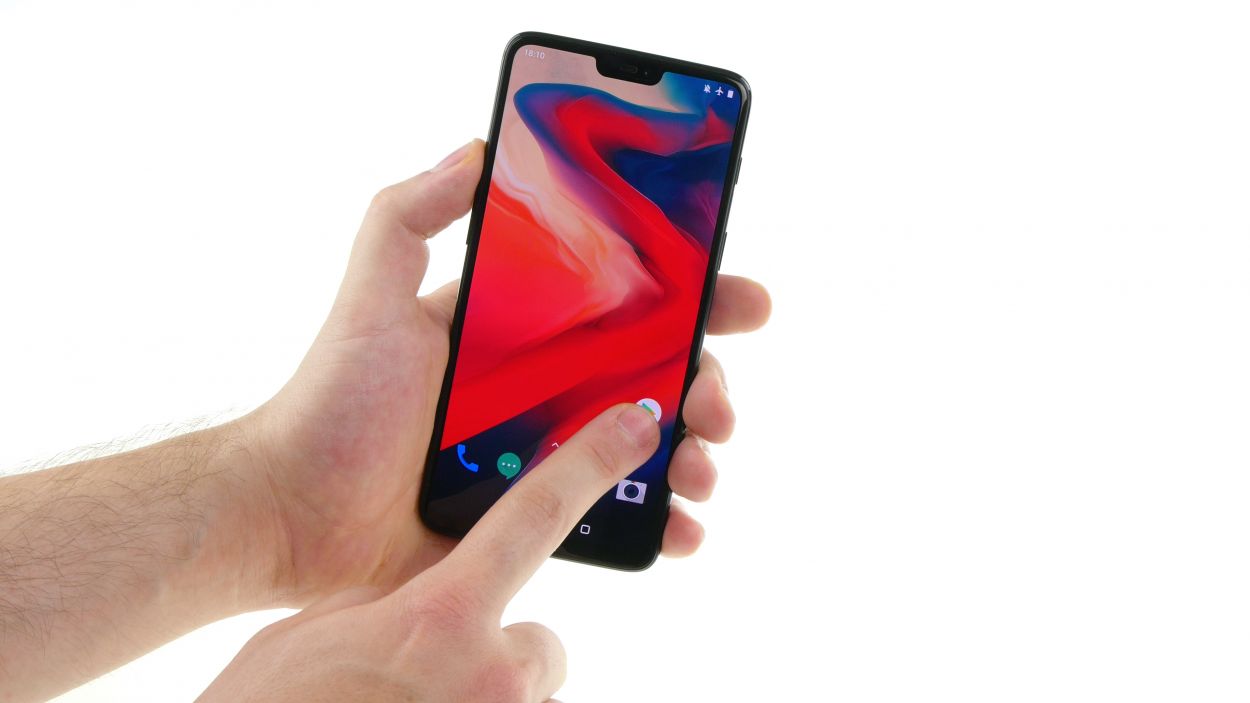
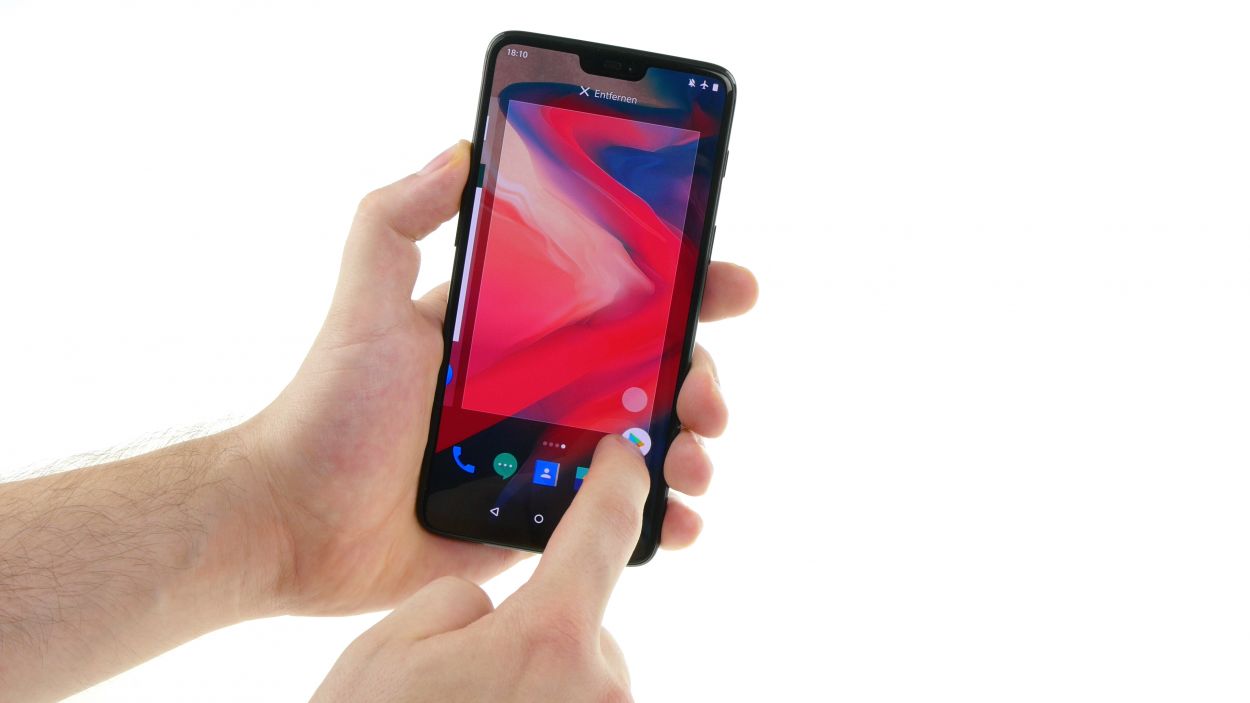
Step 1

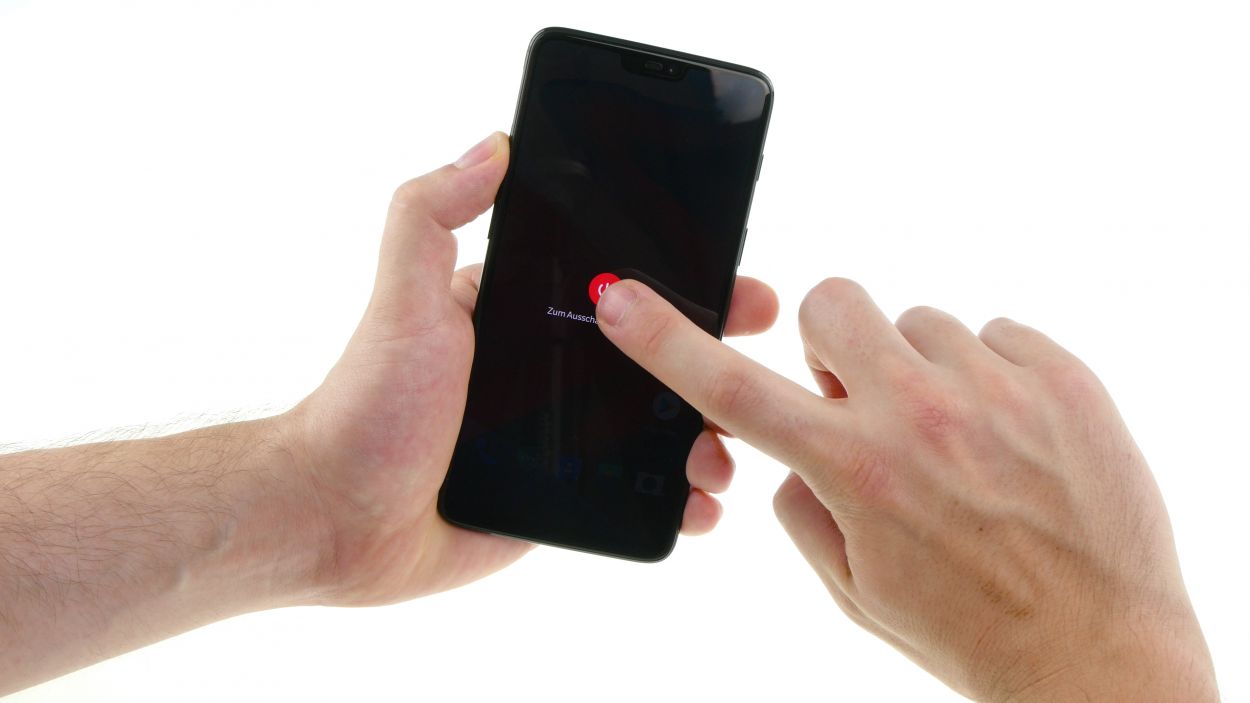
– Hold down the power button until you see the ‘Power Off’ option. It’s like giving your device a little nap!
– Tap to confirm and say ‘Goodnight, sweet device!’
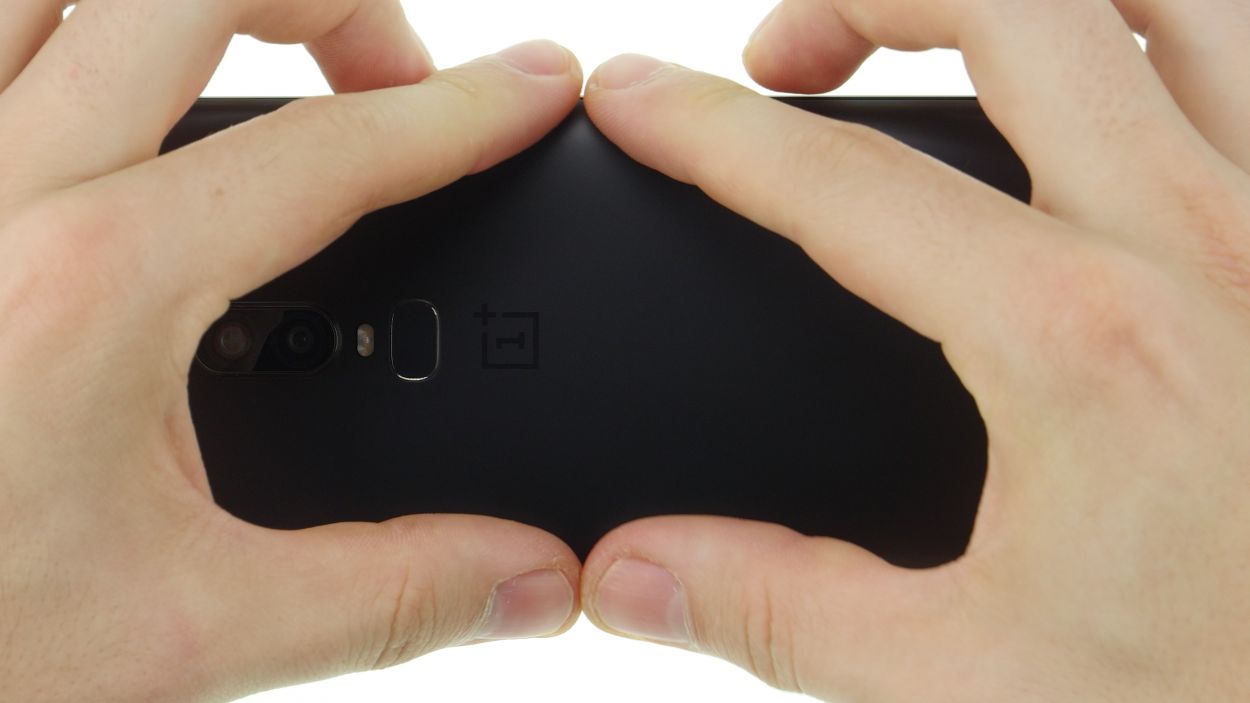
Step 2
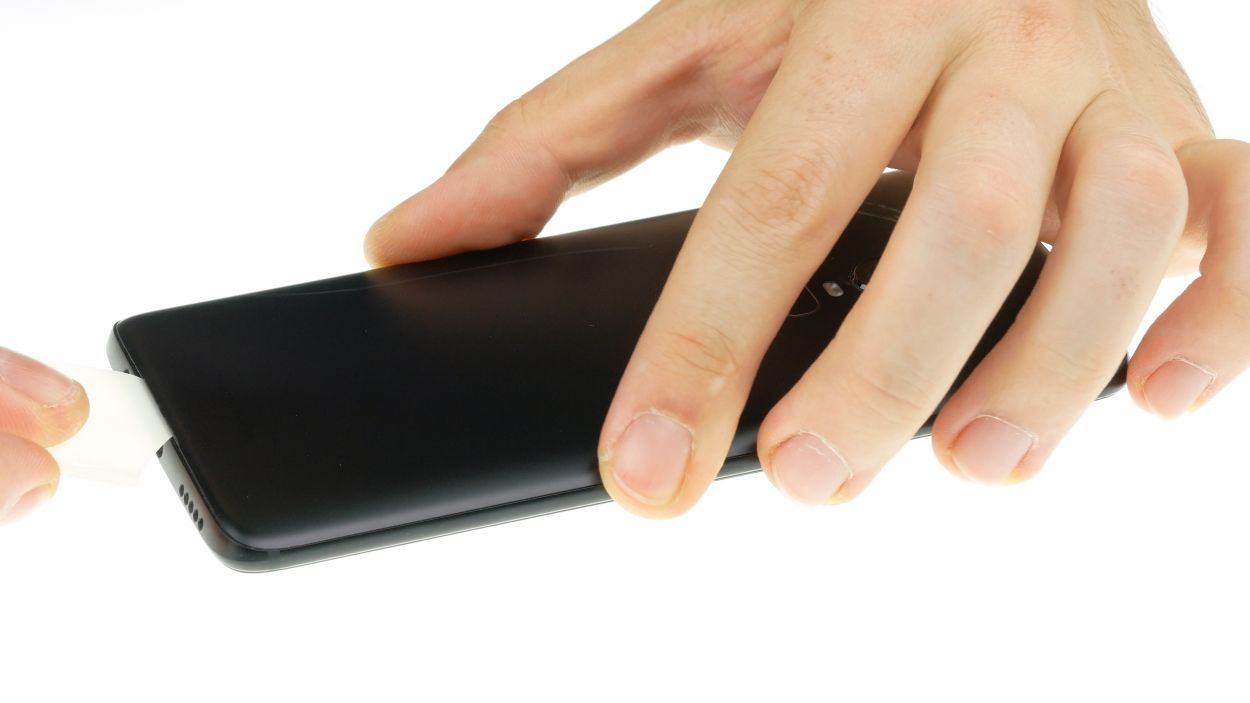
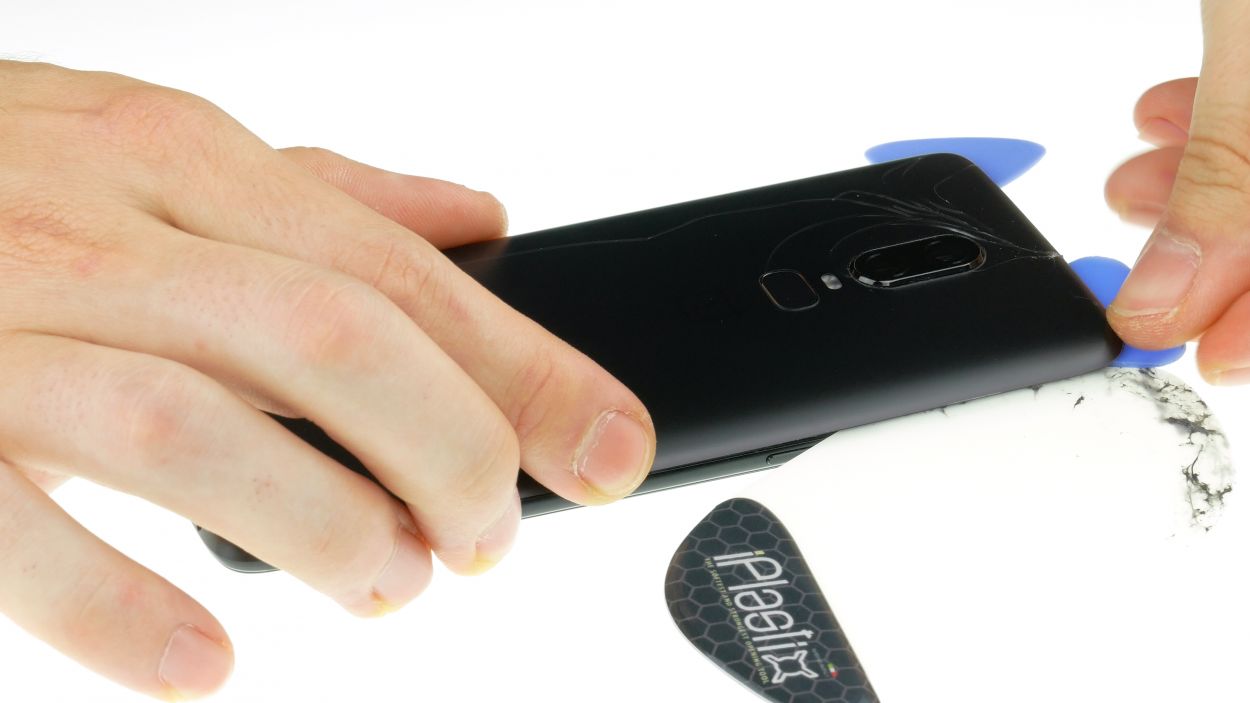
– Warm up the area where you’re going to start working.
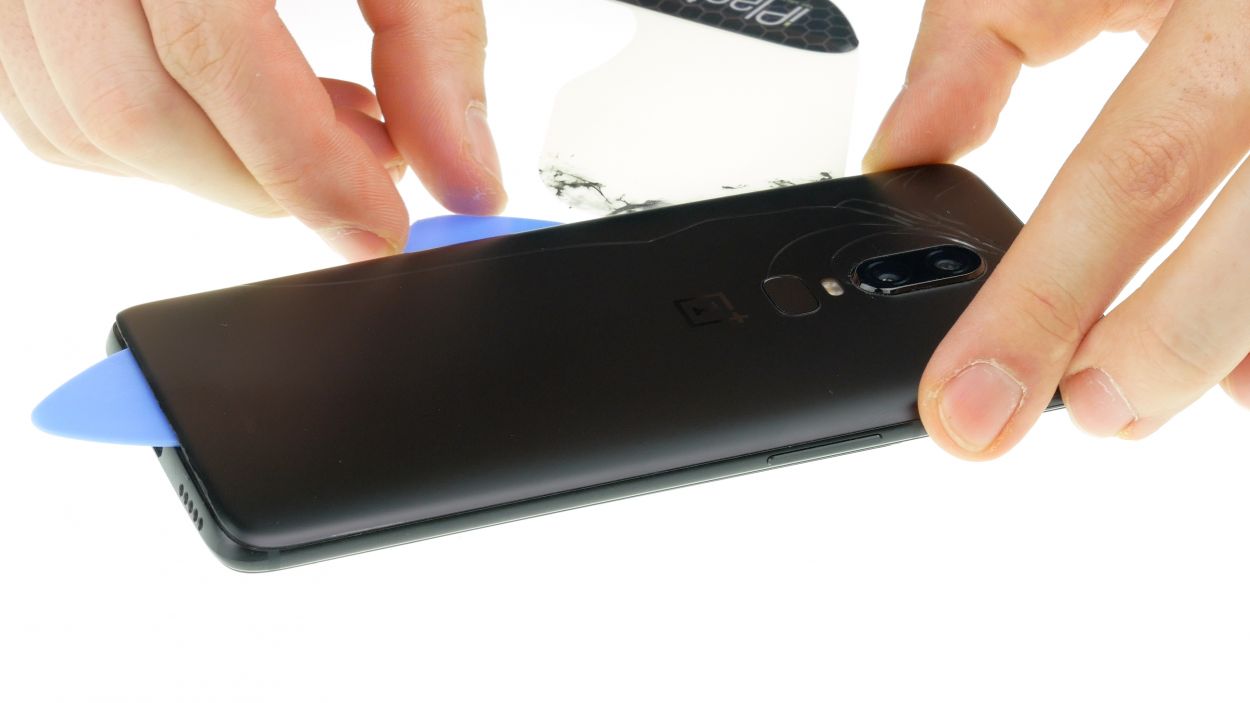
– Gently slide a flat tool between the back cover and the frame.
Hey there! Just a friendly reminder to handle that back cover with care—it’s a bit fragile and can crack easily. If it’s giving you a hard time, don’t hesitate to warm it up a few times and give it another go. Remember, taking your time is key; it might take around half an hour, but being patient and gentle will help you avoid any mishaps. You’ve got this!
The iPlastix tool is made of a super-friendly plastic that’s gentle on your device, preventing any unwanted scratches. It’s a bit of a wiggle-worm to get in place, but don’t worry—you’ve got this! If you need a hand, you can always schedule a repair.
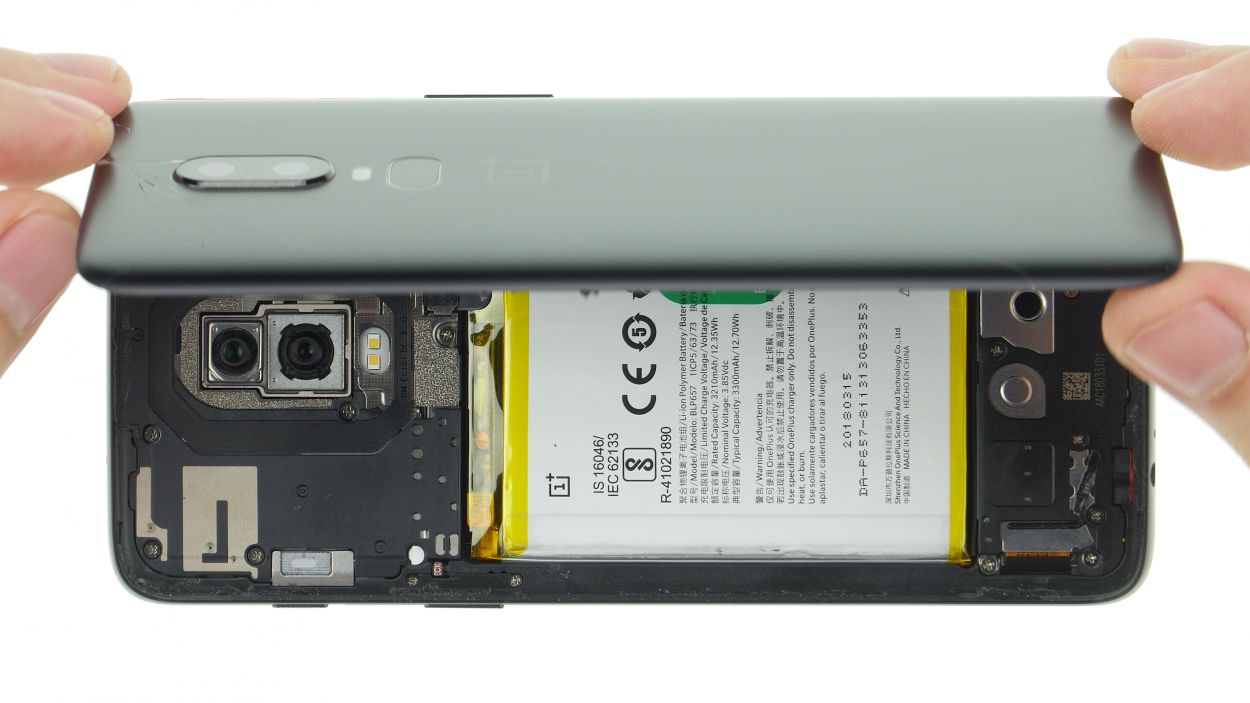
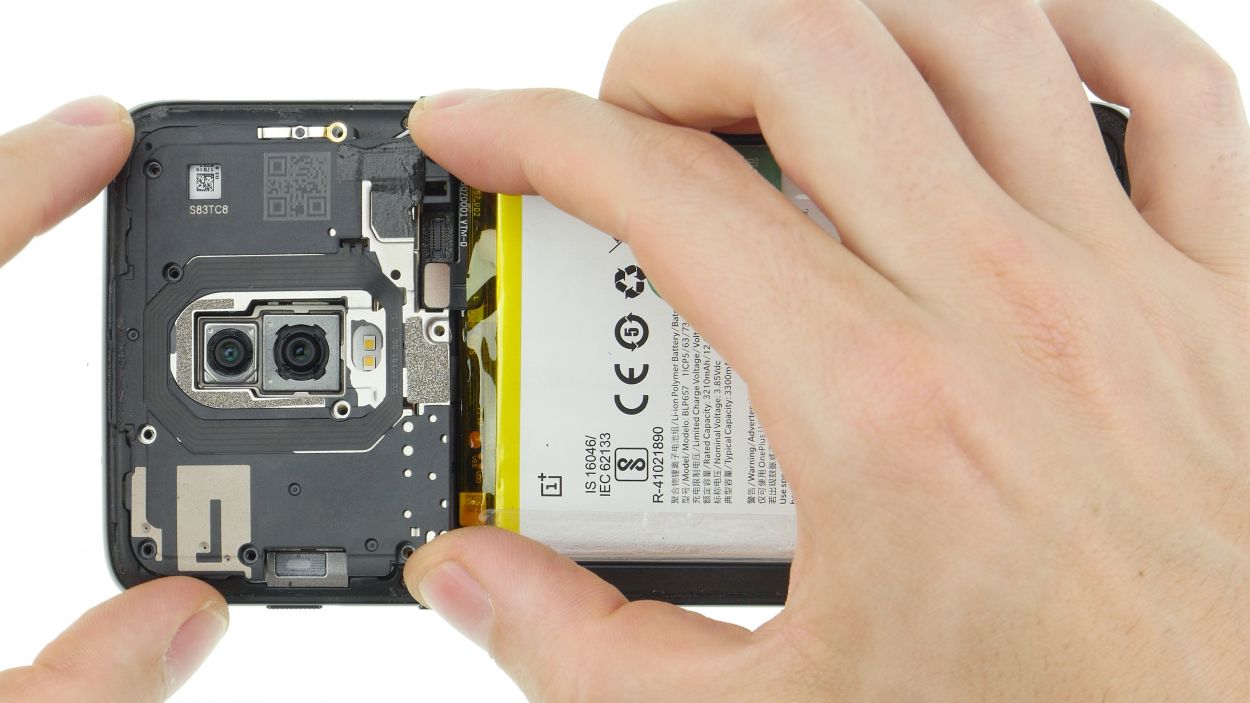
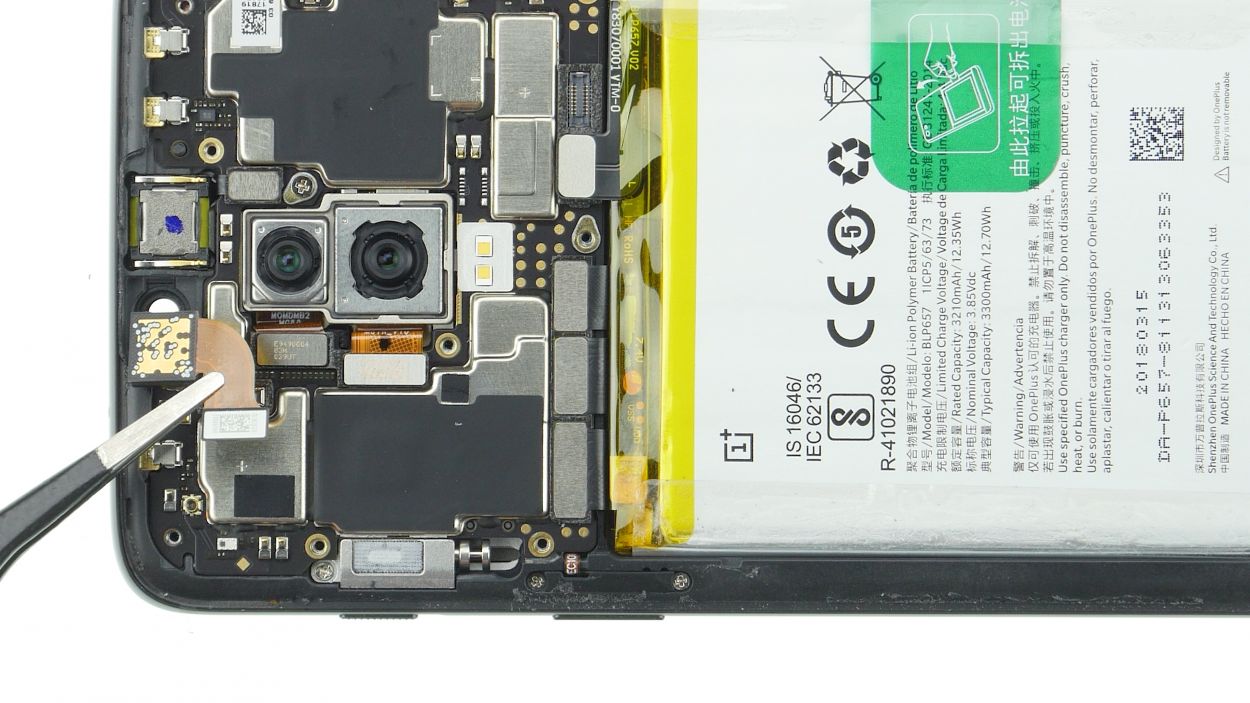
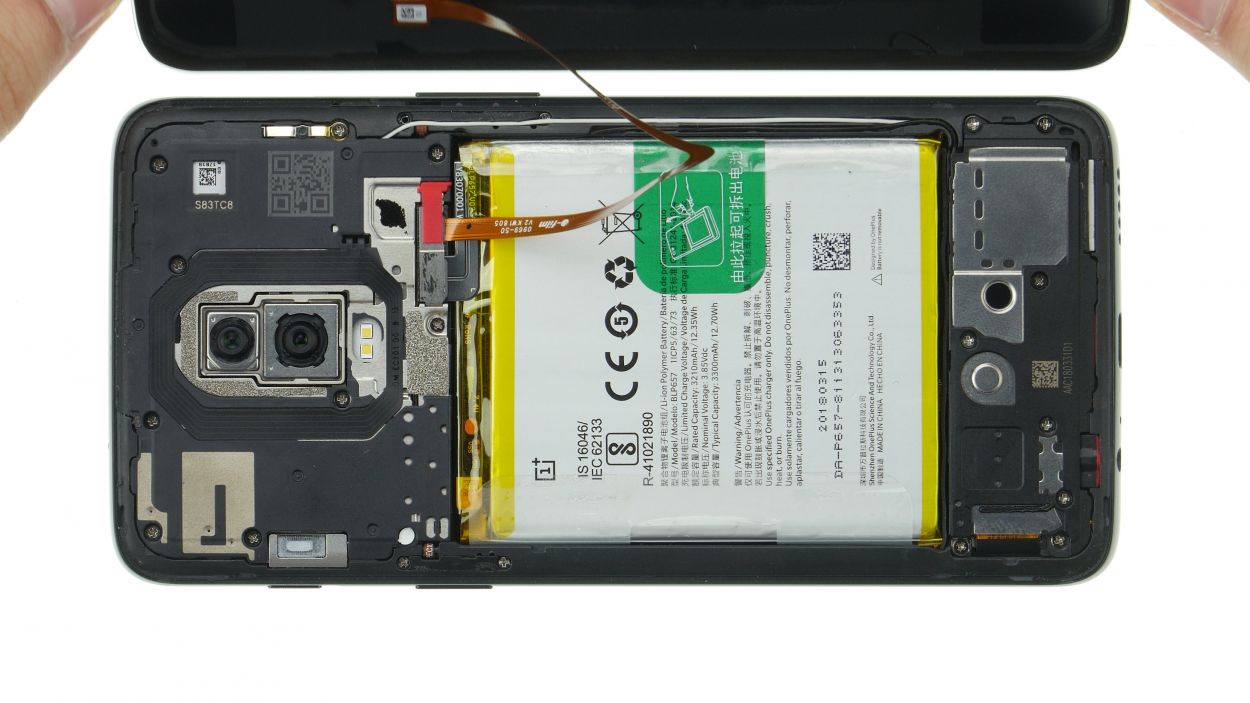
Step 3
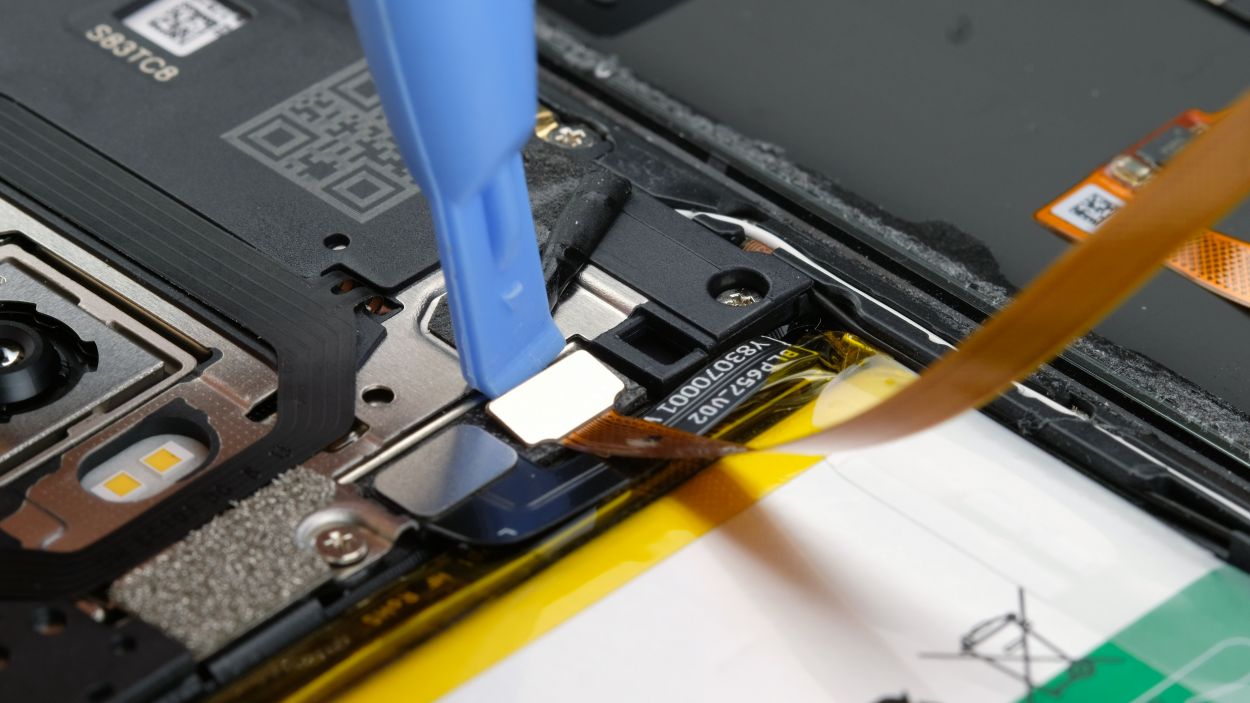
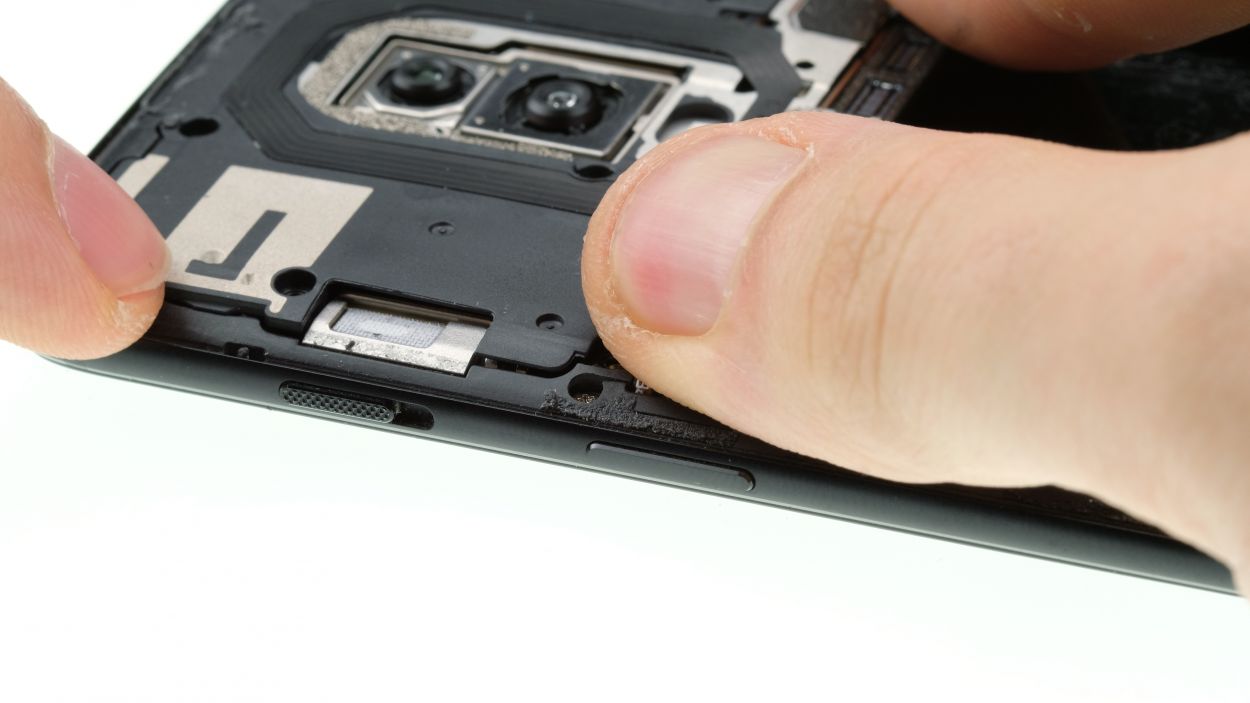
Fingerprint Connector
– First, gently lift that loosened back cover and fold it back like a pro.
– Next up, loosen the pesky adhesive strip on the cover plate.
– Carefully remove the cover over the connector with some trusty tweezers or your fingers.
– Finally, disconnect the connector using a spudger or your fingernail, then smoothly lift off the back cover.

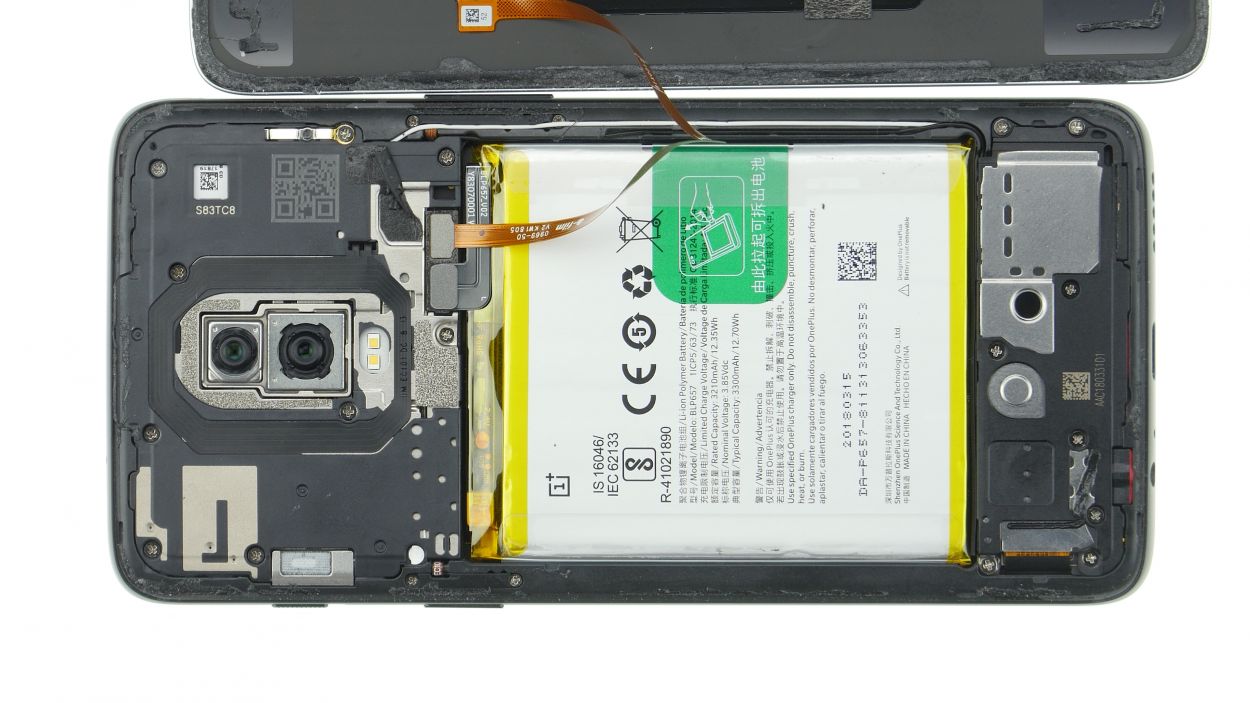
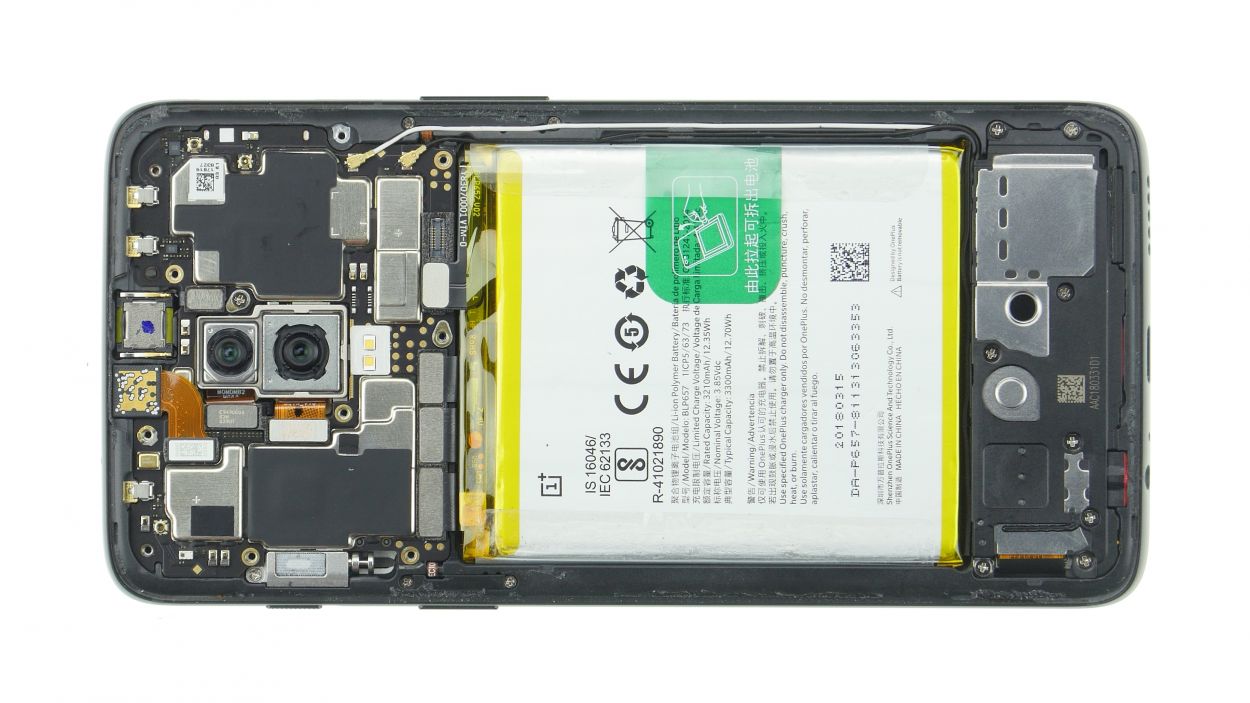
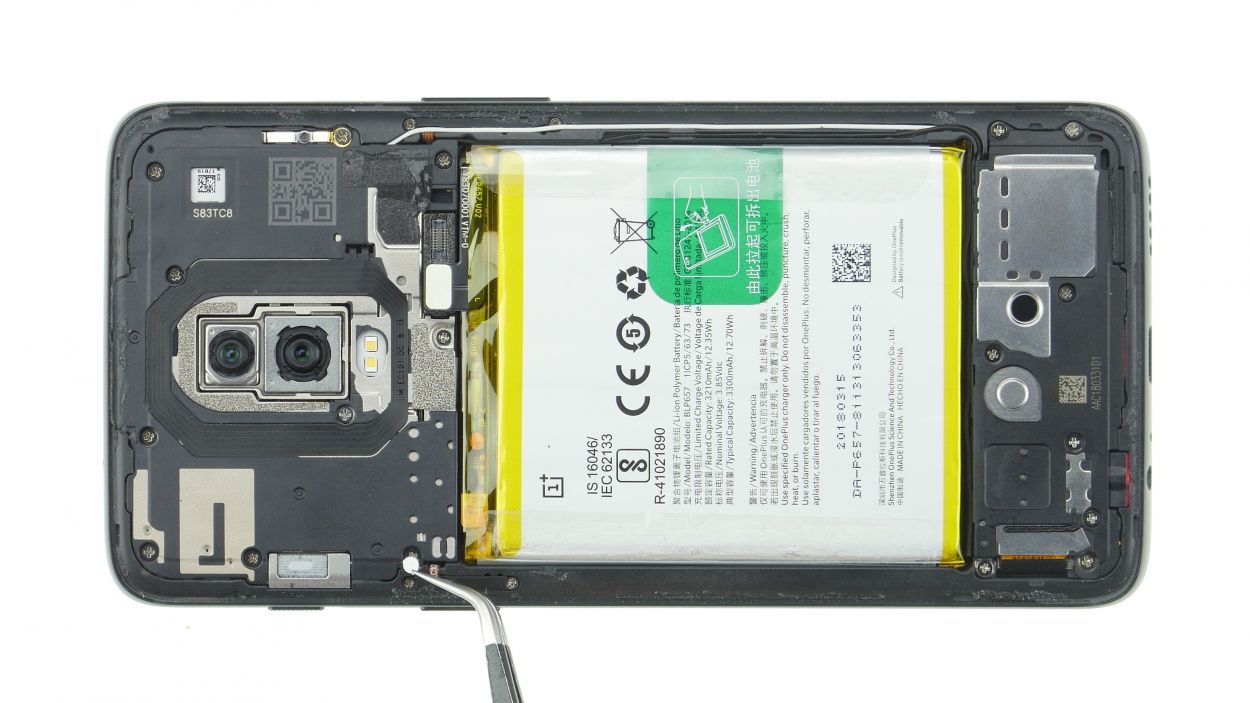
Step 5

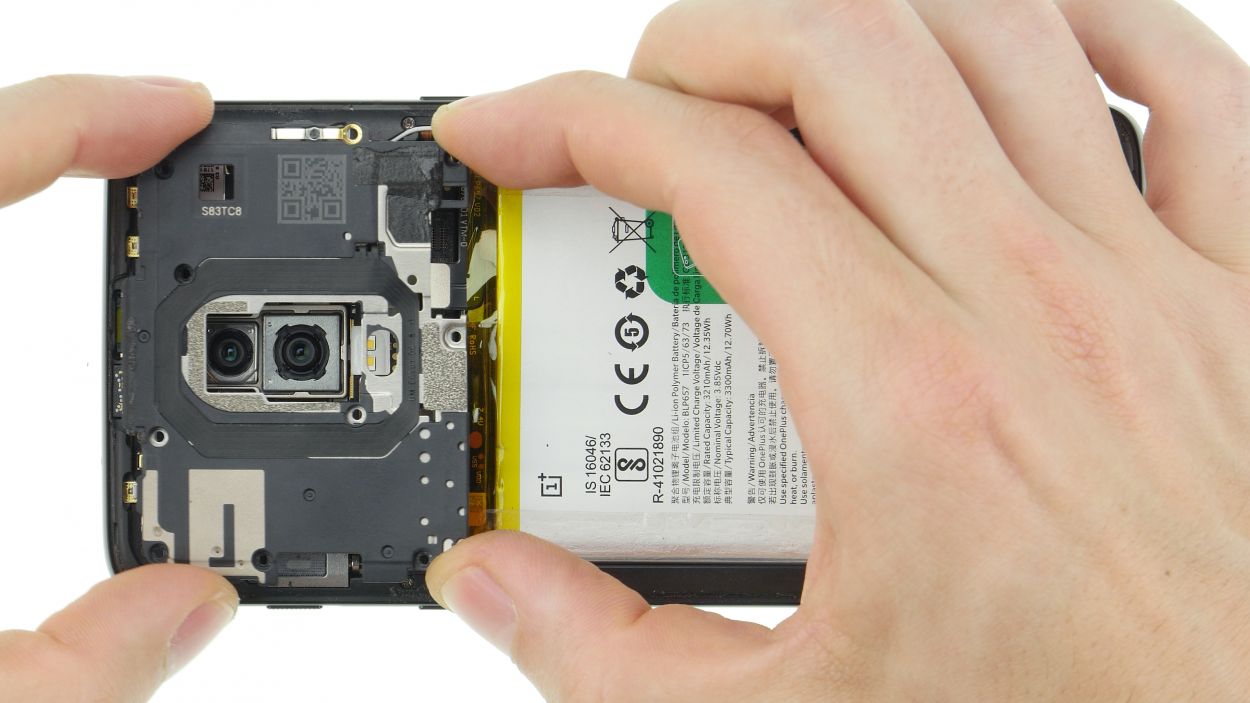
10 × 3,0 mm Phillips
If those pesky screws decide to play hard to get, grab a trusty pair of tweezers and give them a gentle nudge to help them out. Remember, if you need help, you can always schedule a repair!
– Let’s gently peel off that moisture indicator – we’ll put it back later, promise!
– Time to loosen those Phillips screws. Piece of cake!
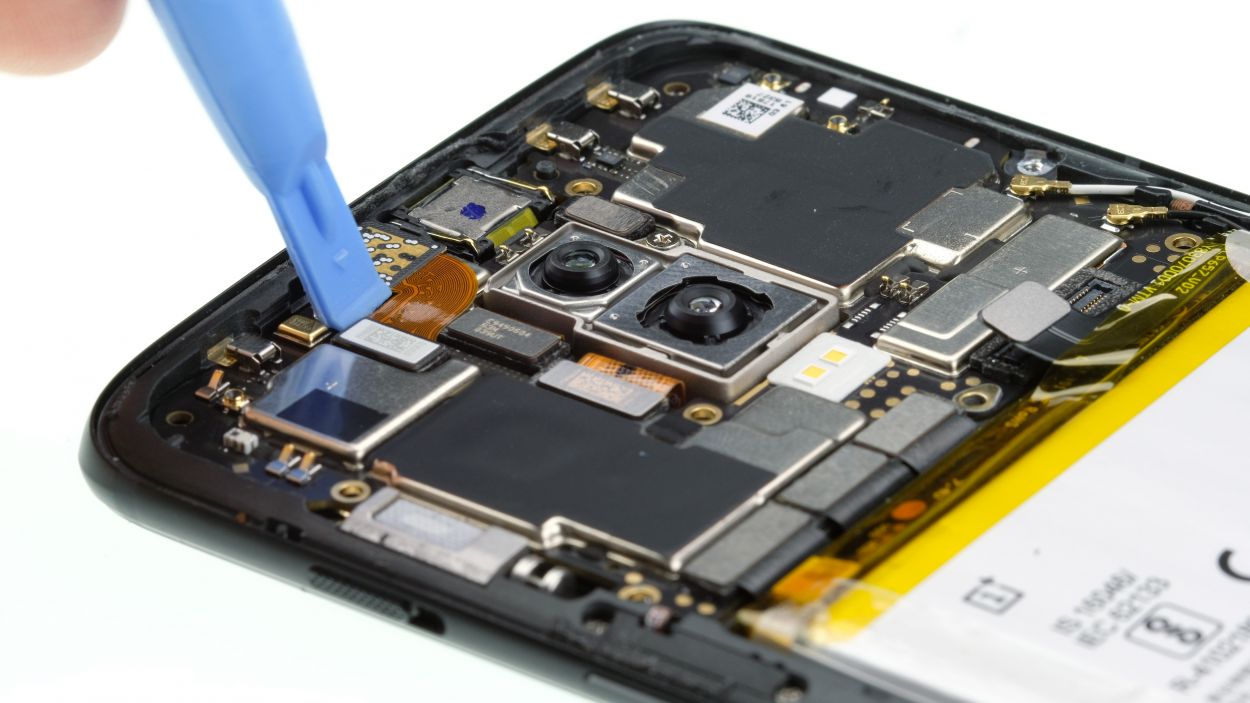
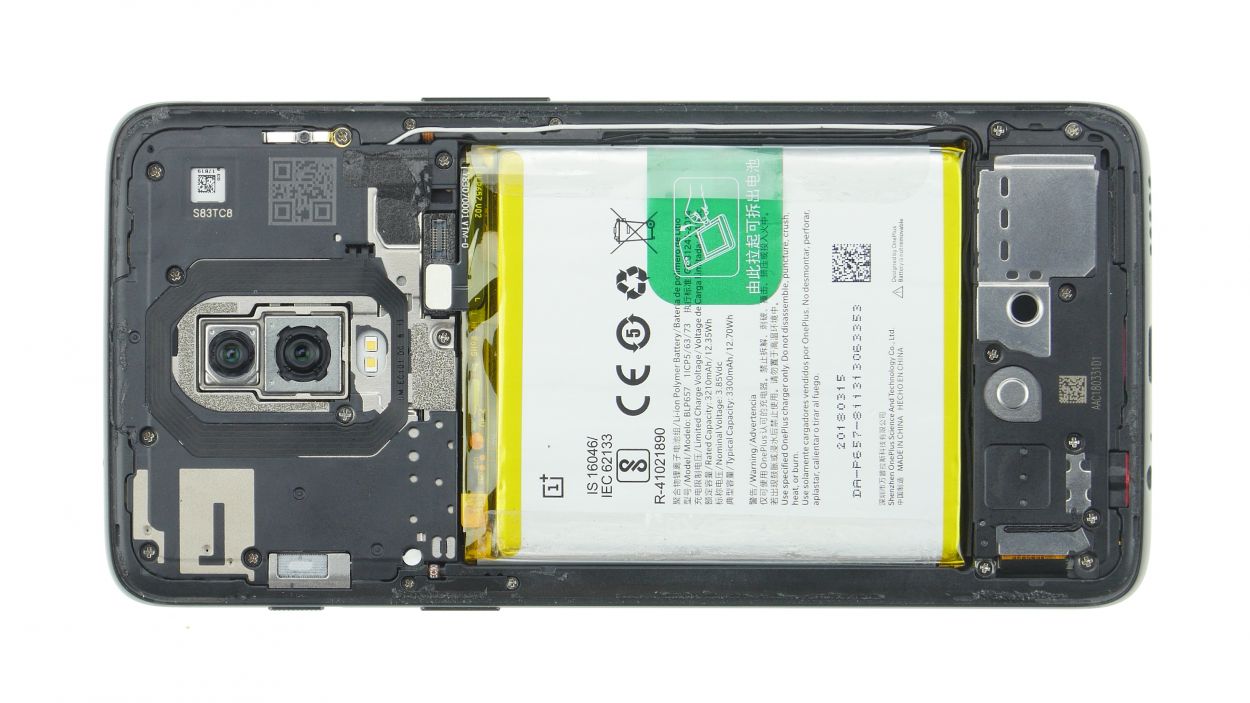
Step 8
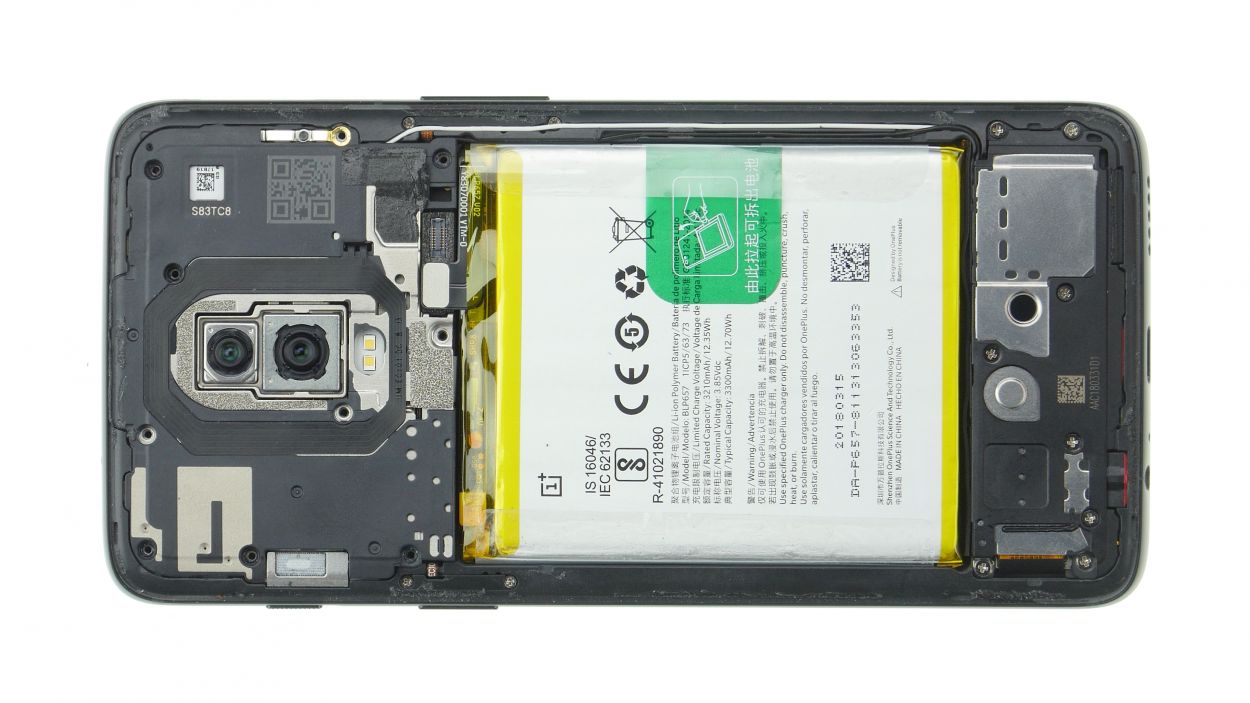
10 × 3,0 mm Phillips
– Pop that cover onto the top edge and give it a good press to secure it in place.
– Double-check that the little tabs on the sides are snugly tucked inside the frame and not peeking out.
– Secure the cover with those trusty Phillips screws to keep everything in place.
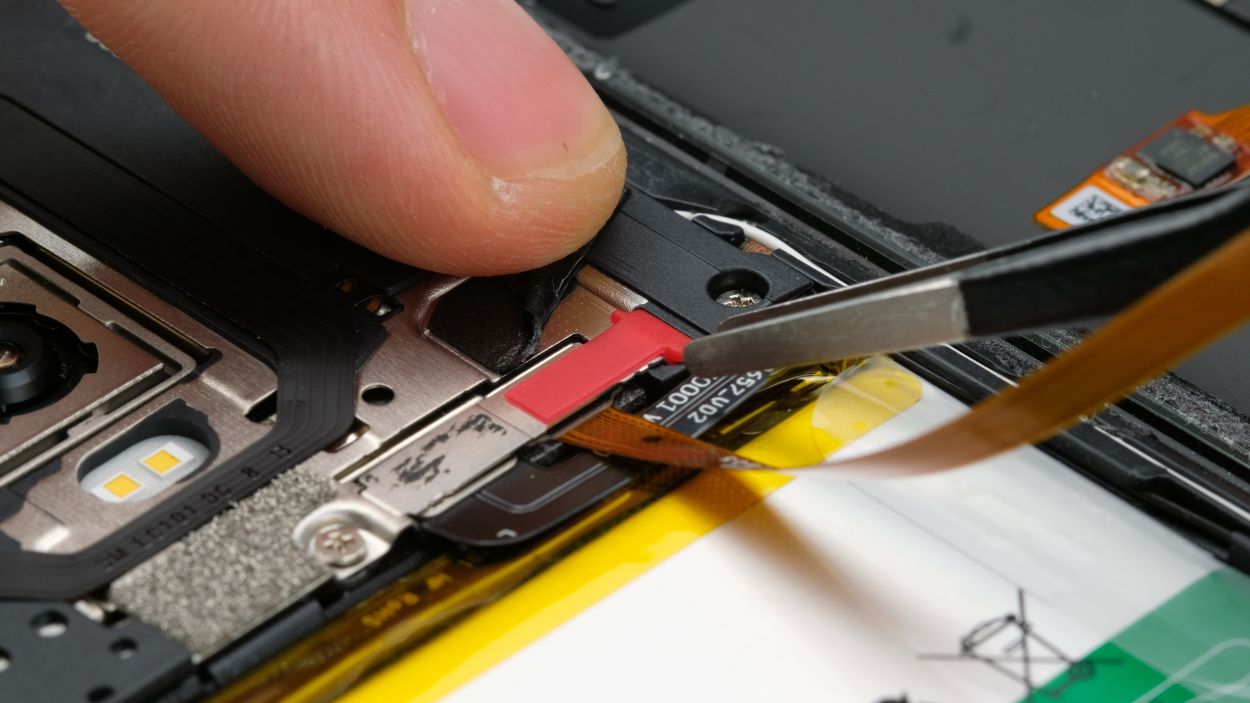
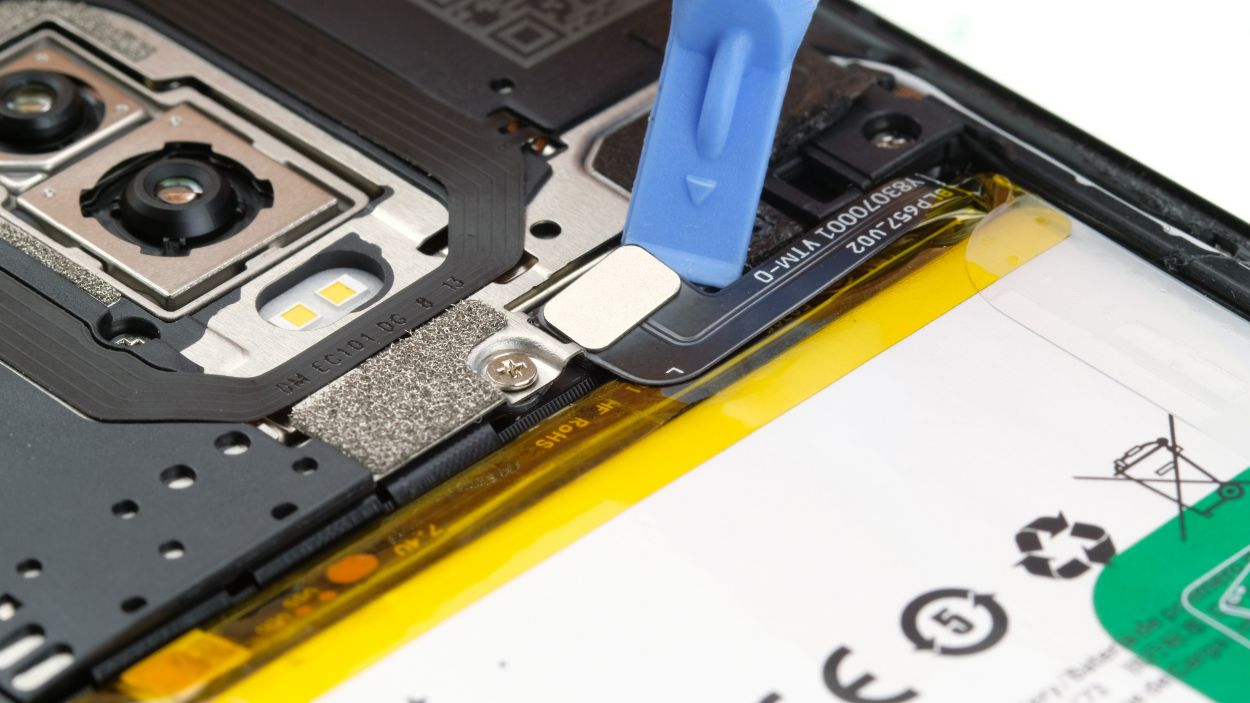
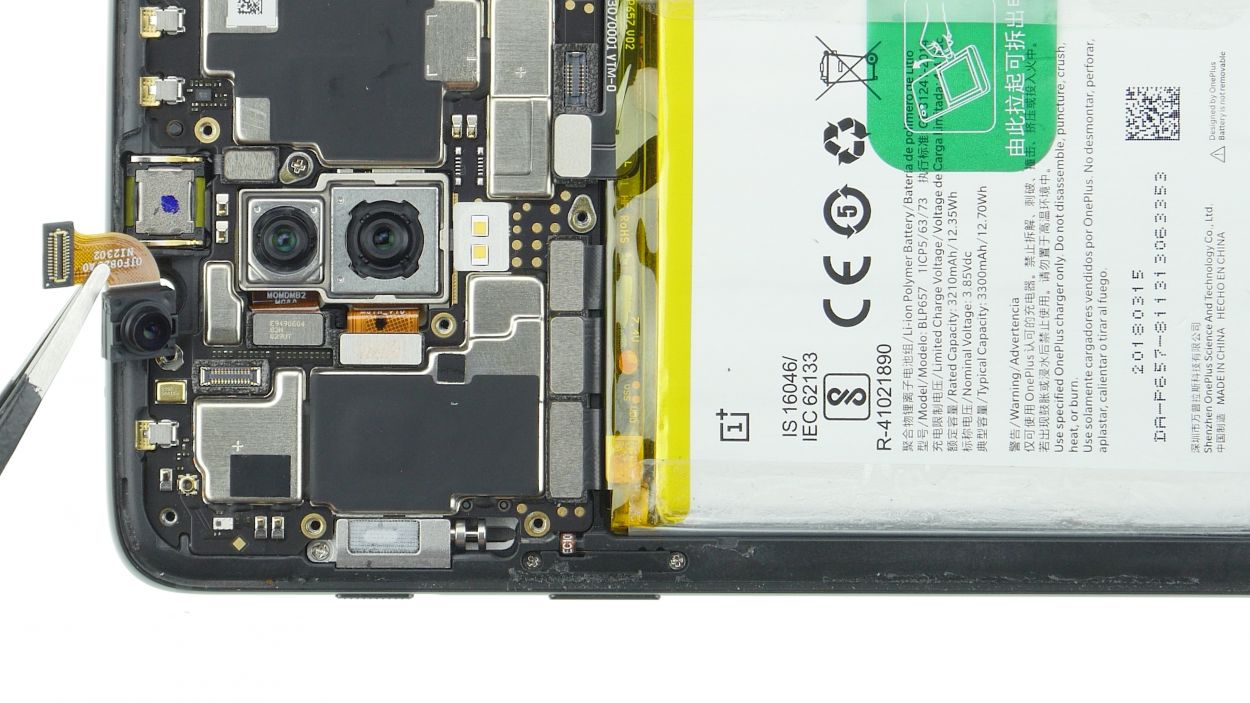
Step 9
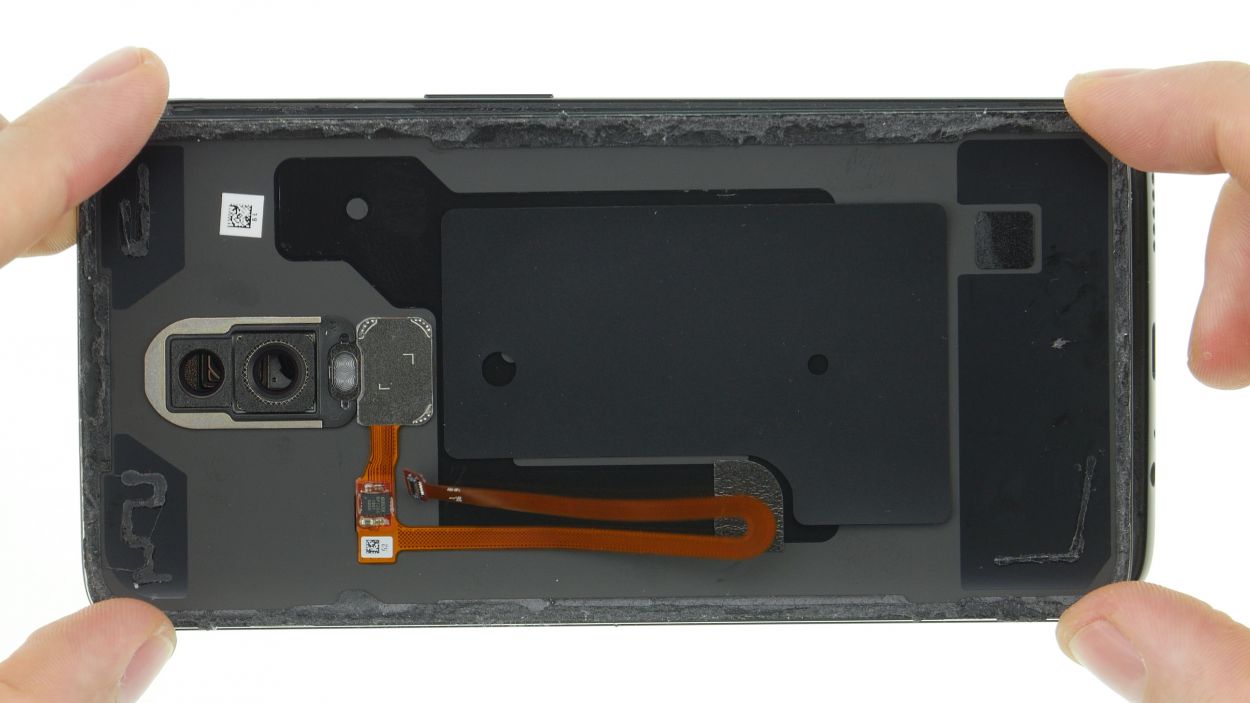

Fingerprint Connector
– Set the back cover beside your device, it’s not playing hide and seek!
– Gently position the fingerprint sensor cable so it aligns perfectly with its mainboard contact and give it a nice, friendly connection.
– Secure the cover back in place, making sure the adorable red rubber piece is in its spot. Don’t forget to reattach the black glue—it’s like a warm hug for your device!
Step 10

– Power up your device and give that screen a once-over!
– Swipe an app around like a crazy doodle on the screen – this checks if the touchscreen’s got the right moves.
– Don’t forget to crank the brightness all the way up and then all the way down. Let’s see that range!
– Time for a photo shoot! Test both the front and back cameras, and give that flash a whirl.
– Grab a pal and give those mics and speakers a shout-out. Let’s make sure they’re hearing and speaking clearly.
– Hit mute and feel the vibes! Test that vibration motor.
Step 11

Give your device a cozy little break by sandwiching it between a couple of books. Let that glue work its magic for about an hour!
– Give that device a warm hug! Heat it up again to loosen the glue that’s holding the back cover in place.
– Now, press that back cover onto the frame with a gentle yet firm touch. It deserves a strong connection!


