DIY Guide to Replace Pixel 3a XL Display in 9 Easy Steps
Duration: 60 min.
Steps: 9 Steps
Step 1

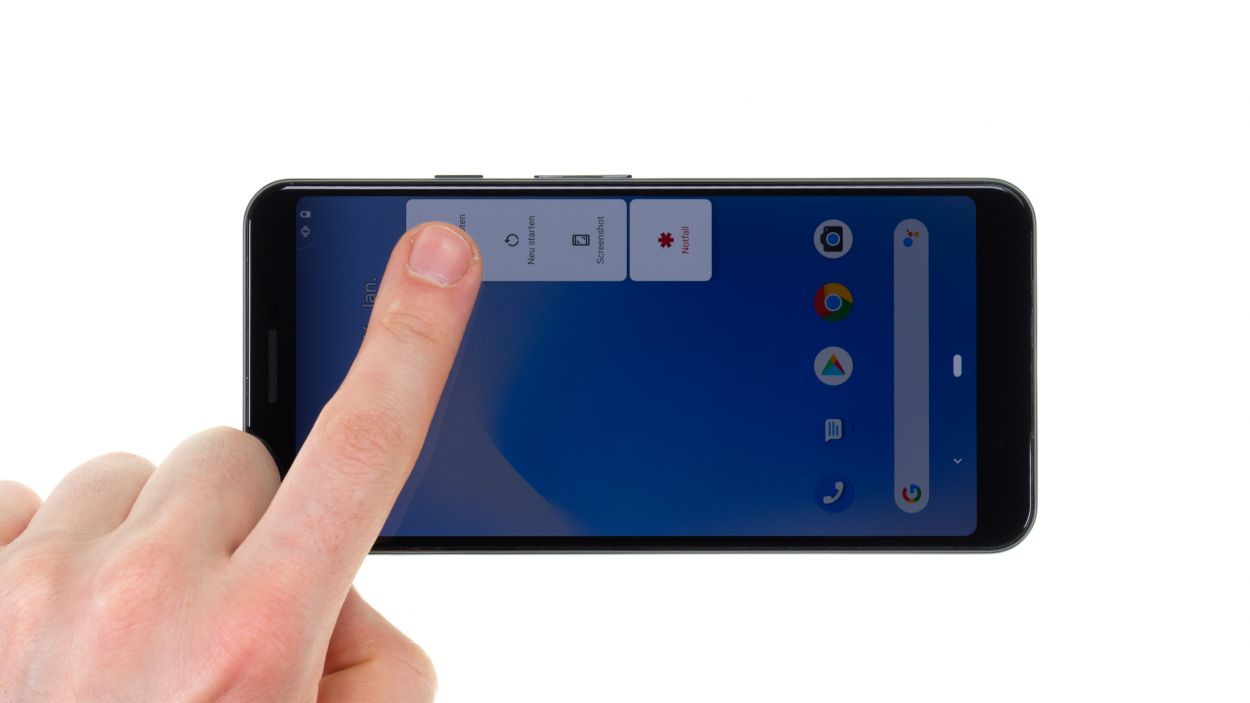
– Give that power button a good press and hold until you see a menu pop up on your screen.
– Next, tap ‘Switch off’ in the menu and hang tight while your phone takes a little nap.
Step 2
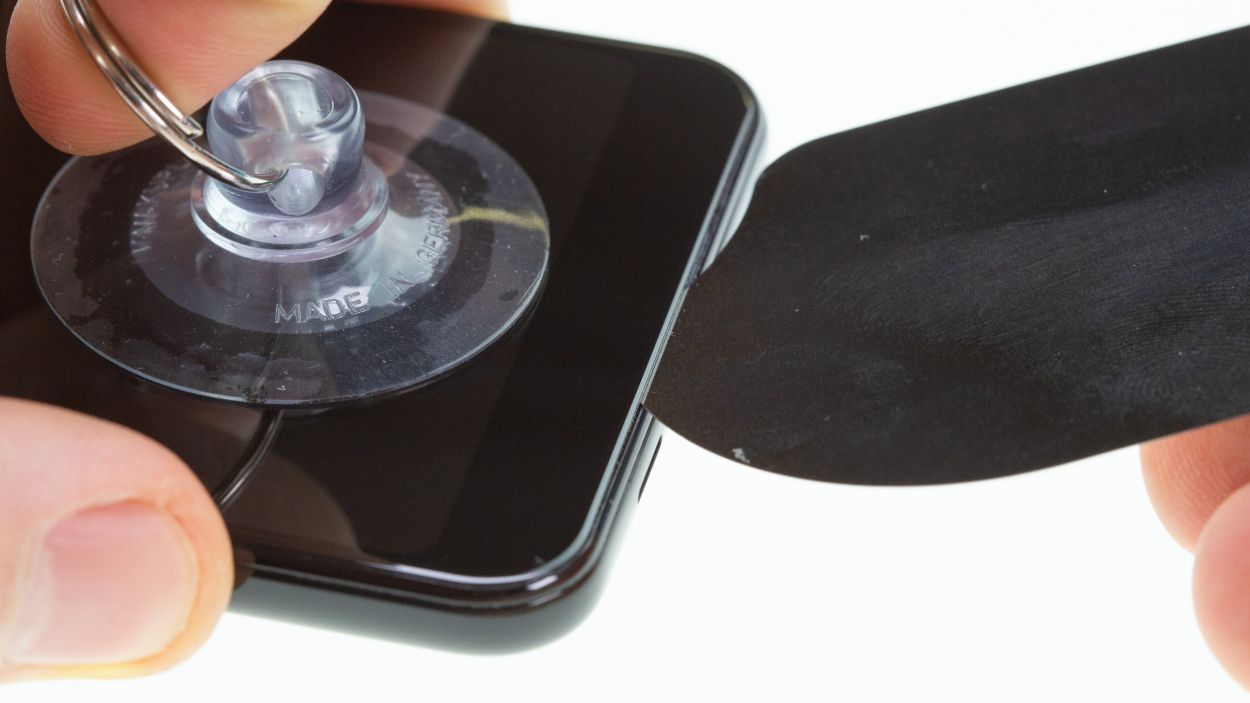
Hey there! Just a friendly reminder: be gentle with your tool around the front camera area. We want to keep it safe and sound!
As a rule of thumb, always heat the unit only enough so that you can still touch it without it getting uncomfortably hot.
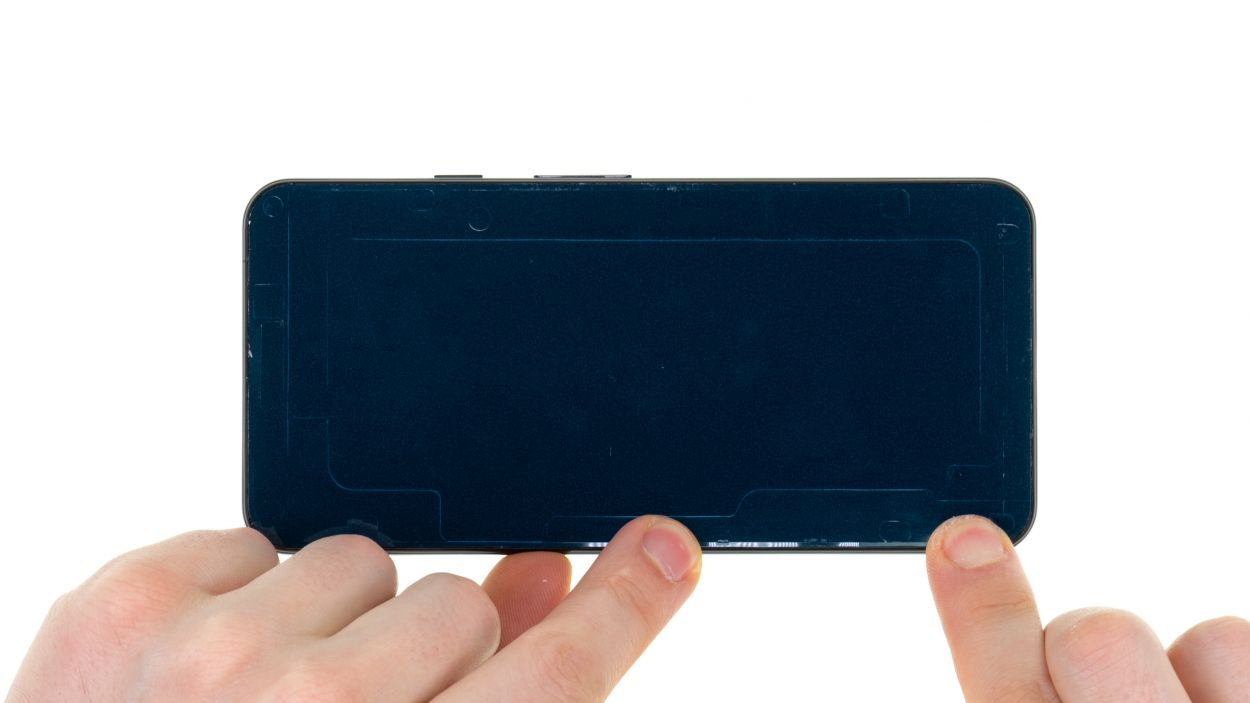
– Let’s warm things up! Gently heat the device’s edges with a hairdryer (hot air dryer works great too!). Pay extra attention to the top and bottom – that’s where the sticky stuff is hiding.
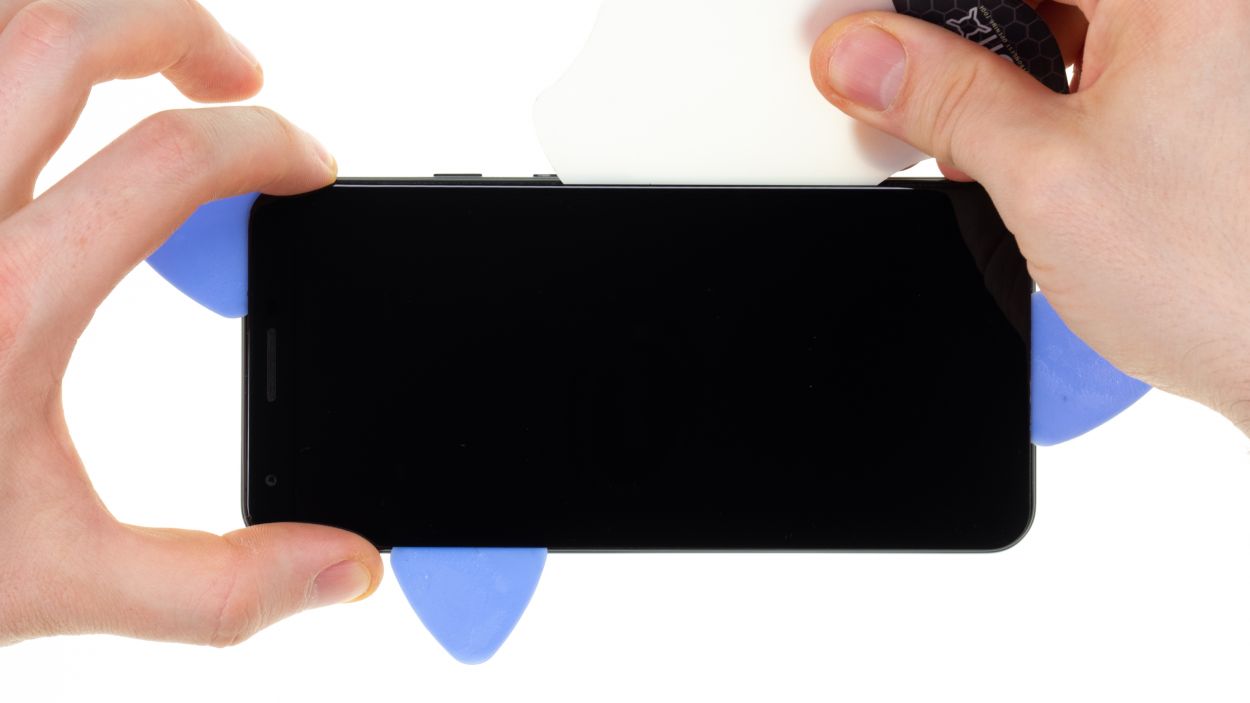
Tools Used
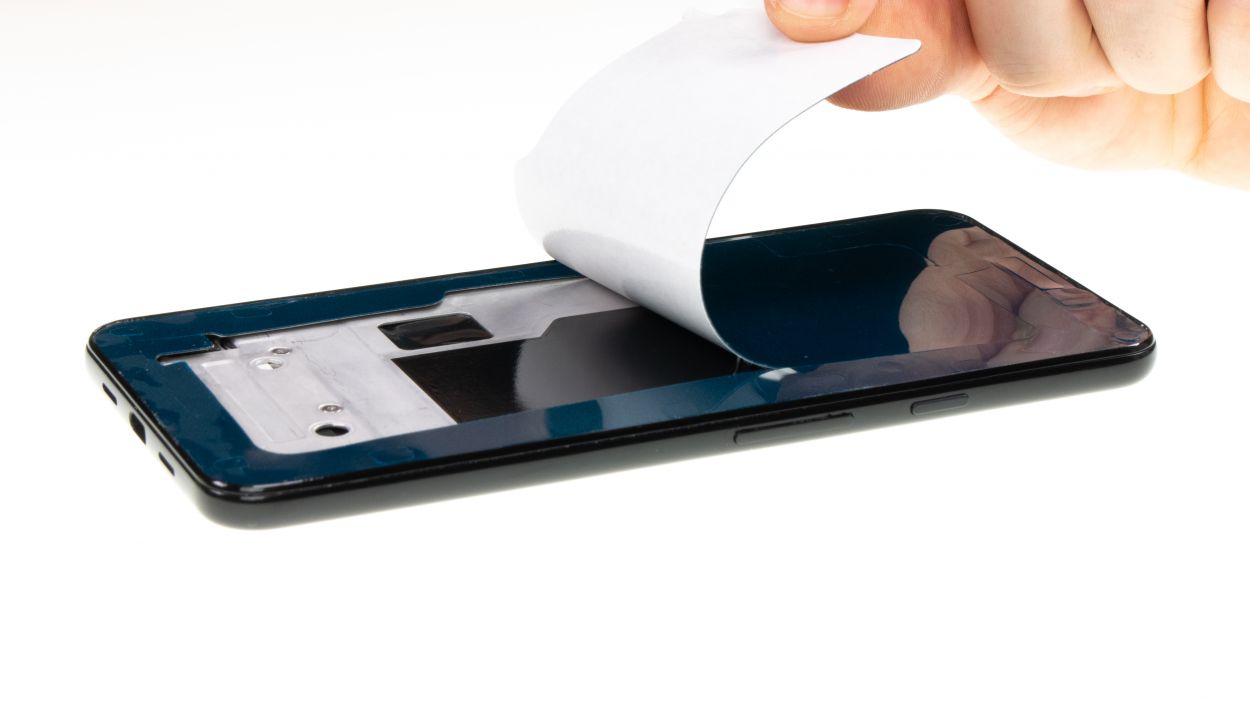
- Flat Picks
- screen and the frame. The practical iFlex is made of stainless steel and sits comfortably in the hand. This makes it the perfect assistant for every smartphone repair.” rel=”noopener”>iFlex Opening Tool
- battery? Then the iPlastix with its large blade will help you. The practical assistant is made of flexible, especially sturdy plastic and lies comfortably in the hand. Thanks to its design, you can even get into smaller gaps, for example to lift the screen or to prevent it from sticking together again.” rel=”noopener”>iPlastix Opening Tool
- VAKUPLASTIC Suction Cup
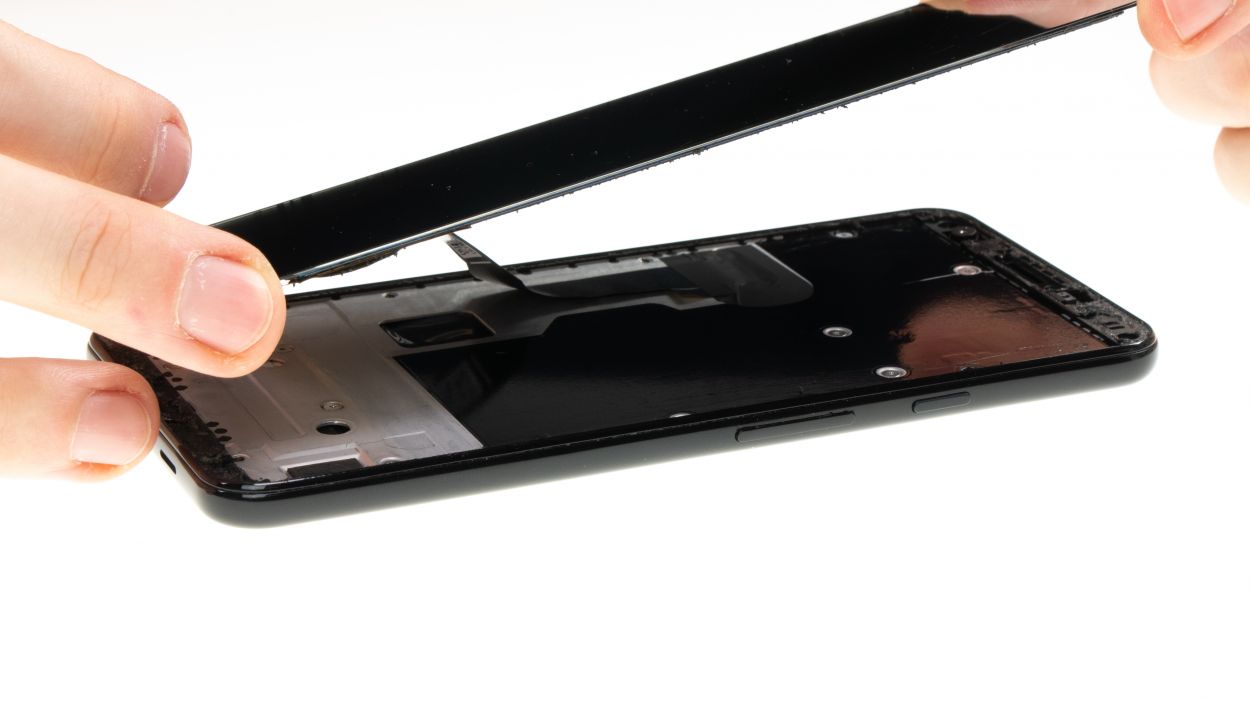
Step 3
2 × 4,3 mm Torx T3
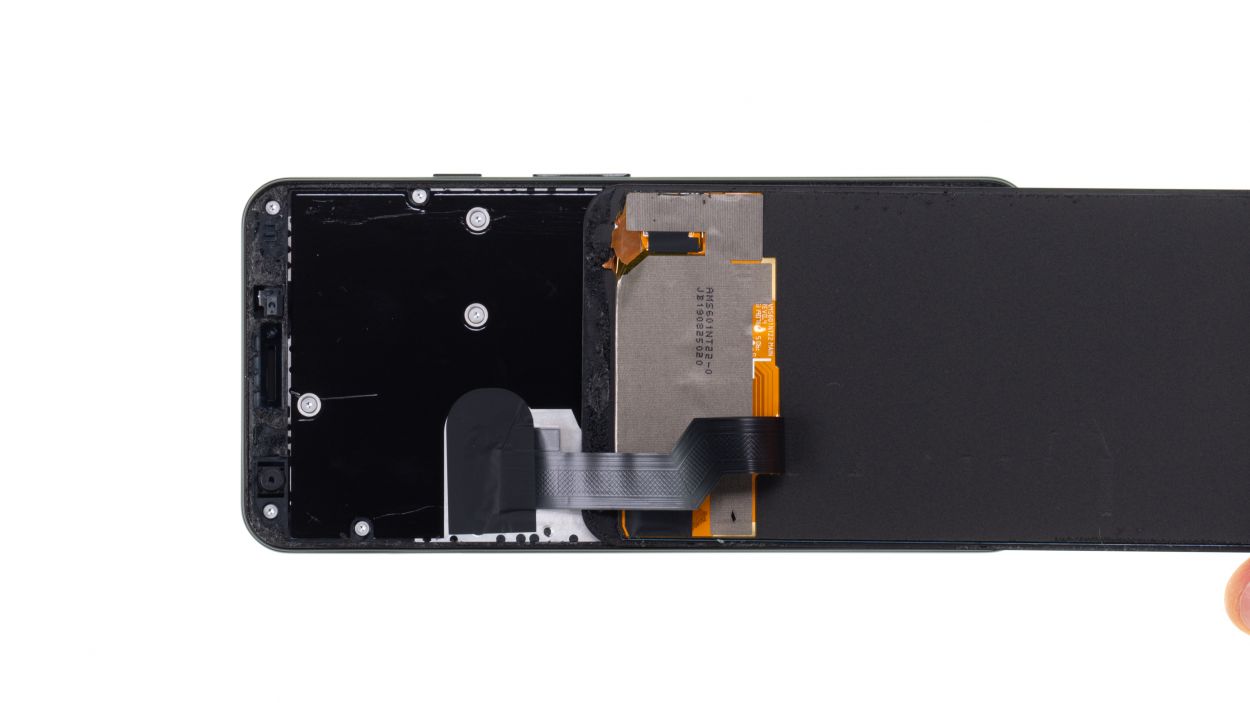
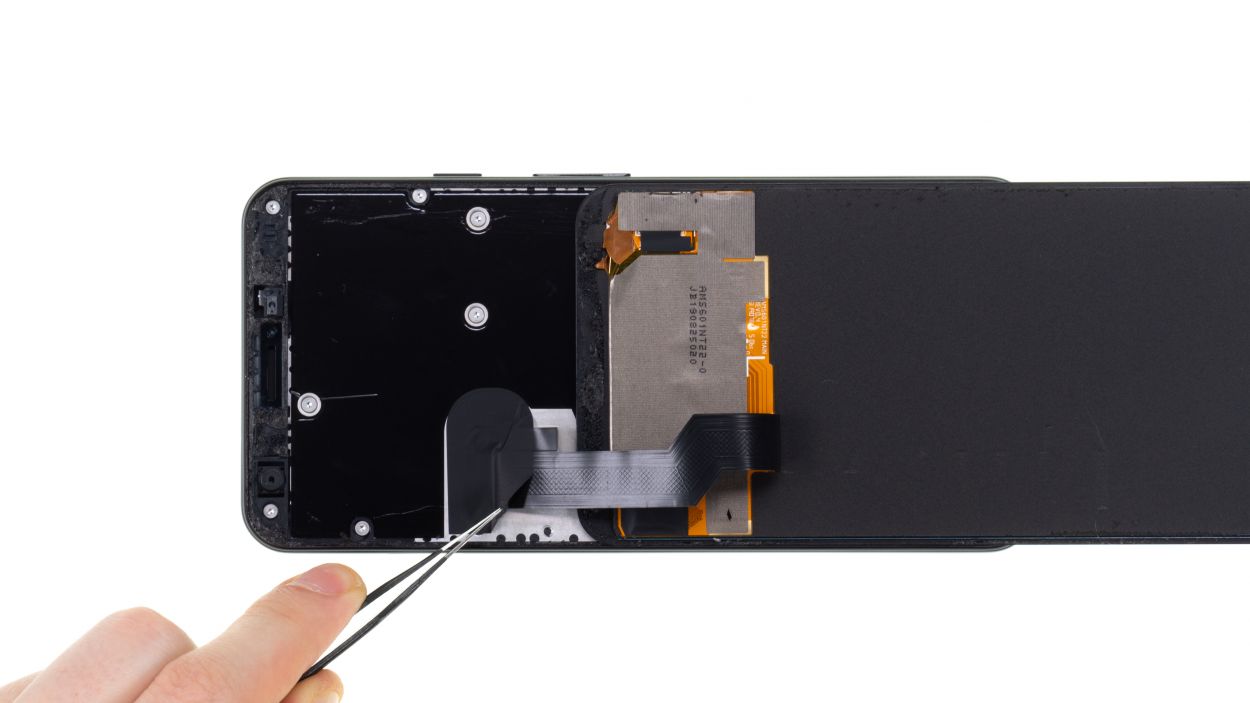
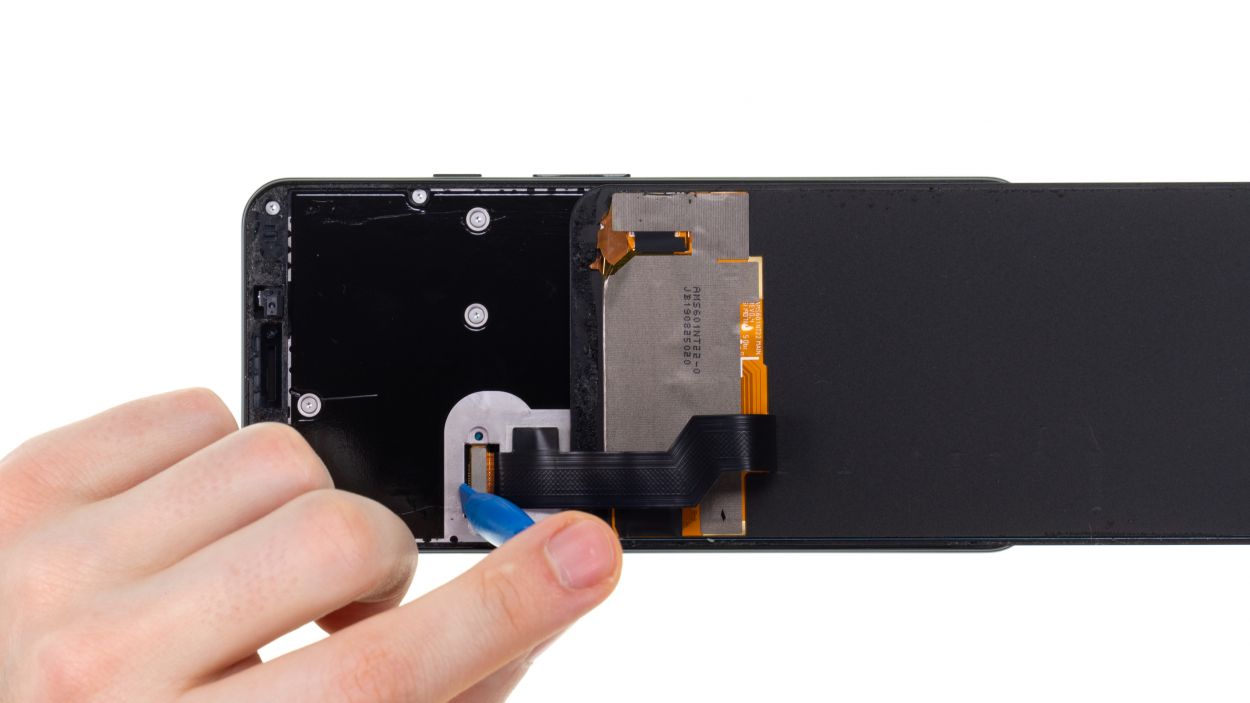
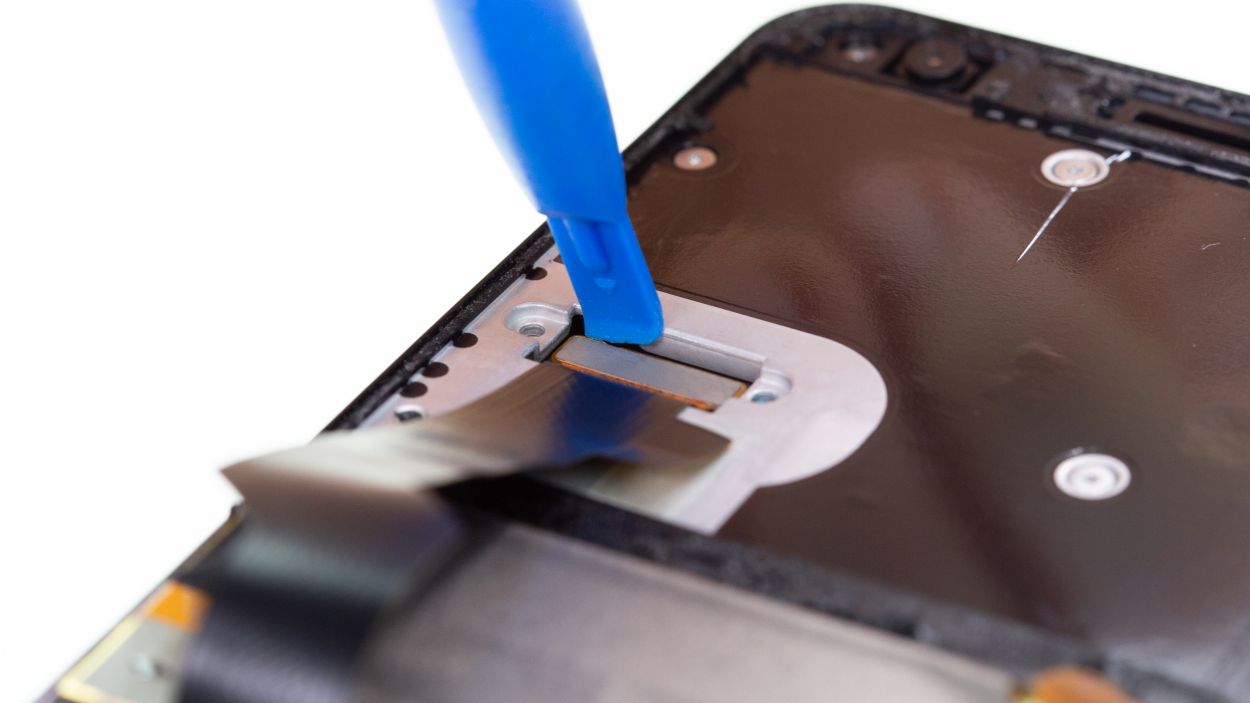
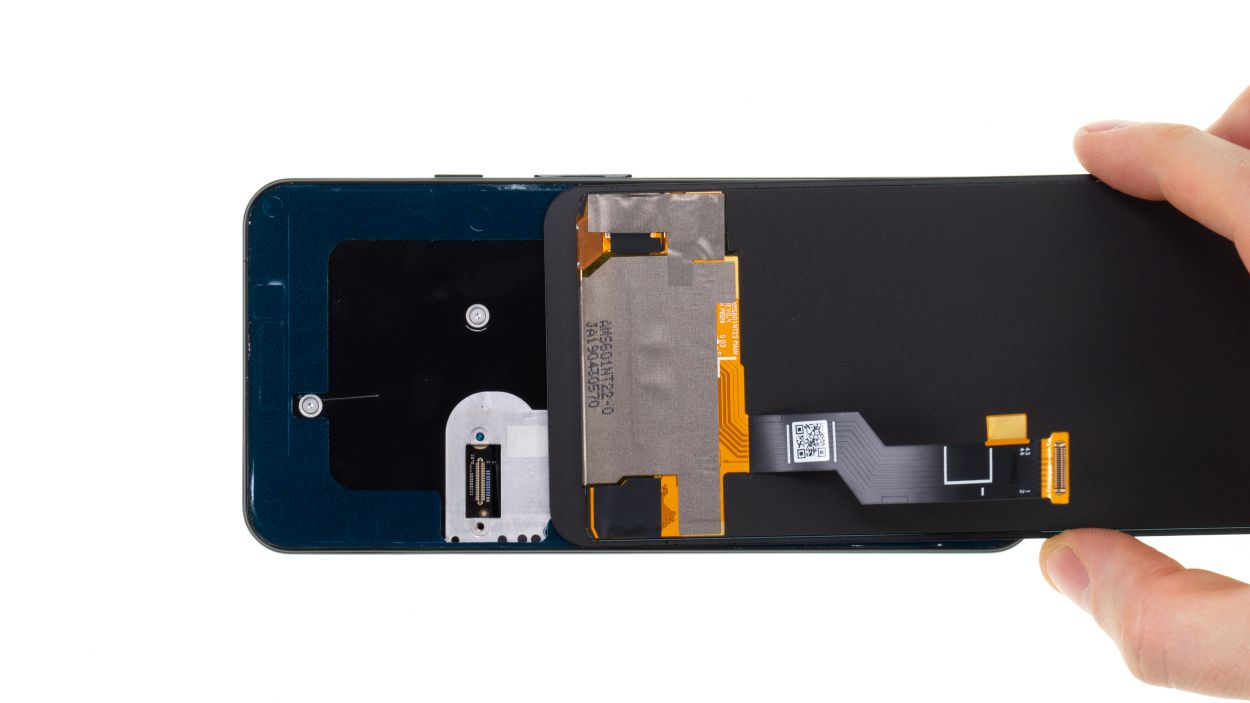
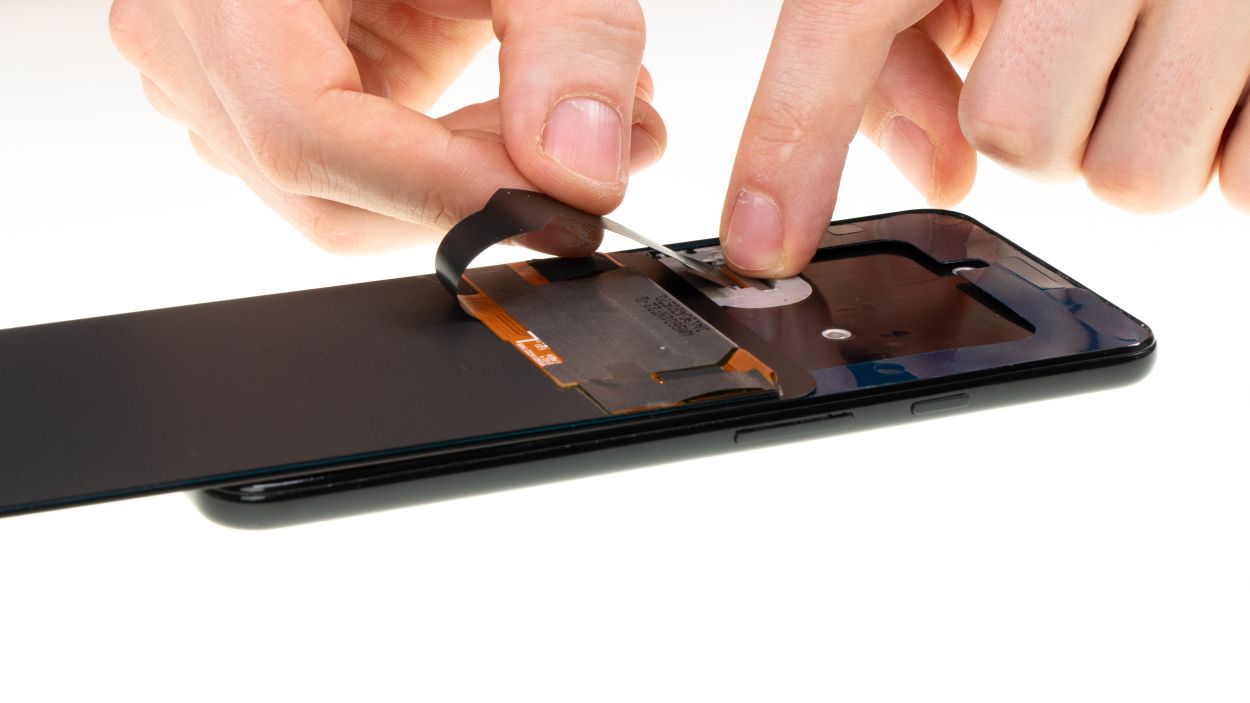
– First, gently peel back the foil covering the display connector. You’ve got this!
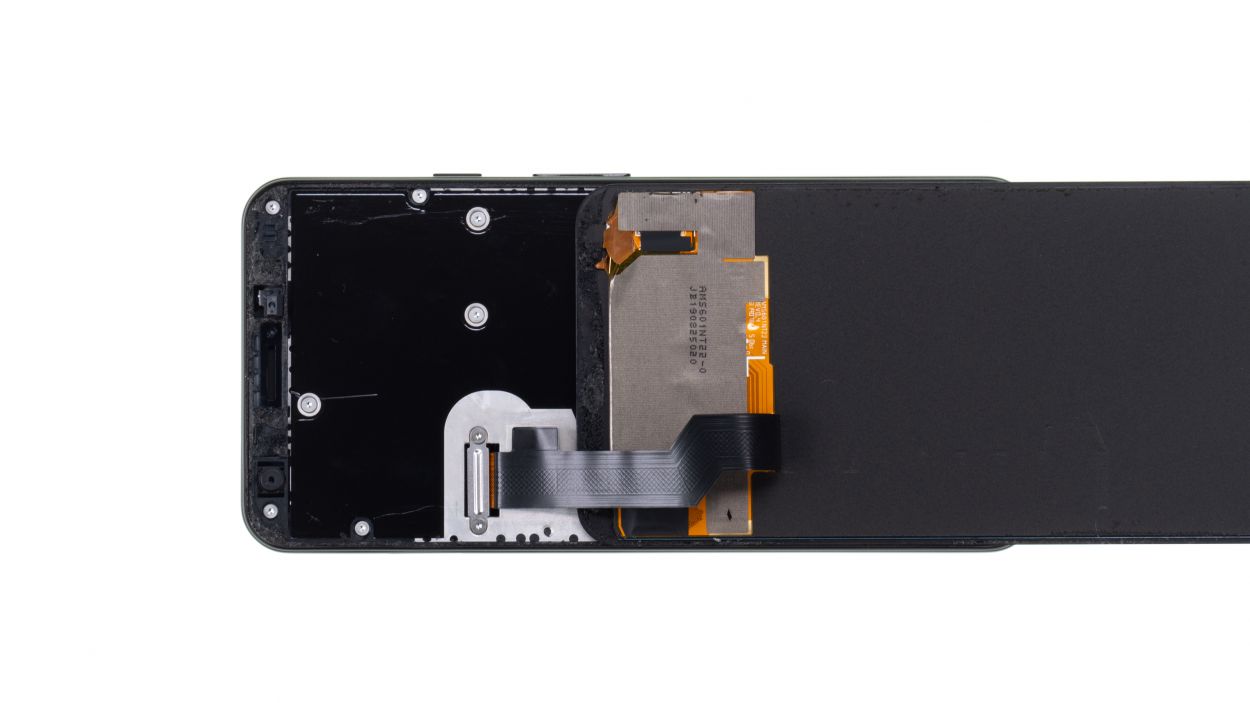
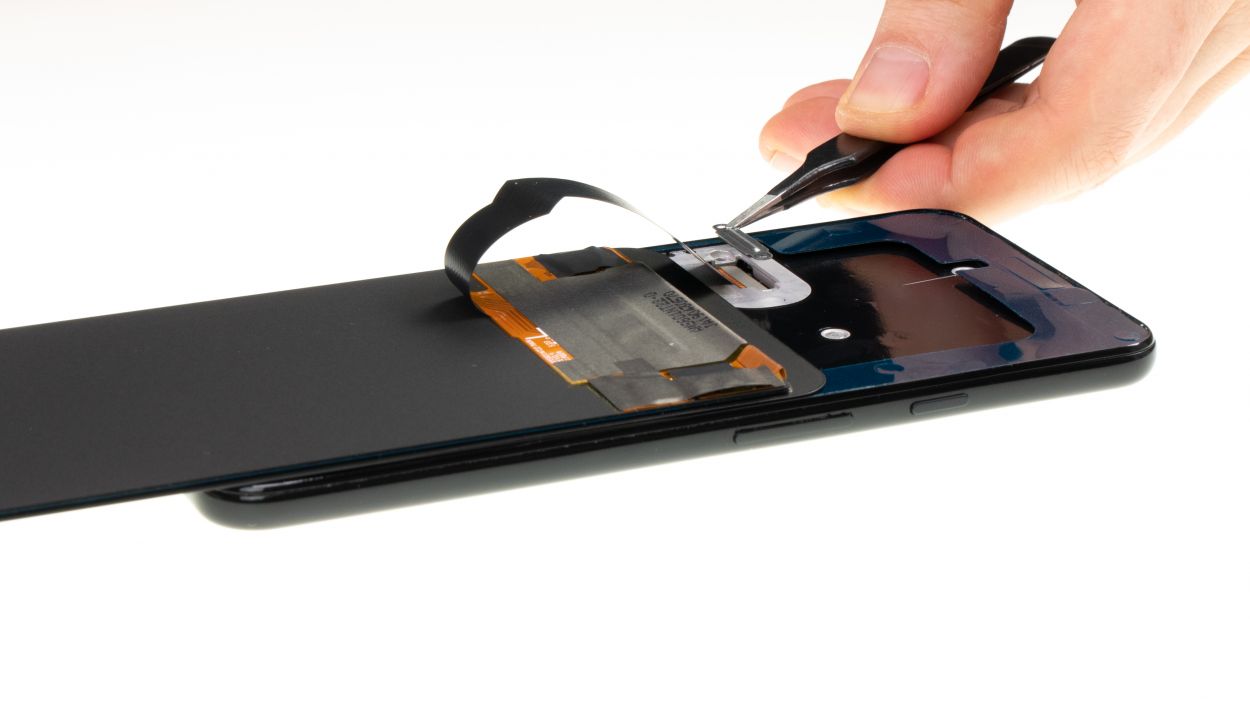
– Next, grab your trusty Torx screwdriver and unscrew those two cover plate screws. Easy peasy!
– Now, go ahead and lift off the cover plate. You’re making great progress!
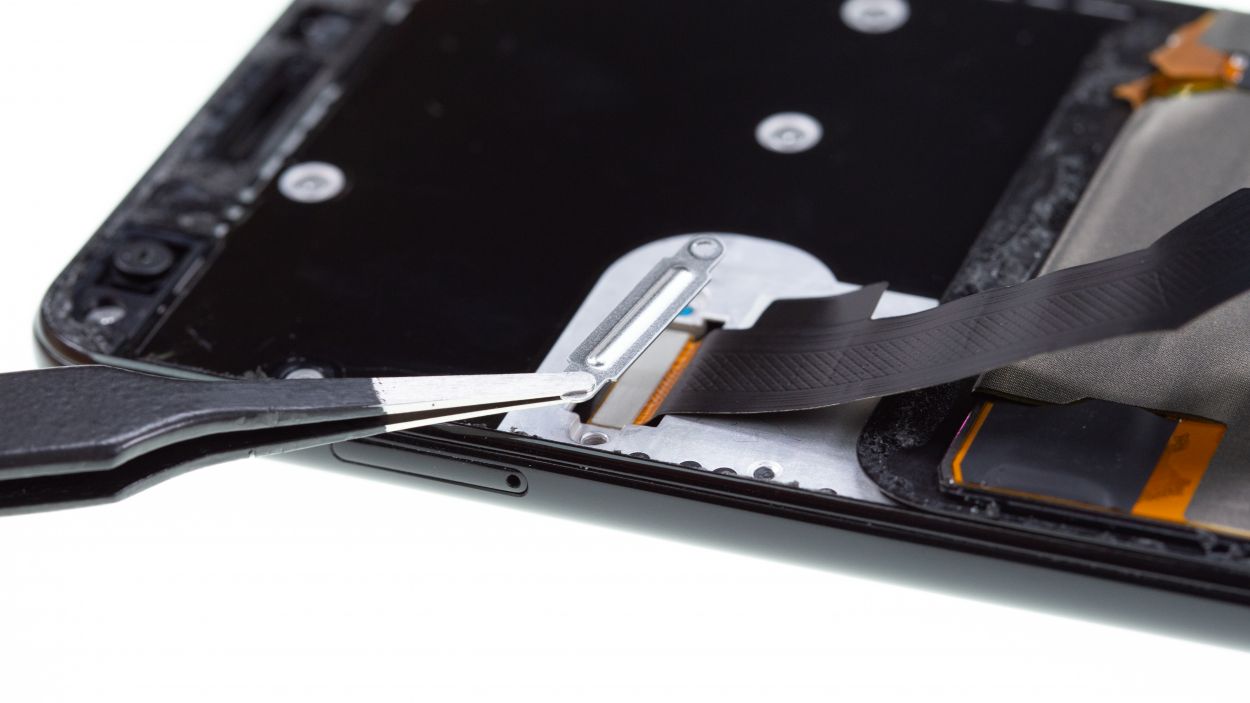
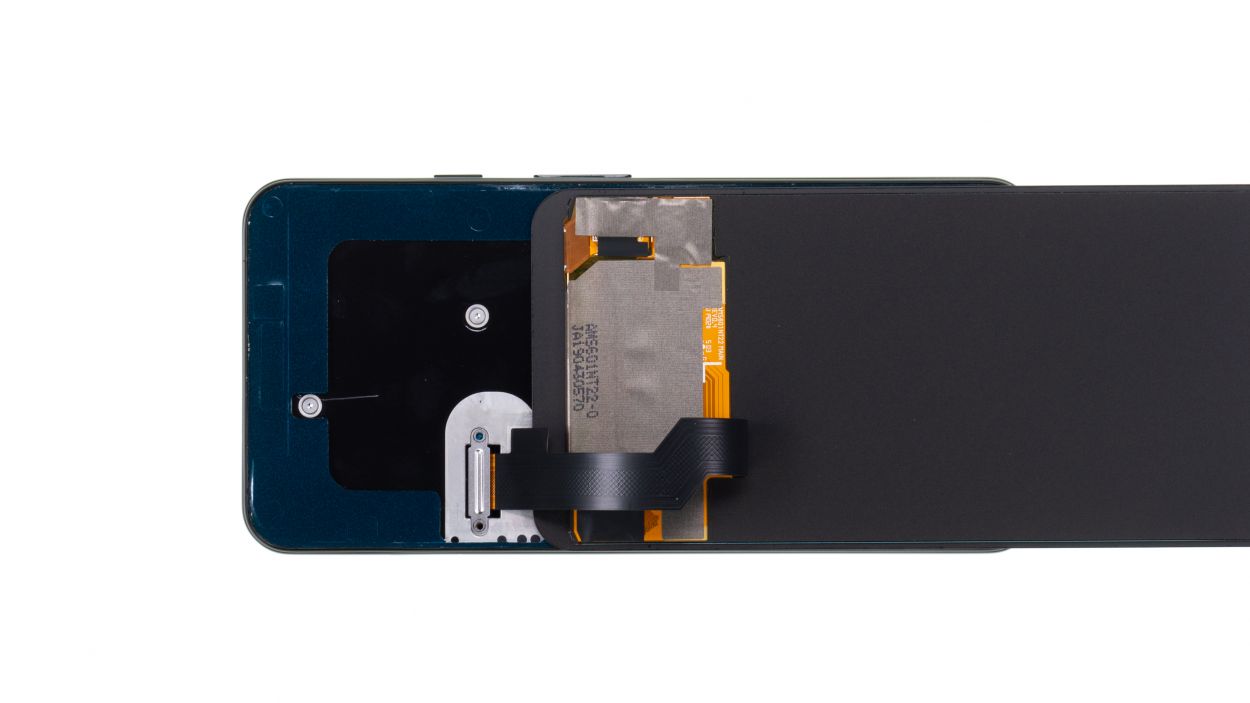
– Finally, take a spudger+Pixel+3a+XL&crid=1TJIMMAJSUJUZ&sprefix=repair+tools%2Caps%2C165&linkCode=ll2&tag=salvationrepa-20&linkId=c486487cf454ce8edd6f5beefab4110f&language=en_US&ref_=as_li_ss_tl’>plastic spudger and carefully slide it under the display connector to disconnect it. You’re almost there!
Tools Used
Step 4
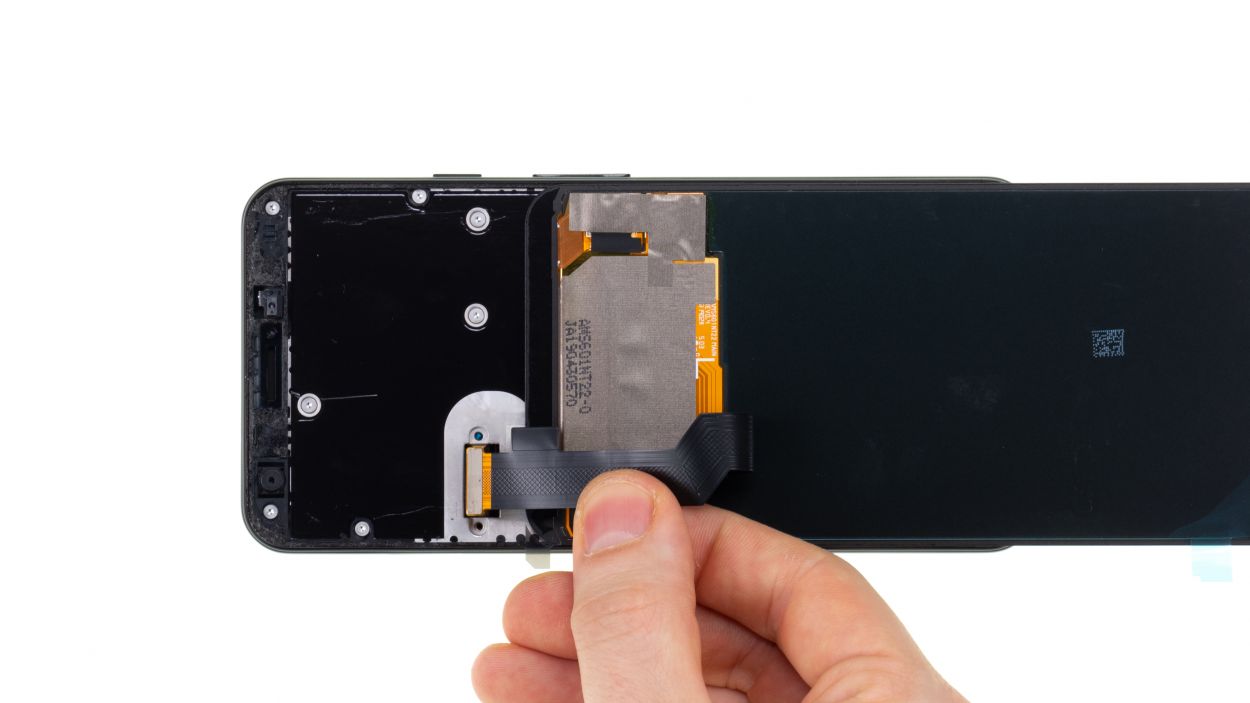

Getting that display connector to snap into place might take a few tries, but don’t throw in the towel just yet! Keep at it—you got this!
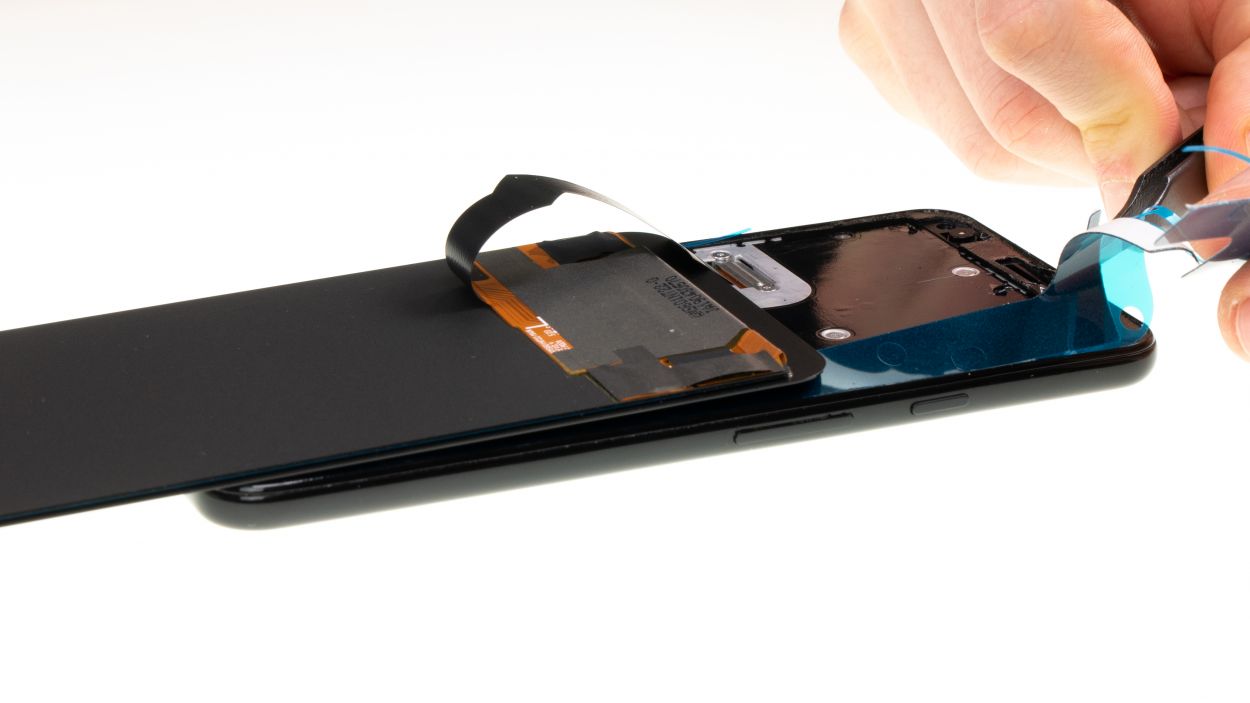
– Grab your shiny new display and gently peel off that protective film keeping the display cable cozy. It’s time for some action!
– Now, line up the display connector with the opening and give it a gentle push until you hear that satisfying click. You’re doing great!
Tools Used
Step 5
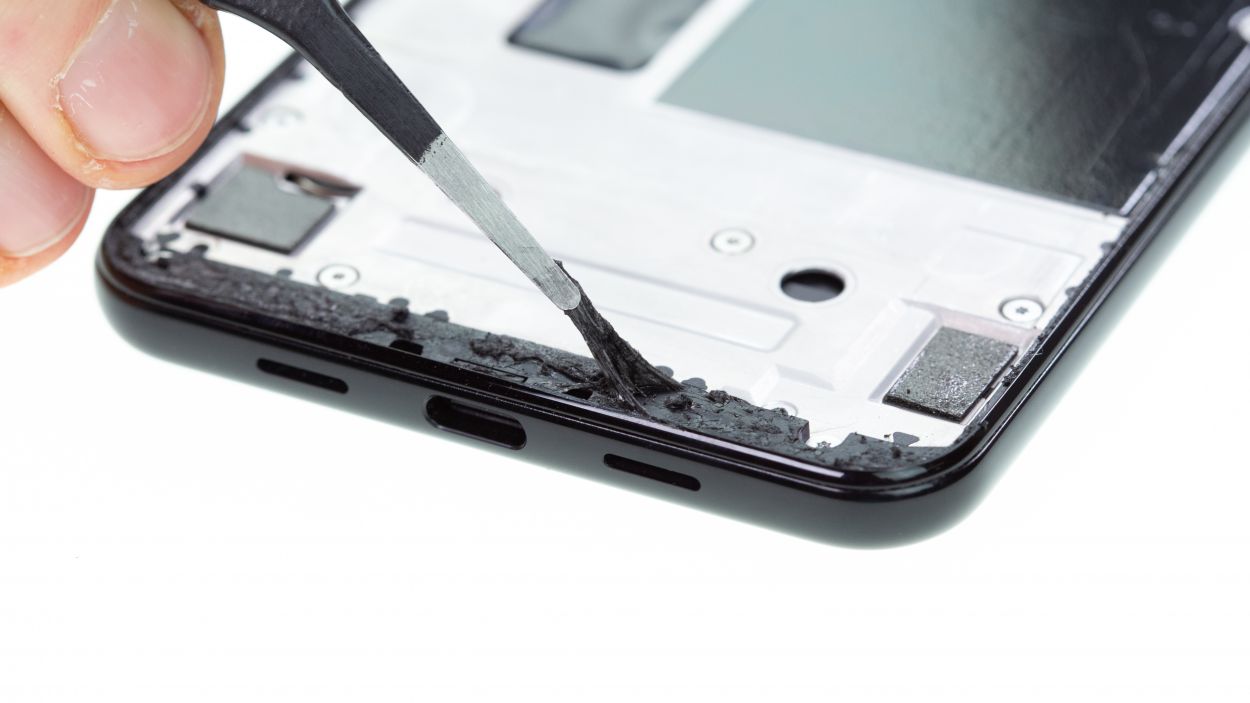
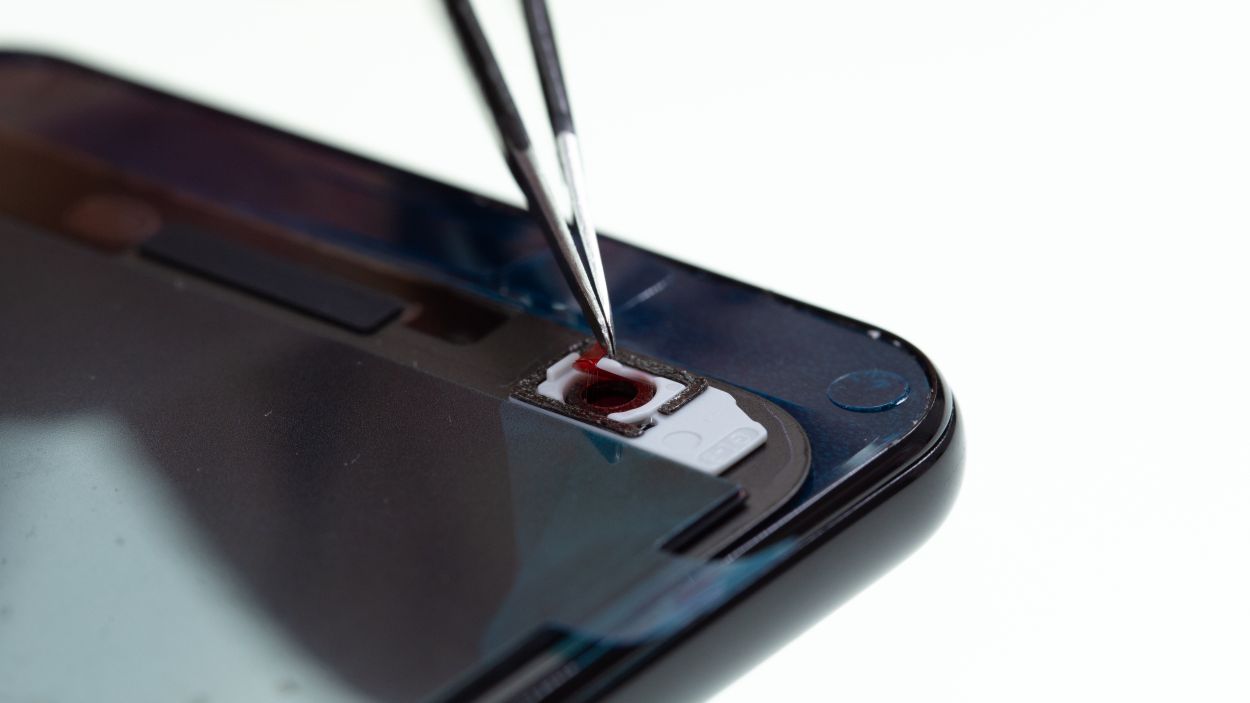
– First things first! Before you slap on that shiny new adhesive frame, let’s get rid of any old sticky stuff. Use your finger, tweezers, or a spudger to gently scrape away those pesky residues.
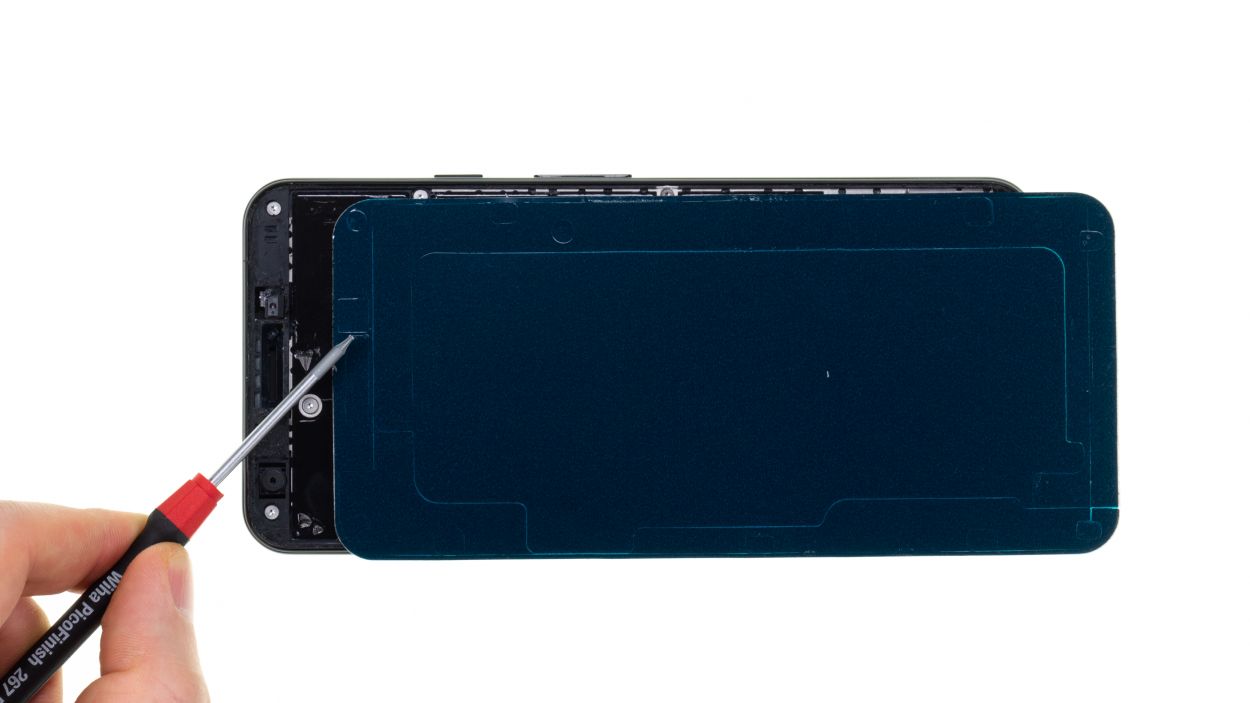
– Once you’ve cleared the area, grab your new adhesive frame and position it with the colorful film facing up. This way, you’ll ensure that all the cut-outs for the camera and other components are perfectly aligned.
– Now, flip that adhesive frame over so the white side is facing up. Underneath, you’ll find the actual adhesive film waiting to do its job.
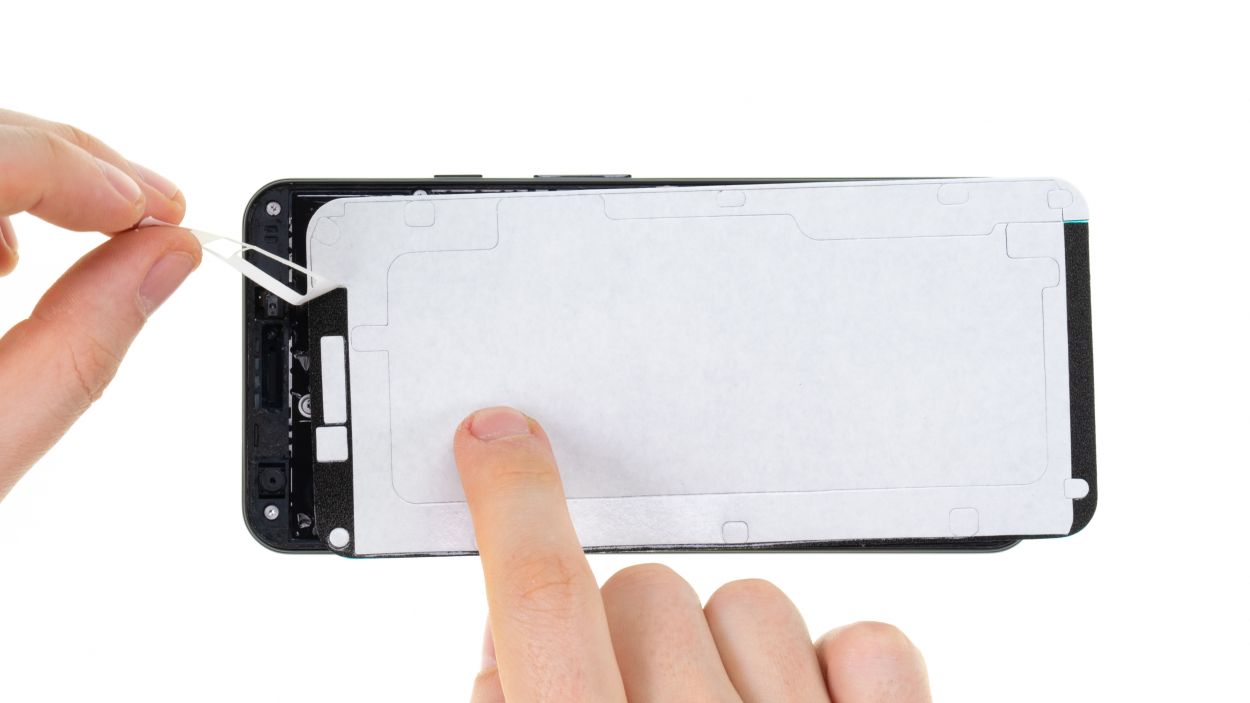
– Peel back the outermost edge of the white side to reveal the adhesive film underneath. It’s like unwrapping a present!
– Before you flip it back over and press it down, double-check that everything is aligned just right. We want this to be a perfect fit!
– Finally, gently press the adhesive frame down along the edges. You’re almost there!
Step 6
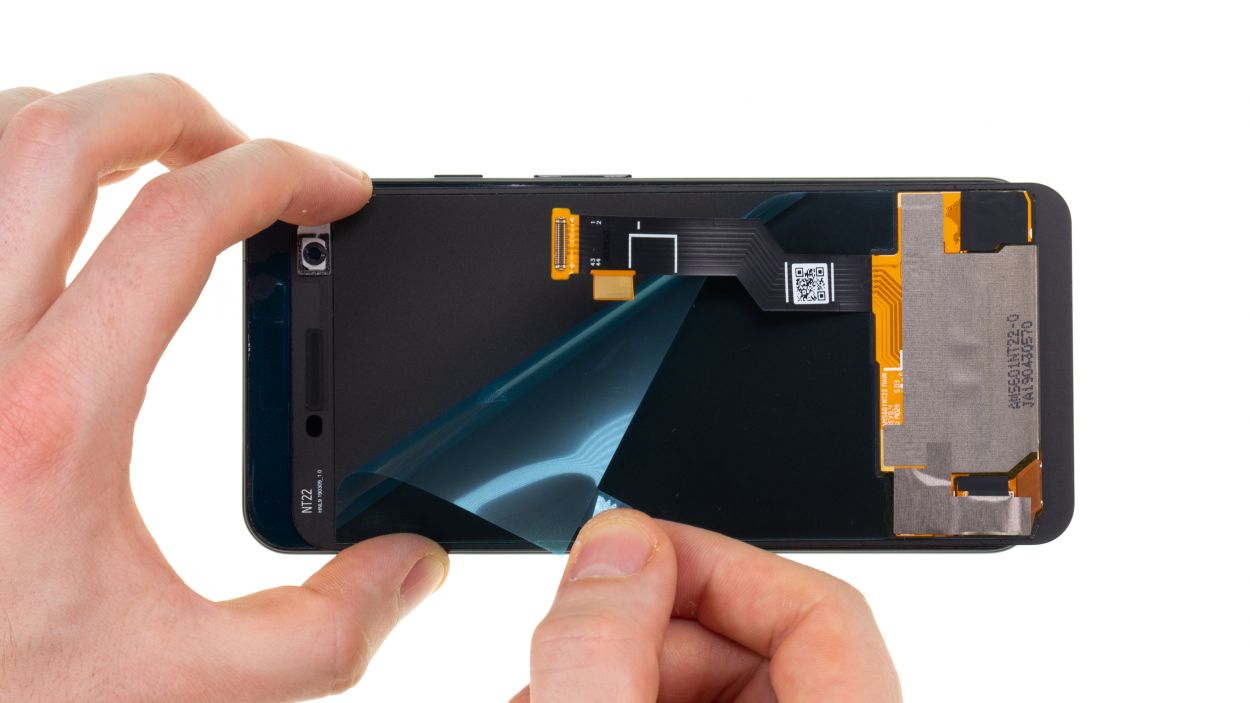
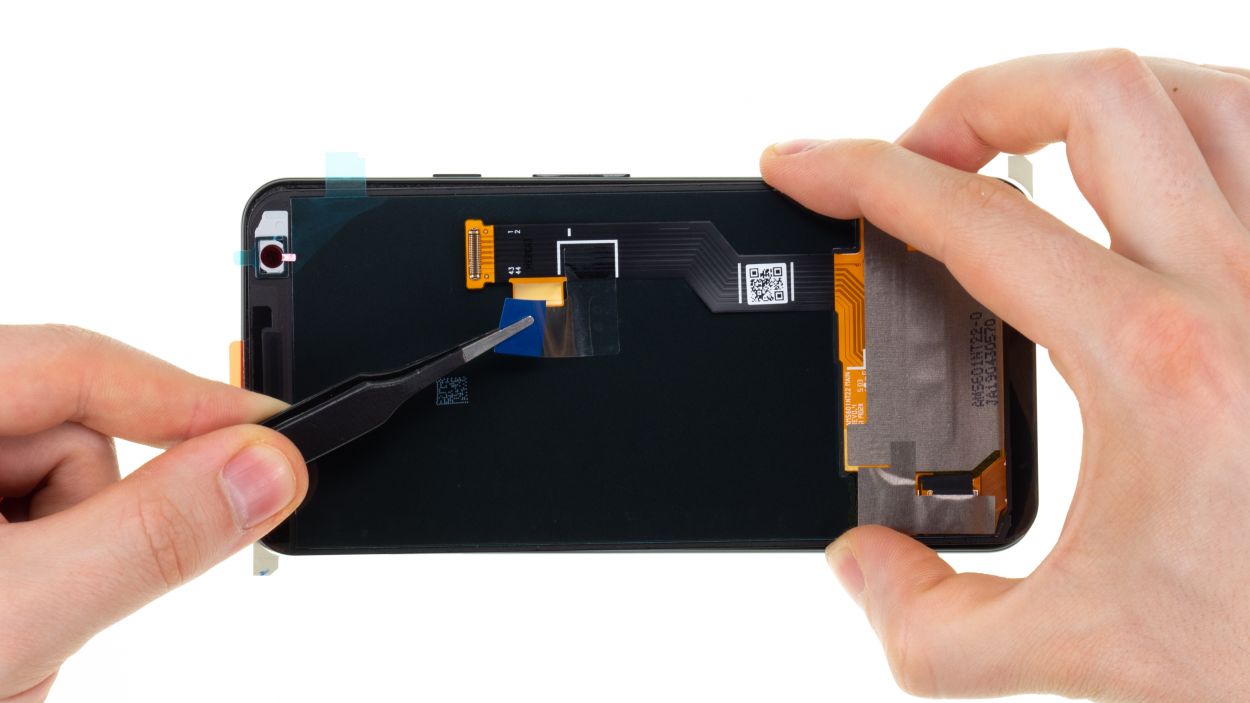
– Peel away all those pesky protective films from the inside of your shiny new display. And hey, don’t forget about that tiny film over the front camera—it’s a sneaky one!
Step 7
2 × 4,3 mm Torx T3
Take care not to overstretch the sensitive flexible cables.
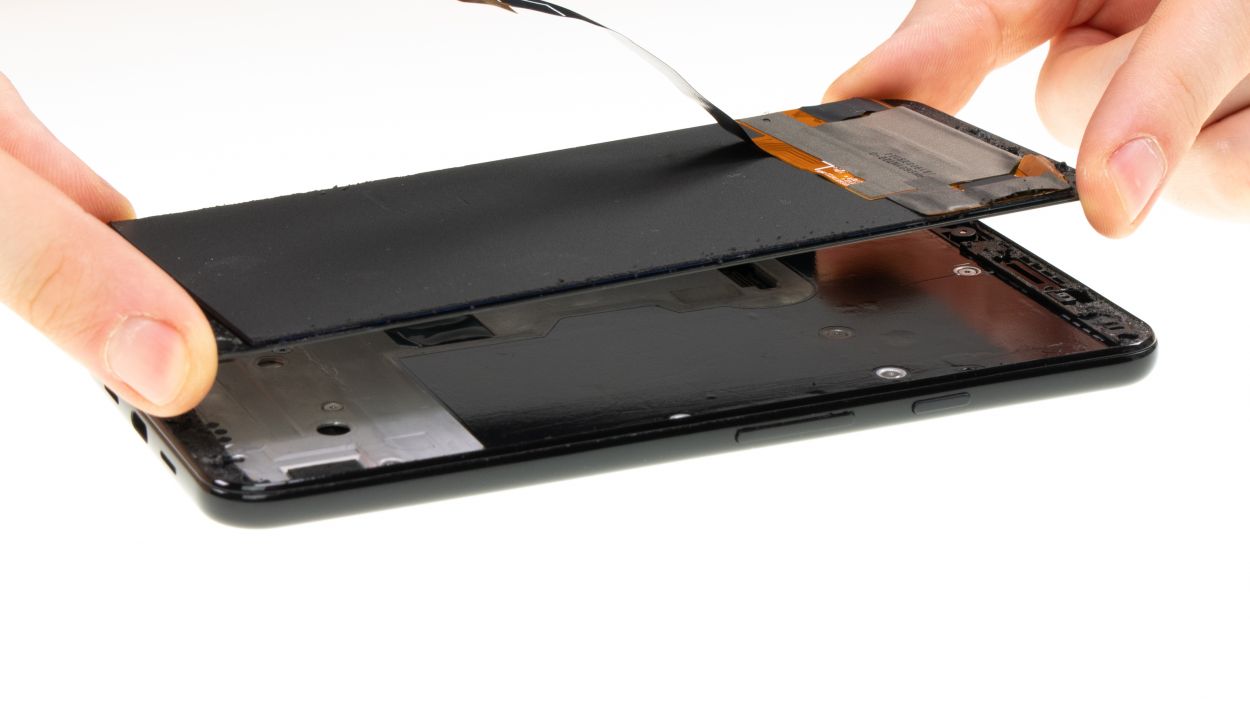
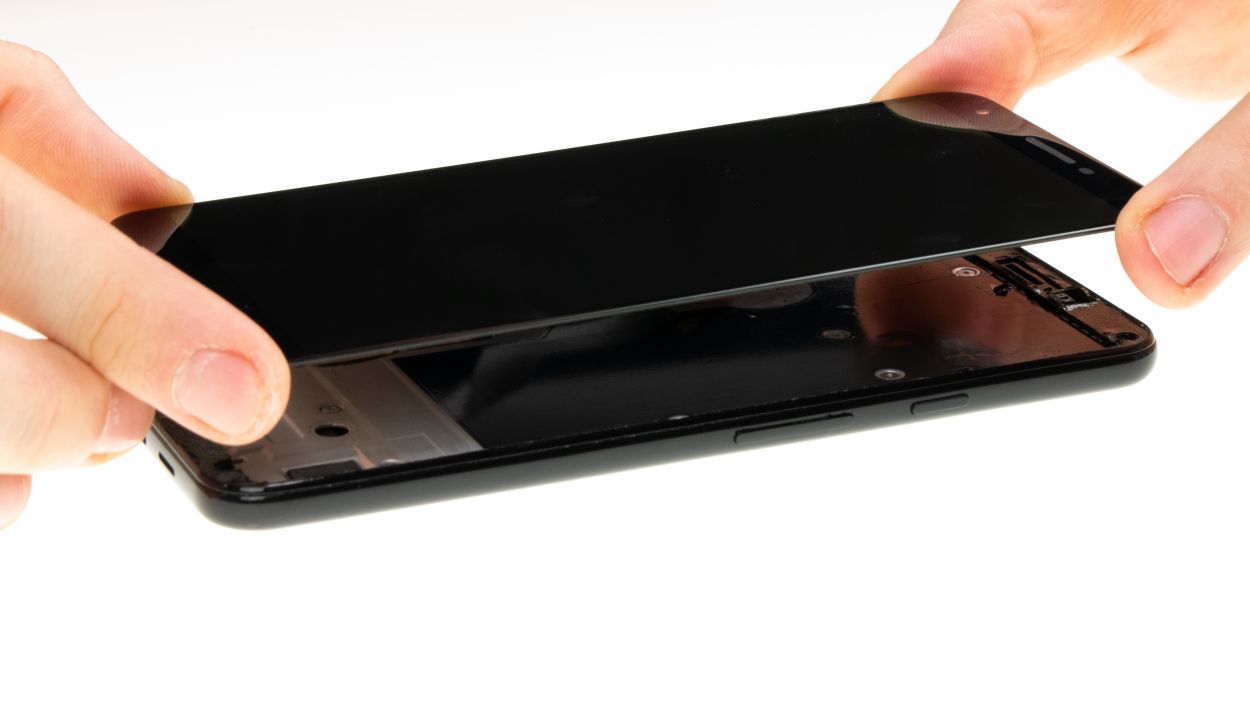
– Flip your ready-to-go display face down like it’s about to take a nap on your smartphone.
– Time to connect! Gently press the display connector onto the plug until you hear that satisfying click – it’s like a handshake, but for your devices.
– Now, wrap it all up by securing the cover plate of the display connector back on and giving those screws a tight twist!
Step 8
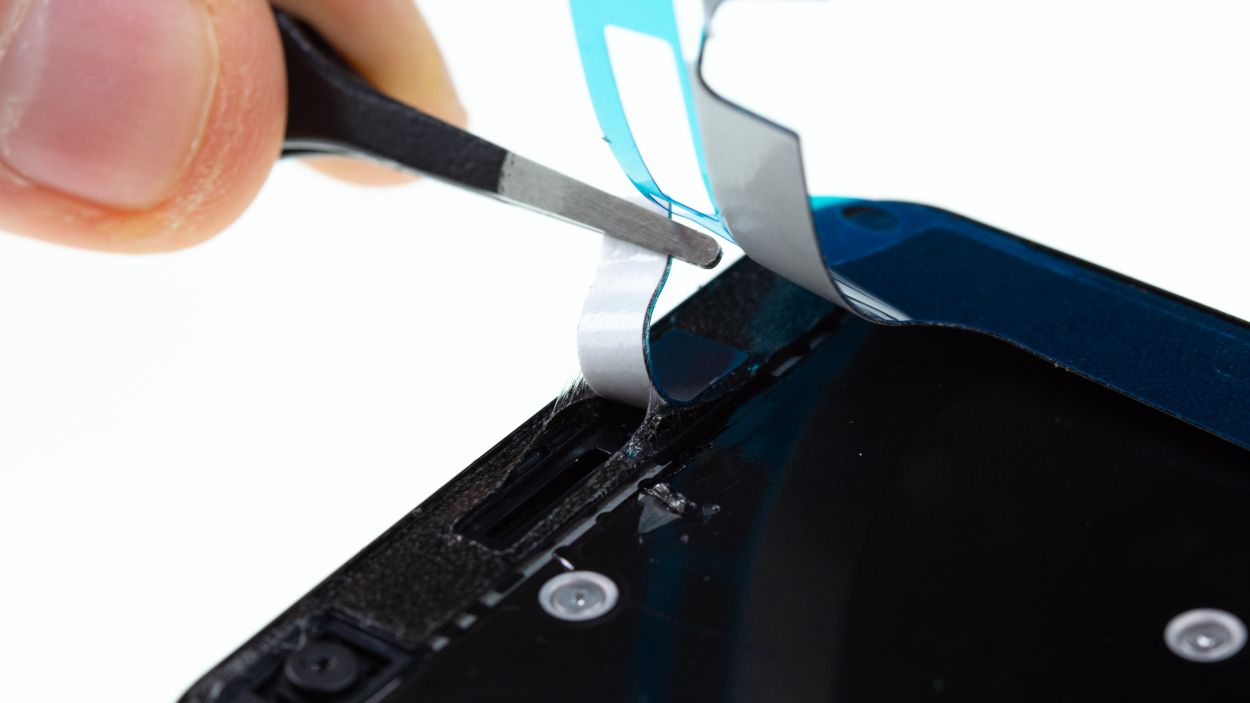
– Peel off the coloured protective film of the already attached adhesive frame, so that only the transparent adhesive film remains on your Pixel 3a XL.We recommend using tweezers to do this.
– Also remove all punched out parts of the adhesive strip on the openings for e.g. the camera and the earpiece.
– When the protective film is completely removed, you can put on the new display and press it down carefully.
– Heat the display edge again with hot air so that the adhesive can bond properly. You can also weigh down your device with some books.
Step 9
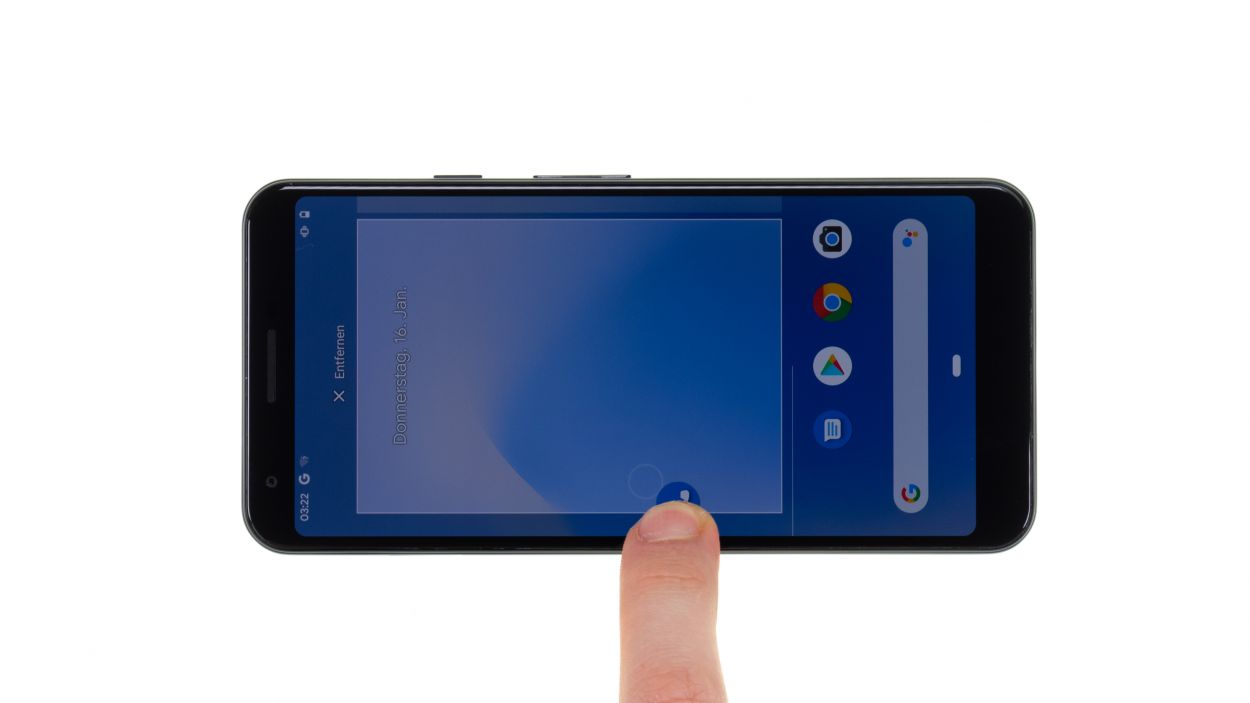
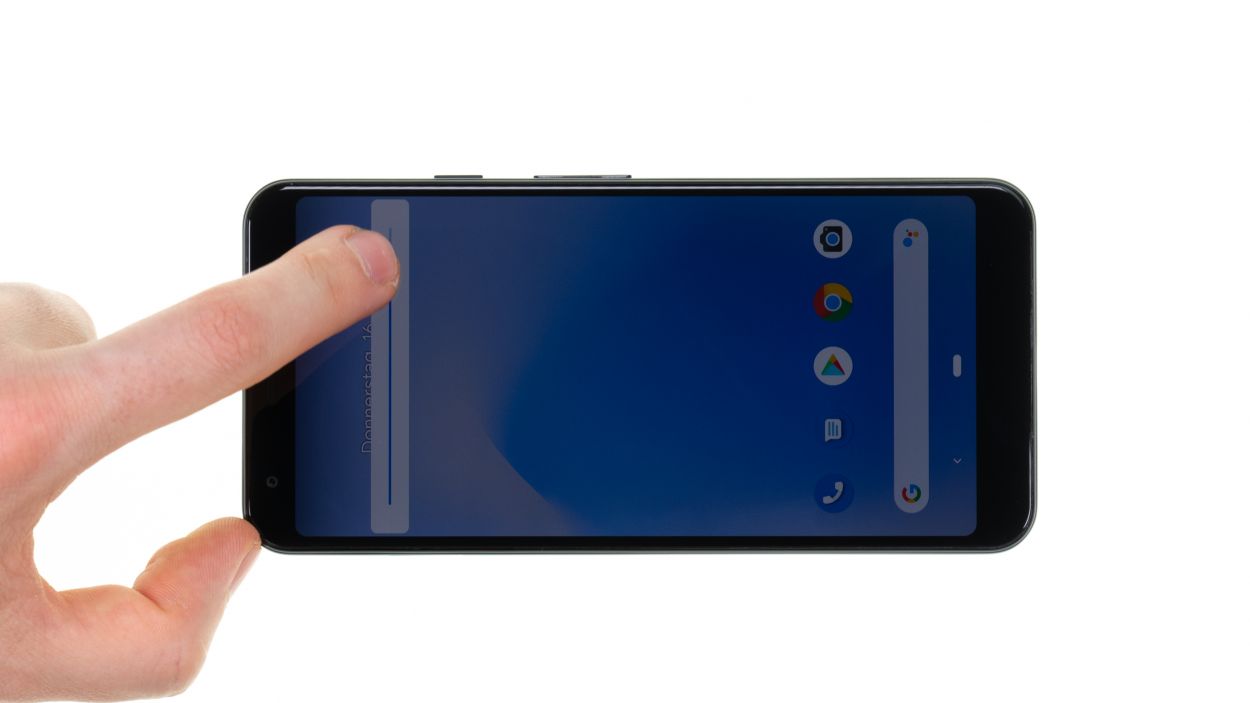
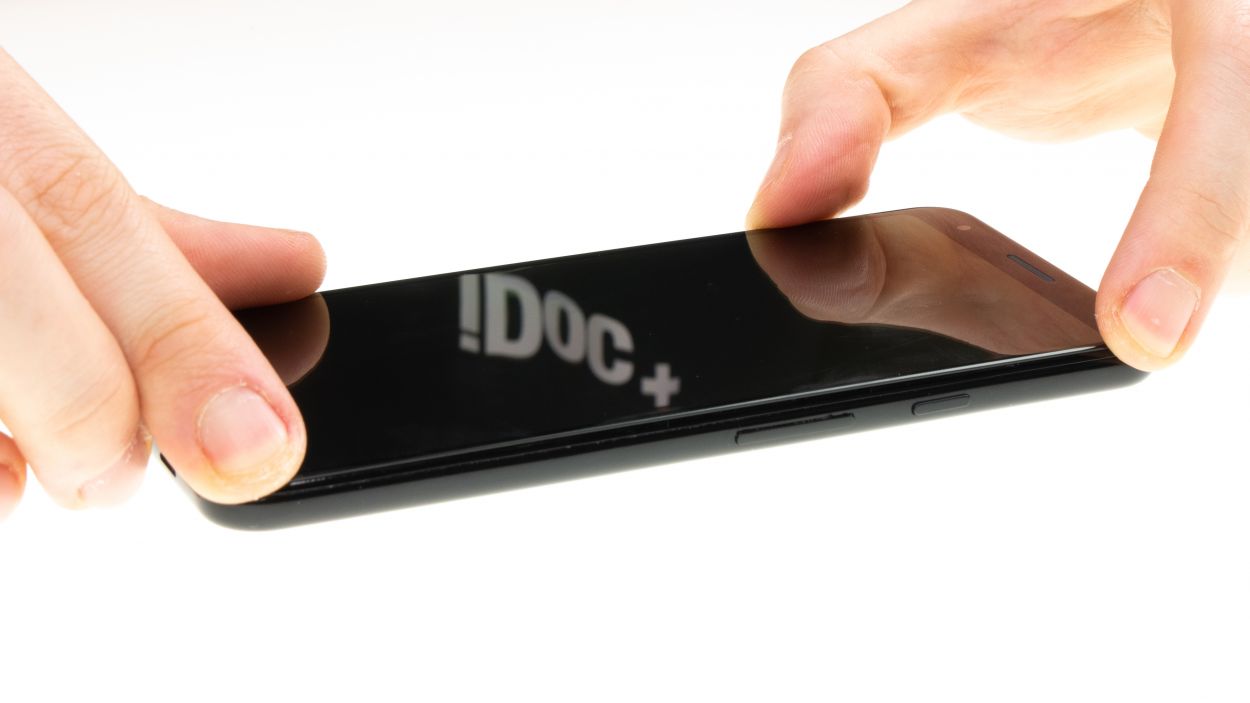
– Give that glued display another test to ensure it’s doing its job right!
– Follow the same steps as in the first test (step 4): Once your device is powered up, slide an app along the edge of the display and then dance it around randomly across the screen.
– Don’t forget to check out the brightness of your shiny new screen!