DIY Guide to Replace PlayStation 3 Super Slim Fan – Step-by-Step
Duration: 45 minutes
Steps: 17 Steps
Is your PlayStation 3 Super Slim’s fan sounding like a jet engine or is it running hotter than a summer day? No worries! This guide is here to help you swap it out. Before diving into the fan replacement adventure, make sure you’ve got all the necessary tools, some time to carefully take apart your device, and a tidy workspace. Remember to treat your device with care as you follow these steps to ensure a smooth fan replacement. And if you ever feel stuck, just schedule a repair for some extra support!
Step 1


The bay cover is located on the right side of your device.
– Let’s get started! Remove the side HDD bay cover by sliding the panel towards the back of the device. Nice and easy, you got this!
Step 2


– Alrighty, grab your trusty T-8 security screwdriver and take out those three sleek black screws—each measuring 9.8mm in length. Easy peasy!
– Next up, switch to a Phillips #1 screwdriver and carefully remove the cool blue screw that’s 7.9mm long. You’re doing great!
Tools Used

Step 3


Gently remove the HDD and stash it safely to keep your data intact.
– Give that tab a tug to slide out the HDD—nice and easy!
Step 4


One screw is hiding underneath the warranty sticker – don’t worry, it’s easy to access. You can either carefully peel off the sticker or politely puncture through it with a screwdriver. Either way, you’re one step closer to fixing your device!
– Down at the bottom of your device, use the metal spudger to pop out those three rubber foot covers.
– Next up, grab your trusty Phillips #1 screwdriver and remove the four black screws (36.3mm long) hiding underneath.
Tools Used
Step 5


Alright, this part can be a bit tricky! If unlatching that front panel hook feels like a puzzle you just can’t crack, you can try gently prying off all the hooks instead. But heads up—these hooks can be pretty fragile, so tread lightly and take your time.
– Up top on the device, find the hook on the far right under the front panel. Gently pop it open, lift the panel just a smidge, and give it a little press.
– Next up, grab a trusty plastic opening tool and slide it into the marked spot to unhook the second latch on the right side.
– Now for the finale—slide the panel to the left to release the rest of those sneaky hooks. Easy does it!
Step 6

– Gently pop off the back panel by pushing down the tab on the right side of the device and sliding the panel to the left. Easy peasy!
Step 7


– Unscrew the five shiny 20.8mm long silver screws with a Phillips #1 screwdriver.
– Take out the two 9.9mm long black screws in the disc reader with a T-8 security screwdriver.
– Lift off the top black plastic shell.
Tools Used
Step 8


– Slide that optical drive to the side to uncover one of the shiny silver 8.8mm screws. It’s like finding treasure, but with tools!
– Grab your trusty Phillips #1 screwdriver and unscrew the two gleaming 8.8mm silver screws on either side. Lefty loosey, right?
Tools Used
Step 9


When you’re unplugging the cable, make sure to grab the plastic male connector and not the wires. Treat it like a delicate dance move – gentle and smooth!
– Unhook the cable from the plug and liberate those wires from the two plastic hooks—they’ve been there long enough!
– Carefully take out the power supply unit. It’s time for it to shine somewhere else.
Step 10


– Unplug the front white flex-ribbon cable by pulling it upward from its base.
– Next, detach the black and blue flex-ribbon cable behind it by lifting the black tab and then pulling out the cable.
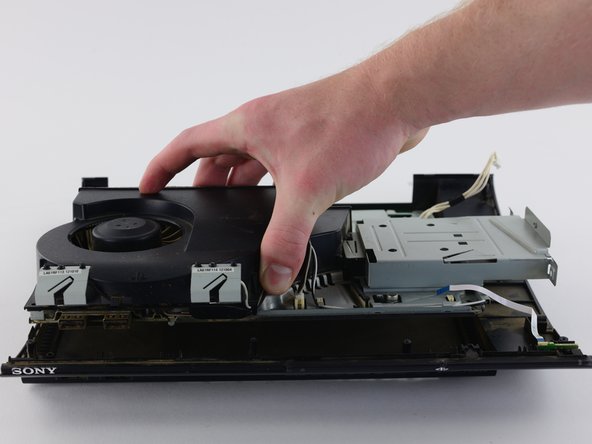
Step 11


– Give your device a 180-degree spin.
– Gently pull up and disconnect the white flex-ribbon cable from its base.
– Take out the optical drive.
Step 12


– First things first, find that white flex ribbon cable connecting the power button to the motherboard. Gently pull it out from the motherboard side—easy peasy!
– Next up, grab your trusty Phillips #1 screwdriver and remove those five black screws that are 8.3mm long. They’re just waiting to be freed!
– Now, let’s tackle the two silver screws that are 12.8mm long. Use that same Phillips #1 screwdriver to get them out of there.
– Finally, it’s time to lift the device out of the bottom shell casing. You’ve got this!
Tools Used
Step 13


– Grab your Phillips #1 screwdriver and unscrew the two black 8.3mm screws holding down the Wi-Fi antennas. Easy peasy, right?
– Now, gently lift those Wi-Fi antennas off their mount like you’re picking up a delicate flower. Nice work!
Tools Used
Step 14


The Wi-Fi antenna ports on the motherboard are marked B and W for reassembly. It’s as easy as plugging ’em back in!
– Grab a trusty plastic opening tool and gently pop those Wi-Fi wires out of their sockets on the motherboard. Easy does it, no rush!
– Carefully unhook the wires from around the motherboard and fan cover to free up the antennas. It’s like untangling a tiny, techy puzzle.
– Time for the new Wi-Fi antennas! Slide the replacement wires into each socket, guide them back through the hooks, and secure the antennas on their mount. You got this!
Step 15


– Alright, grab your trusty Phillips #1 screwdriver and unscrew the two black 14.5mm screws hanging out in the middle of the bottom metal casing.
– Next, tackle those four silver 8.7mm screws chilling around the edges of the bottom metal casing. Same tool, same vibe!
– Once the screws are out, go ahead and lift off that bottom metal casing like a pro!
Tools Used
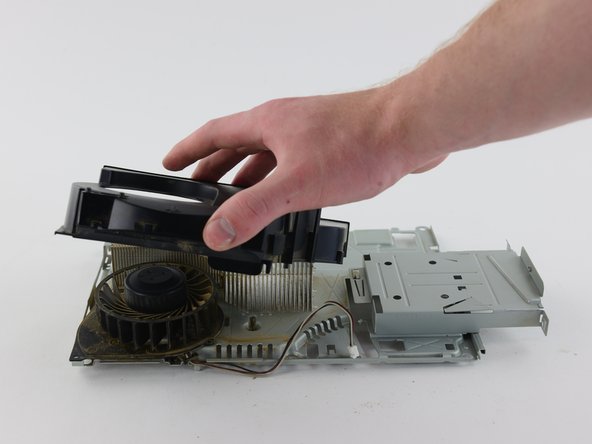
Step 16


When you’re pulling out the wire, don’t yank it by the wire itself—grab the white plastic male connector instead. Keep it cool and steady!
There’s a thermal compound holding the top metal casing to the motherboard in the center. So, you’ll need to give it a little extra oomph! Just be patient and apply steady pressure until the adhesive gives way. Remember, no rushing—it’ll come apart with a bit of perseverance.
– Unplug the fan wire from its cozy spot on the top metal casing. It’s just chillin’ there!
– Gently lift the motherboard out of the top metal casing. Grab it by the side with the two USB plugs to keep those four back ports safe and sound.
– When you’re putting it all back together, don’t forget to swap out that old thermal compound. It’s seen better days and can’t be reused!
Step 17


– Flip over the top metal casing and, using a Phillips #1 screwdriver, unscrew those three sneaky black screws—each one 8.0mm long. Easy peasy!
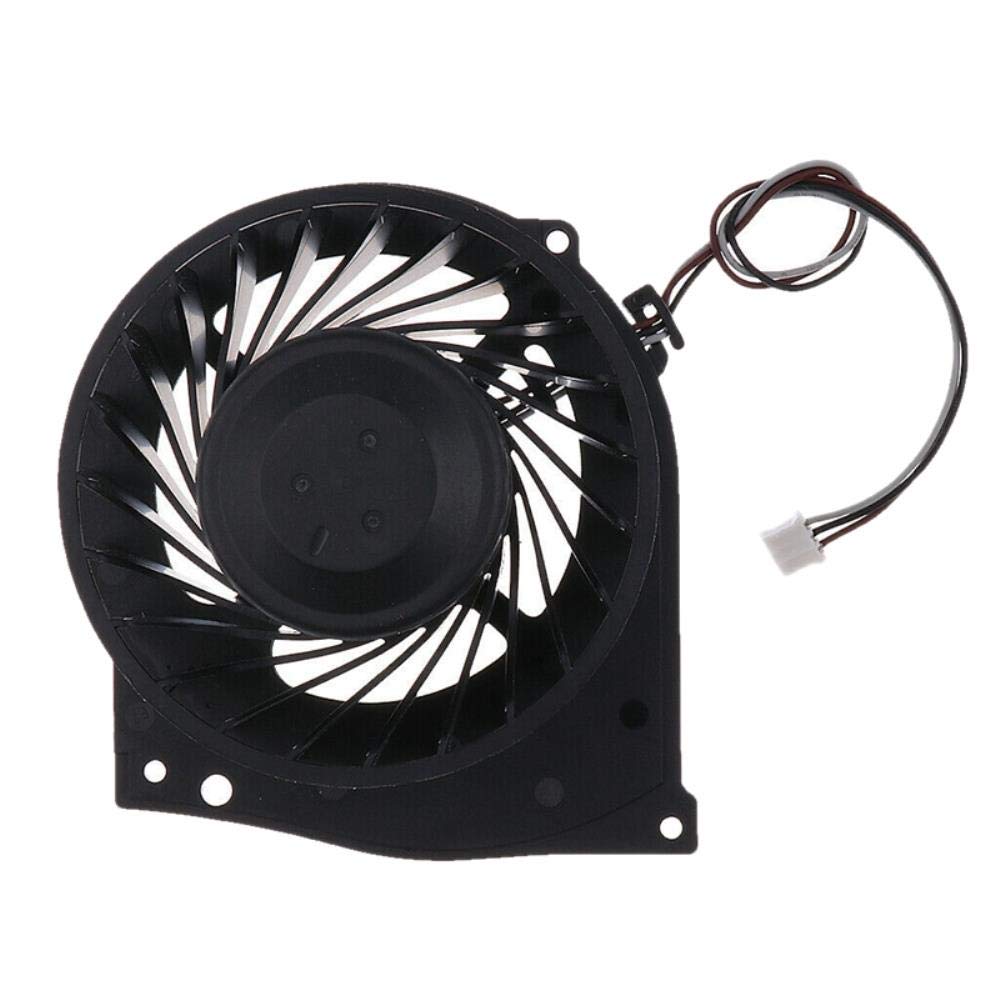
– Lift the fan right out of its cozy plastic cover—like separating peanut butter from jelly. Smooth move!
Tools Used
Success!
