DIY Guide to Replace Power Tool Soldering Iron Tool
Duration: 45 minutes
Steps: 30 Steps
Hey there! Just a quick heads-up: make sure to power down your device before diving into this repair adventure. Safety first, right? If things get tricky, remember, we’re here for you! If you need help, you can always schedule a repair.
Dive into this guide to take apart your FixHub Portable Power Station like a pro! If you’re curious for more details, feel free to check out the electrical schematics here.
Step 1


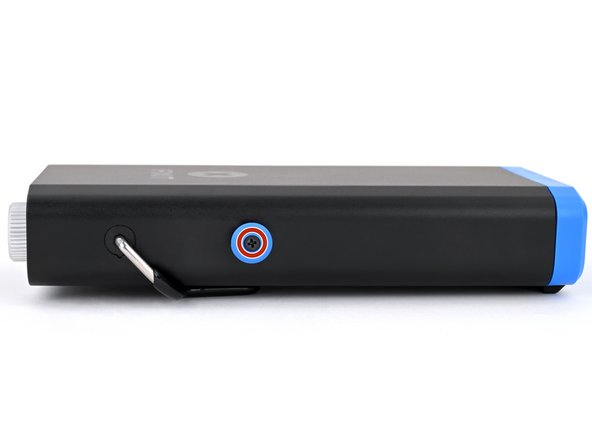
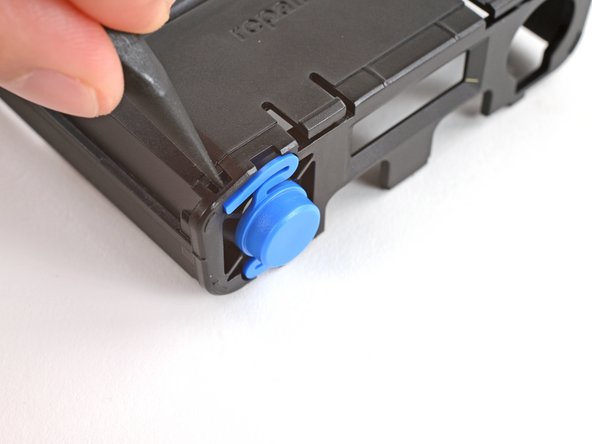
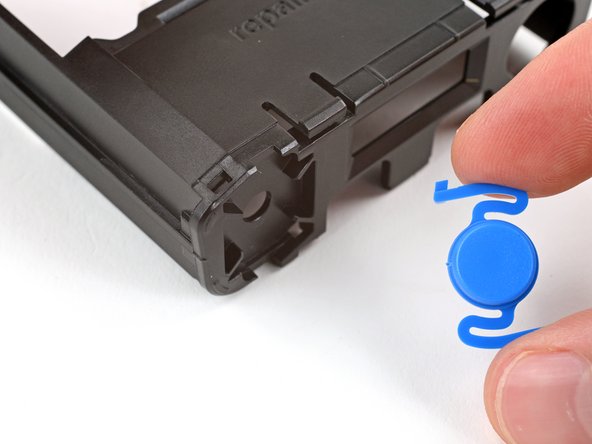
– Press and hold that blue action button for a solid five seconds to give your power station a little nap.
– Time to fold up the kickstand like a pro!
Step 2

As you dive into this repair adventure, keep a close eye on those screws! Make sure each one finds its way back home just where it belongs.
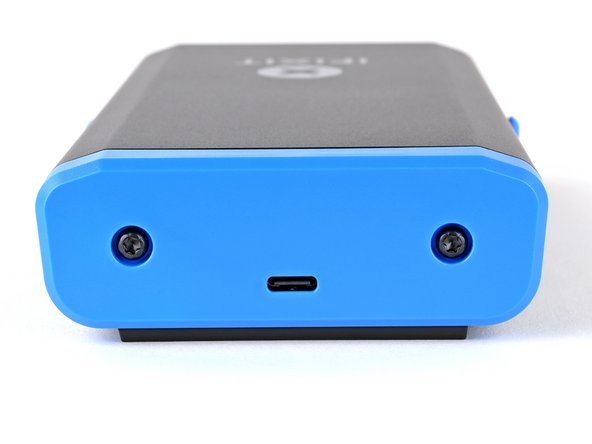
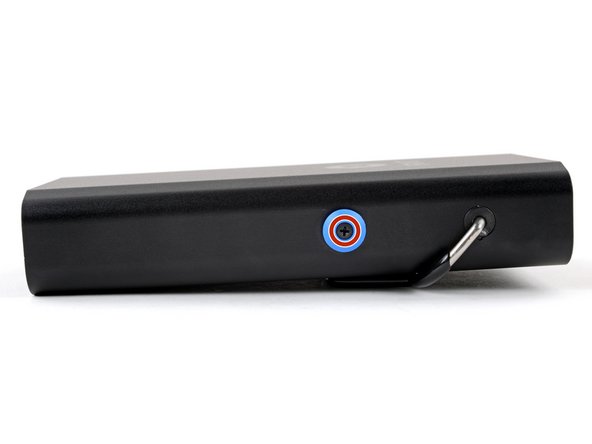
– Grab your trusty T10 Torx screwdriver and let’s get those two 8 mm-long screws out of the way that are holding the rear cover tight. You’ve got this!
Step 3
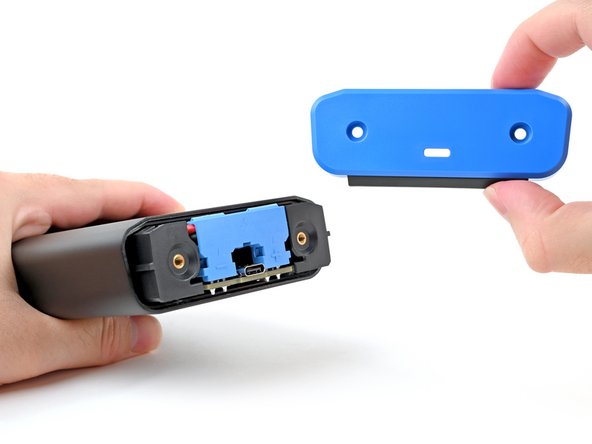

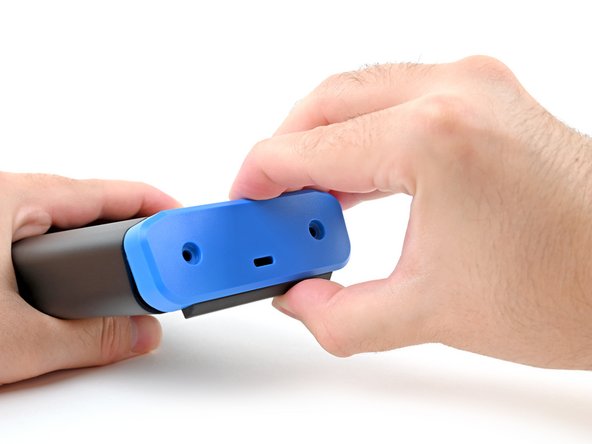
– Start by grabbing the rear cover and gently pull the bottom edge towards you.
– Carefully take off the rear cover.
– When putting it back together, make sure to hook the top edge of the rear cover first, and then press down the bottom edge to snap it into place.
Step 4

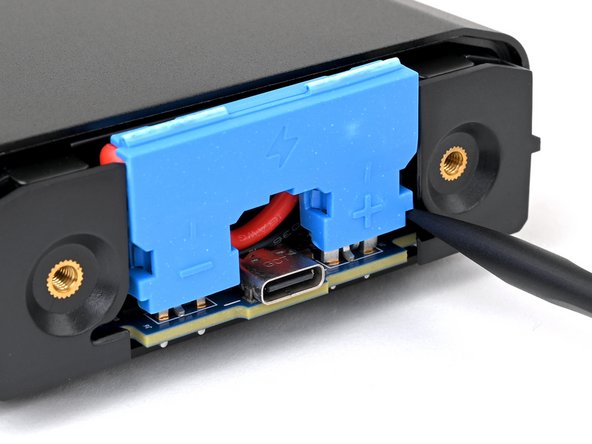
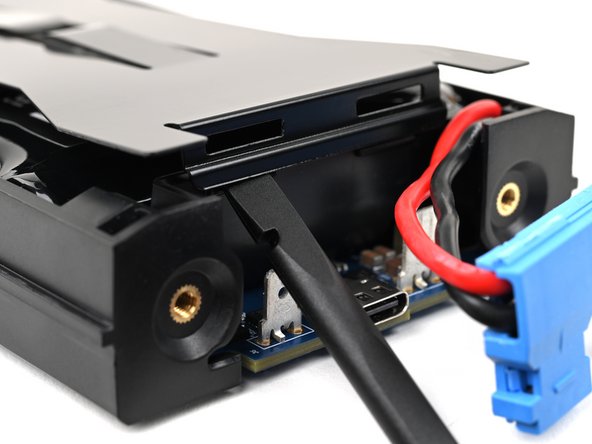
To keep your fingers safe from any zaps, steer clear of metal tools when disconnecting the battery.
– Slide the flat end of your trusty spudger into one of the slots flanking the battery connector. They’re designed just for this purpose!
– Give the spudger a gentle push to start prying up the connector. You’ve got this!
Tools Used

Step 5


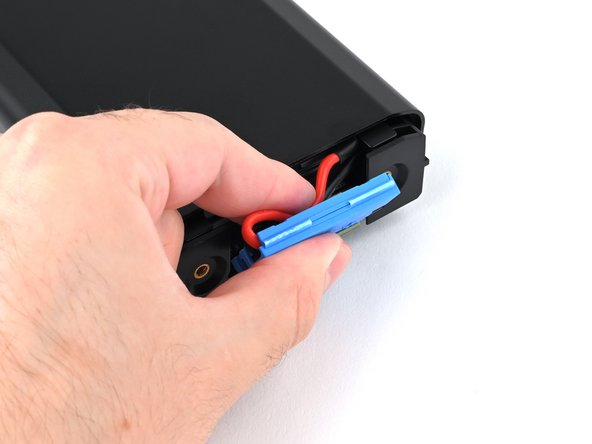
– Keep the groove going! Gently pry up on alternating sides of the battery connector to ‘walk’ it off those plugs. Once you’ve loosened it up a bit, you should be able to grab it with your fingers like a pro.
Step 6


Hey there! Just a quick heads-up: don’t go forcing that connector off – those sharp metal edges can be a little sneaky. If it’s not coming off easily, keep gently prying with your spudger until it loosens up enough for a smooth disconnect. You’ve got this!
– Gently grab the battery connector by its edges and give it a straight pull upwards to disconnect it. Easy peasy!
Tools Used
Step 7

– As you put everything back together, here’s how to get that battery reconnected like a pro:
Step 8

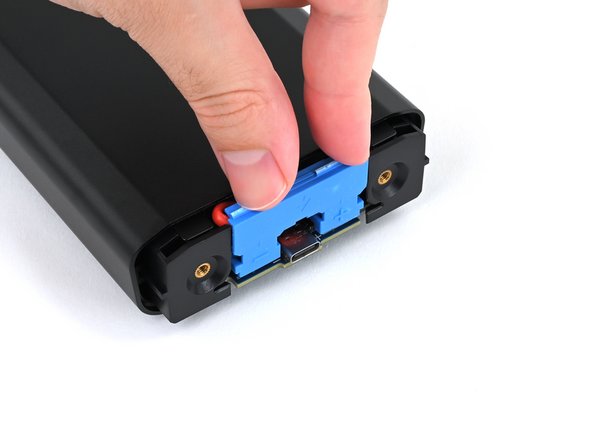
– Gently press your fingers on the screw holes of the rear cover and nudge the chassis a bit away from the enclosure. You’ve got this!
Step 9
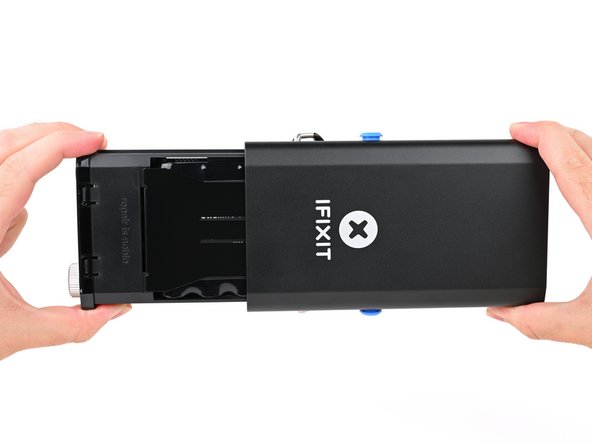

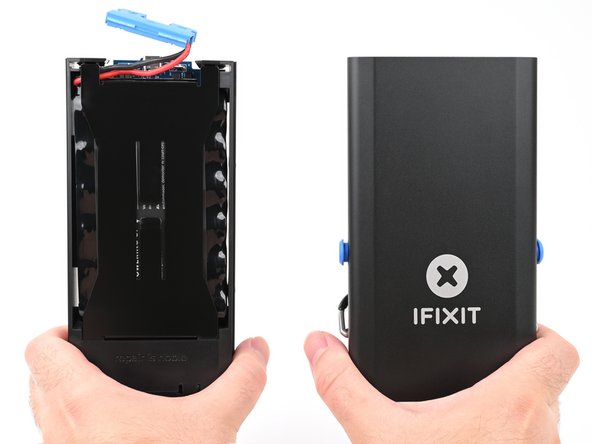
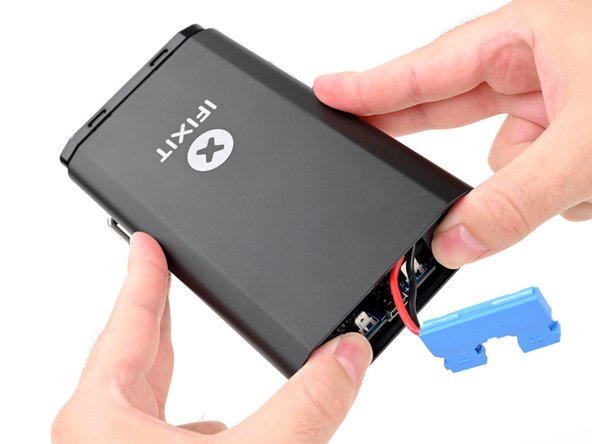
– Gently slide the chassis all the way out of the enclosure, keeping an eye on that battery connector so it doesn’t get caught up in the action.
– When it’s time to put everything back together:
Step 10

– Grab your trusty Phillips screwdriver and get ready to take off those two 6 mm-long screws holding the tool mounts on each side of the power station. You’ve got this!
Step 11

– Give those tool mounts a gentle tug with your fingers to release them from both sides of the power station. You’ve got this!
– Remember, those tool mounts have a special way of fitting together. When you’re putting everything back, just make sure the pins on the mounts line up with the holes in the enclosure. Easy peasy!
Step 12

Watch out for those metal arms of the kickstand – they can be sneaky! Let’s keep that enclosure scratch-free, shall we?
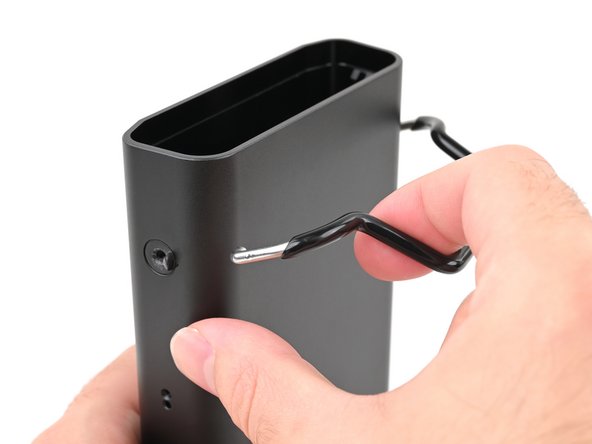
– Grab that kickstand and give one of the legs a gentle tug to pull it straight out of its bushing and away from the enclosure. Easy peasy!
Step 13
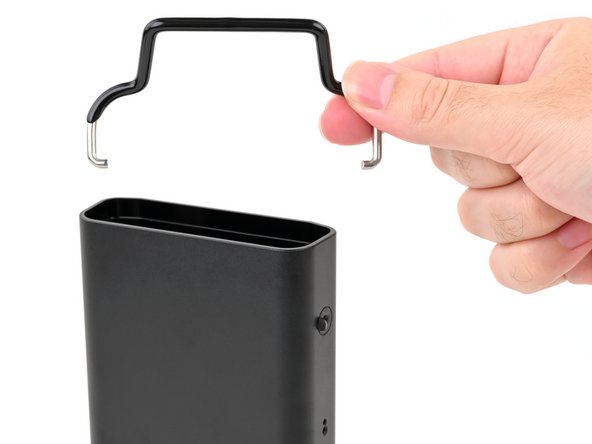

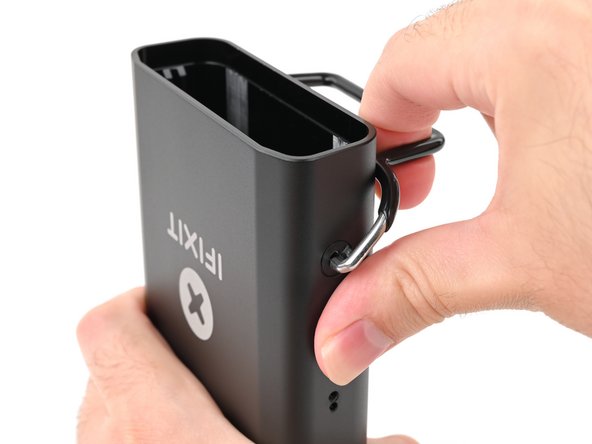
– Carefully wiggle out the other leg from its cozy bushing and say goodbye to the kickstand.

Step 15


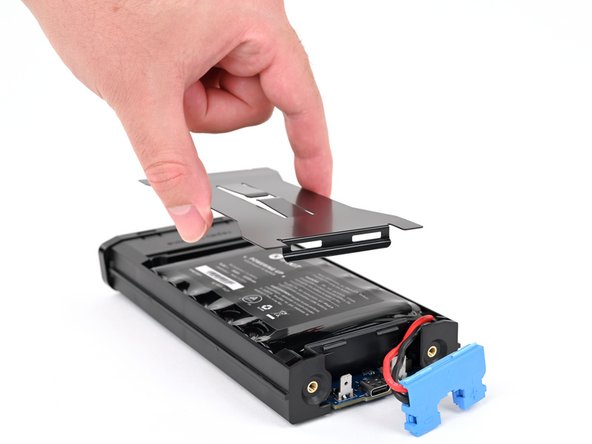
– Time to pop off that metal battery cover! It’s like unveiling a secret compartment.
– And when you’re putting everything back together, remember: patience is key!
Step 16

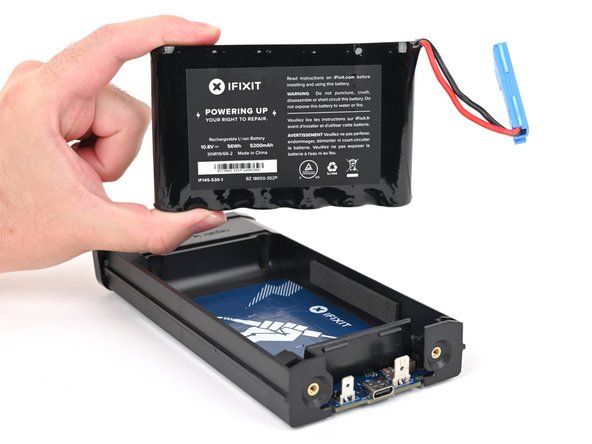

– Pop that battery out! It’s time to give your device a little break. Just a gentle tug and it should come right out.
Step 17
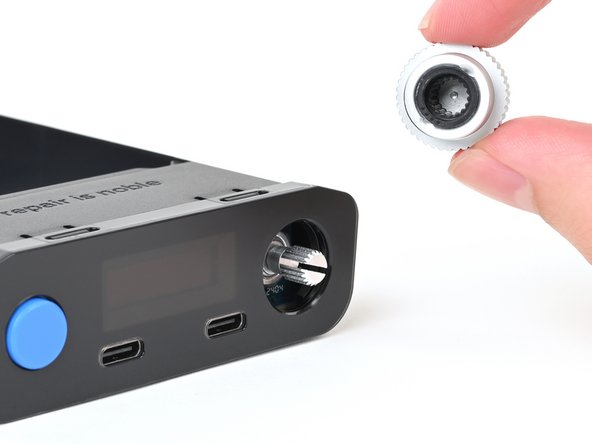

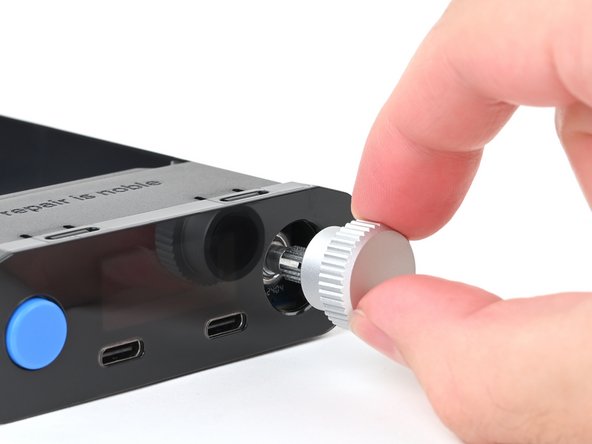
– Gently tug the shiny silver selector knob straight out from the front panel to pop it off.
Step 18

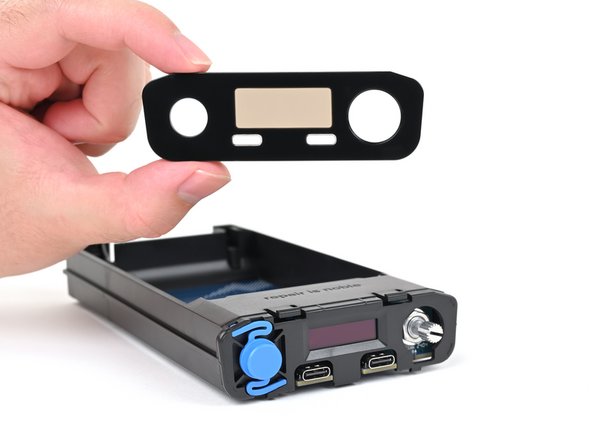
– Give those two locking tabs a gentle press with your fingers to release the front panel from its snug embrace.
– While you’re keeping those tabs down, slide the front panel away from the chassis and lift it off with ease.
– When it’s time to put things back together:
Step 19

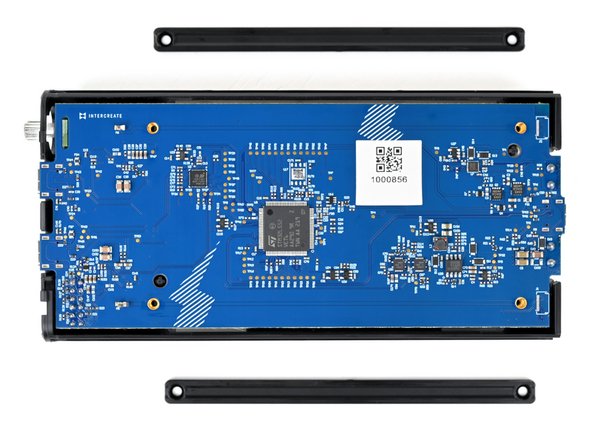
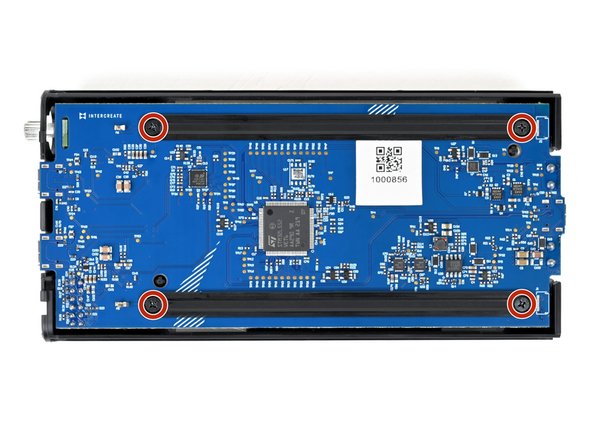
– Time to flip your power station upside down and get started!
– Grab a Phillips screwdriver and tackle those four 6 mm-long screws that are holding the two main board supports in place.
– Once those screws are out, gently lift away the main board supports.
– When you’re putting everything back together, just remember to position the beveled sides of the main board support screw holes facing up!
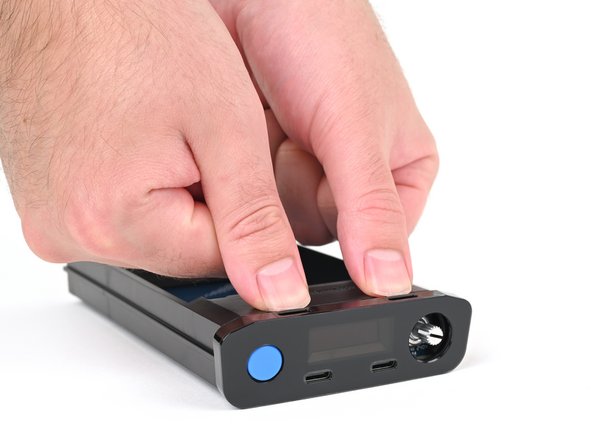
Step 20
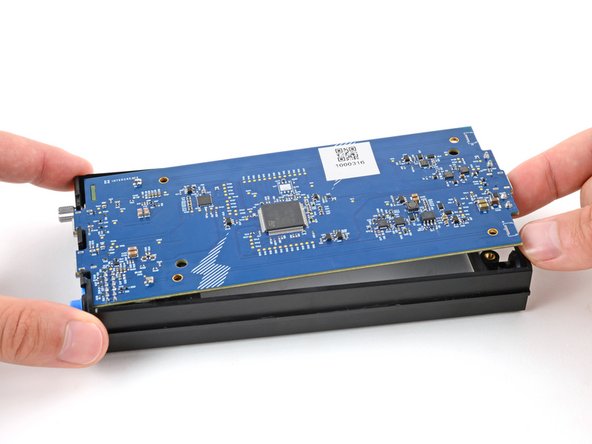


– Gently nudge the main board upward by the USB‑C port with your finger, just enough to grasp the edges comfortably.
Step 21

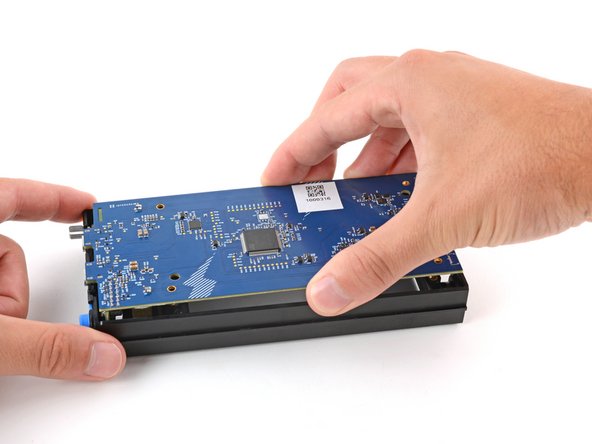
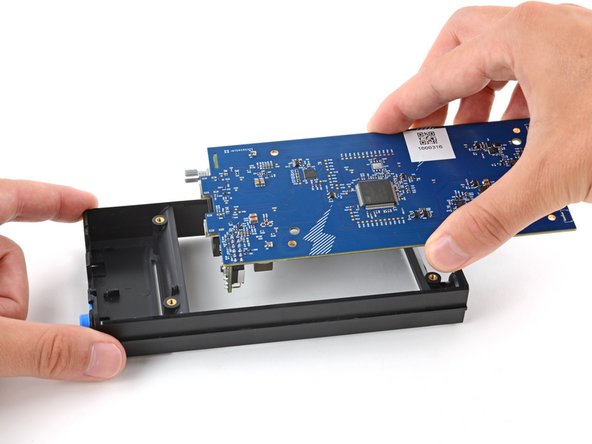
– With one hand, hold the chassis steady like a pro.
– With your other hand, grab the main board right in the middle.
– Gently lift the board straight up and pull it away from the display, making sure to guide the selector knob through its cutout.
Step 22

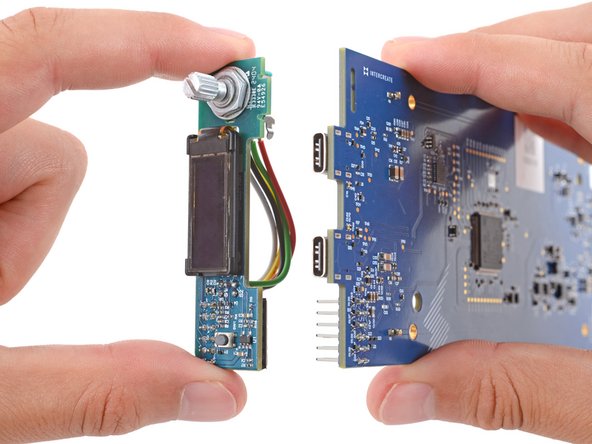
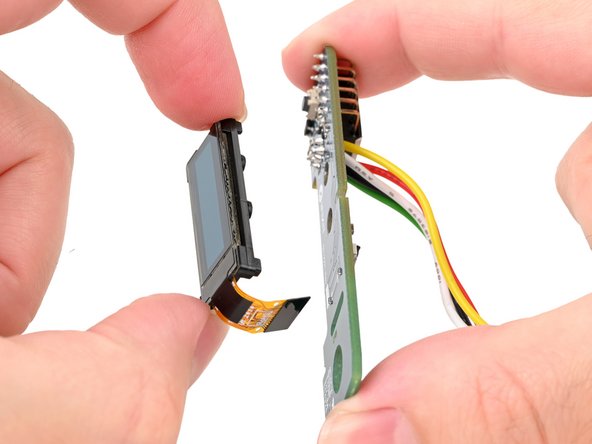
The long pins on the main board fit snugly into the UI board, keeping everything securely in place.
– With one hand, hold onto the main board like it’s your favorite snack.
– With your other hand, take hold of the UI board by its edges and give it a nice, straight pull away from the main board to disconnect it.
– Now, as you put everything back together:
Step 23

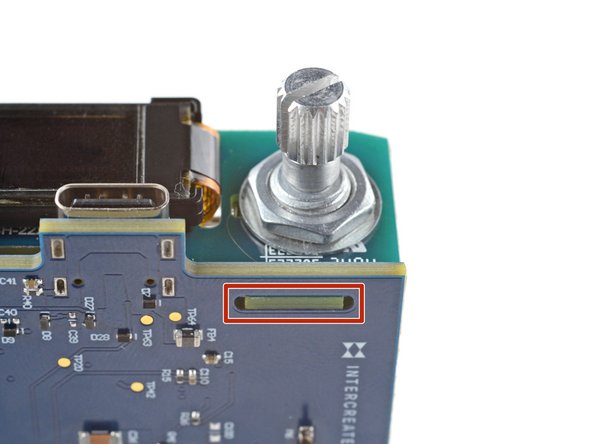
– Grab your trusty fingers, a pair of small pliers, or a 10 mm wrench to give that pesky thin nut holding the selector knob a little twist and loosen it up.
Step 24

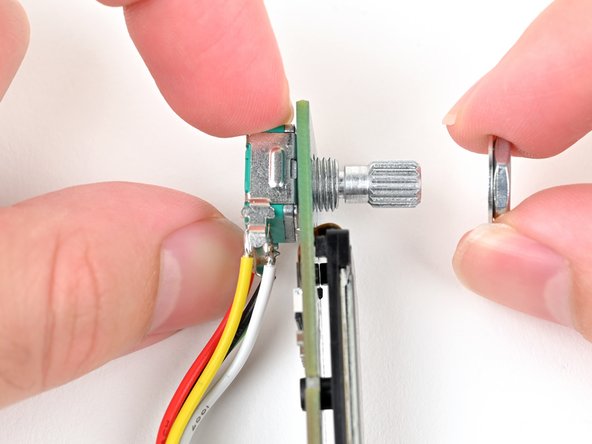
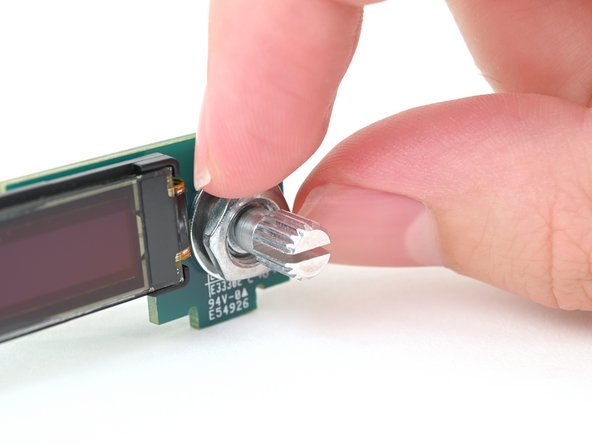
– Gently slide off the nut and its trusty washer from the front of the knob—say goodbye to them for now!
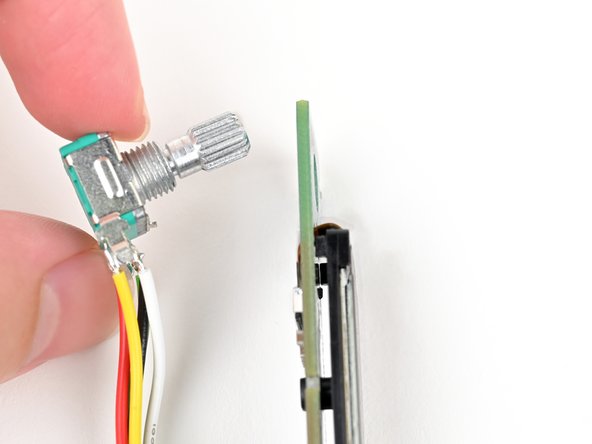
– Carefully pull the knob out from its cozy little cutout, giving it some freedom from the UI board.
– Keep that knob and its cables out of the way while you work on the UI board—teamwork makes the dream work!

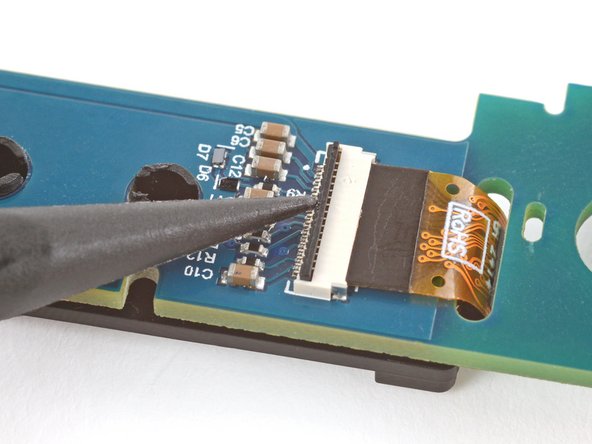

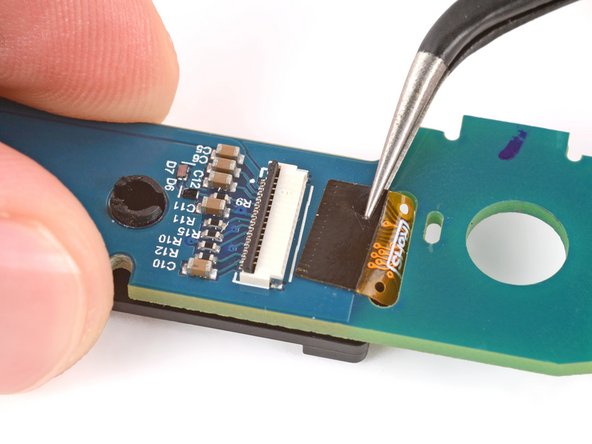

Step 27

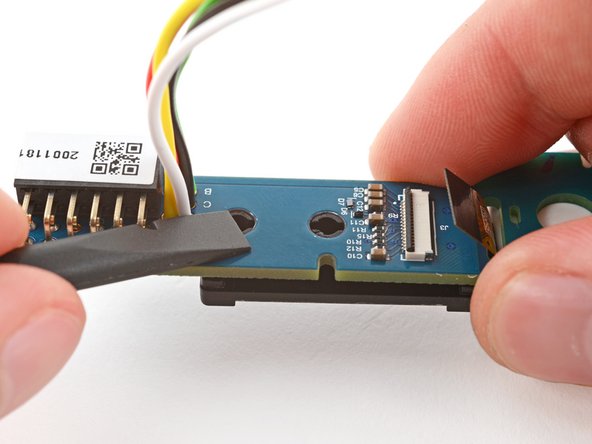
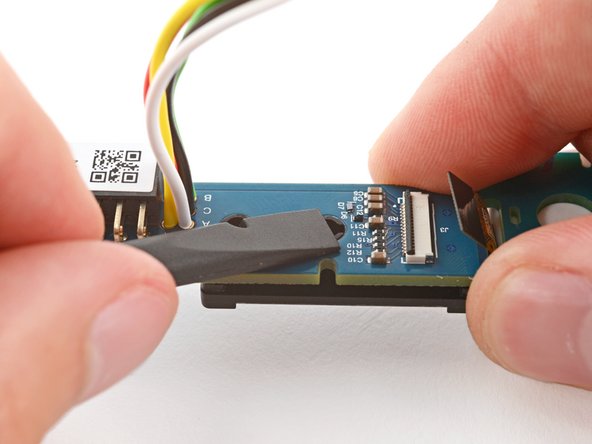
Take a moment to watch out for those tiny, surface-mounted components on the board—they’re like little treasures just waiting to be accidentally bumped!
– Lift the UI board just a bit above your workspace and gently nudge those two display pegs through their cutouts using the flat side of a spudger. You’ve got this!
– When you’re putting everything back together, make sure to pop those pegs into their holes on the UI board until you hear that satisfying click. It’s like they’re giving you a high-five!
Tools Used


Step 30

– Congrats! Your Portable Power Station is all taken apart!