DIY Guide to Replace Proximity Sensor on Huawei Nova
Duration: 30 min.
Steps: 20 Steps
Welcome to our repair guide, where we’ll walk you through the steps to swap out that pesky defective proximity sensor on your Huawei Nova. If your screen isn’t dimming when you’re chatting away, or if automatic brightness seems to be on vacation, this guide is just what you need! Let’s get your device back to working like new!
Step 1
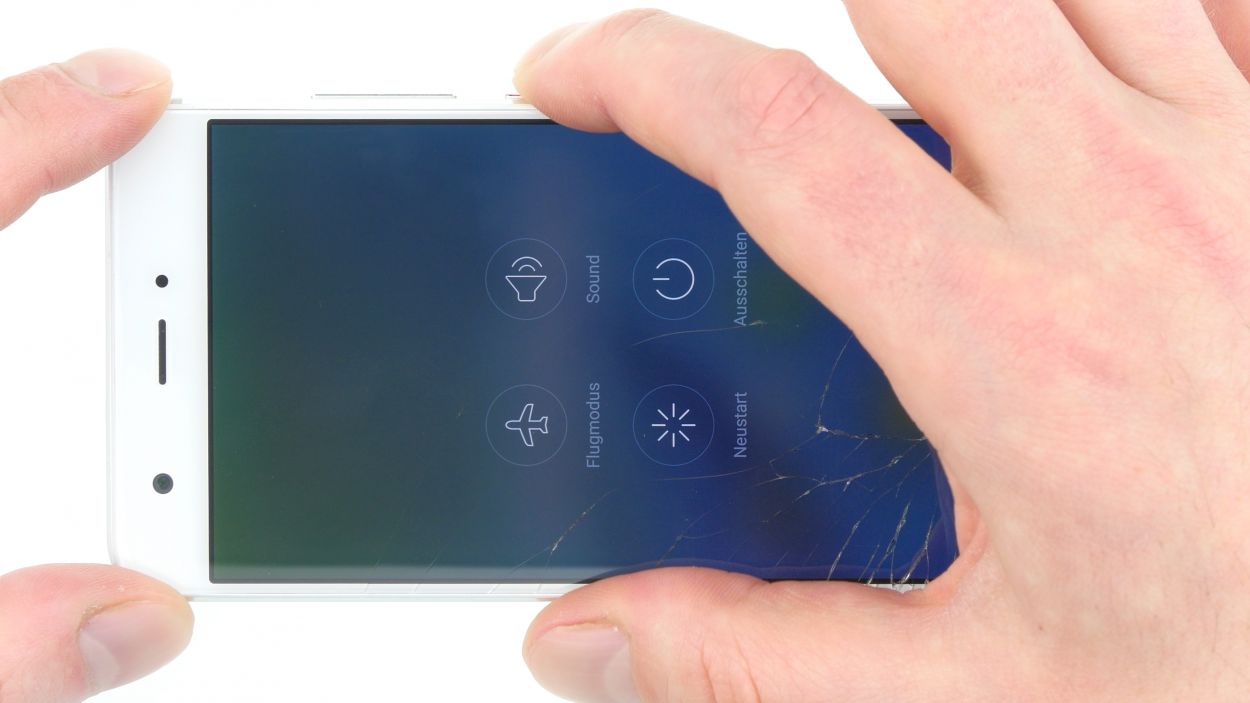

– First things first, let’s give your device a little breather! Press and hold that power button until you see a menu pop up. Now, go ahead and choose ‘Power off’ and give it another tap to seal the deal. Easy peasy!
Step 2
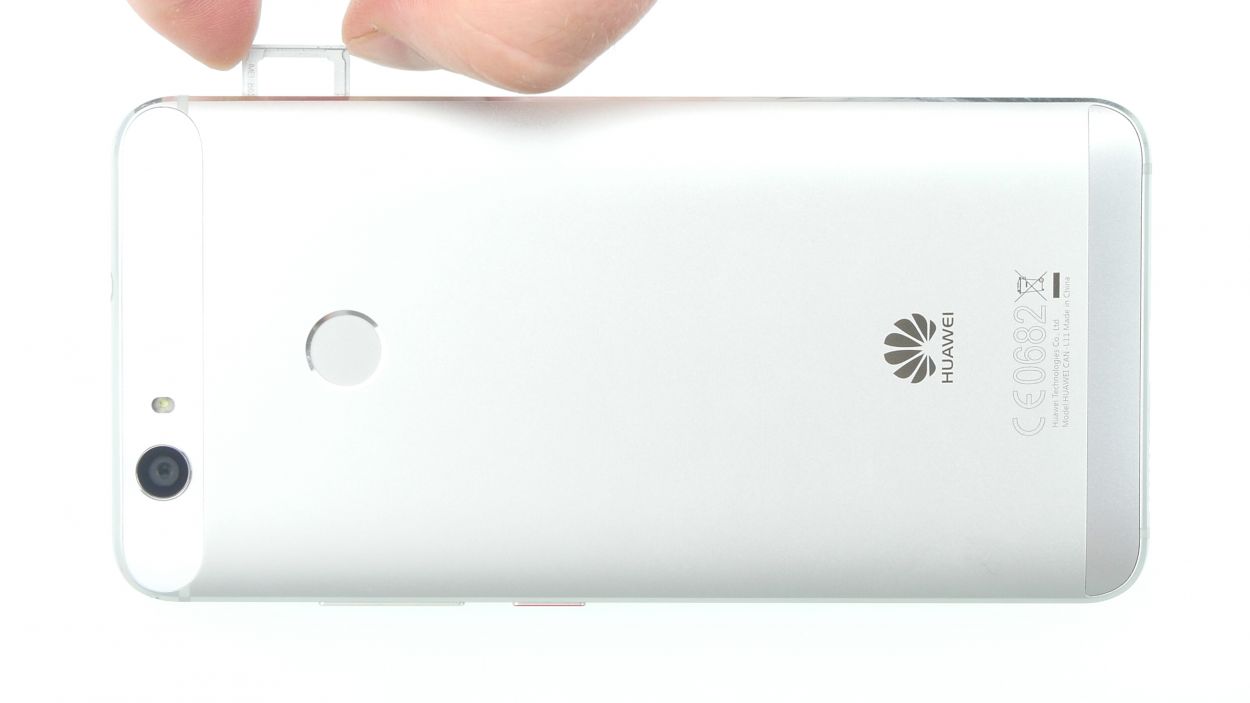
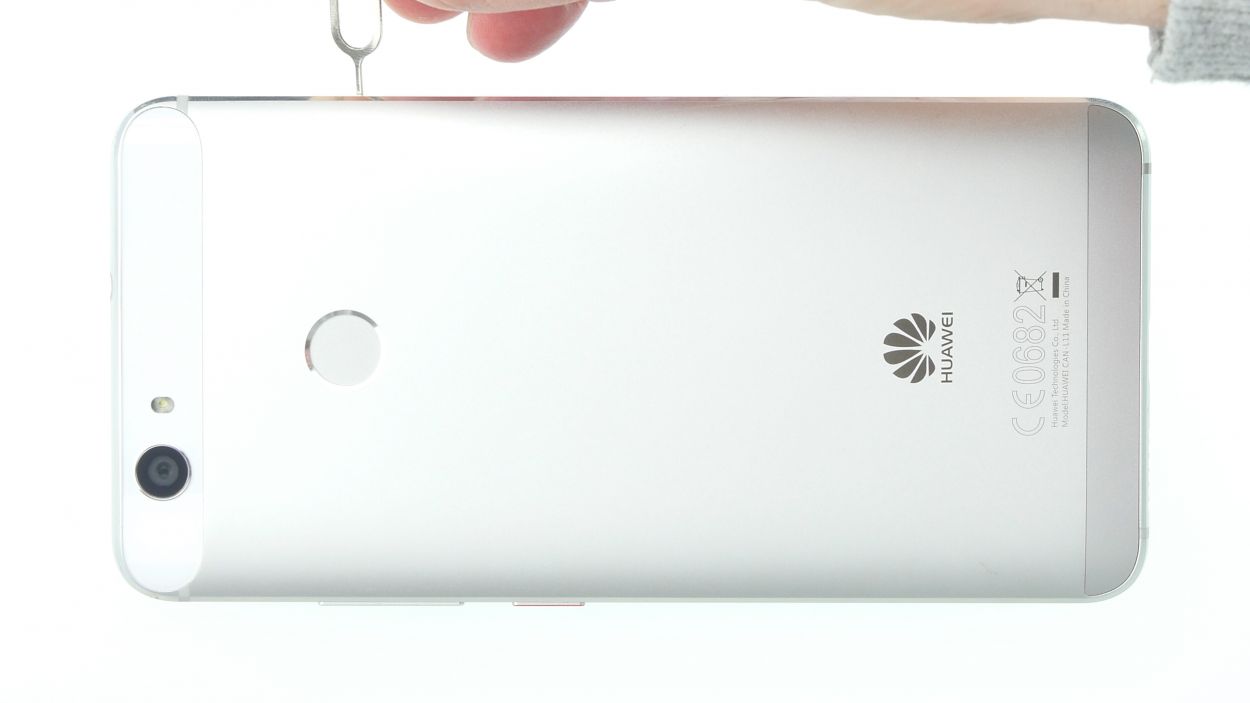
– Grab your trusty SIM tool and gently poke it into the tiny hole on the tray to pop it open.
– Once the tray is out, carefully take out any SIM or microSD cards that are hanging out.
Step 3
2 × Pentalobe
Get yourself a Pentalobe PL1 screwdriver! It’s your trusty sidekick for opening up those iPhones and more. Need help? You can always schedule a repair.
– Take a moment to grab your trusty screwdriver and carefully unscrew those two pentalobe screws located at the bottom of your device. Once they’re out, you’ll be one step closer to opening up and giving your gadget the TLC it deserves!
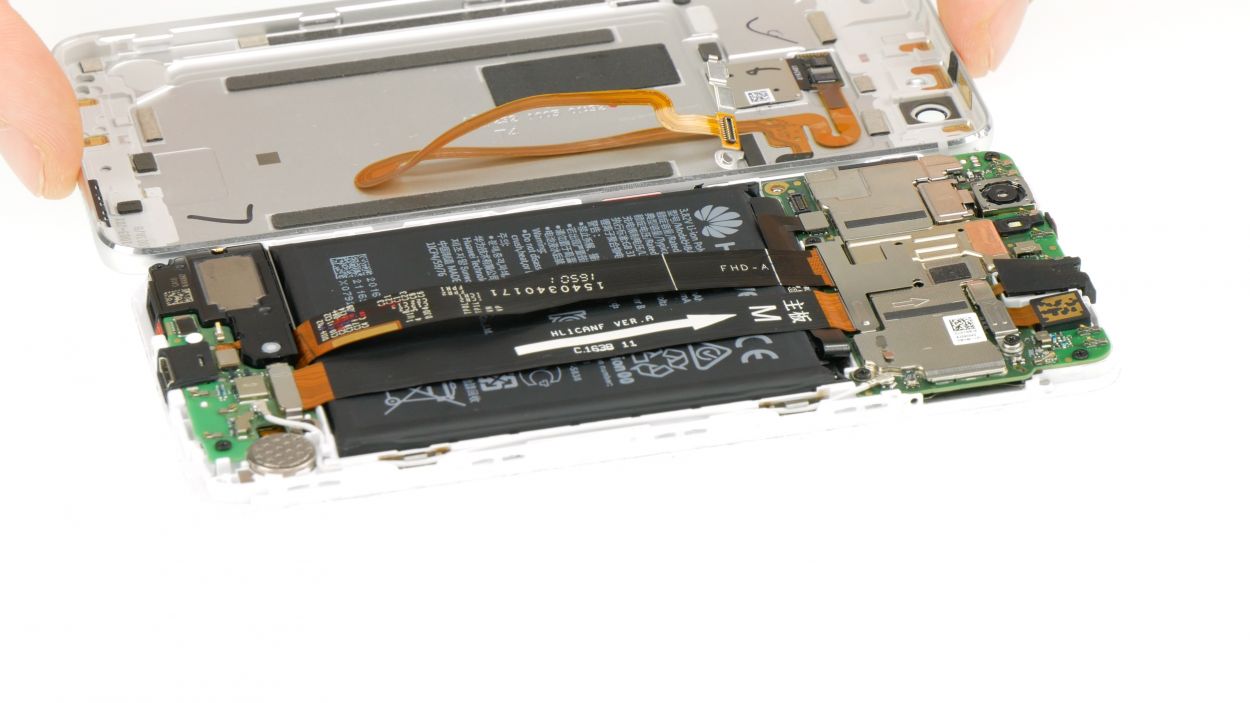
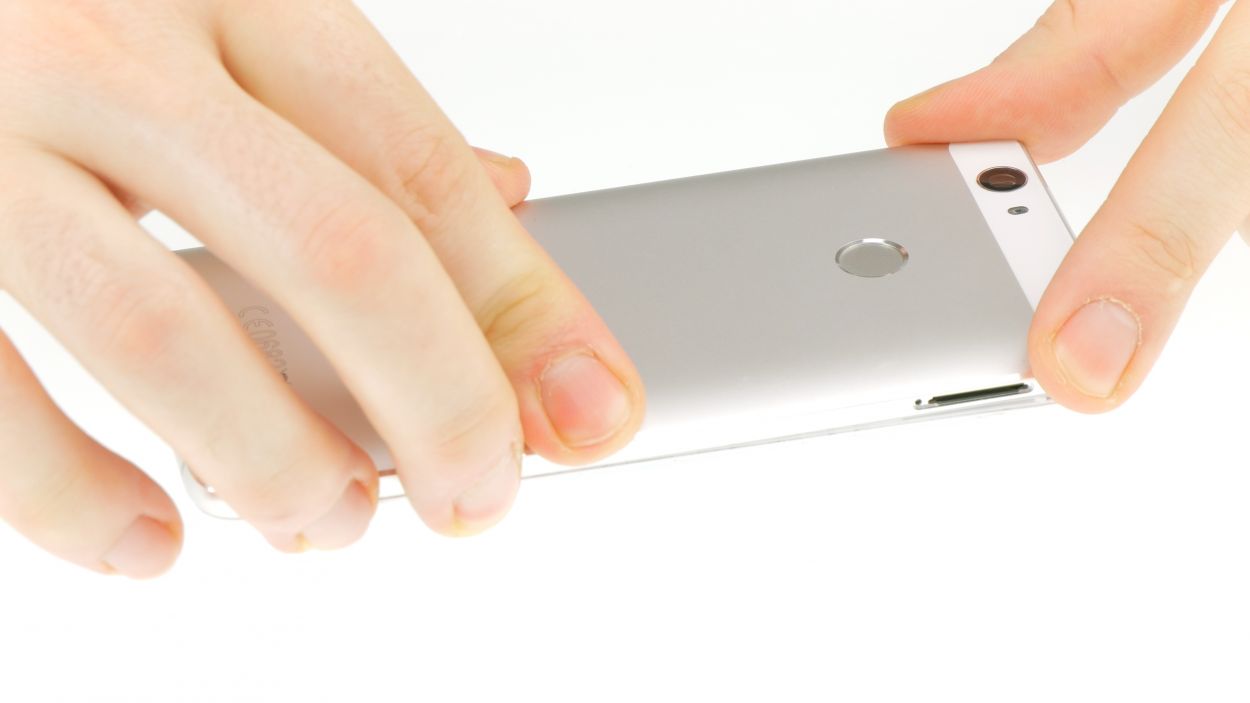
Step 4
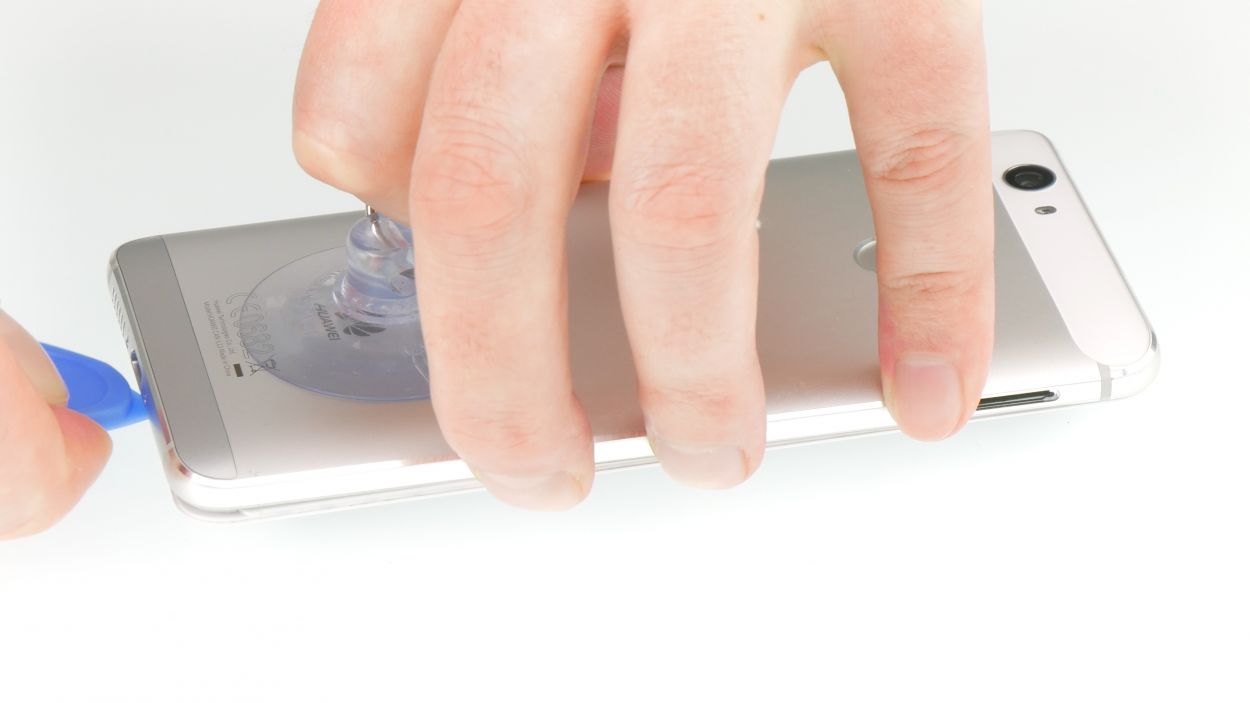

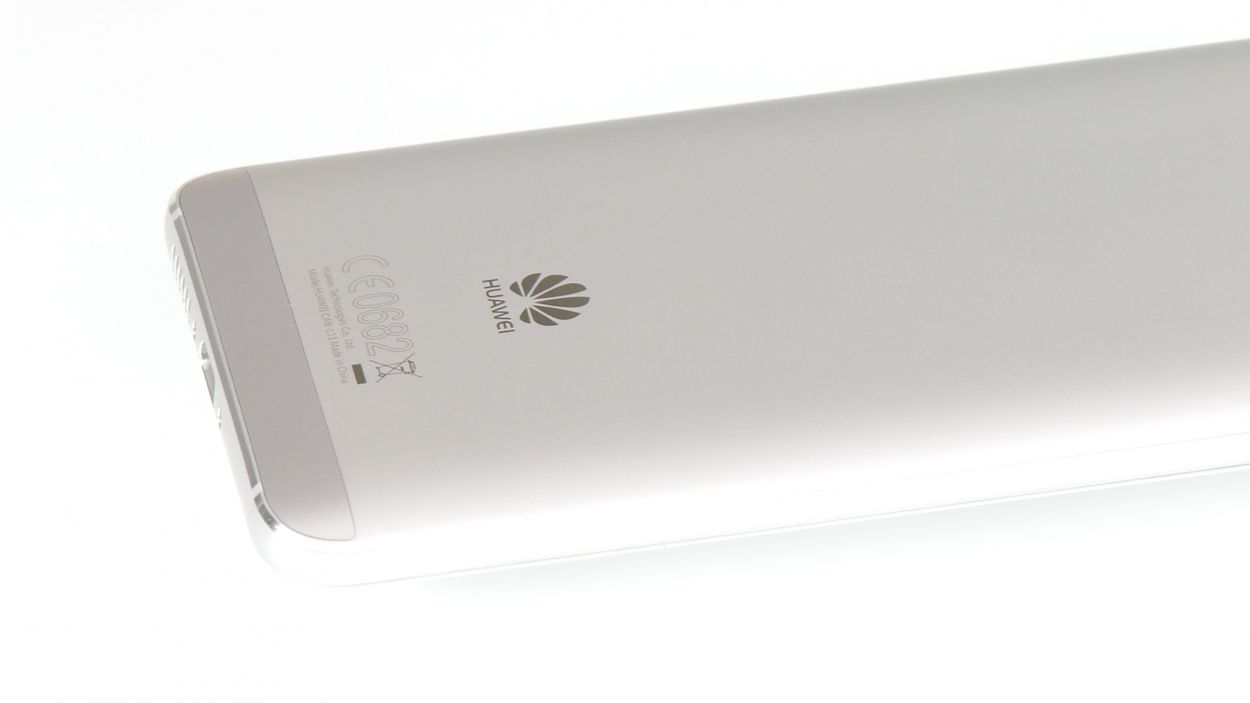
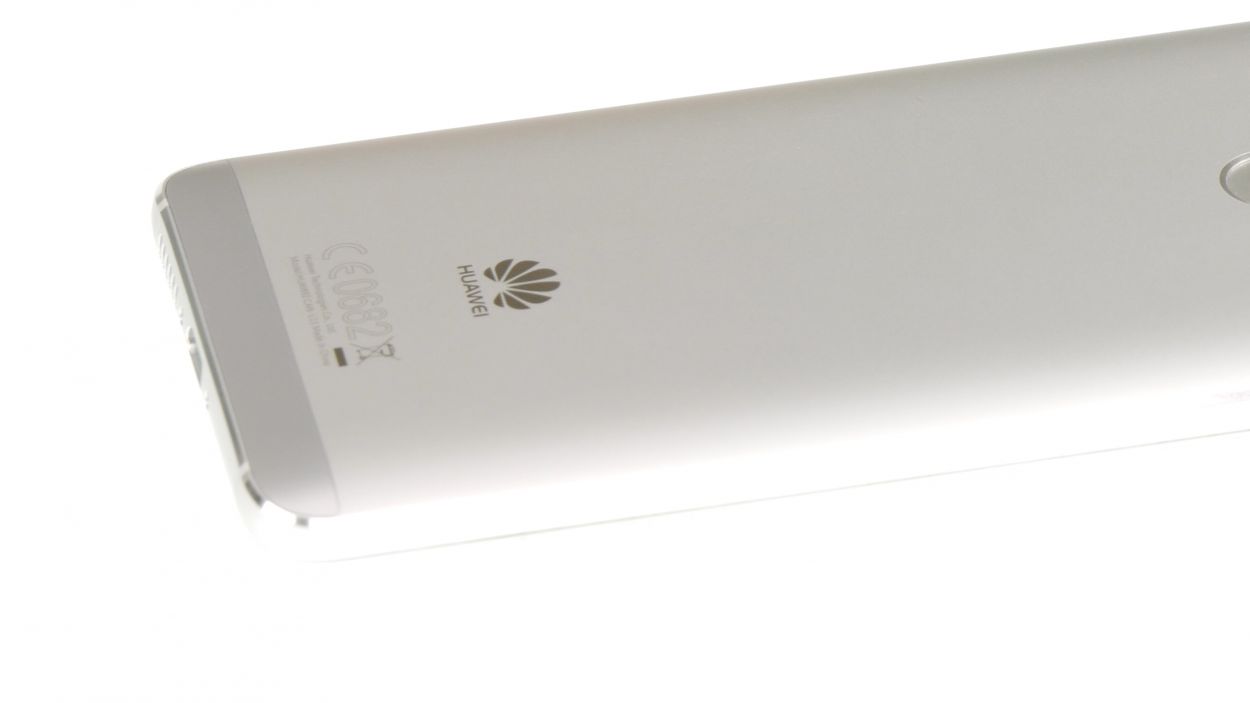
– Start by placing the suction cup as low as you can on the back cover, like right where it says ‘Huawei.’
– Give that suction cup a gentle pull while using the pick to nudge the display down towards the table. Once you see a little gap between the display and the back cover, you can carefully slide in the pick.
– Now, glide the pick along the edges to detach the back cover from the sides. Keep pulling on the suction cup gently.
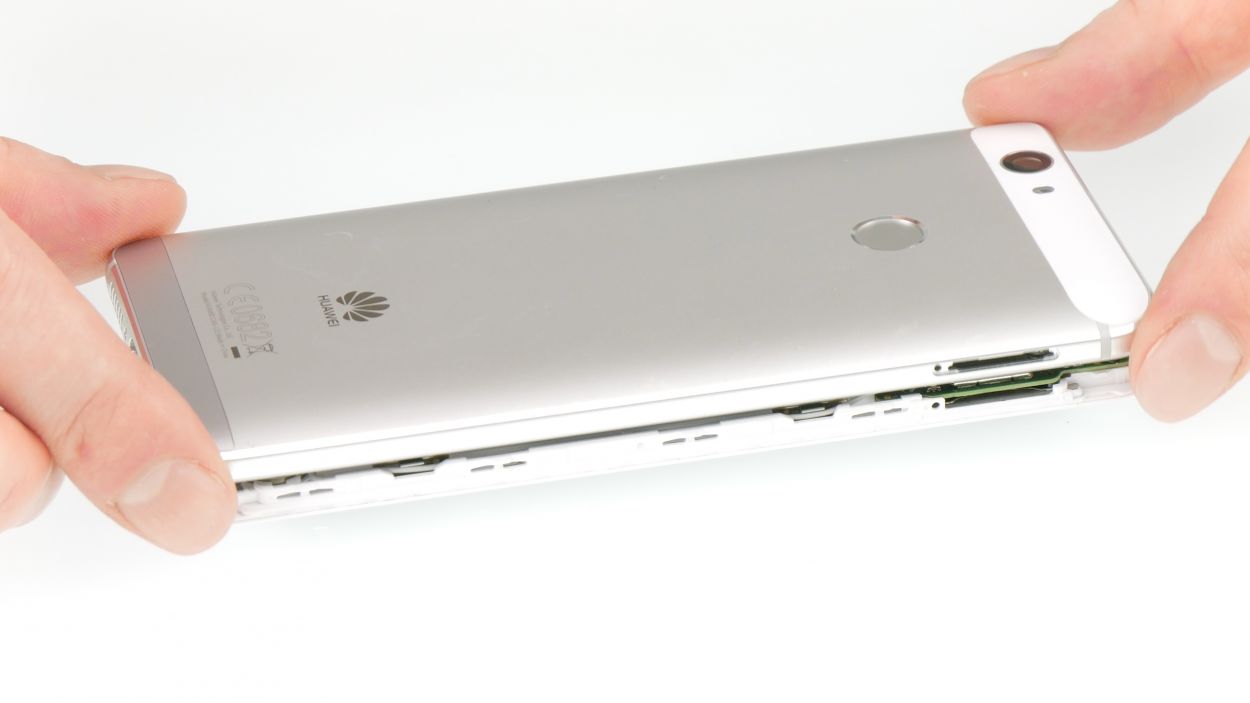
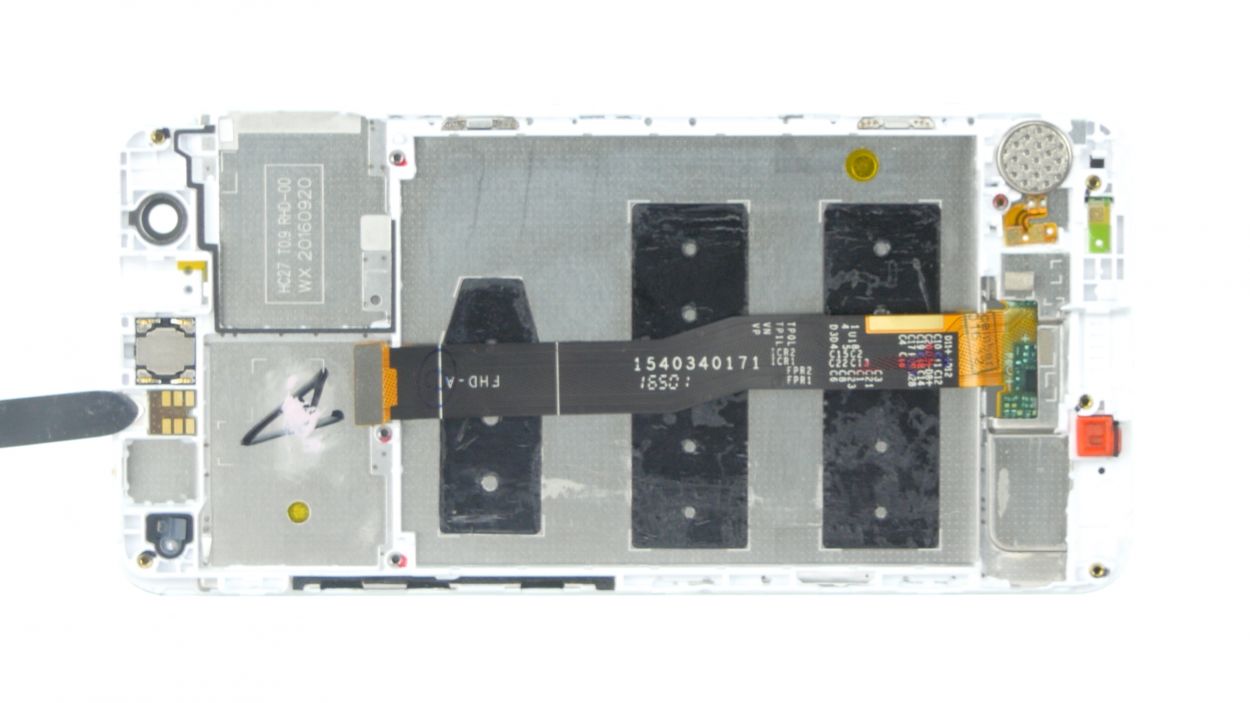
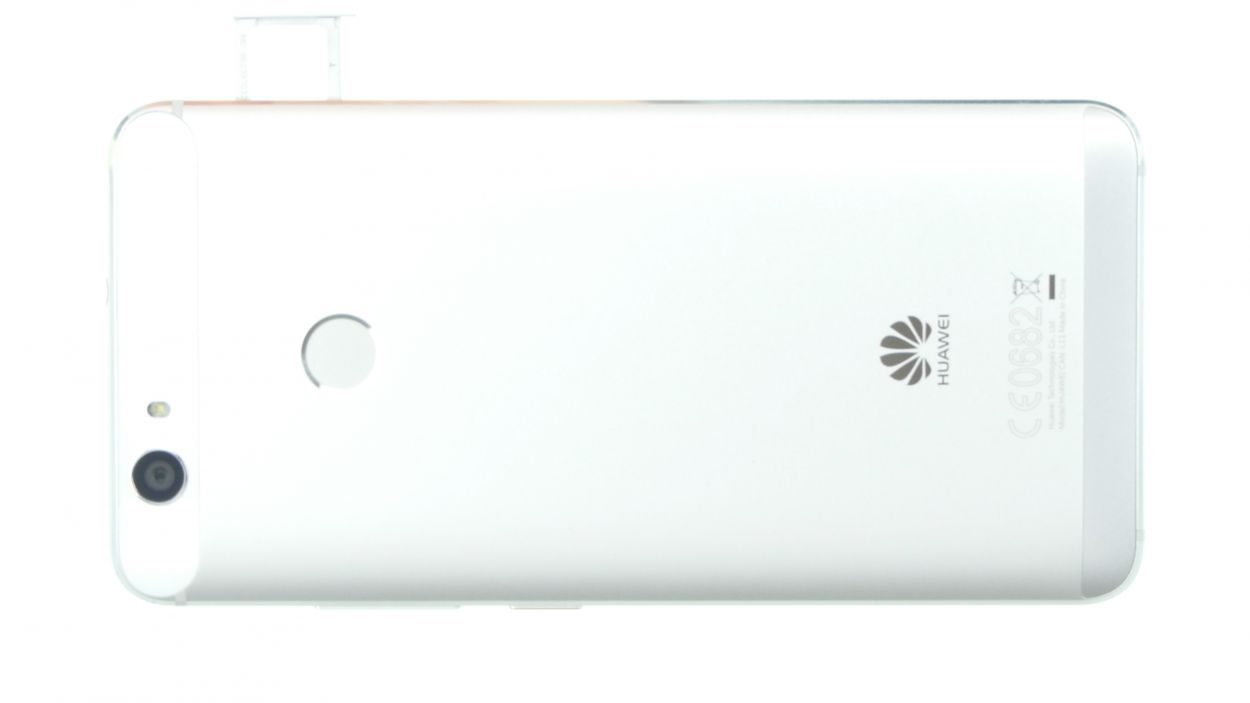
– With a steady hand, lift the back cover. Open the device slowly at the top edge like you’re flipping a book. Voila! You should now see the fingerprint sensor flex cable.
Hey there! The fingerprint sensor is snugly tucked away in the back cover, connected to the motherboard by a flex cable. When you’re removing the display, just keep an eye out for that cable and the board—let’s avoid any accidental damage, shall we? If you need help, you can always schedule a repair!
Take it easy and watch your step here! A little caution goes a long way in keeping everything safe and sound.
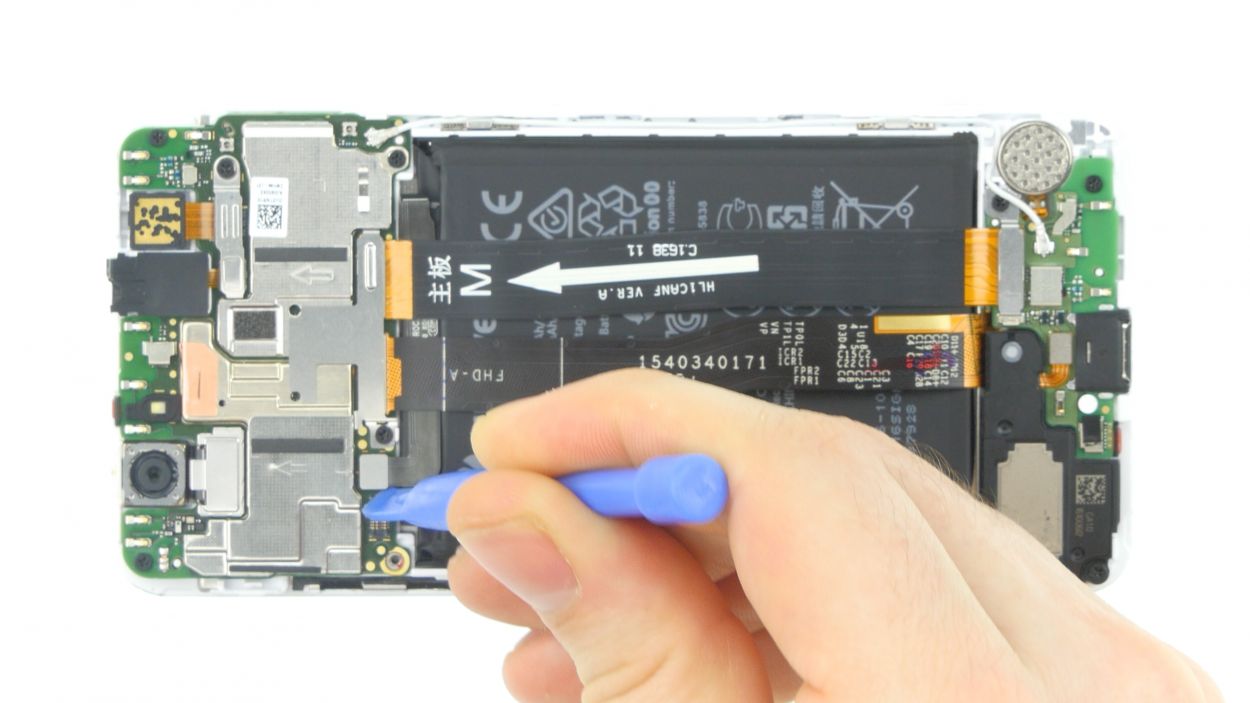
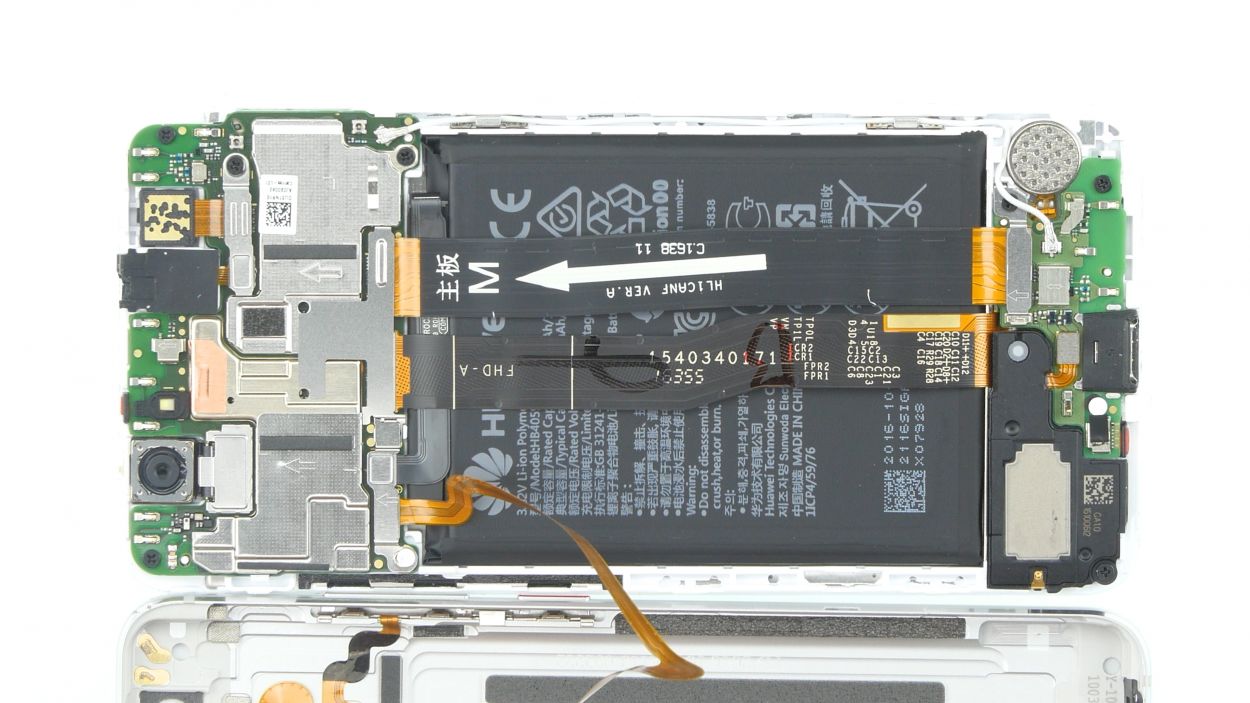
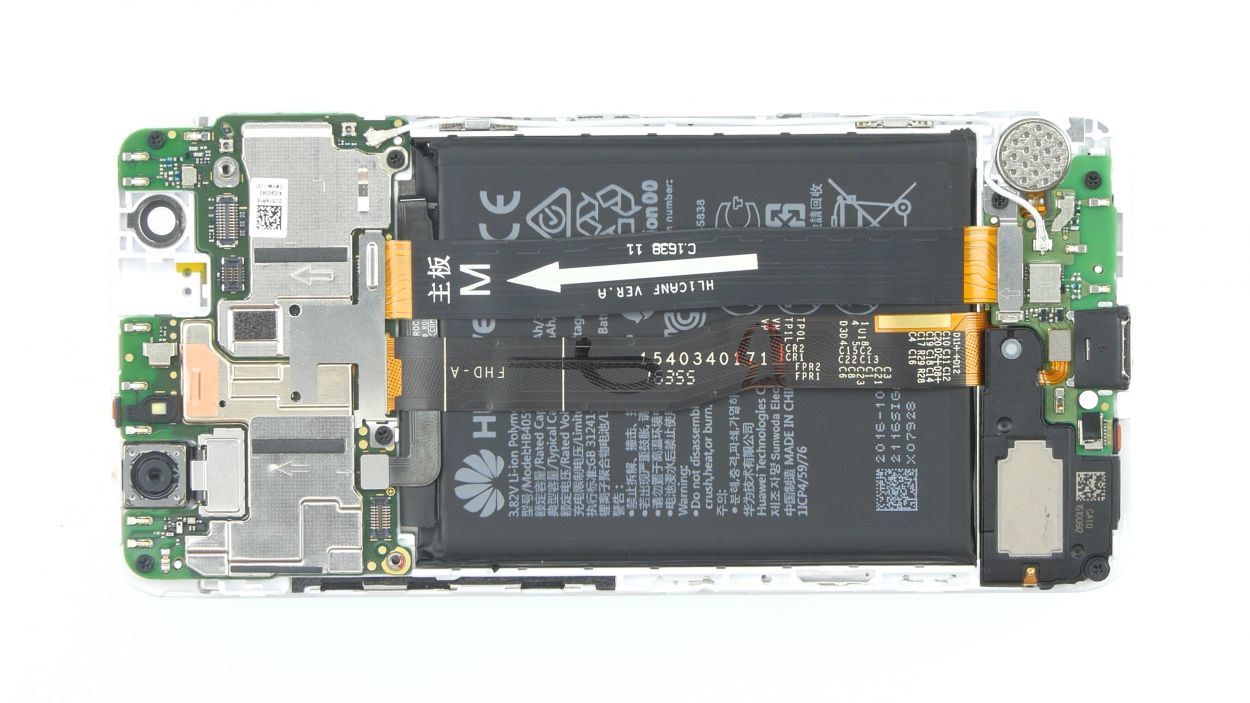
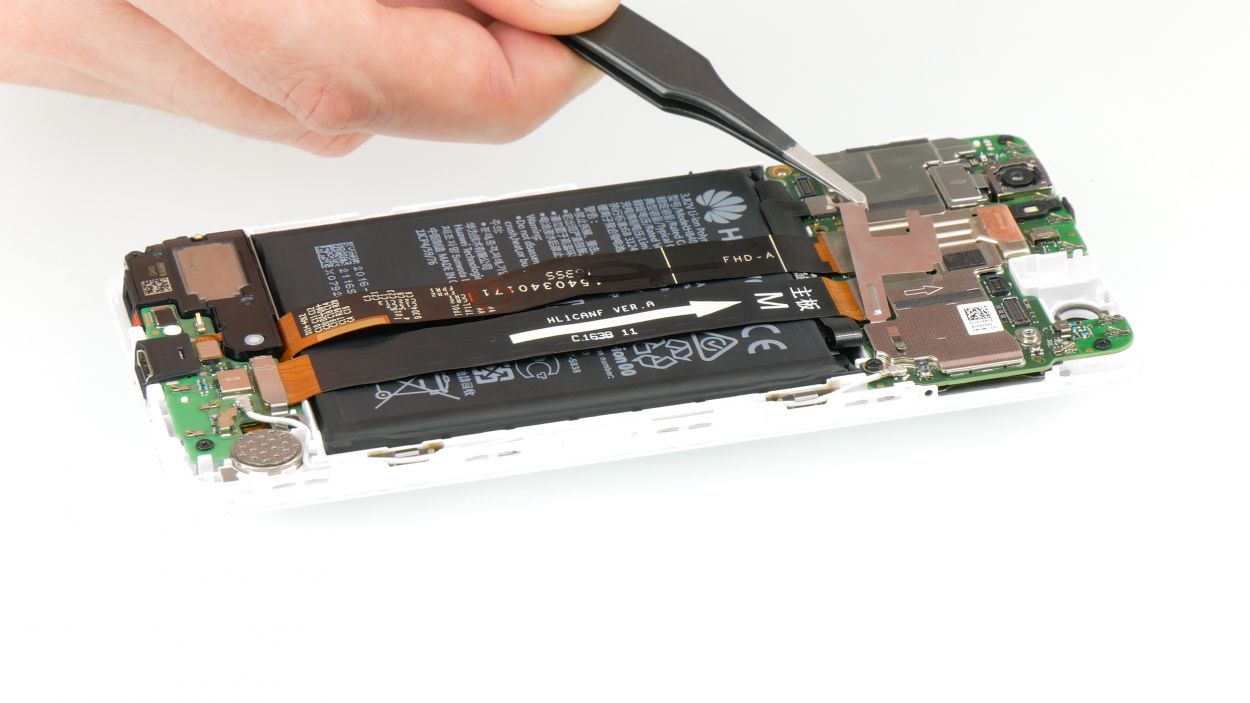
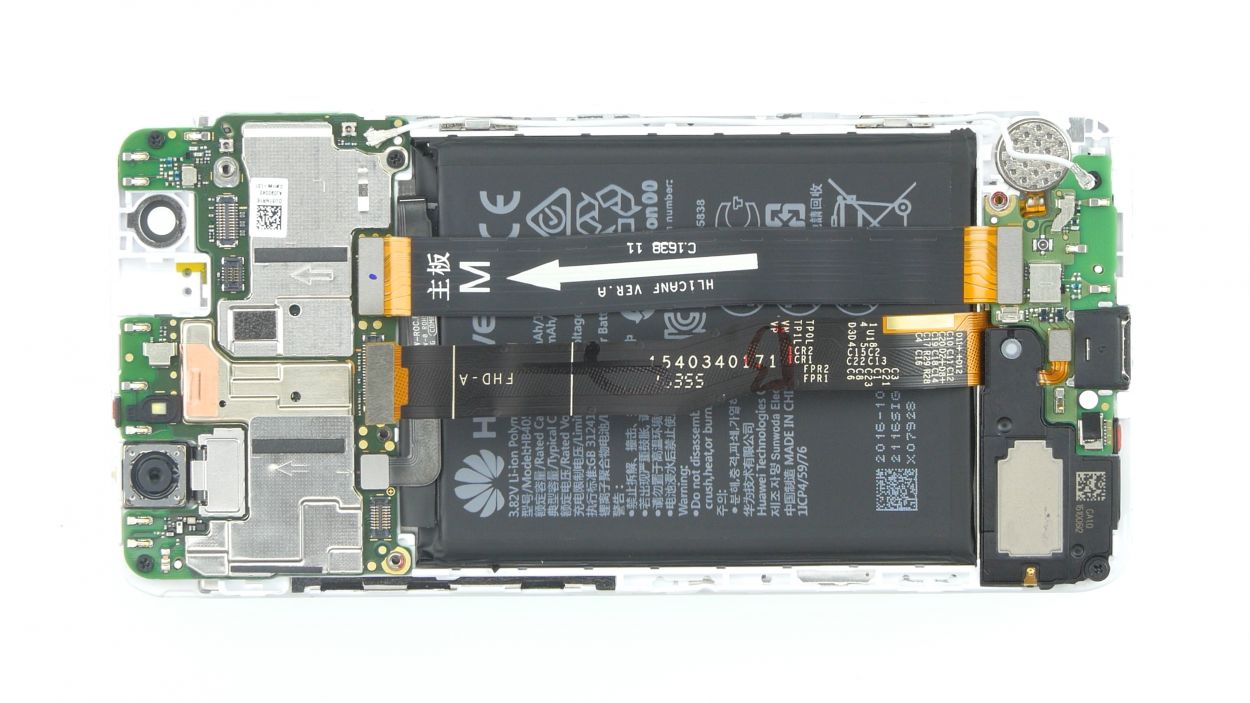
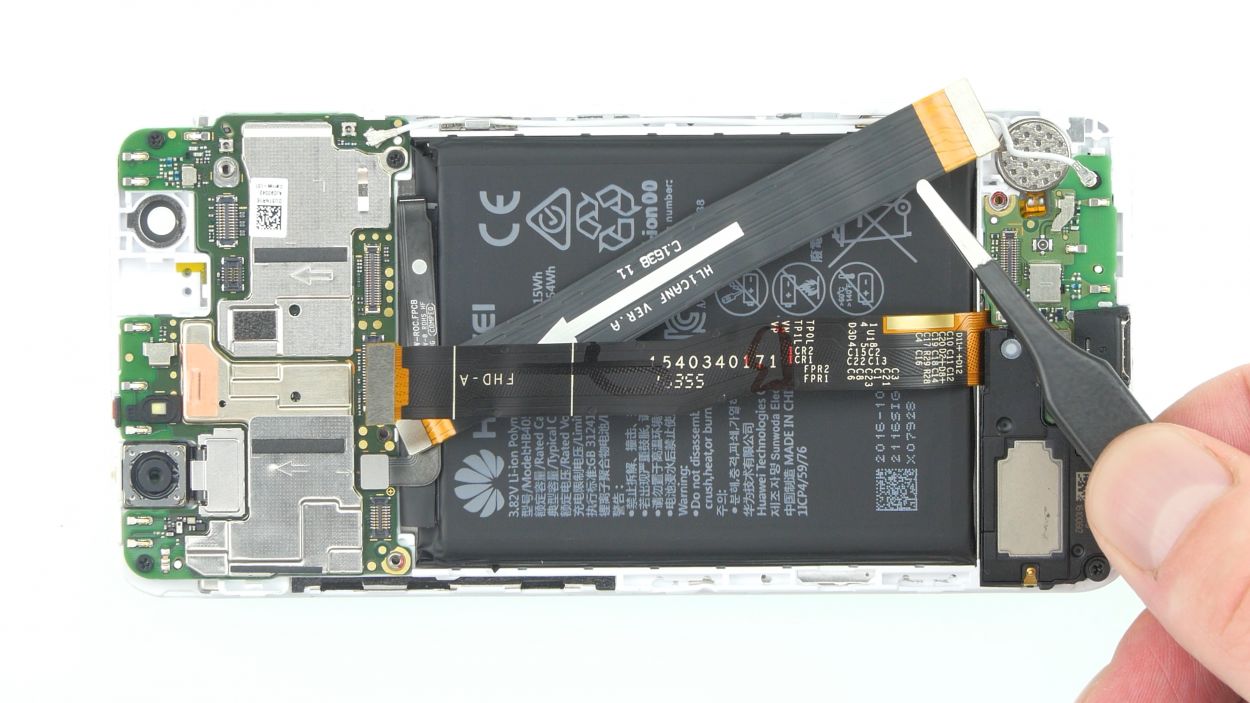
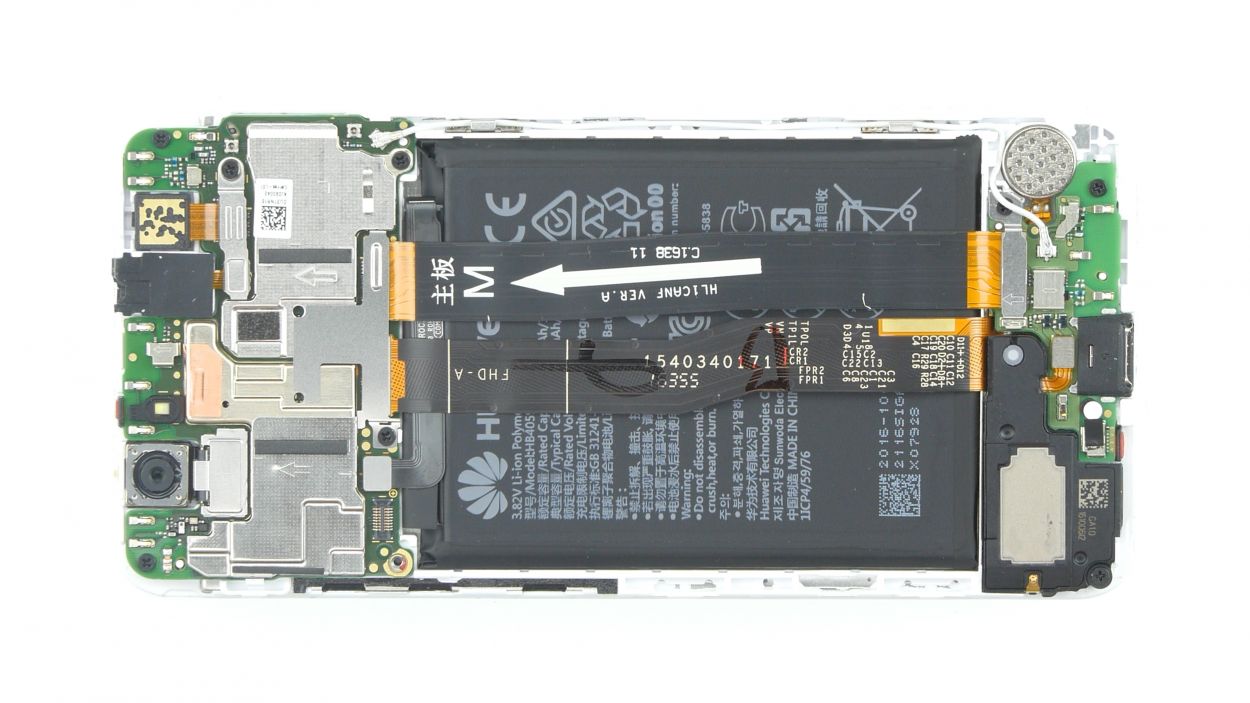
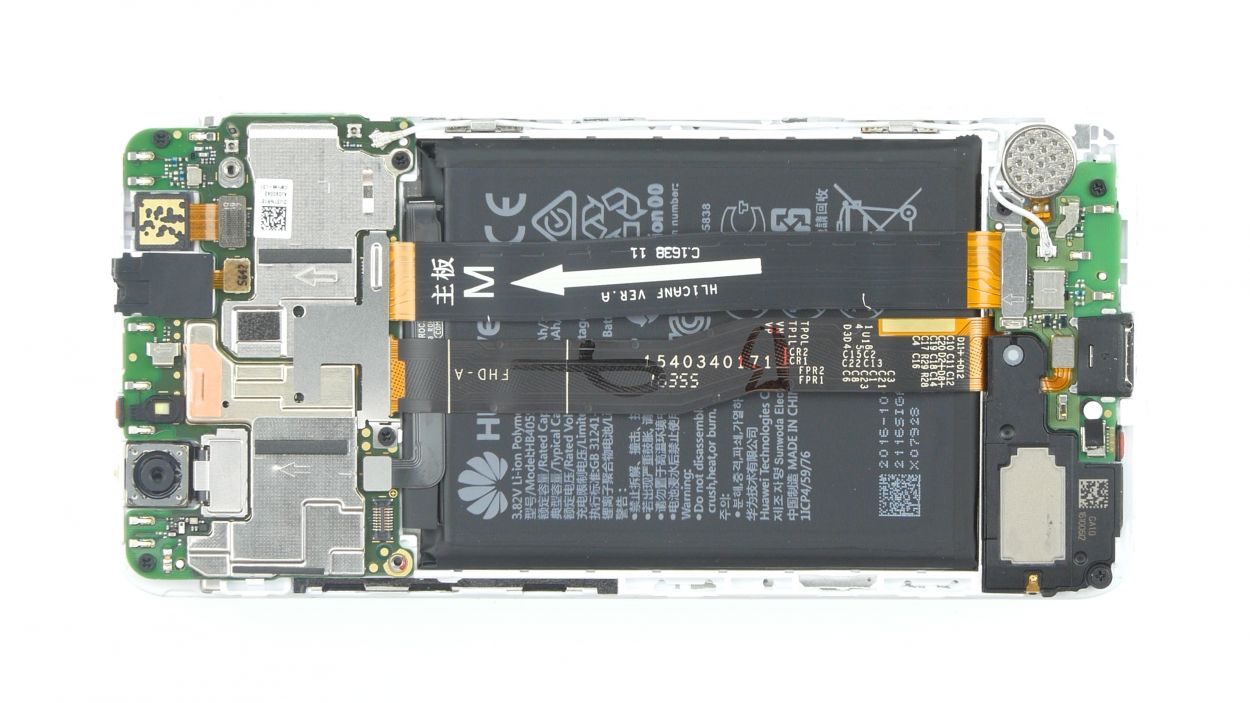
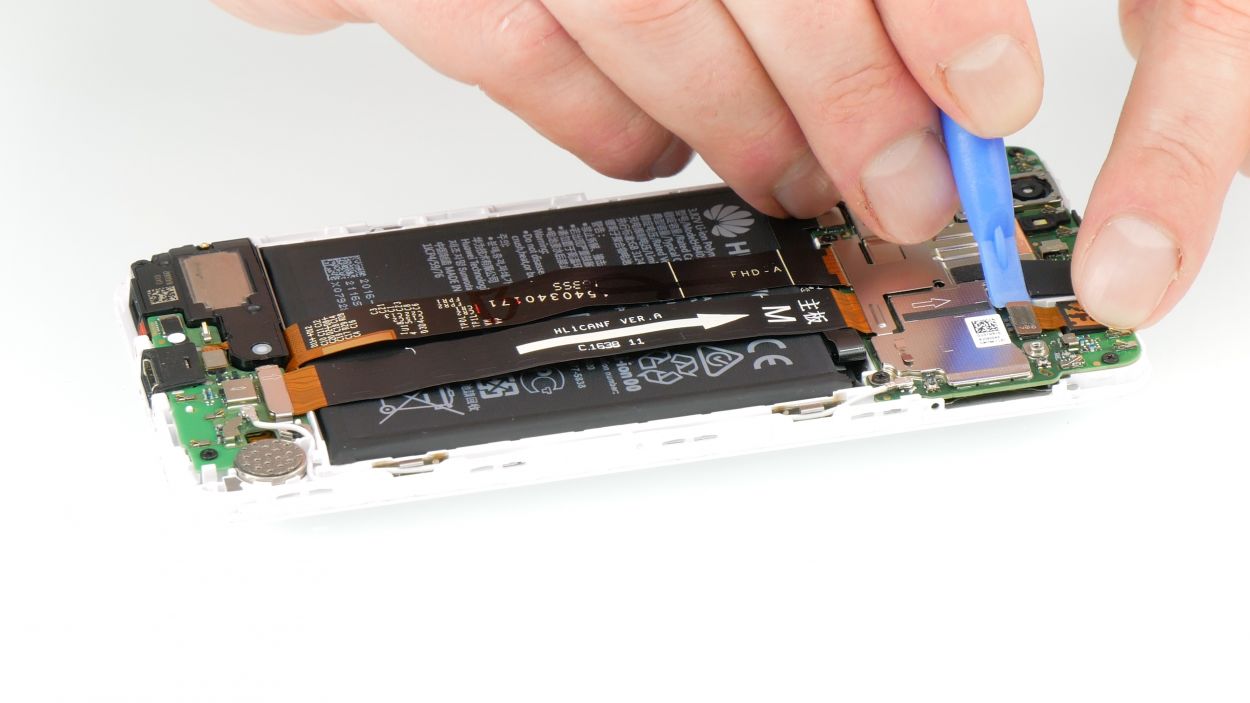
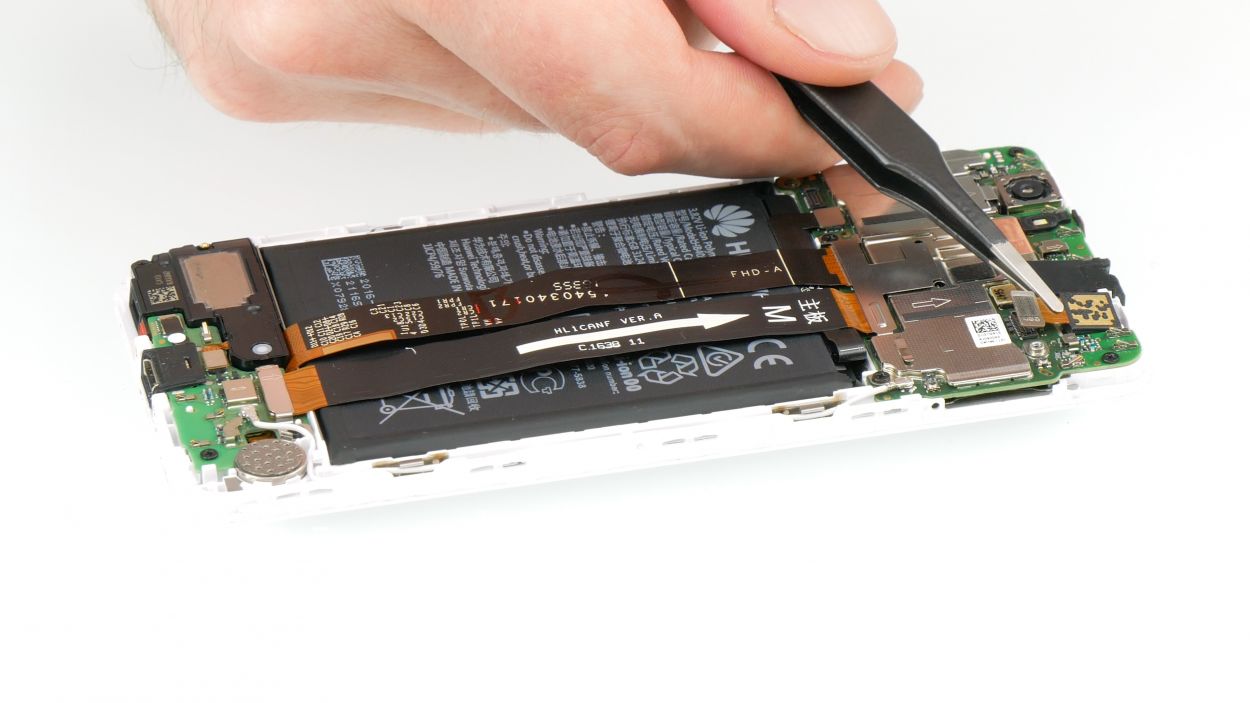
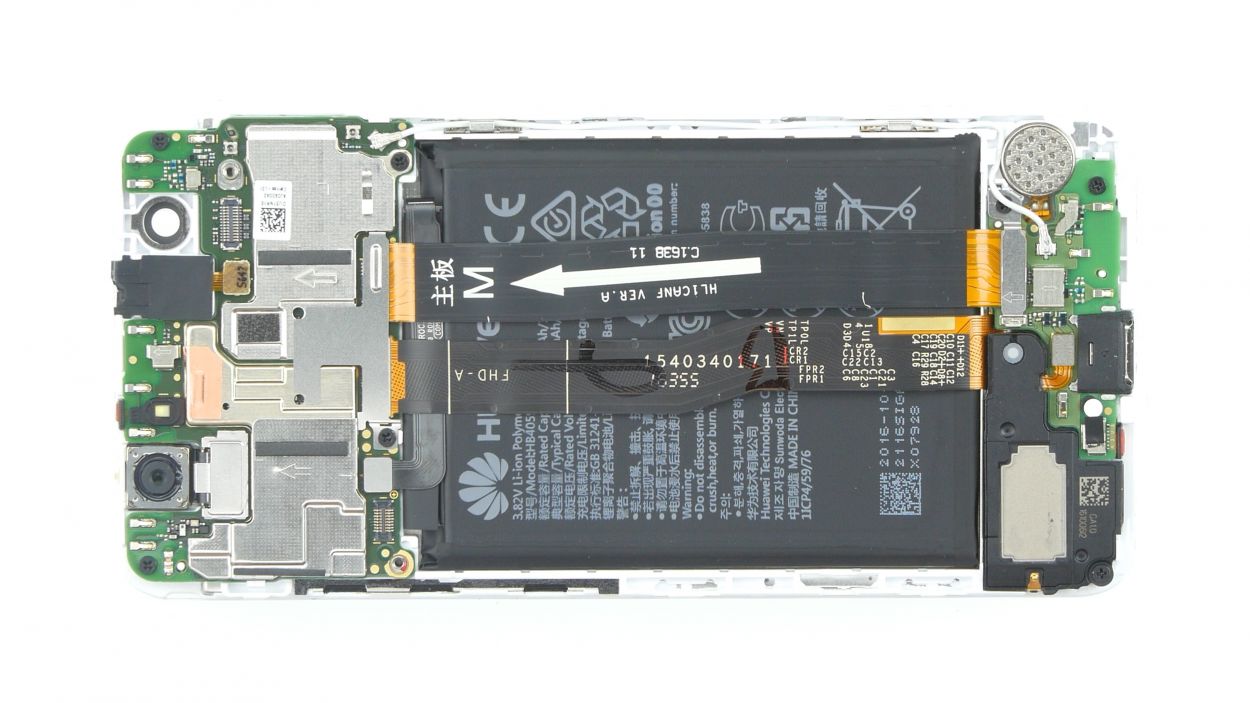
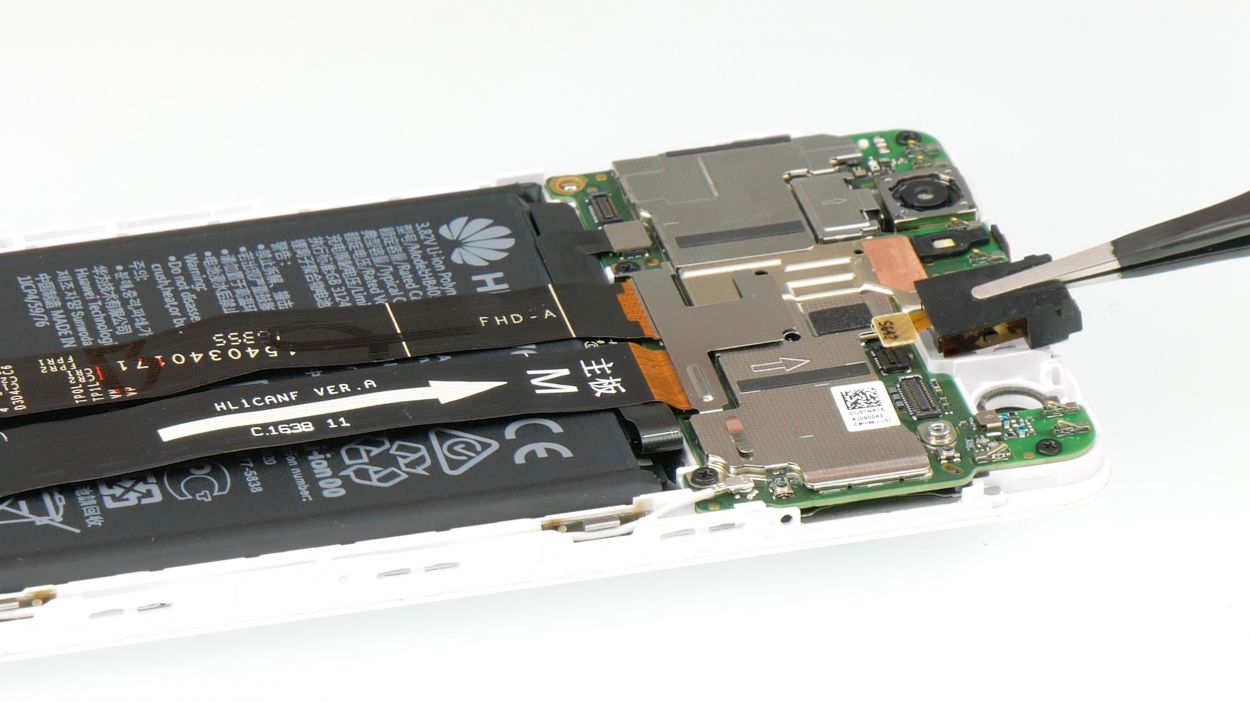
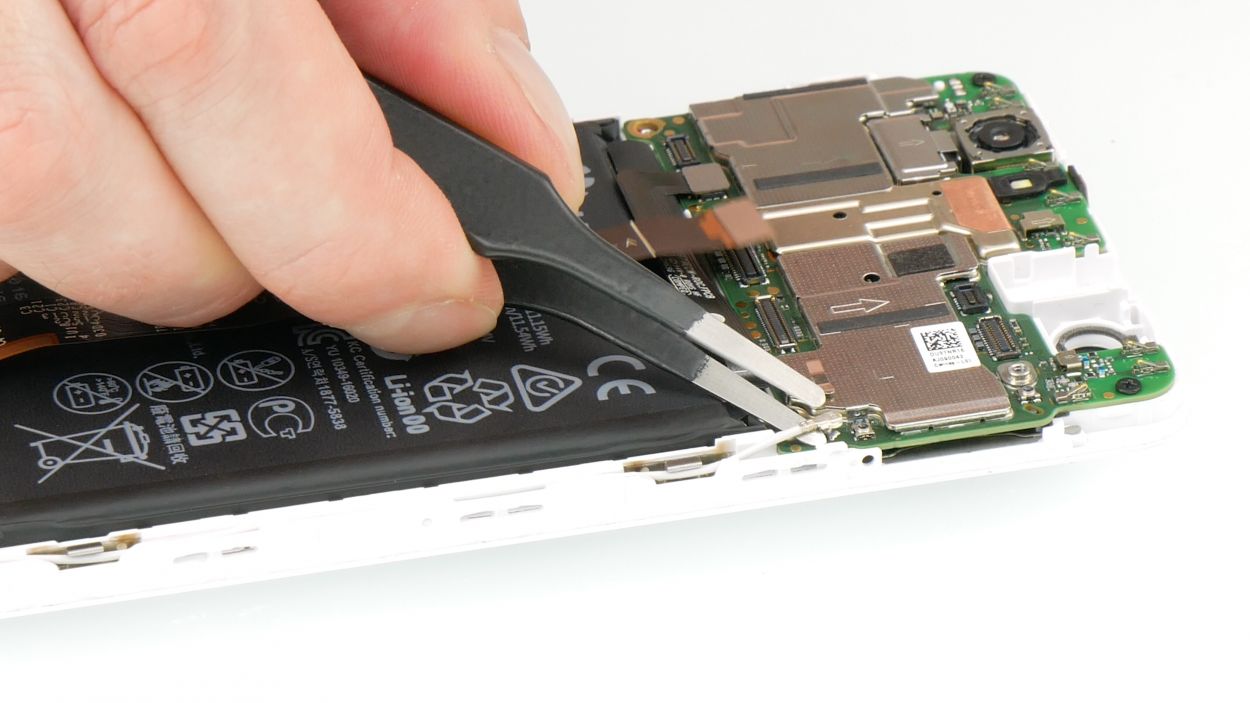
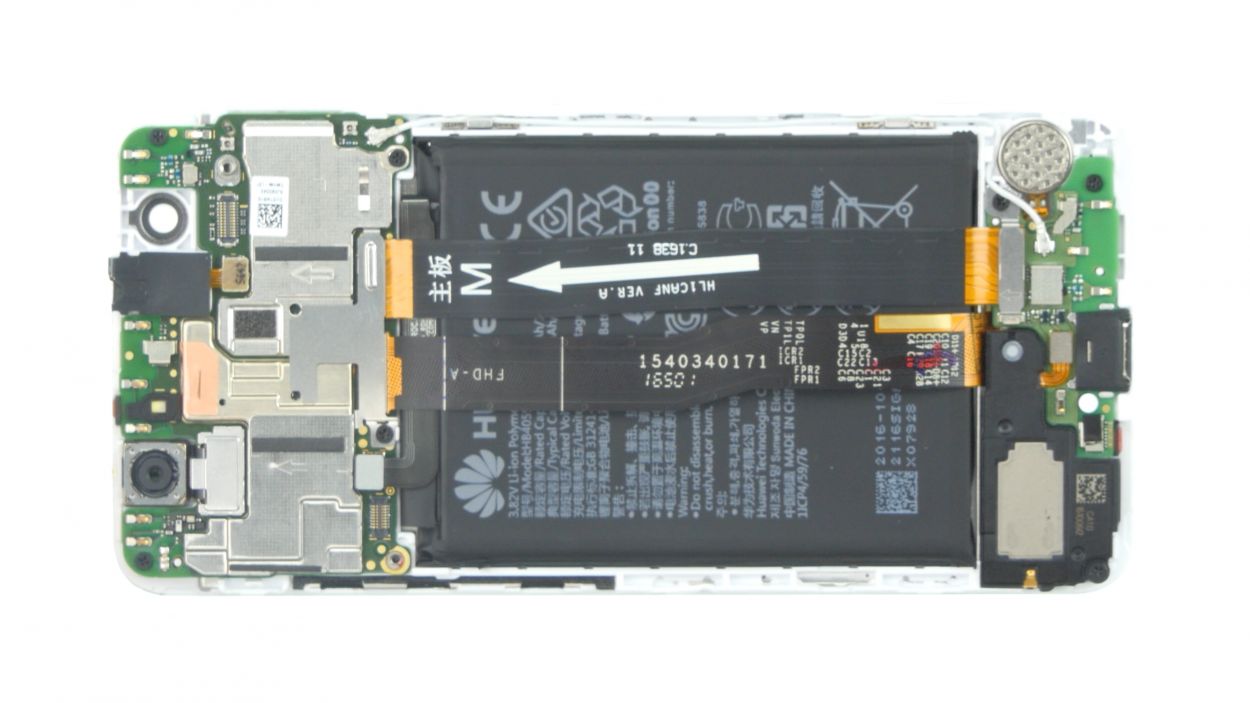
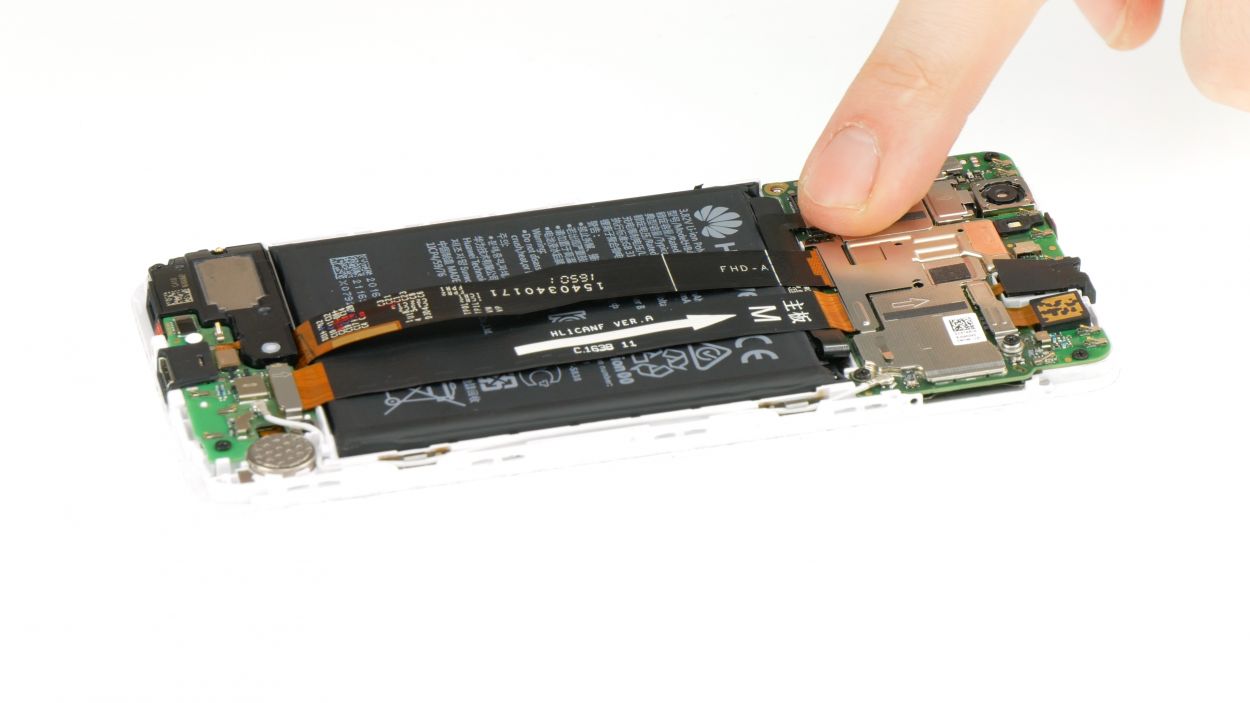
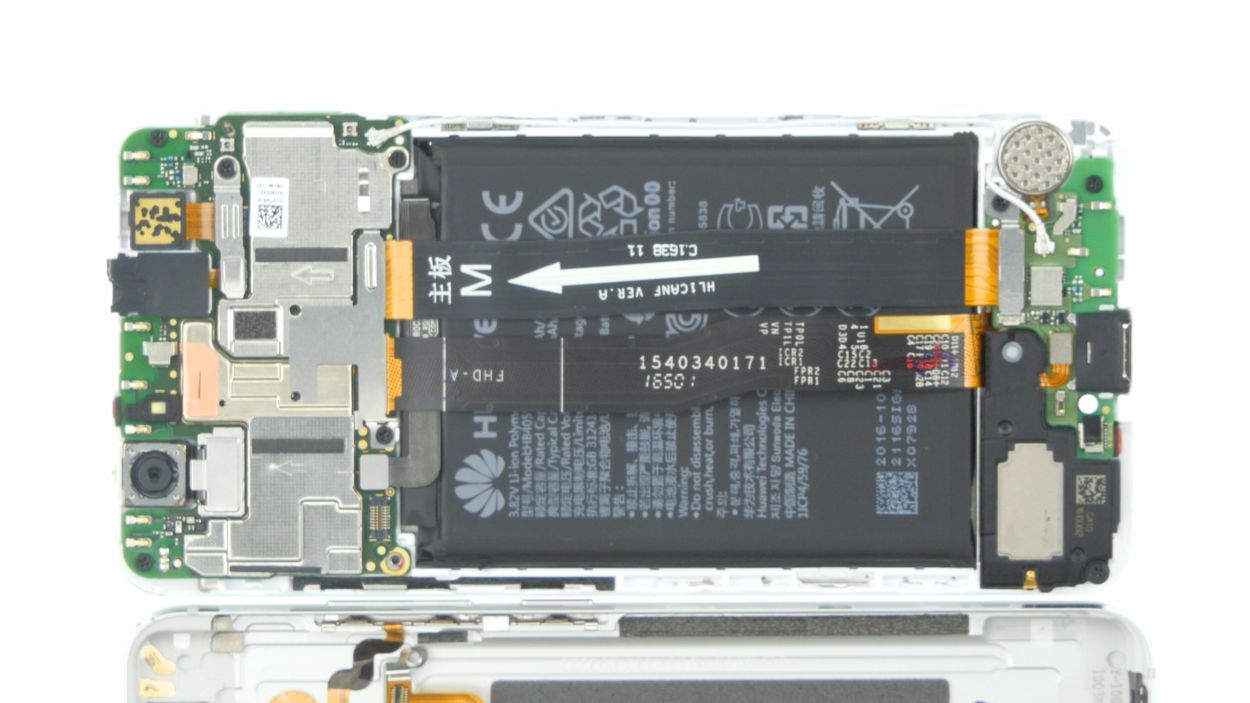
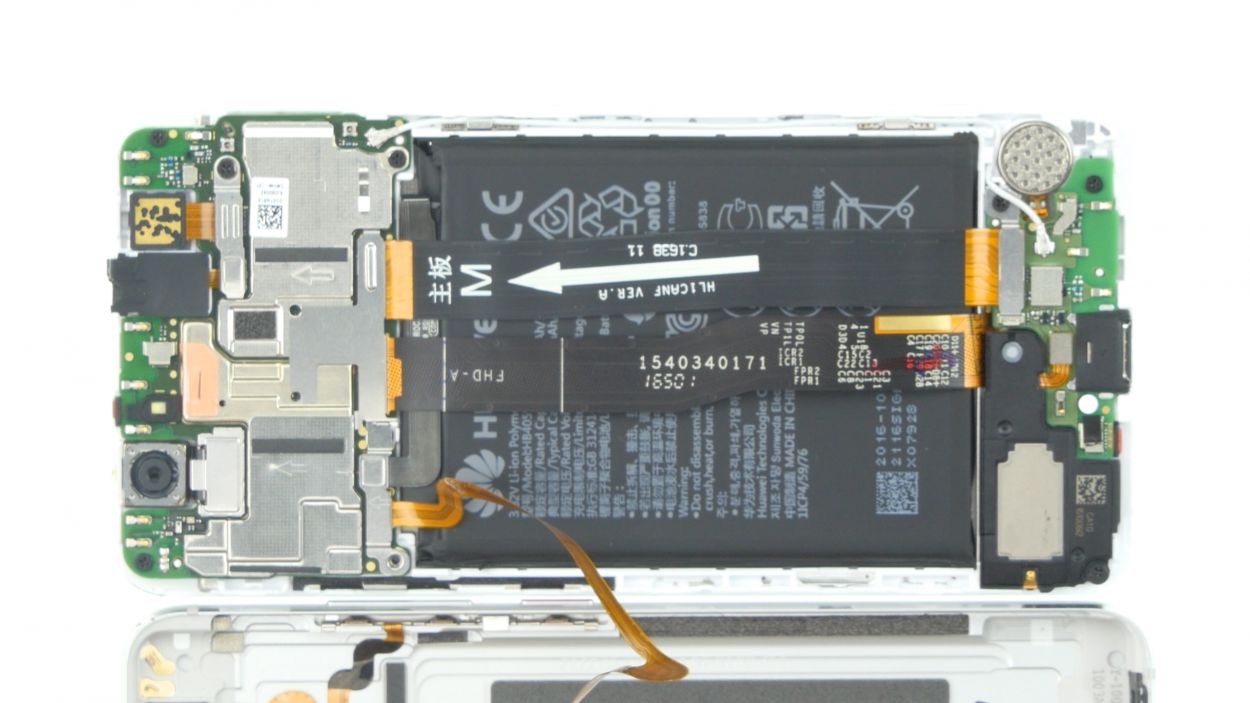
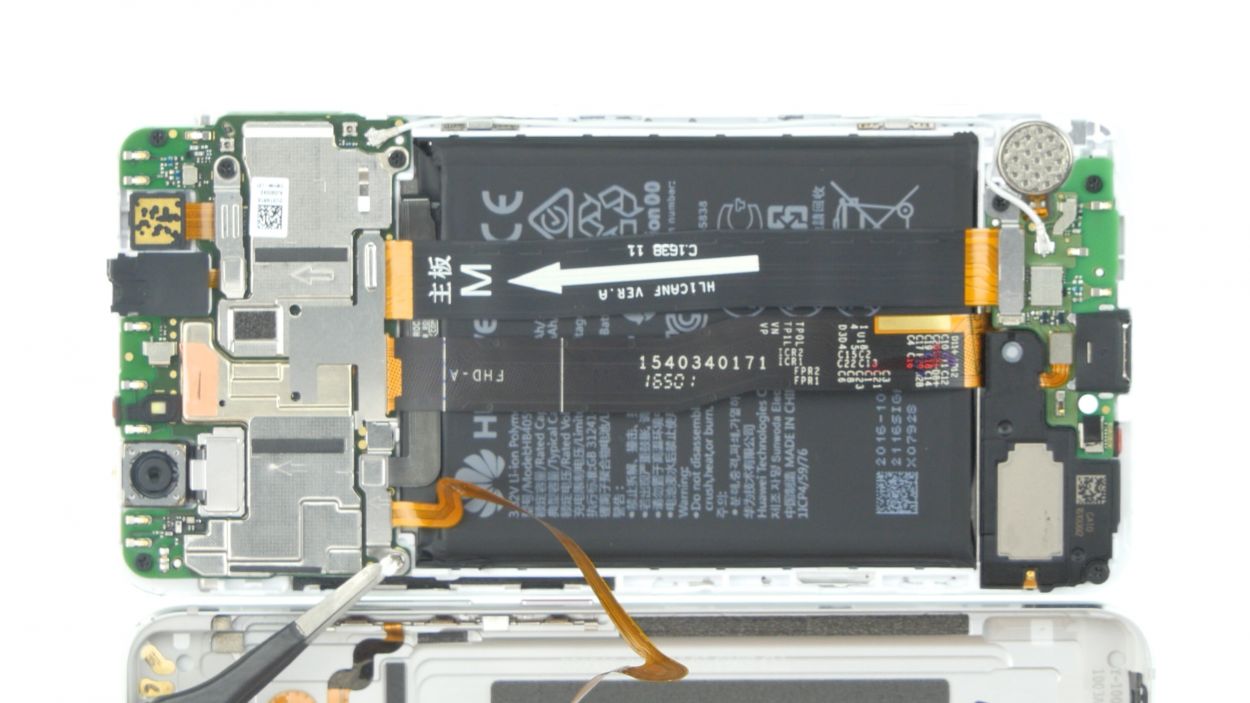
Step 5
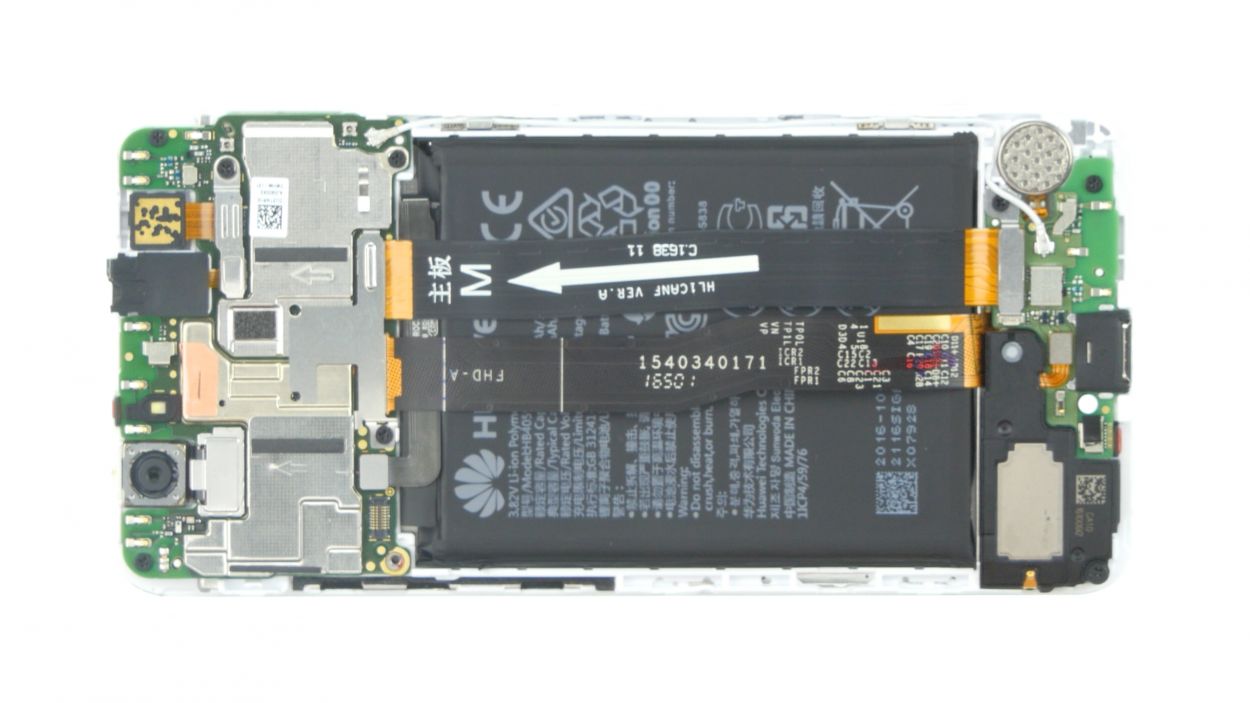

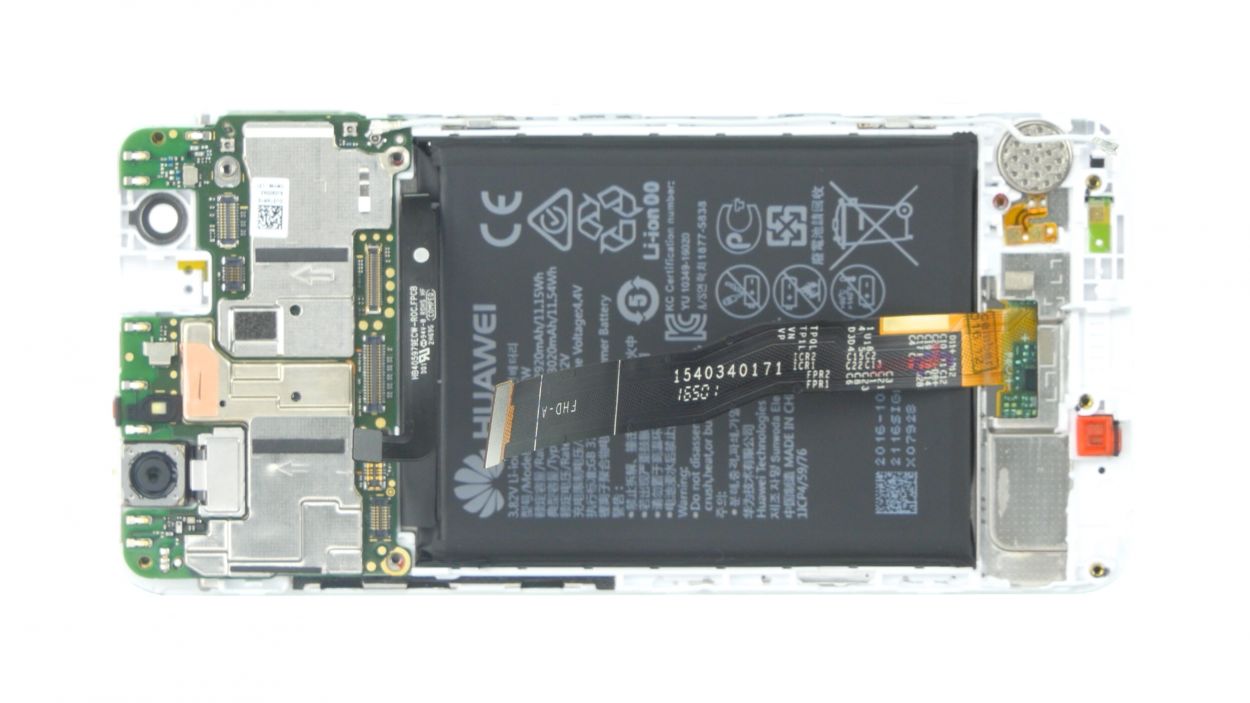
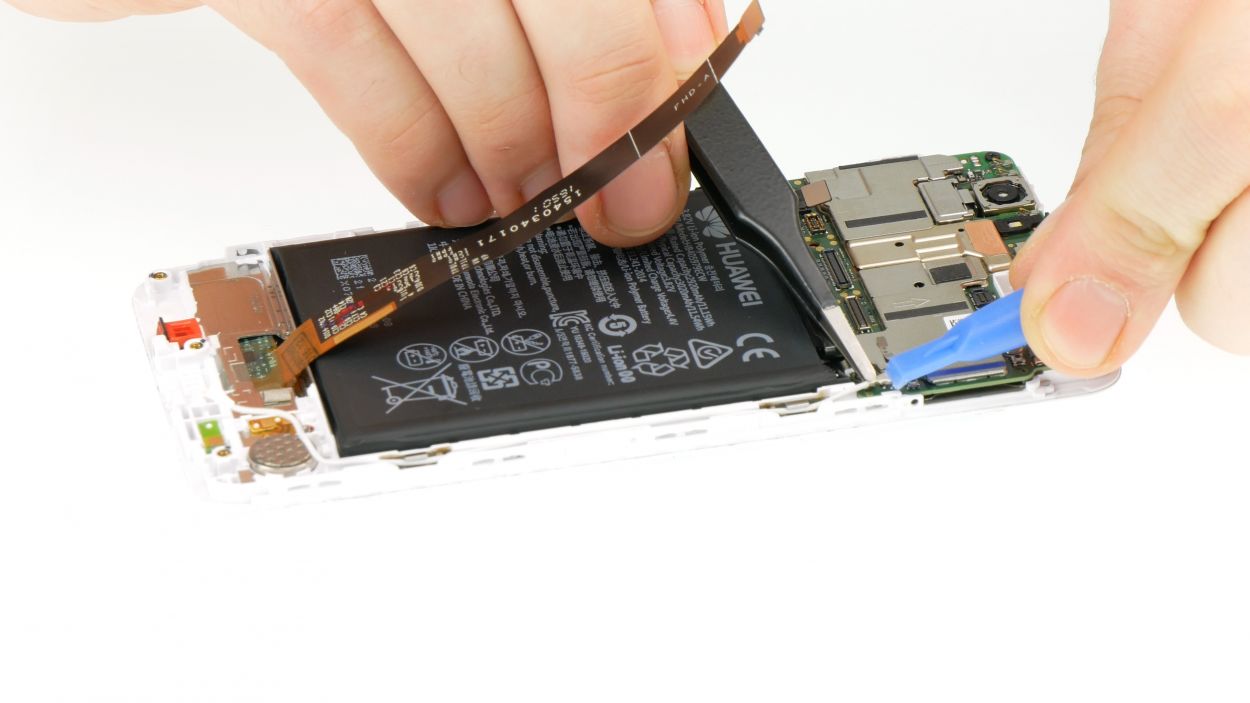
Battery Connector
– Grab a flat tool and gently disconnect the black flex cable that’s connected to the battery. You’ve got this!
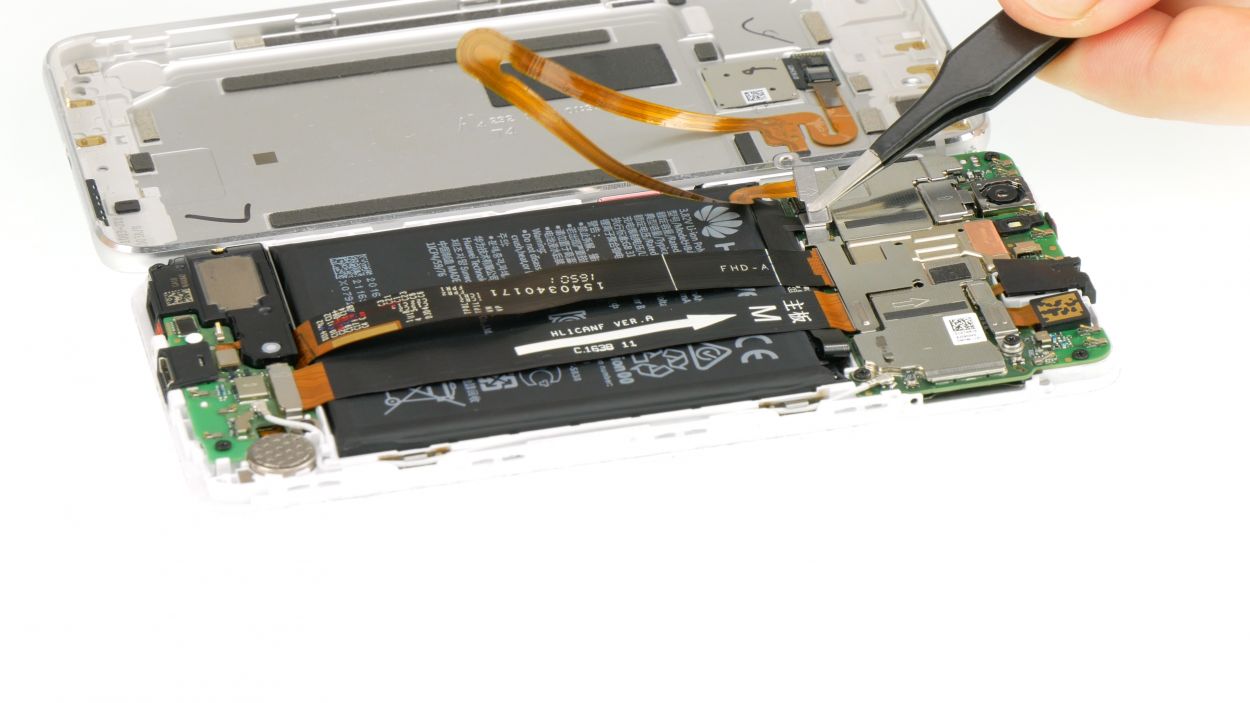
Step 6
1 × Phillips
– First things first, there’s a little round sticker covering the screw that holds the plate over the display connector. Go ahead and peel that sticker off—it’s just a tiny obstacle in your way!
– Now, unscrew that little guy and take off the plate. You’ll see that the connector is attached to the cover, so when you lift it off, the connector will come along for the ride!
Step 7
1 × Phillips
Flex cable 1
Flex cable 2
Antenna cable
1 × Phillips
Flex cable 3
– First things first, grab your trusty screwdriver and unscrew the plate that’s hiding the connectors for those two big flex cables. Once that’s done, gently lift off the plate.
– Next up, take your spudger and carefully disconnect the two flex cable connectors from the motherboard. You’ve got this!
– Now, let’s tackle the antenna cable. Disconnect its connector on the lower circuit board, and voilà! You can now see the screw for the lower plate that covers the connector of the large flex cable marked with an arrow.
– Unscrew that lower plate and set it aside. You’re making great progress!
– Finally, use your spudger to disconnect the connector and remove the flex cable. You’re almost there!
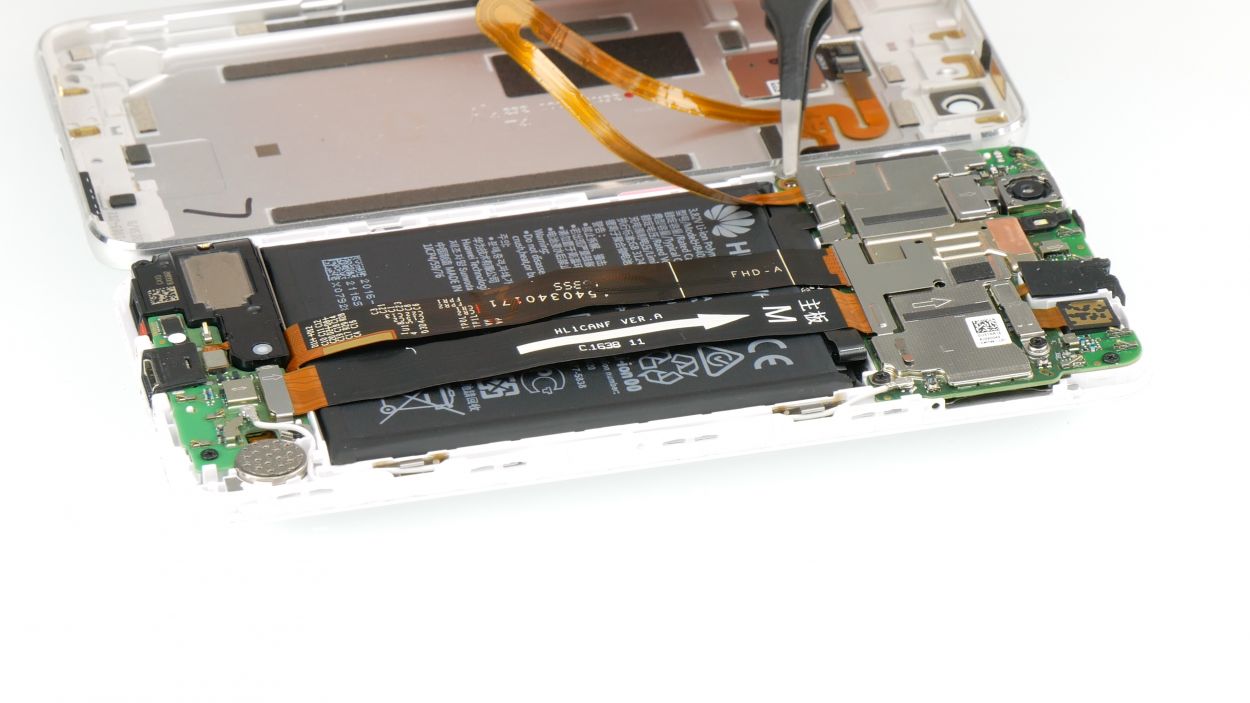
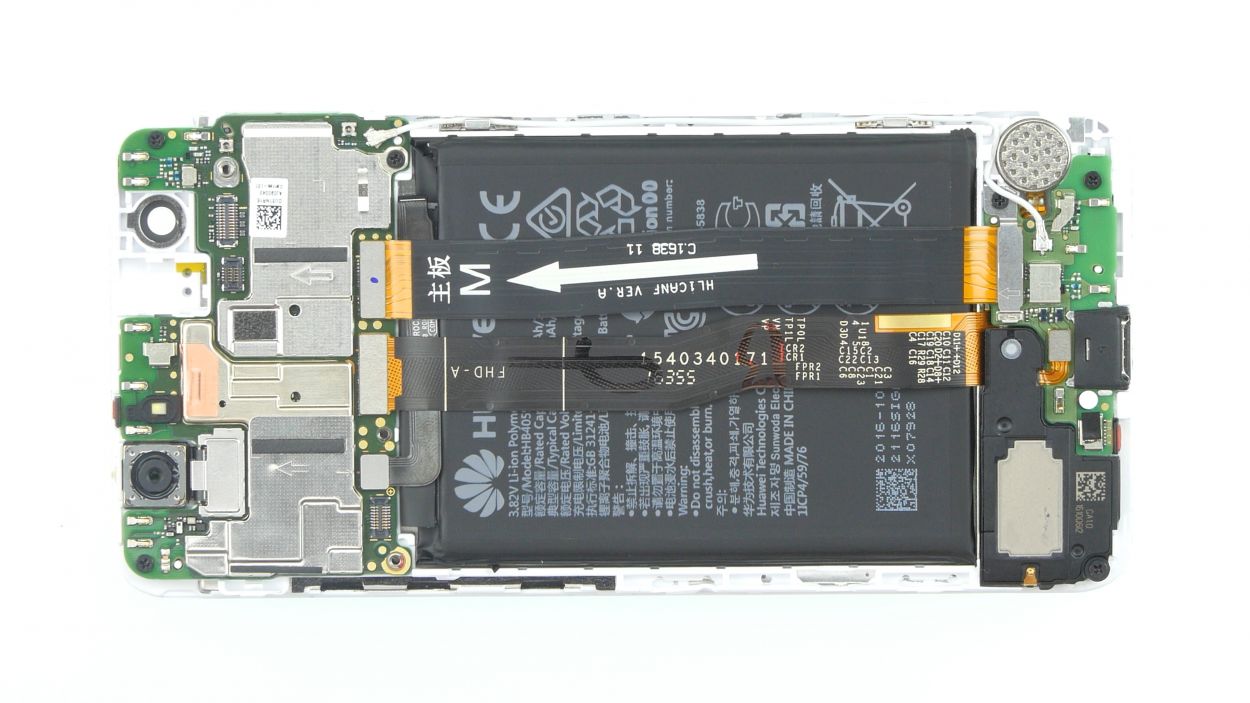
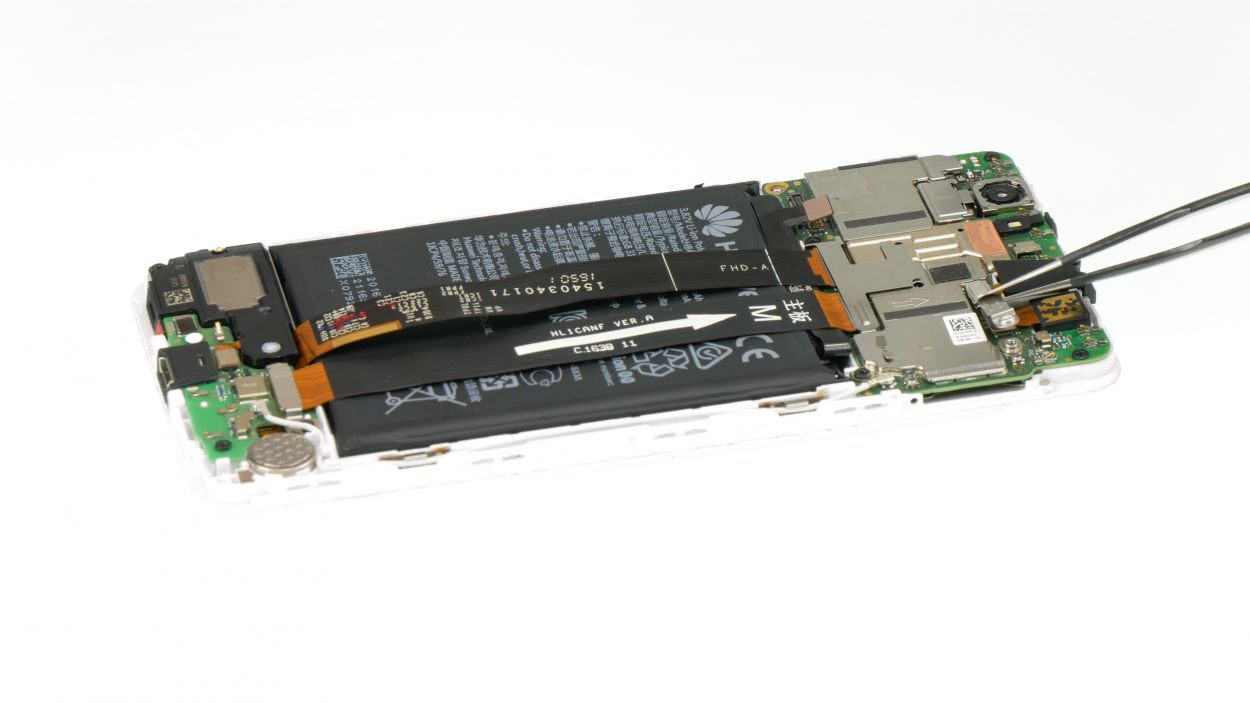
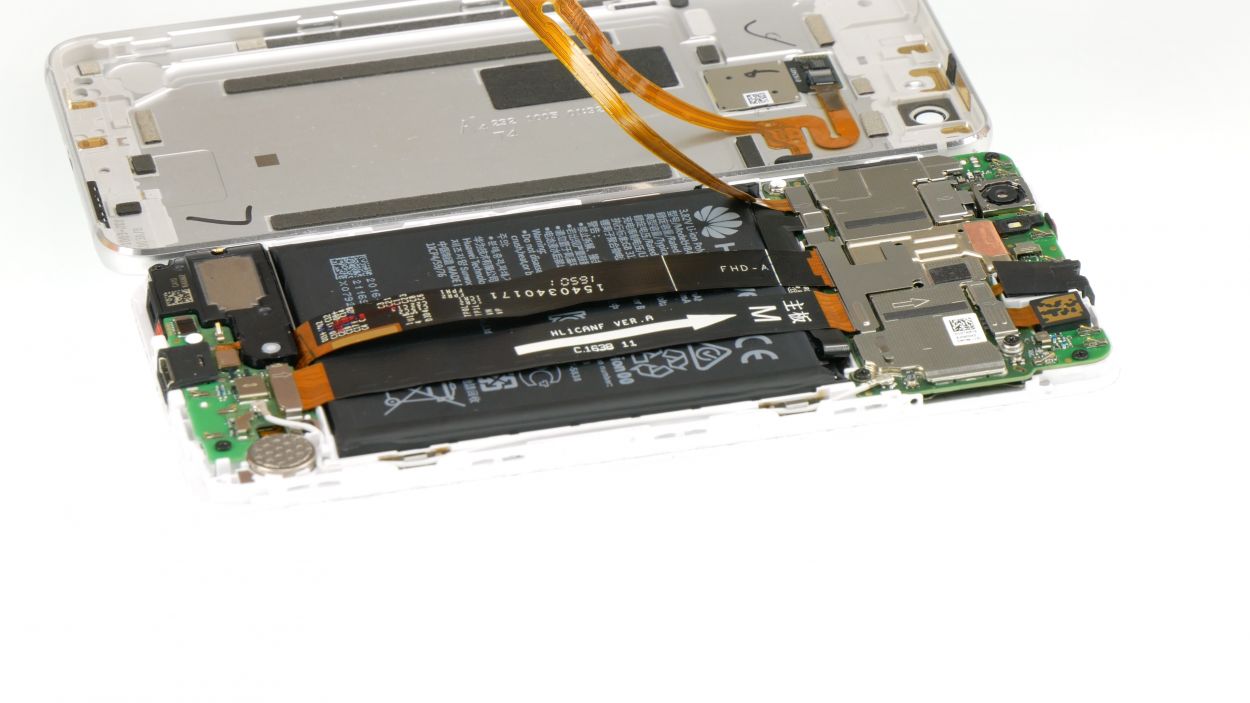
Step 8
1 × Phillips
Front camera connector
– Let’s get started by unscrewing that pesky screw holding down the metal plate over the front camera connector.
– Once that’s done, gently lift off the plate.
– Now, with a spudger in hand, carefully disconnect the connector. You’ve got this!
– Finally, take out the front camera from its cozy little bracket.
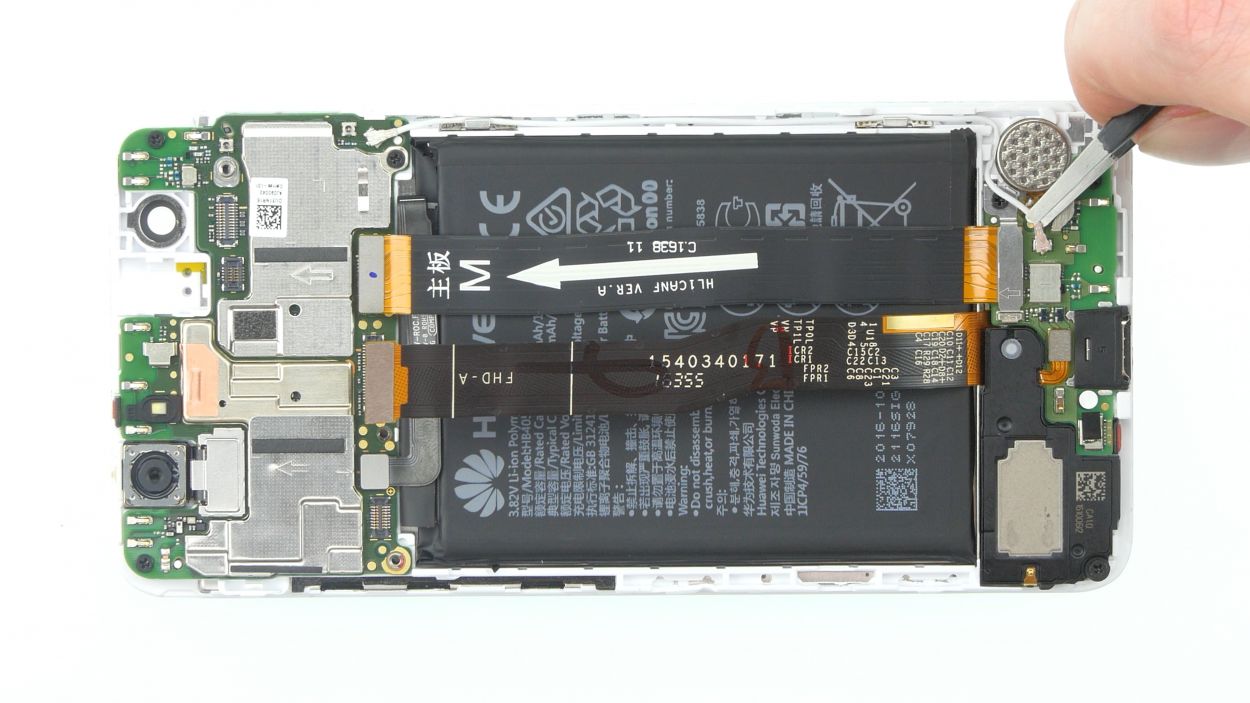
Step 9

Audio port connector
– Using a spudger, gently disconnect the connector and take out the audio port. You’ve got this!
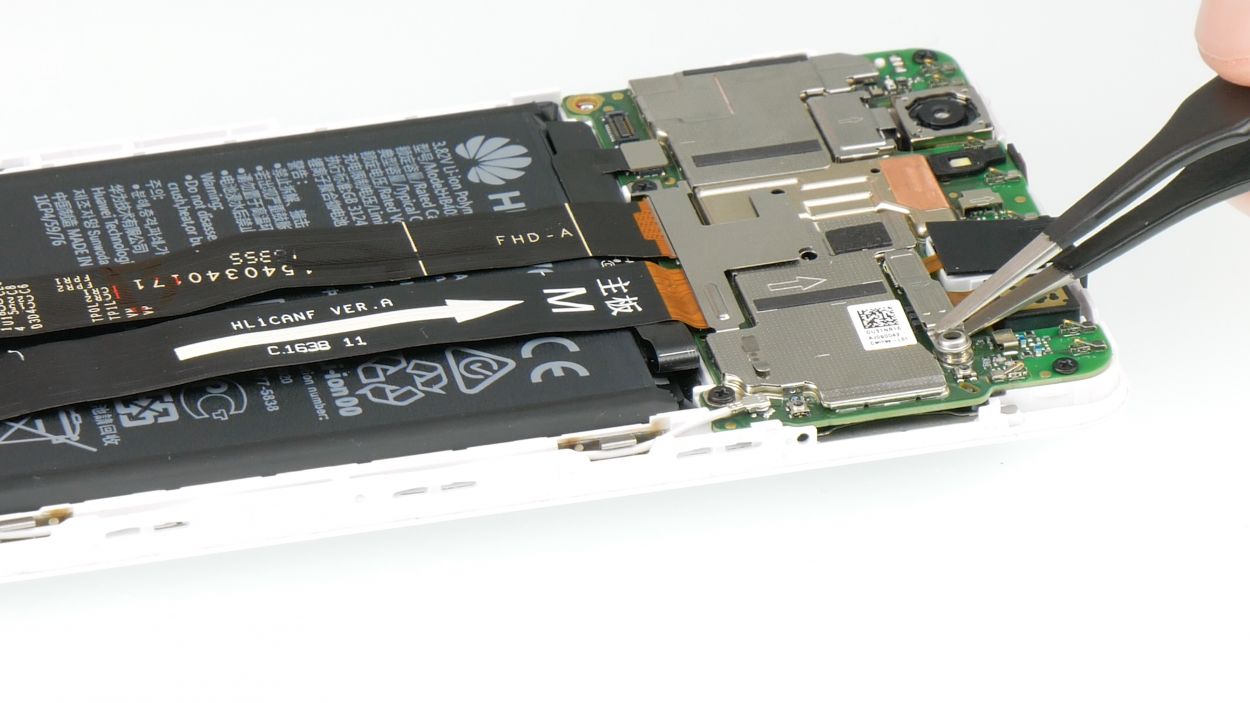
Step 10

3 × Phillips
Antenna cable
– Unplug that antenna cable connector like a pro!
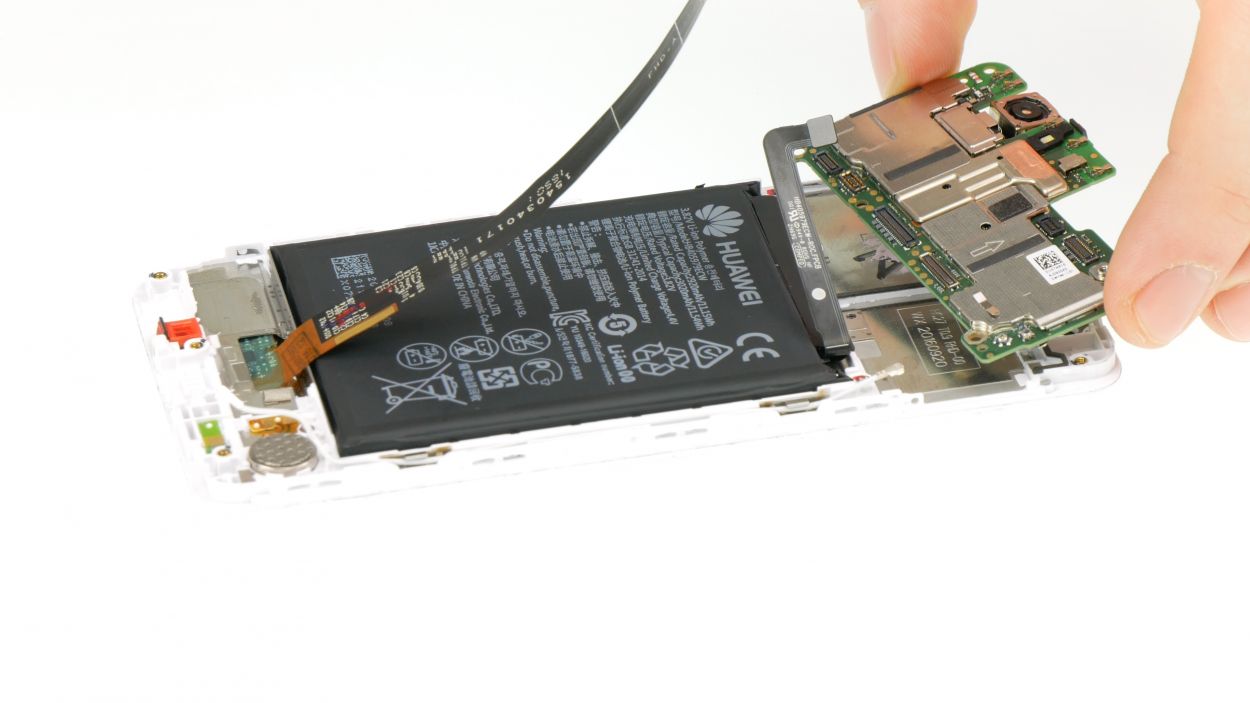
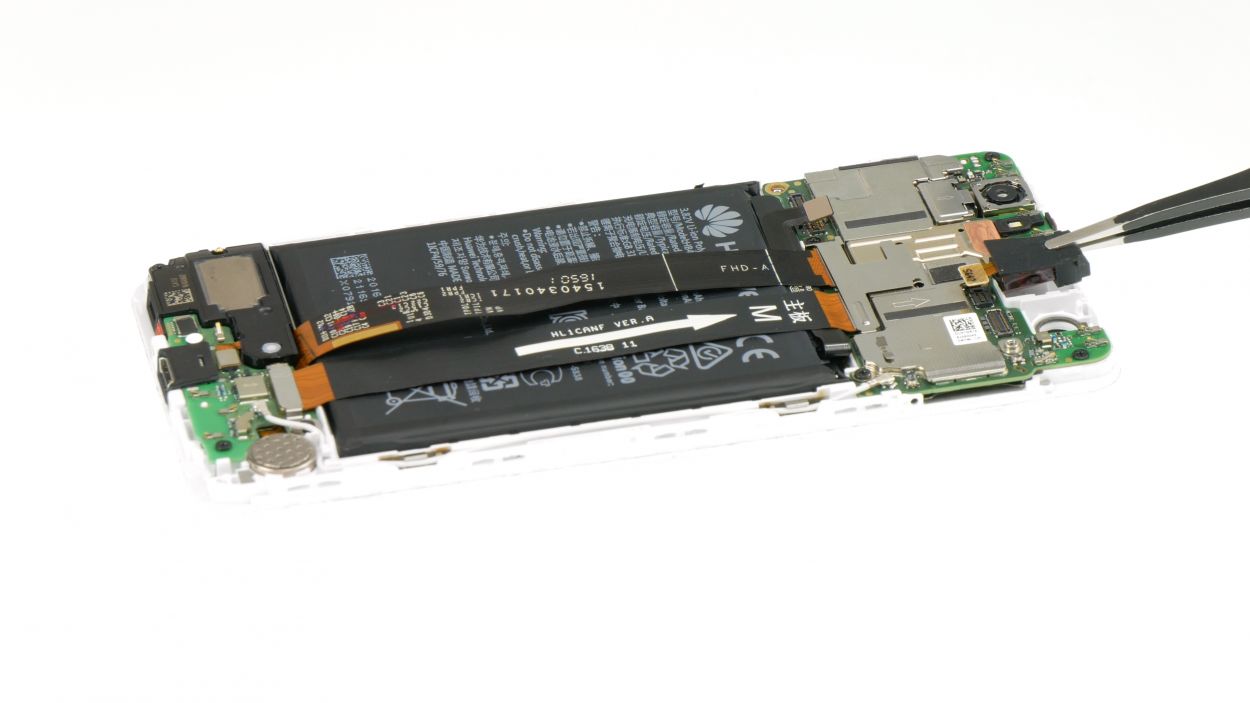
– Time to tackle those last three screws holding the motherboard in place.
– Gently lift that battery flex cable up—you’re doing great!
– Now, let’s remove the whole motherboard, camera included. You’re almost there!
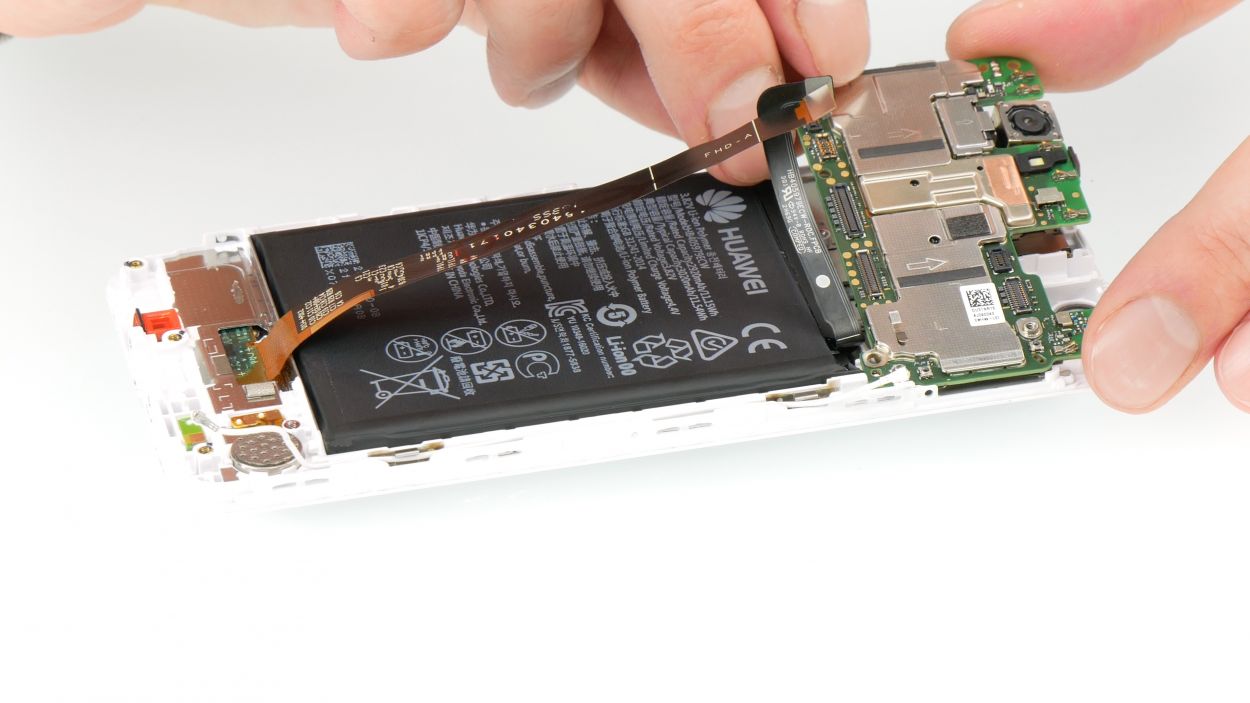
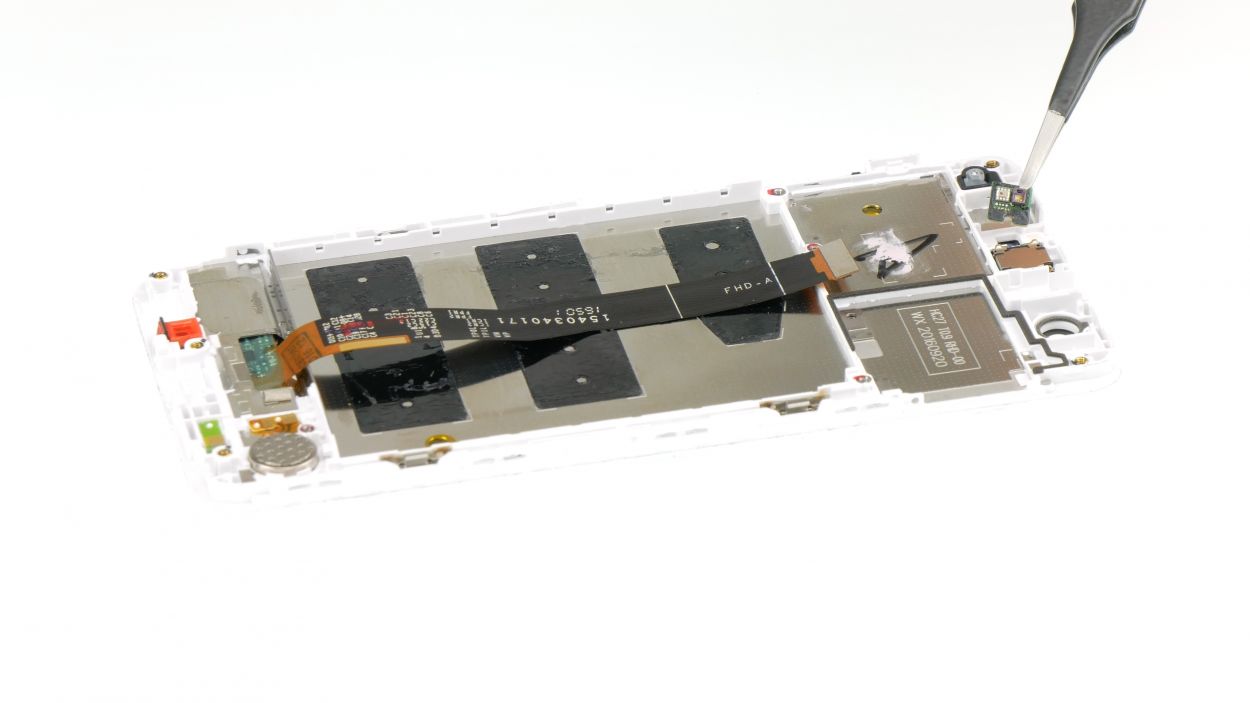
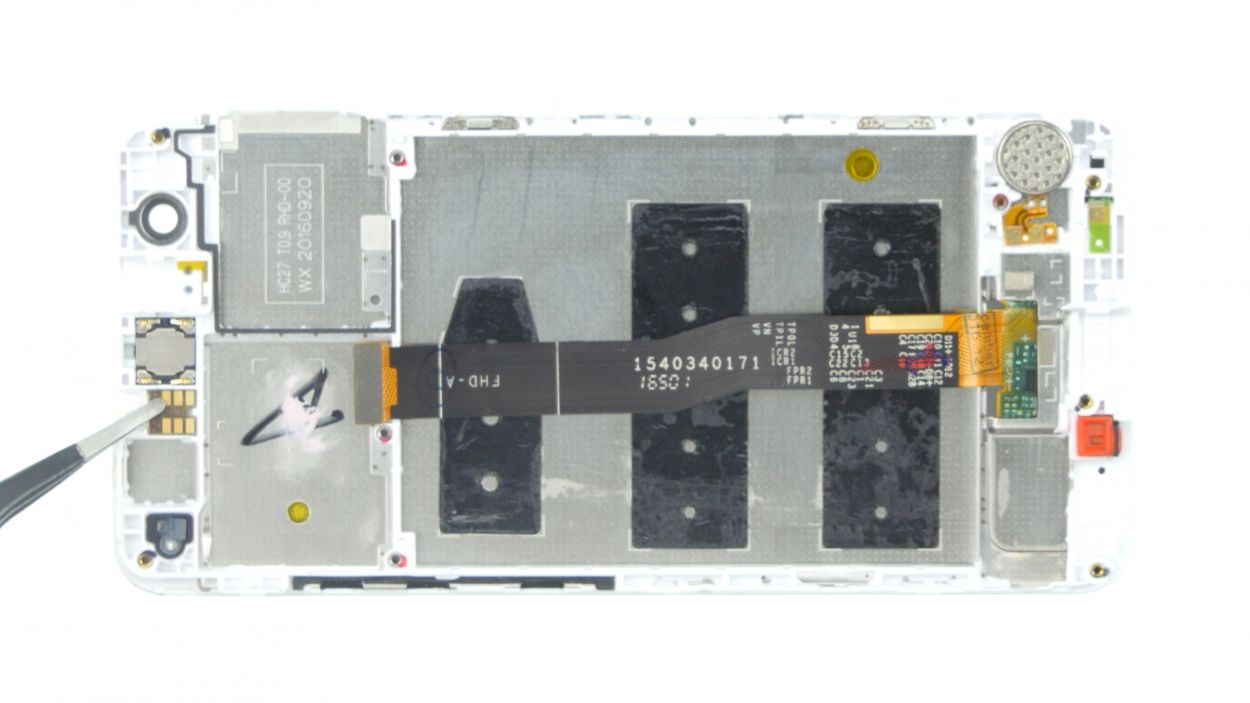
Step 11
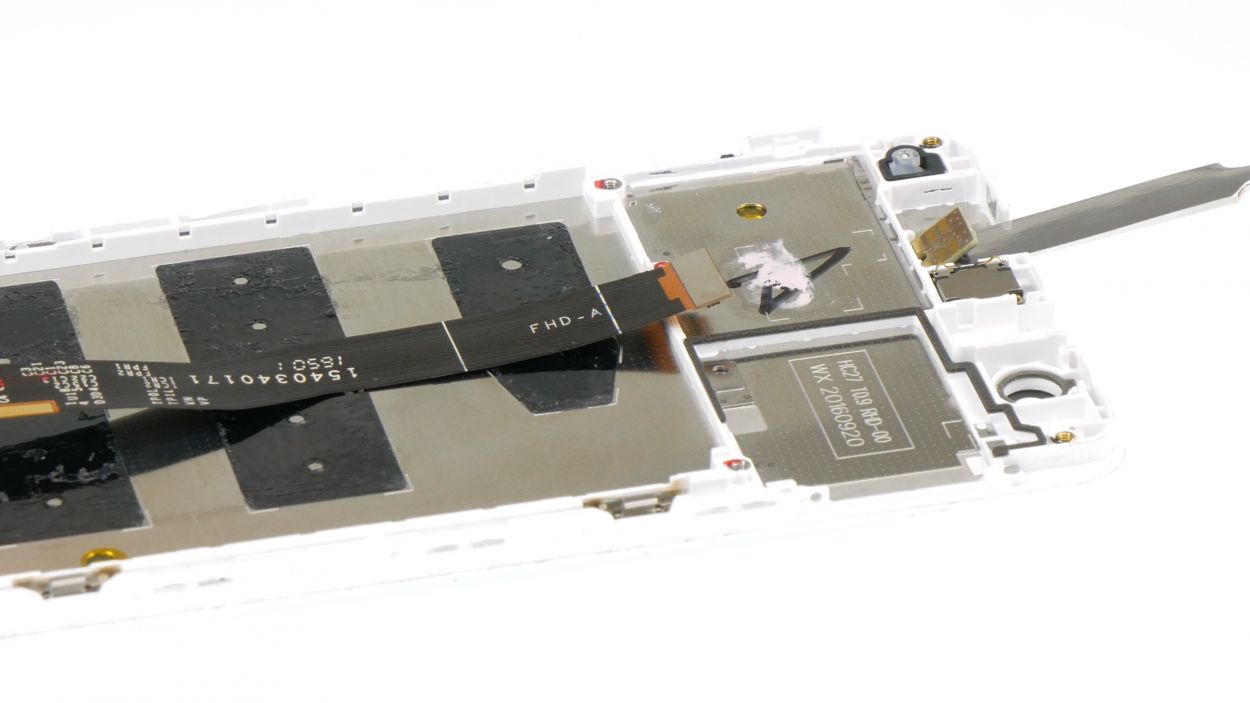
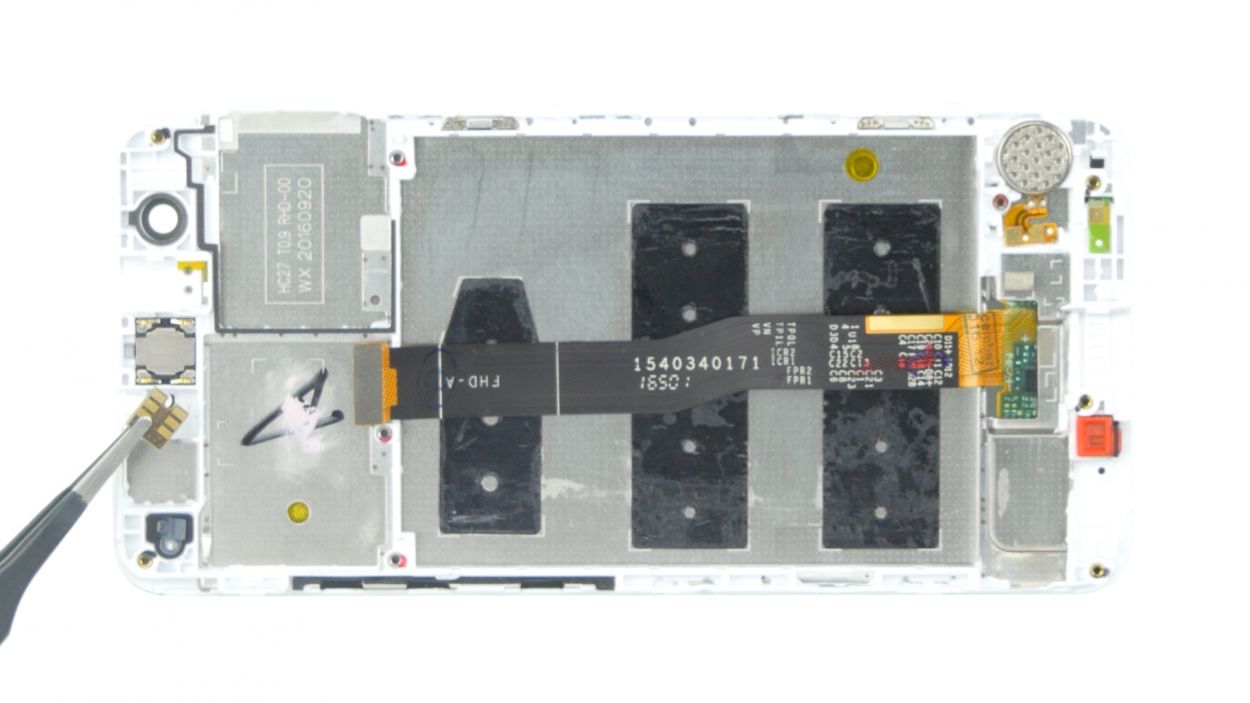
Proximity sensor
– Gently warm up the proximity sensor with a heat gun to loosen that stubborn glue holding it down.
– Carefully pry the proximity sensor loose with a metal spatula and take it out.
Step 13
3 × Phillips
Antenna cable
– Pop that motherboard into the shiny new display! Just make sure the main camera gets cozy in its little bracket.
– Time to secure things! Grab those three Phillips screws and tighten them into their cozy corners on the motherboard. But hold on—leave the lower right hole of the mainboard free for now.
– Let’s get that antenna cable reconnected! First, line up the connector right over its socket. Then, with a gentle press, snap it down into place like a pro.
Step 14
Audio port connector
– Pop that audio port right into the display!
– Give a little love to the connector of the audio port and plug it into the motherboard.
Step 15

Front camera connector
1 × Phillips
– Pop that front camera right into the display like a pro!
– Gently connect the front camera’s little buddy to the motherboard—it’s a match made in tech heaven.
– Now, cover those connectors with the plate, give it a little latch, and secure it with the Phillips screw. You’re almost there!

Step 17
Finger print sensor connector
1 × Phillips
– First up, let’s get that display connector cozy with the metal plate. Just latch it in place and give the connector a gentle press down.
– Now, it’s time to secure the metal plate with a Phillips screw—just one will do the trick!
– If you still have that round moisture indicator hanging around, go ahead and stick it onto the screw for good measure.
Step 18

– First, let’s get that back cover ready! Start by fitting it in at the top edge near the camera, then gently lay it over the display like a cozy blanket.
– Now, give the back cover a little love tap all around to help it snap into place snugly. You’ve got this!
Step 19
2 × Pentalobe
Grab yourself a Pentalobe PL1 screwdriver, the trusty sidekick for iPhones and more! If you need help, you can always schedule a repair.
– Secure the two pentalobe screws at the bottom of your device to keep that cover snug as a bug!
Step 20
– Pop the SIM tray and any cards back into your device, making sure everything fits snugly and is in the right spot. You’ve got this!