DIY Guide to Replace RAM in Apple Powerbook 5300cs Step-by-Step Tutorial
Duration: 45 minutes
Steps: 6 Steps
Alright, let’s roll up those sleeves and dive into this repair adventure! Whether you’re dealing with a phone, laptop, or tablet, you’ve got this. We’ll guide you through each step with a friendly nudge, so don’t worry if you’re not a pro just yet. If you find yourself in a pickle, remember, you can always schedule a repair. Let’s get started and tackle this together!
Step 1

– The battery compartment can be found on the front-right side of your laptop. It’s waiting for you to give it a little attention!

Step 3

– Alright, let’s get this laptop flipped over and ready for action! With the battery out of the way, grab your trusty Torx #9 screwdriver and go ahead and unscrew those three .84 in. screws that are just waiting to be freed. You’ve got this!
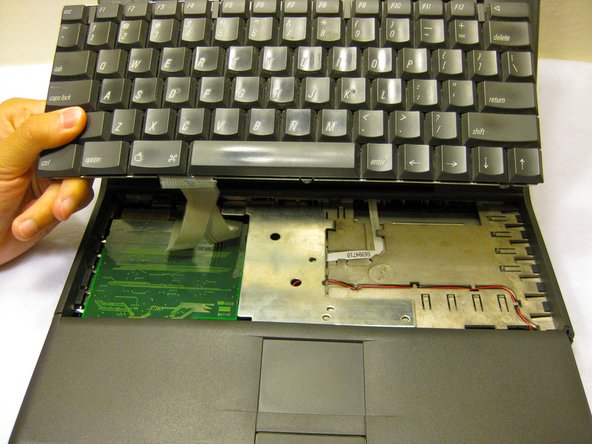


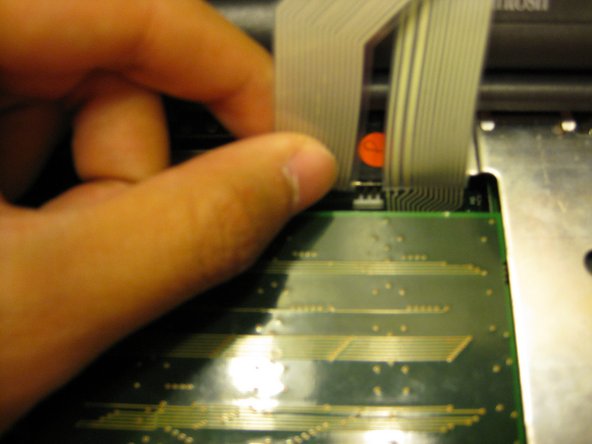
Step 6
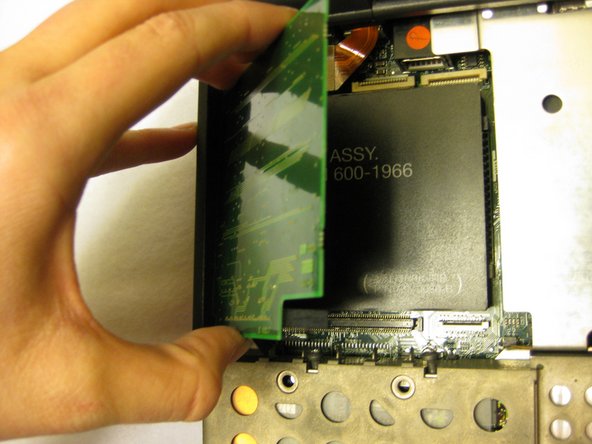

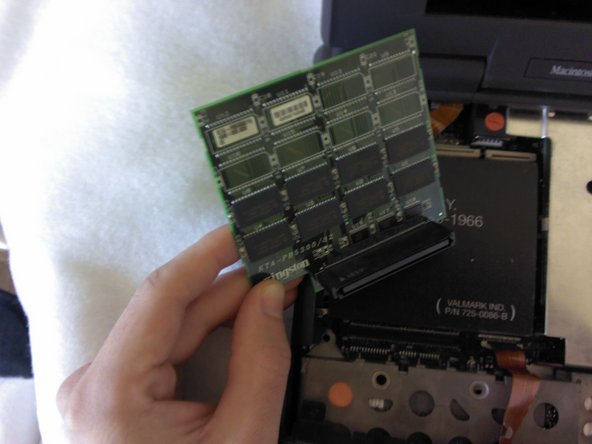
– Gently remove the RAM board tucked away beneath the keyboard. Just pop it out from its connection with care. If it’s time for an upgrade or a swap, go ahead and reinstall or replace it as needed. You’re doing great!