DIY Guide to Replace Rear Camera on Honor P9 Lite Android
Duration: 15 min.
Steps: 5 Steps
Ready to tackle that pesky main camera issue on your P9 Lite? In this guide, we’ll walk you through the steps to swap out that faulty rear camera yourself! If your photos are coming out blurry, the aperture is stuck, or the camera just won’t cooperate, you’re in the right place. Let’s get your device back to snapping those perfect shots. And remember, if you need help, you can always schedule a repair!
Step 1
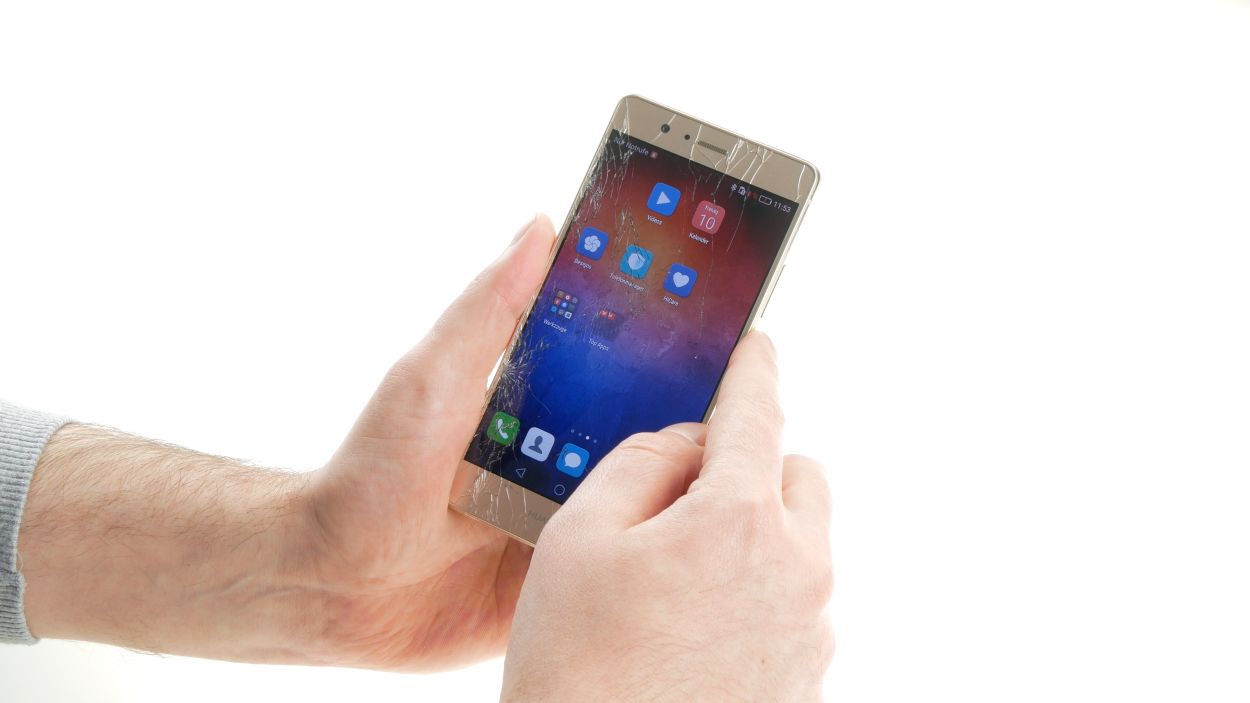
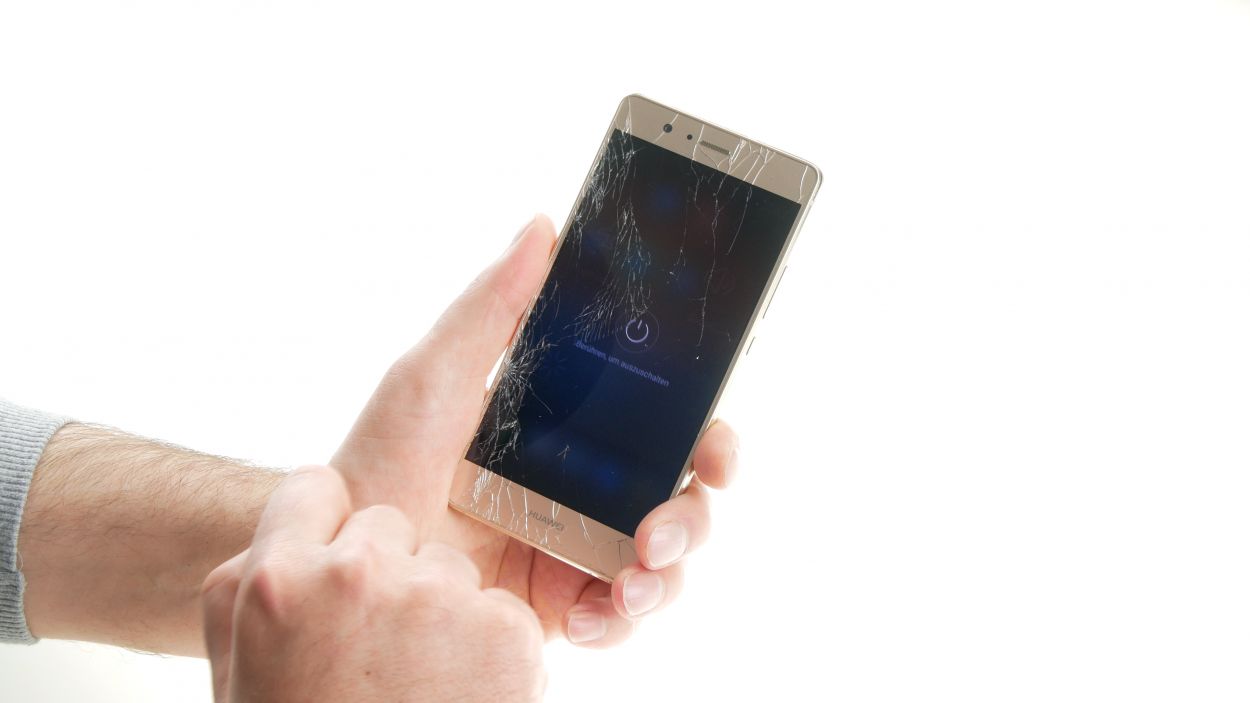
– Give that standby button a firm press and hold until the shutdown dialog pops up on your screen.
– Go ahead and tap to confirm your choice!
Step 2
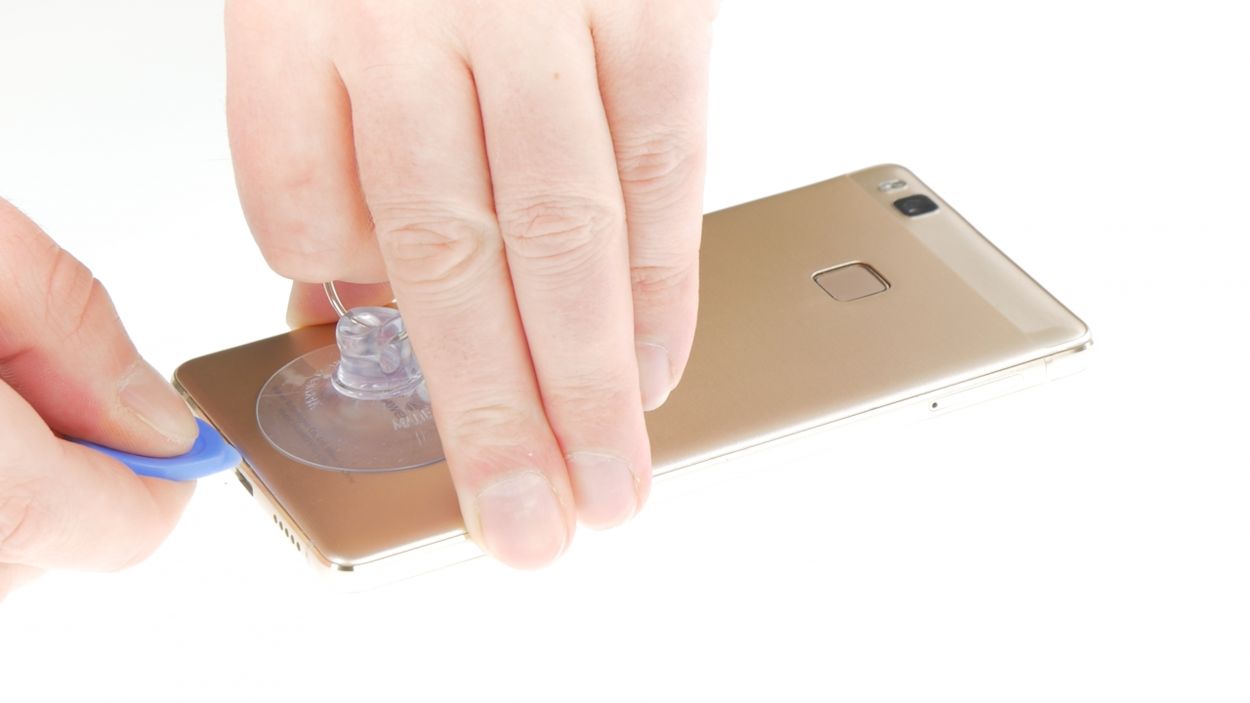
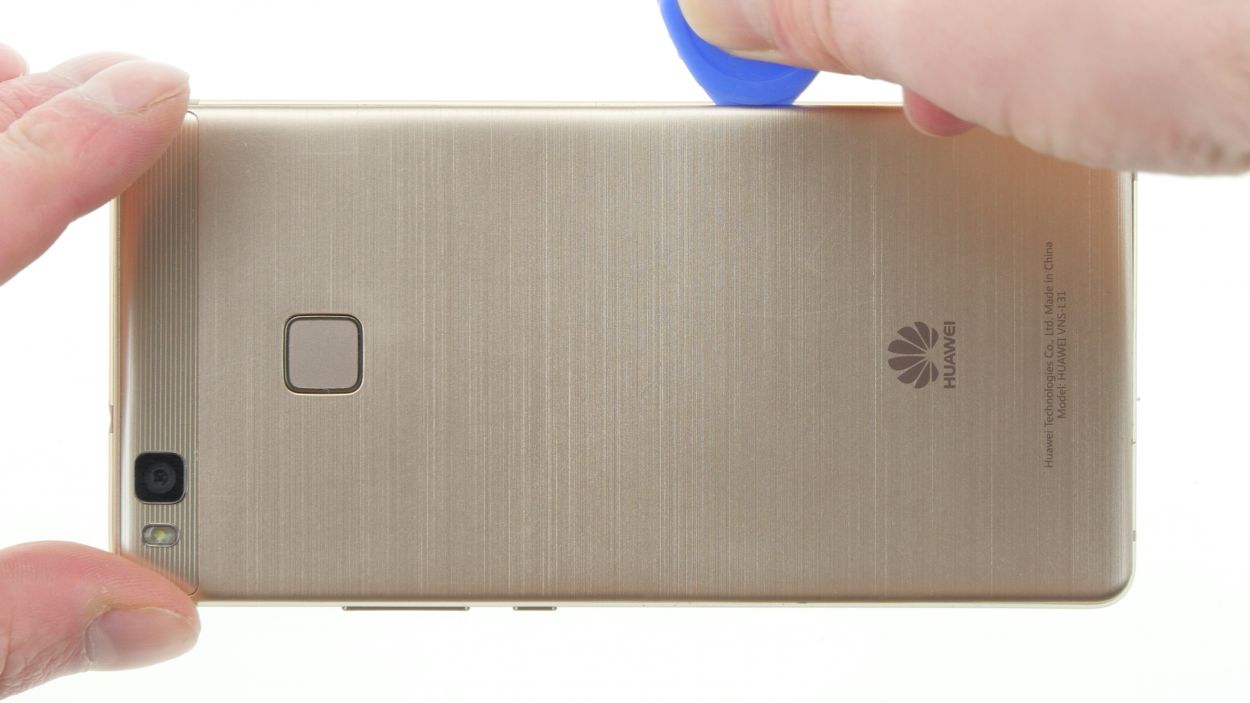


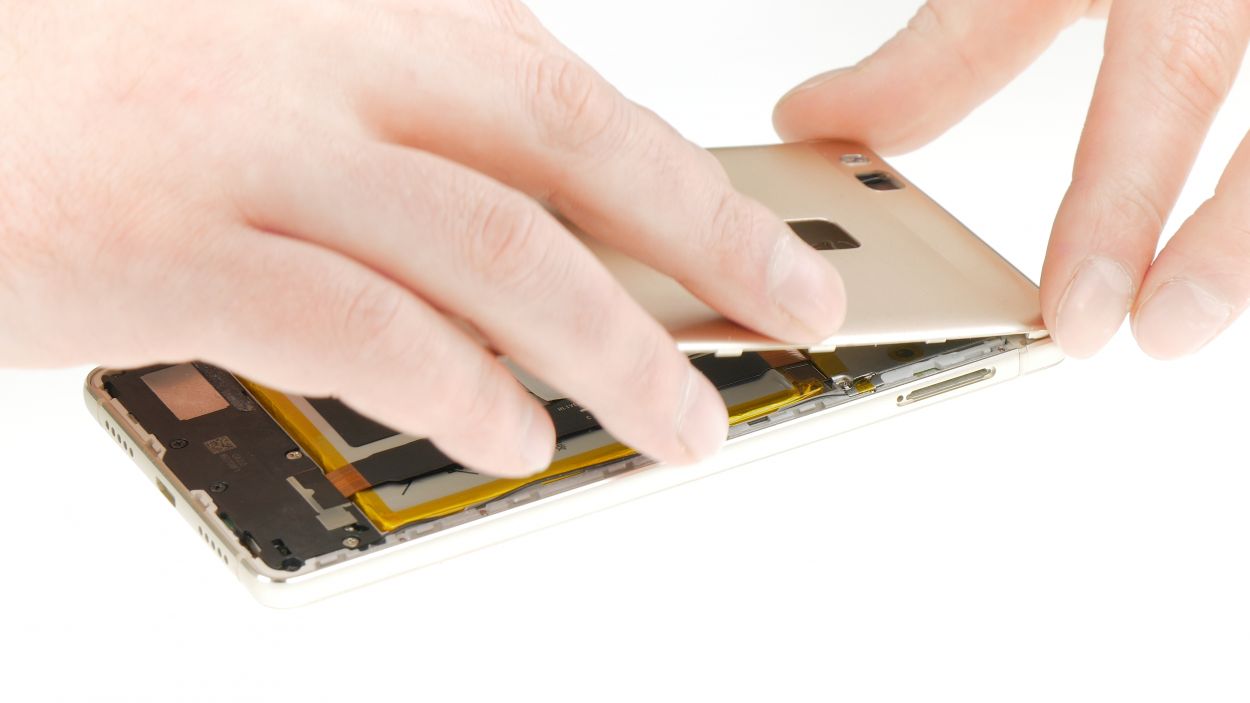
– Grab that suction cup and place it a bit lower down on the back cover. Give it a gentle pull to start lifting it off!
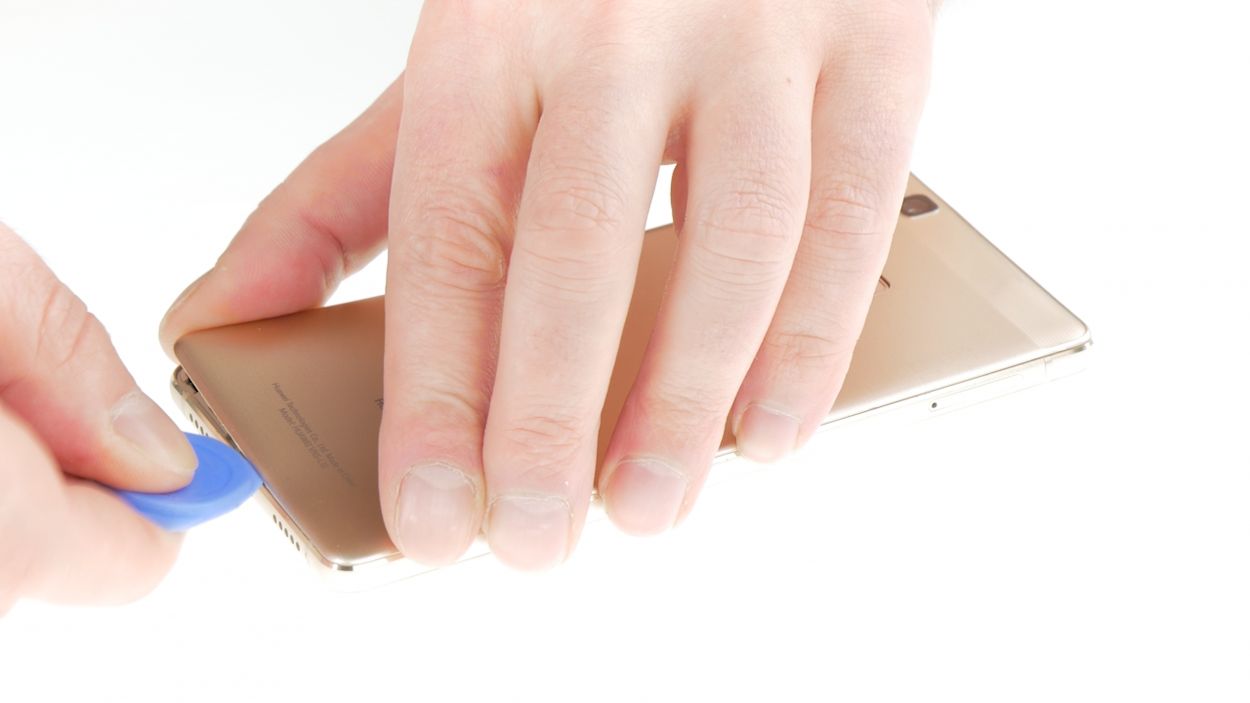
– Next, slide your pick between the display unit and the back cover, and give it a little pry to separate them.
– Don’t forget to release the back cover clips that are hugging your device. If it doesn’t budge the first time, try using a second pick or give it a little more oomph with your fingers.
– Heads up! The back cover is glued to the fingerprint sensor. A little heat from a heat gun can help soften that glue, making it easier to remove.
– Once all the clips are free, you can go ahead and take off the back cover. You’re almost there!
Step 3
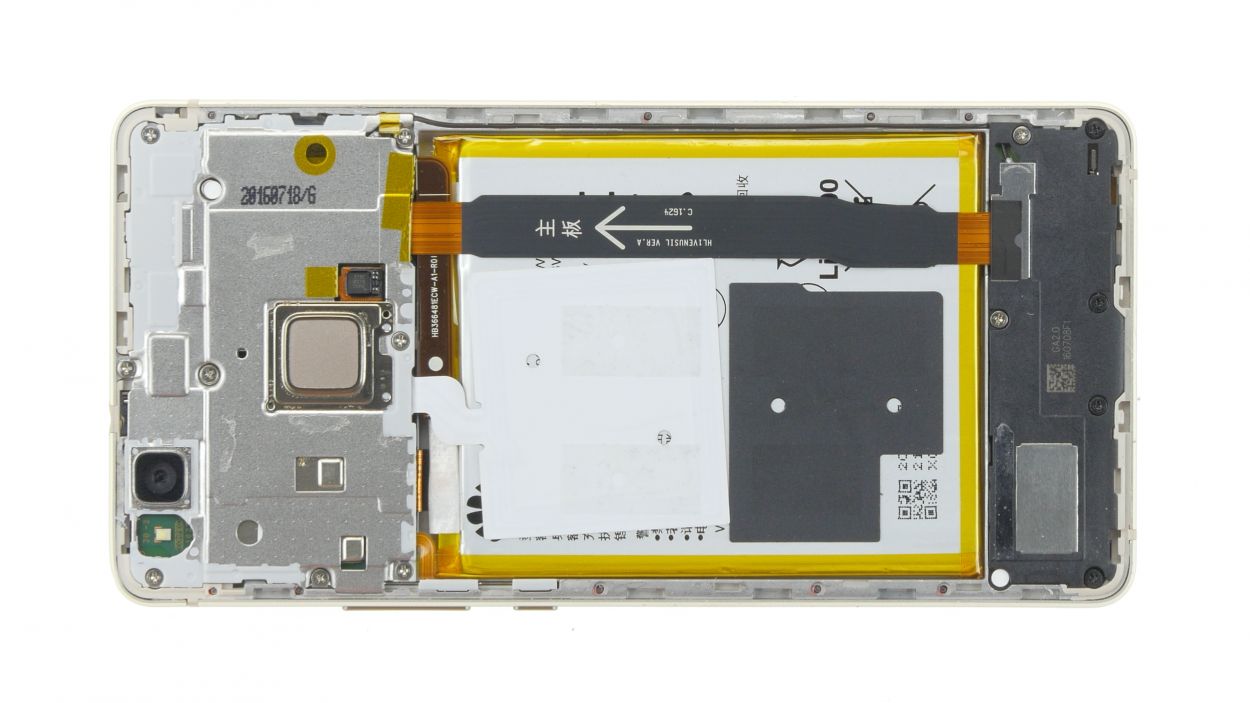


– First things first, those pesky Phillips screws are holding the plastic cover in place. Unscrew them all and keep them safe – you’ll need them later!
– Now, gently lift up that cover like you’re unveiling a surprise!
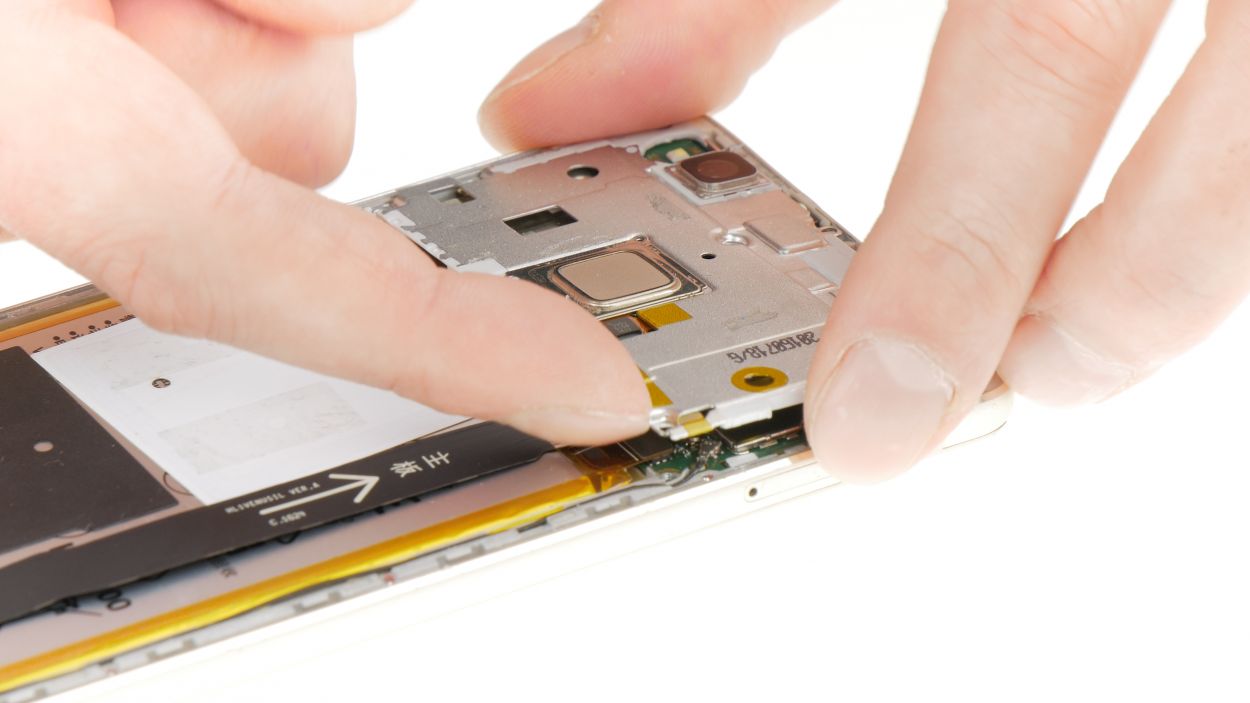
– The cover is secured with clips, one near the camera and another on the side. Give it a gentle nudge to release those clips, then fold open the cover like a pro.
– Remember to unplug the battery connector to avoid any unexpected surprises – we don’t want any short circuits ruining our day!
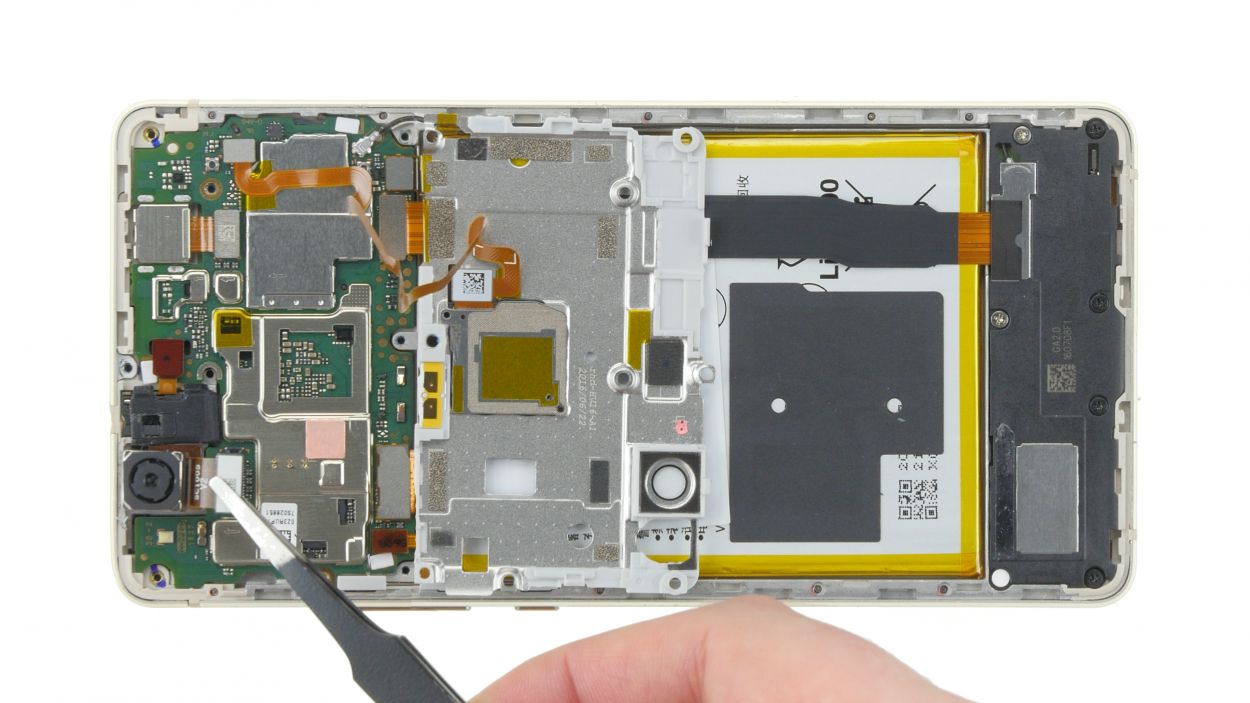
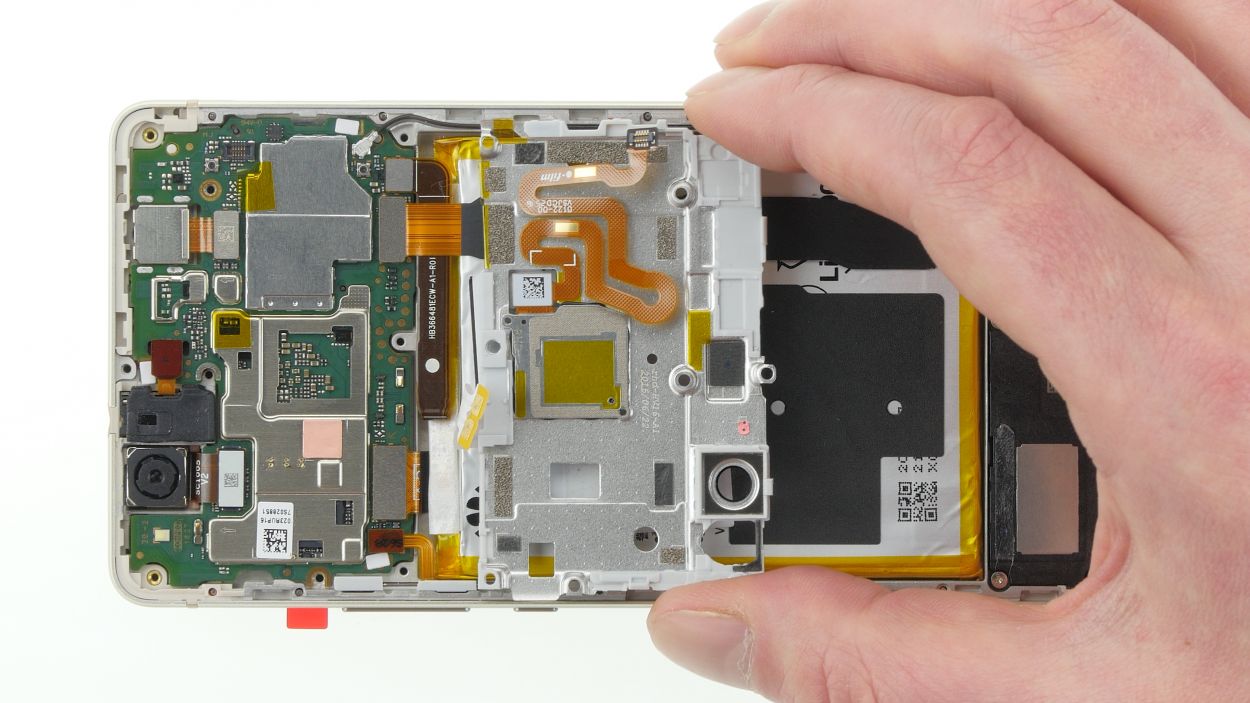
– Now grab a spudger and carefully pry off the rear camera connector to remove the camera. Easy peasy!
9 × Phillips
Battery connector
Camera connector
Heads up! There are a few cables hanging out underneath. Be careful not to disturb them while you work!
Hey there! Spot a humidity indicator hanging out by one of those screws? You can give it a try and take it off, but fair warning—it might just decide to break on you. No worries though! A quick jab with a screwdriver will do the trick just fine.
Step 4

Battery connector
Camera connector
9 × Phillips
– Time to get your camera game on – insert the rear-facing camera and plug in that connector.
– Next up, plug in the battery connector – you’re getting closer to a fully functional device.
– Now it’s time to put everything back together – fold down the mainboard cover, clip it in all around, and fasten those 9 Phillips screws. If you need help, you can always schedule a repair.
Step 5
– 1. Time to get snap-happy! Place the back cover on the display unit and press it down firmly all around to secure it in place. If you need help, you can always schedule a repair.


