DIY Guide to Replace Samsung Galaxy A23 5G Battery
Duration: 45 minutes
Steps: 13 Steps
Repairing this device is a bit of a challenge, but don’t worry! The trickiest part is getting that stubbornly glued battery out. With a little patience and care, you’ll breeze through the rest of the steps. Before you dive in, give your device a good once-over and test all its functions. If you find our guide helpful, we’d love a positive review! Good luck, and happy repairing! If you need a hand, feel free to schedule a repair.
Step 1
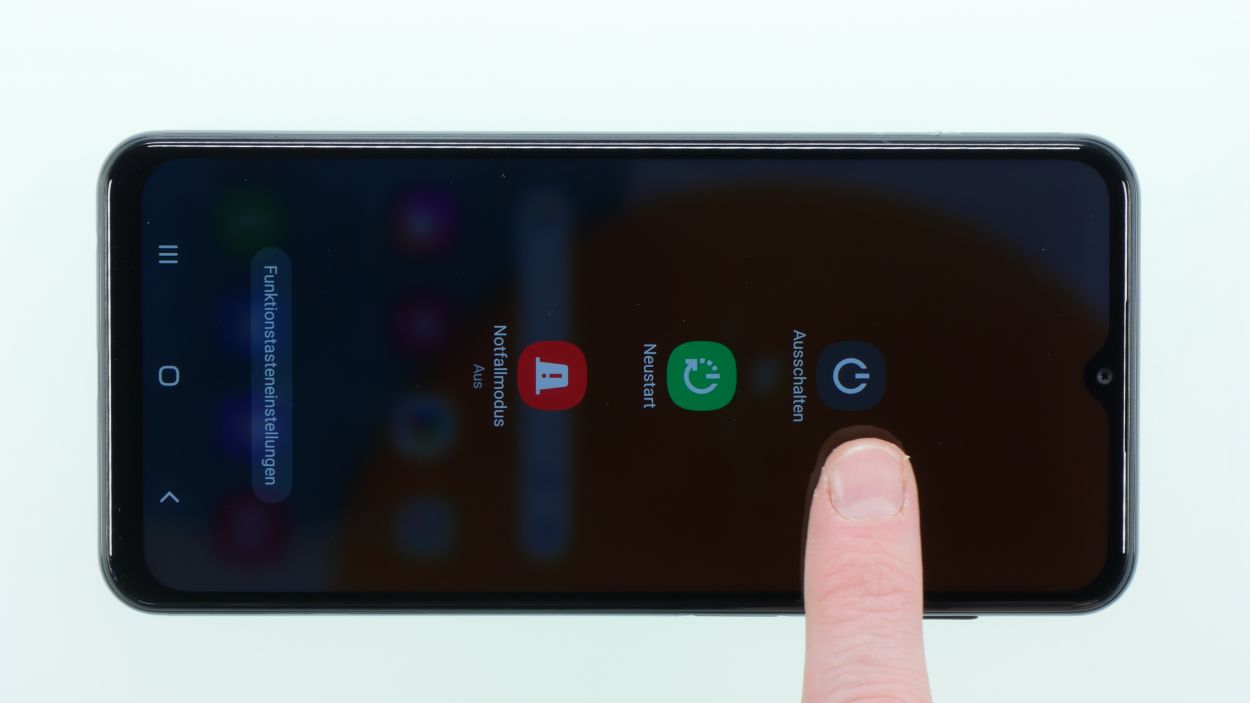
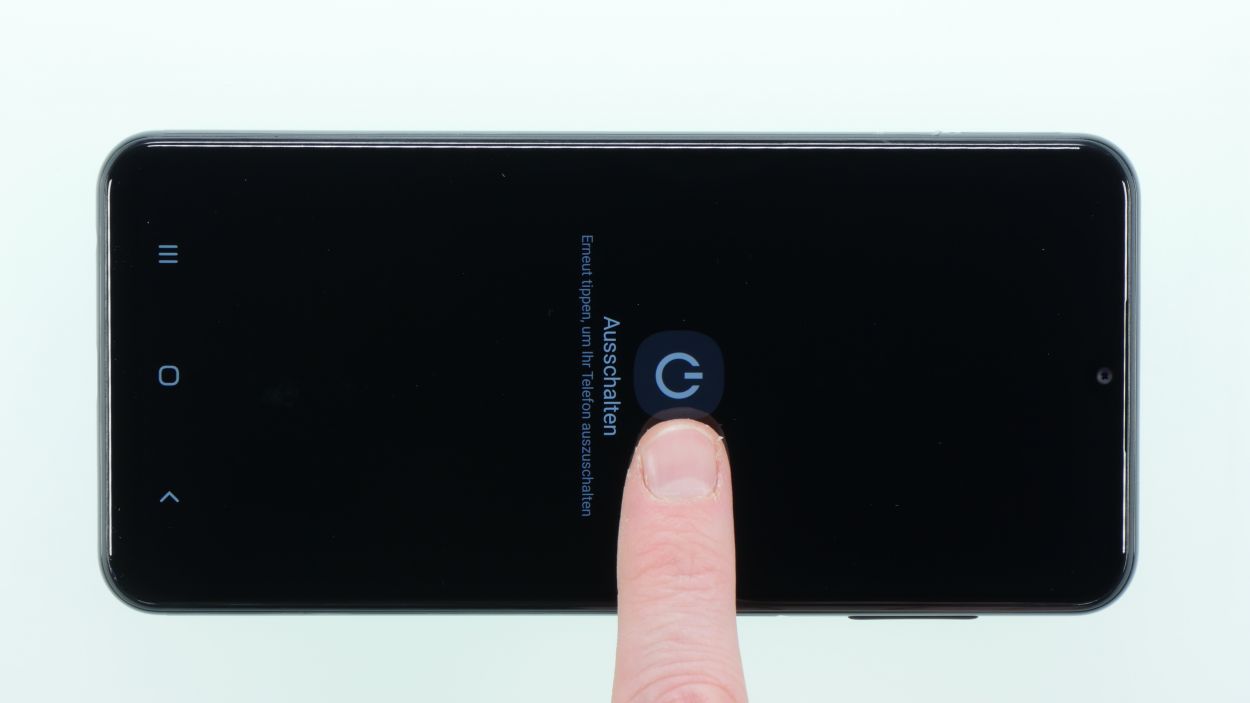
– First things first, let’s power down your device! Just press and hold that power button until the power off icon pops up on your screen.
– Give that icon a little tap to confirm, and then follow the prompts that appear. You’re on your way!
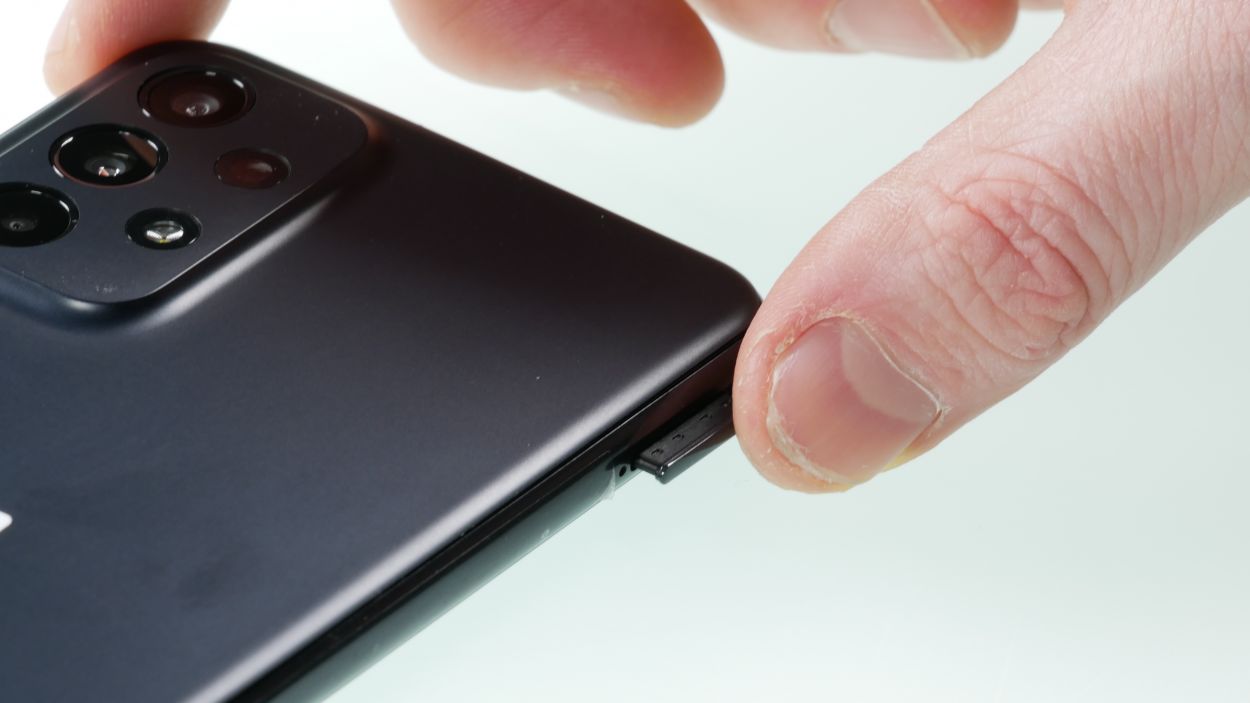
Step 2

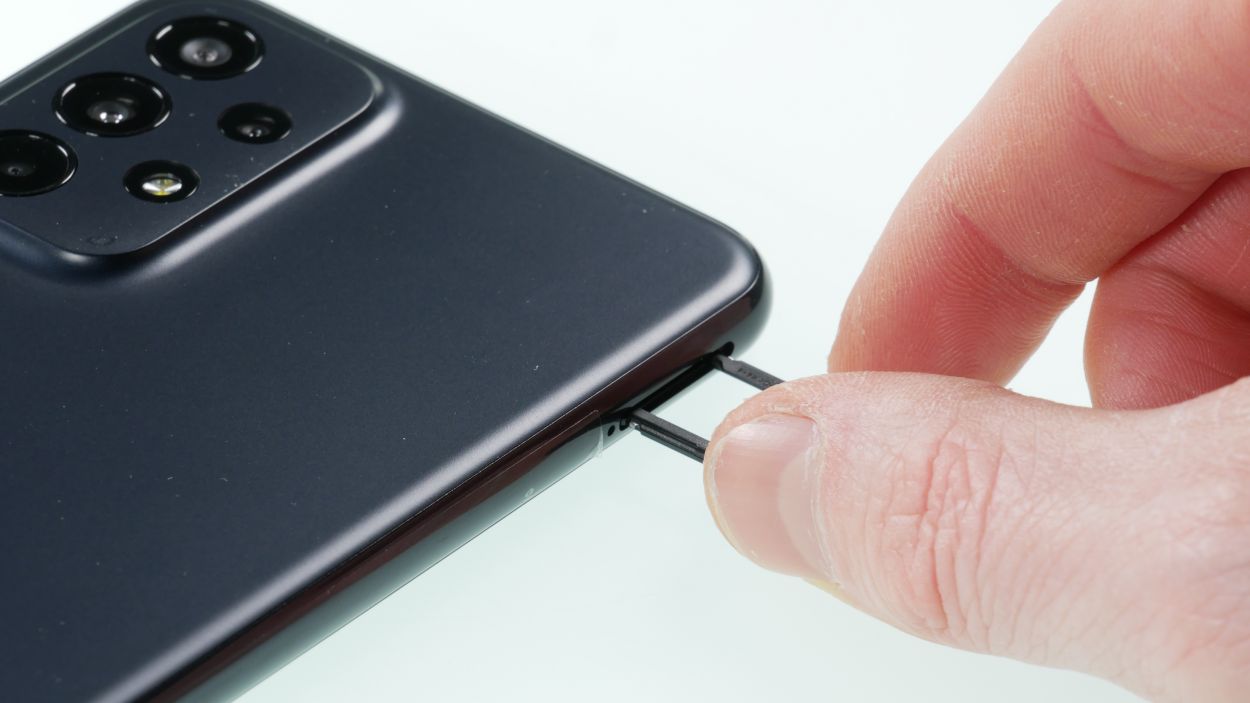
– Pop out the sim card holder using your trusty sim tool!
Step 3
Watch out for those temperatures! You want it warm enough to work with, but cool enough to keep your fingers happy. If you can touch the phone, you’re golden!
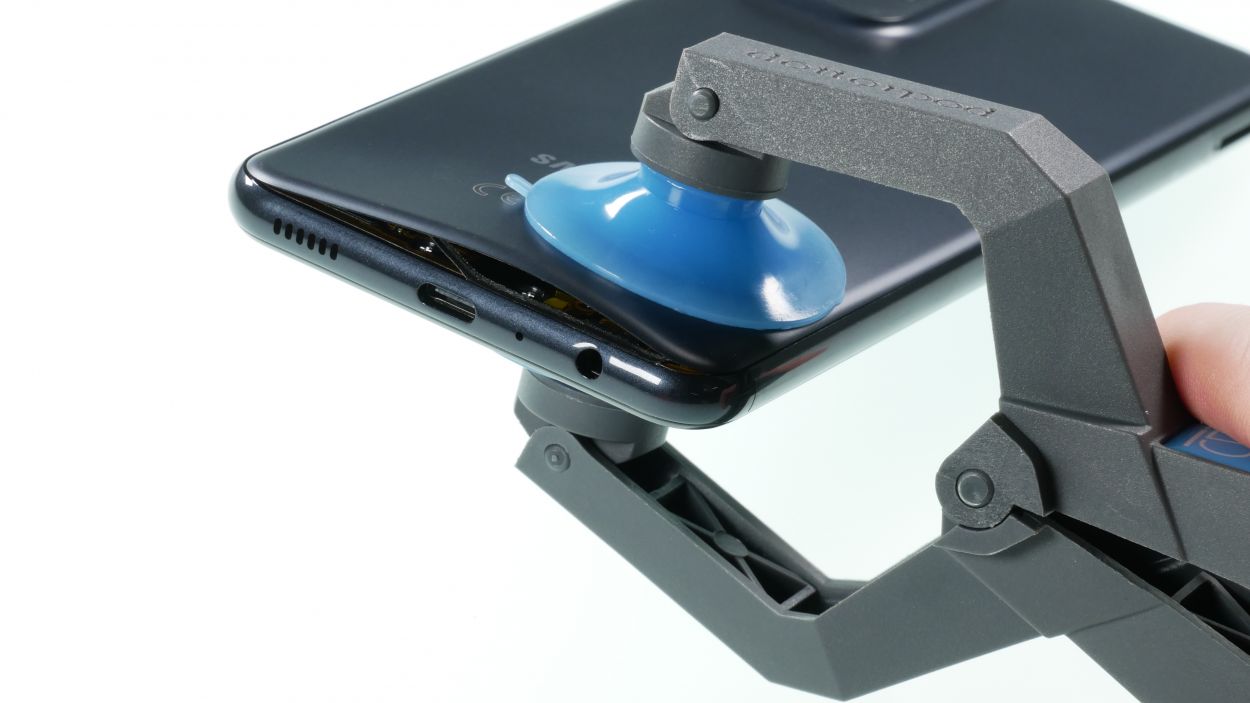
For this step, grab the iSclack! It’s a nifty tool that can really help make your job a whole lot easier.
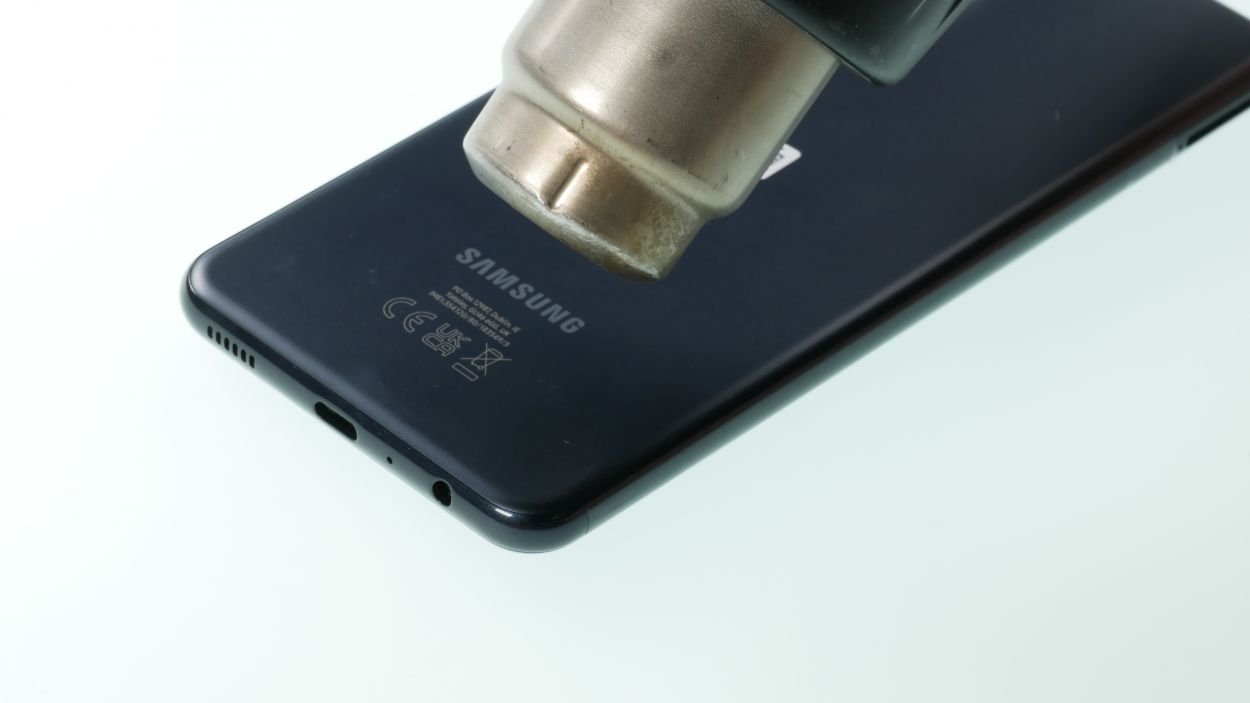
– Time to warm things up! Grab your hot air gun or hair dryer and give that back cover a nice, thorough heat treatment. Focus on those edges and the camera area, where the sticky stuff likes to hang out.
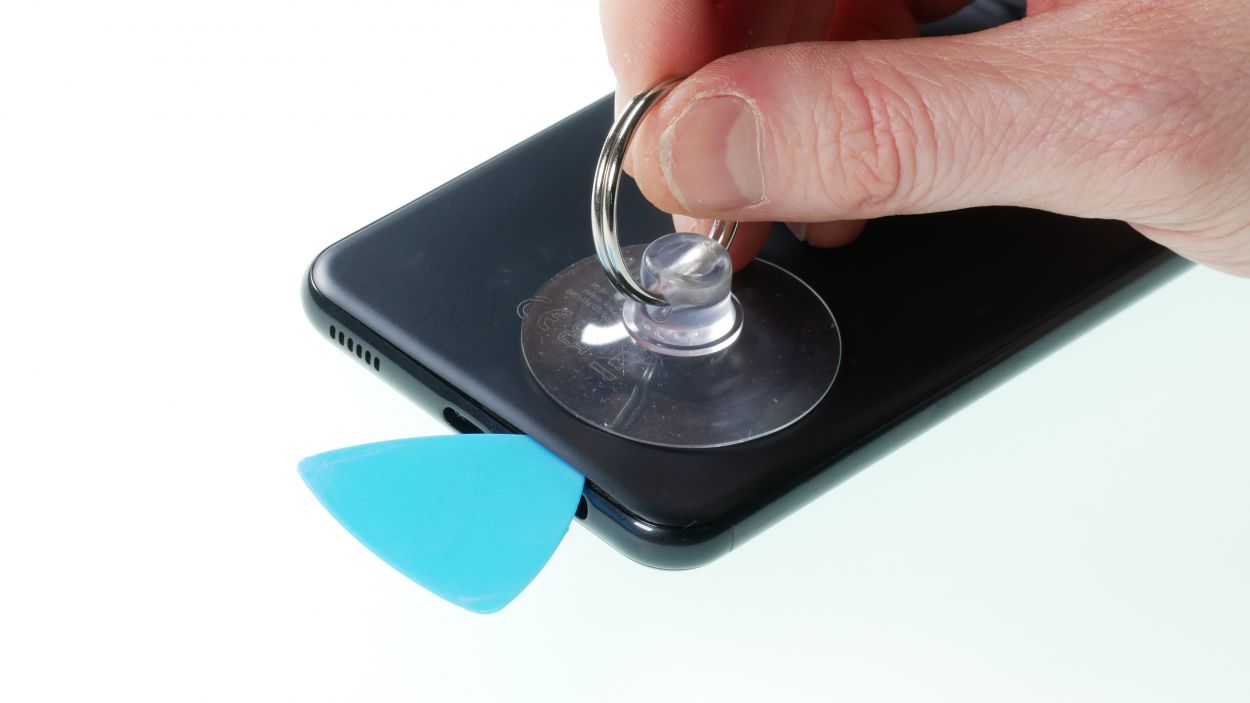
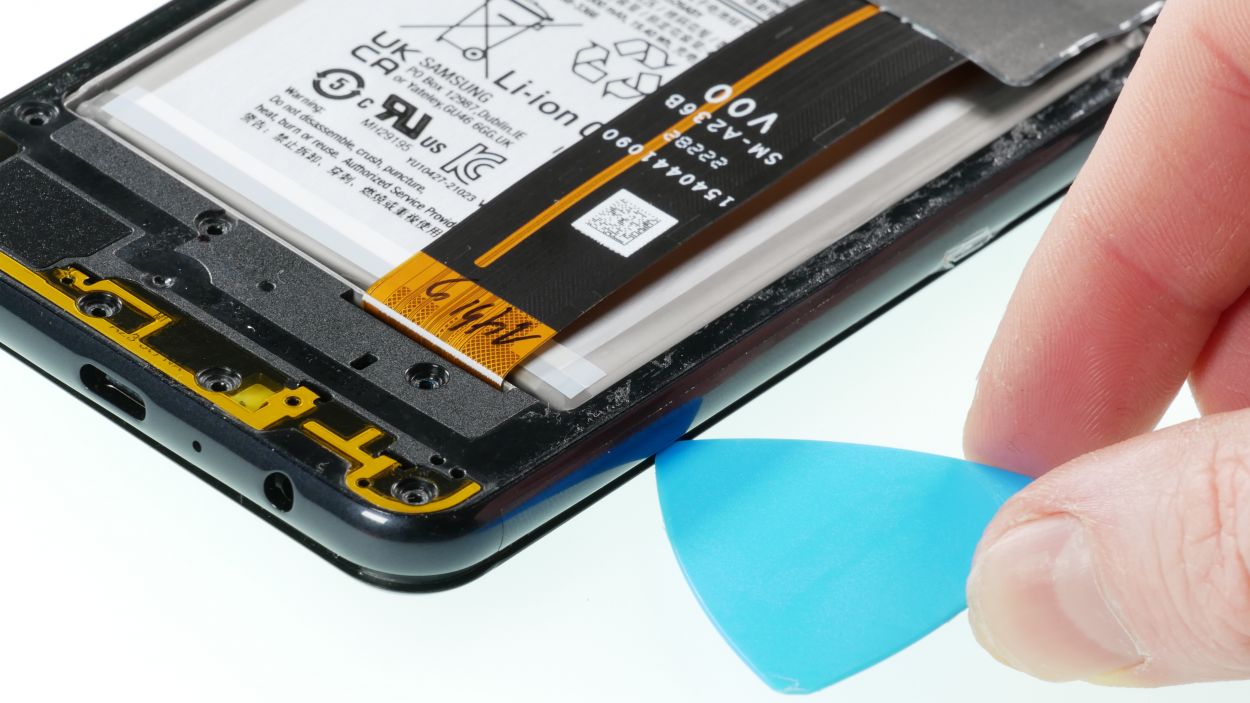
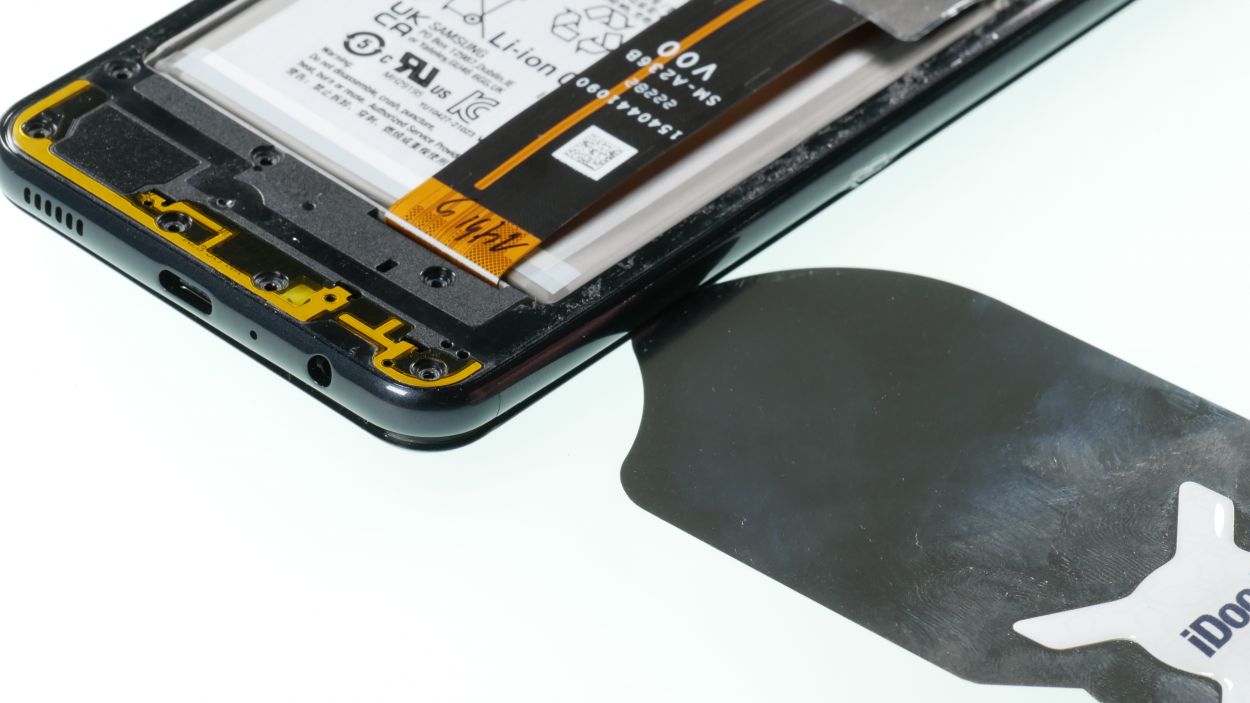
– Once it’s feeling cozy, use a suction cup to lift the back cover and slide a plectrum into the gap you’ve created.
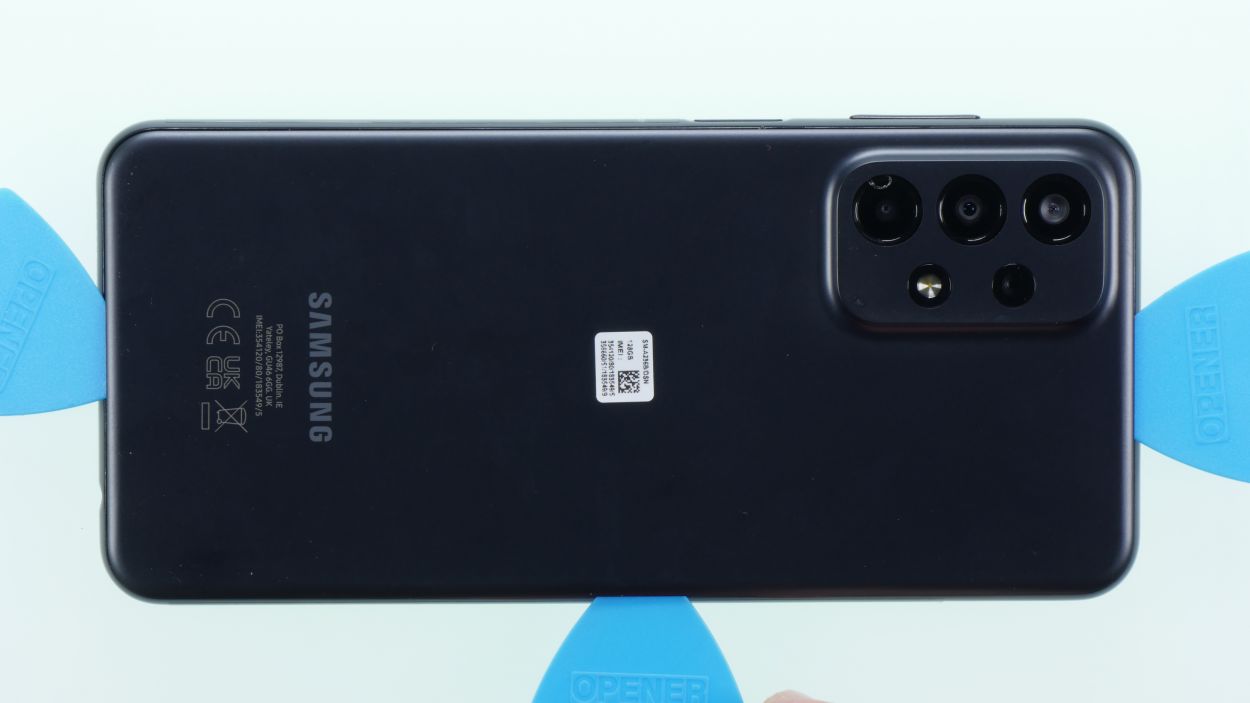
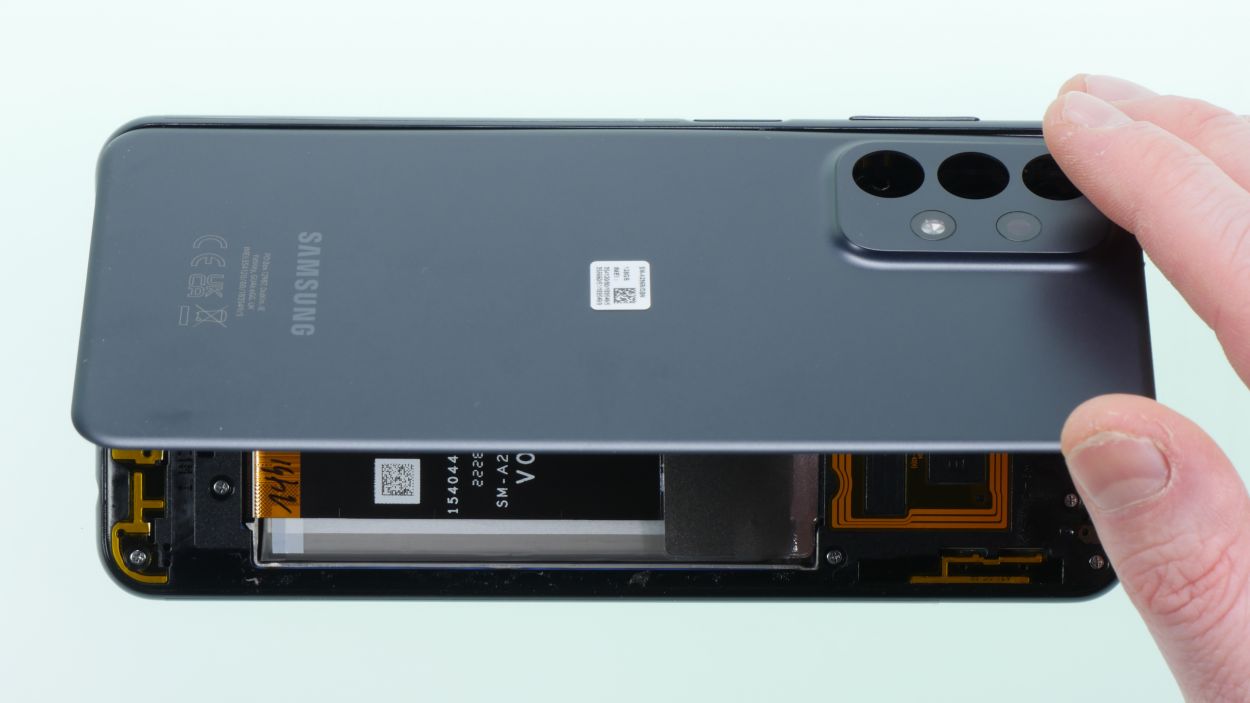
– Now, gently work your magic with the plectrum to lift off the back cover, loosening that adhesive little by little. You’ve got this!
Tools Used
- screen or back of your phone is glued very strong. With an iSclack evo, you can simplify the process. The pincer-like handle allows you to create a gap between the screen and the frame with minimal effort. At the same time, you have the other hand free to use a narrow tool such as a plectrum or the iFlex to enlarge the gap. The included cover foils allow you to use the iSclack evo even if the screen is splintered.” rel=”noopener”>iSclack evo Opening Tool
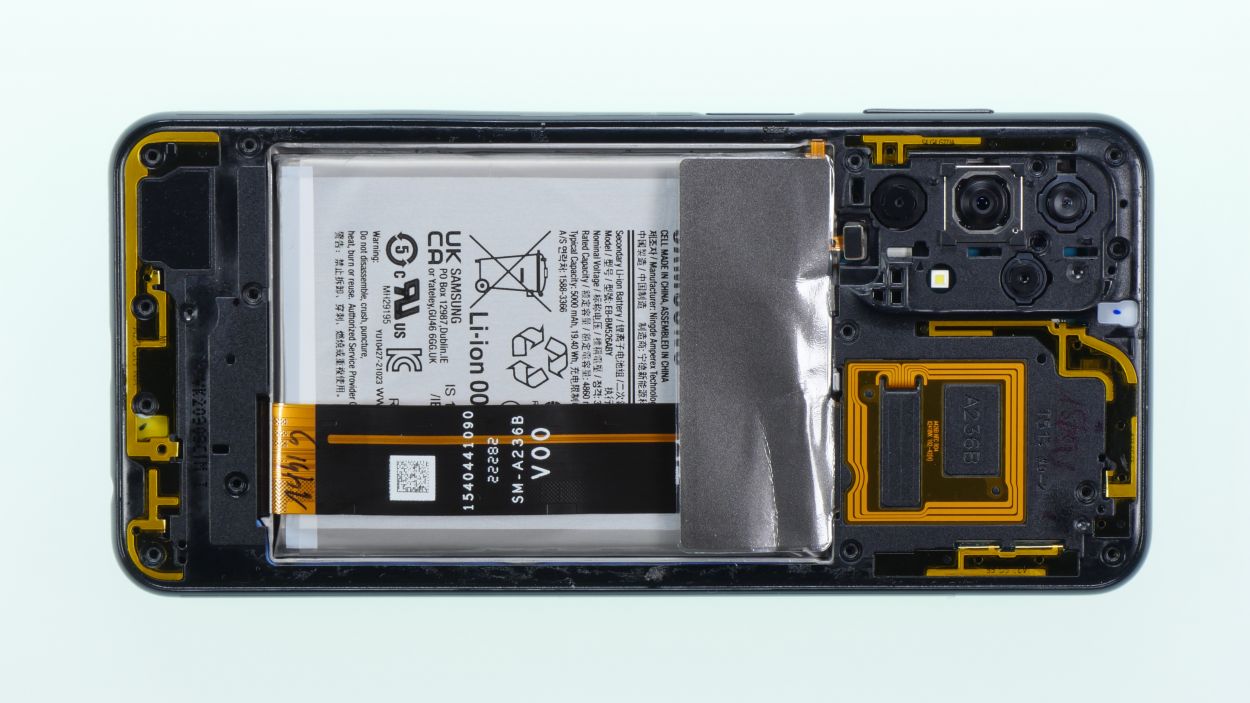
Step 4
16 × Phillips 3,7 mm
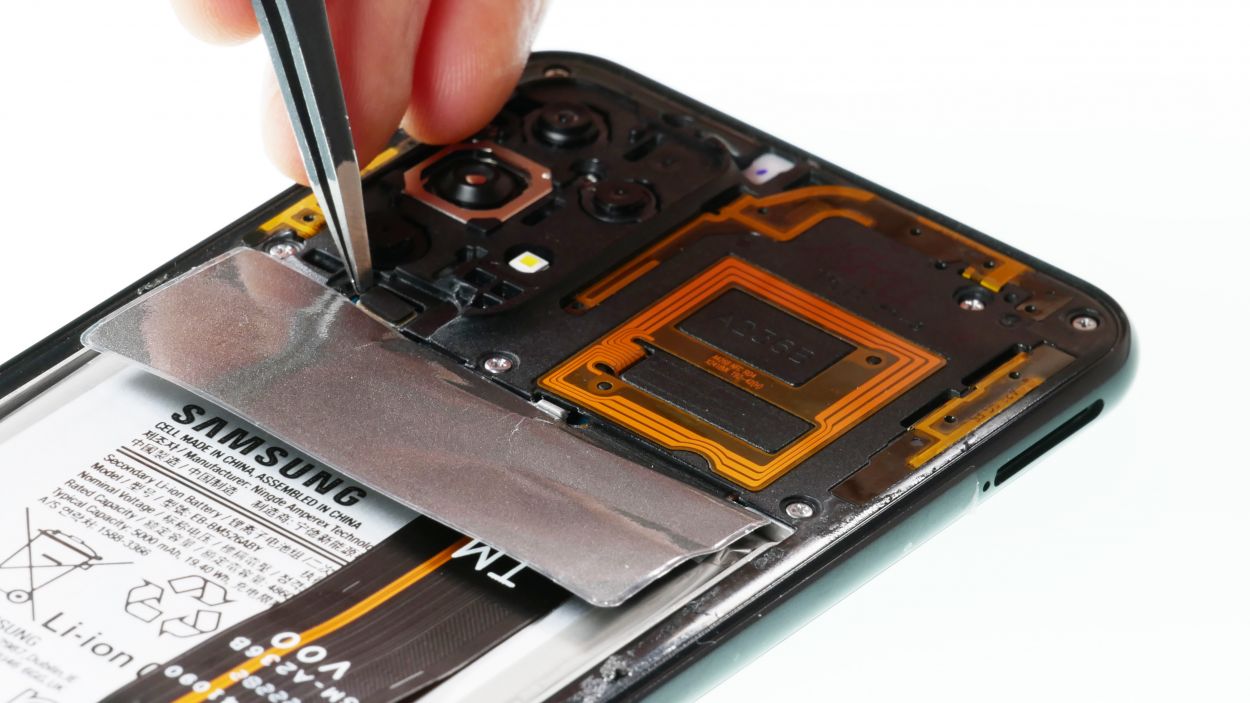
Finger Sensor Connector
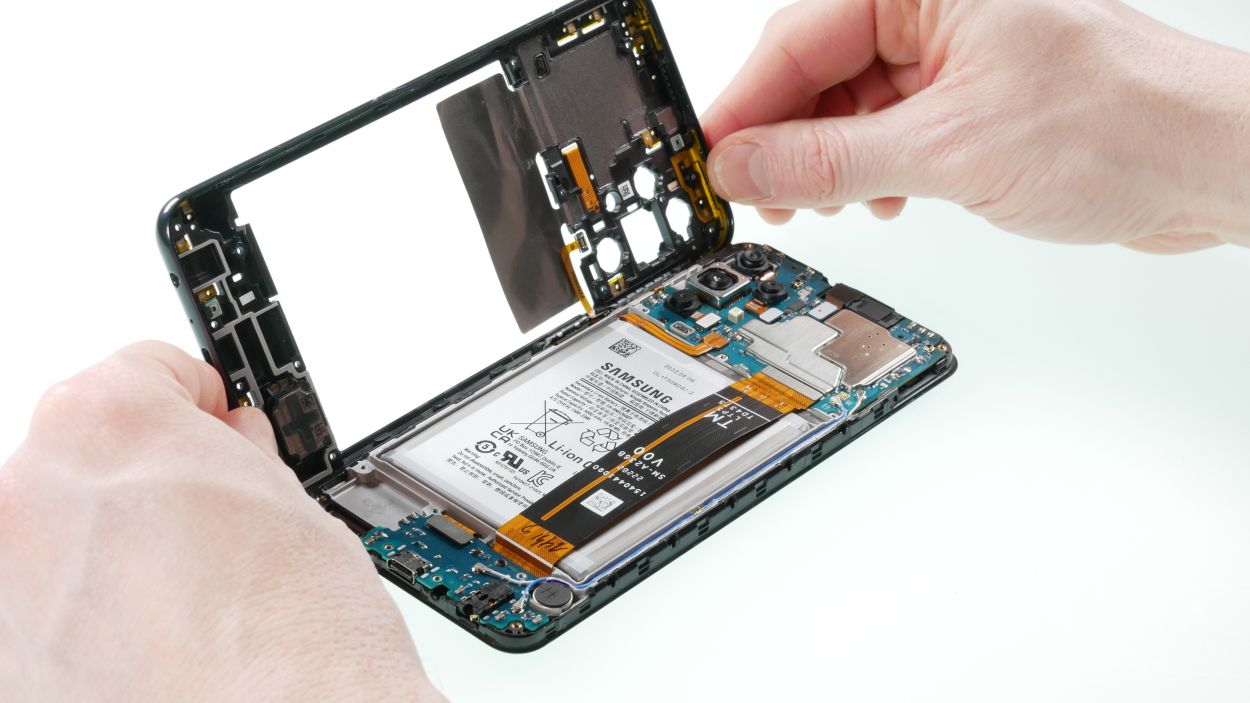
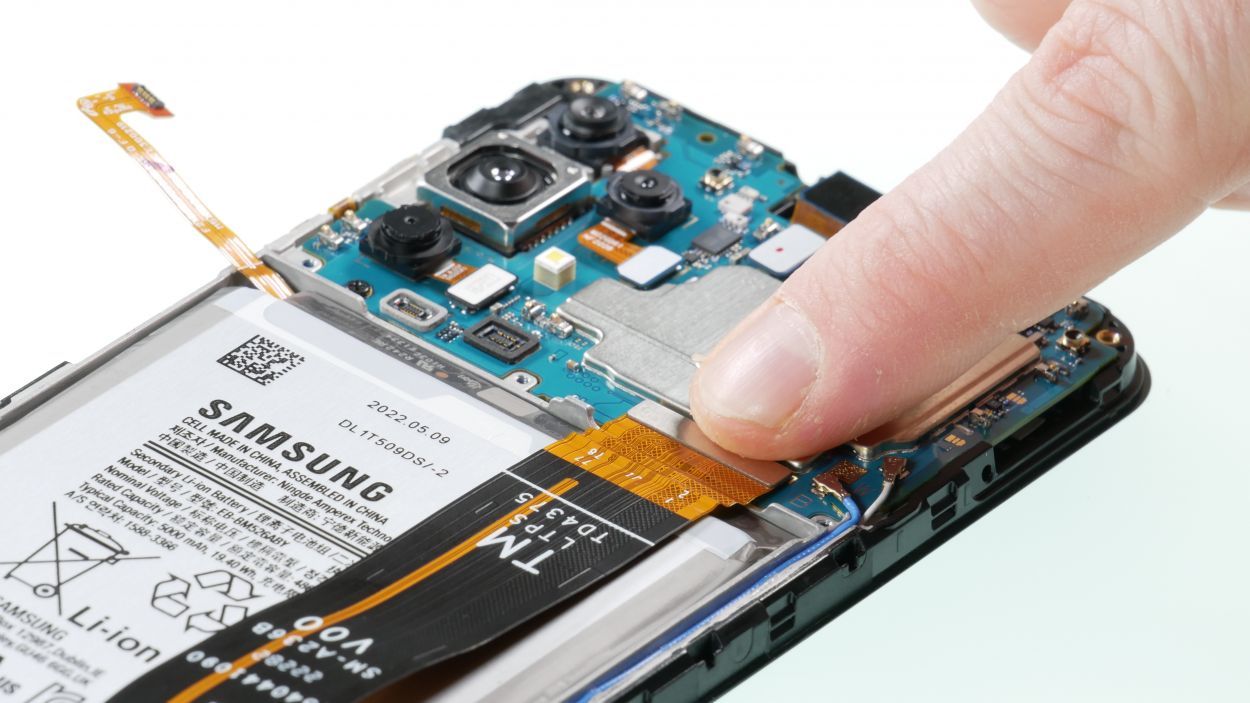
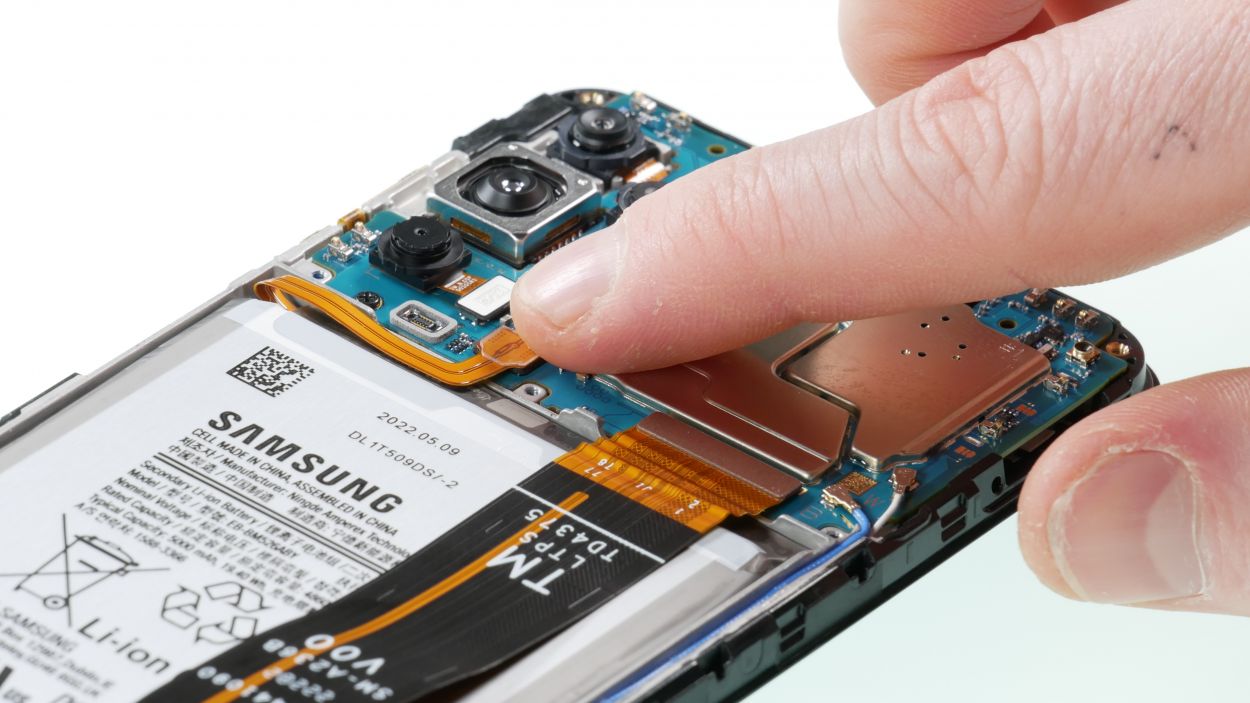
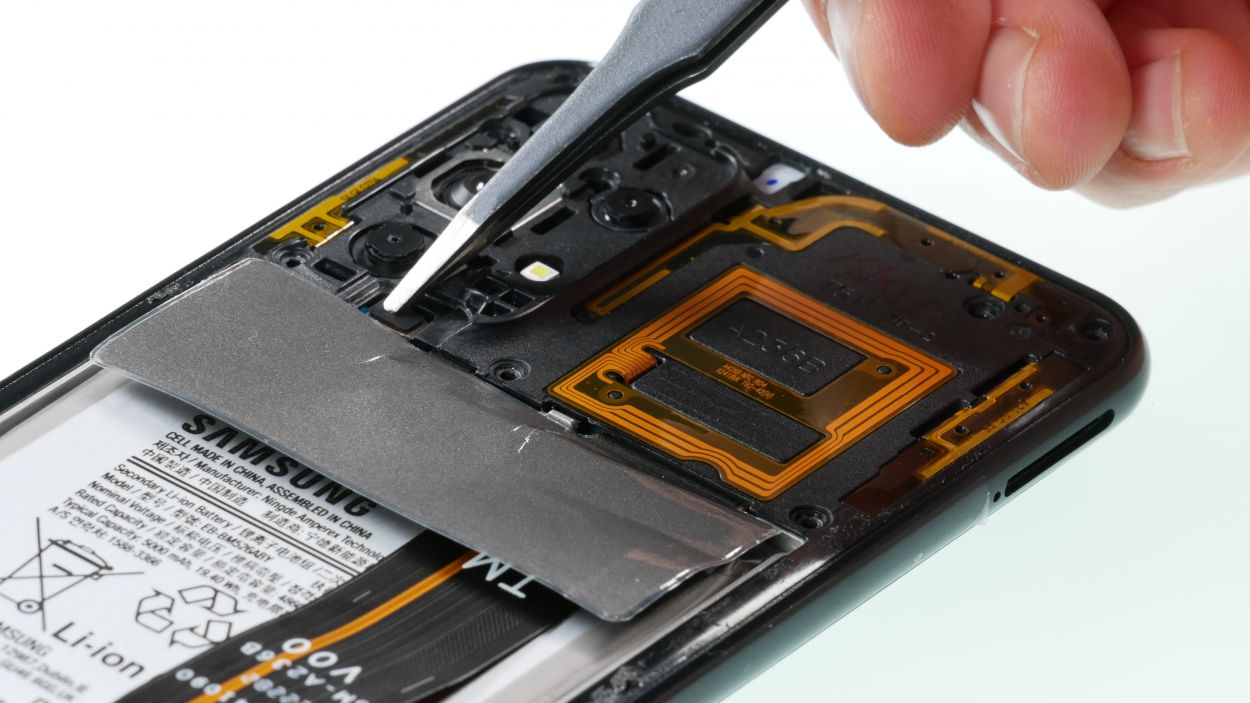
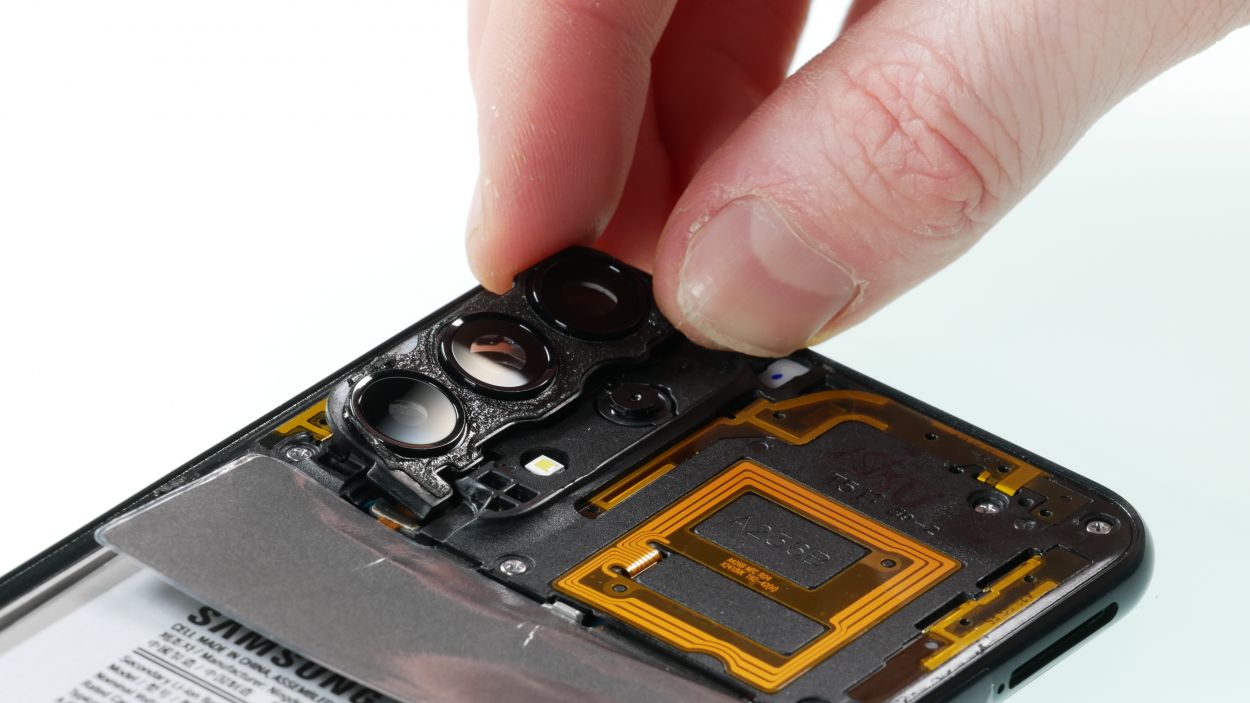
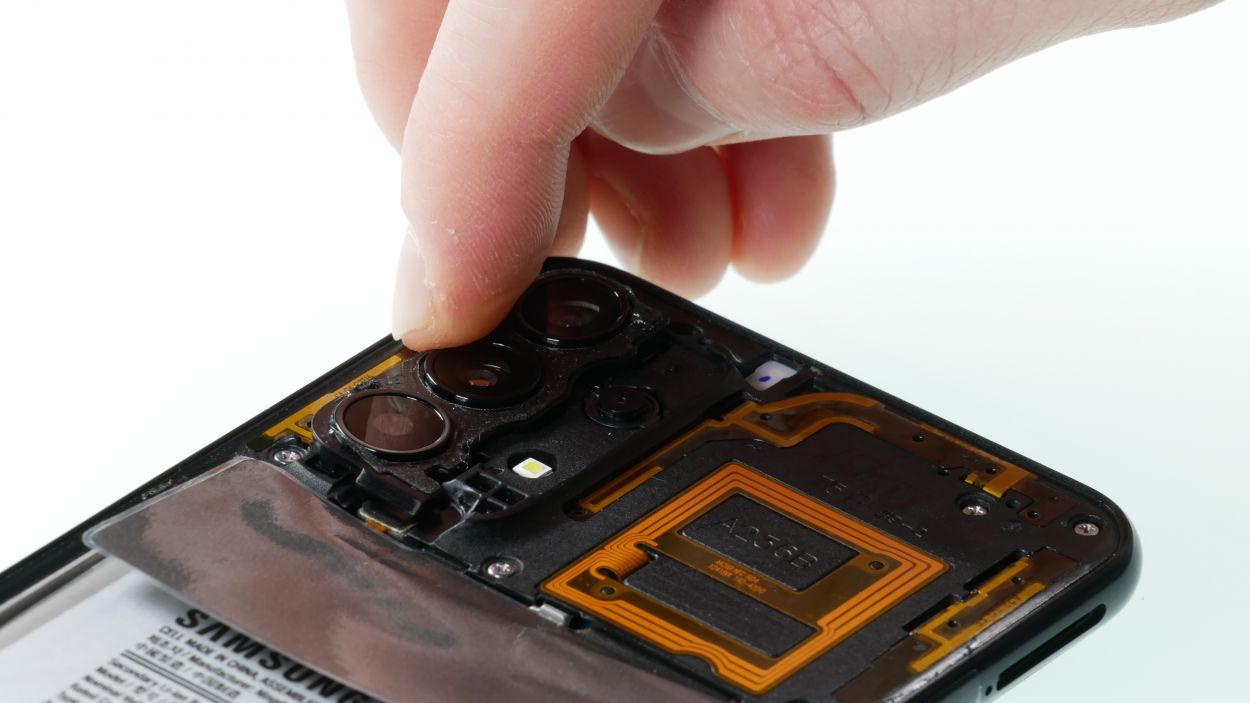
– Gently lift off the plastic frame that hugs the camera area.
– Next, disconnect the fingerprint sensor nestled beneath this frame.
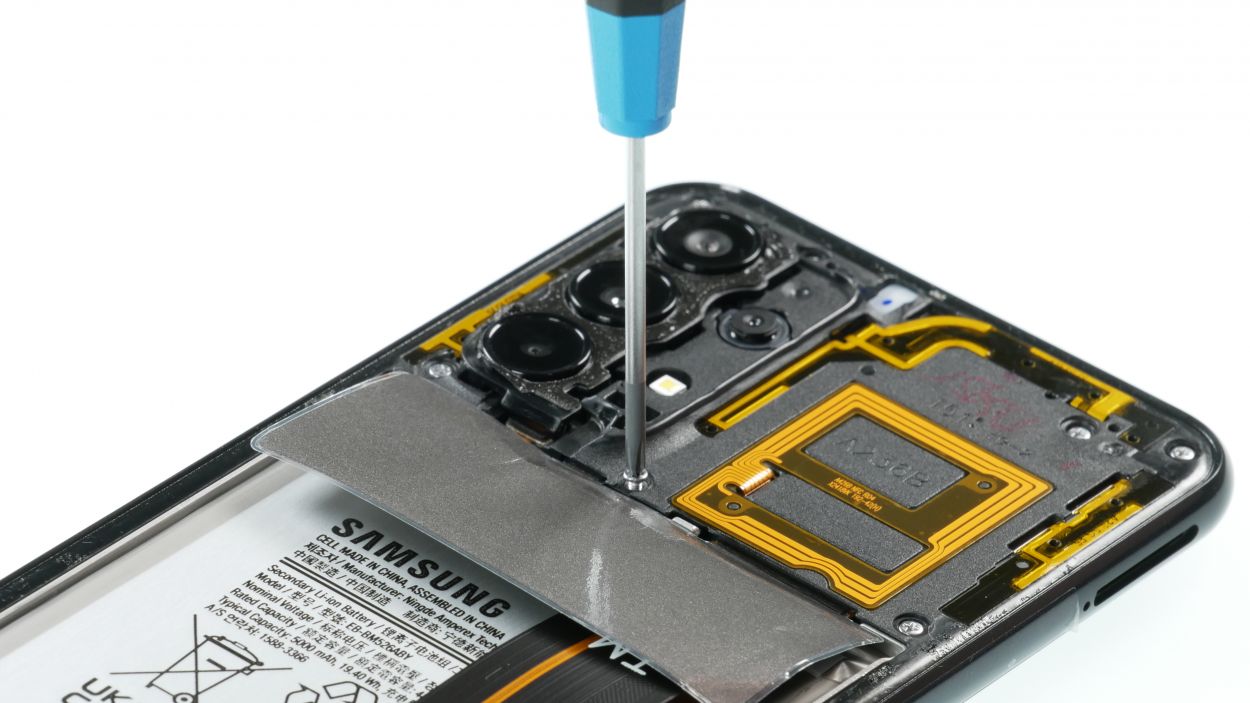
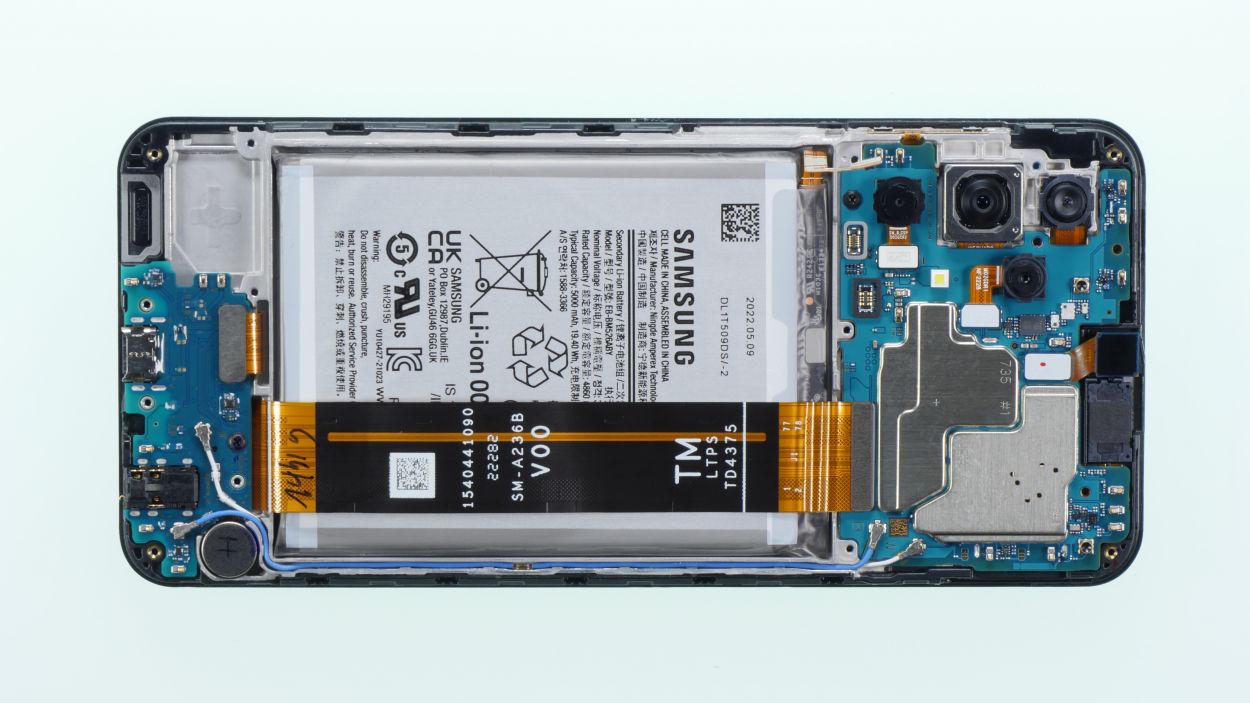
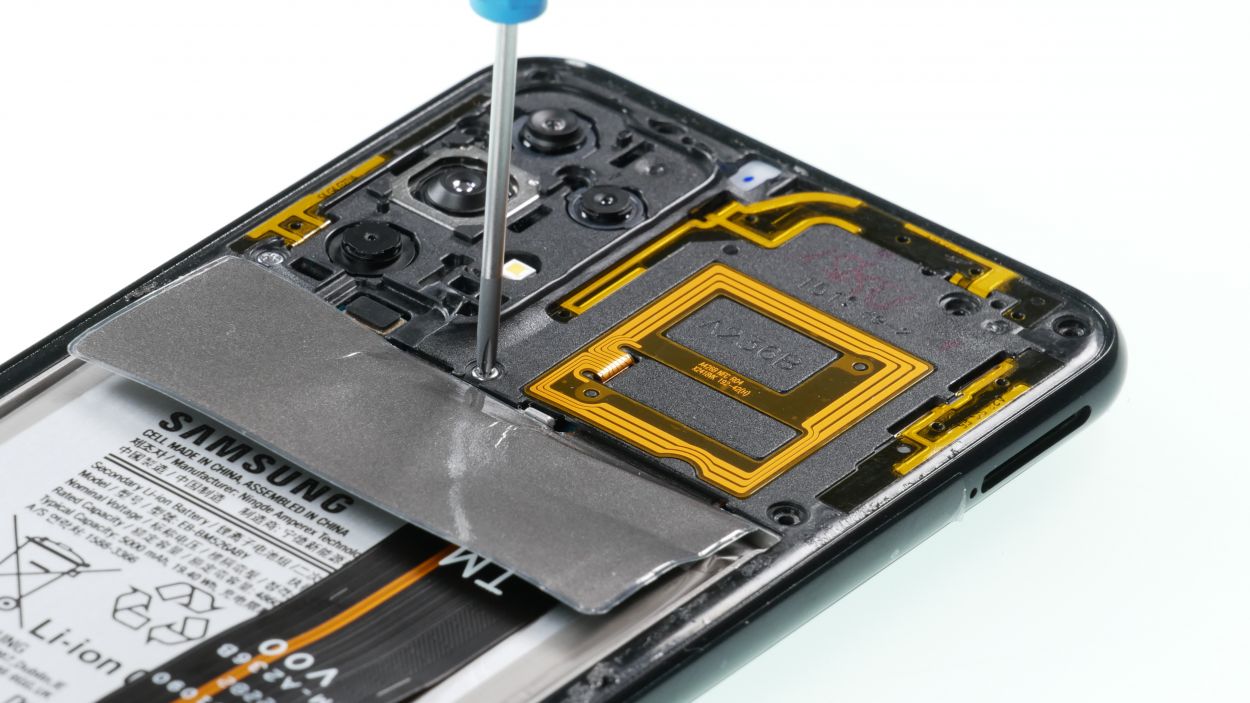
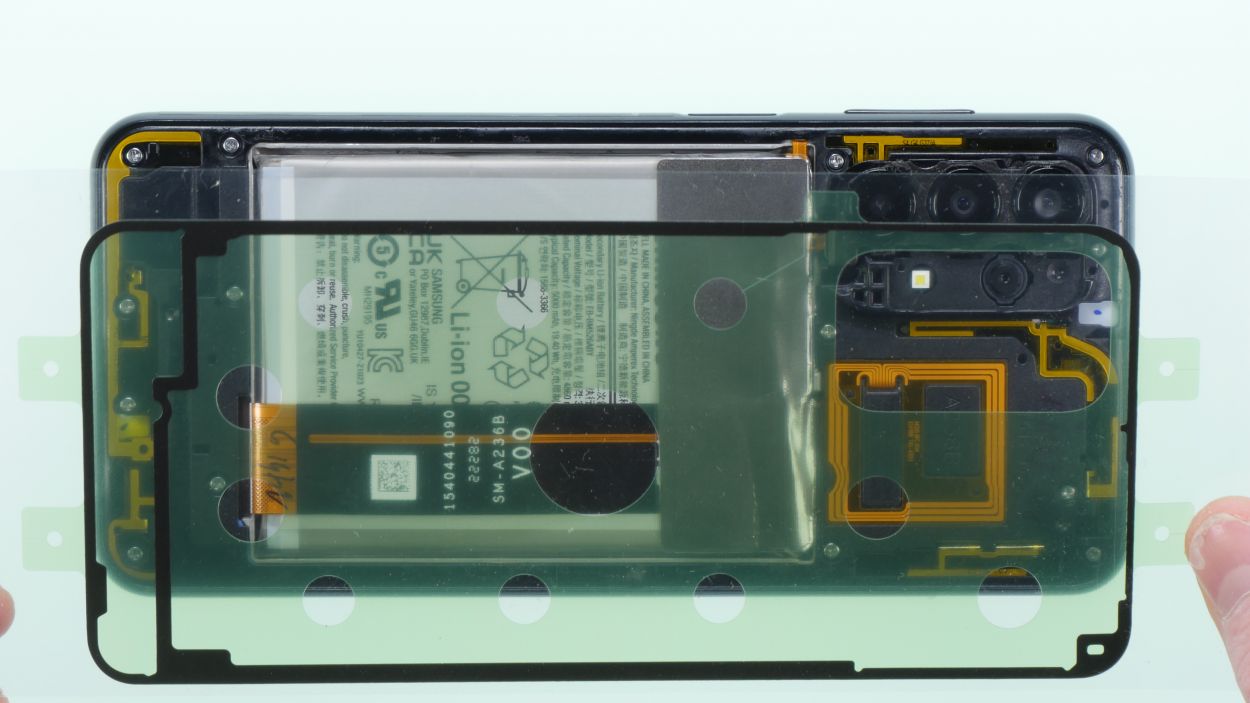
– Now it’s time to tackle those 16 Phillips screws holding the middle cover in place. A magnetic mat or another safe spot for screws is your best friend here—let’s keep those little guys from going on a wild adventure!
– The middle cover is attached to the display. Grab a pick and carefully loosen it from the screen support frame.
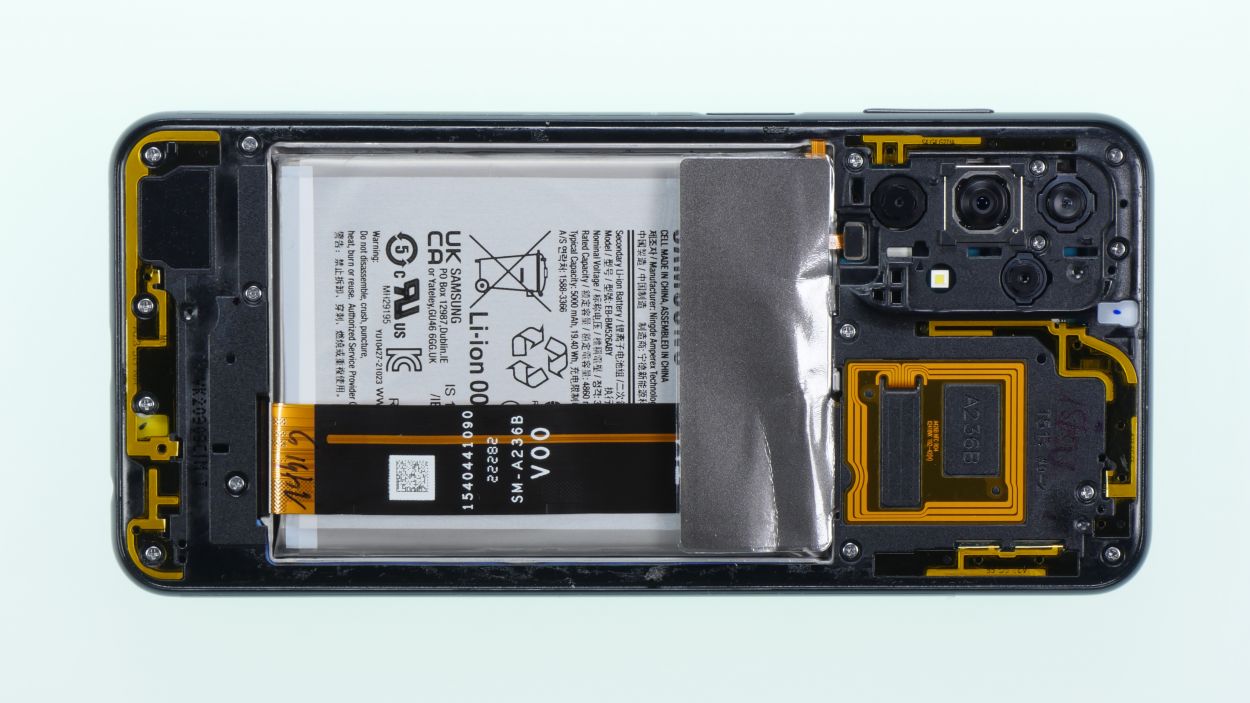
Step 5
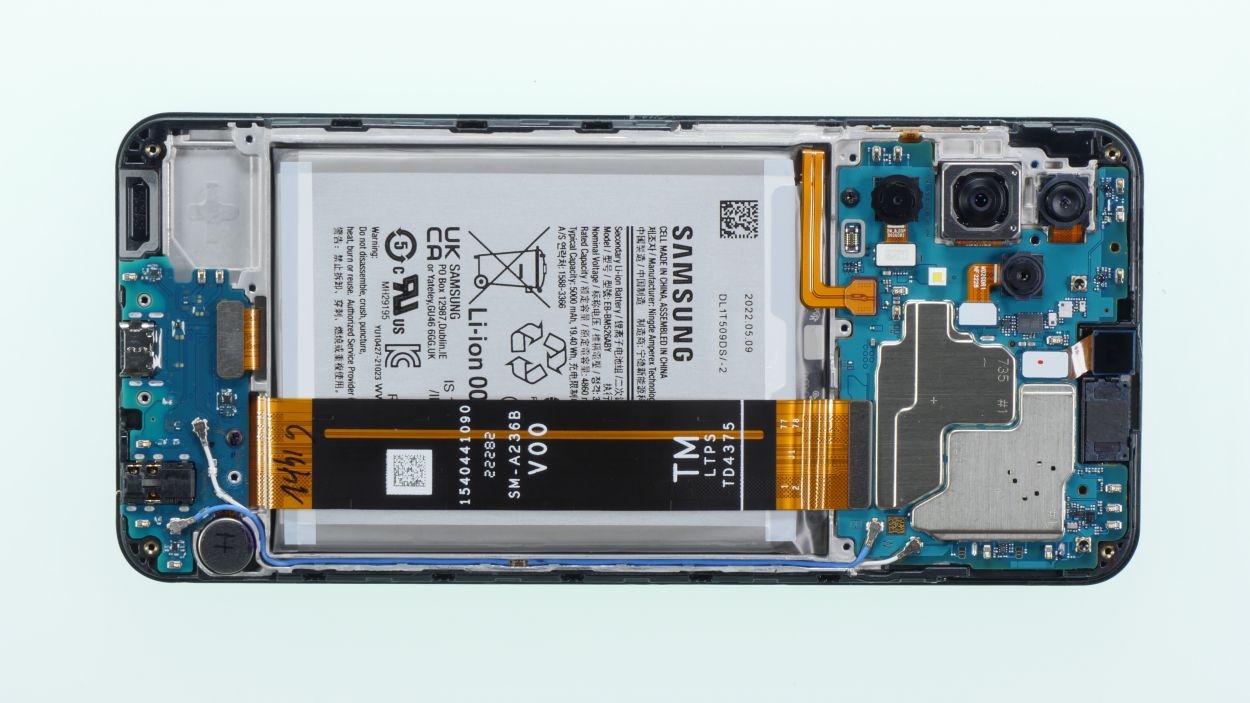
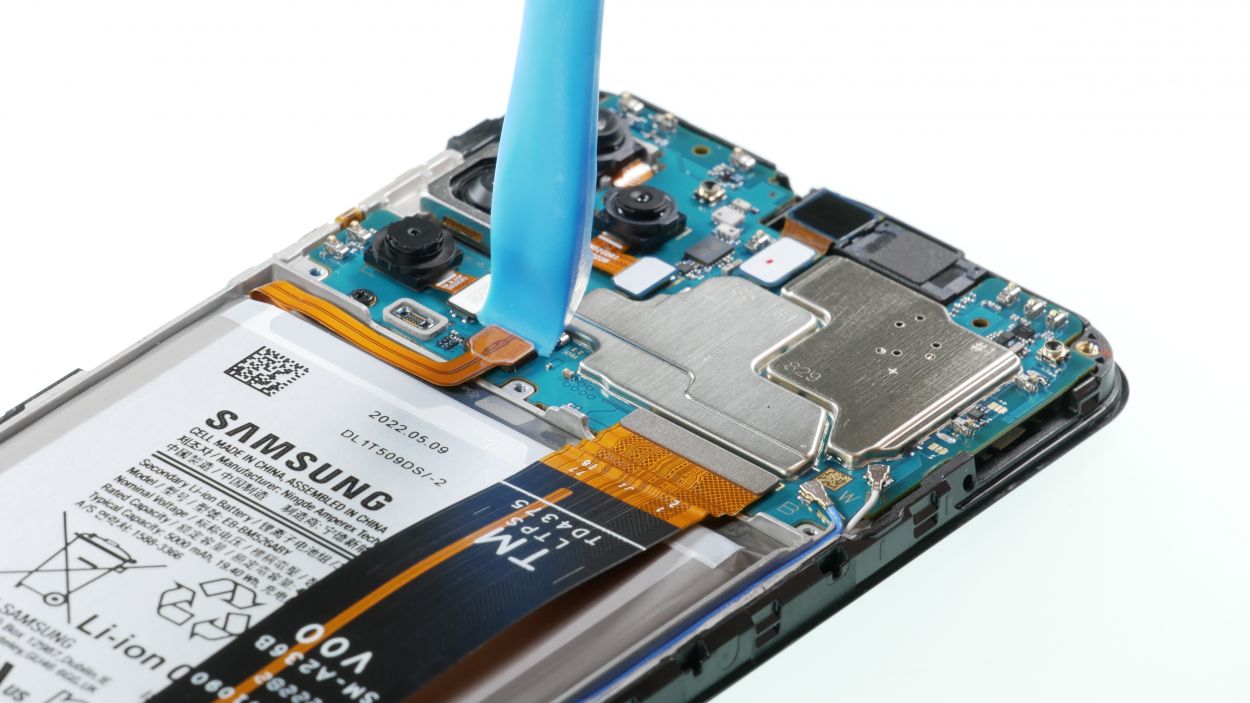
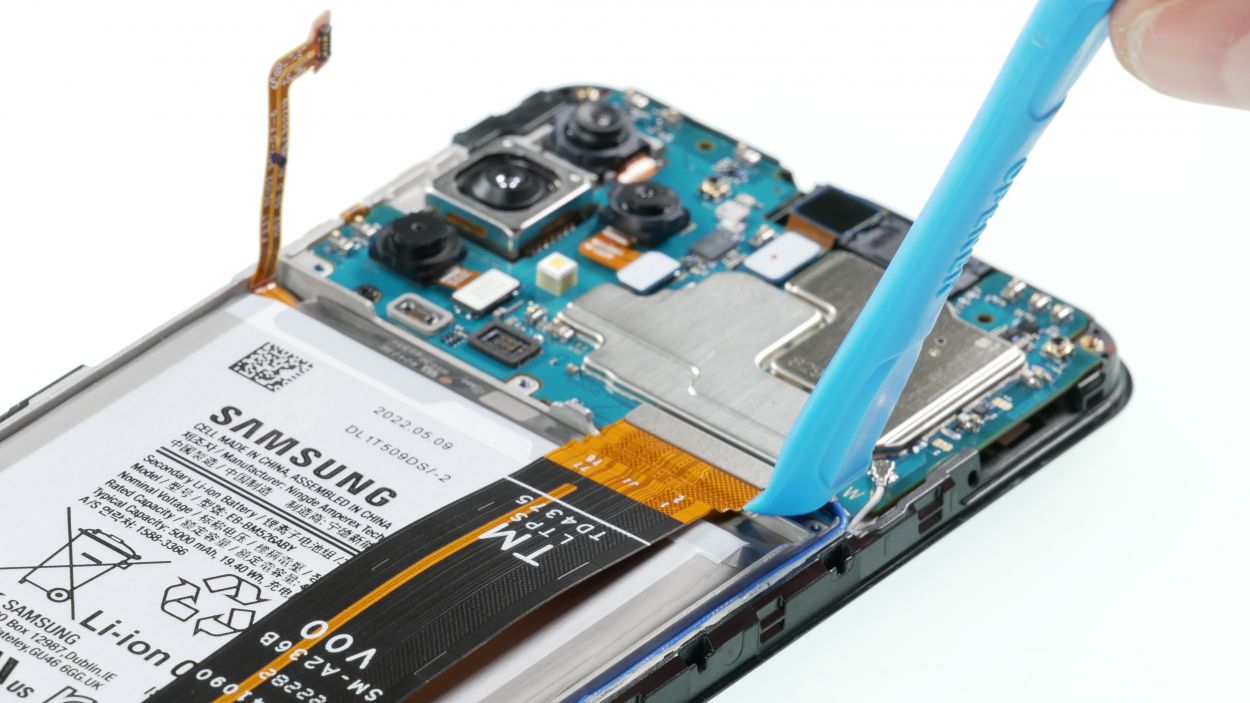
Battery Connector
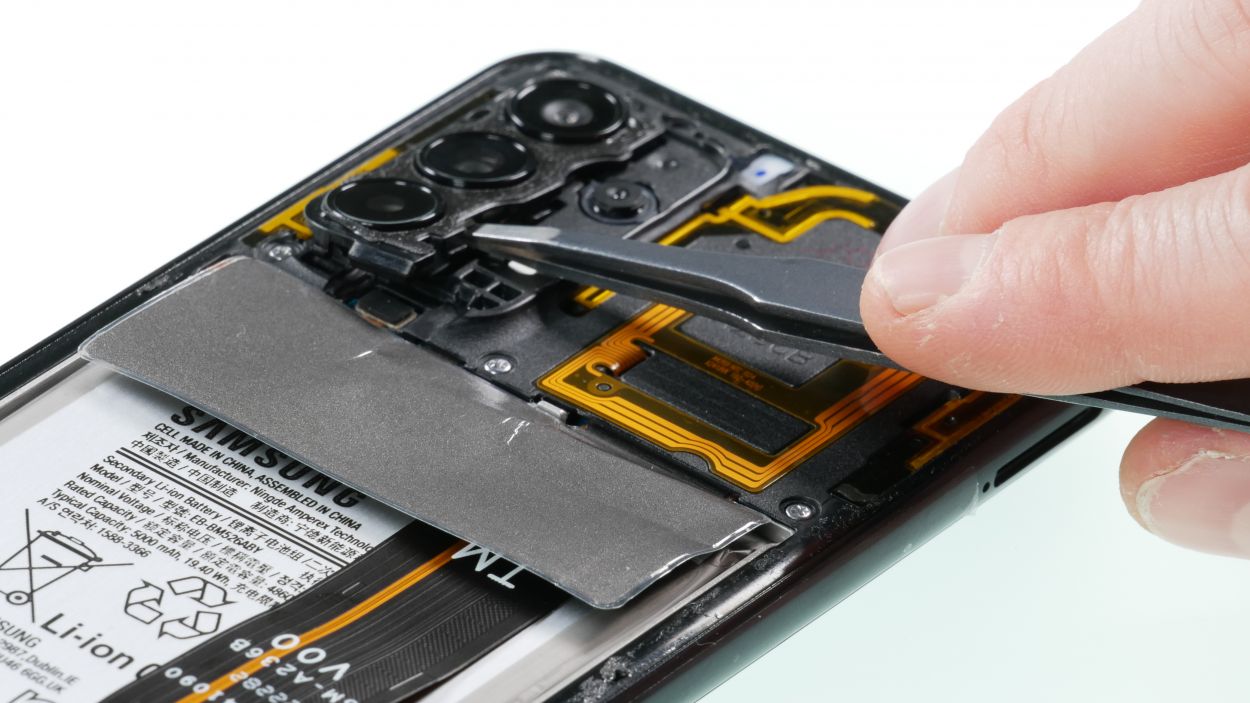
Step 6
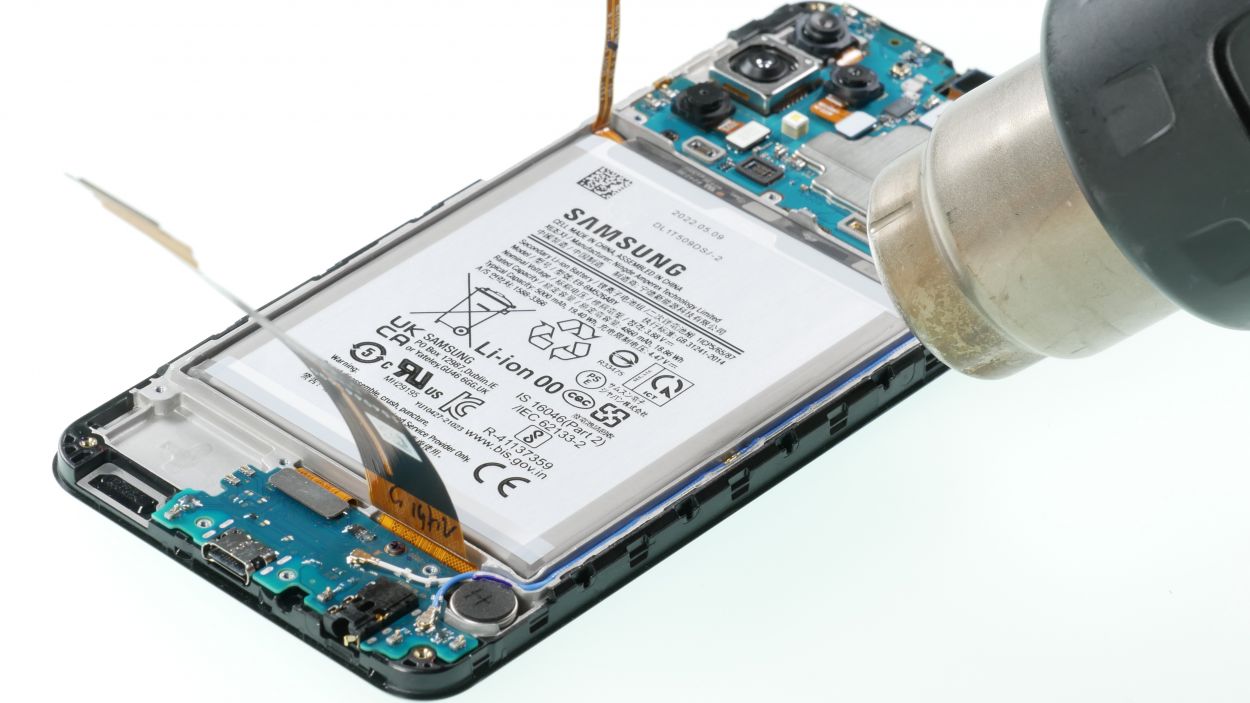
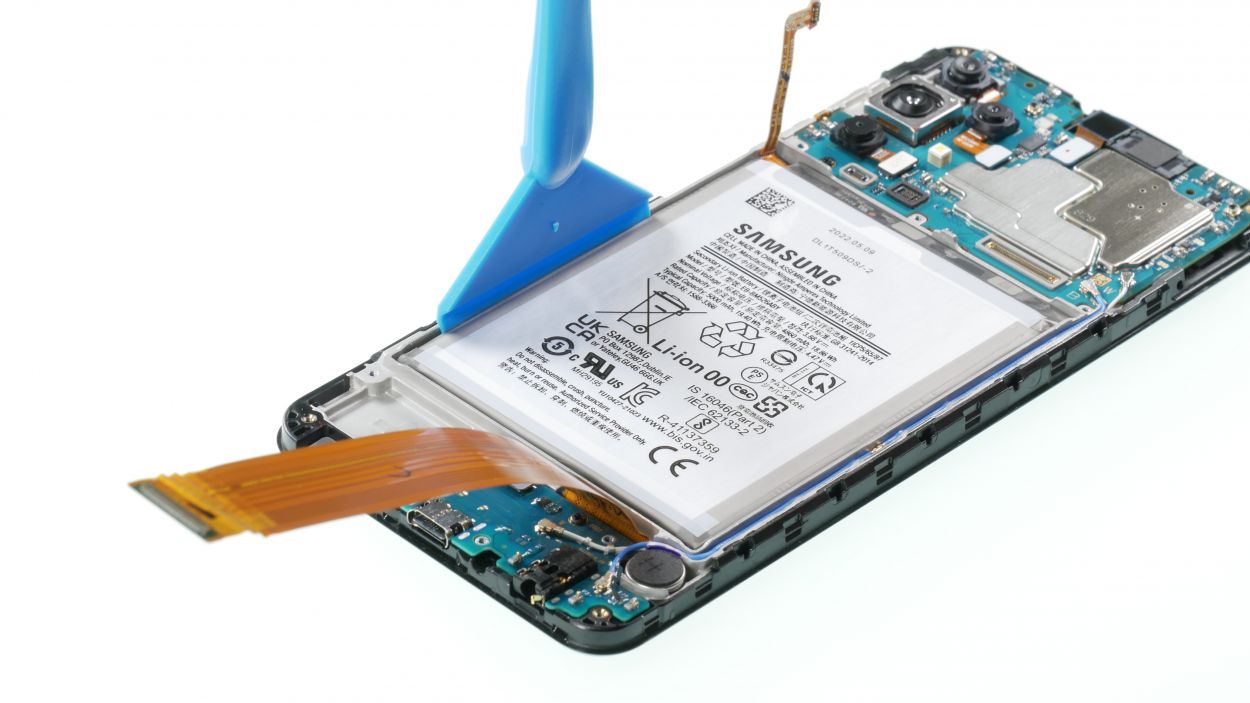

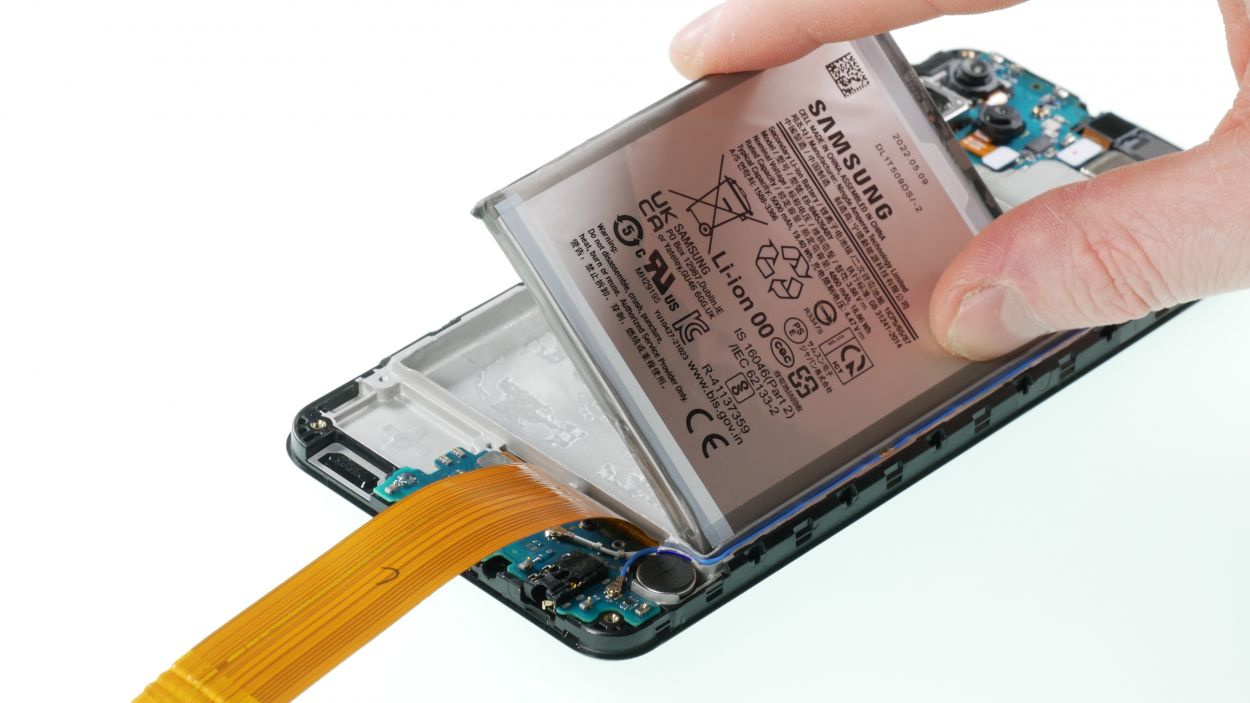
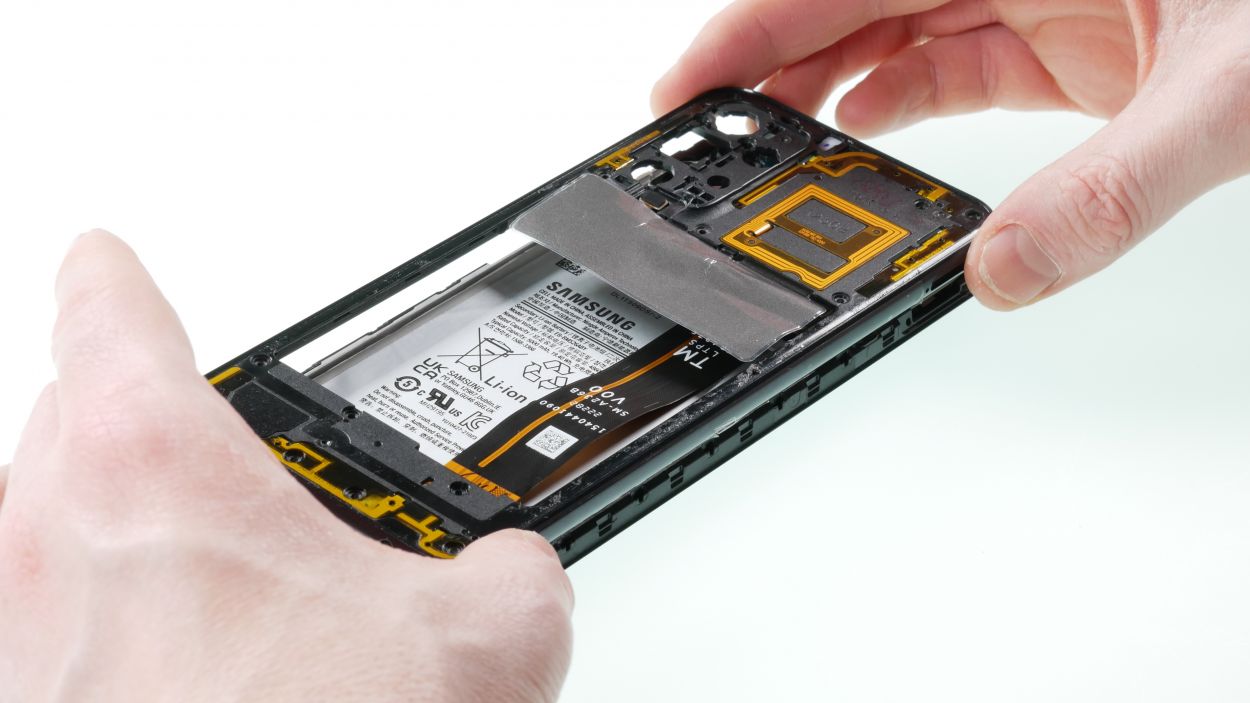
Get ready for the most intricate part of the repair! Stay cool and take your time—you’re on the path to success!
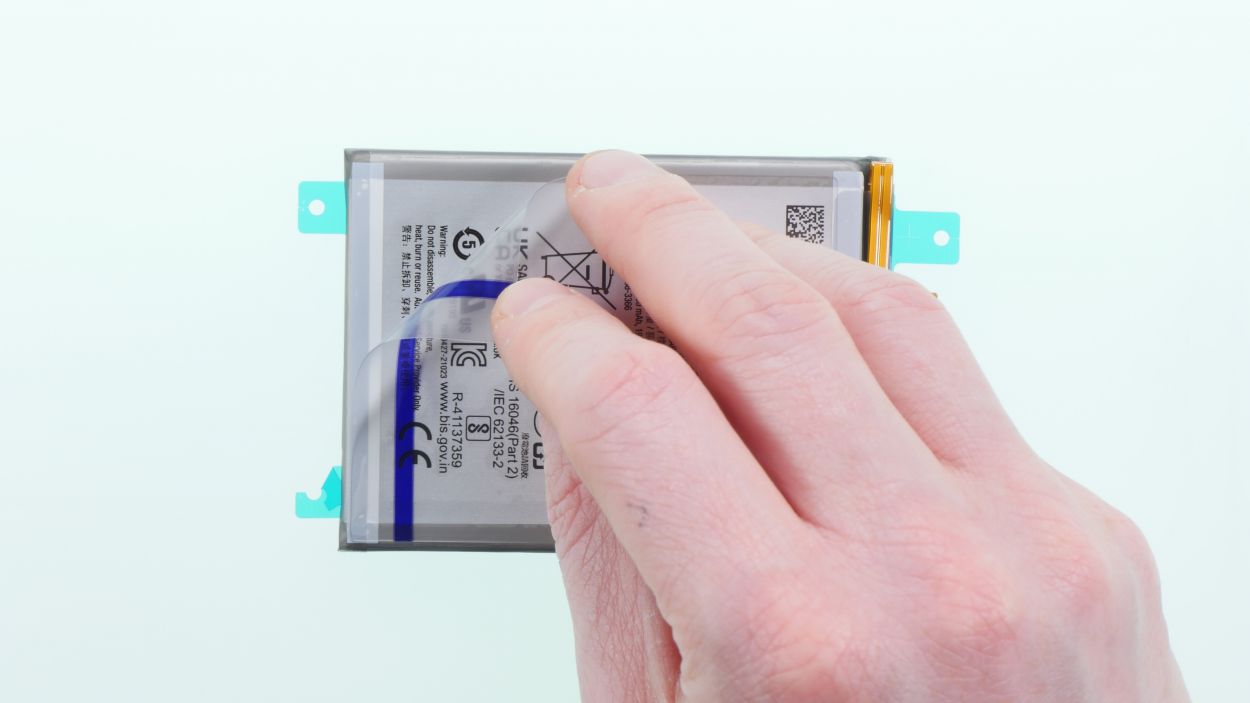
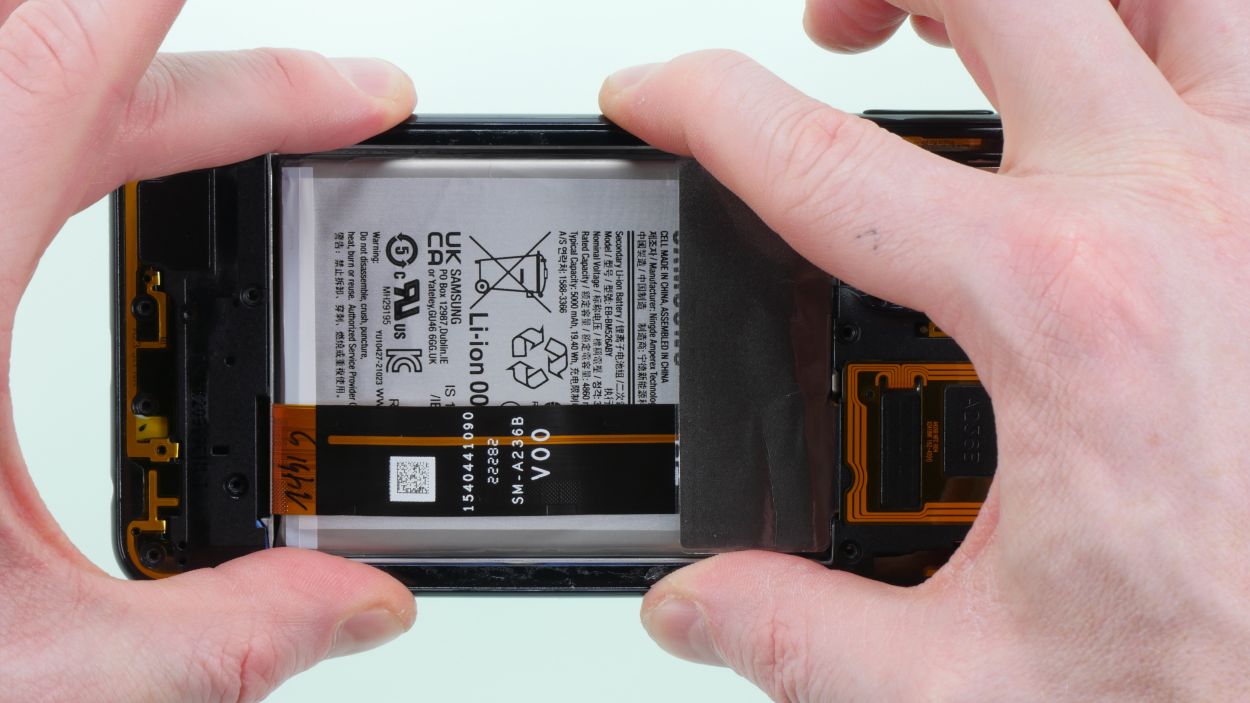
– Gently warm up the battery with your trusty hot air gun or hair dryer, spreading the heat evenly. We want it to feel nice and cozy!
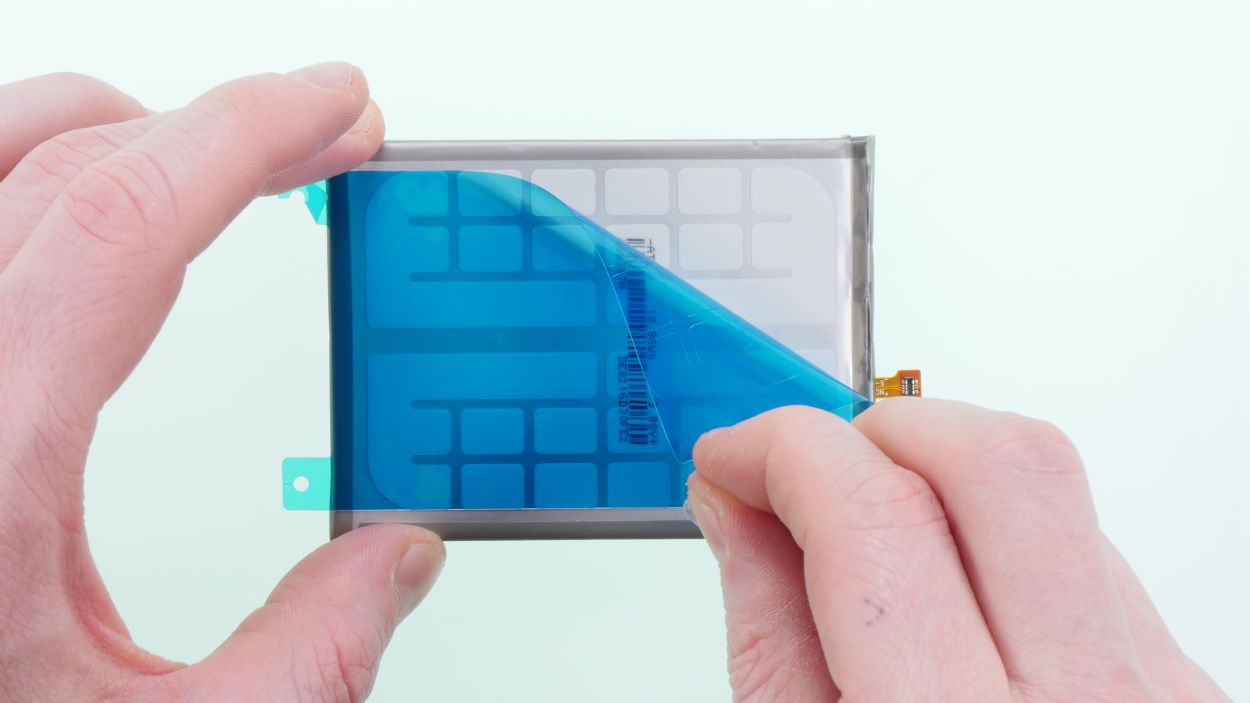
– Once it’s warmed up, grab that battery spudger and carefully pry it out. If you have an iPlastix handy, it can make loosening that sticky adhesive a breeze!
Tools Used
- battery? Then the iPlastix with its large blade will help you. The practical assistant is made of flexible, especially sturdy plastic and lies comfortably in the hand. Thanks to its design, you can even get into smaller gaps, for example to lift the screen or to prevent it from sticking together again.” rel=”noopener”>iPlastix Opening Tool


Step 10
16 × Phillips 3,7 mm
Finger Sensor Connector
– Now it’s time to reattach that middle cover to the display support frame. Listen closely for those hooks snapping into place—it’s music to your ears!
– Give those 16 screws a little love and tighten them up once more.
– Lastly, reconnect the fingerprint sensor’s connector and snugly press the camera frame back in place. You’re almost there!
Tools Used
Step 11
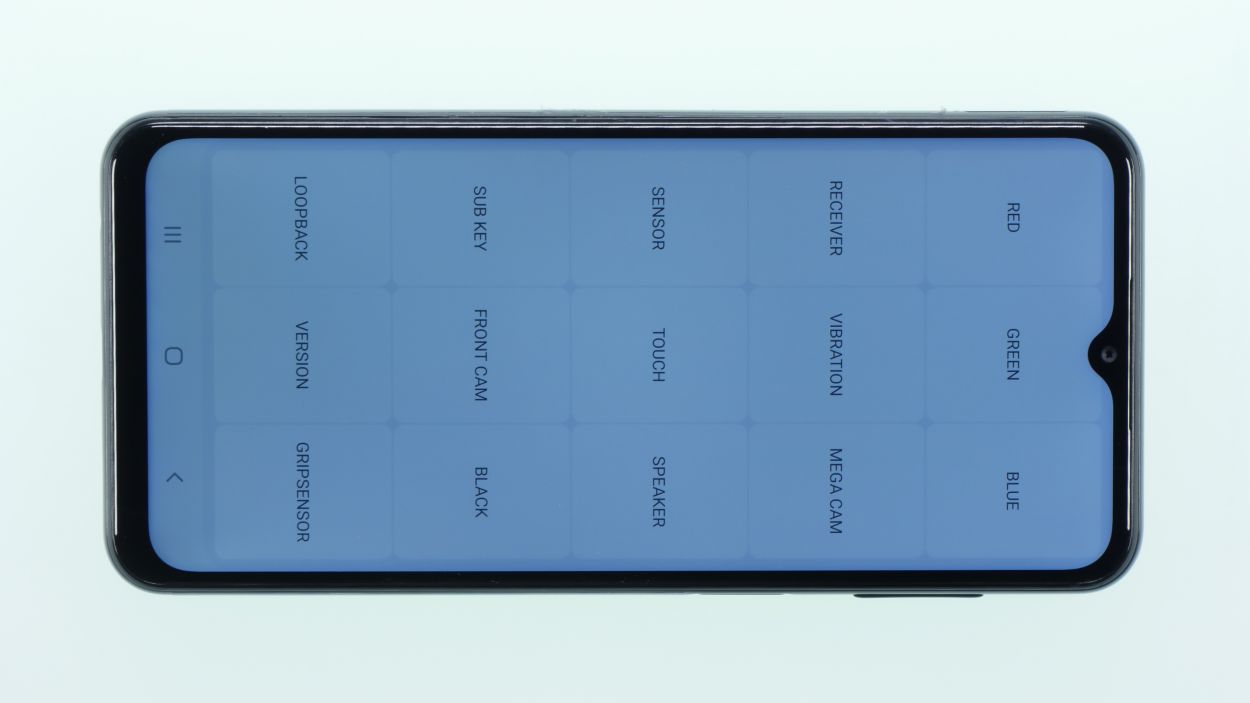
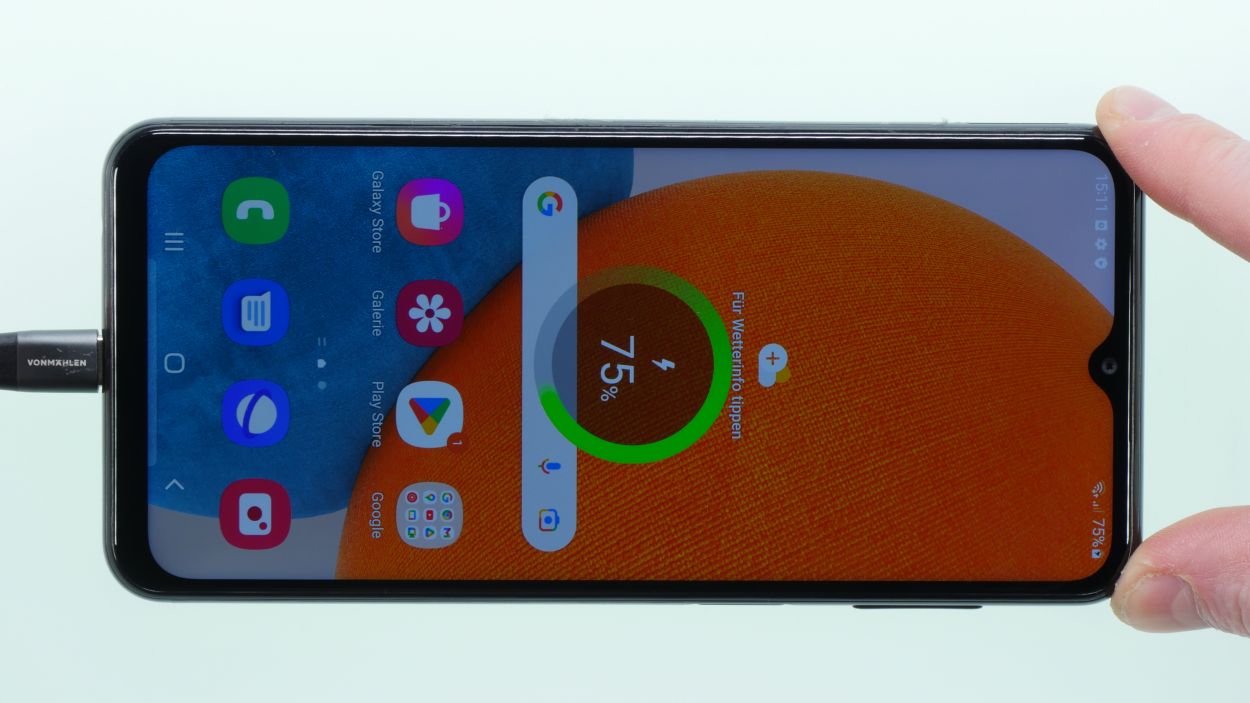
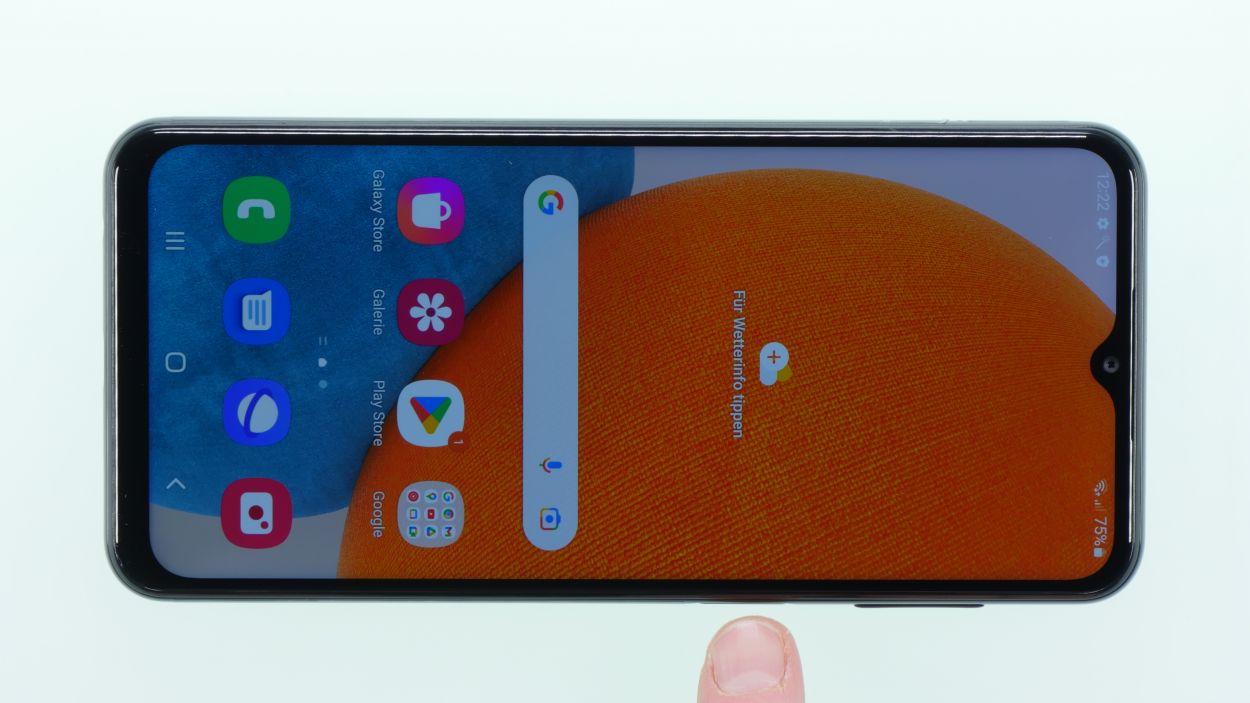
Before sealing everything up, let’s give that screen and the whole phone a quick test drive! Make sure everything’s working smoothly before you put the back cover back on.
– Let’s get that phone fired up and dive into the hidden test menu! Just open your phone app and punch in: *#0*#—then follow along with the test menu’s prompts.
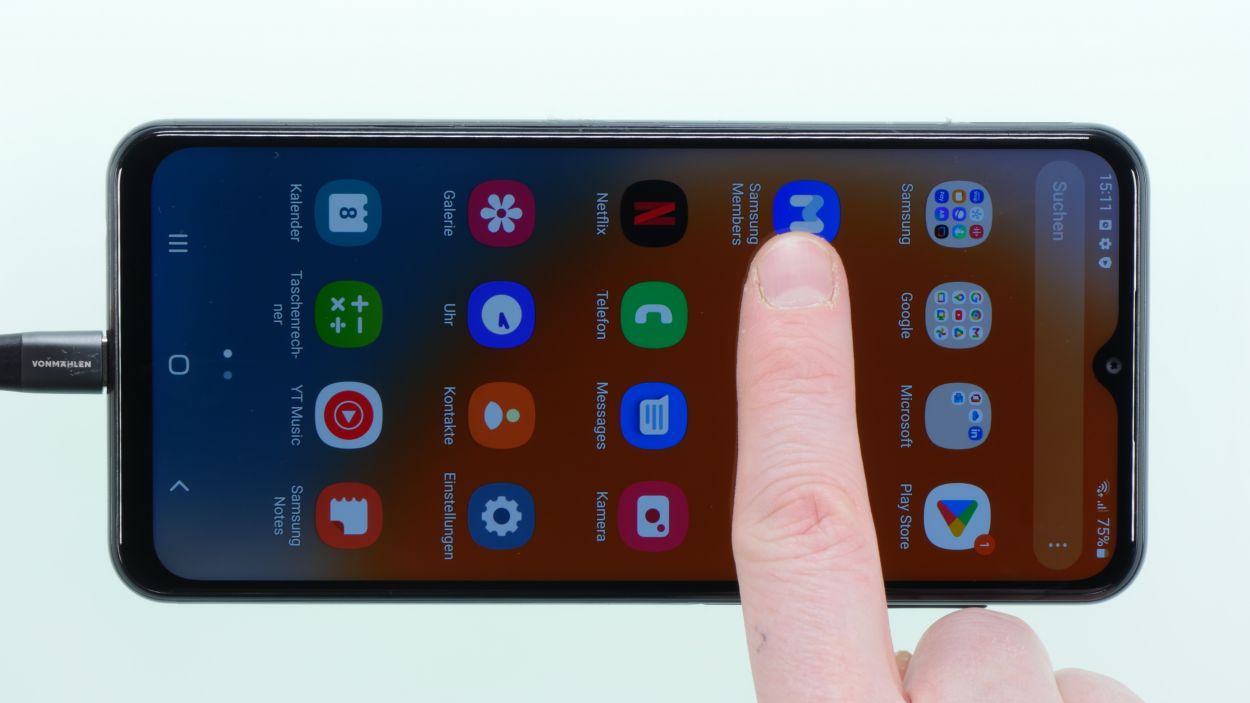
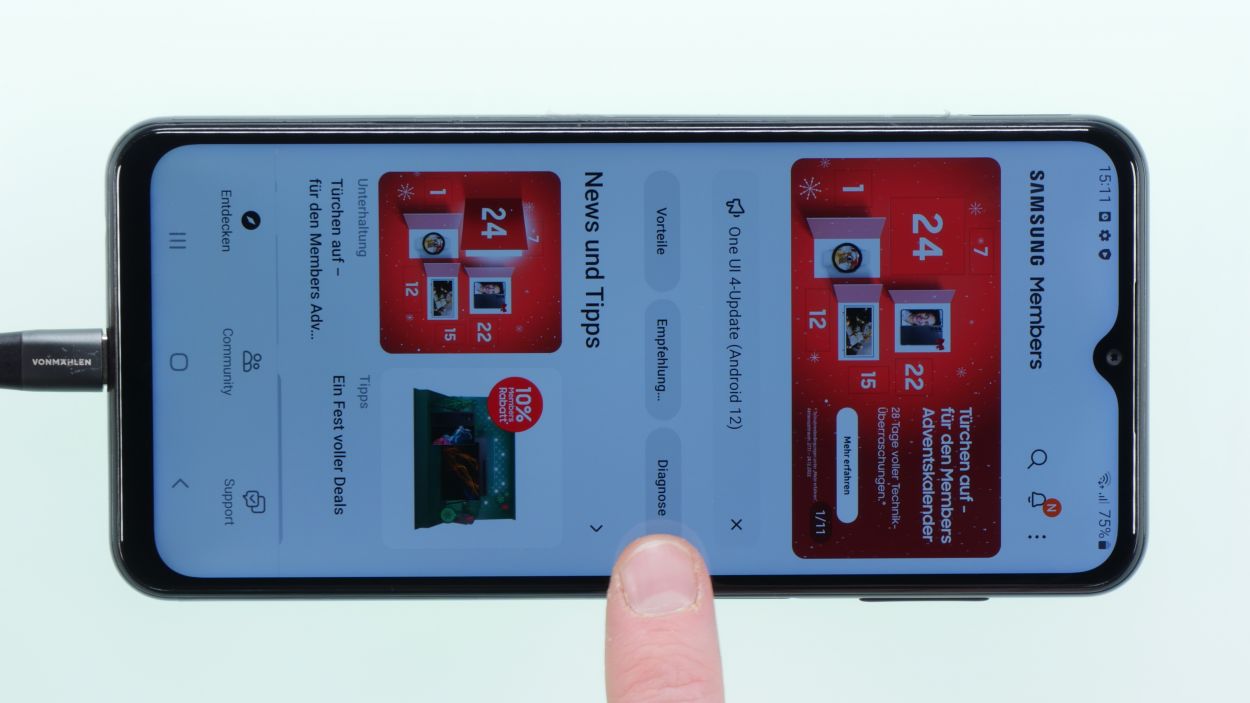
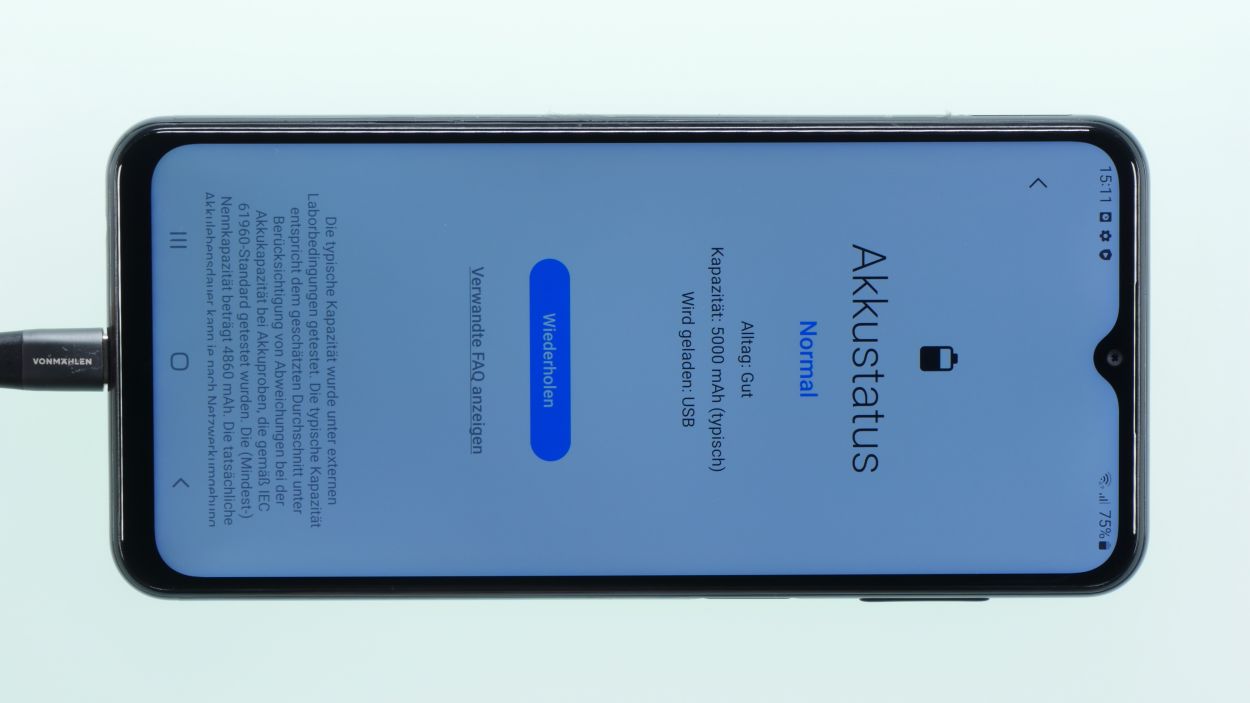
– Next up, pop open the Samsung members app and head over to diagnosis to check out your battery’s health.
– Don’t forget to plug in a charging cable and see if your phone is ready to juice up!
Step 12
– Everything working like a charm? Awesome! Now it’s time to seal the deal by putting that back cover on. Use your hot air gun to warm up the adhesive evenly—give it some love!
– Once it’s all warmed up, press the back cover down firmly. You’ve got this!
Step 13

– Pop that sim card holder back in its cozy little home!