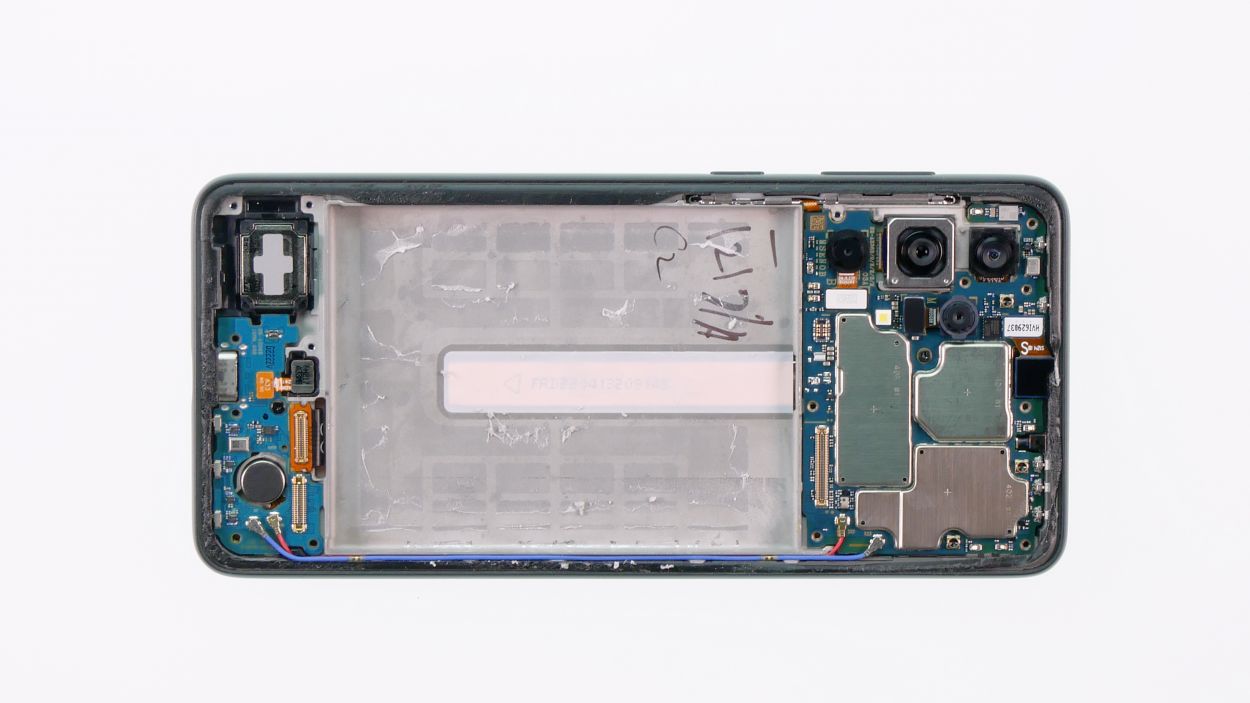
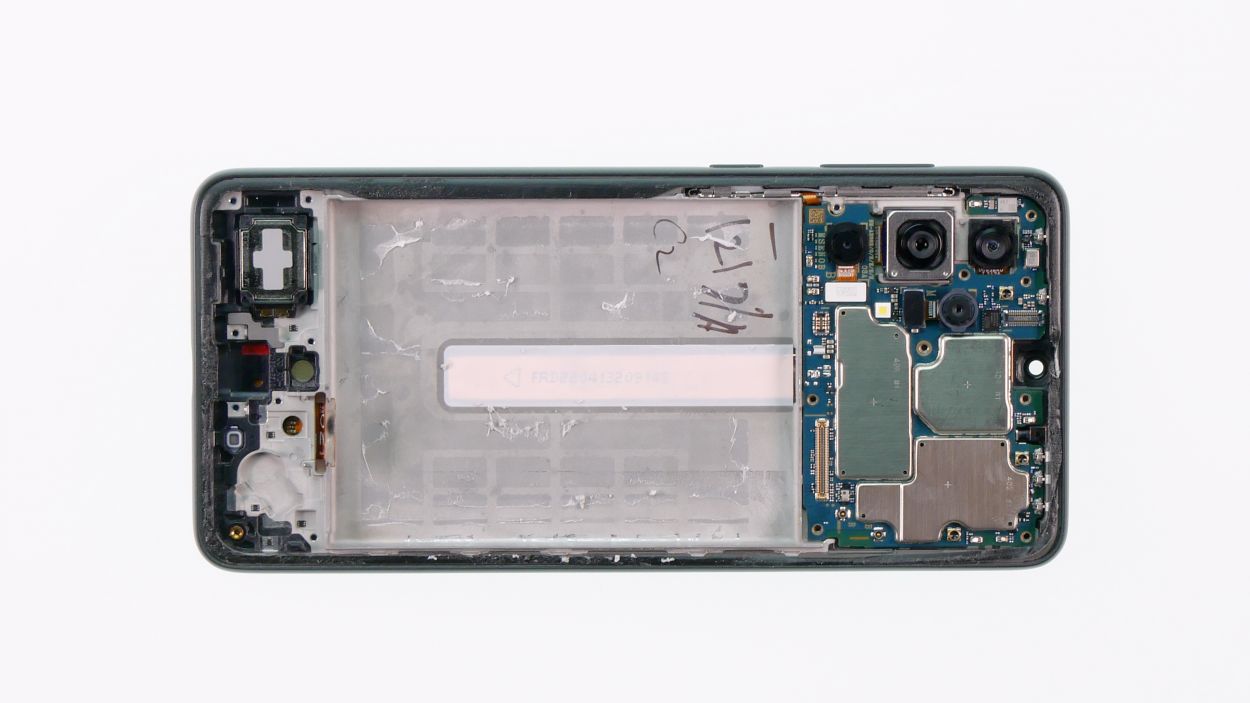
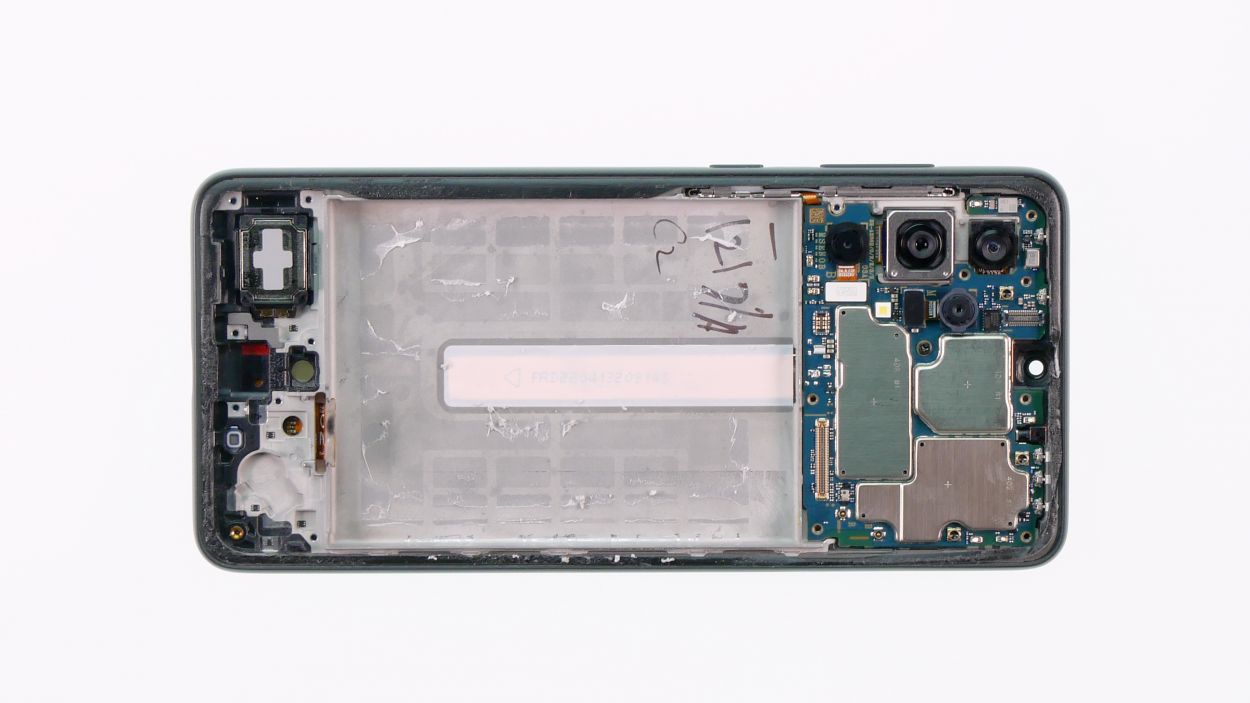
DIY Guide to Replace Samsung Galaxy A33 5G Screen
Duration: About 90 minutes of fun and focus!
Steps: 30 Steps
Repairing this device is a breeze! The trickiest part is dealing with the stubbornly glued battery, but with a little patience and care, you’ll sail through the rest of the process without a hitch. If our guide has been helpful, we’d love for you to drop us a positive review. Good luck with your repair adventure! And remember, if you need a hand, schedule a repair with us!
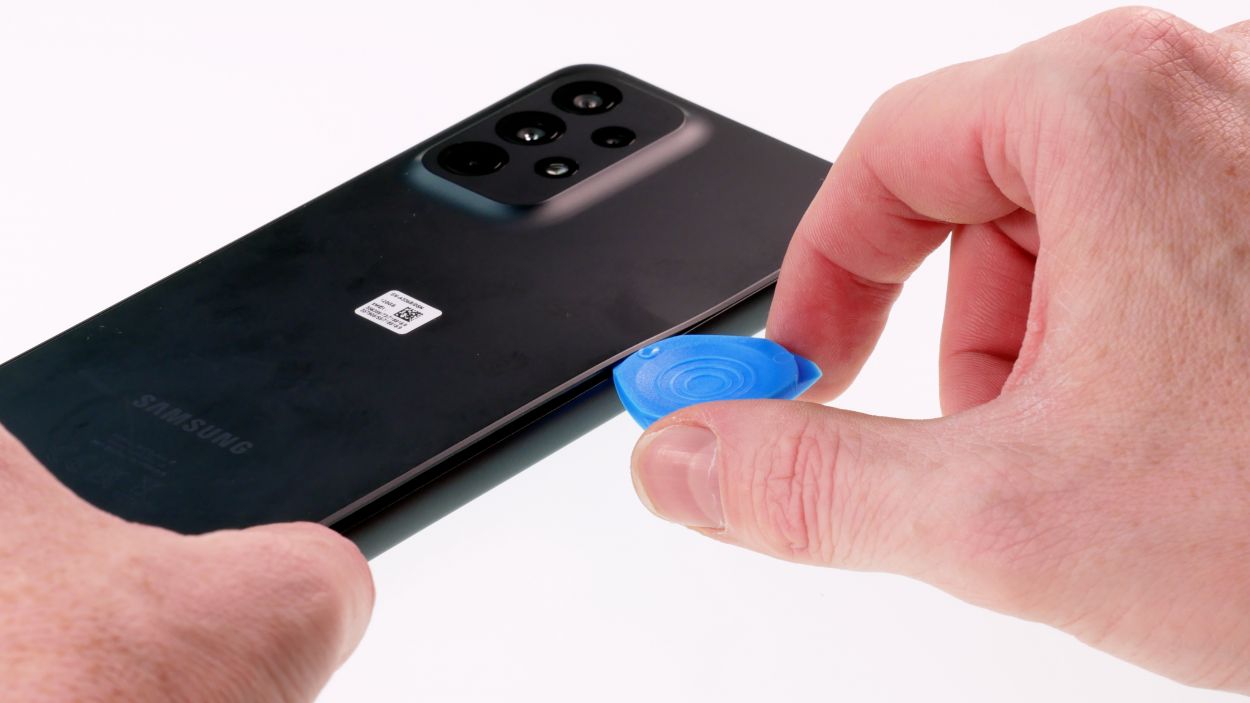
Step 2
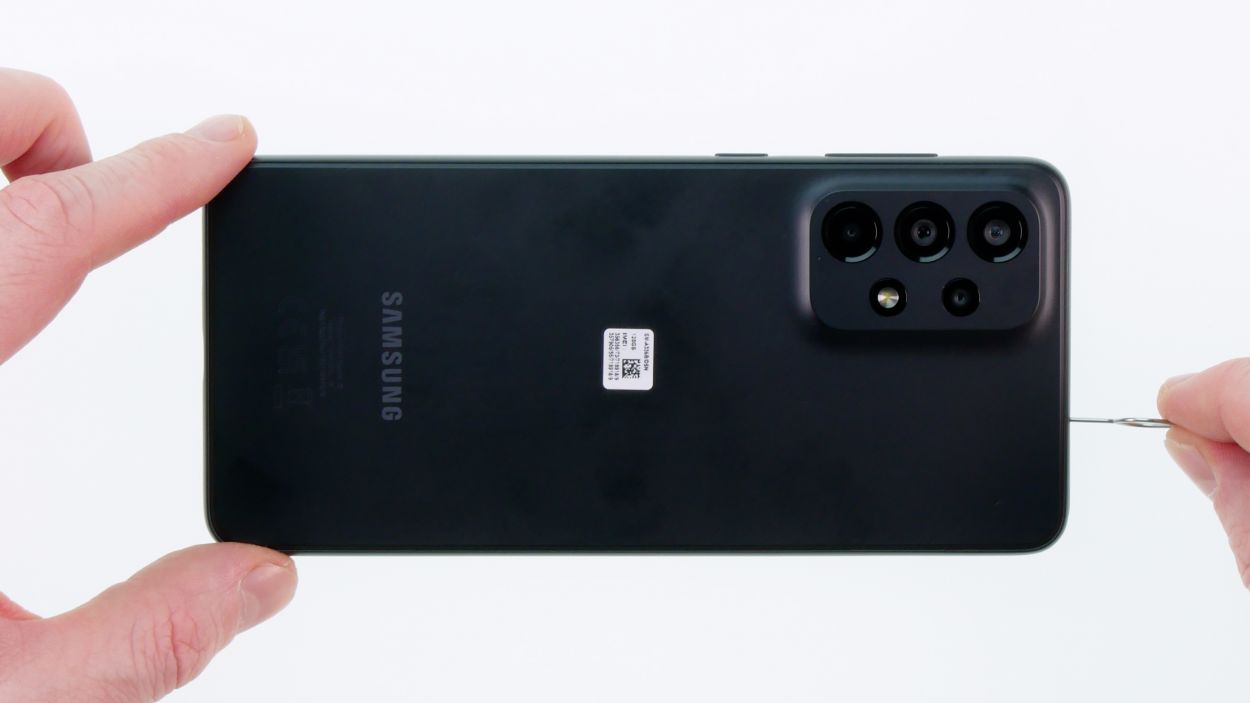
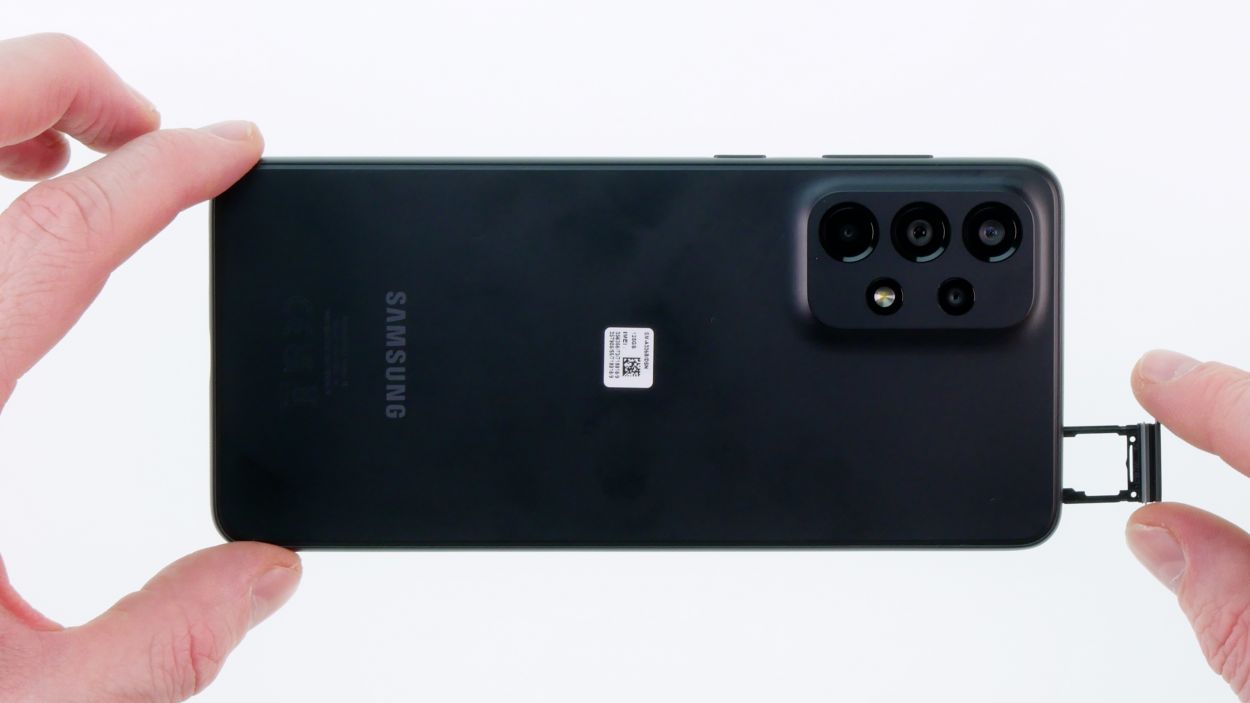
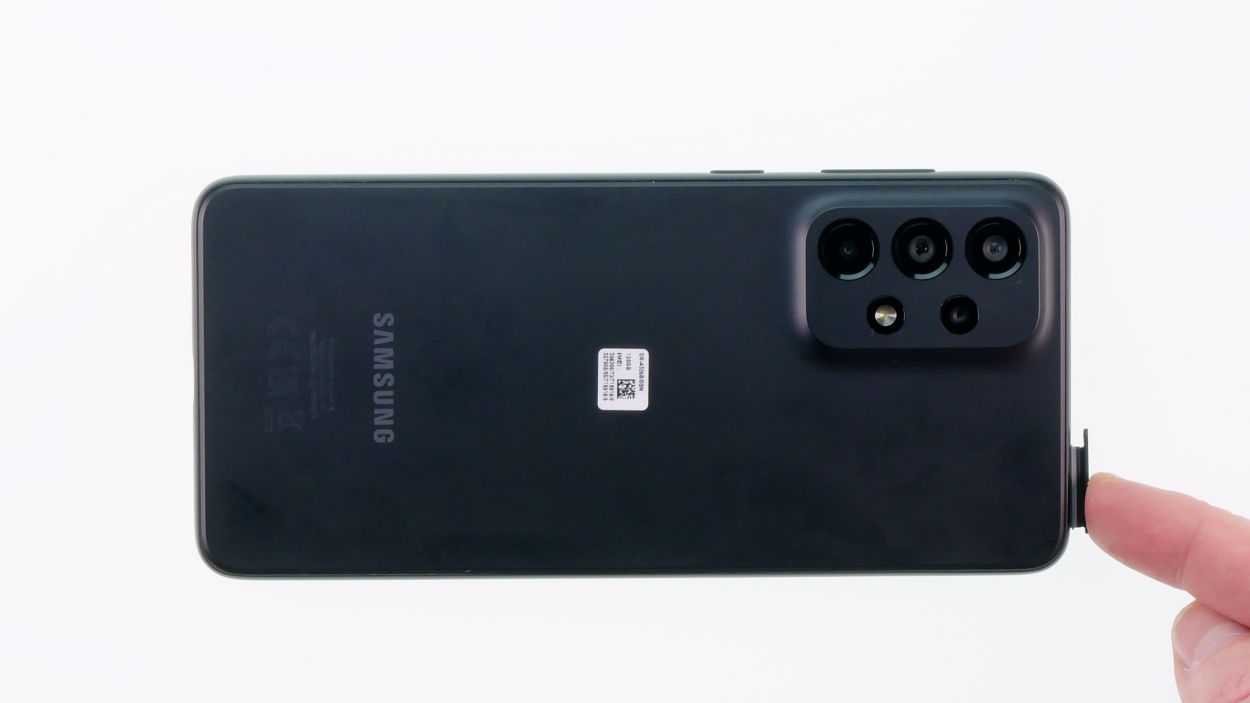
– Pop out the sim card holder using the handy tool we’ve provided. It’s like a little magic trick—just give it a gentle push and watch it come right out!
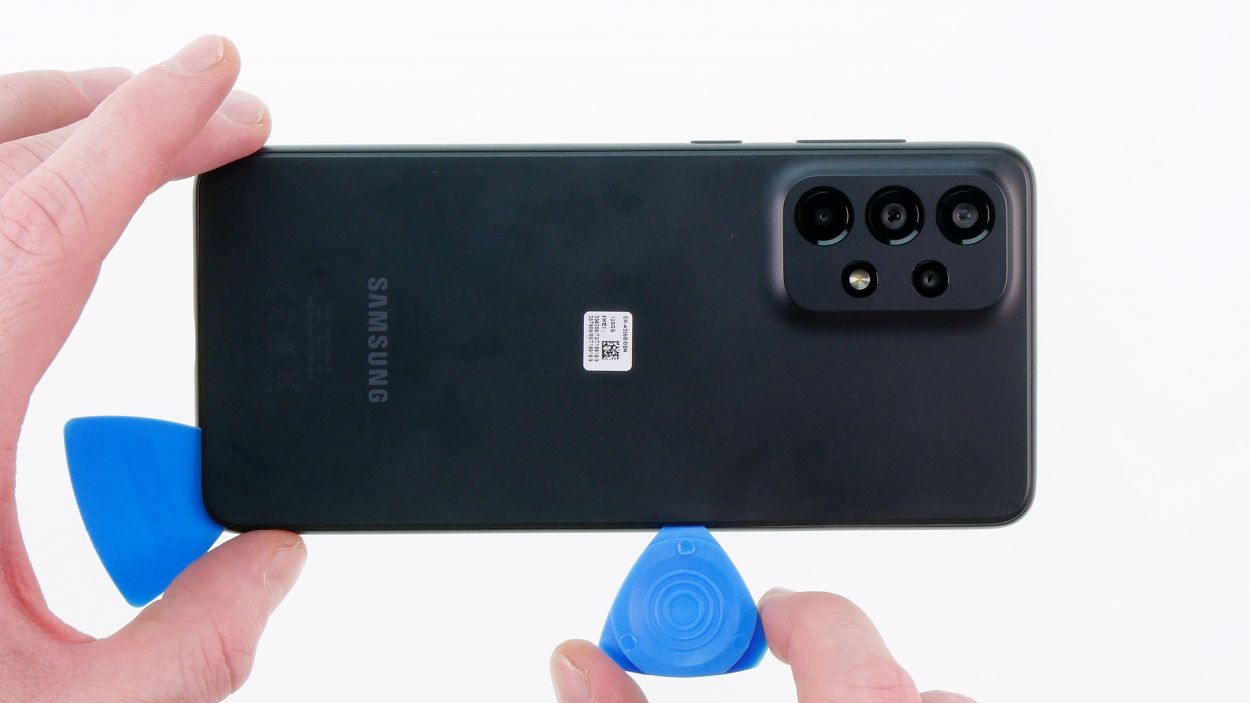
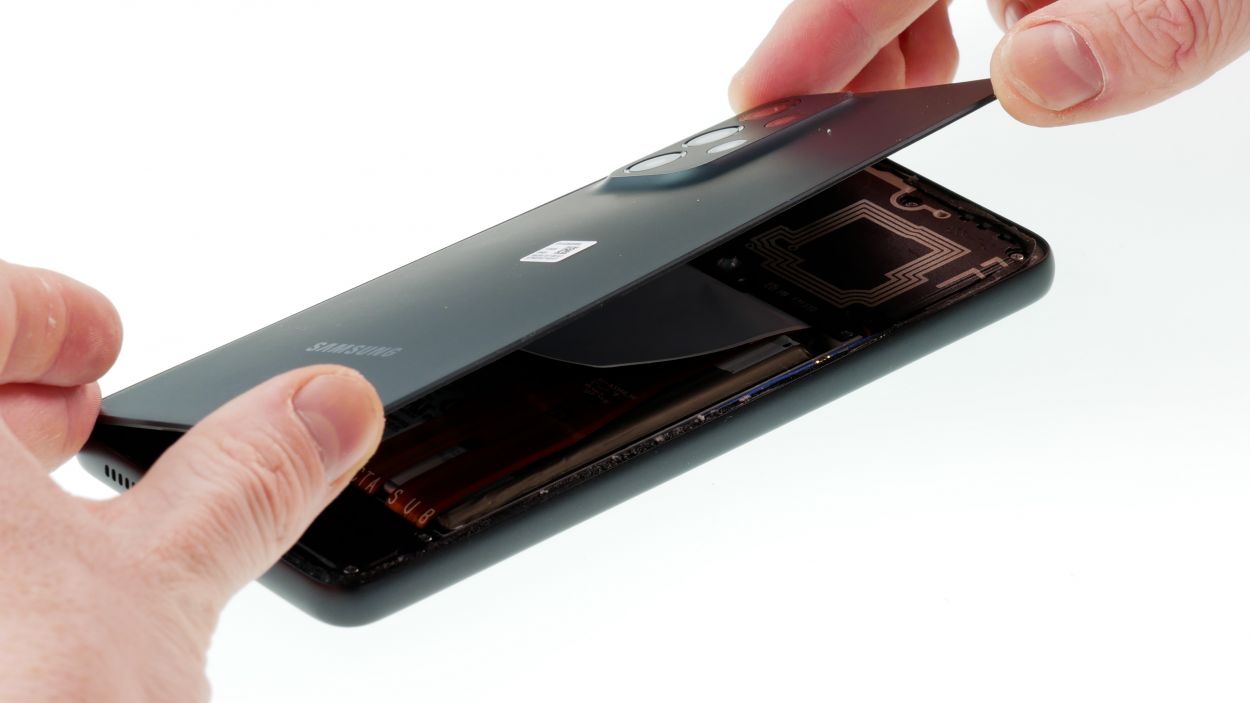
Step 3

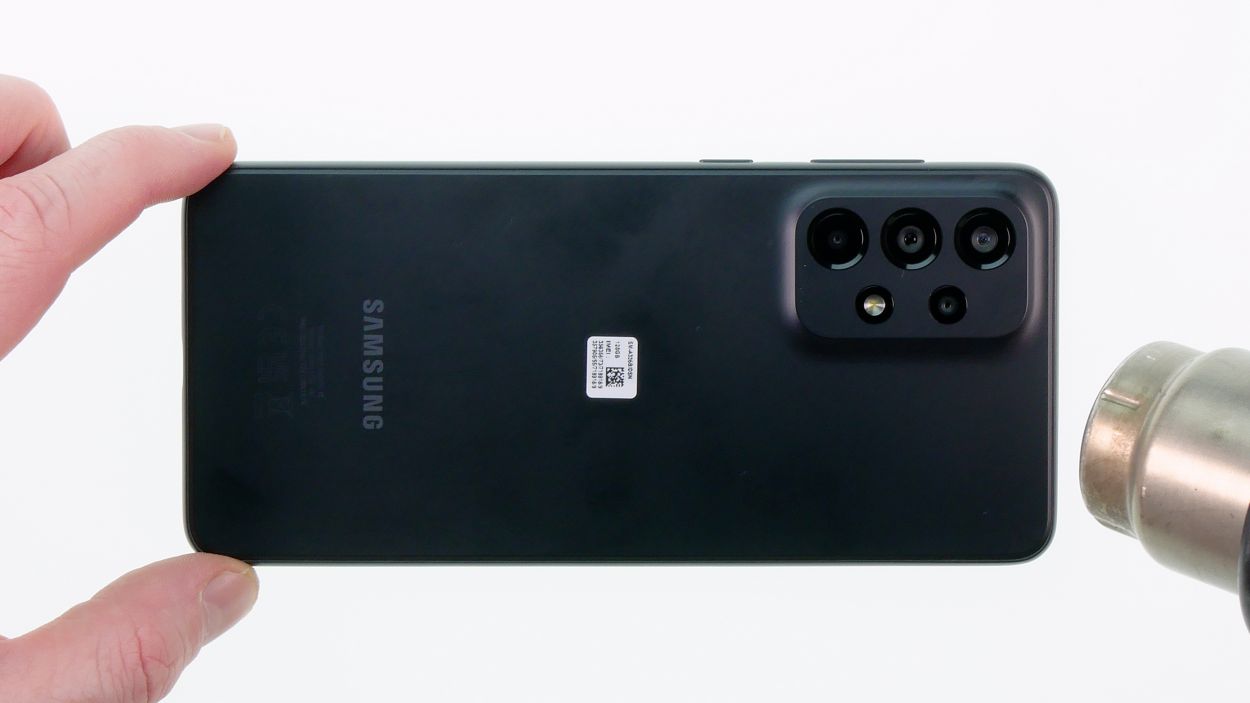
– Give that back cover some love by warming up its edges with a hot air gun or a trusty hair dryer. Remember, even heating is key—no need to crank up the heat too high, just a gentle touch will do!
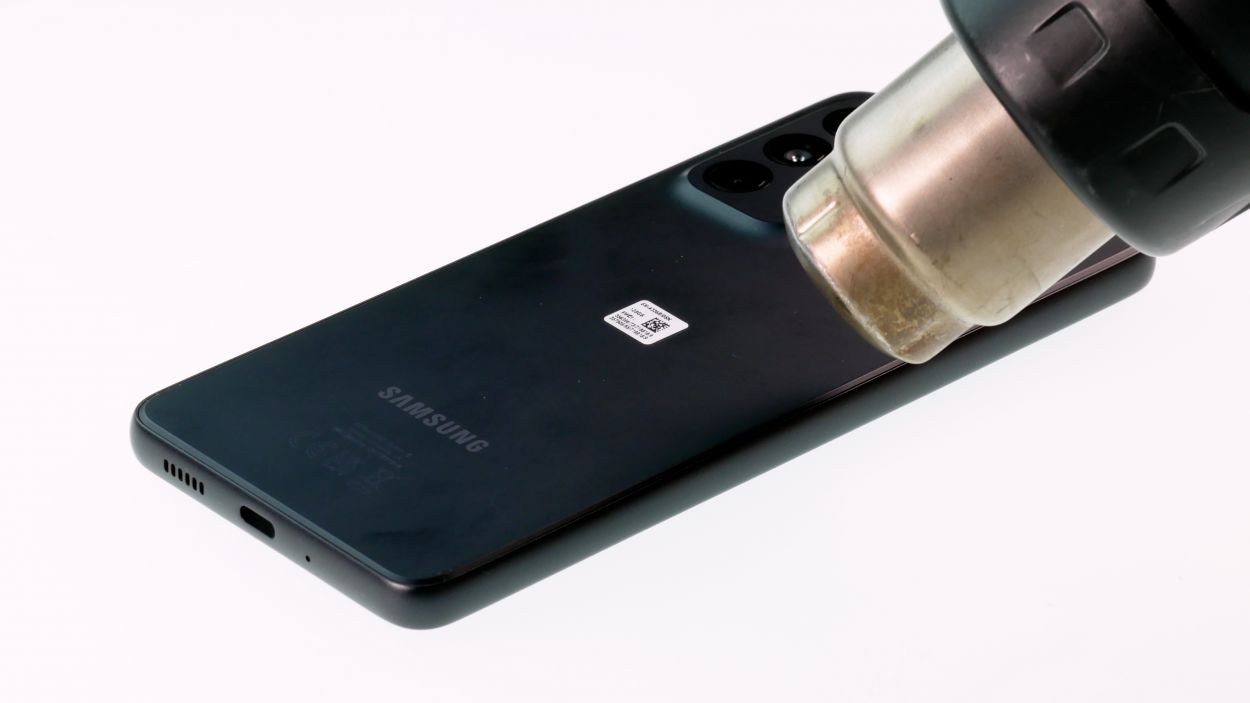
Step 4
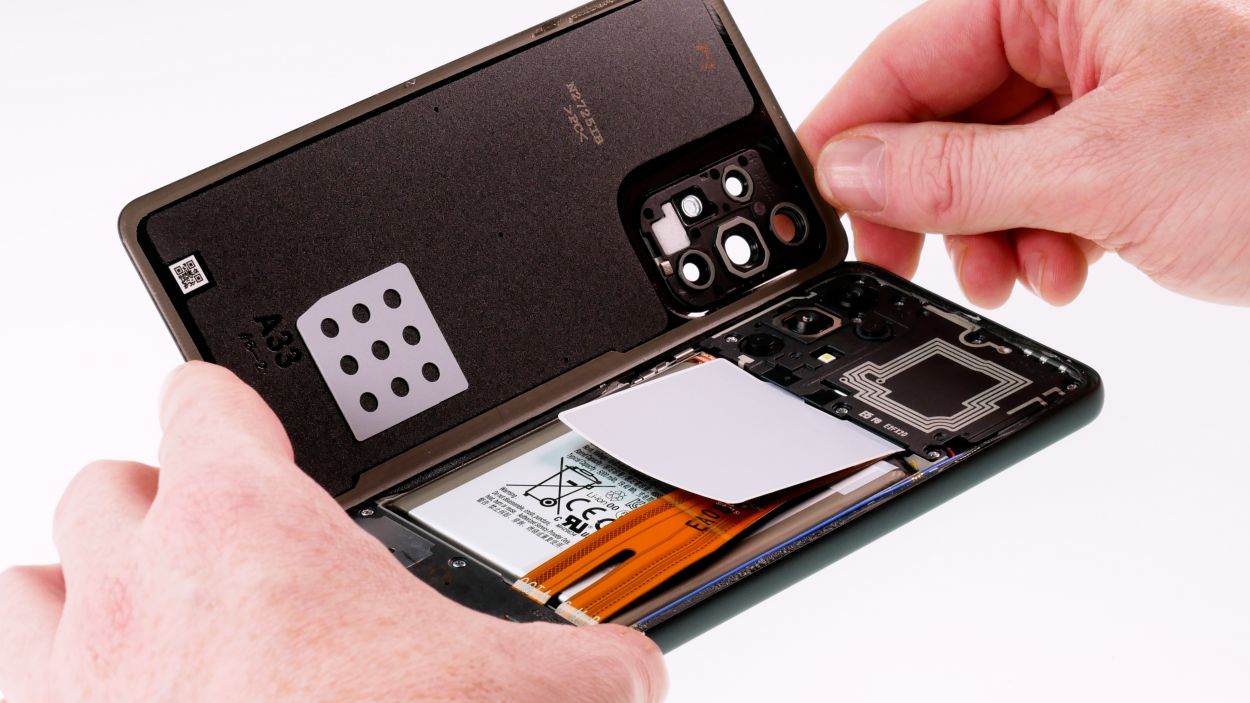

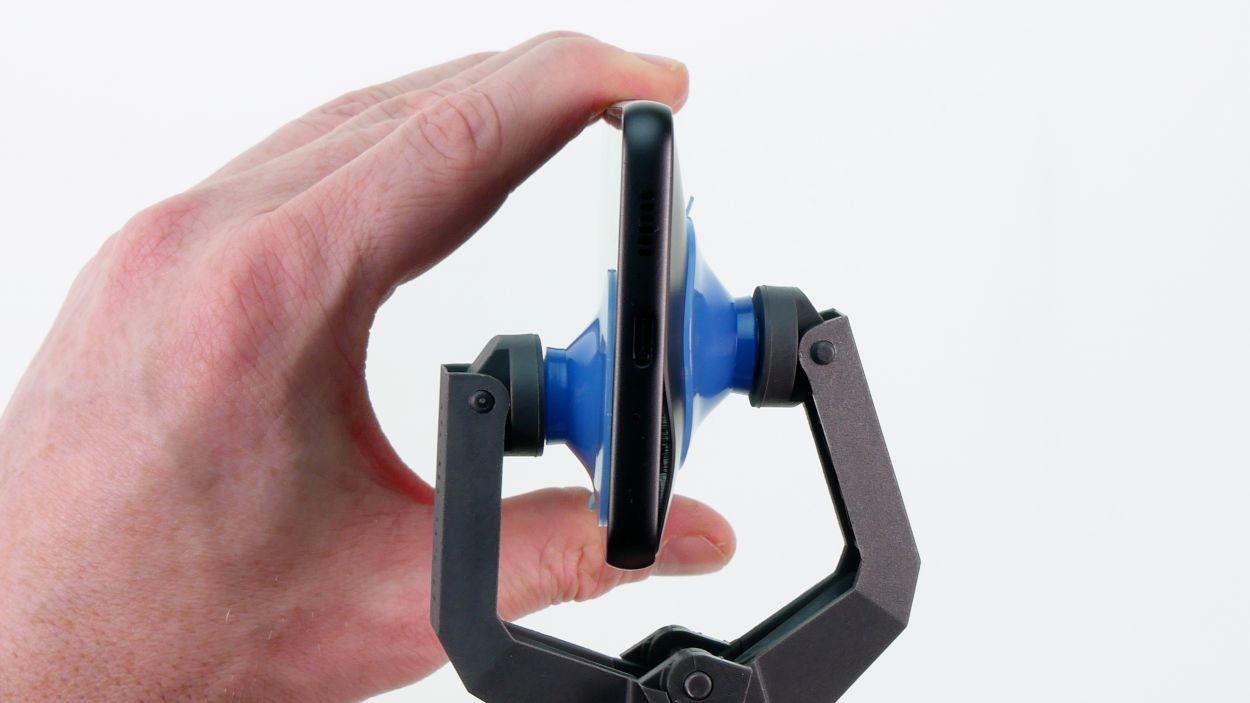
The iSclack is your new best friend for this step, making your life a whole lot easier!
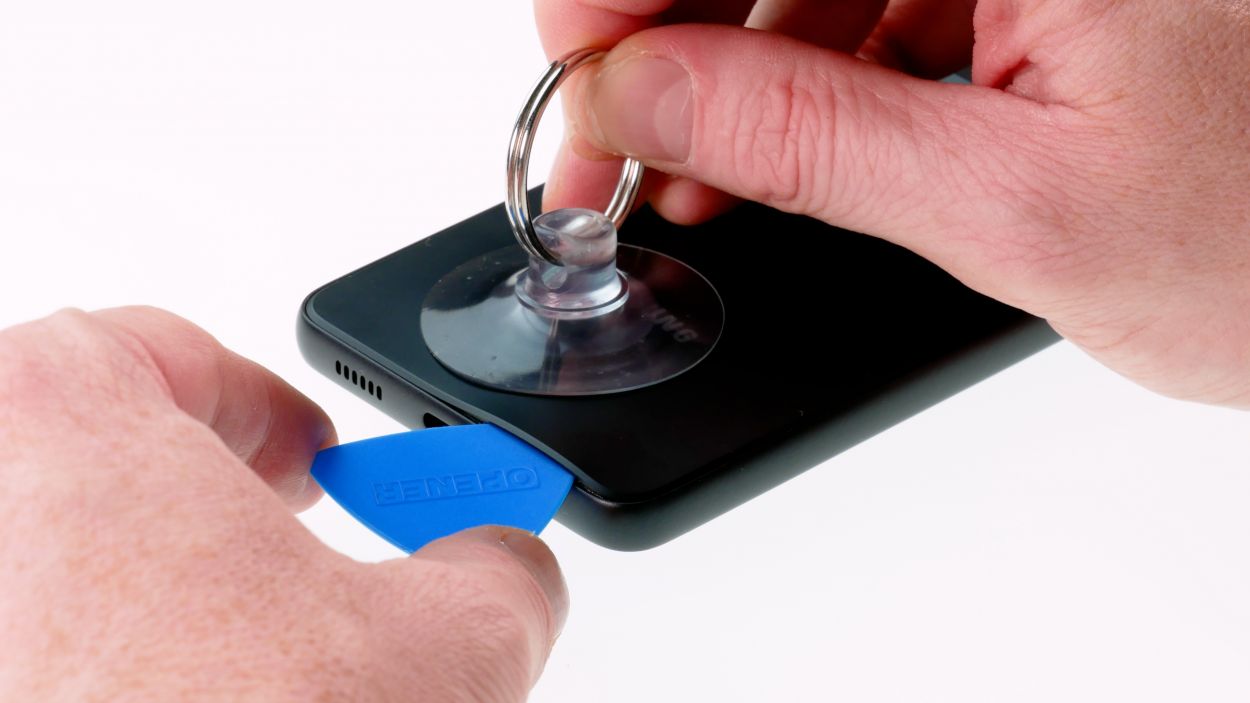
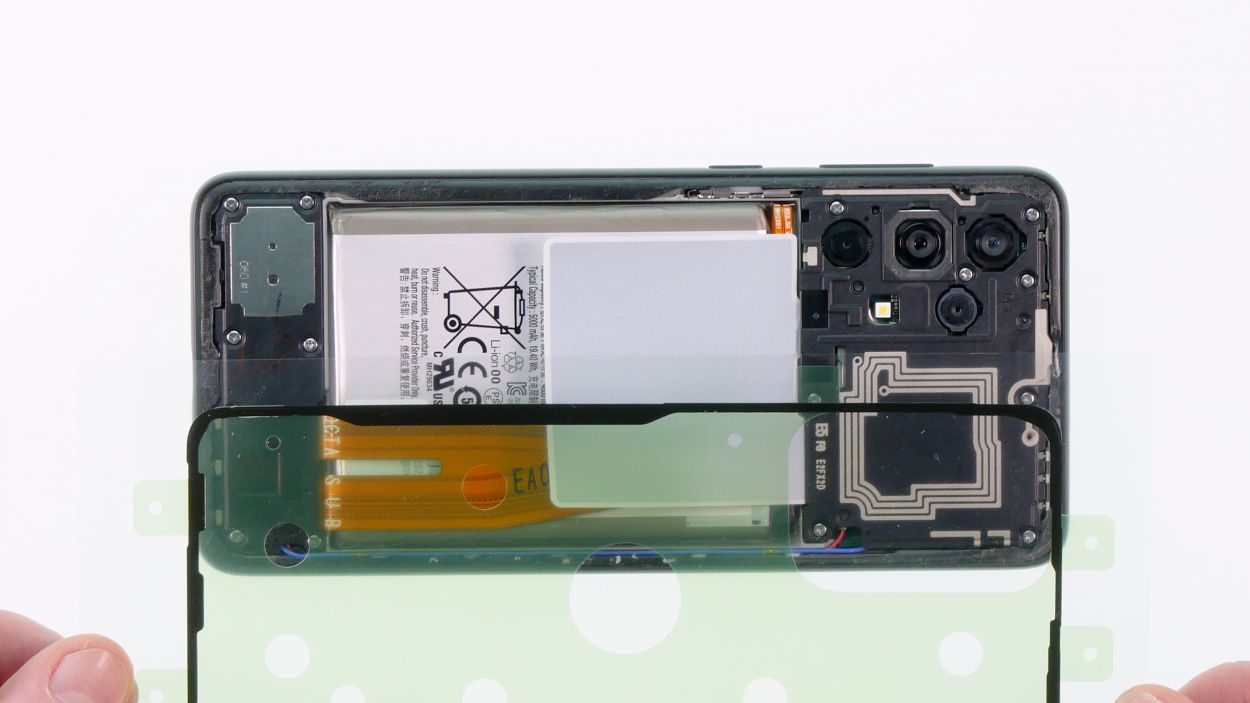
– Once you’ve given that back cover a nice warm hug, grab a suction cup and gently lift it up to create a little gap. Now, slide in a plectrum like a pro!
– With the plectrum in place, carefully lift the back cover off. Take your time to gently loosen that sticky adhesive—patience is key!
Tools Used
- screen or back of your phone is glued very strong. With an iSclack evo, you can simplify the process. The pincer-like handle allows you to create a gap between the screen and the frame with minimal effort. At the same time, you have the other hand free to use a narrow tool such as a plectrum or the iFlex to enlarge the gap. The included cover foils allow you to use the iSclack evo even if the screen is splintered.” rel=”noopener nofollow”>iSclack evo Opening Tool
Step 5
8 × Phillips 4,1mm
To keep your screws from playing hide and seek, it’s a smart move to stash them on a magnetic mat or in a tidy little container. This way, you won’t mix them up or lose any during your repair escapade!
– Unscrew those eight little troublemakers with a Phillips screwdriver, then gently lift off the top board cover like you’re unveiling a surprise gift!

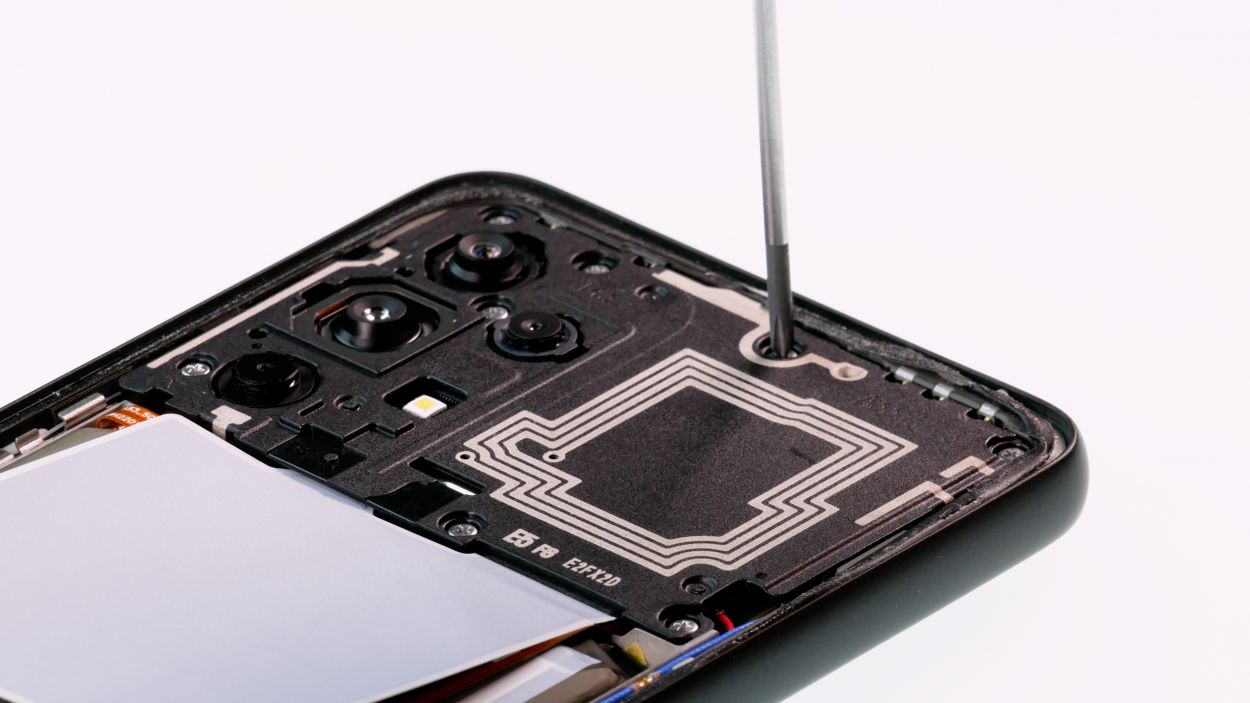
Step 7

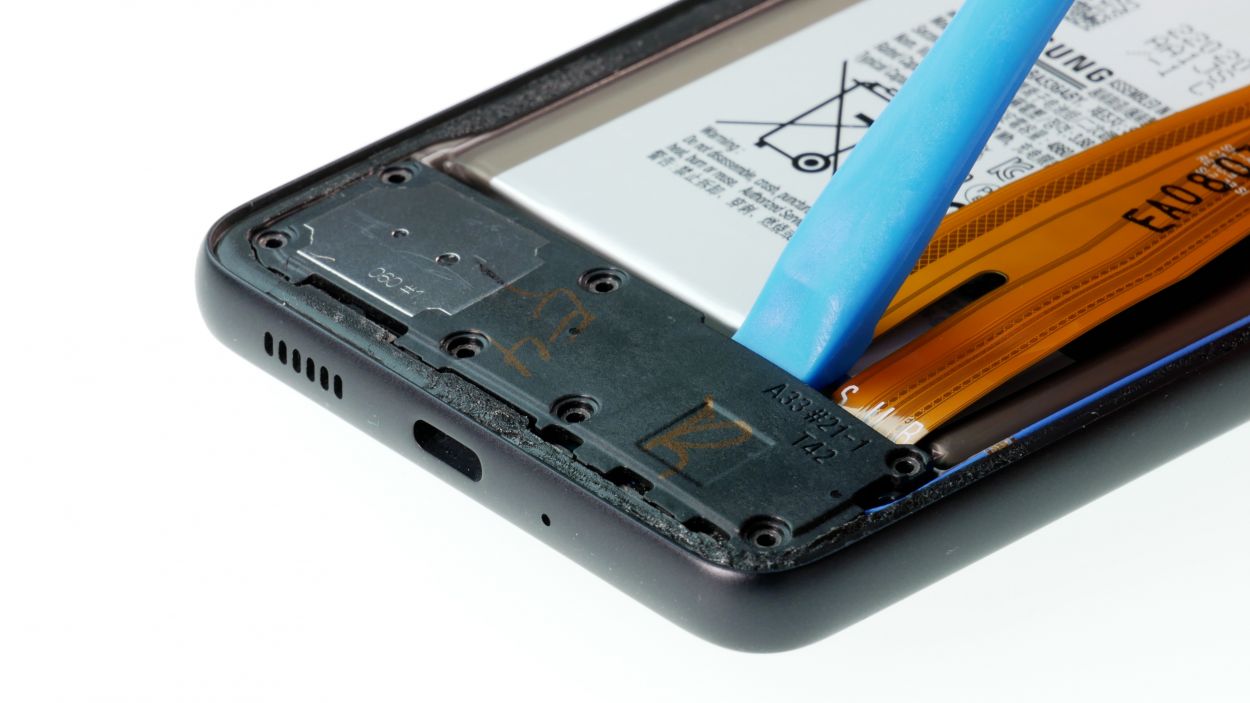
7 × Phillips 4,2mm
– Unscrew those seven little screws that are calling for your attention.
– Now, gently lift out the lower board cover as if you’re unveiling a treasure!
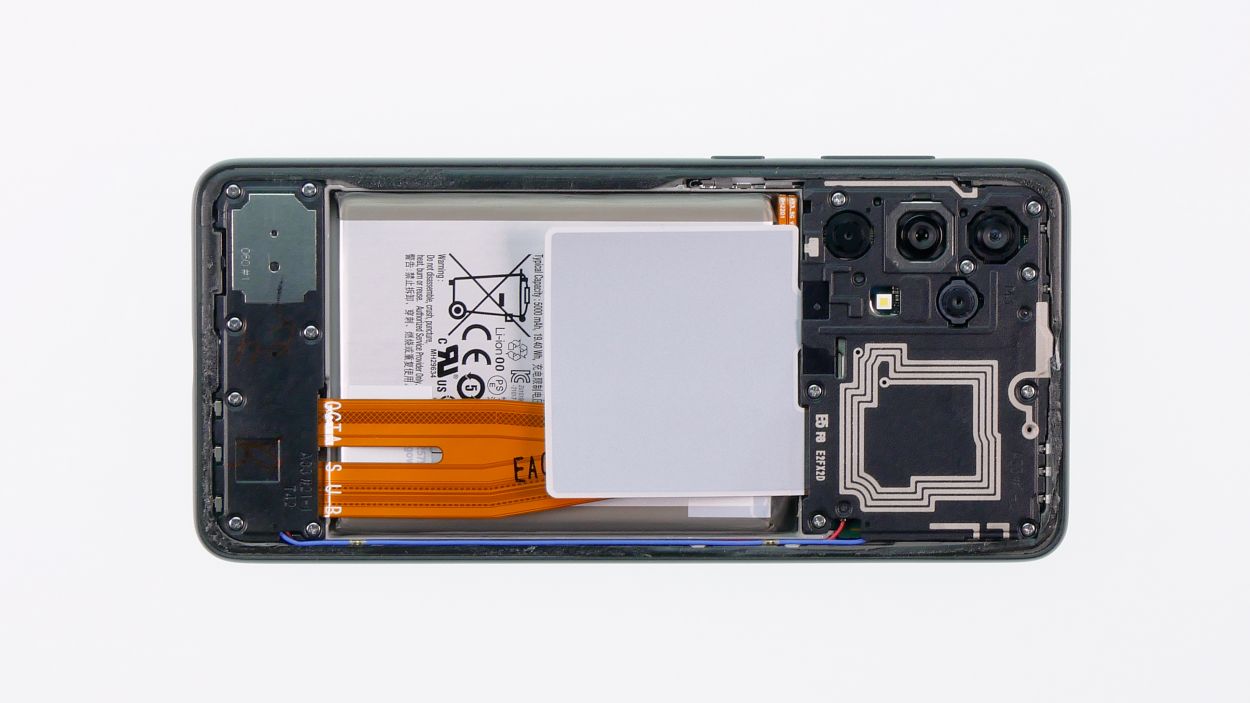
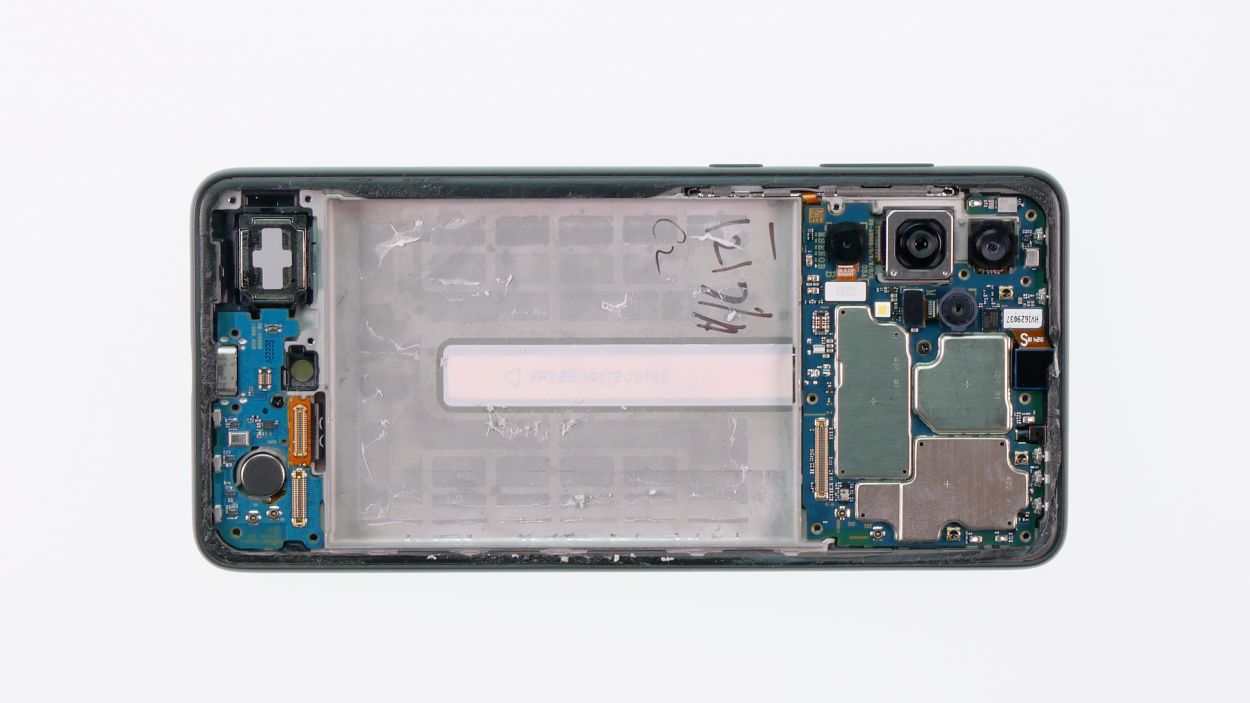
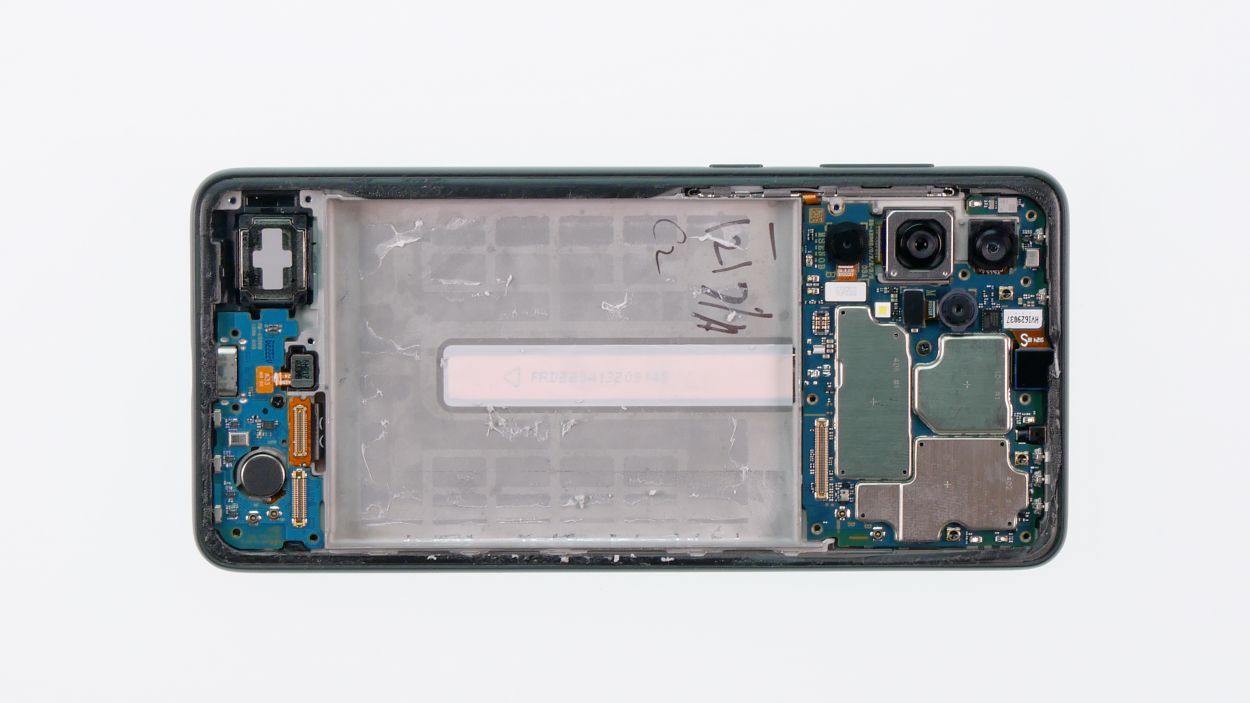
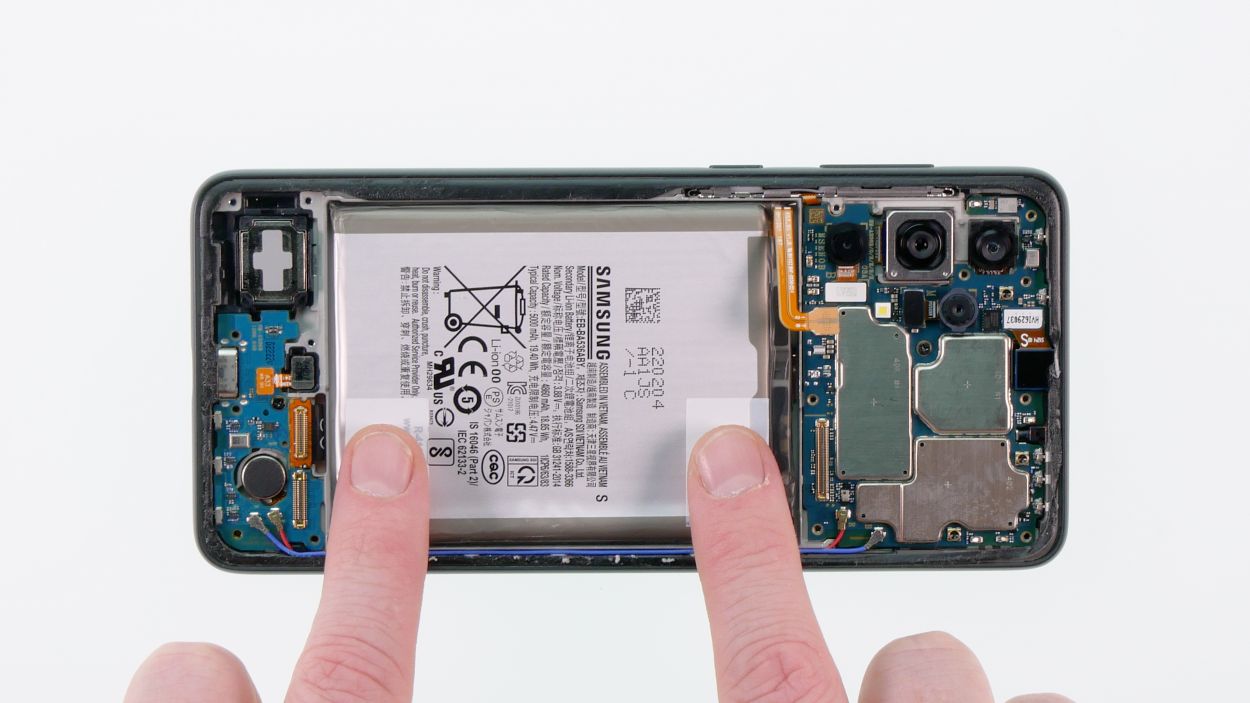
Step 8
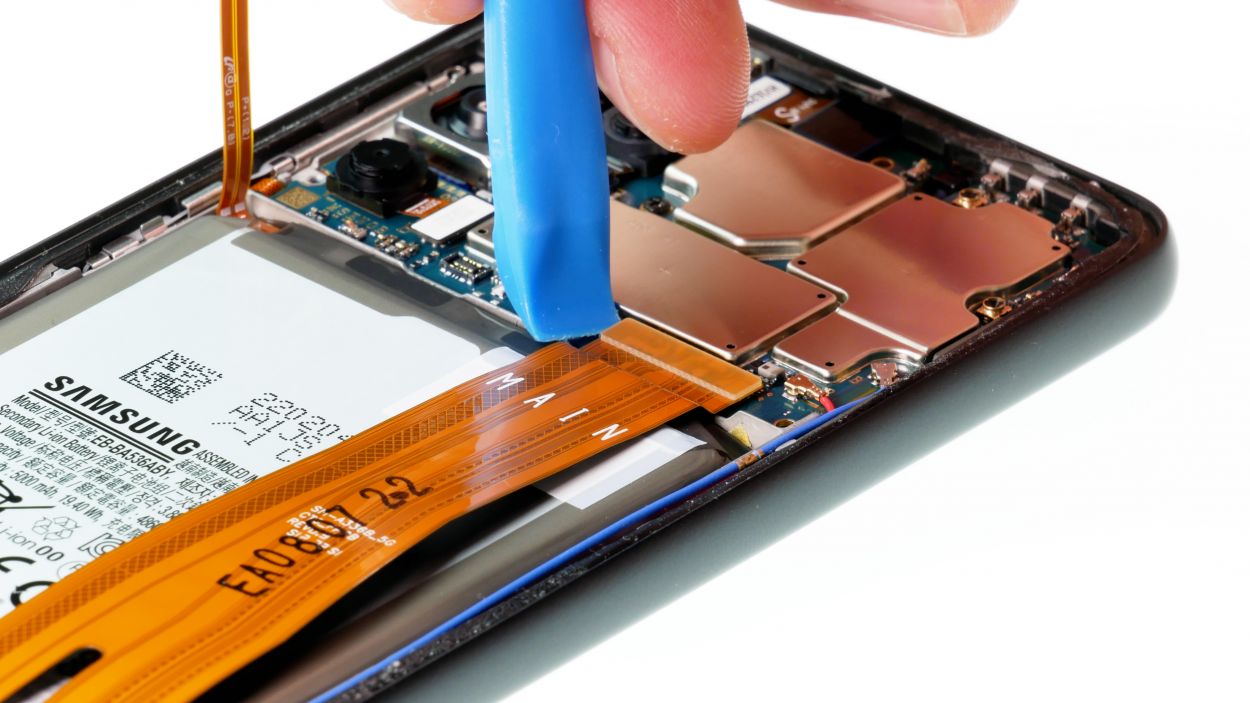
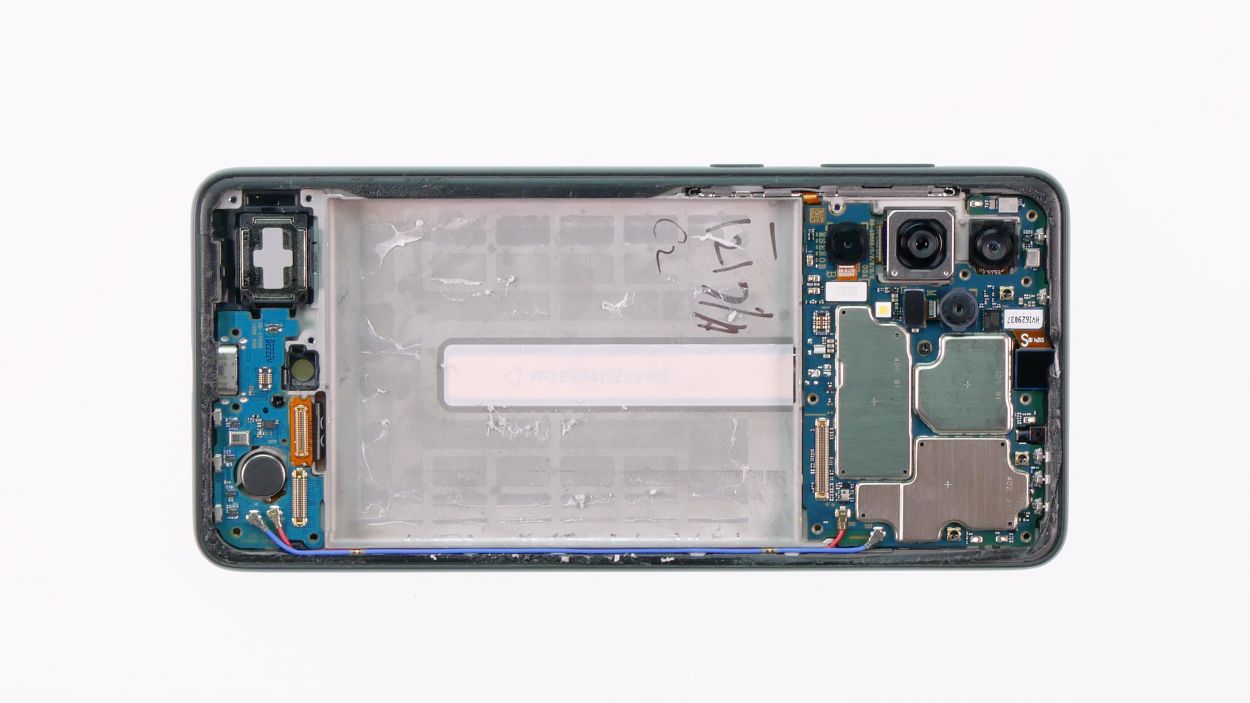
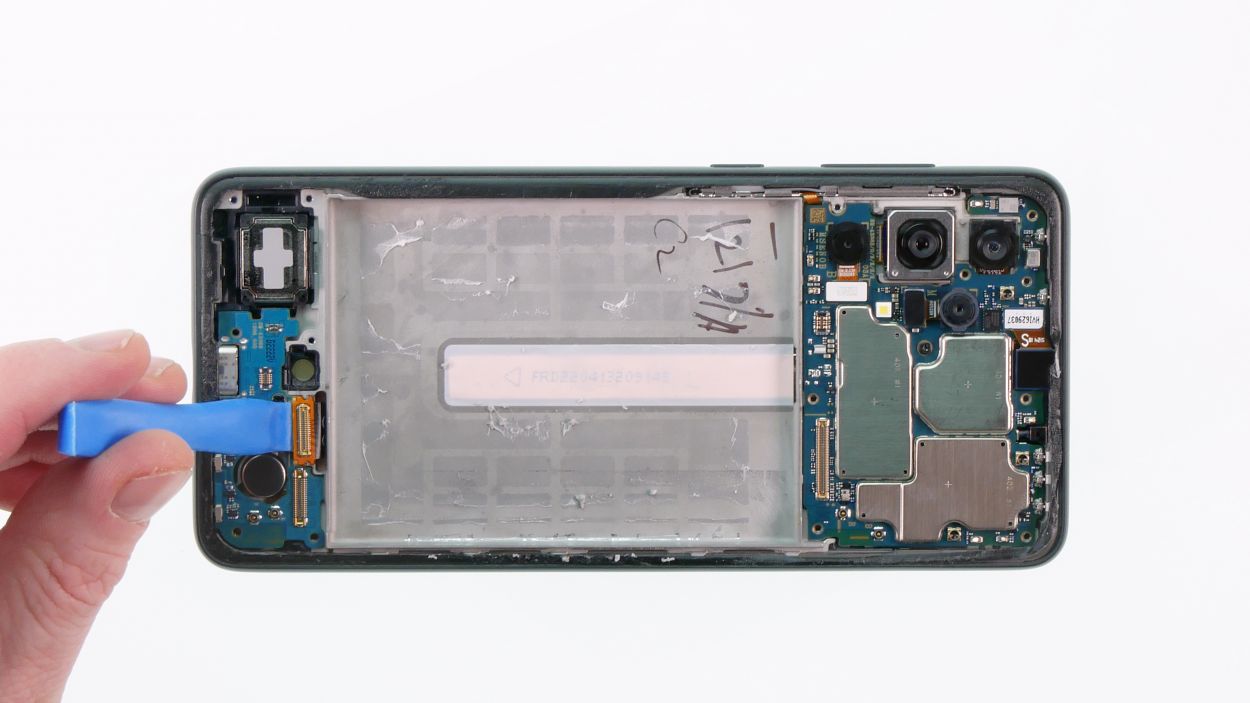
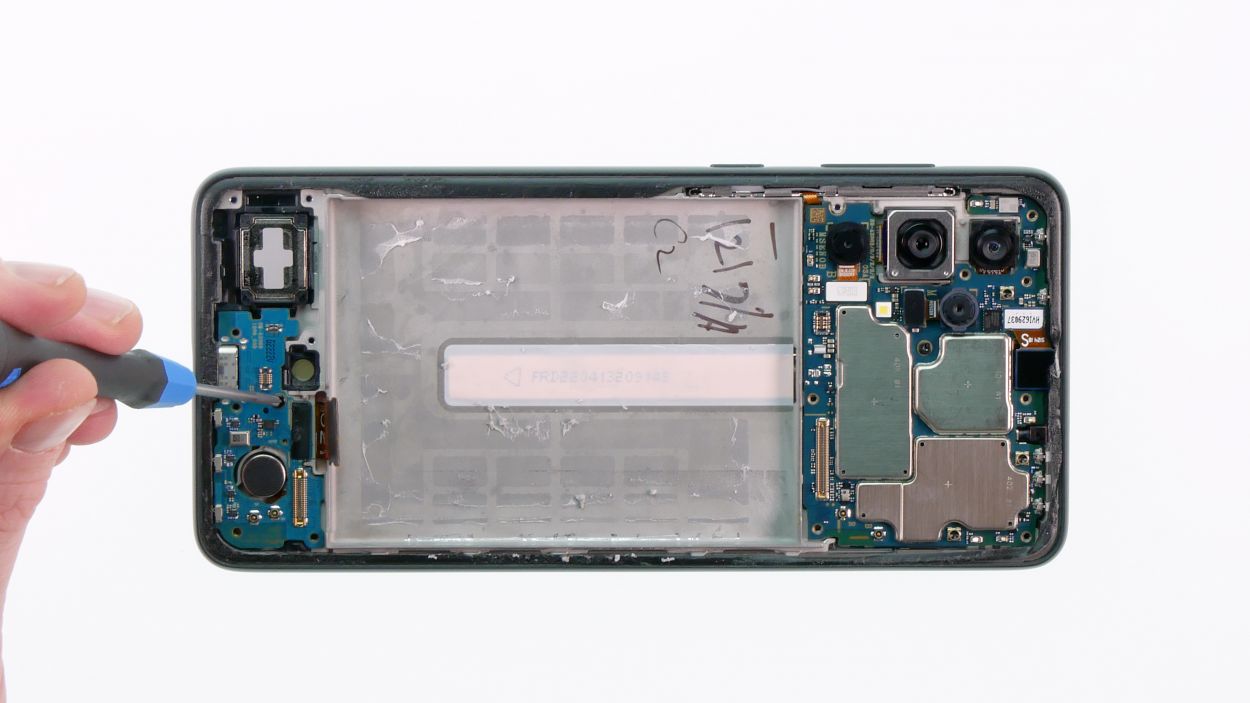
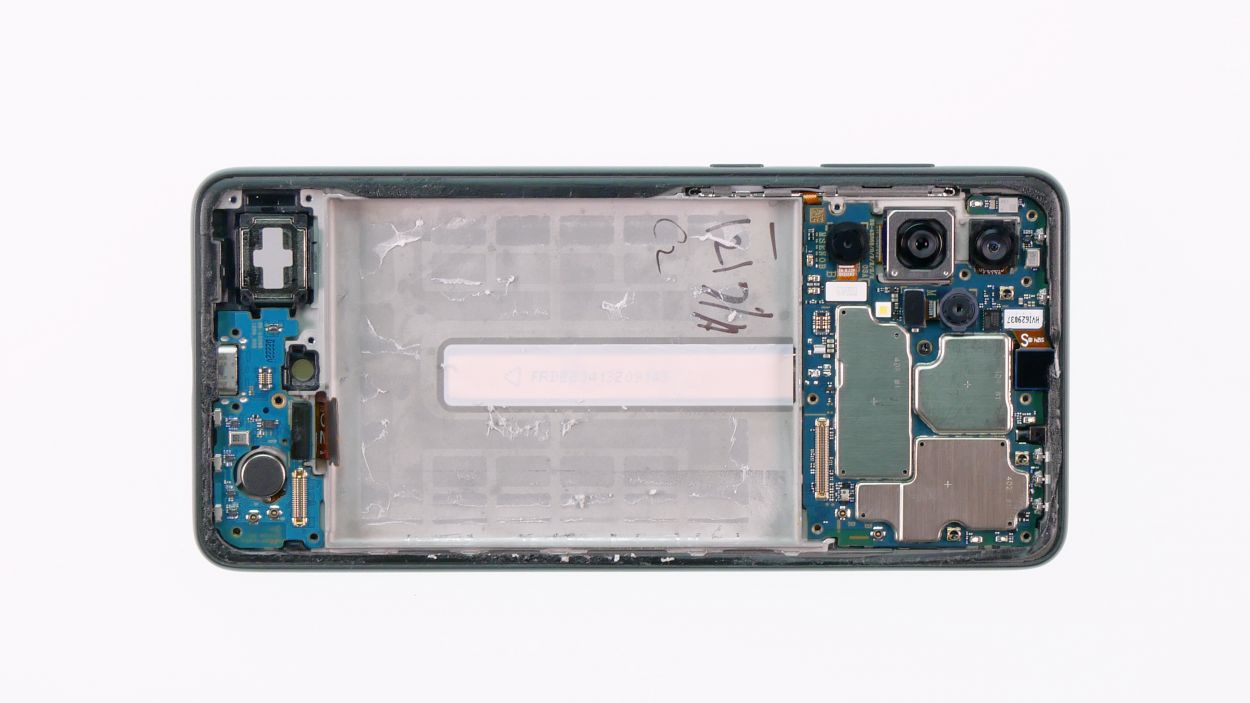
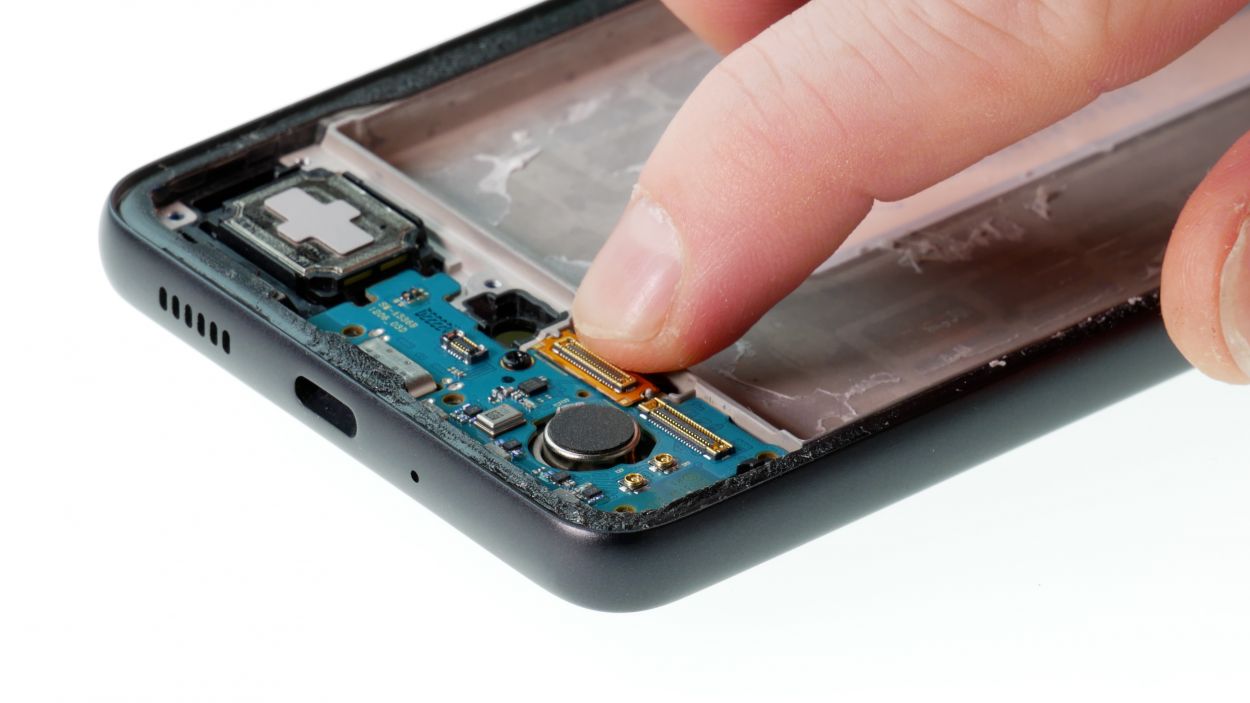
– Now gently loosen the two highlighted connectors on the connection cable and carefully pull it out.
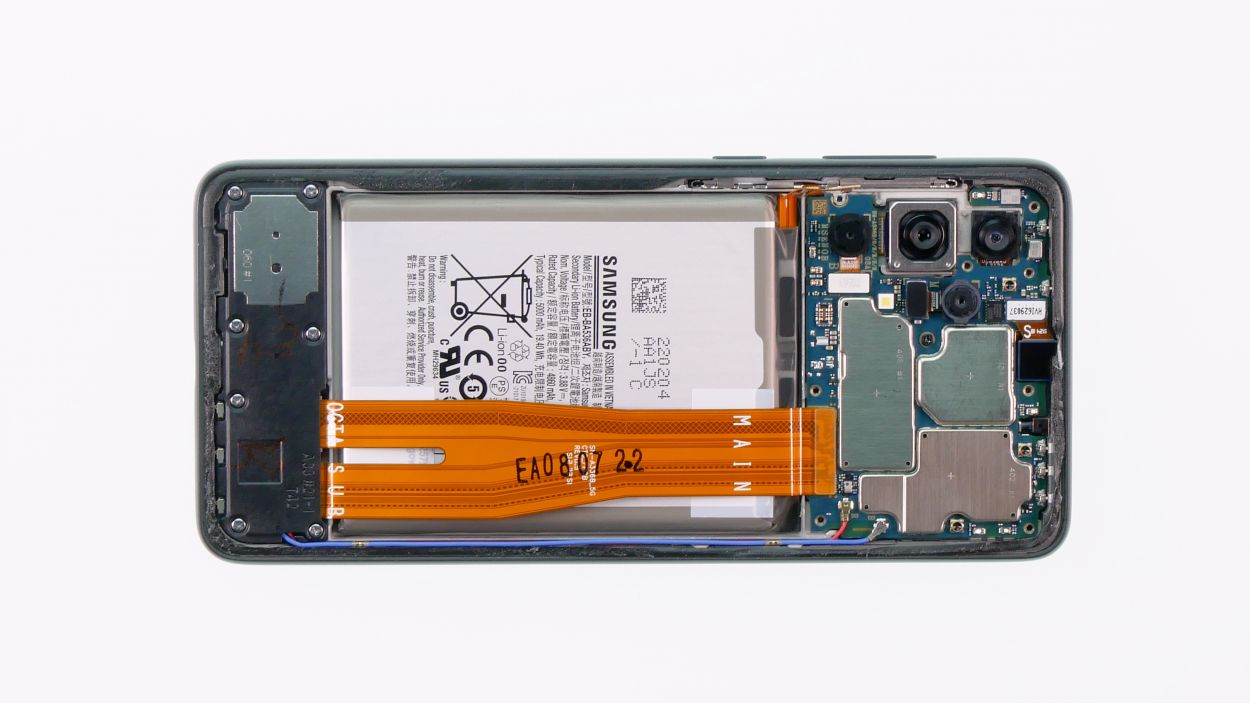
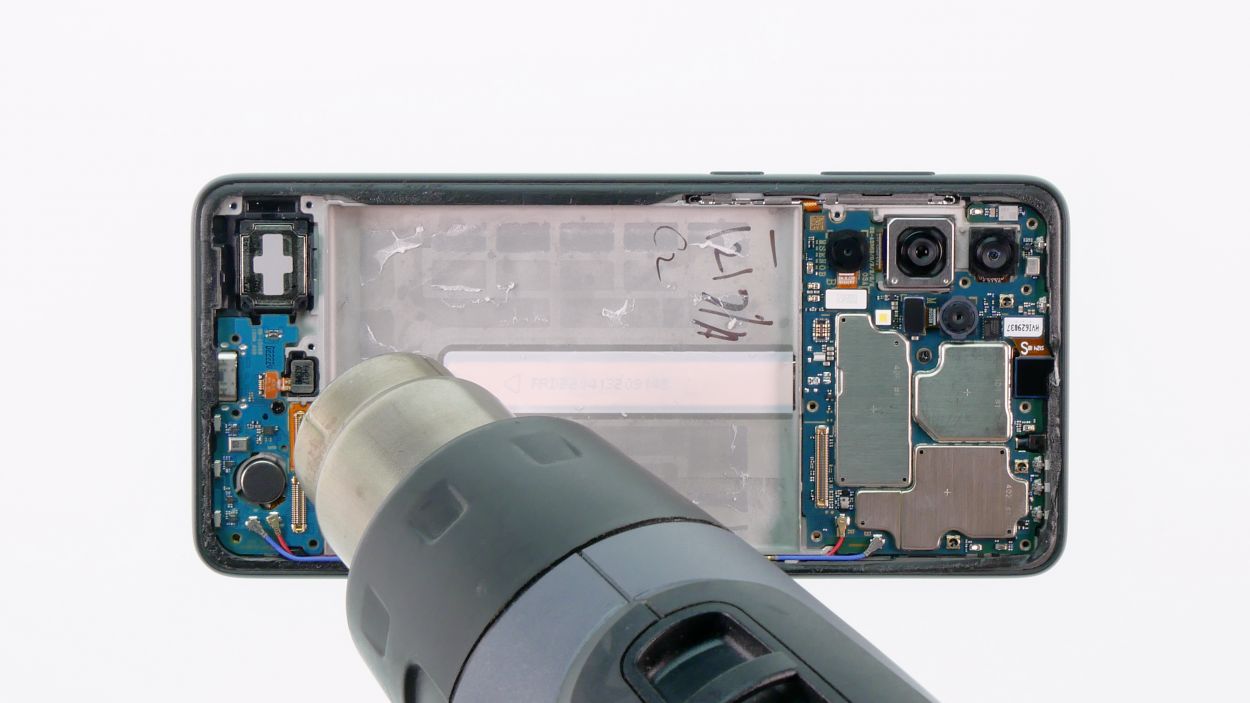
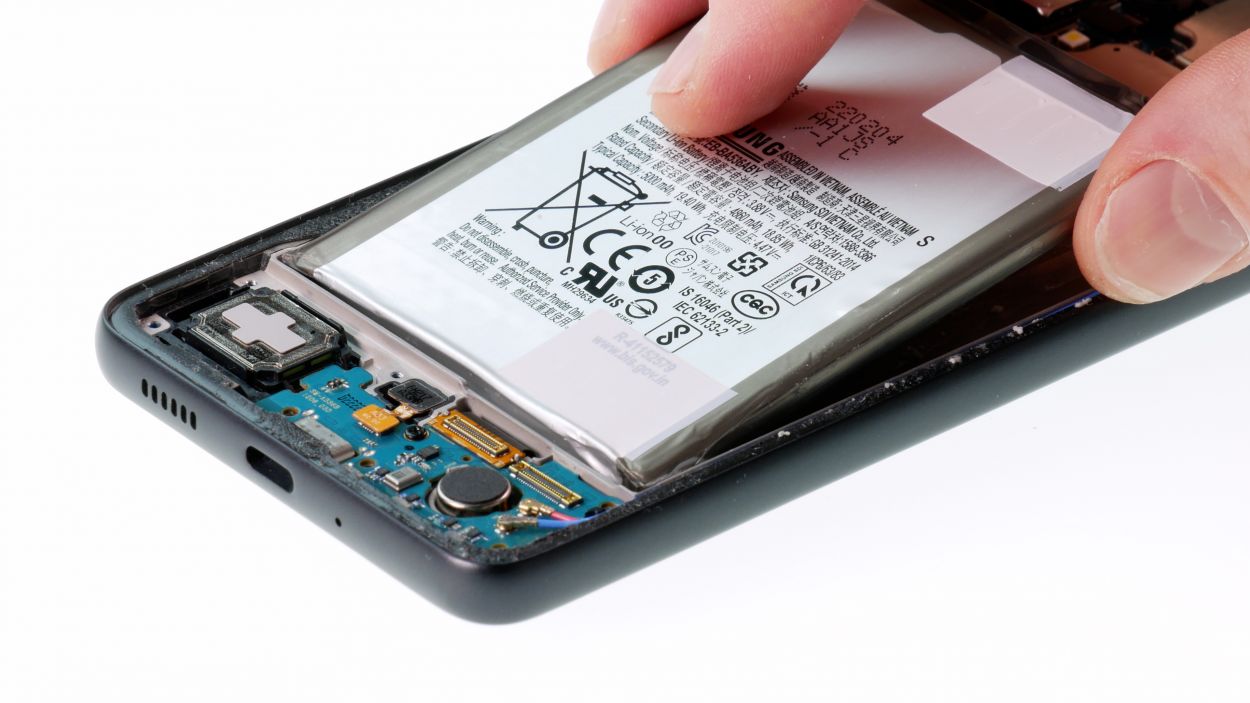
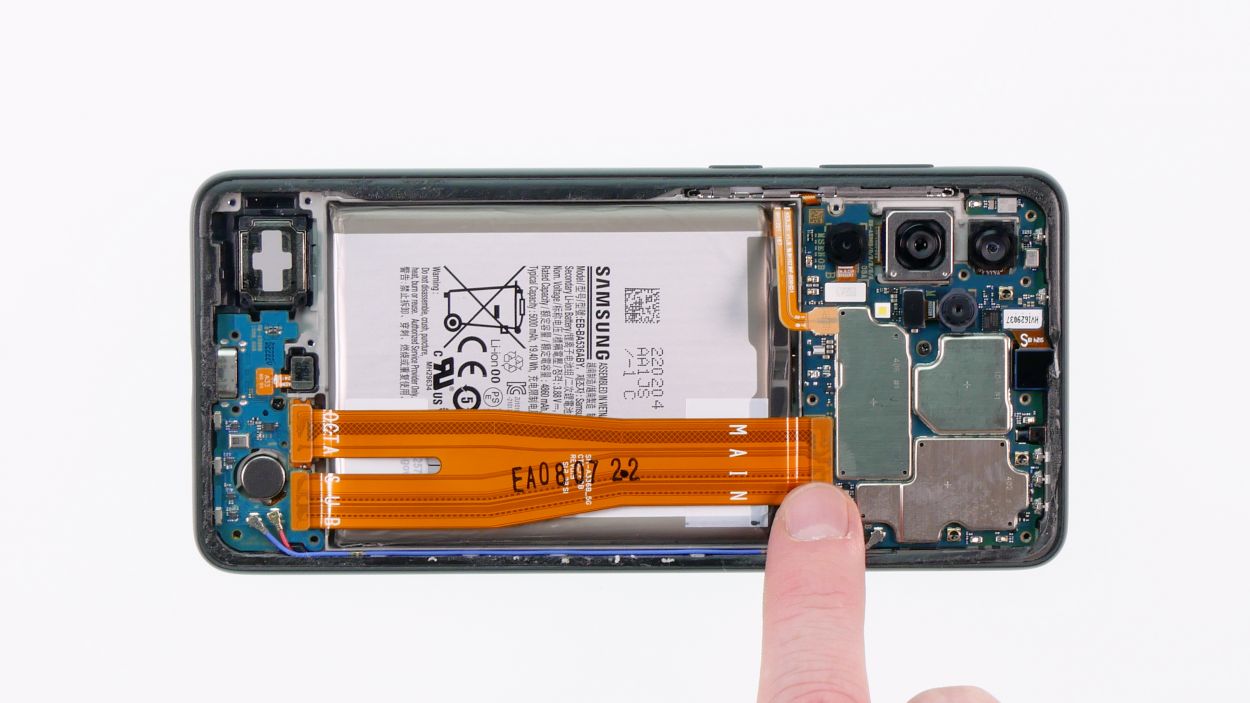
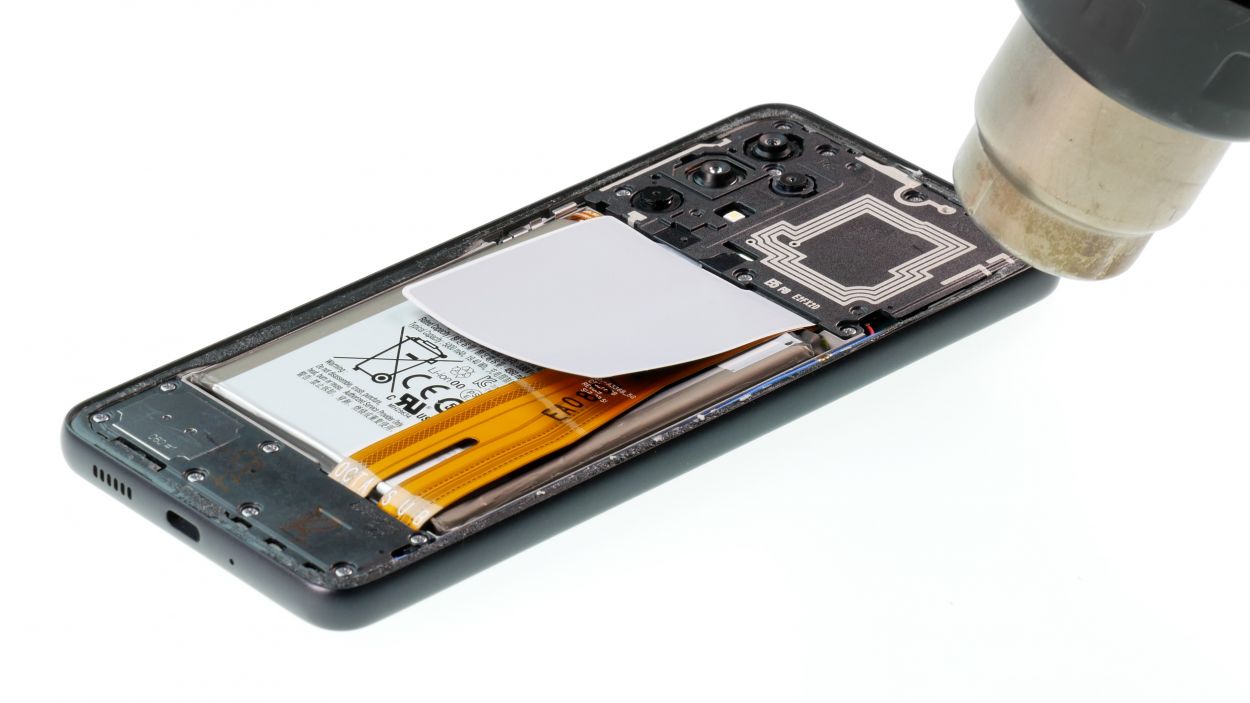
Step 9

Alright, folks! We’re diving into the step that might take a bit of your time, but don’t sweat it! Stay cool and take your time, and you’ll nail this like a pro!
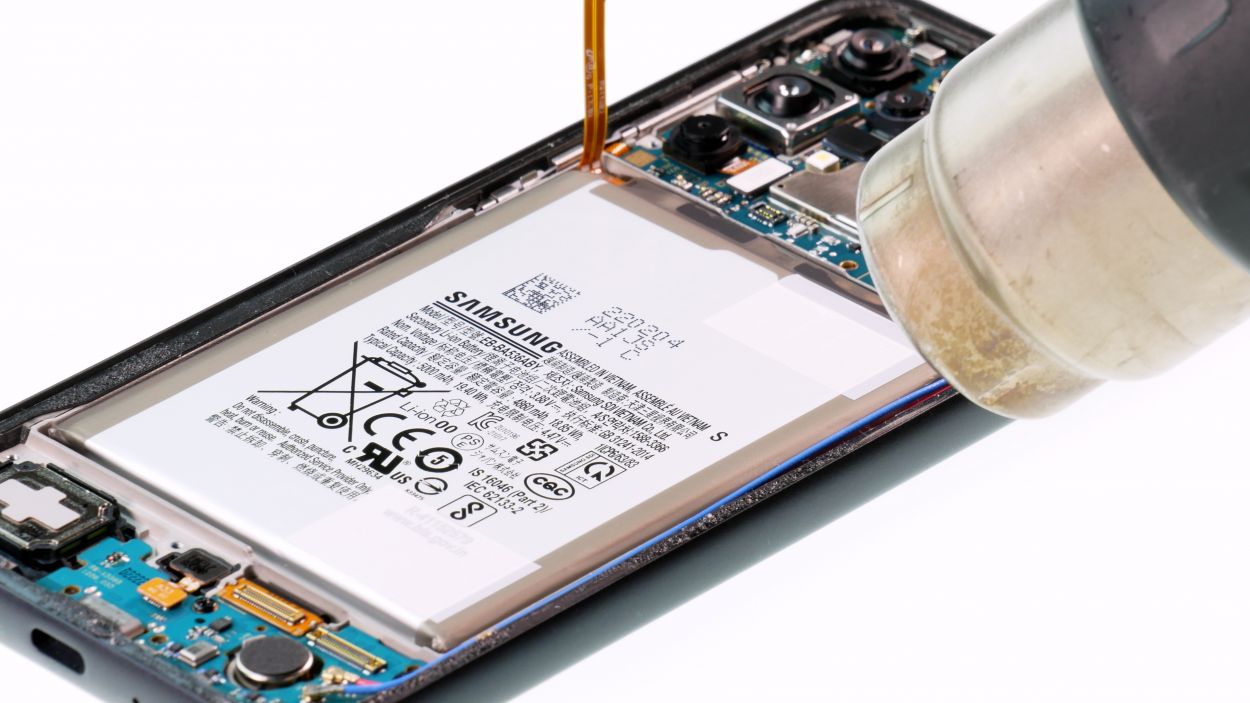
– Gently warm up that battery with a hot air gun or your trusty hair dryer, taking your time to keep it nice and even. No need to rush—slow and steady wins the race!
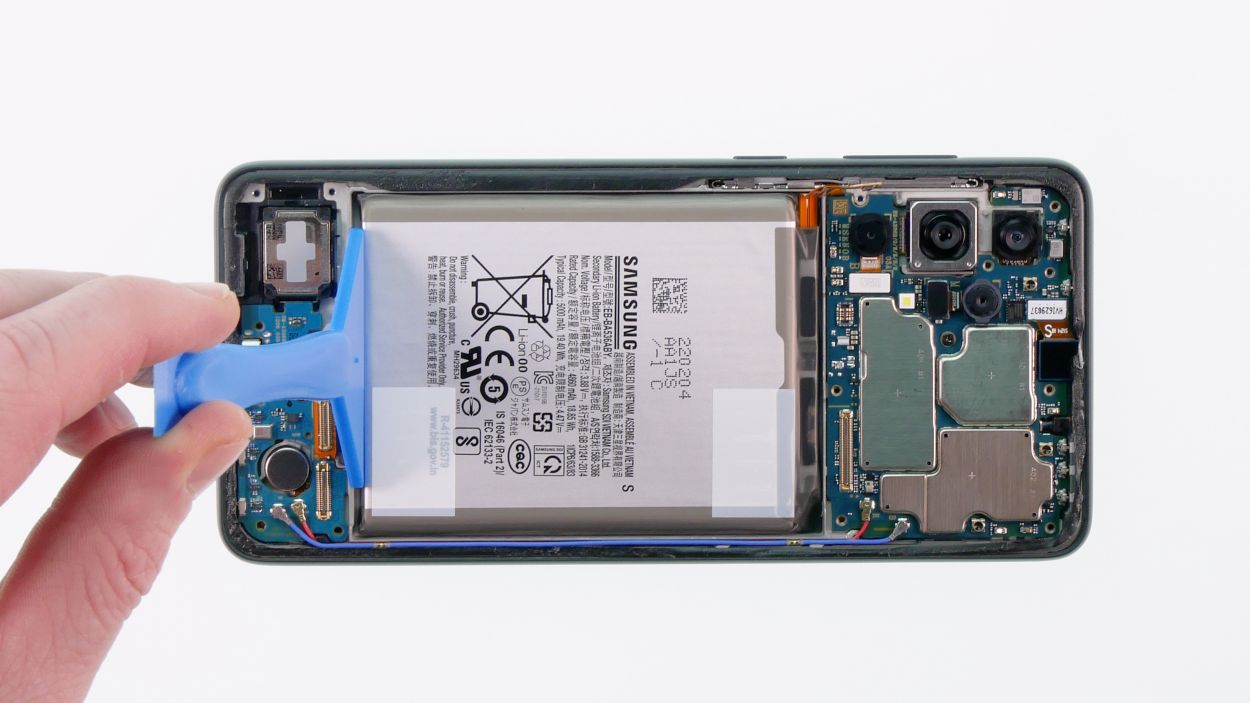
– Once it’s feeling cozy, grab that battery spudger and carefully work to loosen it. You’ve got this—just a little leverage, and it should pop right out!
Tools Used
- battery? Then the iPlastix with its large blade will help you. The practical assistant is made of flexible, especially sturdy plastic and lies comfortably in the hand. Thanks to its design, you can even get into smaller gaps, for example to lift the screen or to prevent it from sticking together again.” rel=”noopener nofollow”>iPlastix Opening Tool
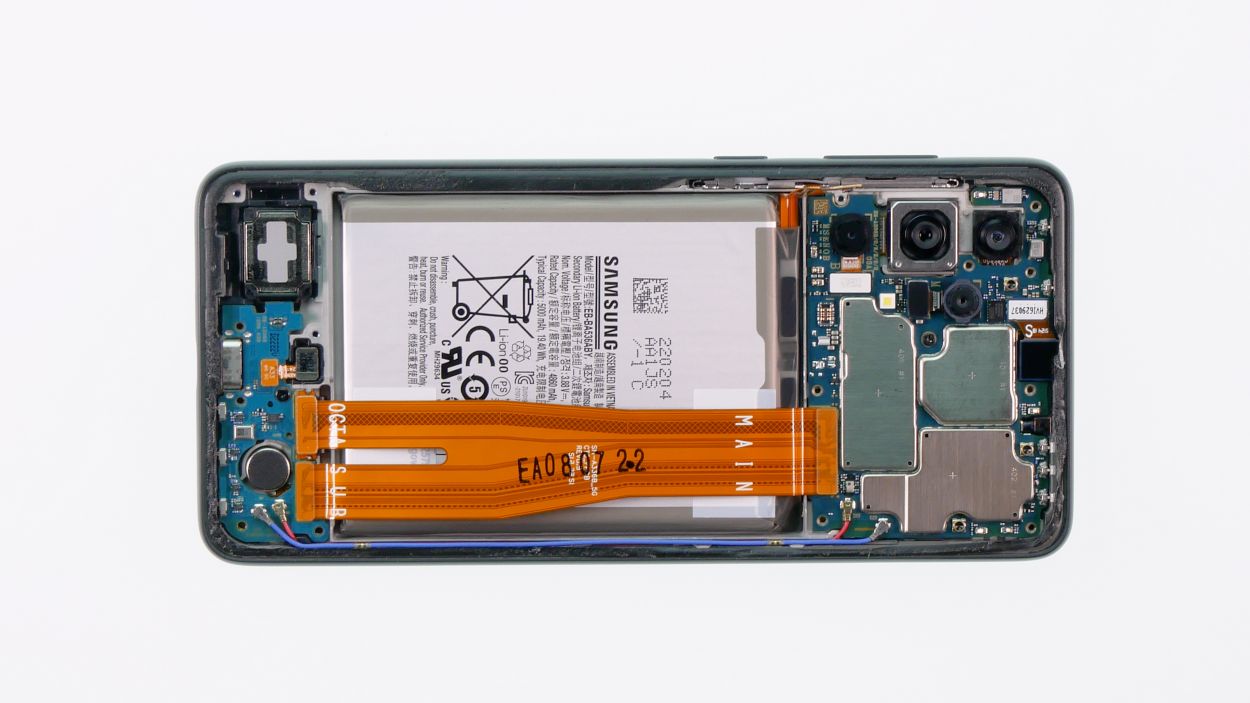
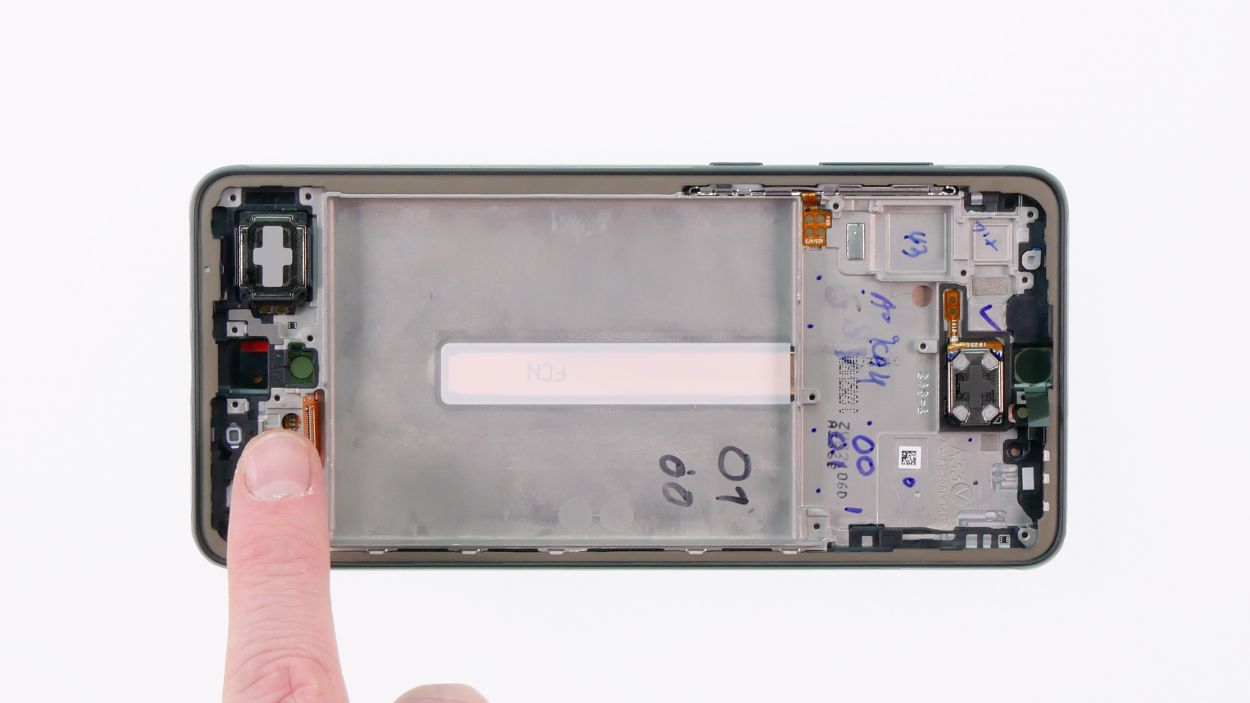
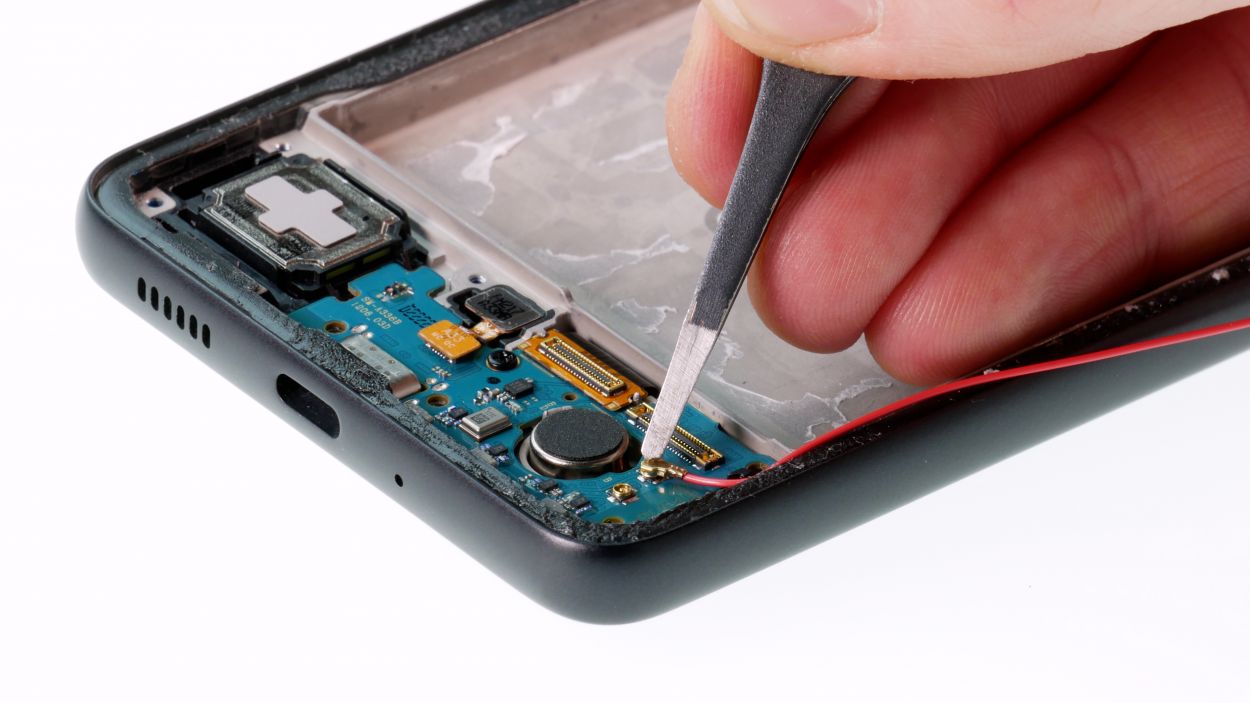
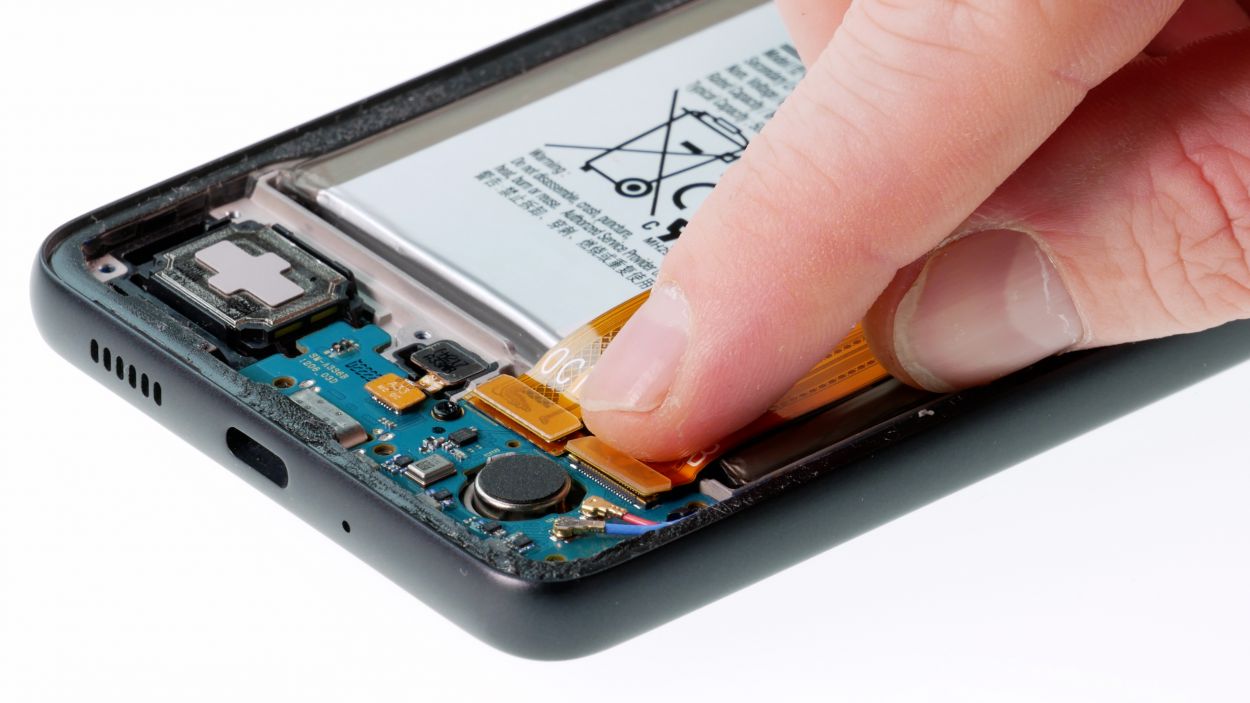
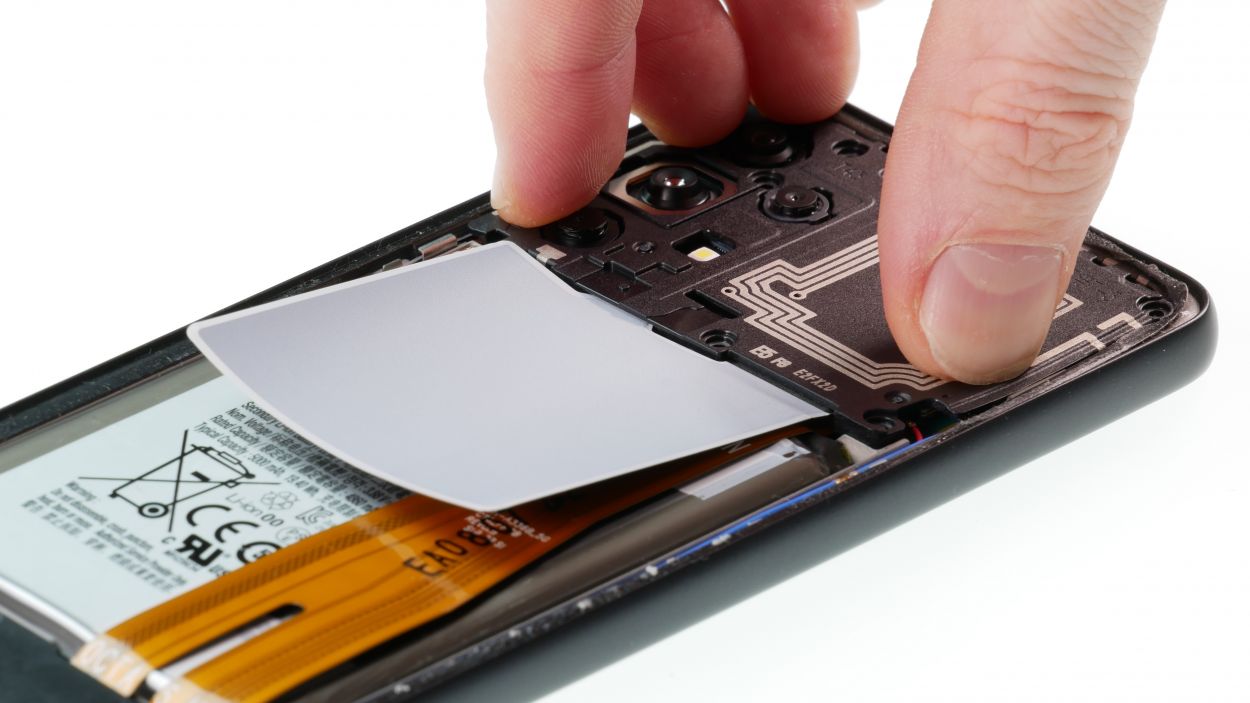
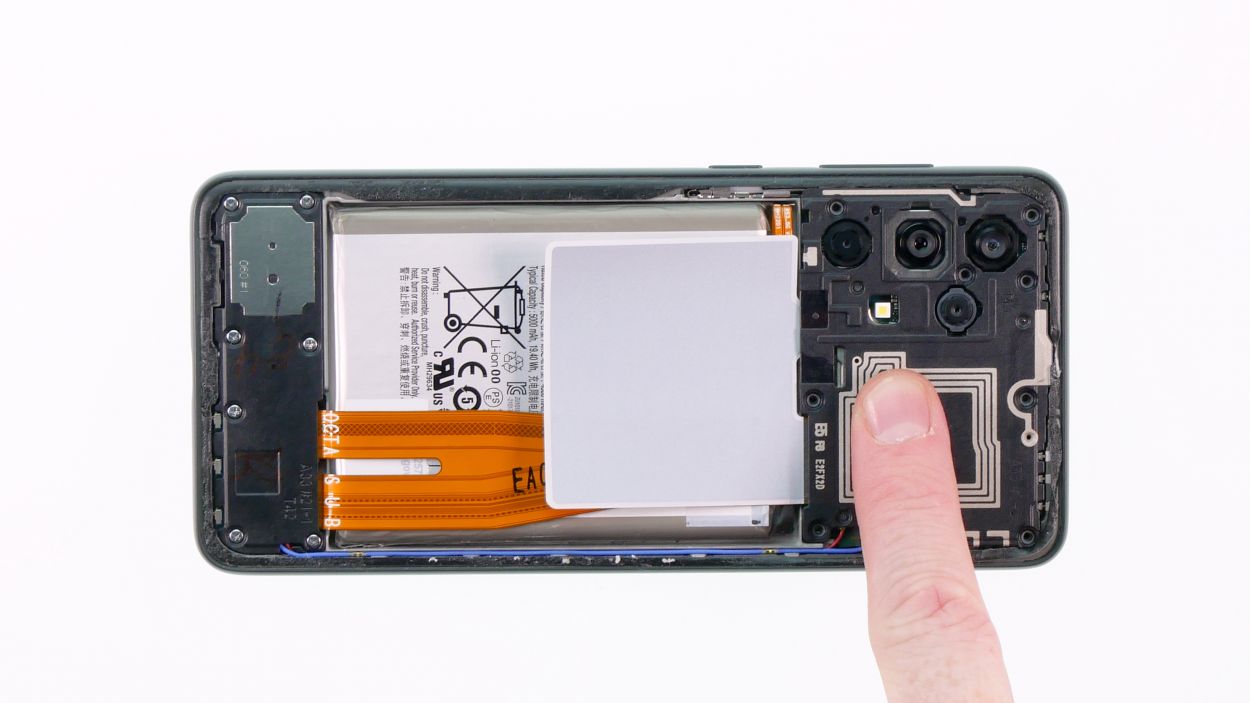
Step 10
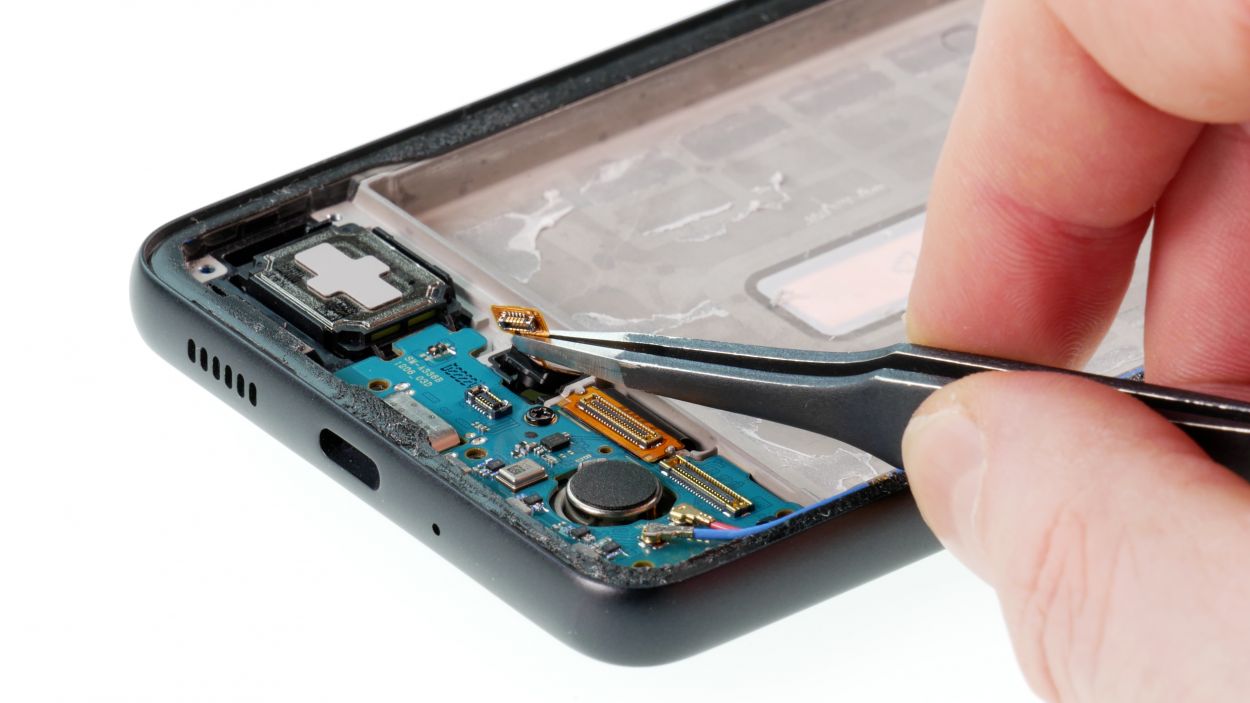
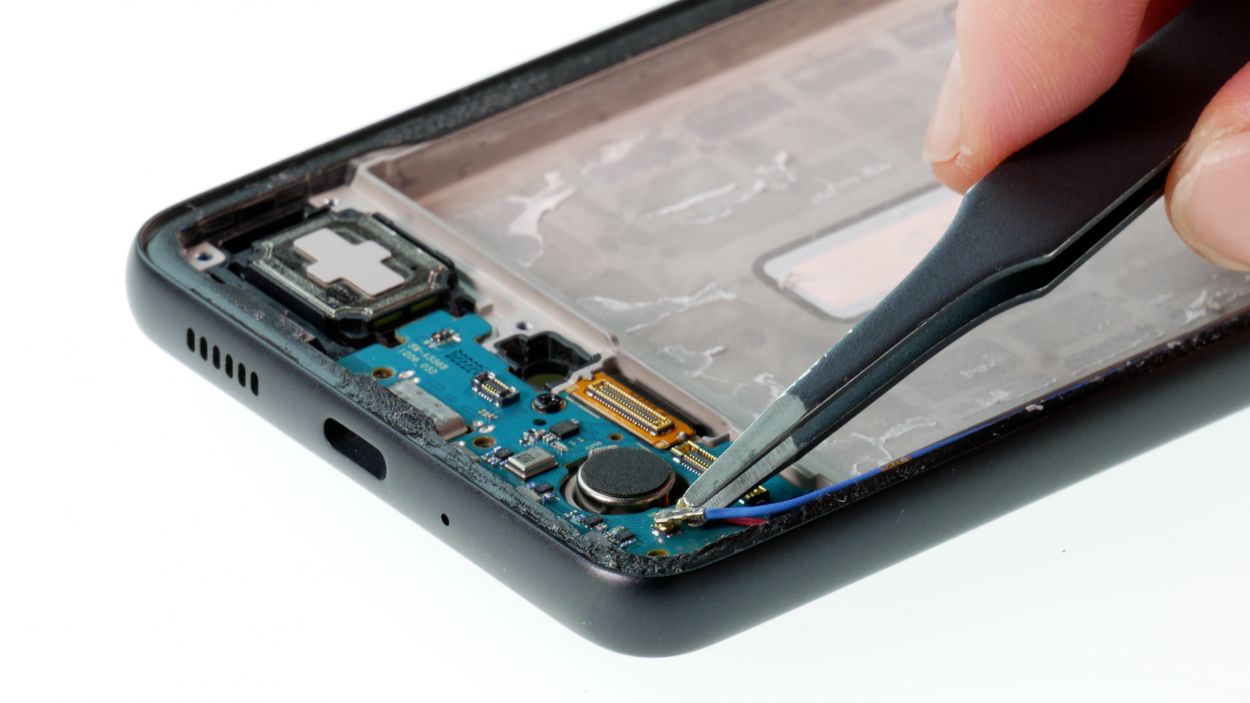
Fingerprint Sensor Connector
The fingerprint sensor is holding on just a bit with some light adhesive. No worries, you can handle it!
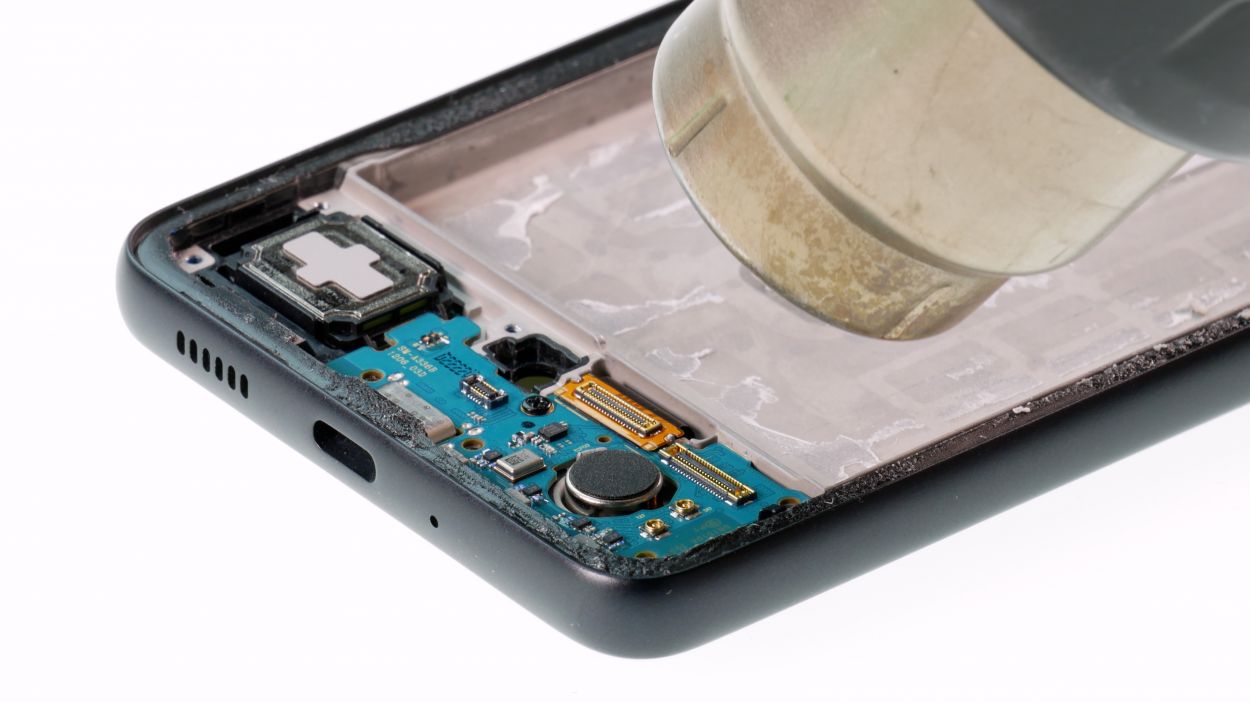
– Give that fingerprint sensor a little warmth with your hair dryer or hot air gun—just enough to loosen it up!
– Carefully disconnect the highlighted connector—you’re almost there!
– Now, gently lift out the fingerprint sensor and set it aside. You’ve got this!
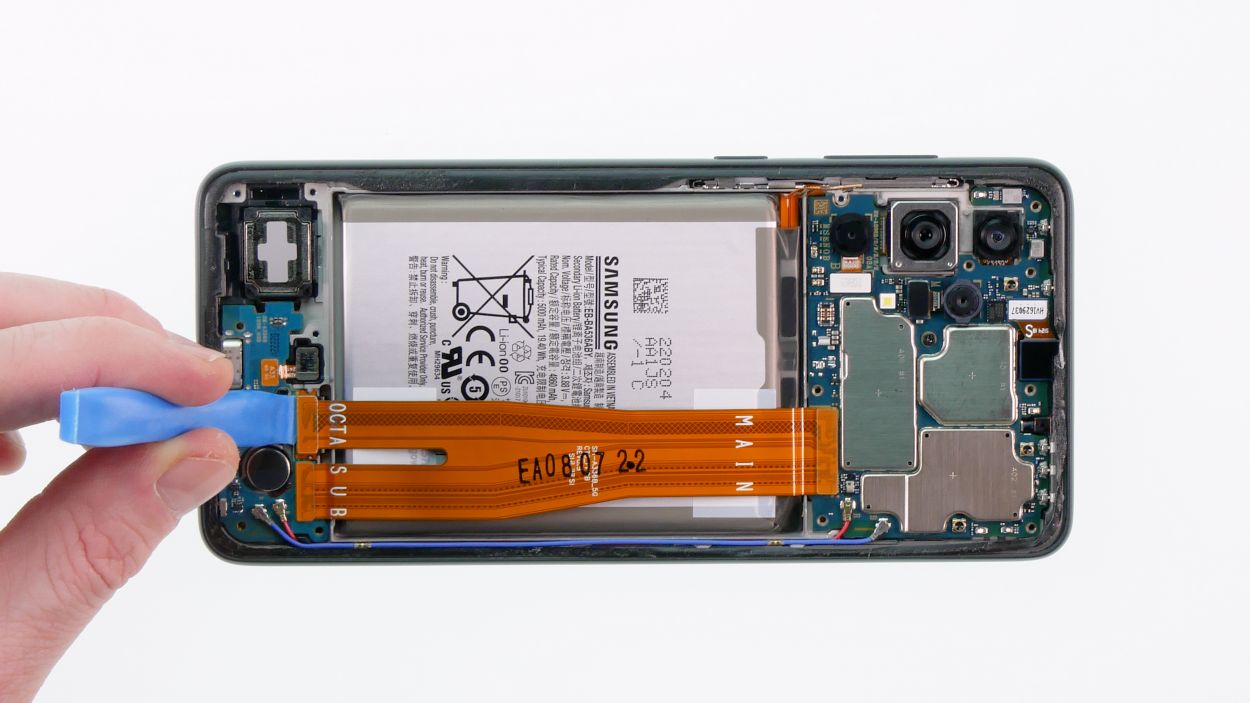
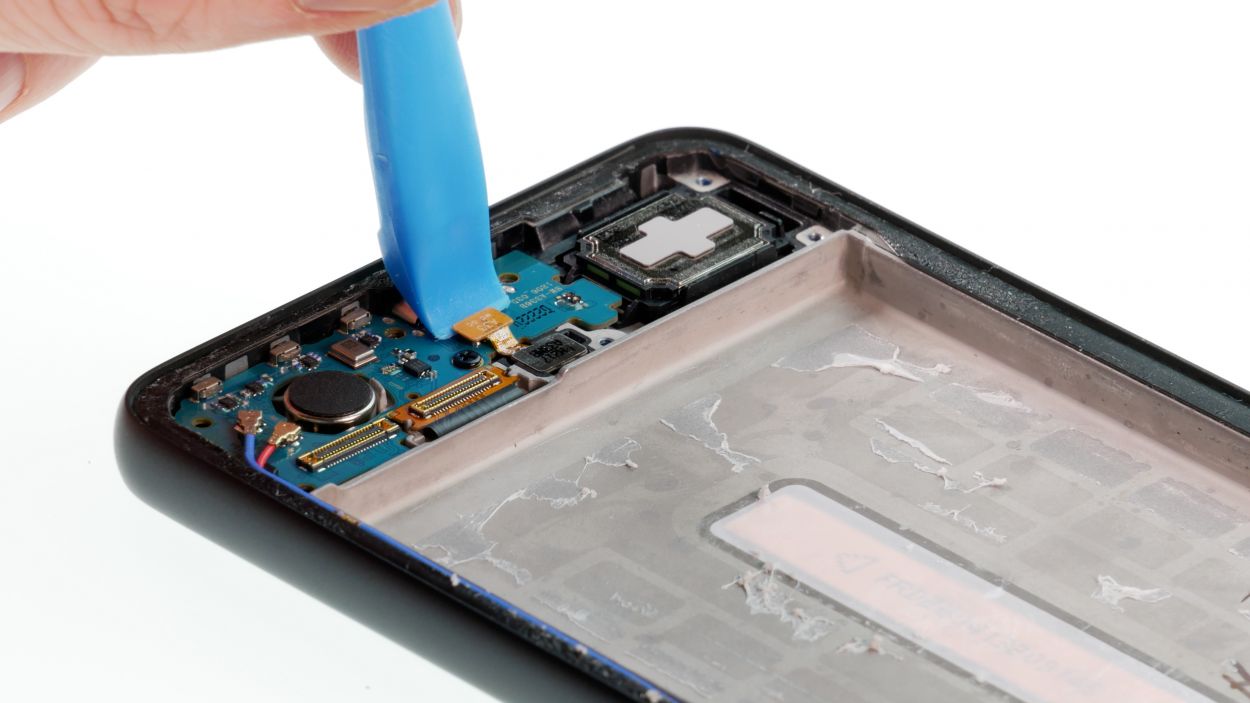
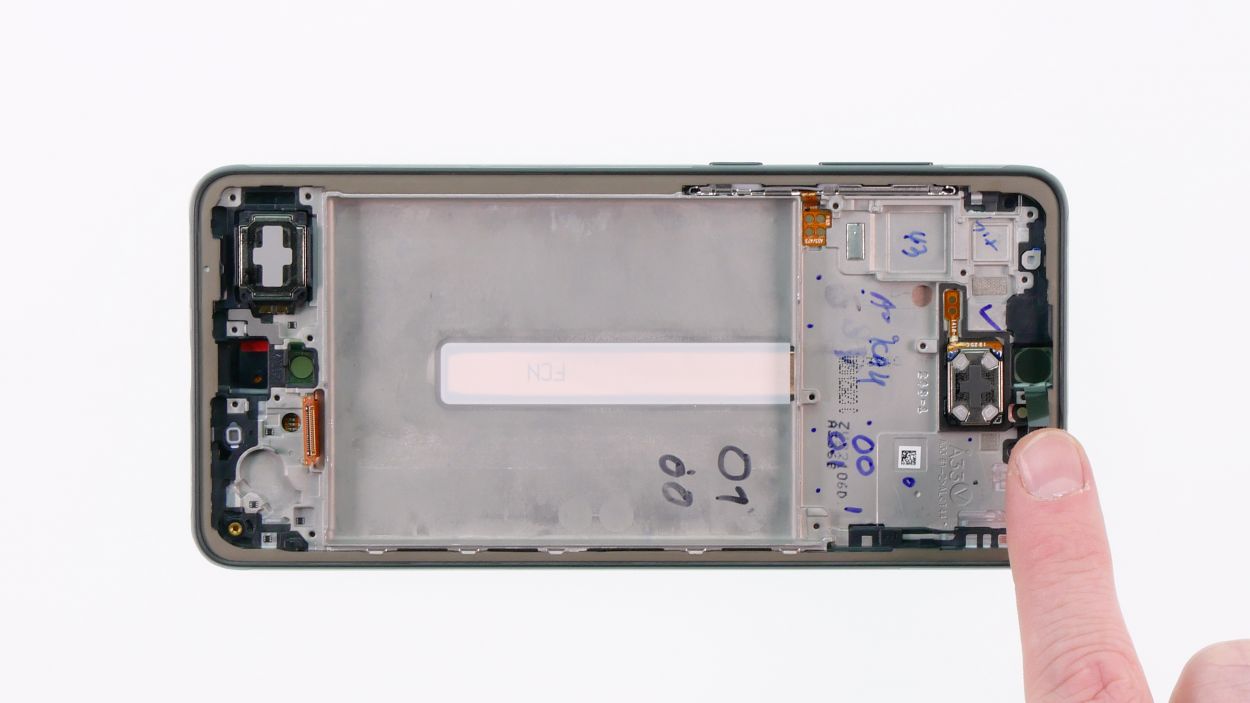
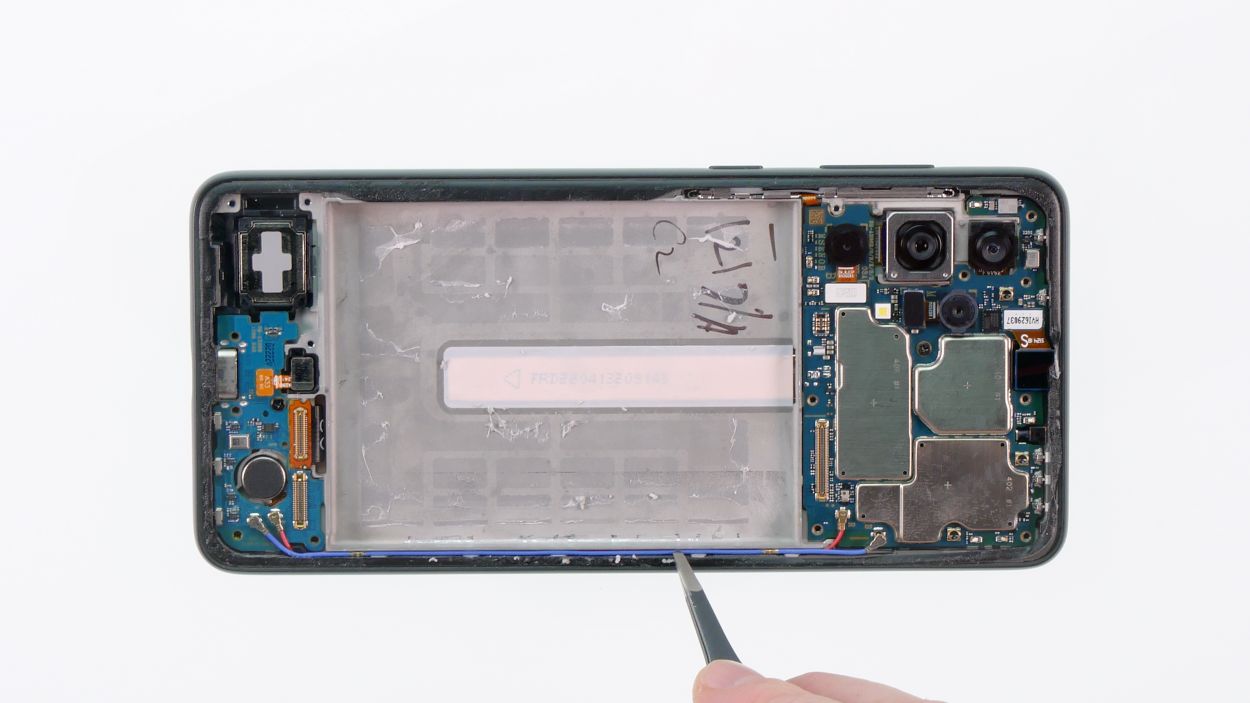
Step 11
Antenna Connector
– Carefully detach the two cables from their highlighted connectors and gently lift them out.
Tools Used
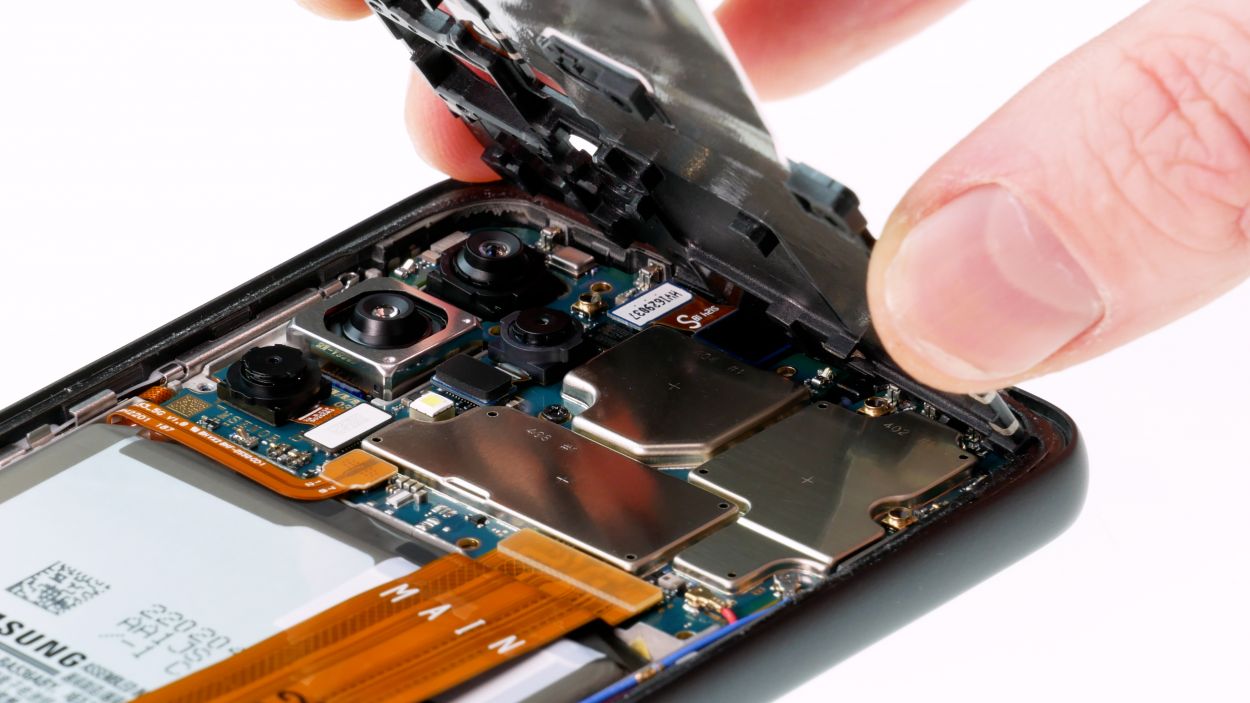
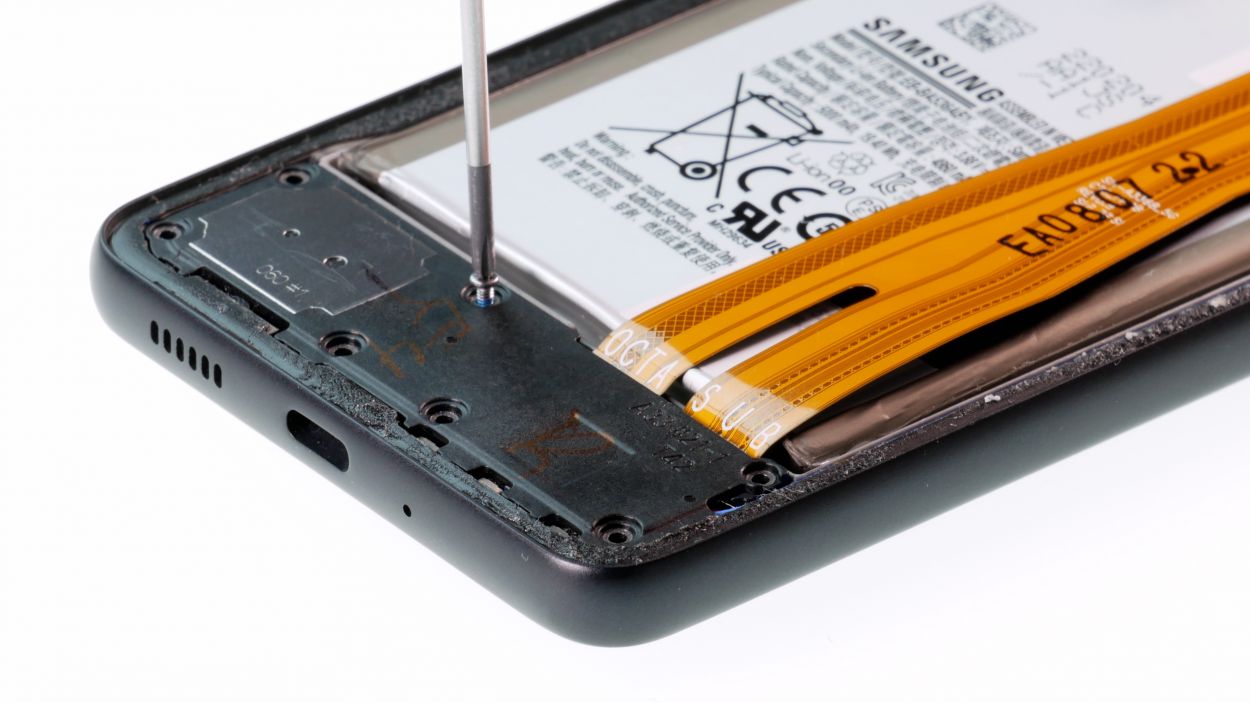
Step 12
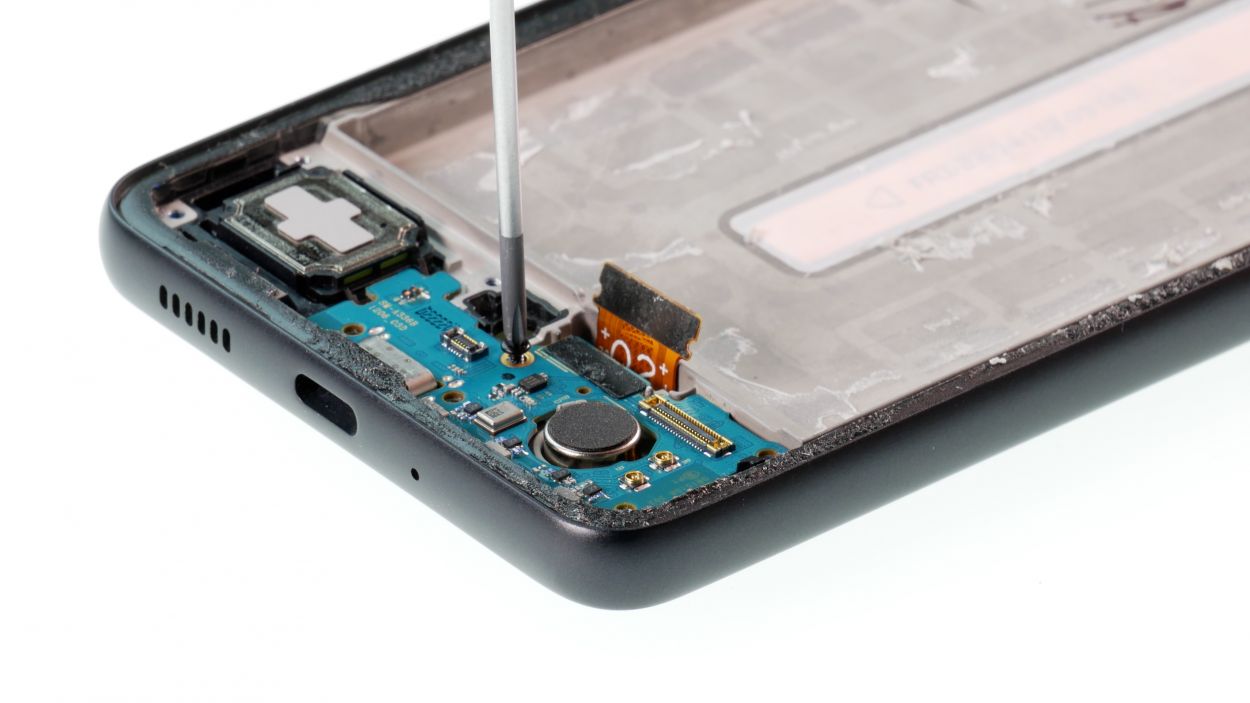
1 × Phillips 2,1mm
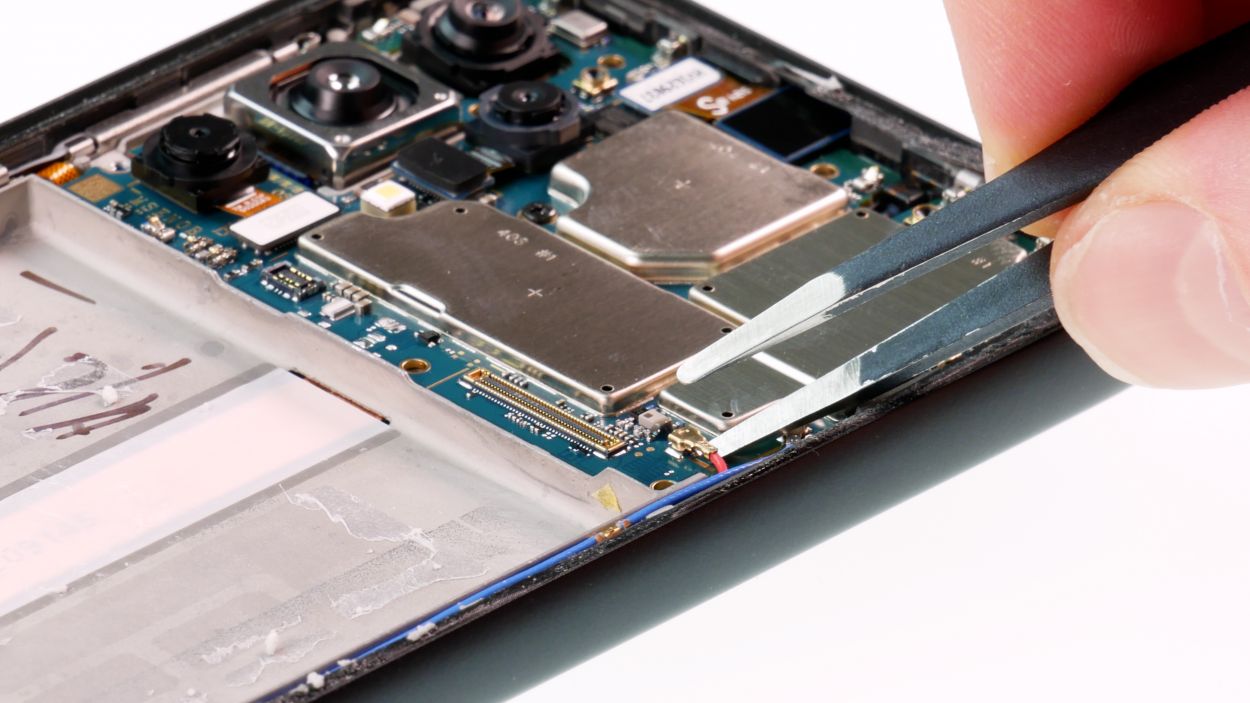
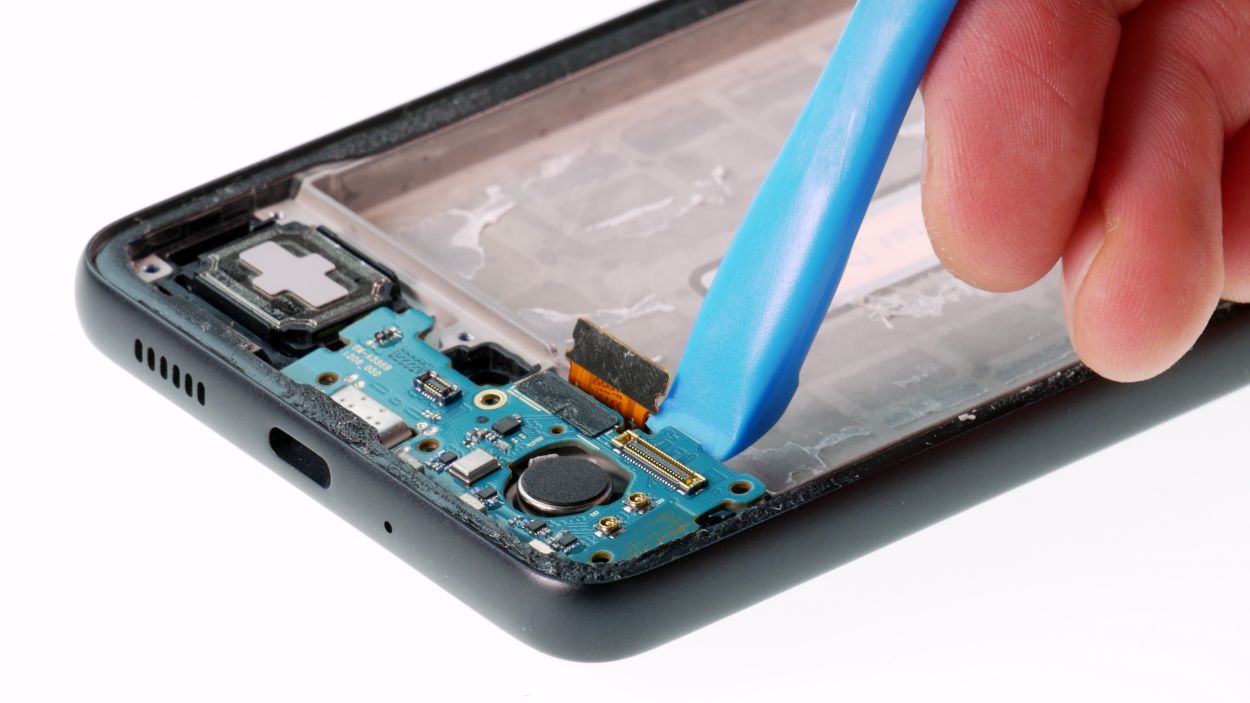
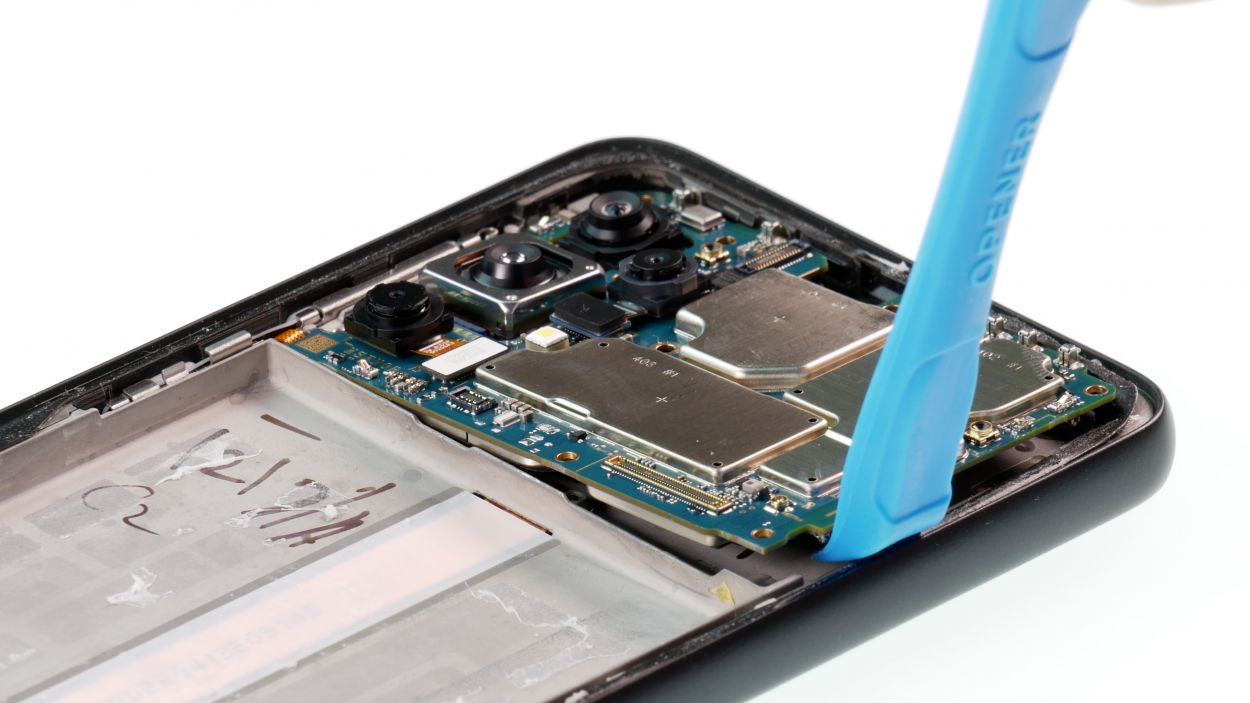
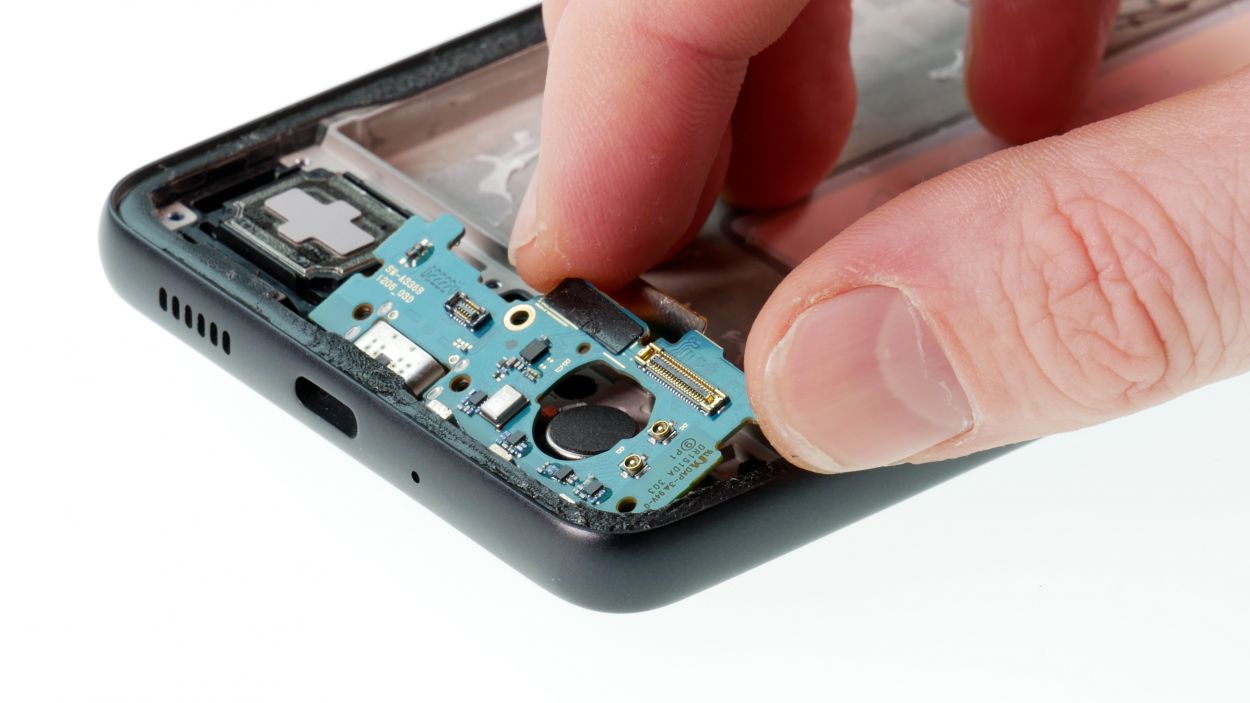
Screen Connector
– The connector you’re eyeing might be feeling a bit clingy. Give it a gentle warm-up with your heat source of choice and then coax it loose with care!
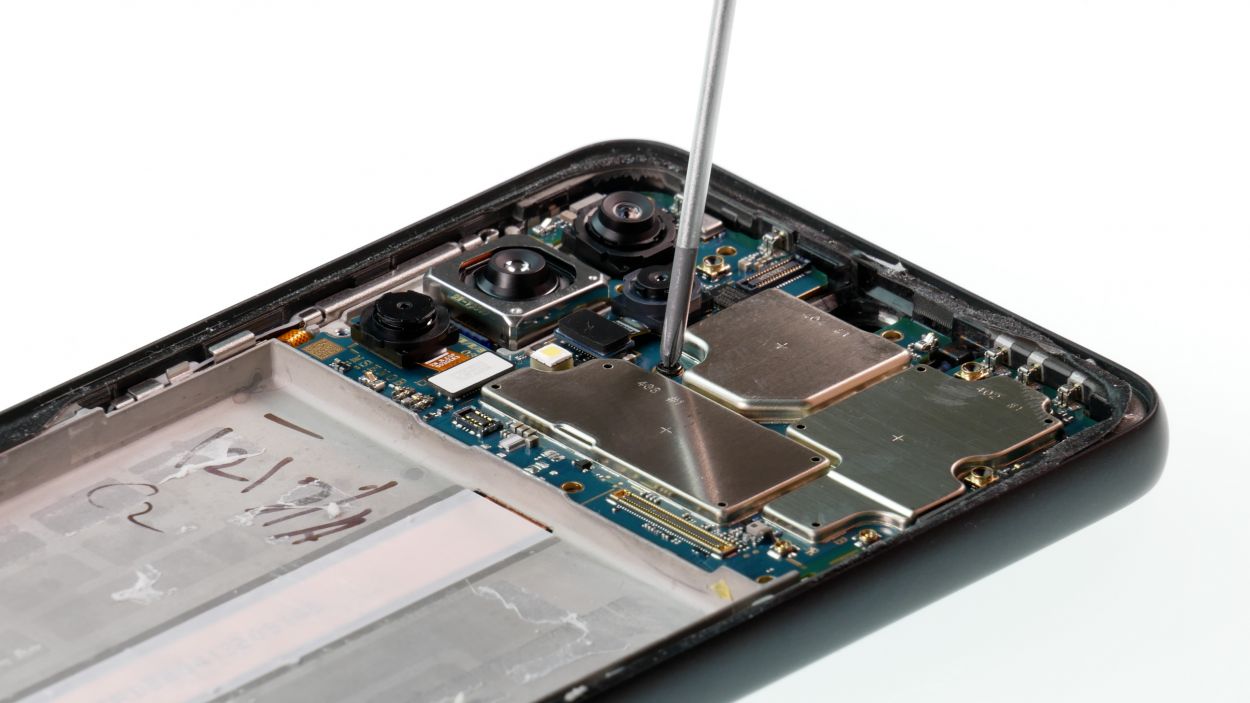
– Next, grab your trusty Phillips screwdriver and remove that highlighted screw, setting it aside like a pro.
– Now, it’s your moment to shine! Carefully lift out the USB board and give yourself a little pat on the back—you’ve got this!
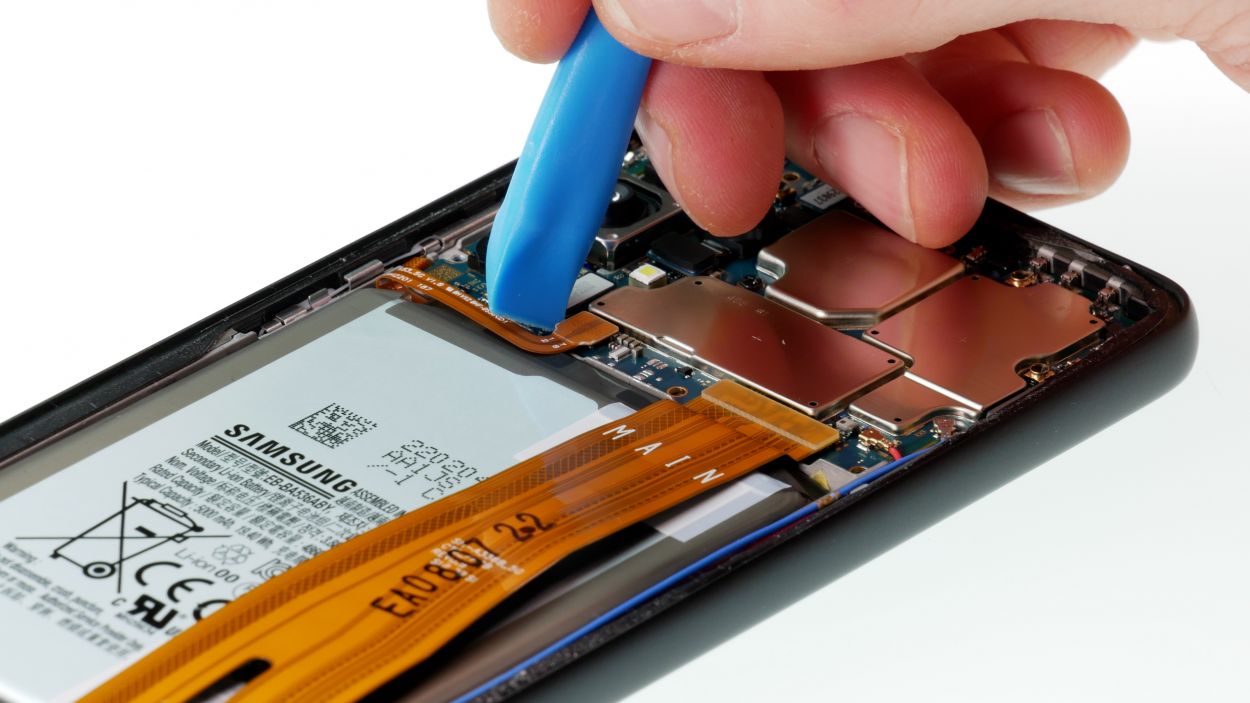
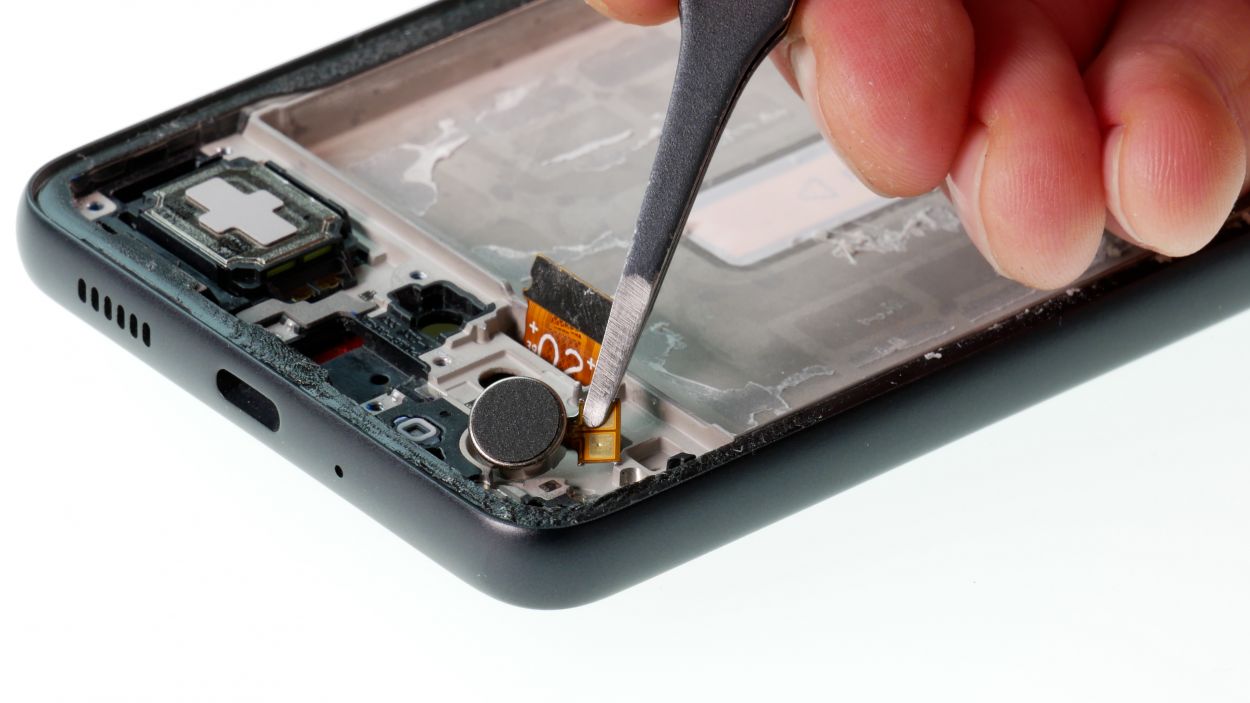
Step 13

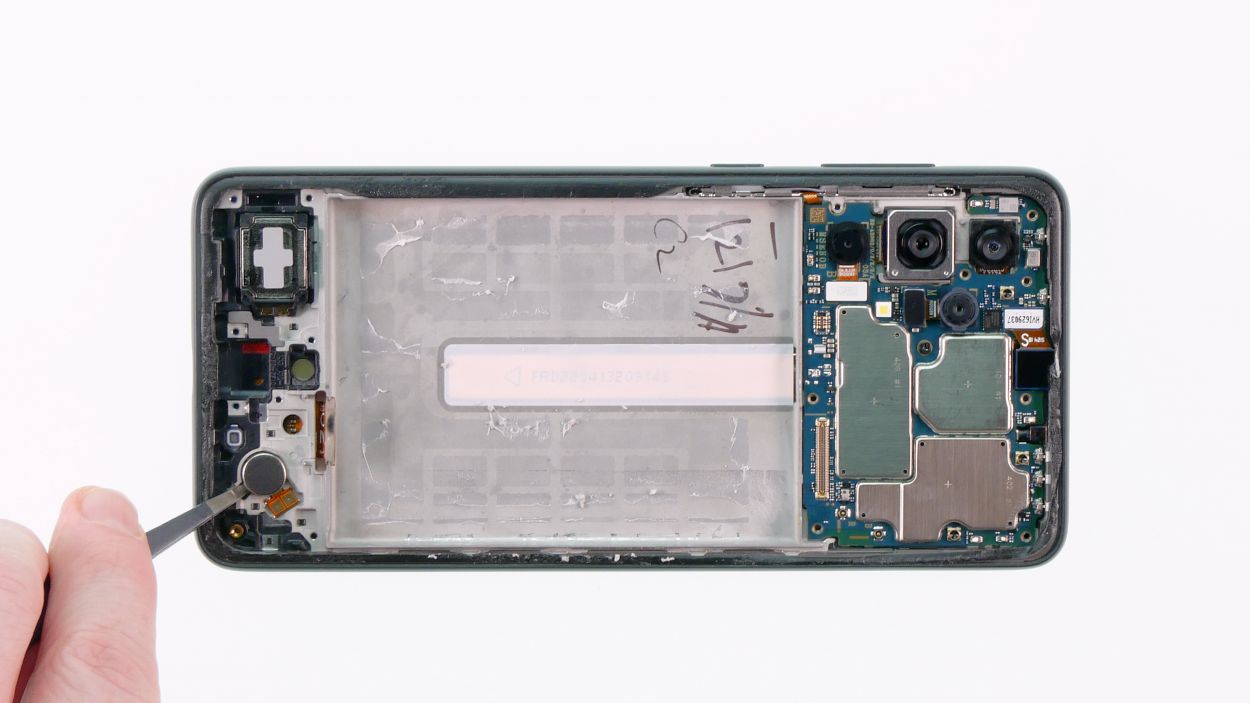
– The vibration motor is having a bit of a clingy moment, being slightly glued down. So, after you give it a little warmth, you can easily coax it out using your trusty tweezers.
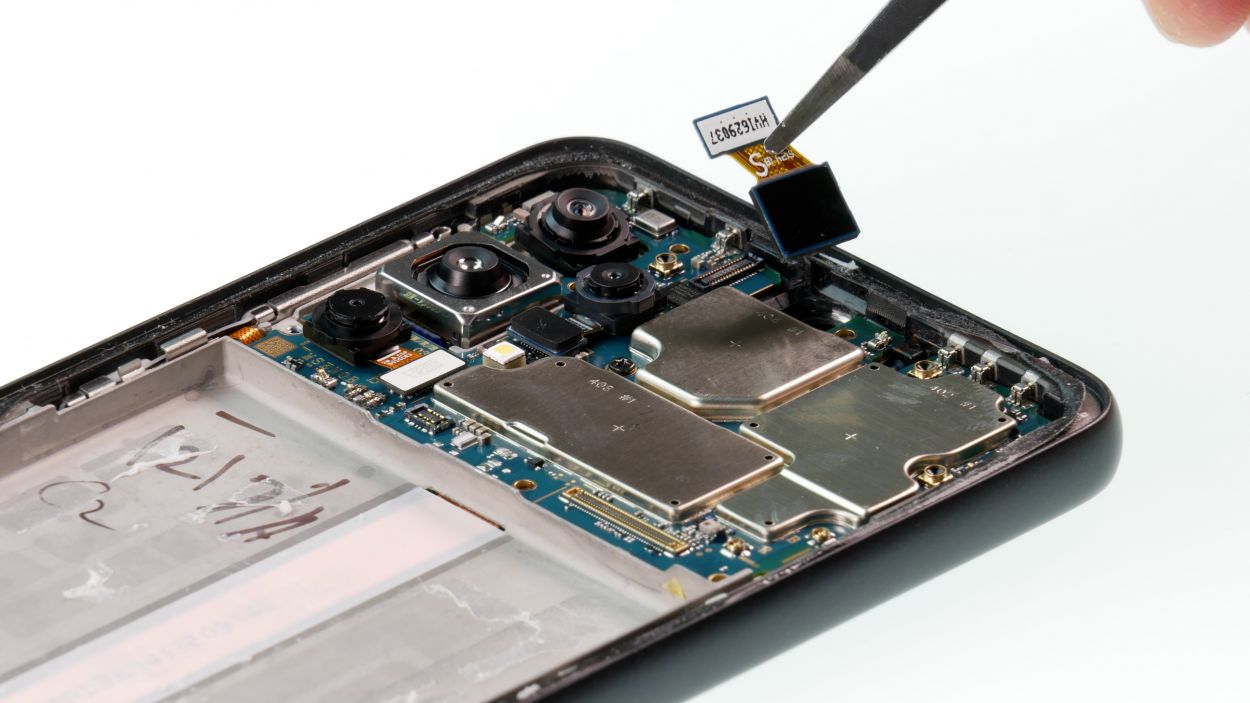
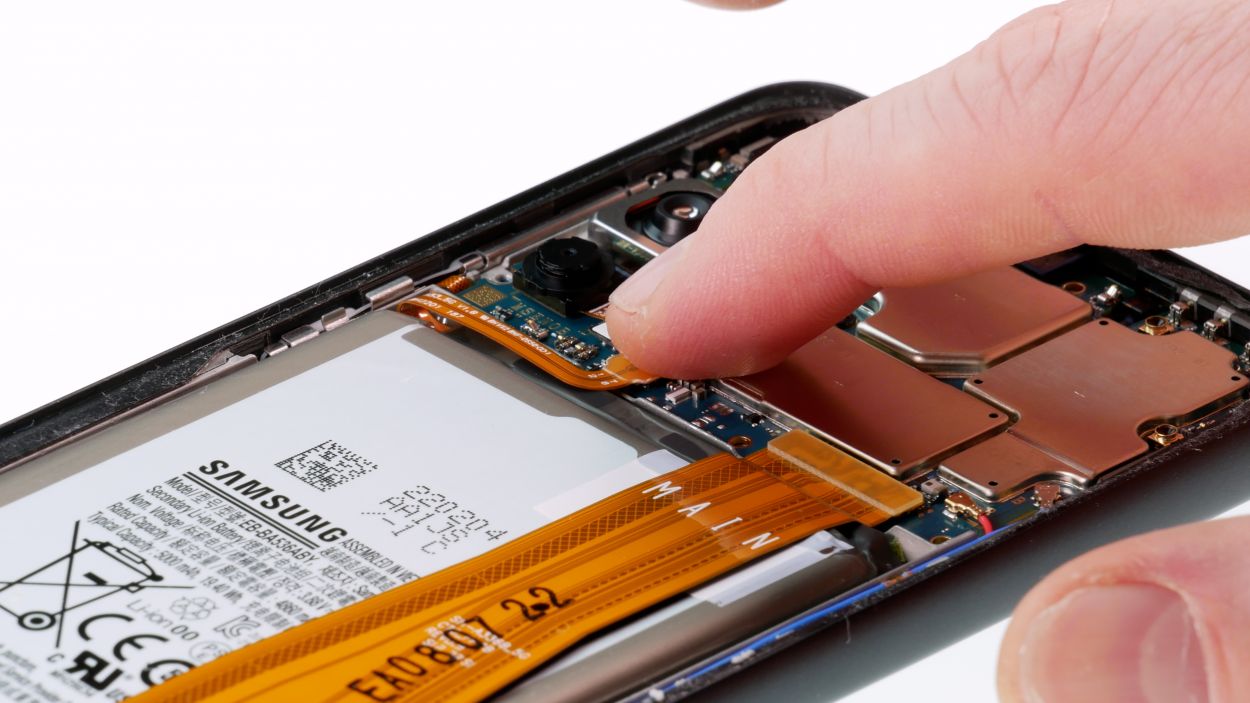
Step 14

Front Camera Connector
– Now it’s time to gently lift out the front camera and set it aside like a pro. You got this!
Step 17
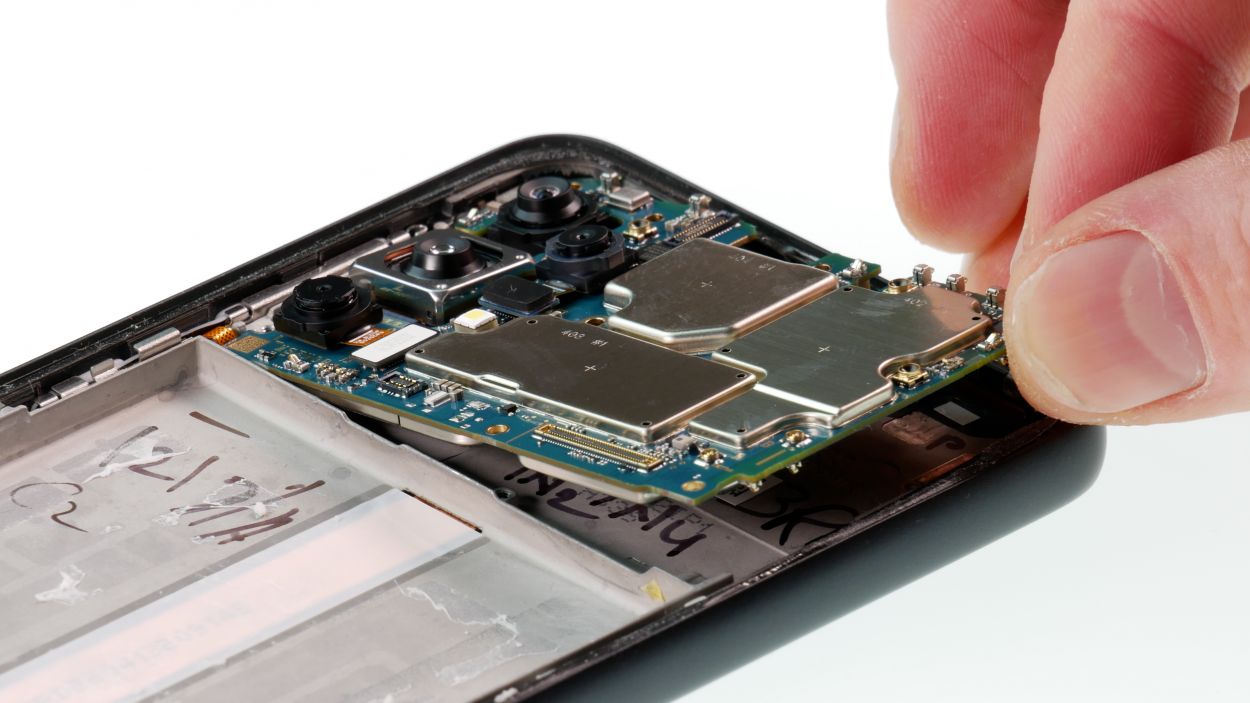

1 × Phillips 2,4mm
– Now gently slide that motherboard back into its cozy little spot.
– Secure it with the provided screw to keep everything snug and happy.
Step 18
Front Camera Connector
– Carefully pop in the new front camera like a champ!
– Connect that little connector to complete the magic!
Step 19

– Pop that vibration motor into the new display and give it a gentle press down. You’re doing great!
Step 20

1 × Phillips 2,4mm
Screen Connector
Give it a little push until you hear that satisfying click—it’s like a high-five for your USB board!
– Now, gently place that USB board back where it belongs and secure it with the Phillips screw we provided—easy does it!
– Reconnect the highlighted connector and you’re on your way!
Step 21

Fingerprint Sensor Connector
– Time to swap in that fingerprint sensor! Just pop it right in.
– Now, connect the highlighted connector and you’re all set!
Step 22

Antenna Connector
The slots are marked with a B for Blue and an R for Red. So, make sure to plug them in the right spots!
– Slide those two antenna cables back into their cozy little homes and reconnect them to the matching sockets. You’ve got this!
Step 24
– Now, go ahead and reconnect that connecting cable to the two highlighted connectors. You’ve got this!
Step 25


7 × Phillips 4,2mm
– Now, slide that lower board cover back into place like you’re tucking in a cozy blanket.
– Secure it with the right screws, and you’re all set!

Step 27
8 × Phillips 4,1mm
– Time to place that upper board cover back where it belongs!
– Secure it with the right screws, and you’re all set!
Step 28

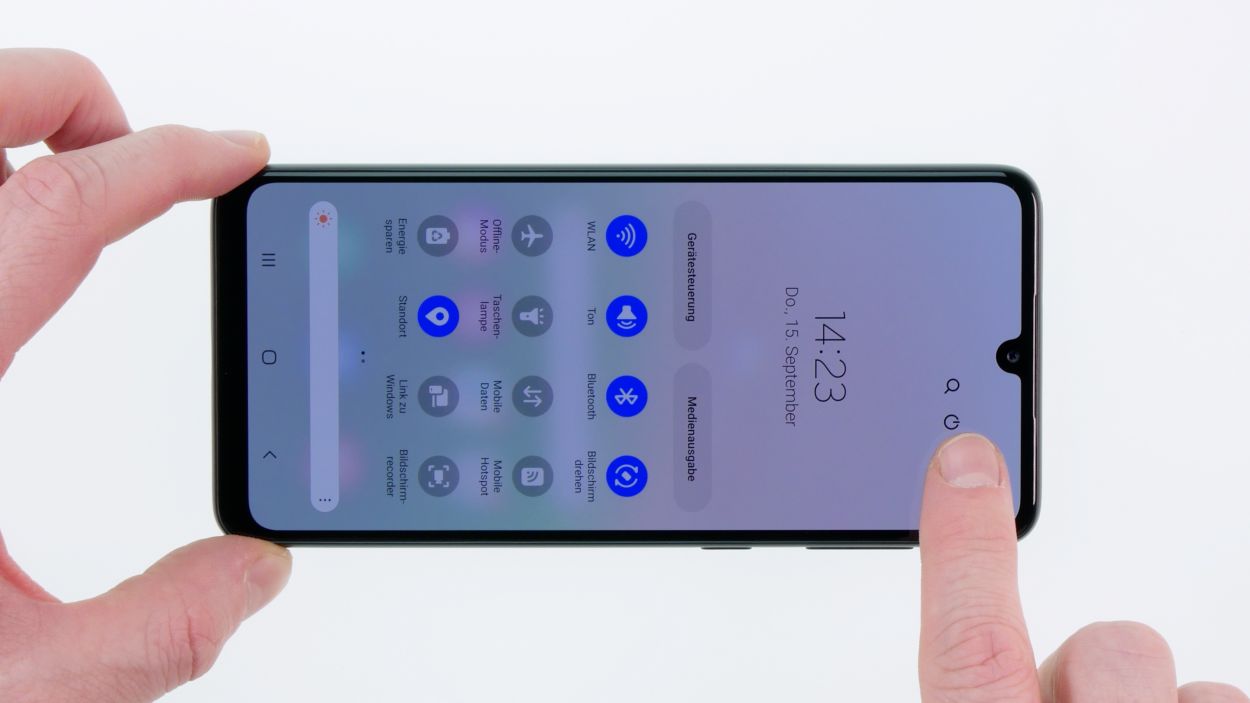
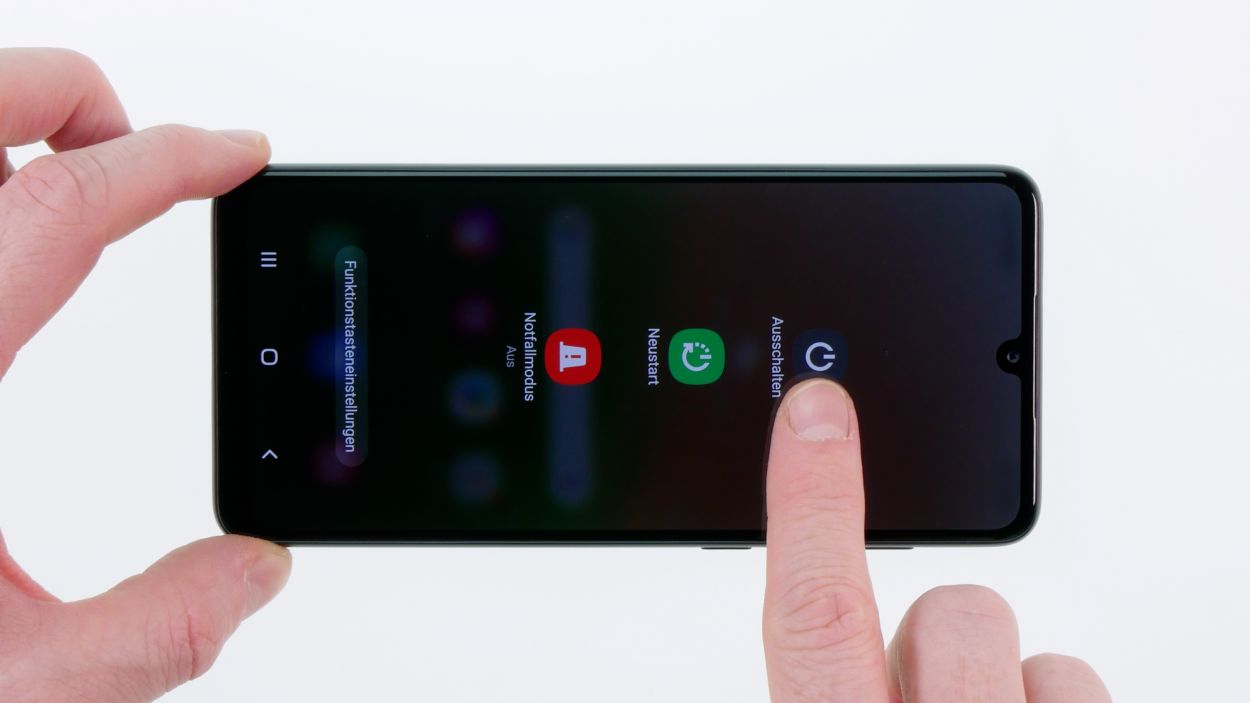
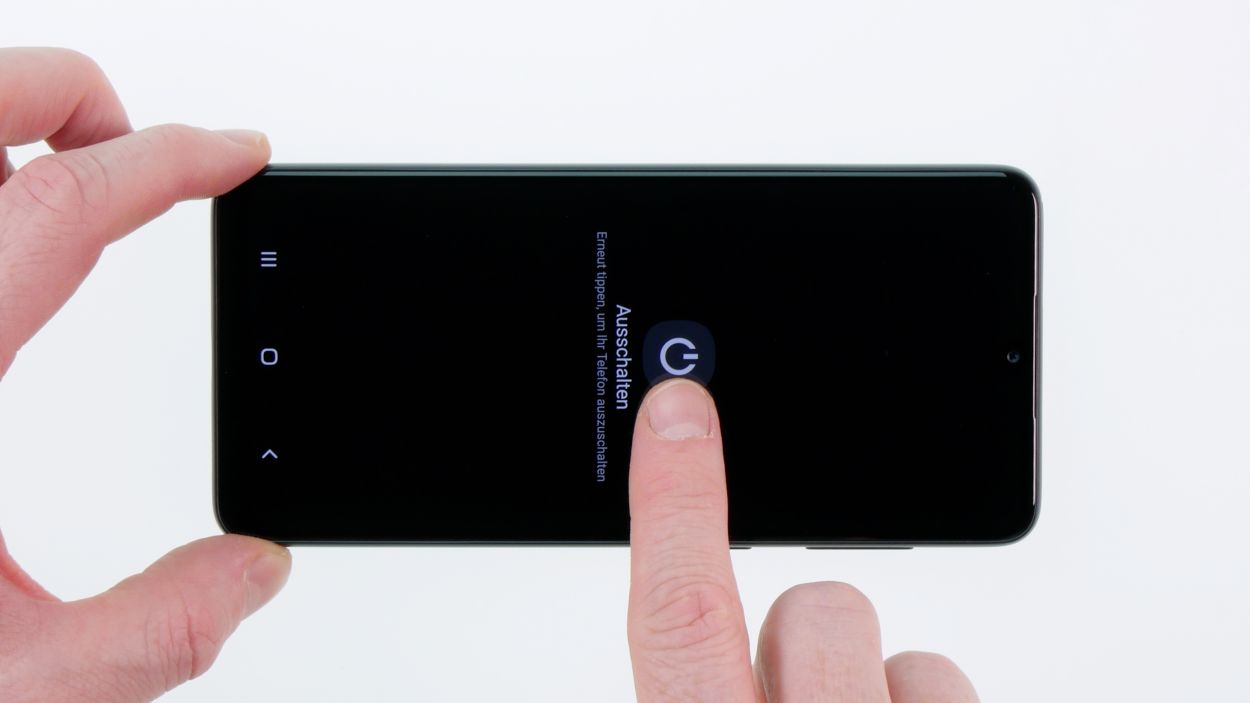
Before sealing up your phone, let’s make sure everything’s working like a charm! Power it up and dive into that secret test menu. It’s like a mini celebration for your device!
– To kick things off, fire up your phone app and type in: *#0*#.
– Next, just follow the prompts in the test menu—it’s like a little adventure for your phone!
– Don’t forget to plug in a charging cable and see if your phone is ready to power up. Let’s get that battery charged!
Step 29
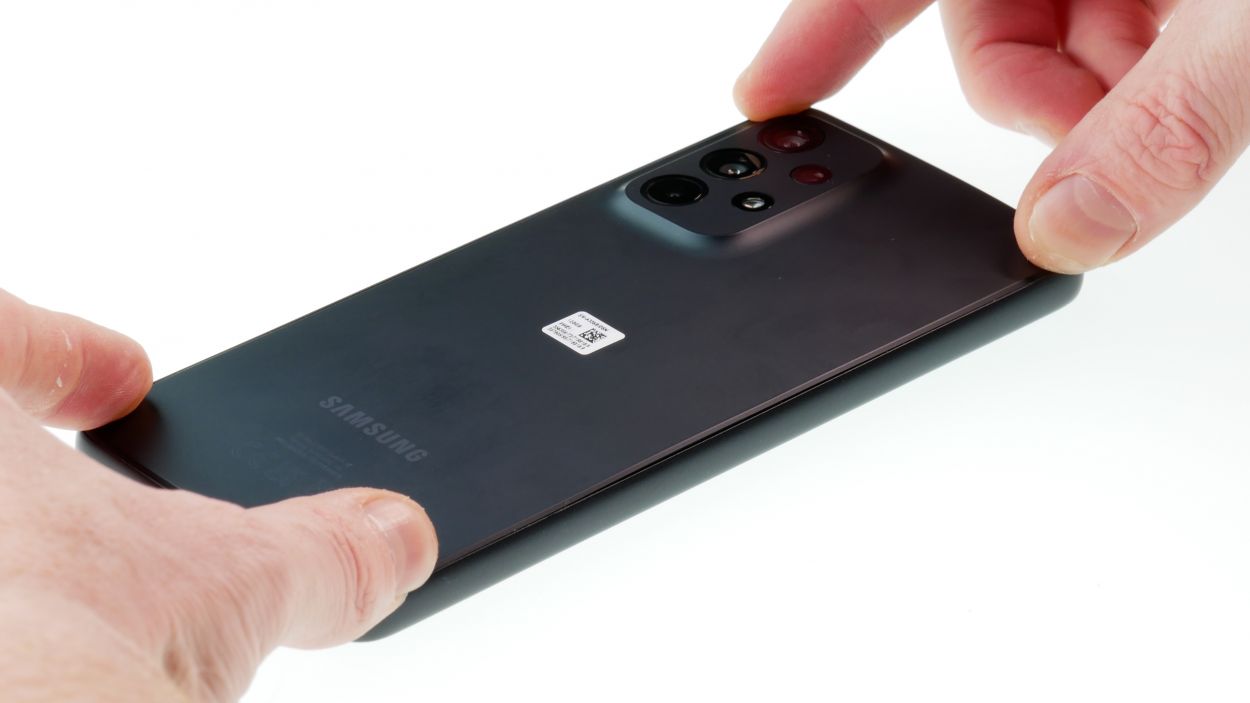
– Warm up that adhesive on the back cover with your hot air gun, making sure to spread the heat evenly. No need to scorch it, just a gentle touch will do!
– Carefully place the back cover back on and give it a firm press to seal the deal. You’re almost there!
Step 30

– Pop that sim card holder back in like a pro! Just slide it into place and you’re golden!