DIY Guide to Replace Samsung Galaxy A41 Screen
Duration: 120 min.
Steps: 25 Steps
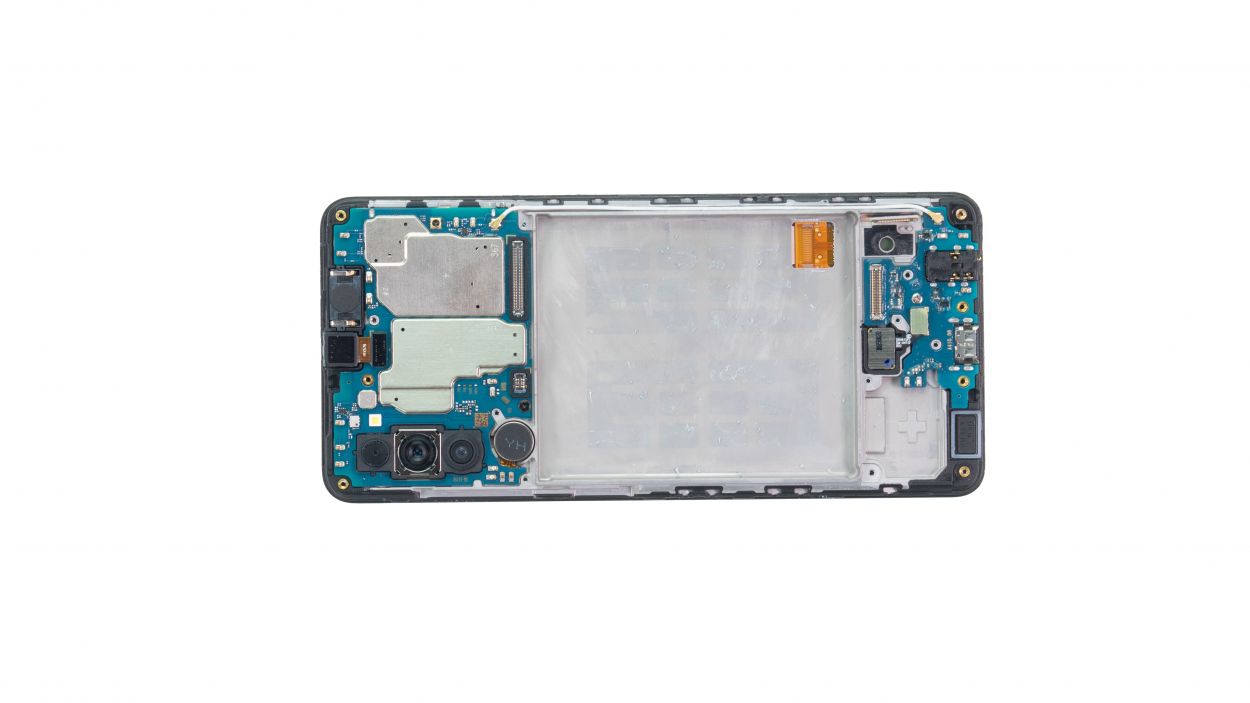
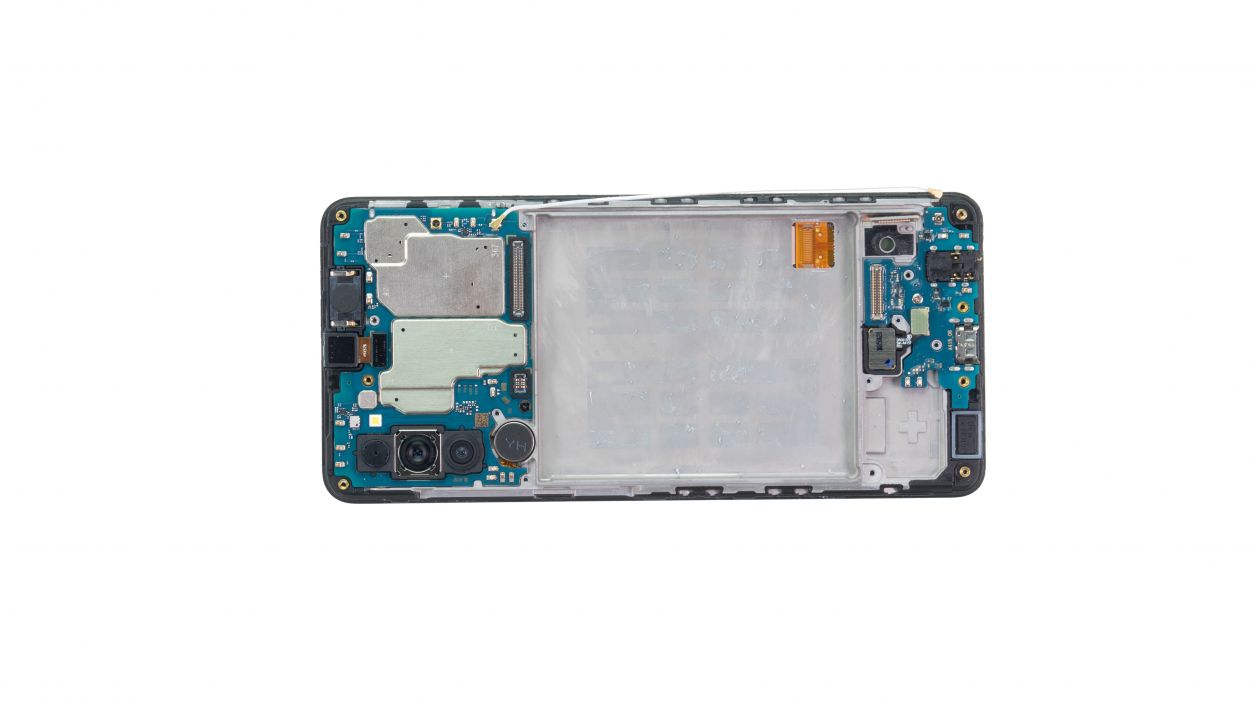
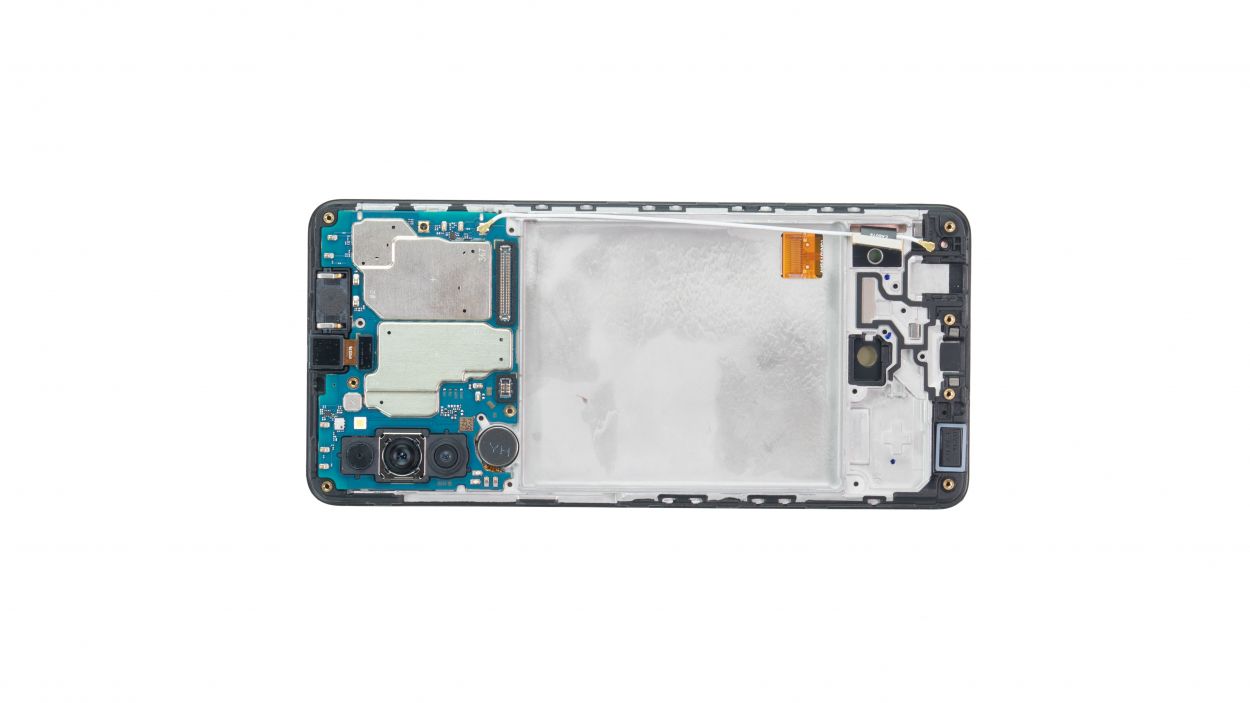
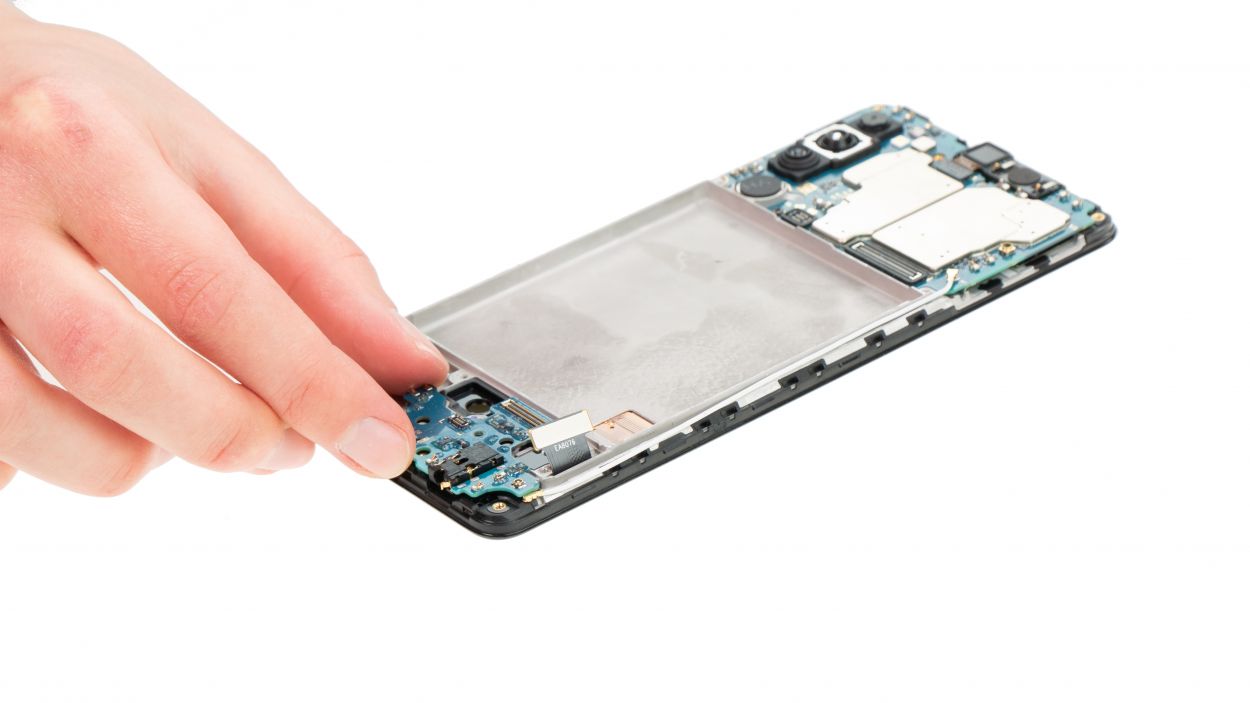
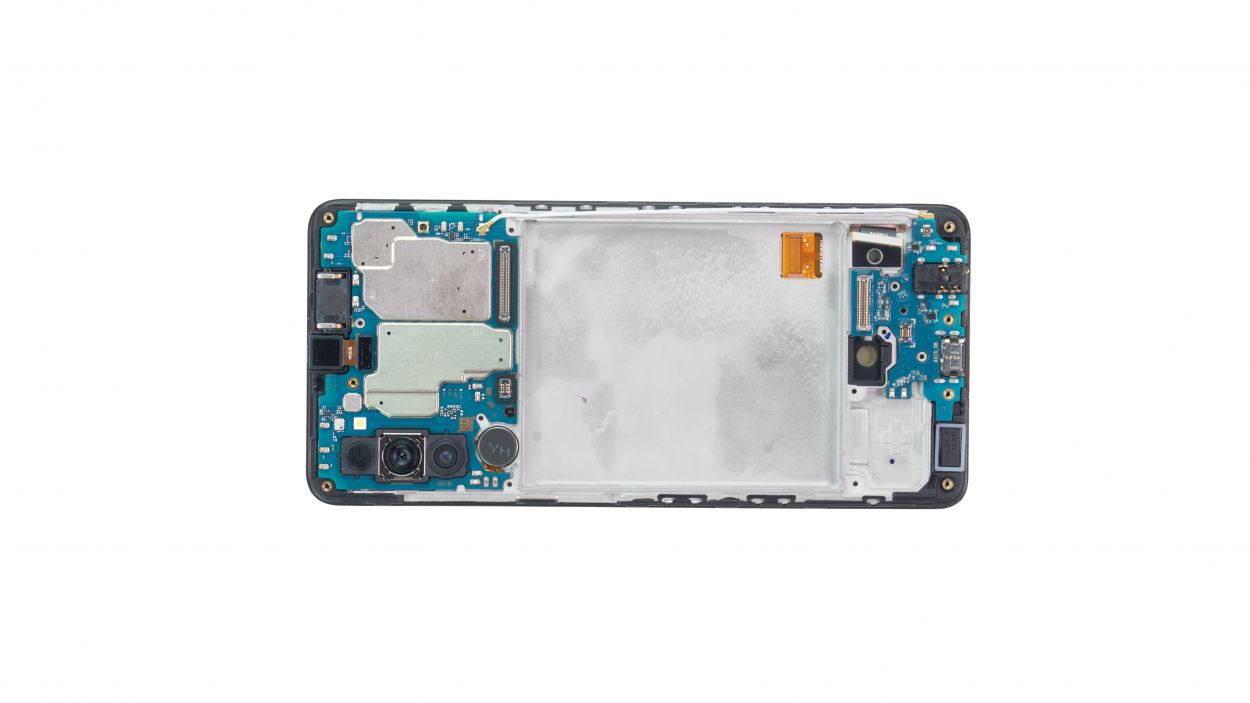
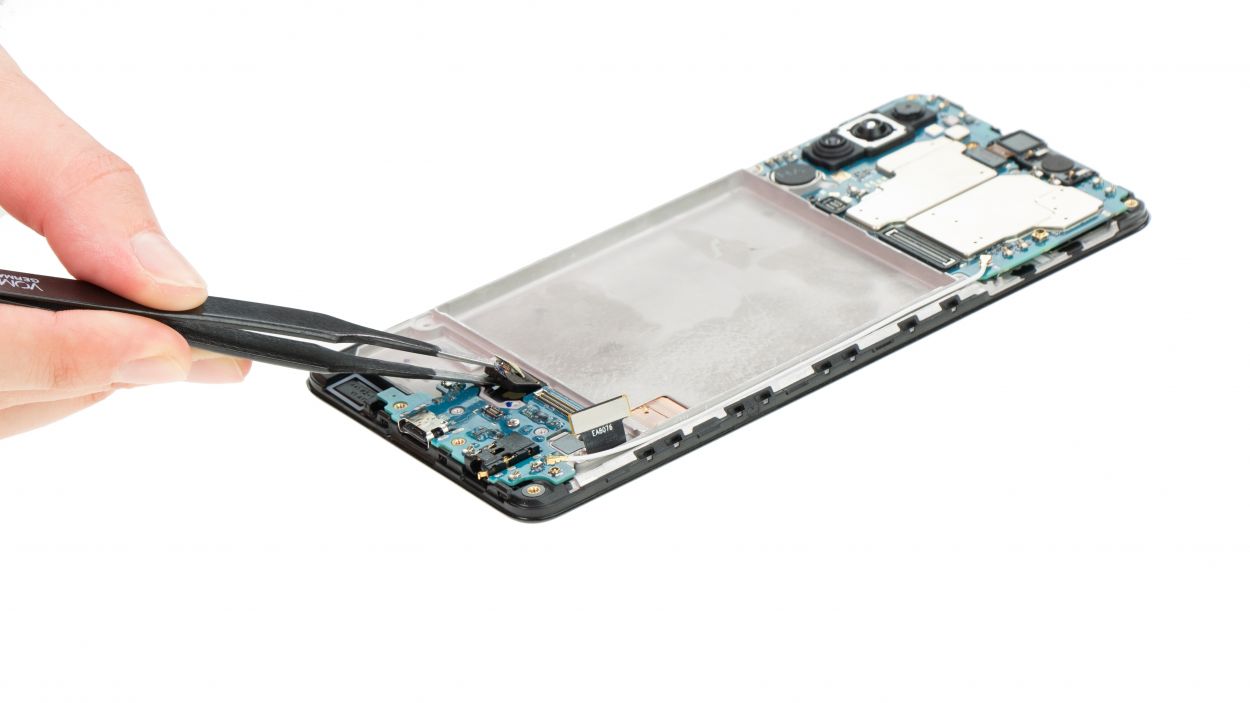
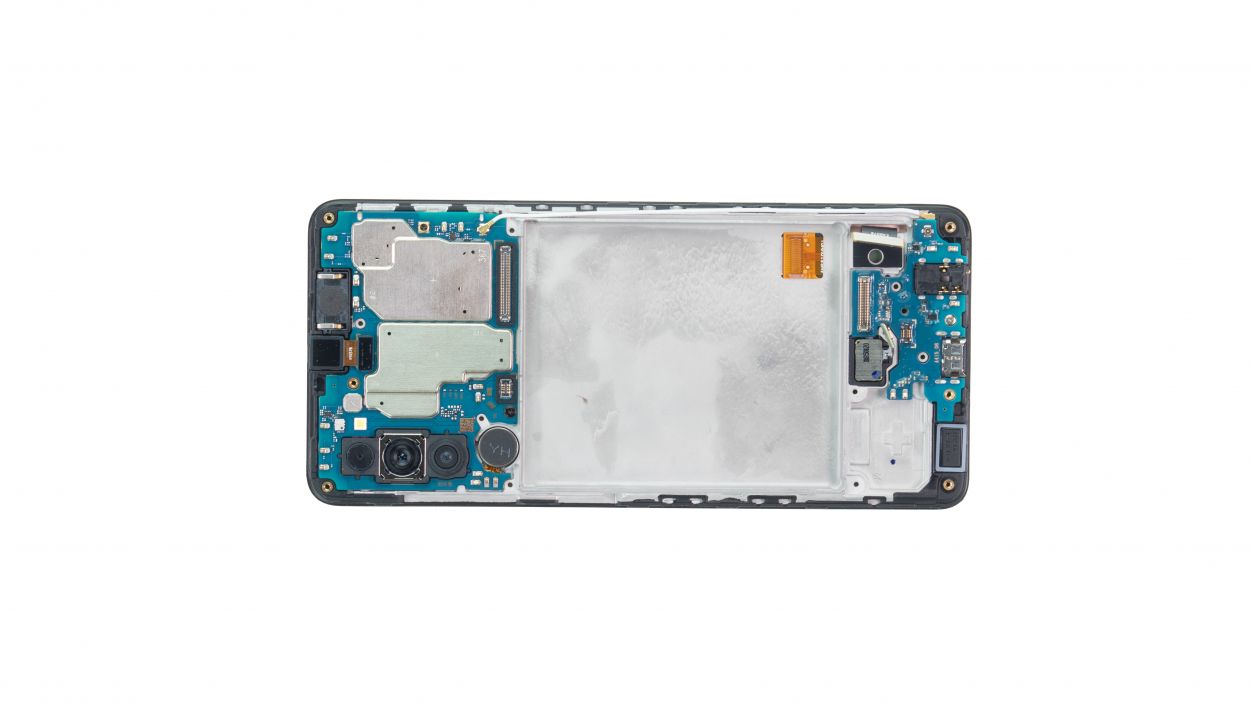
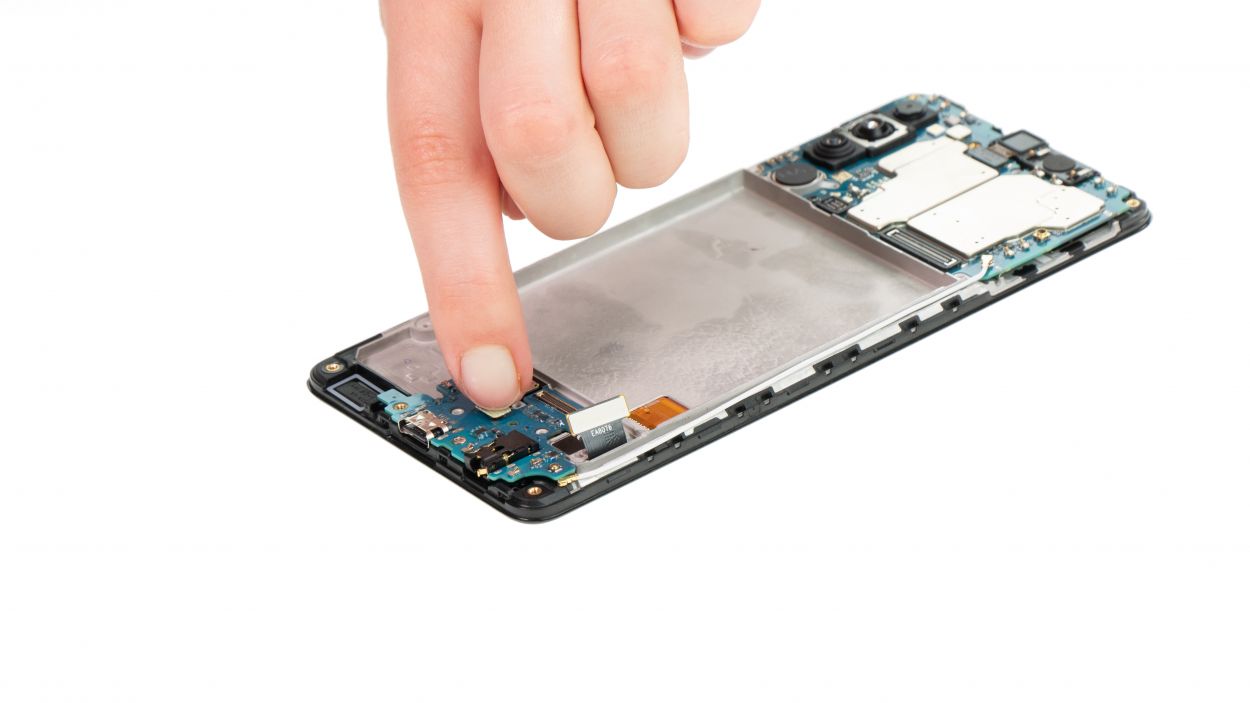
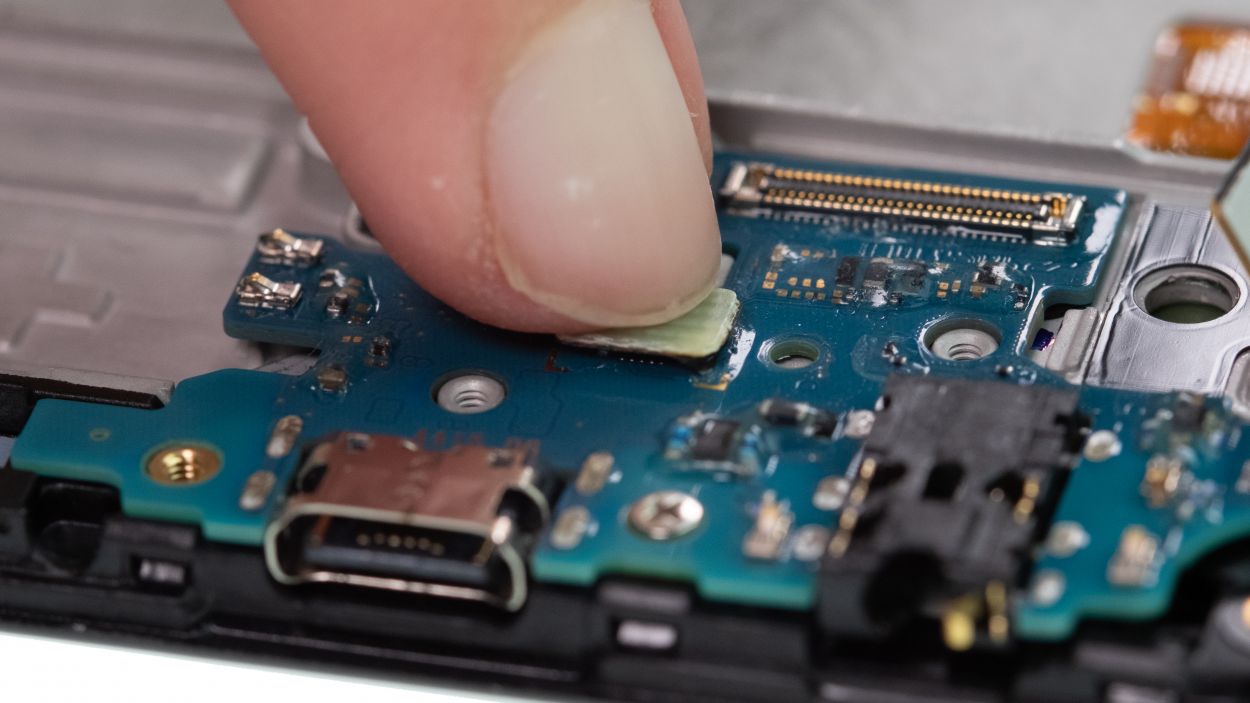
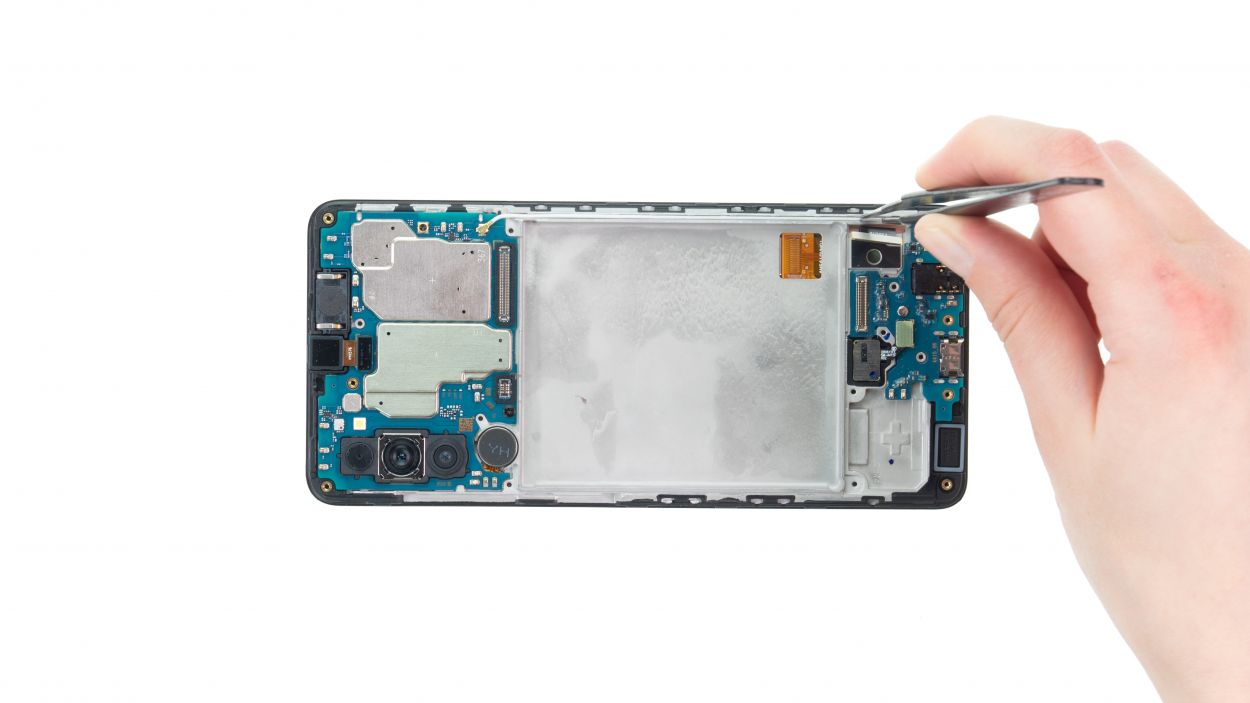
If you’re facing a screen issue with your Galaxy A41, it’s time for a screen swap! Our detailed photo guide will walk you through the process step-by-step. Replacing the A41 screen is a bit of a challenge, but don’t worry—most parts are housed in the screen unit and will need to be moved over to the new screen (the earpiece gets a free pass). Just a heads up: the back cover and battery are really stuck on there, so make sure you’ve got plenty of time to tackle this repair. Best of luck, and remember, you can snag an original replacement screen for your Galaxy A41 along with a handy Samsung tool kit at our online store. schedule a repair
Step 1
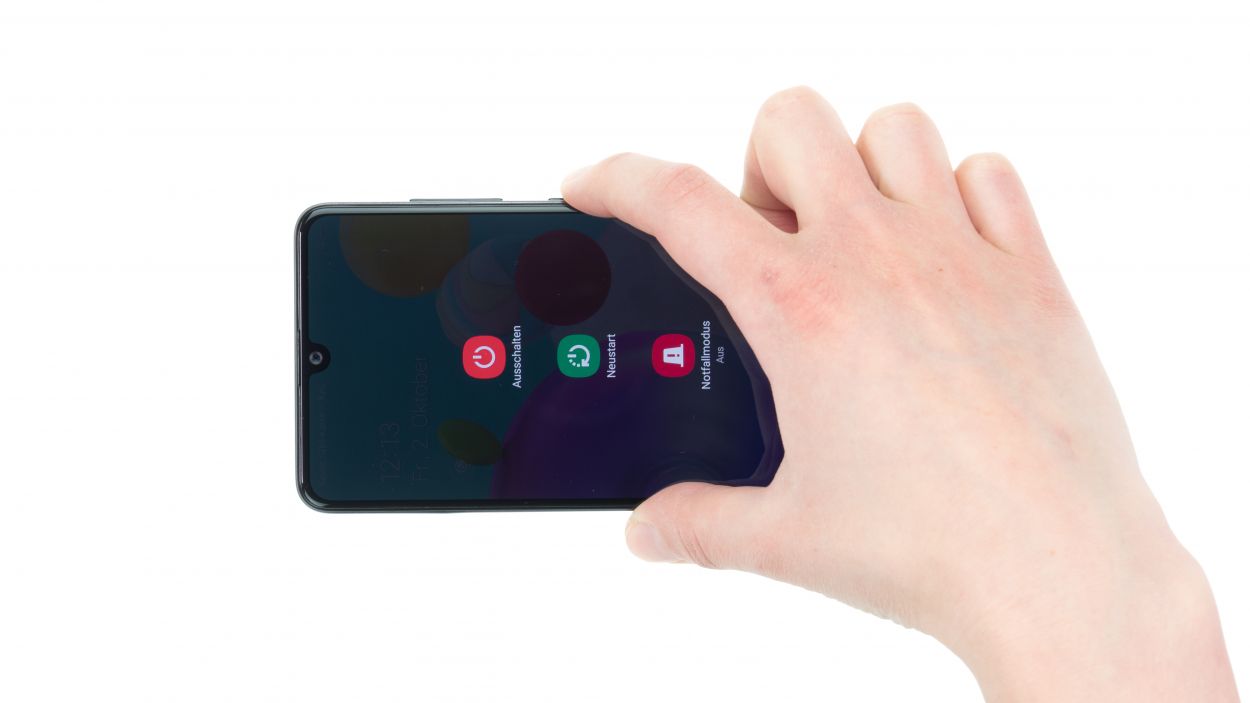
– To kick things off, press and hold the side button and the volume down button at the same time for a few seconds.
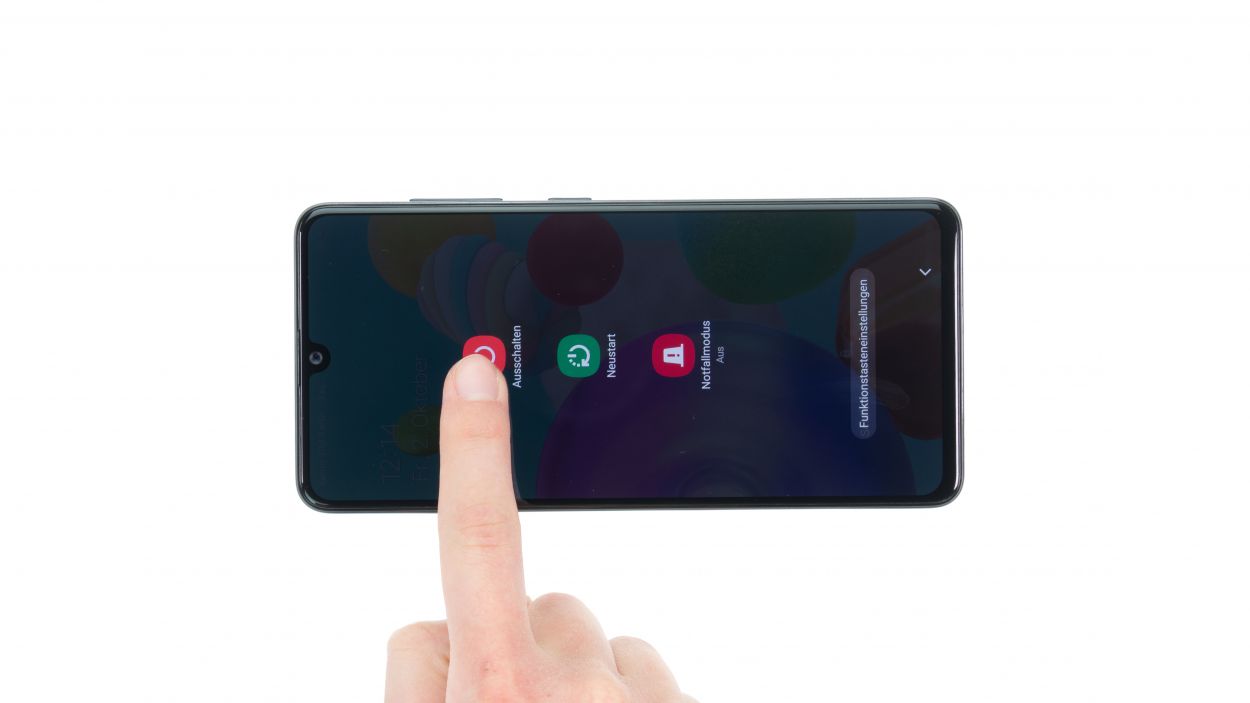
– Next, tap on ‘Switch off’ in the menu that pops up.
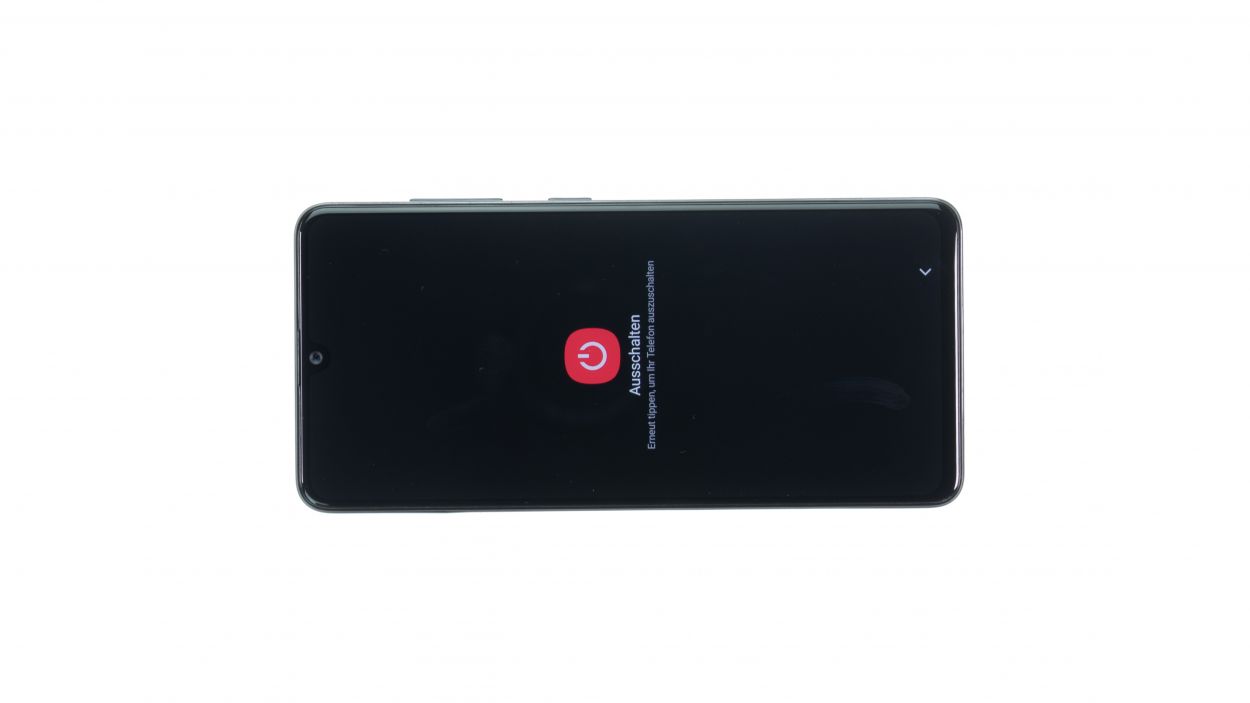
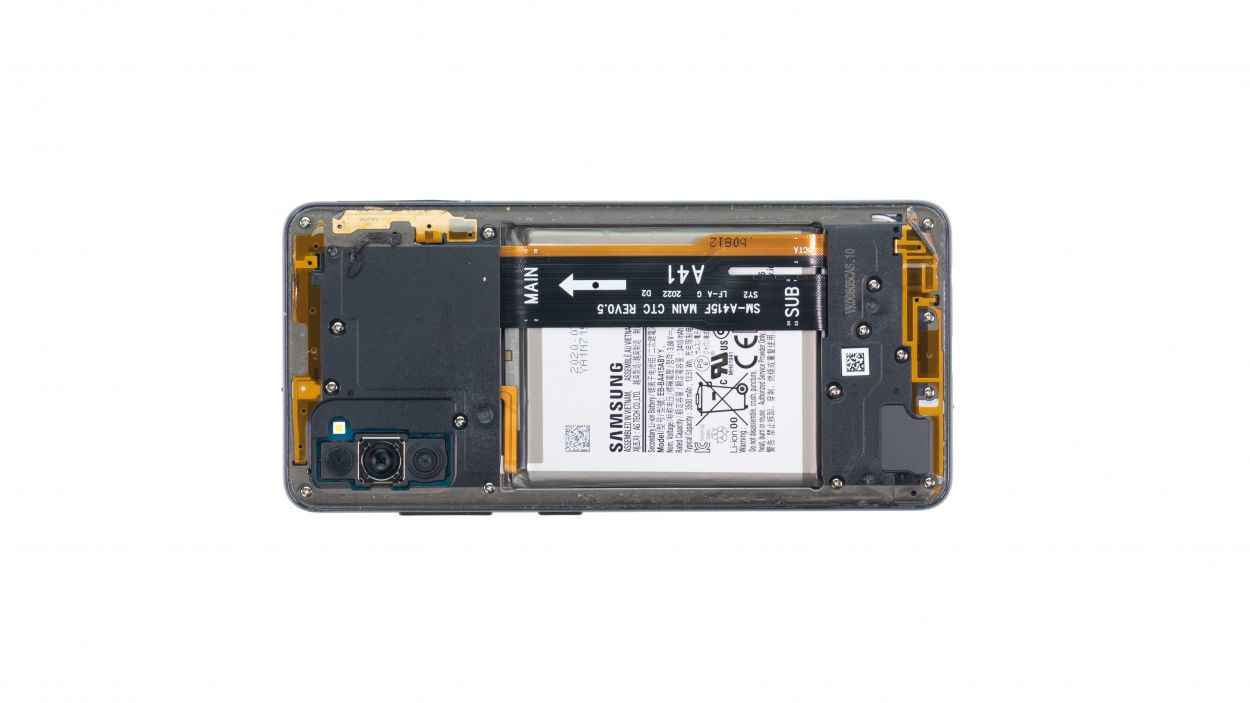
– And just like that, your phone will completely power down in just a few seconds!
Step 2
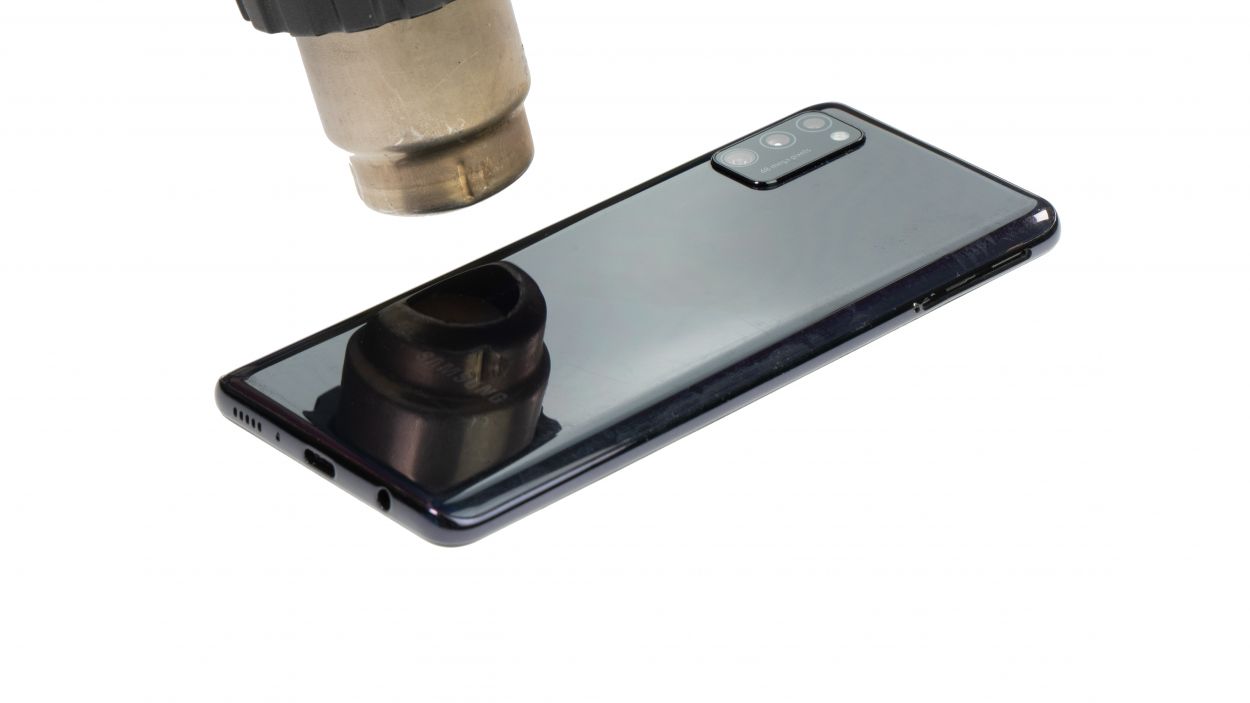
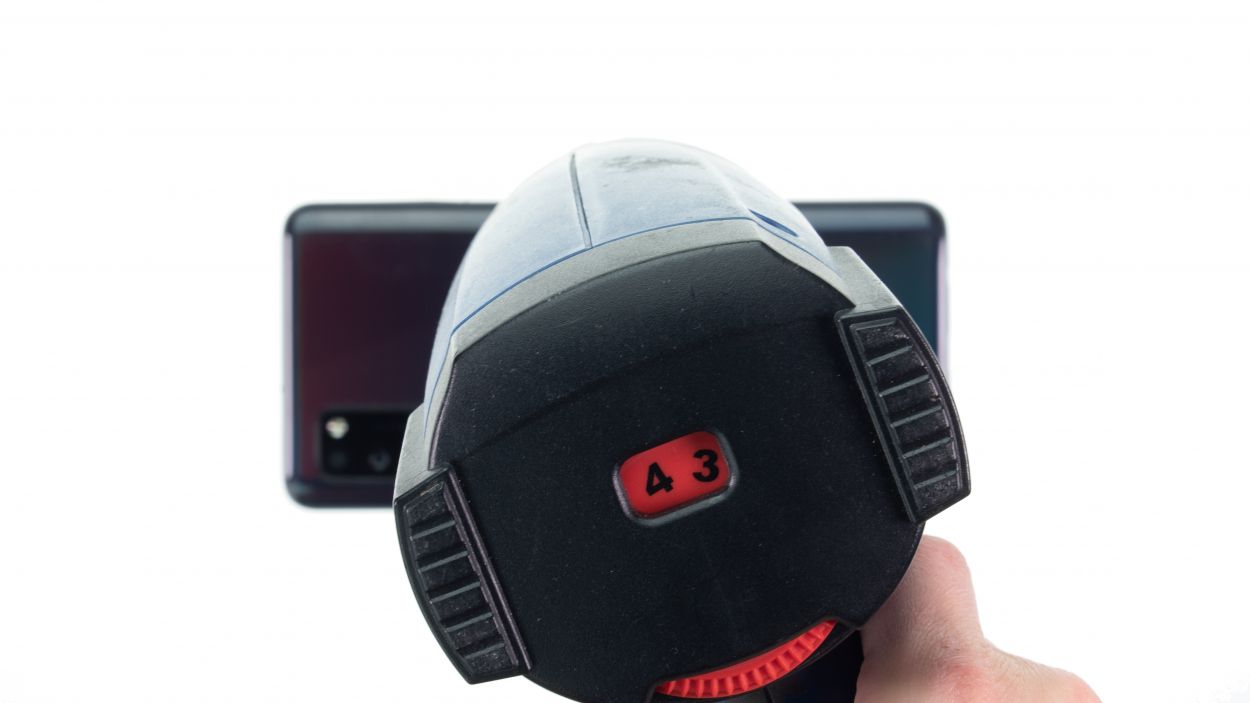
Here’s a handy tip: When you’re heating up the edge of the back cover, make sure it’s warm enough for you to touch comfortably—no finger burns allowed!
– To kick things off, lay your phone face down on a soft, clean surface—think cozy and comfy!
– Now, gently glide that hot air device around the edge of the back cover like you’re painting a masterpiece.
Tools Used
- heat gun to heat parts that are glued on so they’re easier to remove.
In most cases, you can also use a hairdryer.” rel=”noopener nofollow”>Heat gun
Step 3
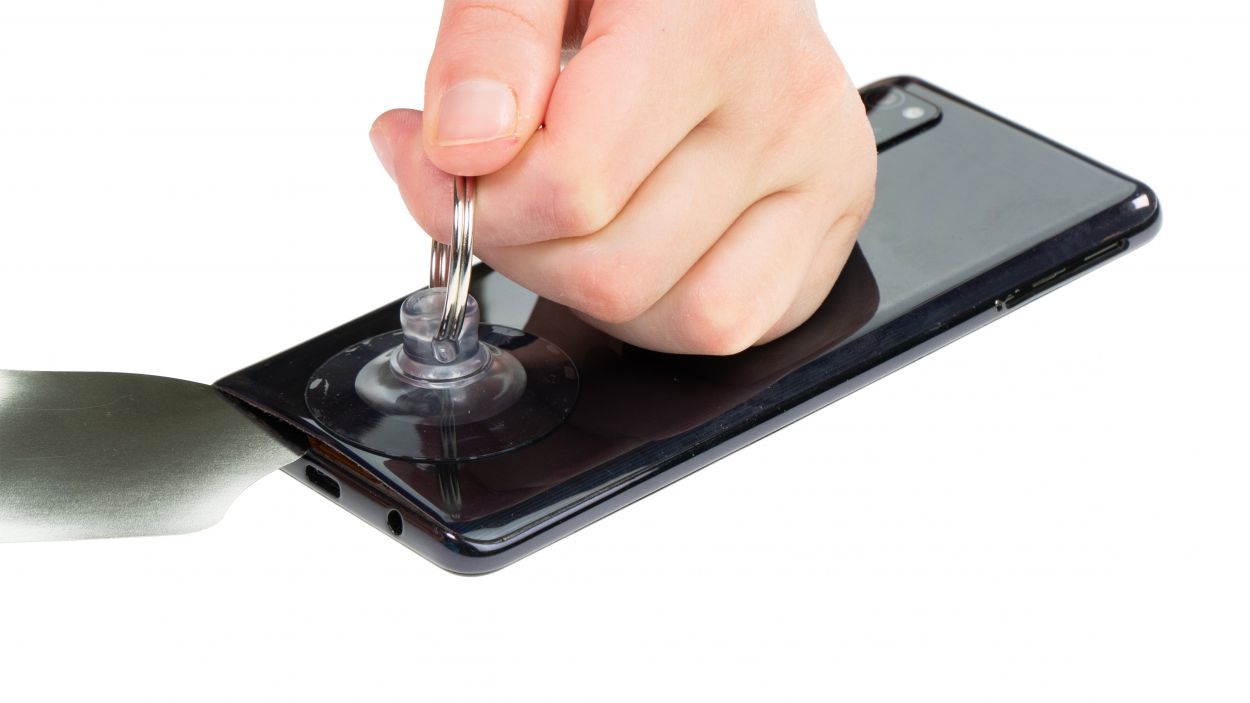
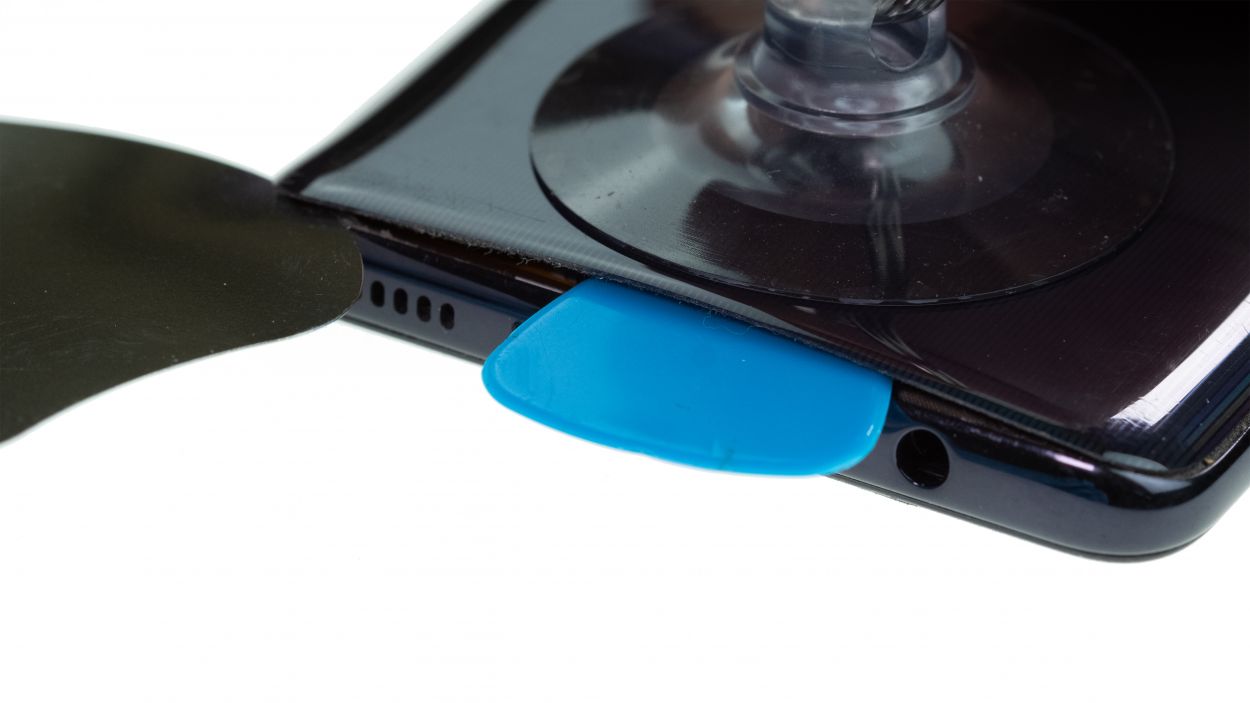
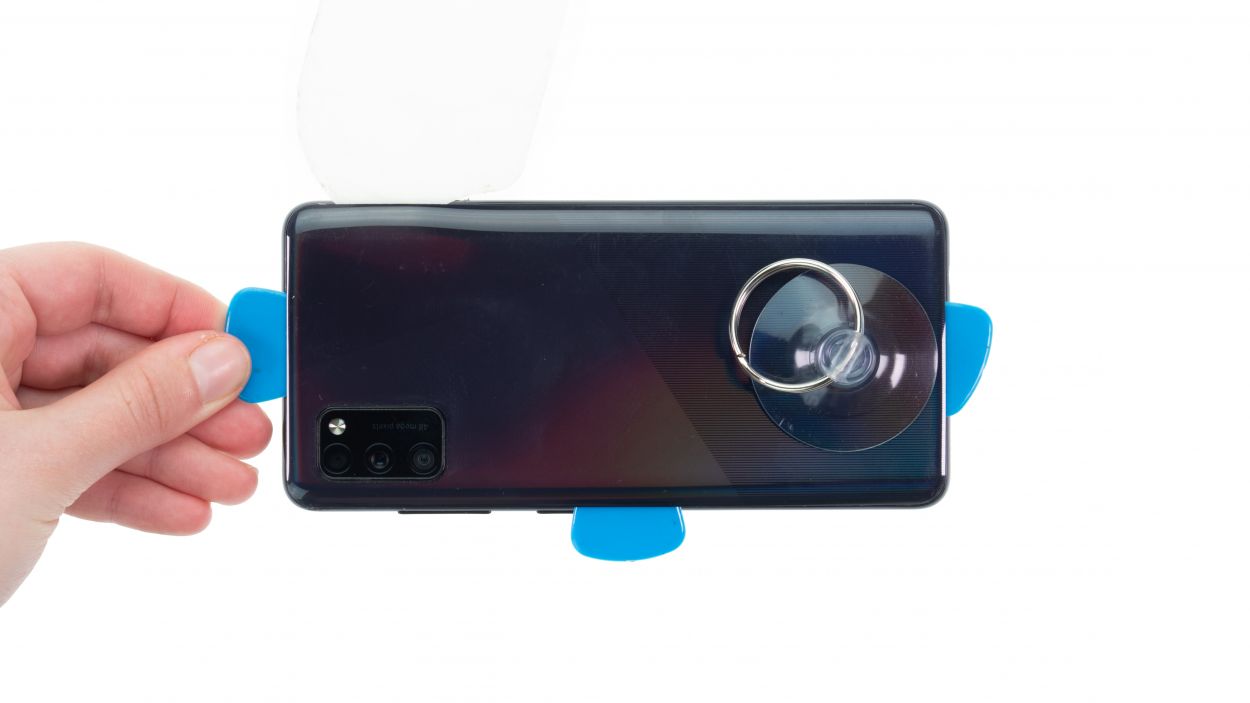
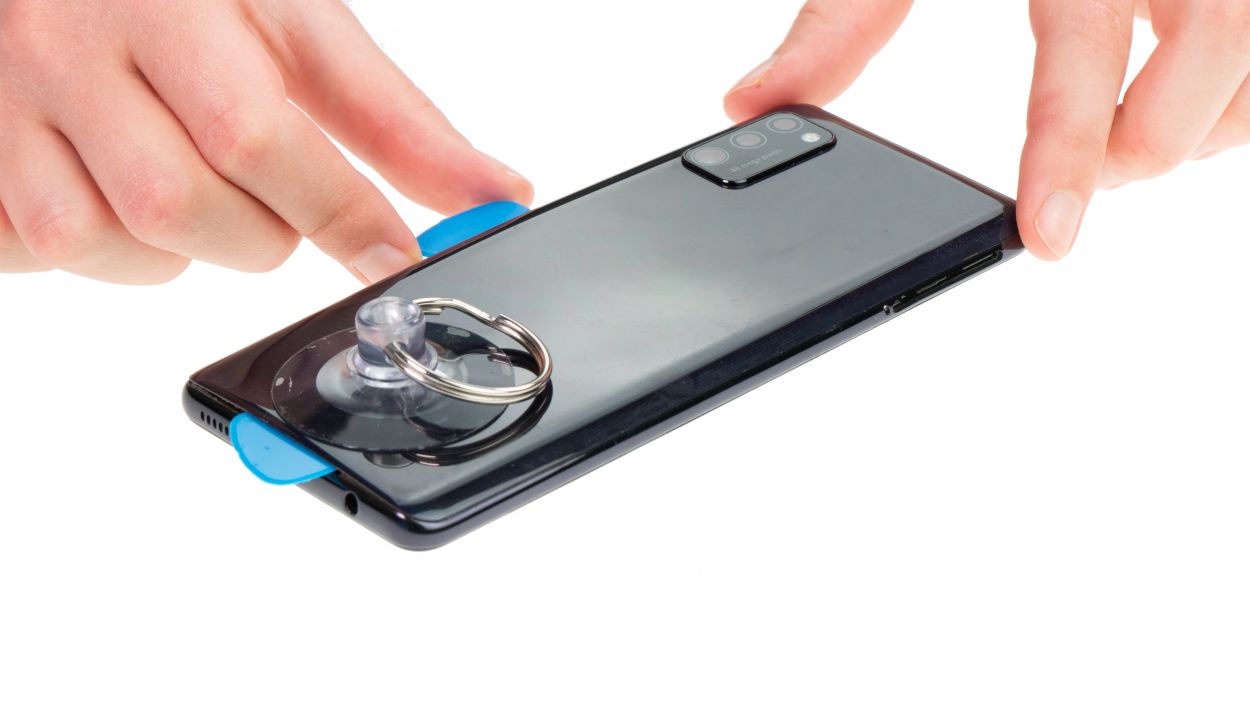
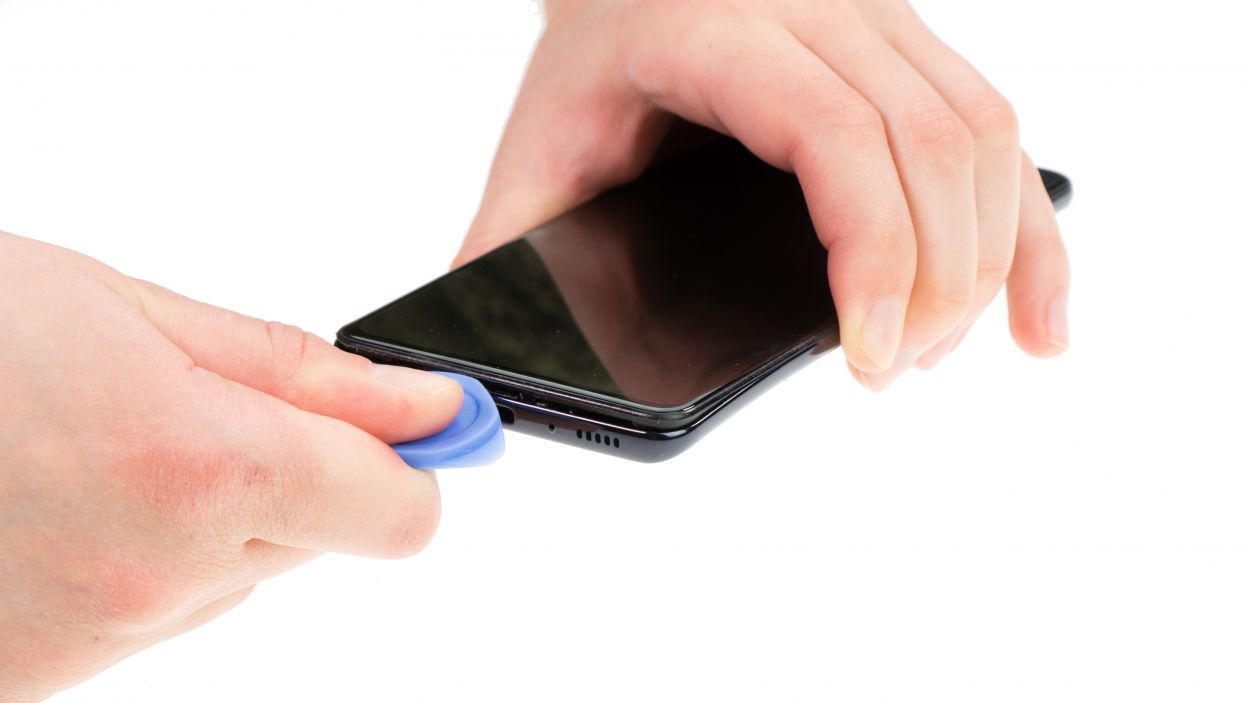
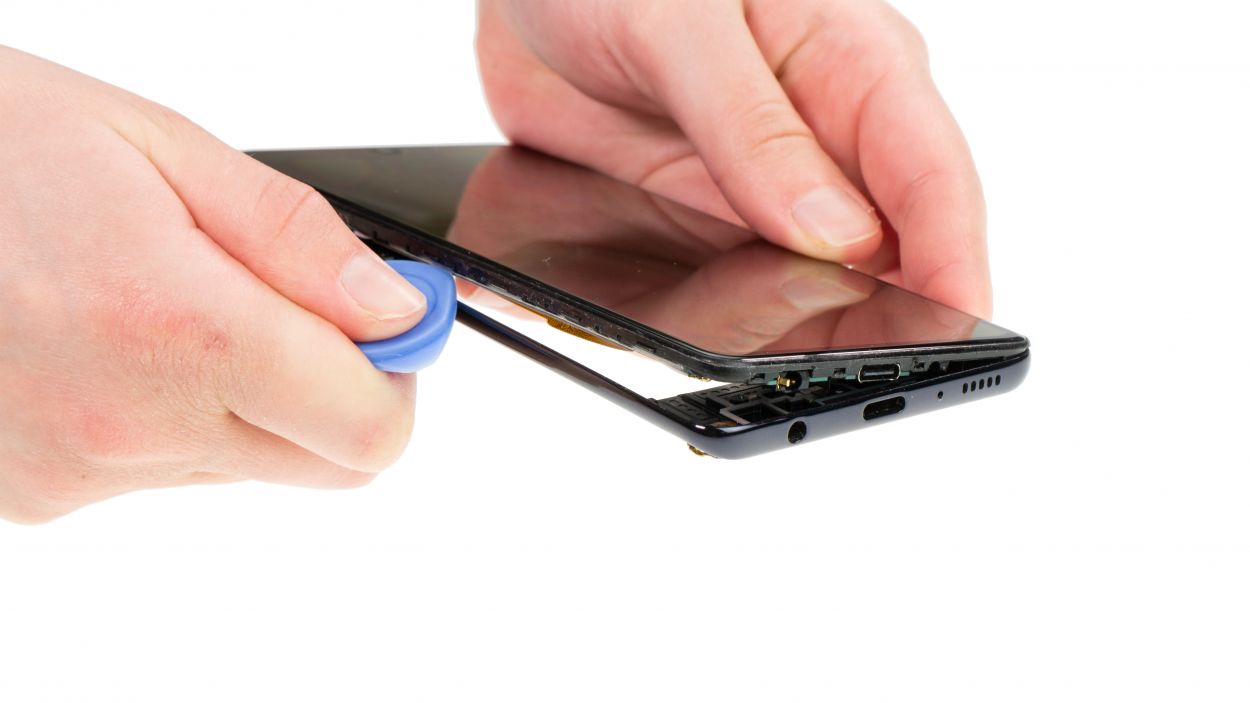
– Stick a suction cup on the lower part of the back cover and give it a gentle pull upwards to create a slim gap between the back cover and the middle frame. Think of it as giving your phone a little stretch!
– While you’re at it, grab a flat, sturdy tool and slide it into that gap to help it widen. The iFlex is a great buddy for this task!
Just a friendly reminder: once you crack open your Galaxy A41, the manufacturer’s warranty waves goodbye!
The iFlex is crafted from super-thin, sturdy metal and does come with some sharp edges. To keep your device’s frame looking sharp (in a good way!), we suggest using the iFlex just at the start of your adventure and switching to a plastic tool as soon as you can. Your device will thank you!
Tools Used
- Flat Picks
- screen and the frame. The practical iFlex is made of stainless steel and sits comfortably in the hand. This makes it the perfect assistant for every smartphone repair.” rel=”noopener nofollow”>iFlex Opening Tool
- VAKUPLASTIC Suction Cup
Step 4
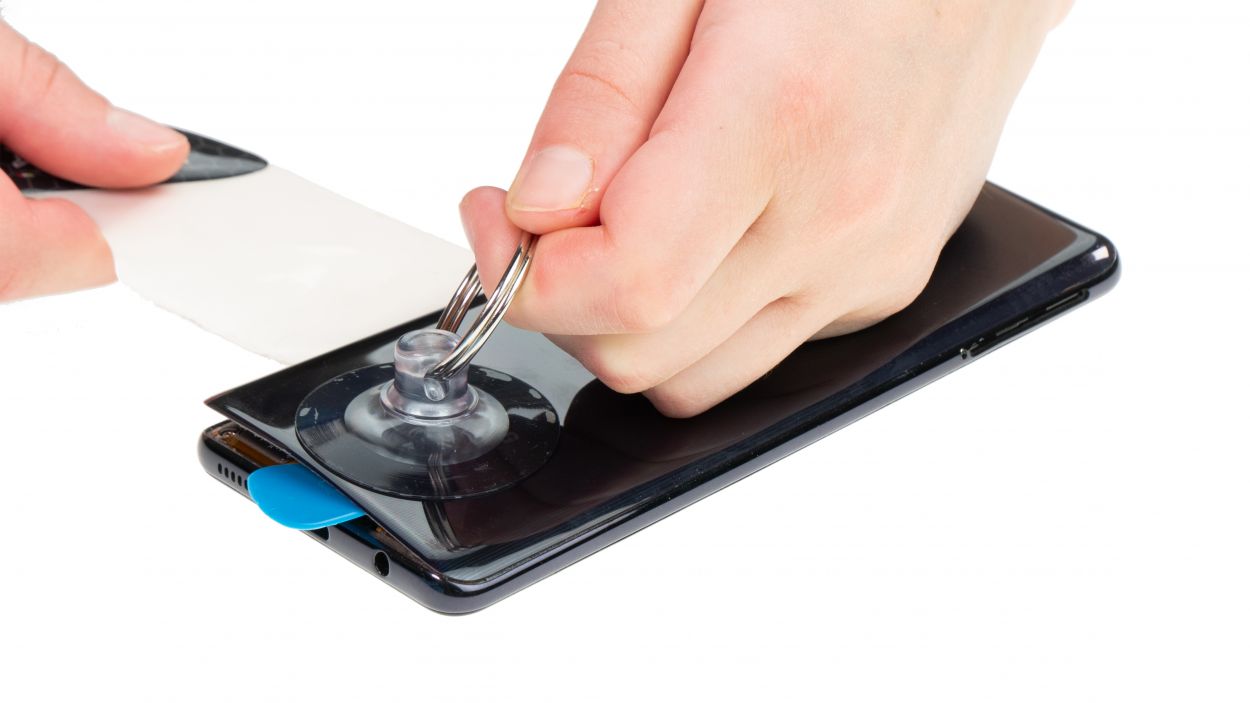
The iPlastix is crafted from lightweight, bendable plastic that’s easy to handle. Unlike its buddy the iFlex, it’s all smooth sailing with no sharp edges to worry about!
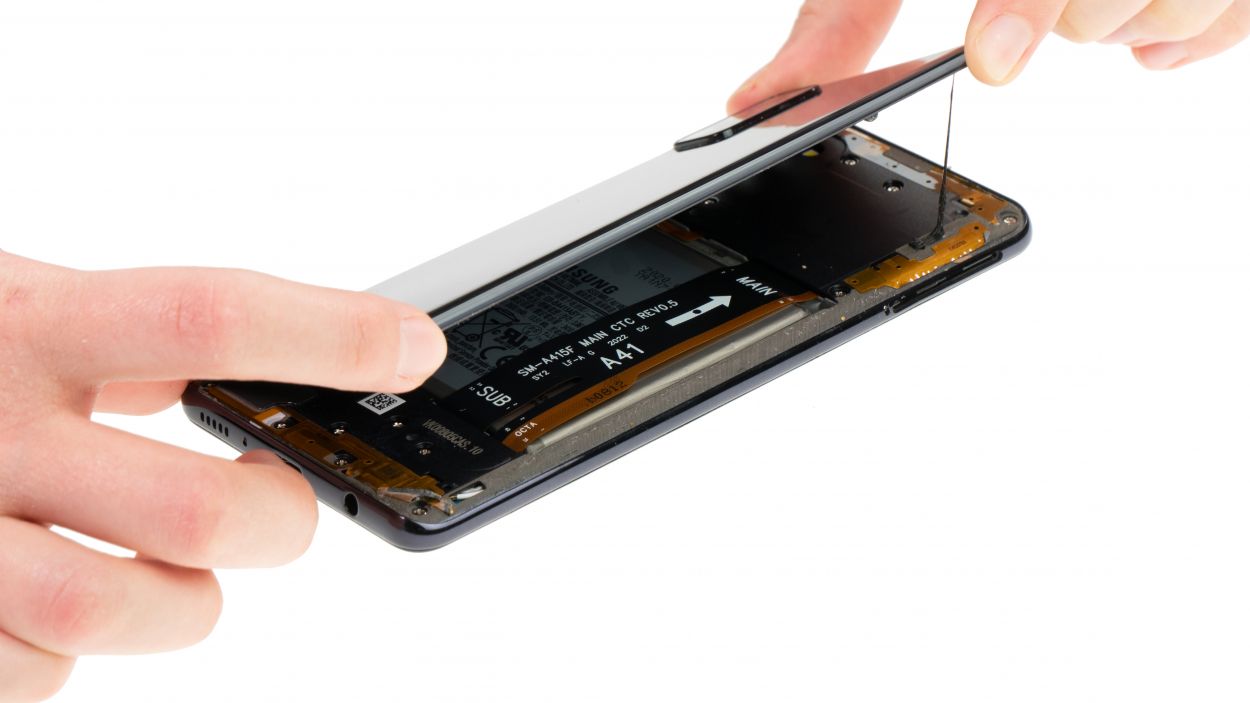
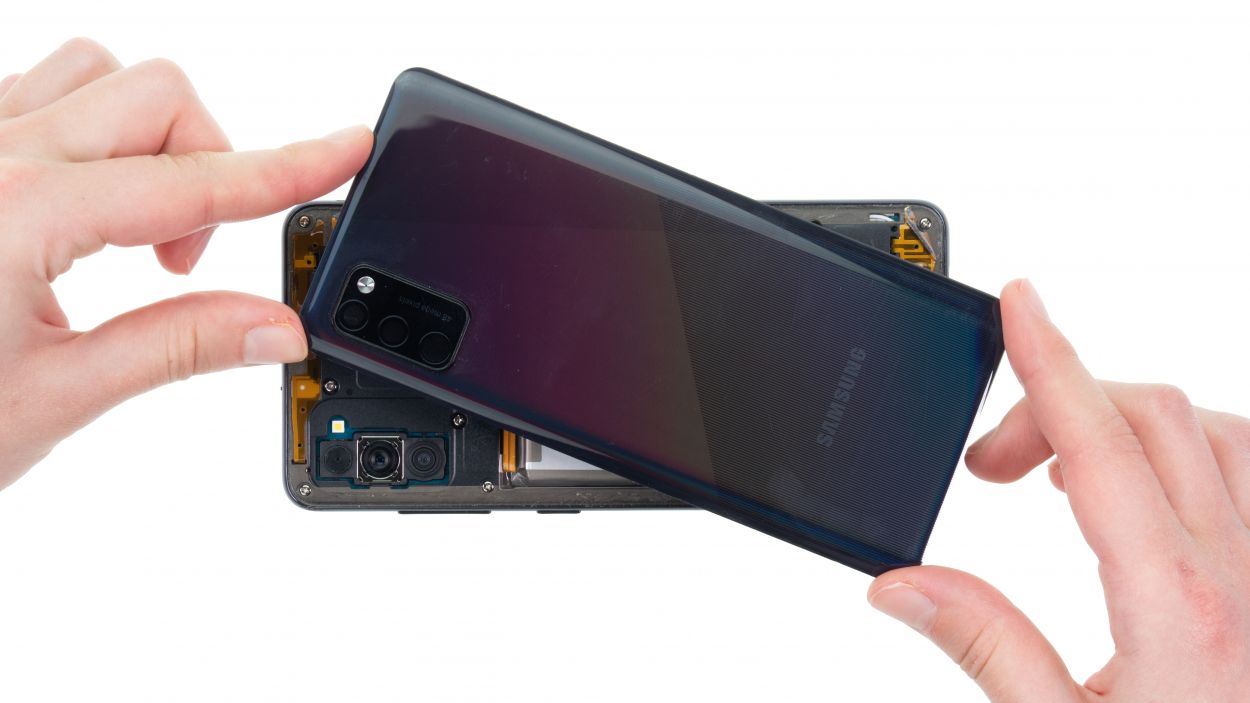
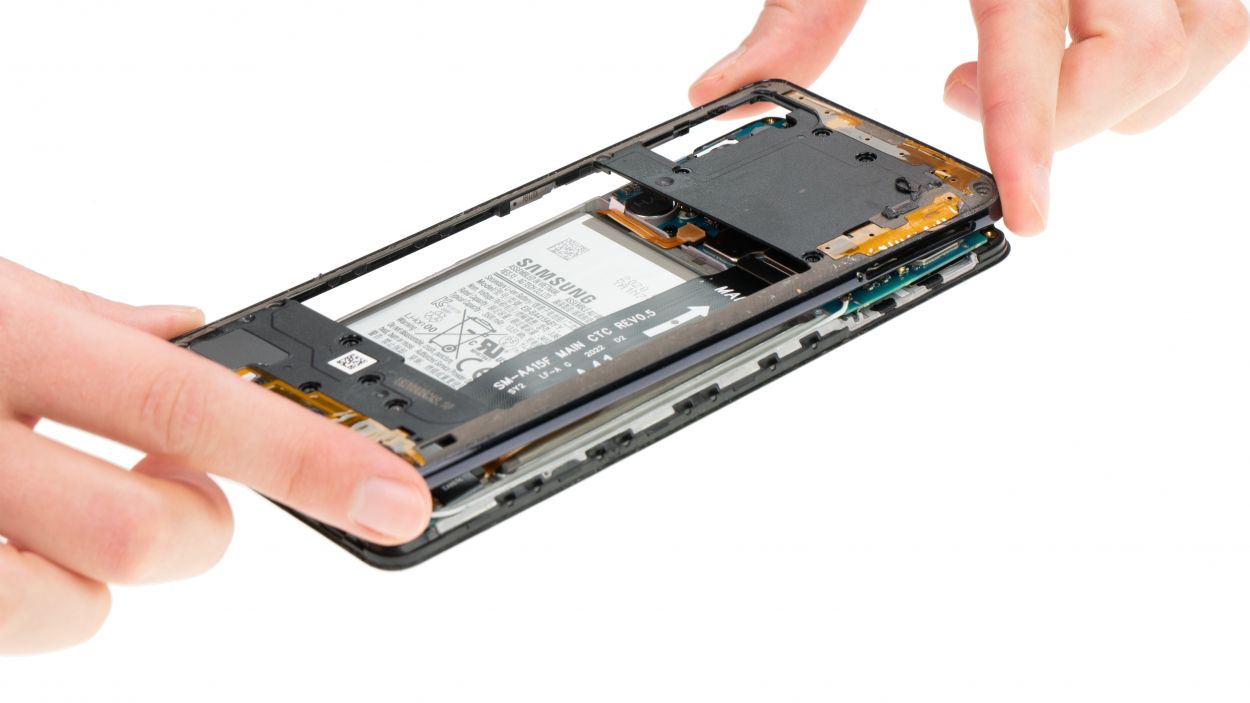
– Gently peel off the back cover from the middle frame, taking it slow and steady. Use a plastic tool to glide along the edge like you’re on a smooth ride. The iPlastix is your trusty sidekick for this step!
Tools Used
Step 5
16 × 3.5 mm Phillips
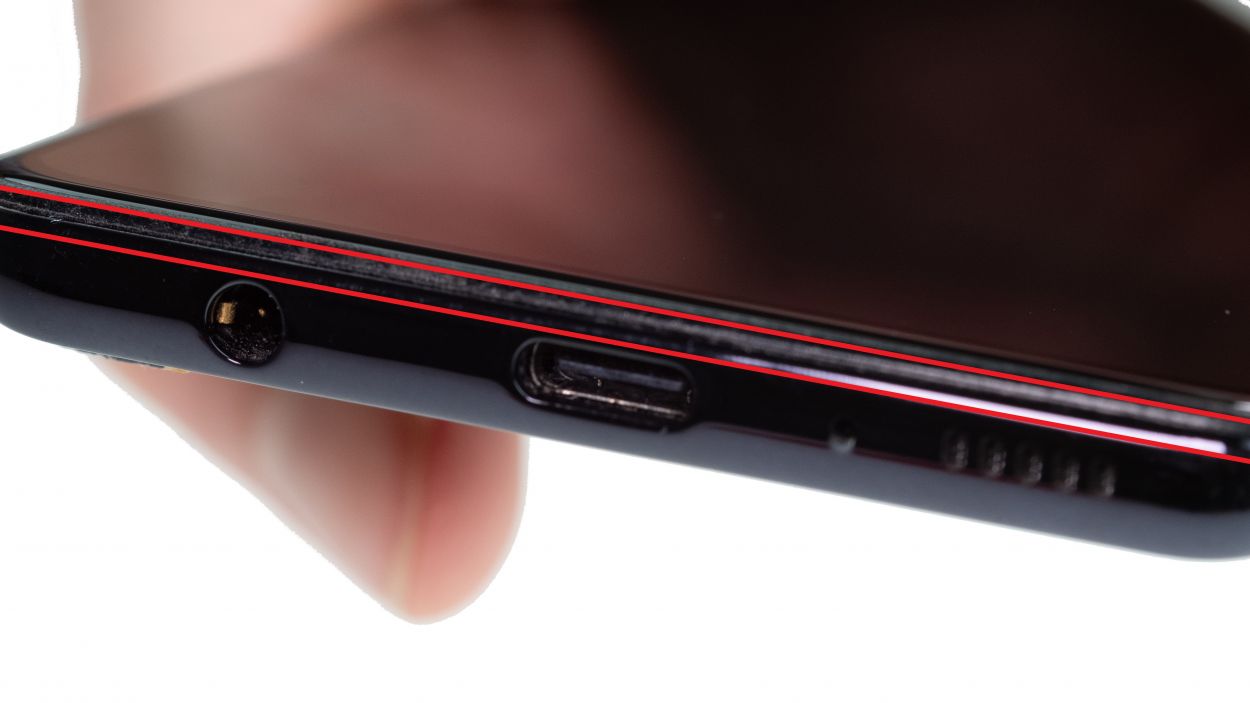
Just a heads-up: the spot where the middle frame meets the screen unit can be a bit tricky to spot. So, keep your eyes peeled before you dive in with your tools!
The hard plastic pick is super easy to handle because of its design. With its nifty pointed and flat corners, sliding it in is a breeze!
– To kick things off, grab a small, pointed tool and press it into the little hole next to the SIM tray to pop it out of the middle frame. Easy peasy!
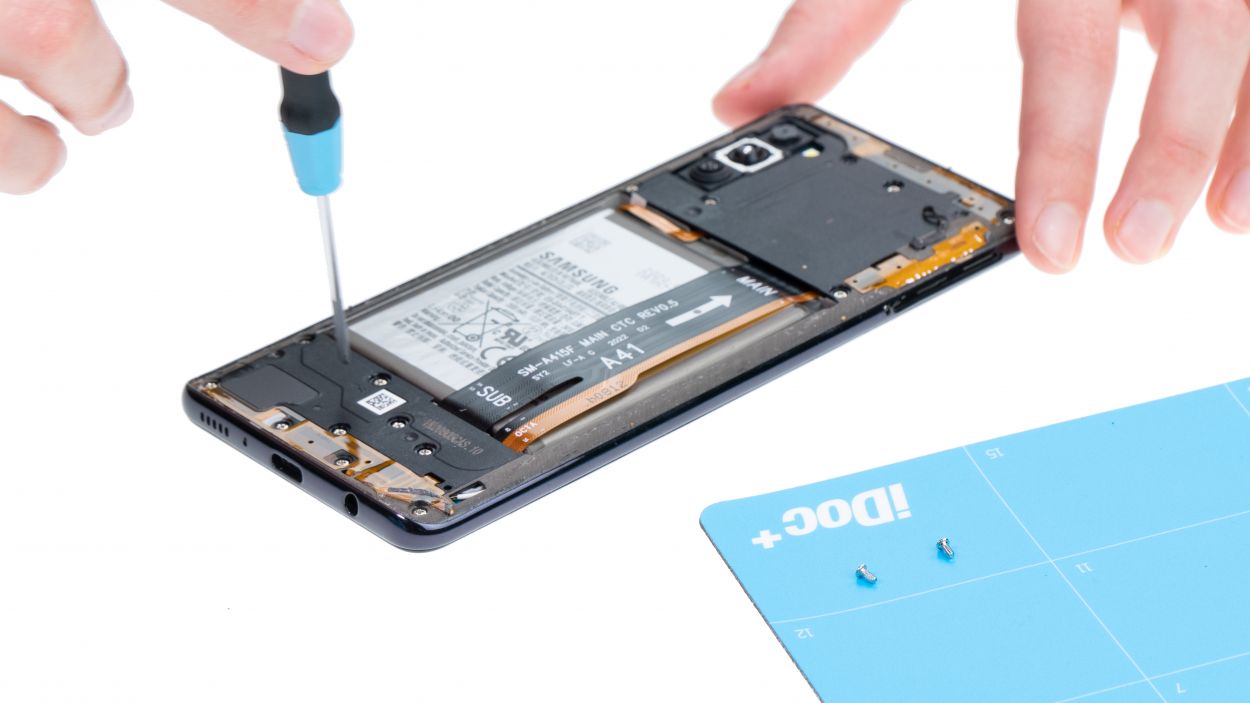
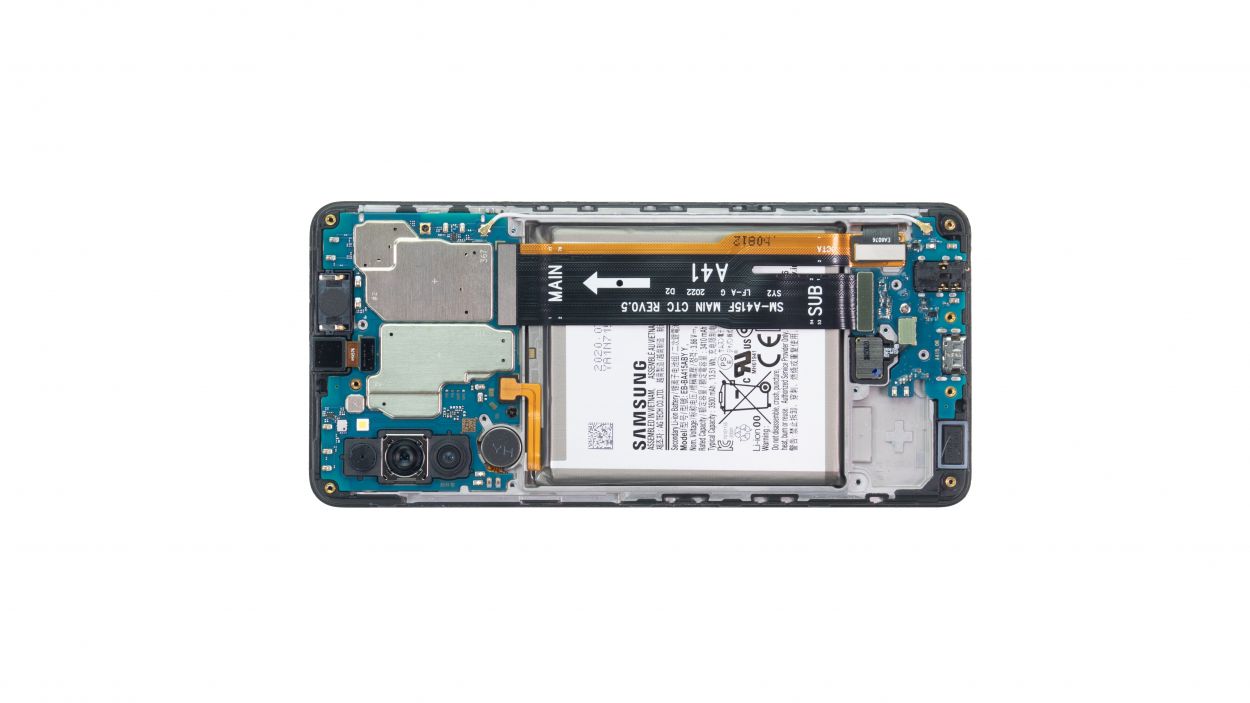
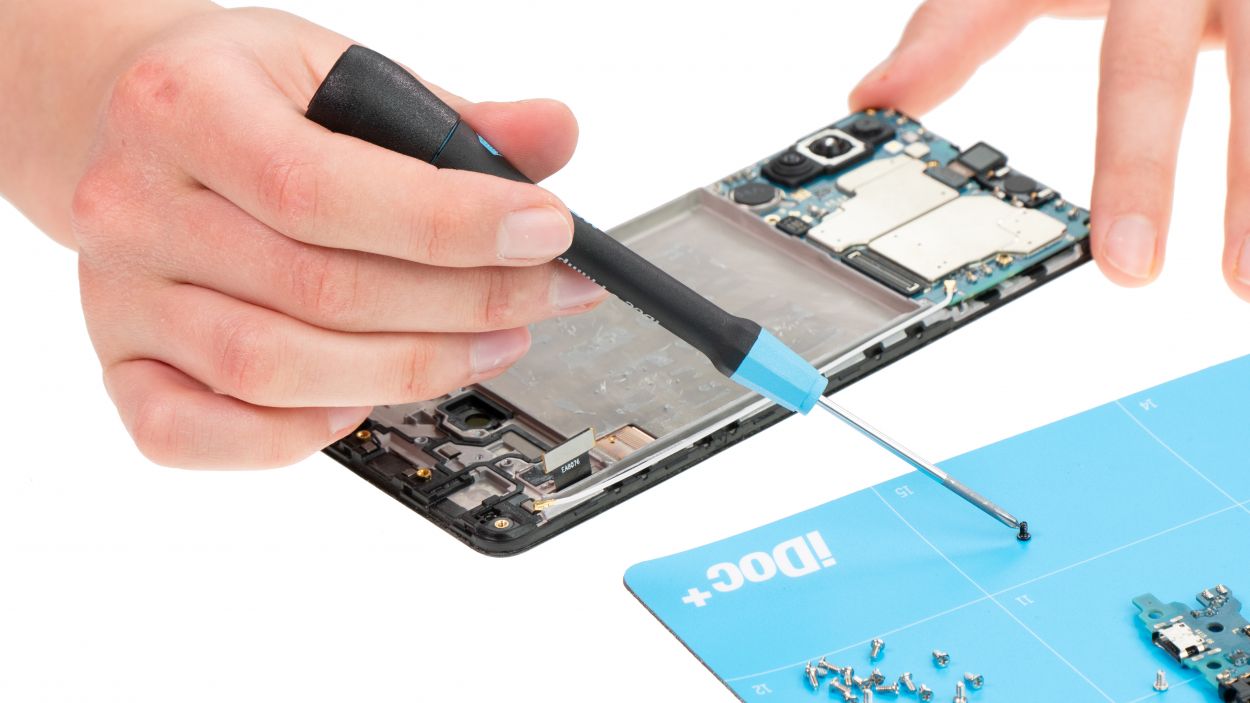
– Next, loosen those screws and stash them in a screw storage box. A magnetic pad works wonders for keeping everything organized, trust us!
Step 6
Hey there! When you’re disconnecting that battery connector, be sure to start from the side without any tiny components hanging around. It’s a smart move to keep everything safe and sound!
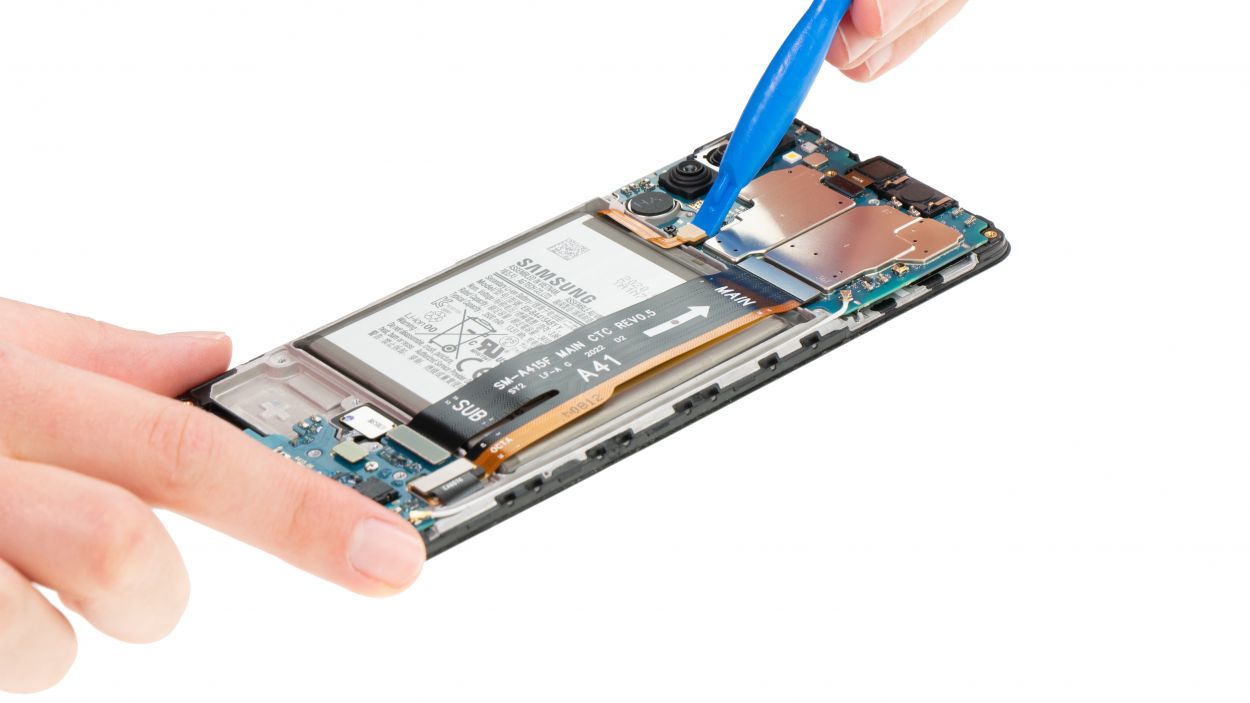
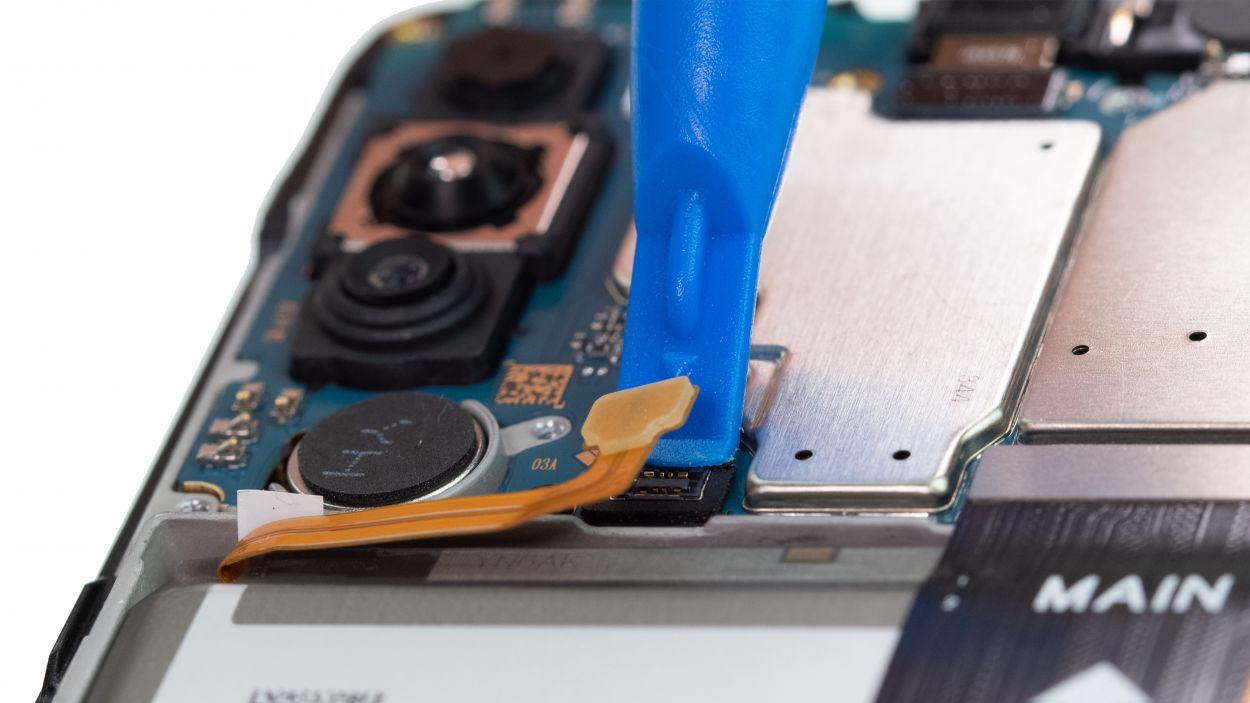
– Use a solid plastic lever tool to gently slide under the battery connector and lift it off with care. A trusty plastic spudger works wonders for this task!
Tools Used
Step 7
Hey there! When you’re disconnecting that battery connector, be sure to start from the side where there aren’t any tiny components hanging around. It’s a smart move to keep everything safe and sound!
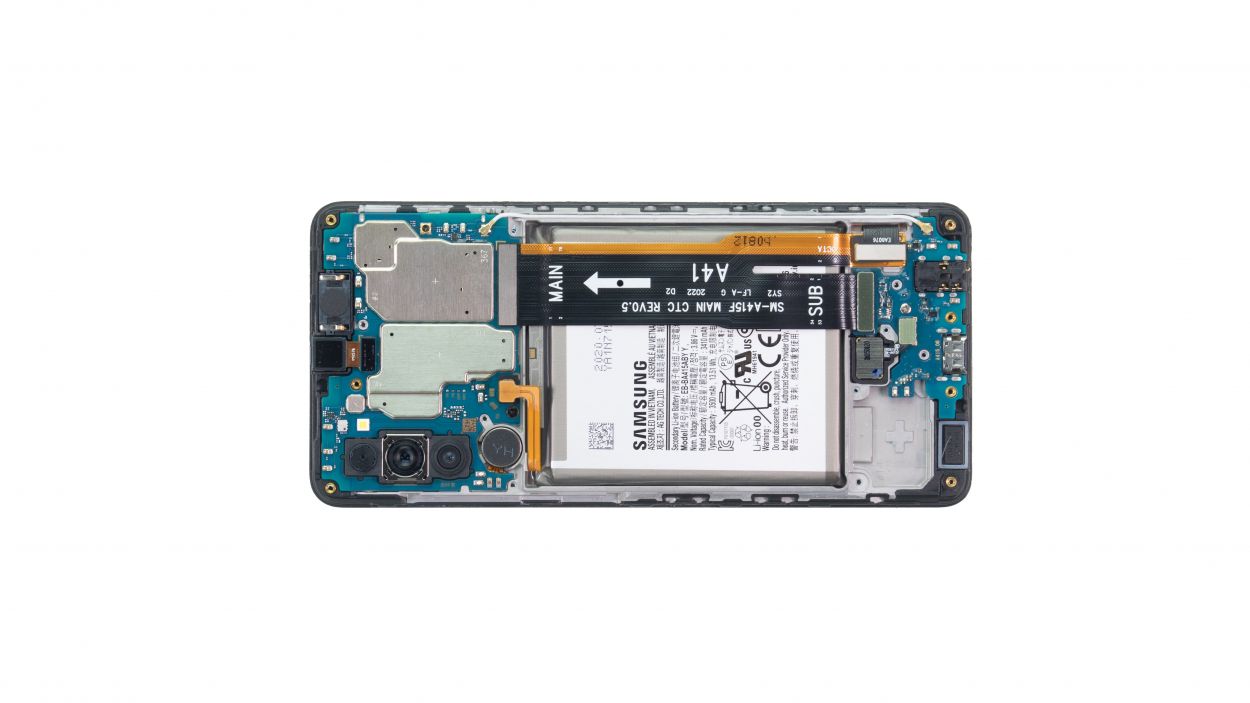
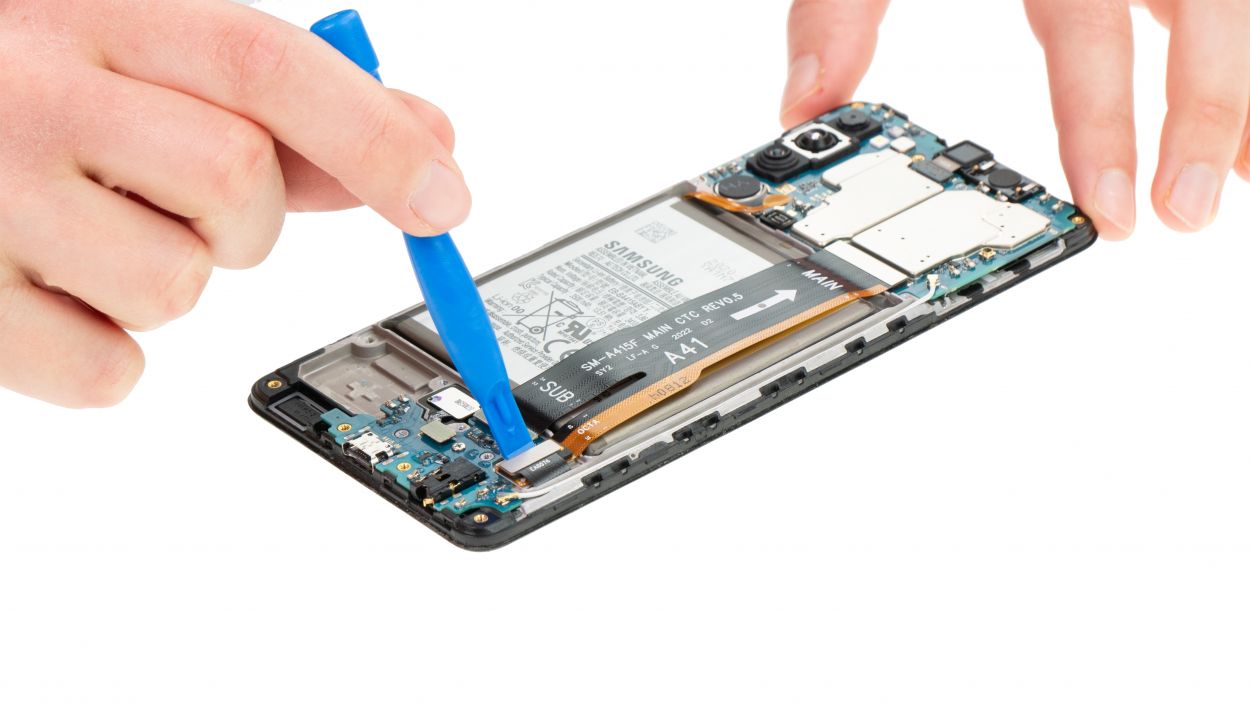
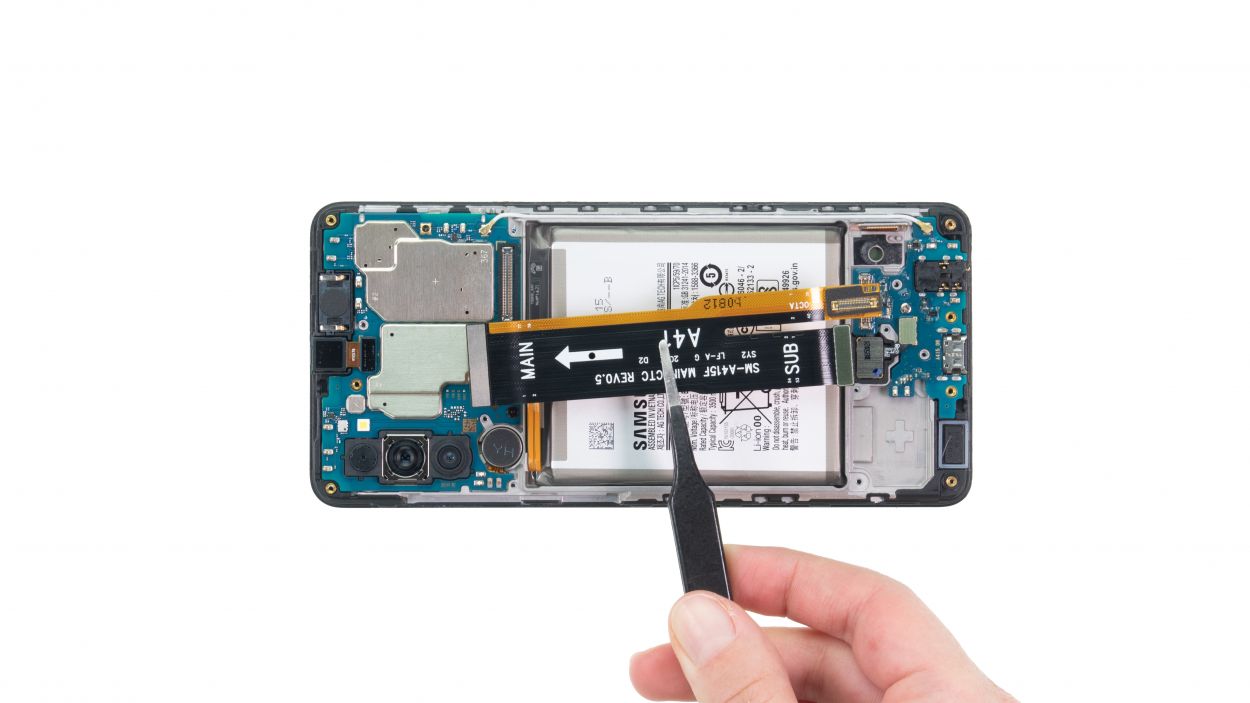
– Begin by gently prying off the screen connector like you’re opening a treasure chest.
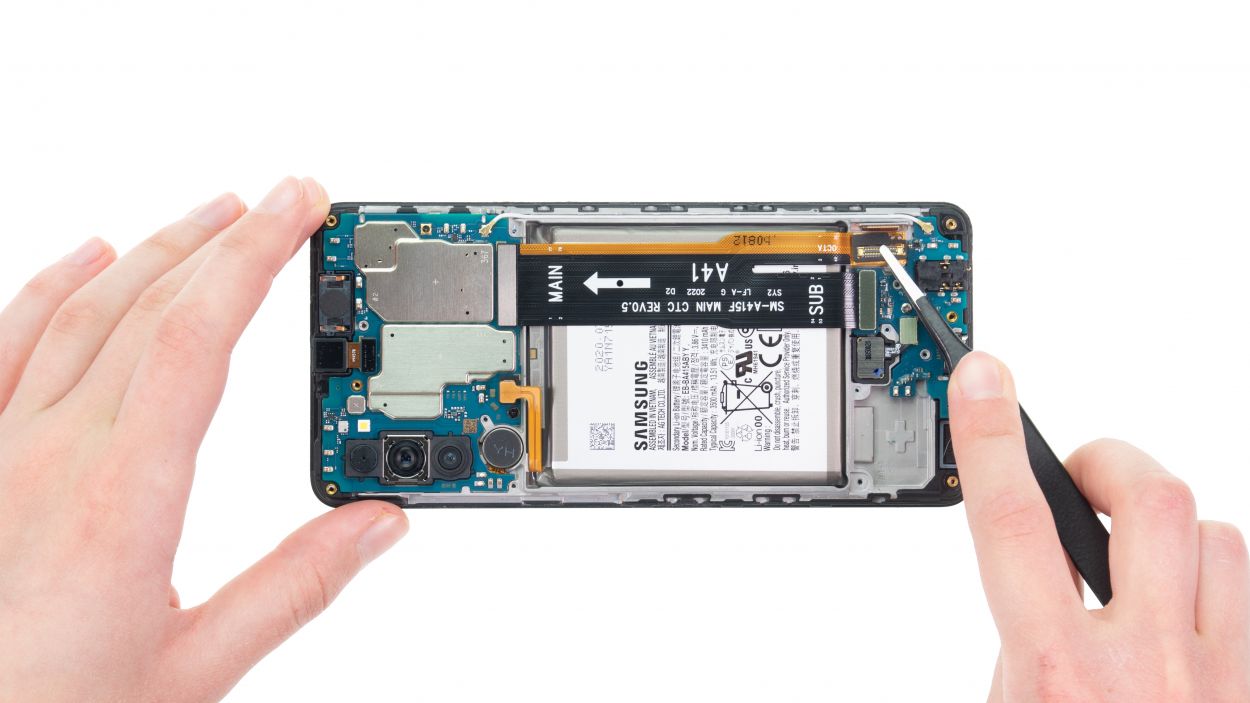
– Next, take a flat, sturdy tool (we love using ESD tweezers) to loosen the glued end of the connector cable. It’s like giving it a little nudge to say ‘Hey, time to come off!’.
– Now, you can easily detach the two cable connectors from both the main board and the USB board. It’s like unhooking a couple of best friends!
– Once you’ve done that, simply take the disconnected cable out of your device and set it aside like it’s on a little vacation.
Tools Used
Step 8
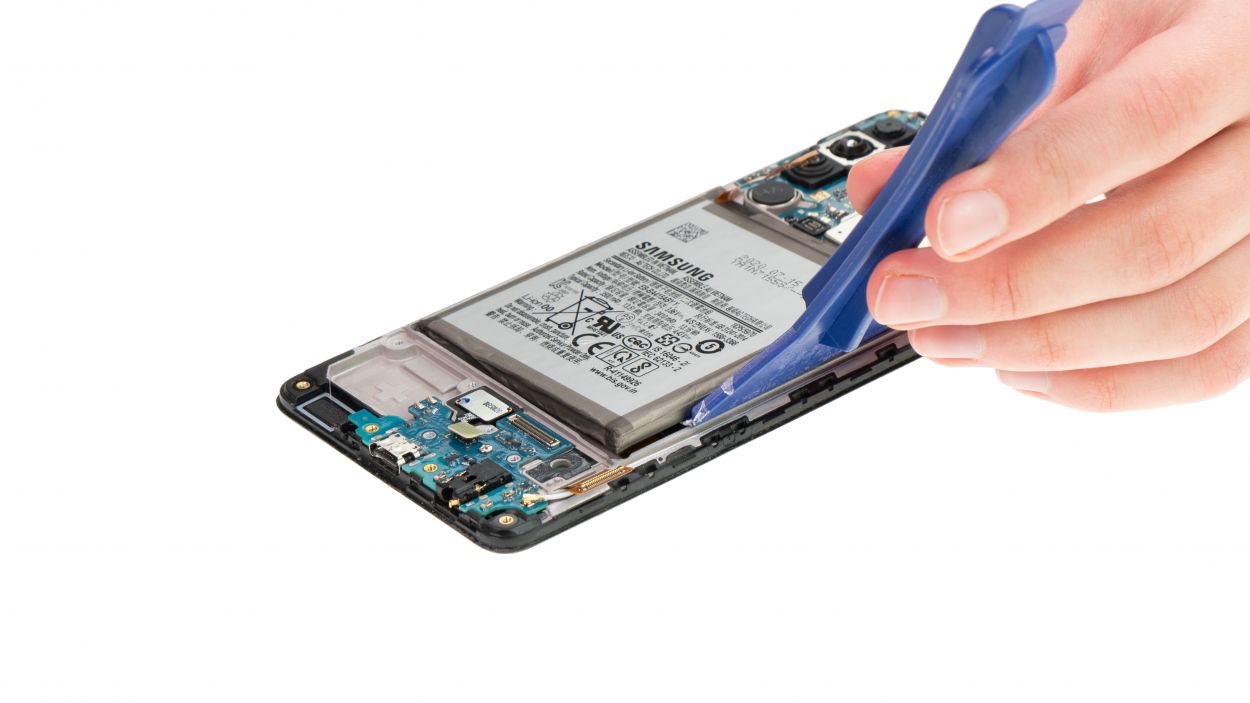
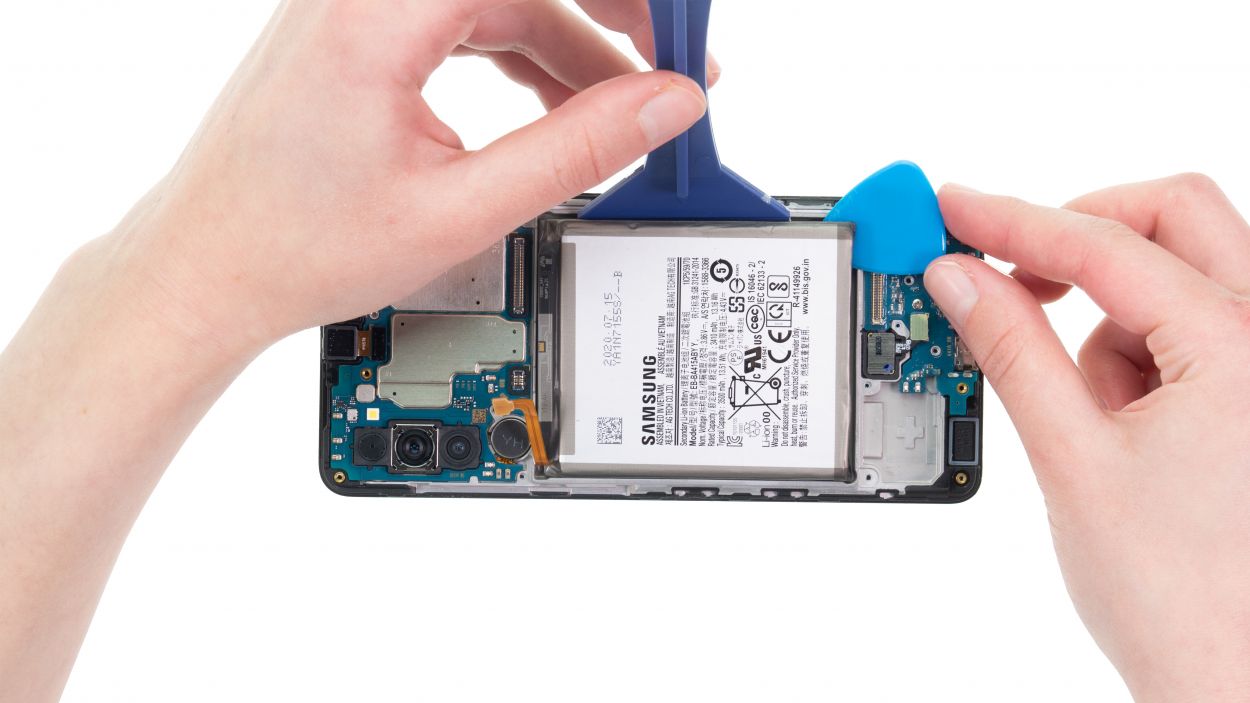
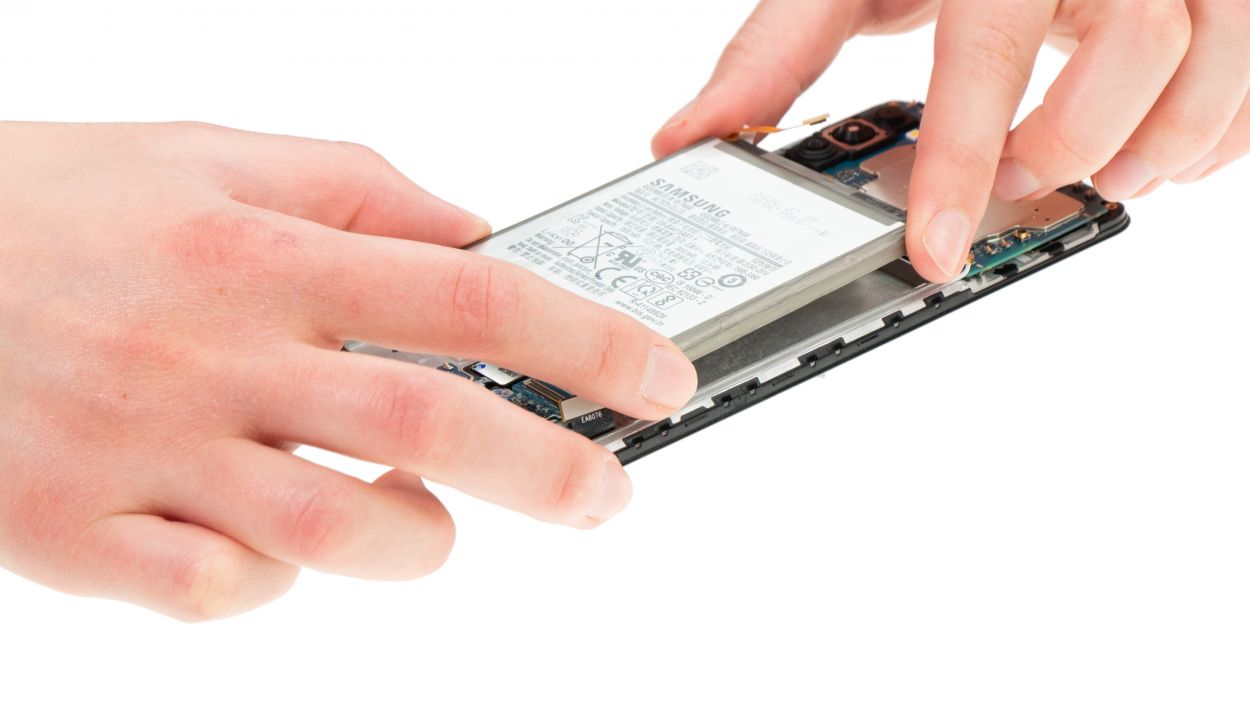
Keep that heat away from the battery! Instead of blasting it directly, gently warm up the edges from the side of the screen panel. Your battery will thank you for it!
Once you’ve got the battery a little loose, slide a flat tool like the iPlastix underneath it. Finish the job with a smooth motion, just like you’re slicing through butter!
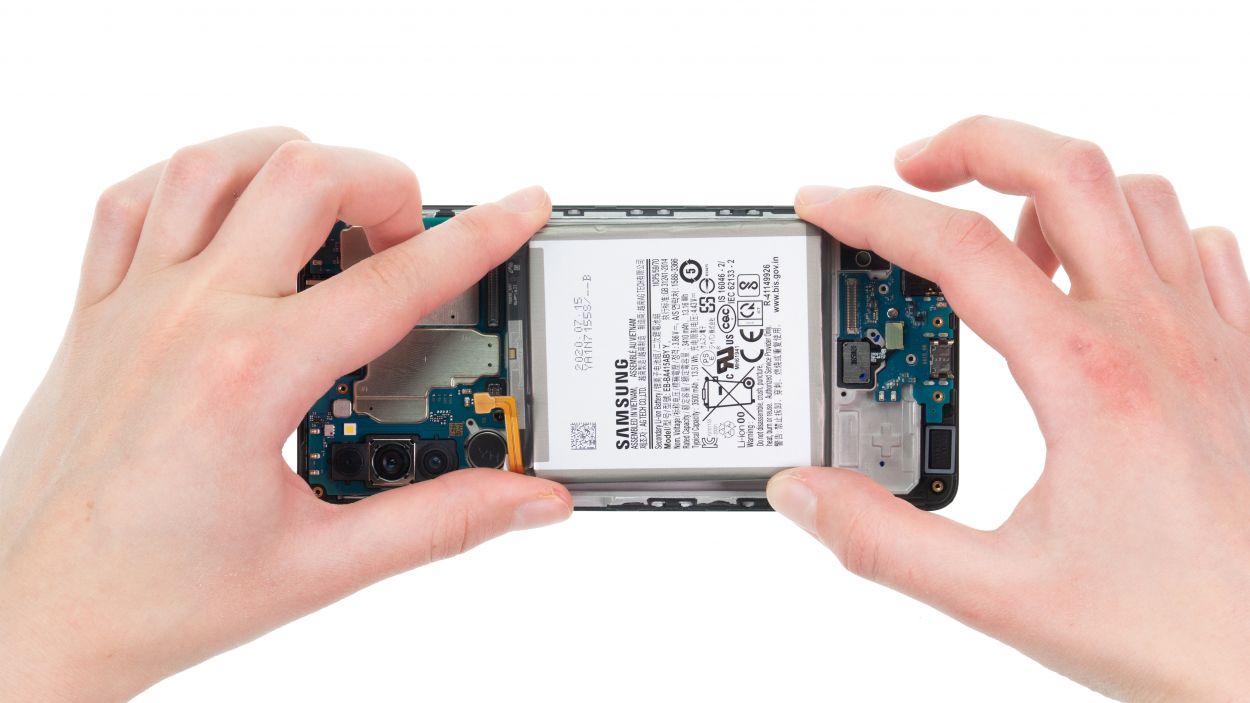
– The Galaxy A41’s battery is snugly glued to the screen unit, covering a big area. To set it free, you’ll want to warm up that adhesive with some hot air first!
Tools Used
Step 9
Hey there! When you’re disconnecting that battery connector, make sure to start from the side where there aren’t any tiny components hanging around. It’s a smart move to keep everything safe and sound!
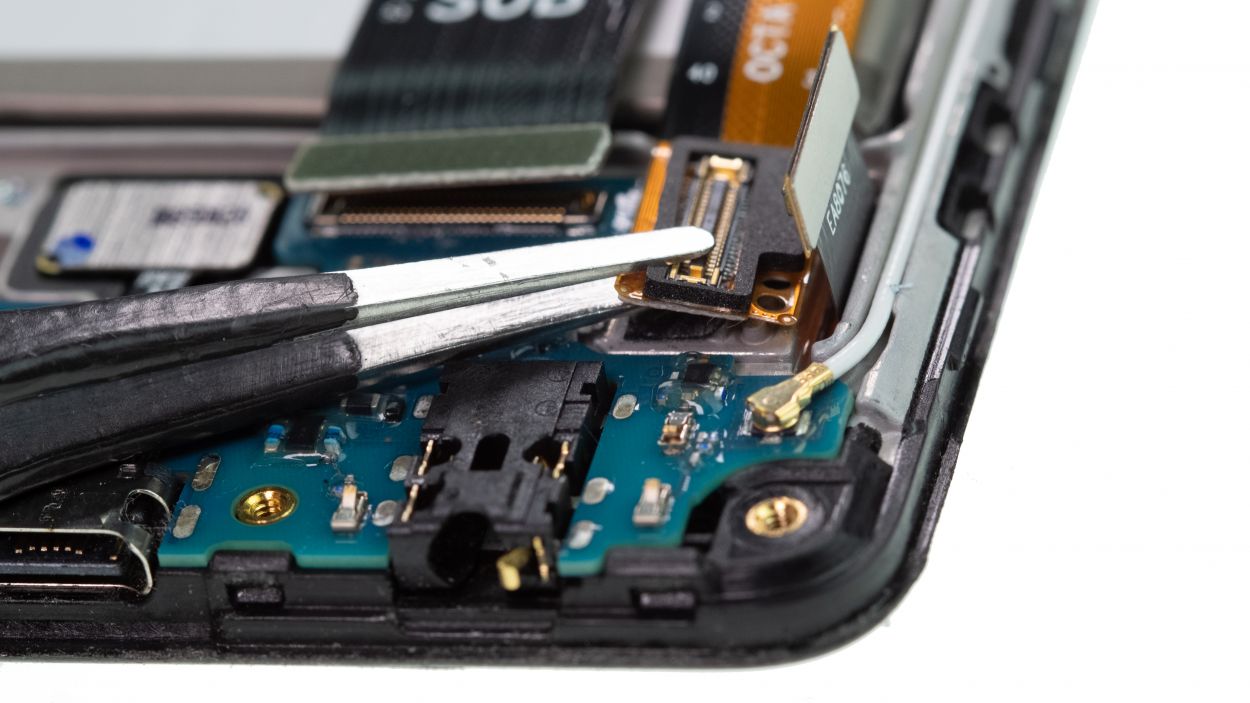
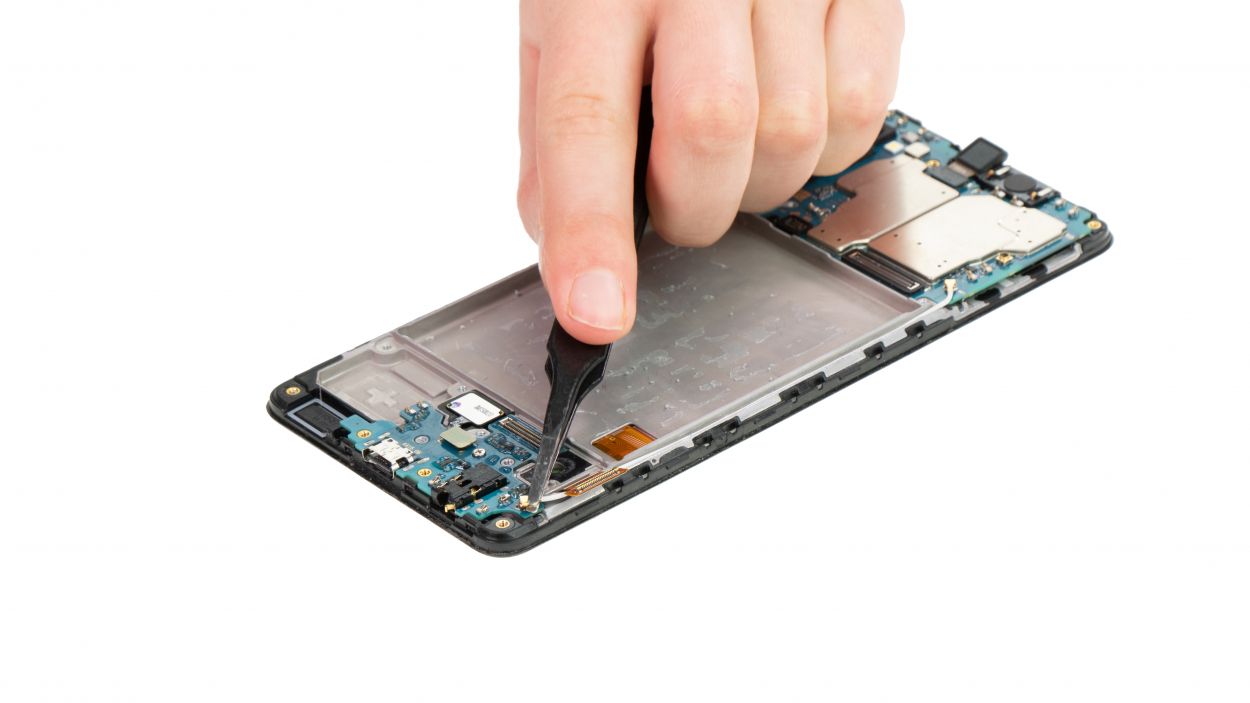
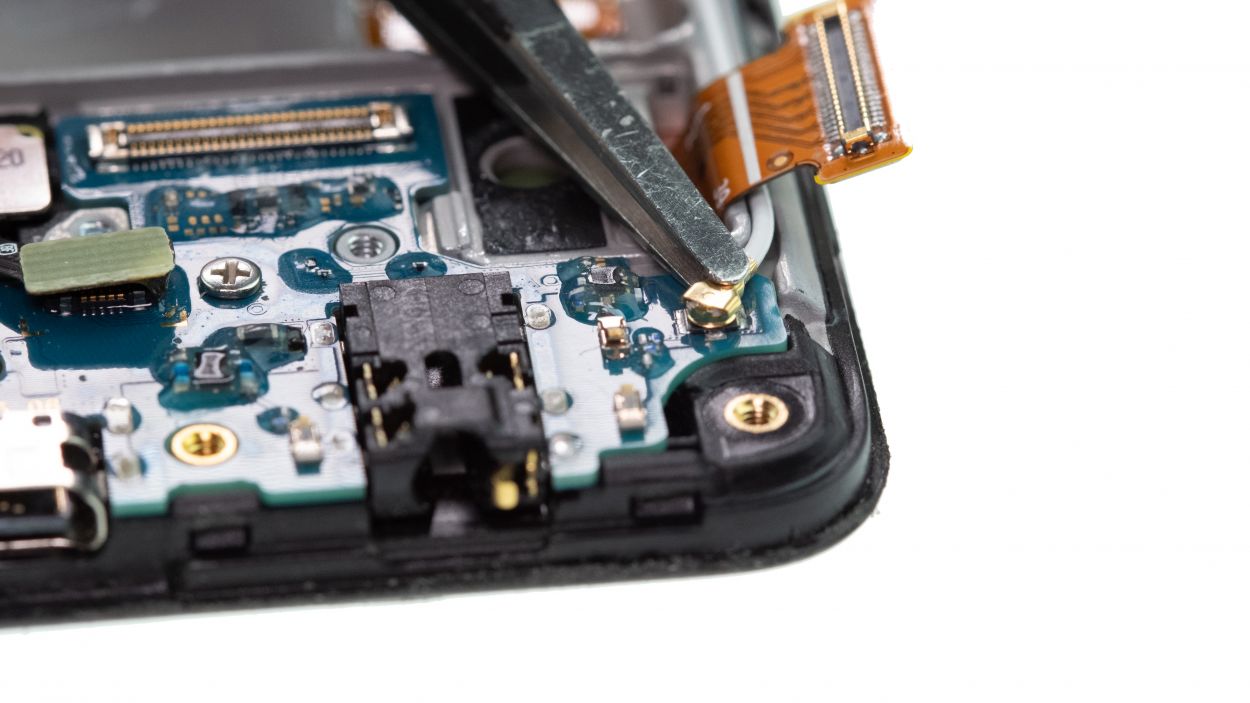
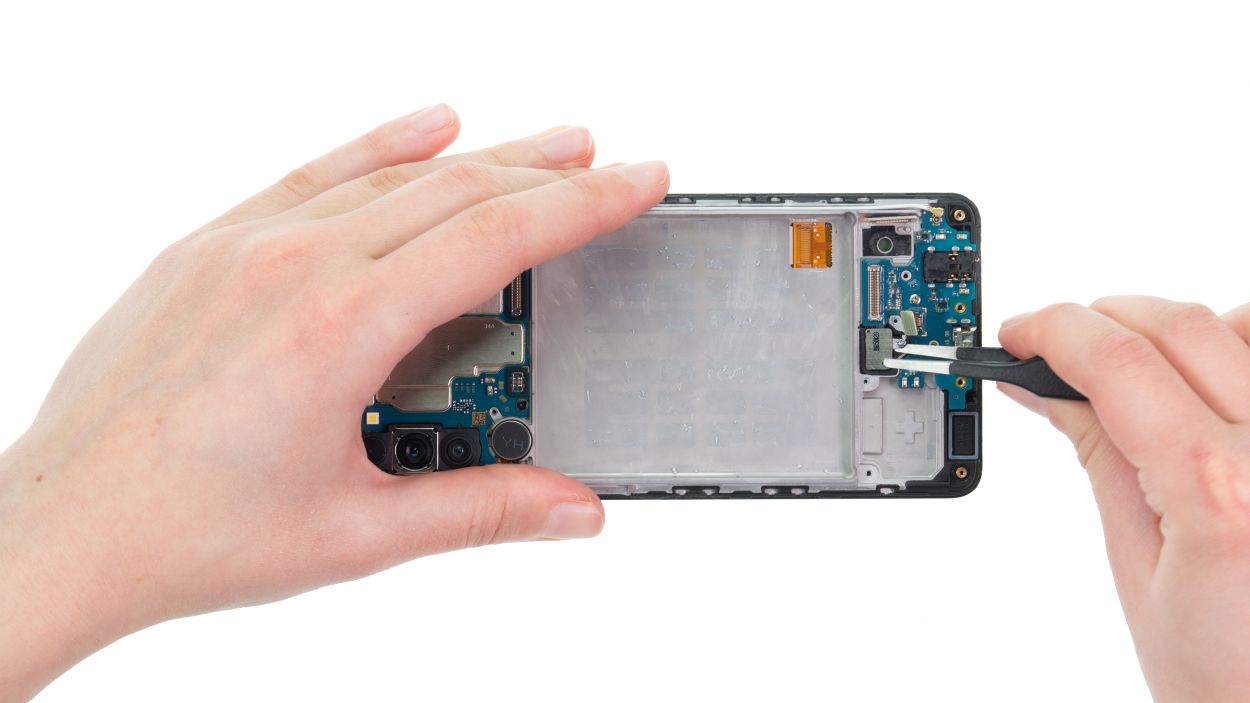
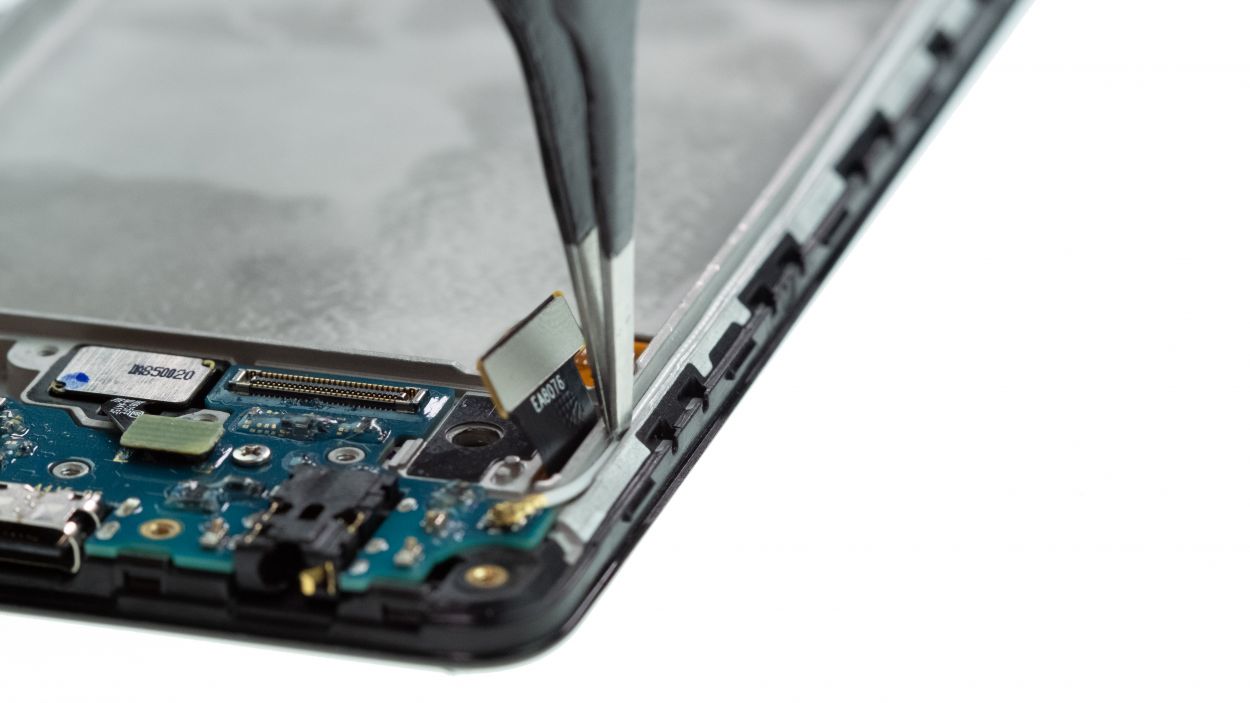
– Gently pry off the connector on the USB board using a pair of tweezers—think of it like a gentle nudge to get things moving!
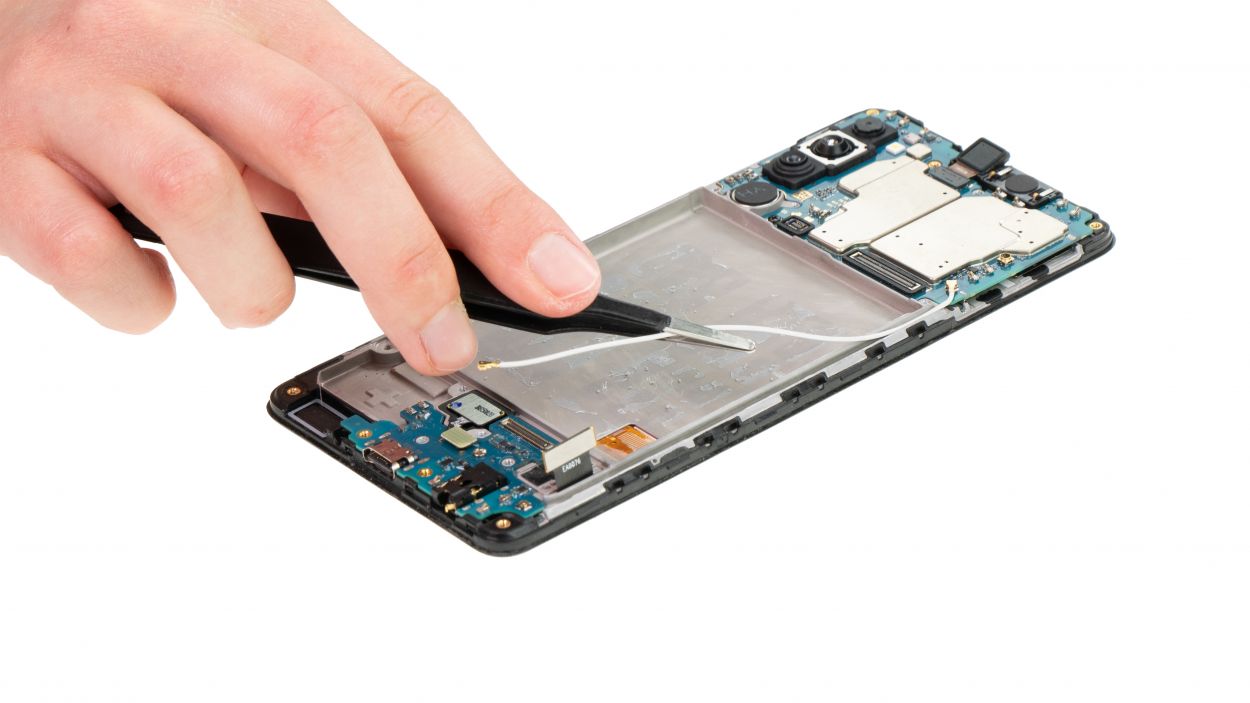
– Next, use those trusty tweezers to free the cable from its little guide on the edge of the case. You got this!
Tools Used
Step 10
When you’re disconnecting the connector from the fingerprint scanner, be sure to do it from the side without any tiny components lurking around on the board. This little tip will help keep everything safe and sound!
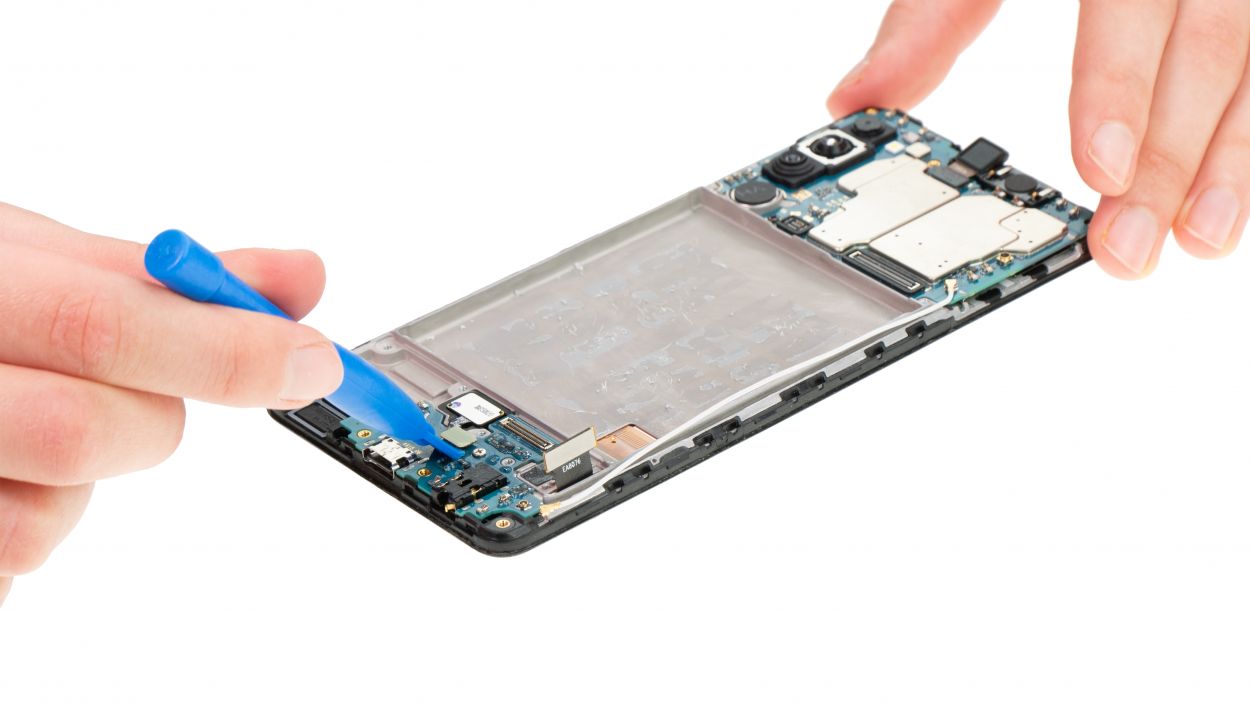
– Grab your trusty plastic spudger and gently pry the scanner connector off the USB board. It’s like a little dance, just be gentle!
– Next up, take those tweezers and carefully slide them under the scanner to release it from its cozy guide. You’re doing great!
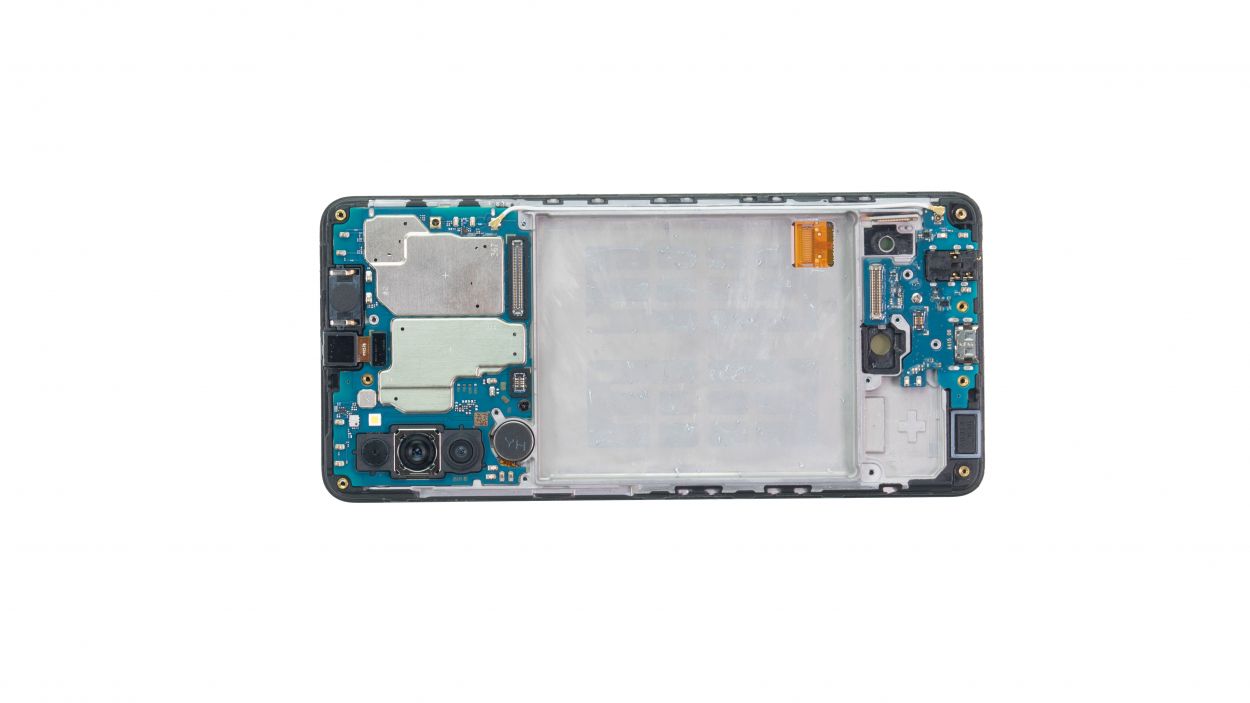
– Now, just set the fingerprint scanner aside like it’s taking a well-deserved break.
Tools Used
Step 11
1 × 2.9 mm Phillips
– Grab your trusty Phillips screwdriver and give that screw a little twist to loosen it from the board.
– Once that’s done, you can easily lift the board out of the device using your fingers. It’s as simple as that!
Tools Used
Step 12
1 × 3.0 mm Phillips
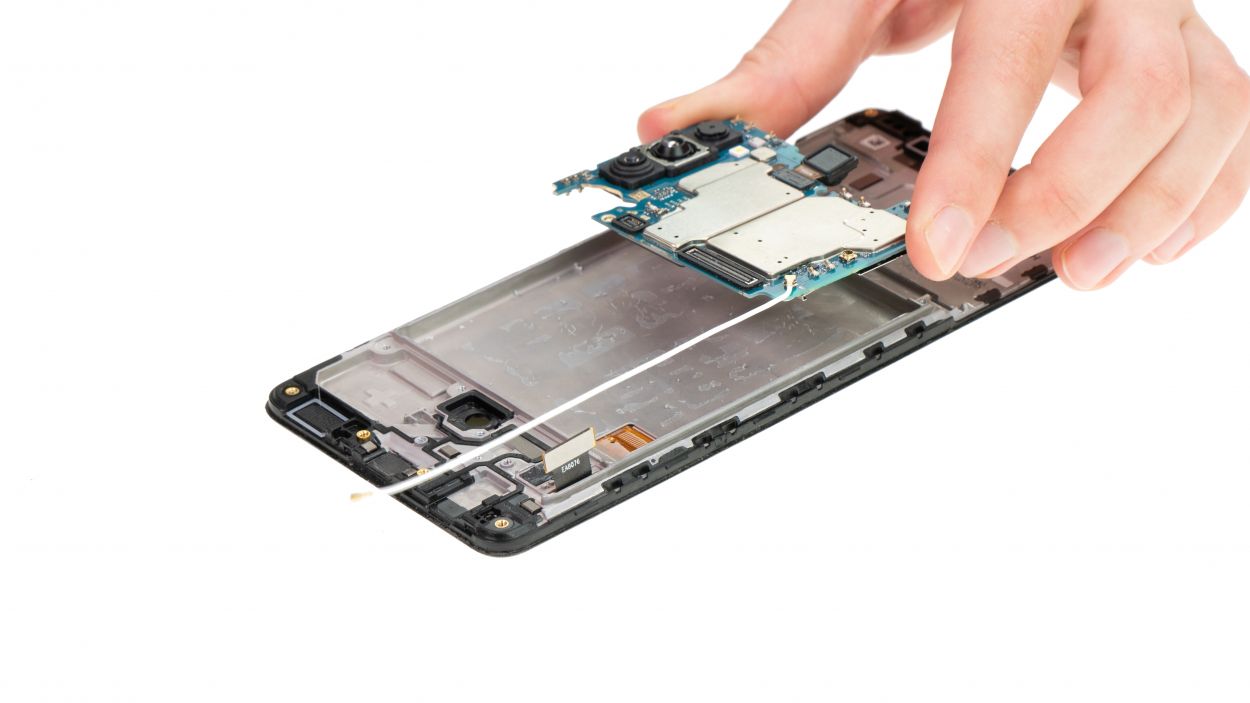
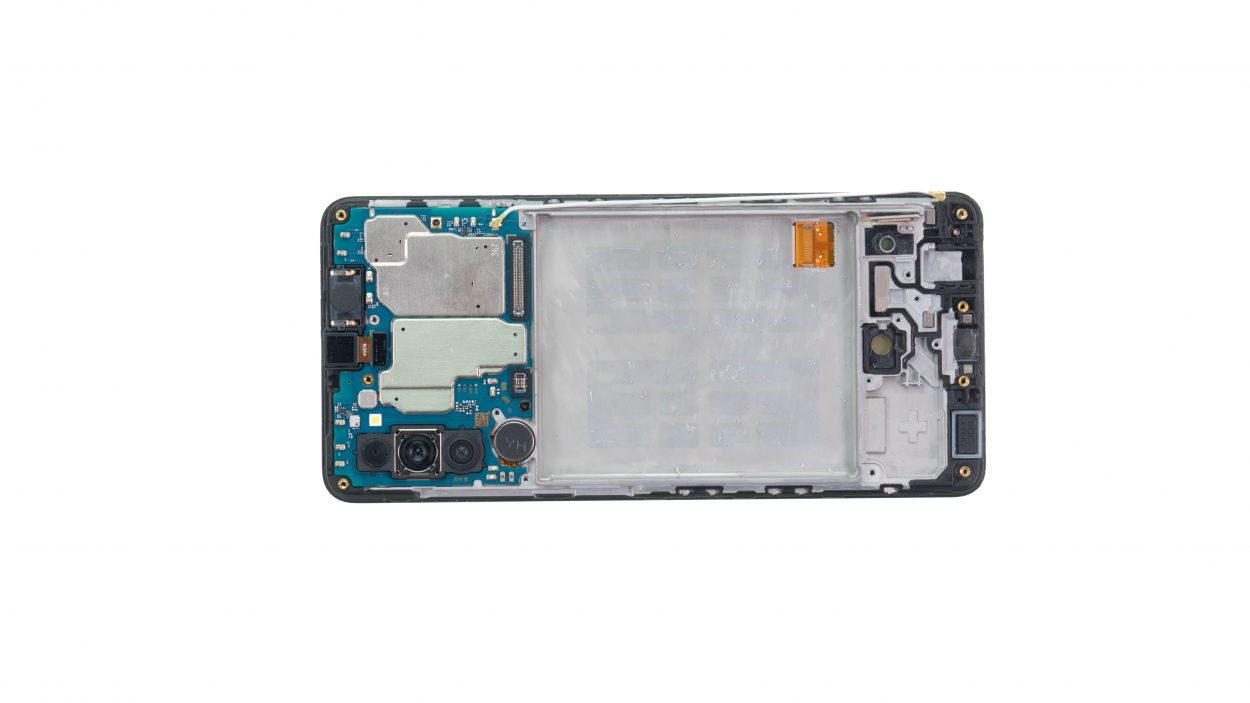
– First, loosen that Phillips screw on the mainboard—just a little twist will do the trick!
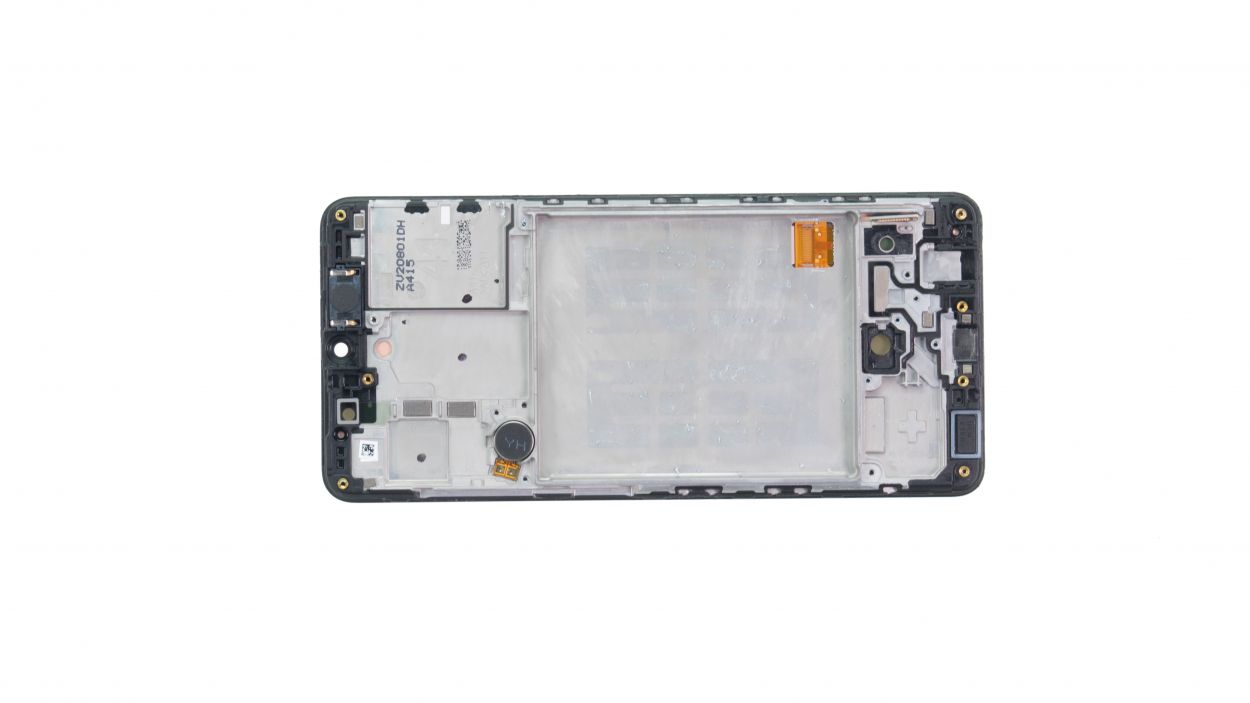
– Once that’s all set, you can easily lift the board out of your device with your fingers. It’s as simple as that!
Tools Used
Step 13
The nifty little notch at the edge of the guide is your best buddy for getting your tool just right in position. Trust it to lead the way!
Tools Used
Step 16
1 × 3.0 mm Phillips
– Carefully slide the board back into its cozy spot in the display unit and give it a gentle press to settle it in.
– Secure it in place with that trusty Phillips screw.
Tools Used
Step 17
1 × 2.9 mm Phillips
– Place the board back where it belongs and give it a gentle press, just like tucking in a cozy blanket.
– Next, secure the USB board in place with that lone Phillips screw. You’ve got this!
Tools Used
Step 18
Hey there! When attaching connectors, remember to be gentle—no need to muscle it! Forcing a connector can cause an entire component to throw a tantrum and stop working. So, take it easy and let it fit in smoothly!
– Carefully pop that sensor back into its cozy little guide. It’s like tucking in a friend—make sure it’s snug!
Tools Used
Step 19
Hey there! When you’re connecting those connectors, remember to go easy—no need to muscle it! Forcing a connector can cause an entire component to throw a fit and stop working. So, take your time and let it slide in smoothly!
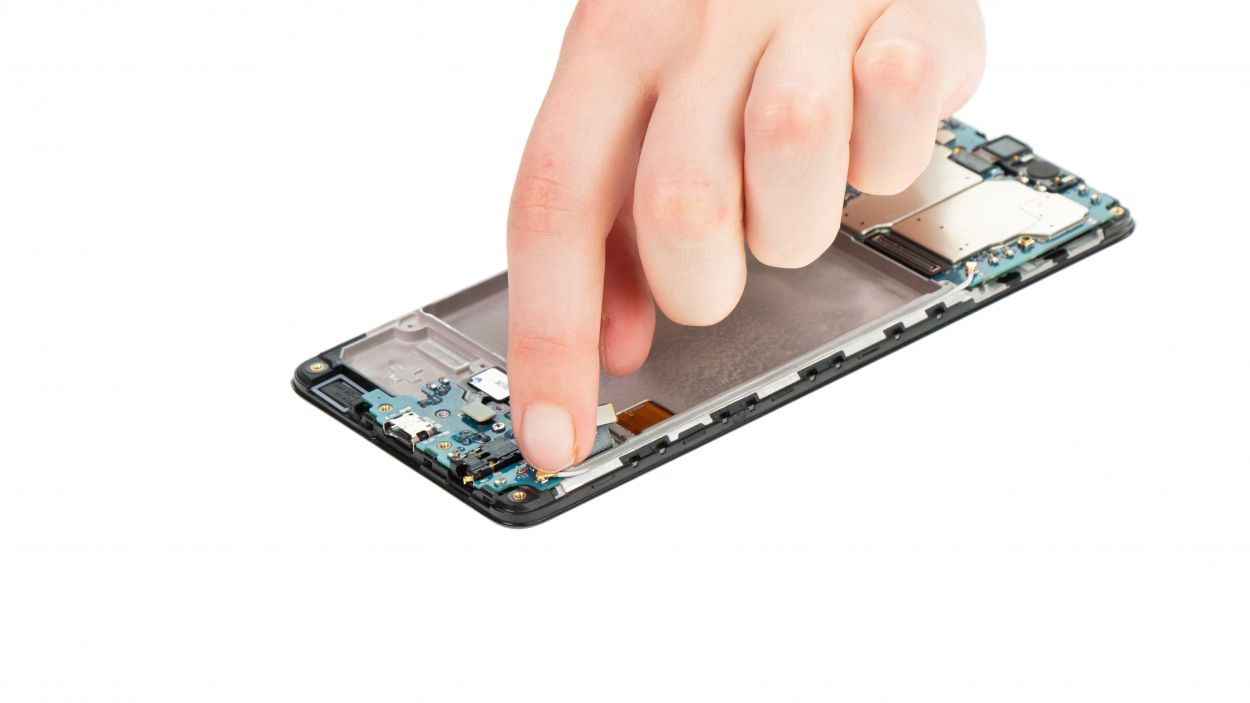
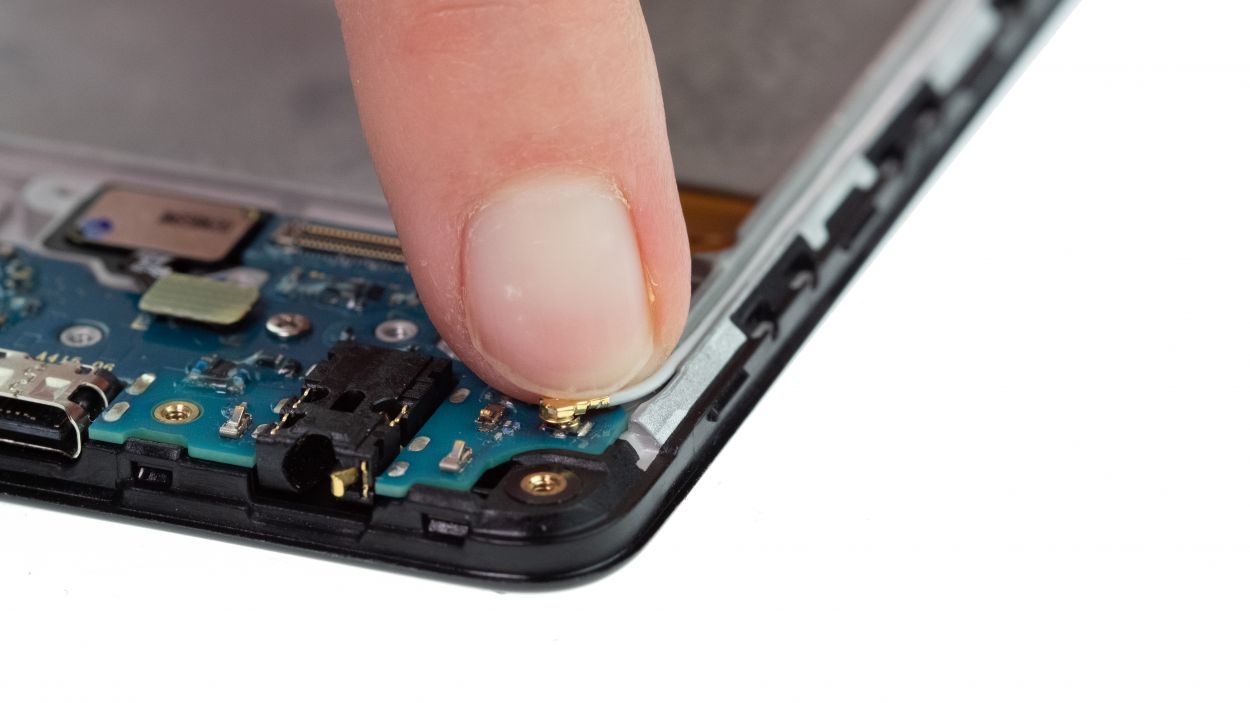
– With a little help from your trusty tweezers, gently guide it back into its cozy spot on the edge of the case. You’ve got this!
Tools Used
